
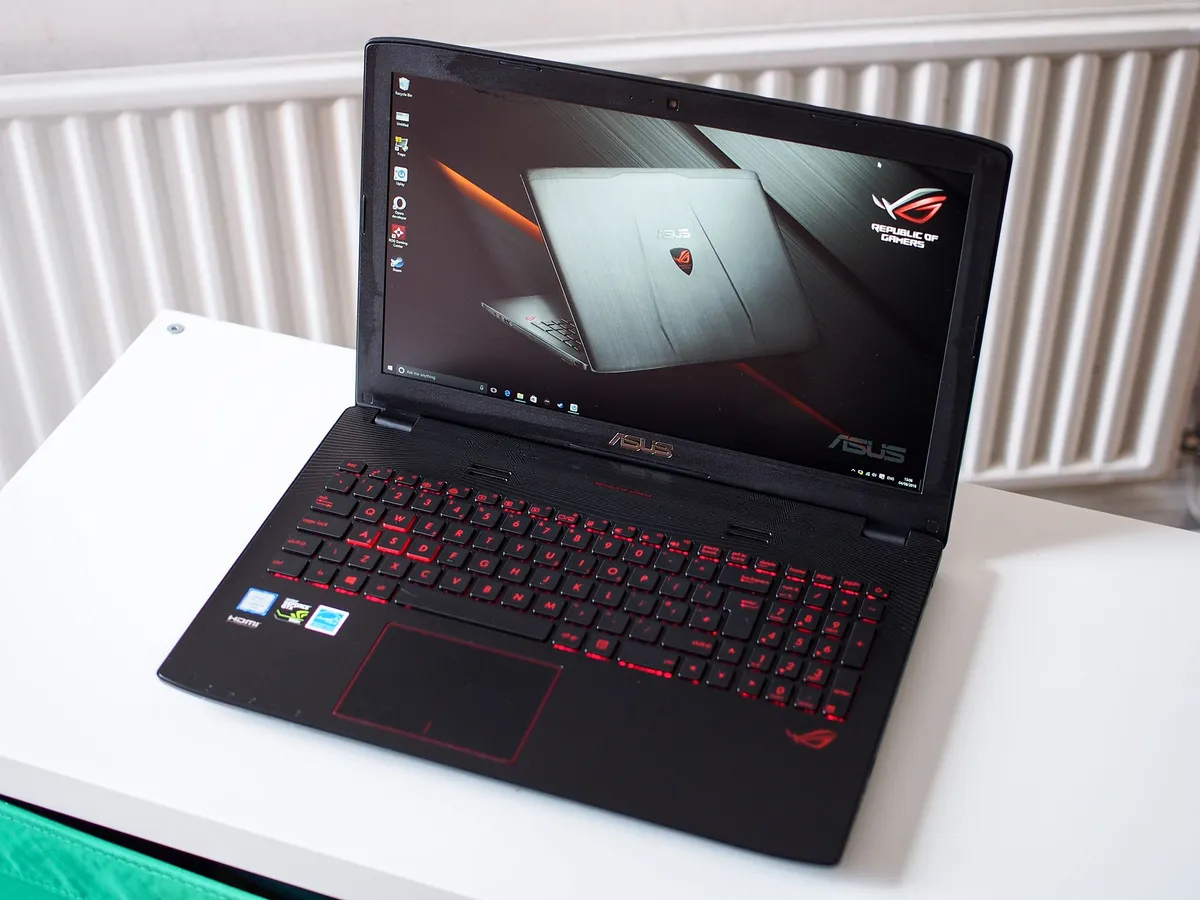
The ROG GL552 represents ASUS' entry point into gaming laptops, and mixes decent graphical power with affordability and solid construction. The base model is pretty well equipped, but ASUS also makes it super simple to add more storage and RAM to the laptop if you want it.
Here's what you need to know.
On the GL552 you can upgrade three things: RAM, HDD storage and m.2 SSD storage. The stock model has a 128GB SSD drive to boot Windows from and install essential software on, alongside a 1TB HDD for mass storage of games, media and such. It also comes with 8GB of RAM, but you can easily upgrade this to 16GB without spending a lot.
The only tool you will need is a small Philips head screwdriver. Flip the laptop over and there are two screws in the middle of the laptop holding the upgrade panel in place. Remove these and the cover pops right off.
In terms of upgrades, there are many to choose from but we'd recommend SSDs from Samsung or Crucial, HDD storage from Western Digital and a single 8GB RAM stick from Crucial to complete these upgrades. For the SSD swap you'll also need a USB 3.0 m.2 SSD enclosure.

How to upgrade the RAM in the ASUS ROG GL552
- Locate the RAM slots. These are in the center of the laptop, just above the small m.2 SSD drive.The GL552 already has one empty slot, this is the one you will use.
- Line up the notch on the RAM stick with the notch on the slot
- Insert the RAM at a slight angle until the pins disappear.
- Press down gently. You should feel a slight slick as the RAM locks in to place.

- Turn on your computer to verify that the RAM was successfully installed and recognized:
- Open Settings.
- Click on System.
- Click on About. You should then see something like the screen above detailing your RAM. If it says 16GB everything is good!

How to upgrade the hard drive in the ASUS ROG GL552
If you already have data on the drive you'll need a way to transfer that across. Since Windows isn't installed on this one you needn't worry too much about cloning, a simple copy and paste should do the trick. Any external USB HDD or SSD that's big enough for your data will suffice. Then grab the screwdriver:
- Unscrew the four screws that hold in the drive. There is one in each corner of the metal strips.
- Carefully disconnect the drive.
- Line up the connectors of the new drive with the slot of the laptop.
- Push the new drive into place.
- Screw the four screws back in to secure the drive.
- Turn on your computer to verify the drive was successfully installed and recognized:
- Open Settings.
- Click on System.
- Click on Storage. You'll see the drives currently connected and if all was successful your new HDD will display here.
After that it's a case of copying your data back to that drive.
How to upgrade the SSD in the ASUS ROG GL552
This is where things get a little more complicated. Swapping the drive itself is simple, but because Windows is installed on the existing SSD, you need to move that over. You have two options:
- Perform a clean install of Windows 10 on the new SSD
- Clone the existing SSD to the new one
If you want to start fresh with a clean install, our guide on using the Windows Media Creation tool will help you on your way. Essentially you create a bootable USB stick (a 4GB thumb drive and above is required), install the new drive and install Windows 10 from this. The product key inside your laptop's firmware will be enough to activate the install.
This is probably the safest method, as it ensures you don't end up with any partition issues, something we've seen affect our ability to update Windows 10 in the past. As most of your mass storage data won't be on this drive, backing up what you do have shouldn't be much of a task.

If you want to clone the drive, you'll need to use the USB 3.0 enclosure mentioned above. Install the drive into the enclosure and attach the included USB 3.0 cable to the laptop. Samsung and Crucial SSDs come with Samsung's own cloning software and Acronis True Image respectively. The cloning process is fairly straight forward but we have guides on using both Samsung and Crucial/Acronis combinations that should help you on your way. Essentially you point the software at the old drive, the new drive and let it do its thing.
To install your new SSD:
- Remove the tiny screw from the left-hand edge of the m.2 SSD. It should pop up slightly for you to pull away from the contacts.
- Line up the new SSD at a similar angle.
- Gently push the new SSD in until the pins disappear.
- Push down on the new SSD until it slots into place.
- Screw in the screw to secure the SSD.
The next thing to do is pop the upgrade panel back on, screw it back in and power up the laptop. If you've cloned successfully it should boot right into Windows. Make sure not to get rid of the old drive until you're sure it worked. If you're doing a fresh install, insert the USB stick into the laptop, boot up and follow the on-screen instructions to install Windows.
And that about covers it! Many laptops can't upgrade their internals, but ASUS has given plenty of flexibility with the GL552 to get what you need from it.

