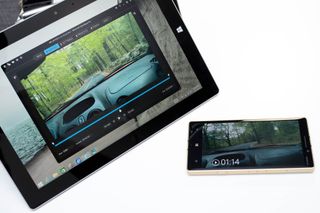
We used footage from the Lumia 930 while driving in the woods. It's all handheld. No special rigs or tripods were used. We've imported the clip into the Surface 3 to see what Hyperlapse Pro for Windows can do with it. Check out our hands-on video.
It's very easy to use Hyperlapse Pro. When you open the app, there are two buttons on top. You can create a new project or open an existing project. You can add .mp4 or .mov files.
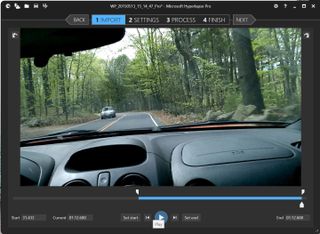
Once a new project has been created, there are four steps to go through: Import, Settings, Process, and Finish. In the import screen, you set the starting and end points for the video. Tap or click next to go to Settings.


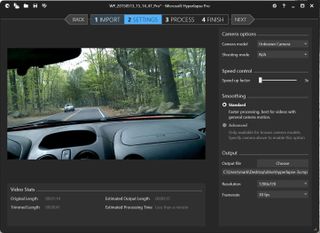
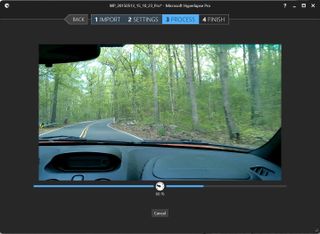
In the Settings page, you can change the speed for the clip from 2x to 25x. You can also change the video resolution and frame rate. The smoothing process is standard unless you have a GoPro or a Sony HDR camera. Having one of these cameras lets you use the advanced smoothing option. The video stats at the bottom let you know the estimated output length and processing time. For example, a 2-minute 1080p clip from the Lumia 930 sped up 3x gives an estimated processing time of less than a minute on our Surface 3. Tap or click next to start processing.

The fourth and final step is the Finish section. It shows the output folder and the final video. If you're not happy with the clip, there's a button to go back and change some settings.
Like we said, it's really easy to use Microsoft Hyperlapse Pro. We like that the steps are broken down for the users within the app. We're also pretty happy with the results. The clips come out smoother compared to just simply speeding them up. Go download it now and import some of your videos! Let us know if you're happy with your sample videos.
At the time of writing only the free, preview version of this app is available.
Get the Windows Central Newsletter
All the latest news, reviews, and guides for Windows and Xbox diehards.

