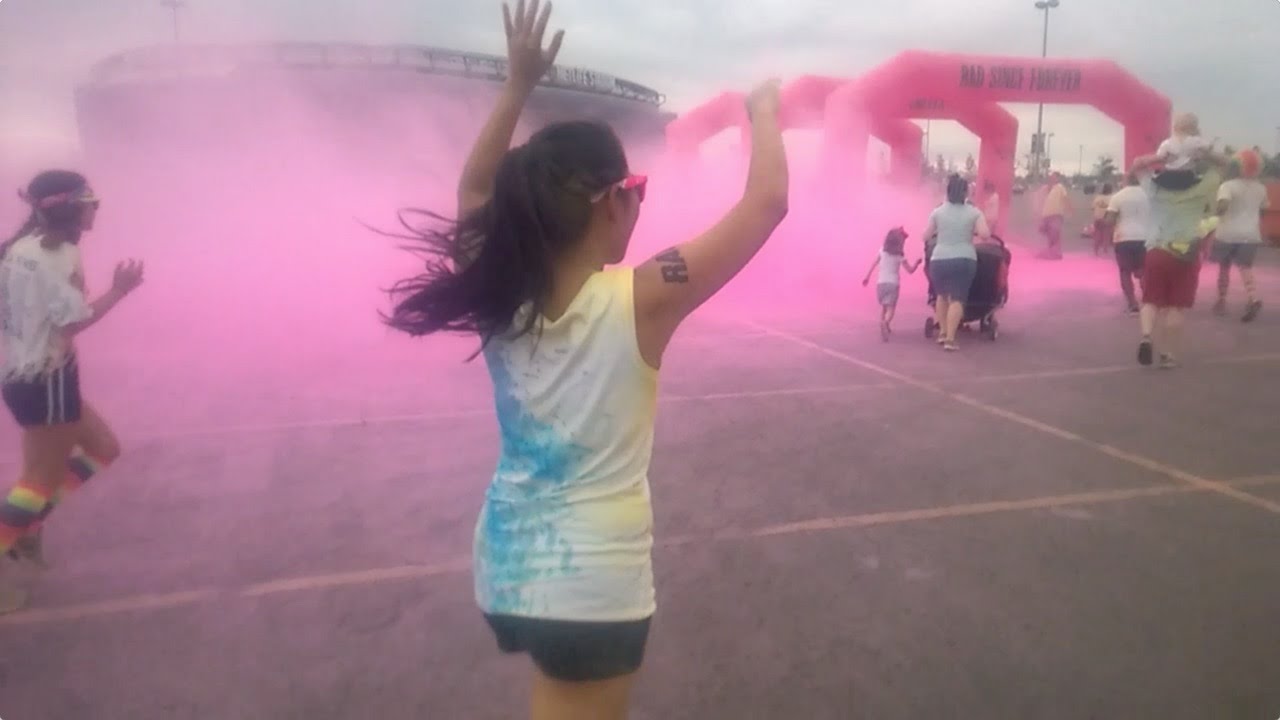
I've been playing with the newly released Movie Creator Beta and I'm surprised at how good it is for quick and easy editing. You can add videos, photos or Cinemagraph content files together with no length limitations. I shot some videos from Color Me Rad (colormerad.com) a few months ago, but they've just been sitting idle inside my Lumia Icon. With Movie Creator, I was able to create a movie from those clips in just few minutes.
Here are some of my tips to make an incredible video with Movie Creator.
1. Variety is key
Use footage with different angles and movements. To get started with Movie Creator, you'll need to add some clips. For best results, select different types of clips. Use close-ups, action shots, or shots with panning movement. This trick keeps things interesting for your viewers.

2. Short clips are the best
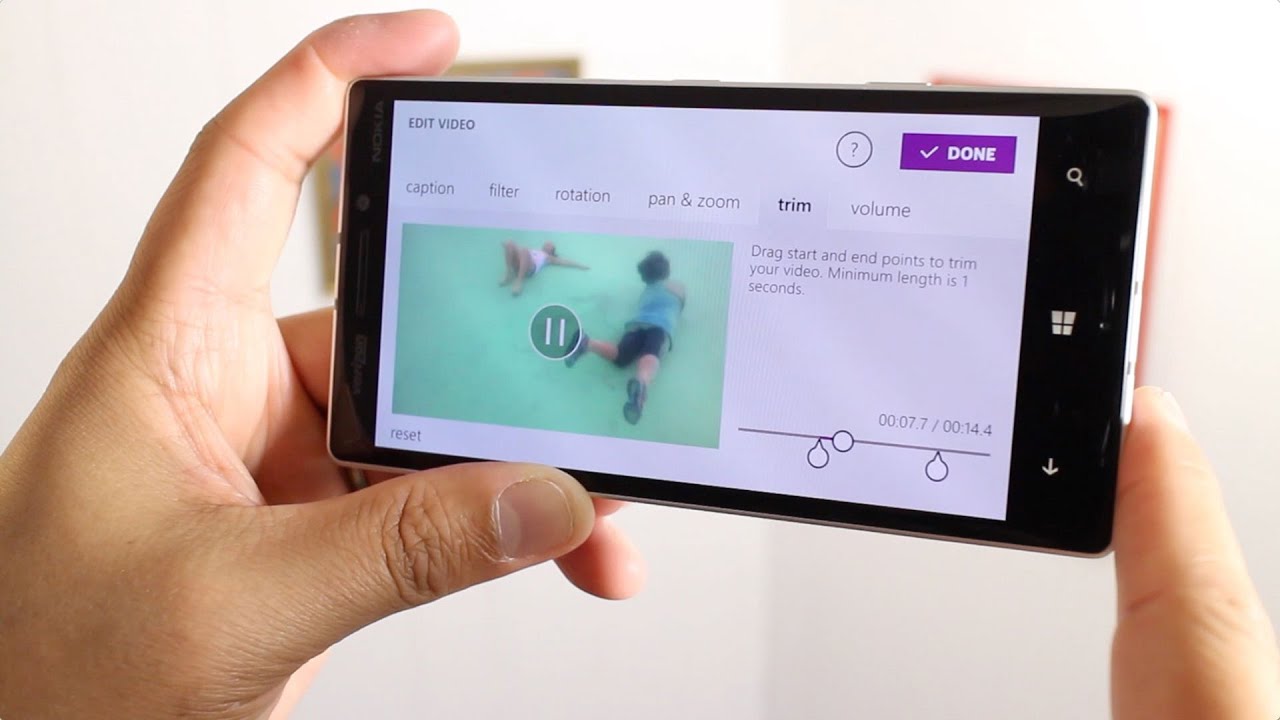
The next step is to trim the clips. Tap a clip and then select the trim tab. You can drag the start and end points. Try to make each clip shorter that 30 seconds. Viewers get bored when it's longer than that. There's no option to split clips, but a workaround is to duplicate a clip and then re-trim.

3. Reorder at will
You can drag and drop clips in the timeline if you need to rearrange them. Just press and hold a clip, then drag it to the position you want.
4. Theme it up
Use themes. If you want to get things done quickly, take advantage of the built-in themes. This automatically adds transitions and background music that make your movie feel whole instead of separate clips attached to each other. There are several themes to choose from, and it appears Microsoft will be adding more in the future. There's a Theme Store where you can get new themes. They're all currently free.

5. Mix that sound
You can adjust the volume of each clip and even reduce or increase the sound of the background music. This is really handy if a clip has dialog. Tap a clip and then select the volume tab. Play with the sliders for clip and soundtrack volumes.

6. Export in HD
Increase the output quality of your movie. By default, it is set to low quality. Tap the controls button to the left of the question mark. Change it to medium quality for 720p video or high quality for 1080p. You can also change the frames per second in the advanced settings. Slide it all the way to the right for 30 fps.

7. Post and share to YouTube
After saving your movie, you can upload it directly to YouTube. Use the Upload to YouTube app for Windows Phone.
Movie Creator has a lot more features like adding captions and filters, but these are the 7 tips that will help you tremendously with video editing on your device. You can watch our sample video below which was shot, edited and uploaded from the Lumia Icon. Do you shoot videos with your Windows tablet? Movie Creator is also available for Windows 8.1. Give it a try and let us know what you think!
- Download Movie Creator Beta for Microsoft Lumias (Free)
- Download Movie Creator Beta for Windows 8.1 (Free)