How to upgrade an unsupported computer to Windows 11
If you use this Microsoft workaround, you can still install Windows 11 on an unsupported computer.
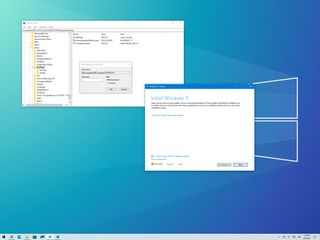
Although Windows 11 has a higher system requirement, you may still be able to perform an in-place upgrade on an unsupported computer by editing the Registry of the current setup and using the official installation media.
Microsoft does not support devices running on unsupported hardware, but it offers a Registry workaround to bypass the trusted platform module (TPM) version 2.0 and processor requirements to install Windows 11. However, using this method, the computer will still need TPM 1.2, Secure Boot, 4GB of RAM, 64GB of storage, and a processor with at least two cores to proceed with the upgrade.
The workaround is meant for organizations that need to experiment with Windows 11 and apps, but anyone can use it to upgrade an unsupported device as long as they know that system stability and compatibility won't be guaranteed.
In this Windows 11 guide, we will walk you through the steps to upgrade a device that doesn't meet the minimum system requirements.
How to upgrade unsupported device to Windows 11
Upgrading a computer that does not meet the minimum requirements to Windows 11 is a three-step process. You first need to create an installation media. Then you need to edit the Registry to apply the official workaround to bypass the official requirements of Windows 11, and finally, you need to proceed with the in-place upgrade process.
Download Windows 11 media files
To download and create a Windows 11 USB installation media, use these steps:
- Open the Microsoft download website.
- Under the "Create Windows 11 Installation Media" section, click the Download Now button to save the file to your device.
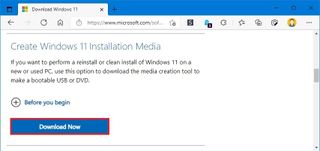
- Double-click the MediaCreationToolW11.exe file to launch the tool.
- Click the Accept button to agree to the terms.
- Click the Next button.
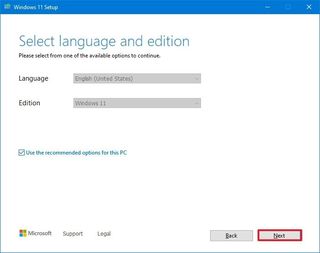
- Select the USB flash drive option.
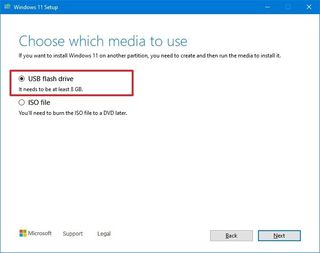
- Click the Next button.
- Select the USB flash drive to create the installation media.
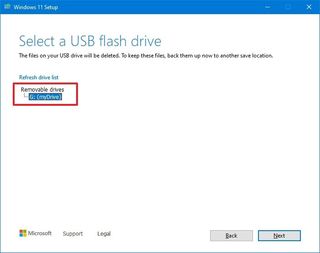
- Click the Next button.
- Click the Finish button.
Once you complete the steps, continue with the instructions below to edit the Registry to bypass the Windows 11 system requirements.
Get the Windows Central Newsletter
All the latest news, reviews, and guides for Windows and Xbox diehards.
Unsupported Registry workaround
To apply the Microsoft workaround to install Windows 11 on a computer that doesn't meet the requirements, use these steps:
- Open Start.
- Search for regedit and click the top result to open the Registry Editor.
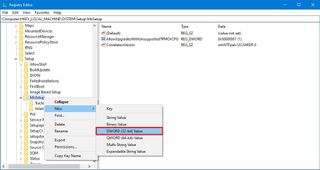
- Navigate to the following path:
HKEY_LOCAL_MACHINE\SYSTEM\Setup\MoSetup - Right-click the MoSetup (folder) key, select the New submenu and choose the DWORD (32-bit) Value option.
- Name the key AllowUpgradesWithUnsupportedTPMOrCPU and press Enter.
- Double-click the newly created key and set its value from 0 to 1.
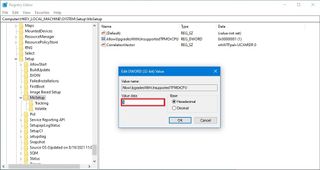
- Click the OK button.
After you complete the steps, you will be able to install Windows 11 on a device that does not have a supported processor or TPM 2.0 (TPM 1.2 will still be required).
Windows 11 in-place upgrade
To upgrade an unsupported Windows 10 device to Windows 11, use these steps:
- Open File Explorer.
- Click on This PC from the left pane.
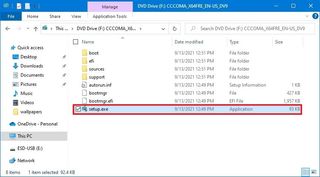
- Under the "Devices and drives" section, open the USB installation media.
- Double-click the setup.exe file to begin the upgrade process.
- Click the Next button.
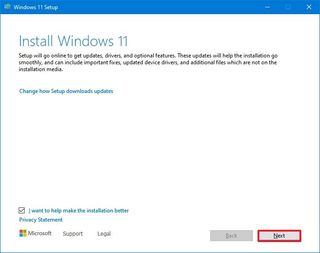
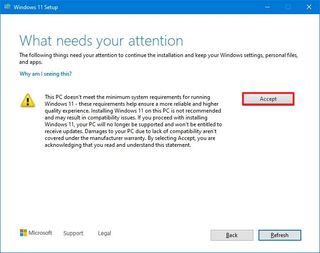
- Click the Accept button to confirm that this Windows 11 installation is not supported.
- Click the Install button.
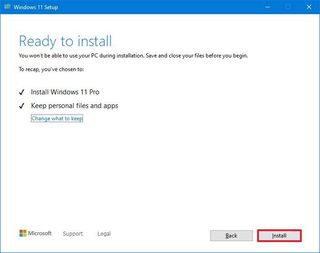
Once you complete the steps, the computer should upgrade to Windows 11, bypassing the TPM 2.0 and processor requirements. Since this is an in-place upgrade, the settings, apps, and files will be transferred to the new setup automatically.
More Windows resources
For more helpful articles, coverage, and answers to common questions about Windows 10 and Windows 11, visit the following resources:
- Windows 11 on Windows Central — All you need to know
- Windows 11 help, tips, and tricks
- Windows 10 on Windows Central — All you need to know
Mauro Huculak is technical writer for WindowsCentral.com. His primary focus is to write comprehensive how-tos to help users get the most out of Windows 10 and its many related technologies. He has an IT background with professional certifications from Microsoft, Cisco, and CompTIA, and he's a recognized member of the Microsoft MVP community.

