How to use a Wi-Fi dongle to connect Synology DS119j NAS wirelessly

All the latest news, reviews, and guides for Windows and Xbox diehards.
You are now subscribed
Your newsletter sign-up was successful
Using LAN cabling is the ideal solution for hooking up devices to your routers and access points. When this simply isn't possible, Synology makes it so you can use a Wi-Fi dongle with the DS119j NAS. I'm going to show you how to achieve this with but a few steps to follow.
Important: Synology has since removed the option for Wi-Fi networking in DSM. We're looking into this, but for now you may want to pass on picking up an adapter until we're able to get them working once again with the NAS.
Products Used In This Guide
- Amazon: Synology DS119 ($100)
- Amazon: TP-Link TL-WN722N ($15)
How to connect your NAS to Wi-Fi
- Firstly, check your dongle is supported.
- Plug your Wi-Fi dongle into an available USB port.
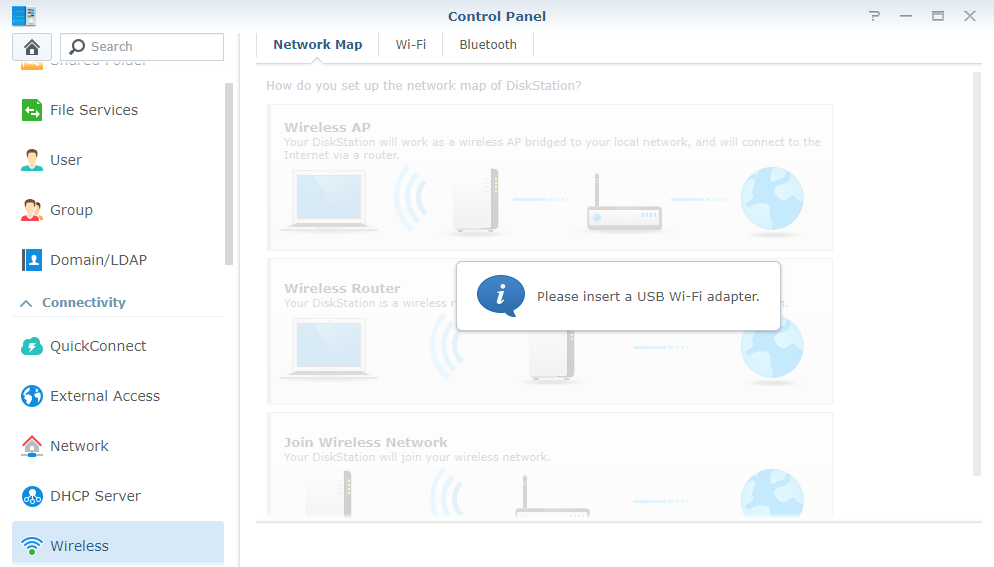
- If using a supported dongle, head to Control Panel > Wireless > Network Map Configuration.
- Choose Join Wireless Network.
- Follow the on-screen wizard, filling in your LAN password.
Your NAS should now be connected to the wireless network. Interestingly, if you want to be a little more advanced, the Synology DS119j can even act as an access point for devices to connect to it directly with specific and supported Wi-Fi dongles.
Our top equipment picks
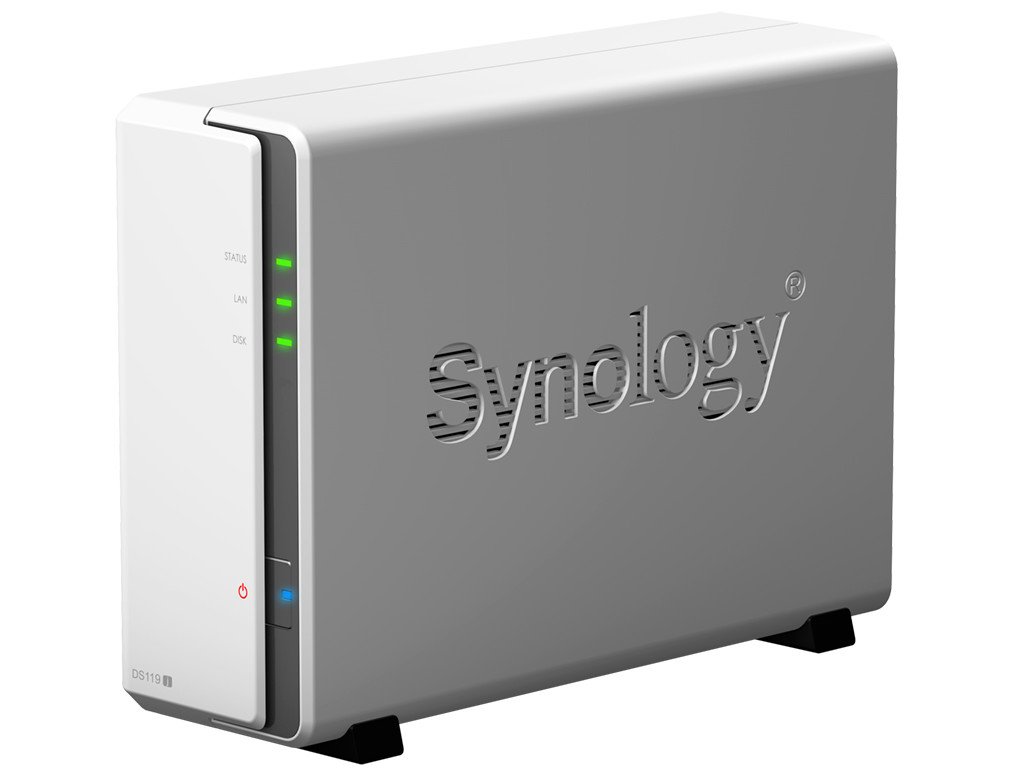
Synology's latest affordable NAS is the DS119j, sporting just a single drive bay. While I'd usually recommend a two-bay NAS at the very least for RAID configurations and data redundancy, if you're only using the NAS as an additional backup location, the DS119j is ideal.
All the latest news, reviews, and guides for Windows and Xbox diehards.

Rich Edmonds was formerly a Senior Editor of PC hardware at Windows Central, covering everything related to PC components and NAS. He's been involved in technology for more than a decade and knows a thing or two about the magic inside a PC chassis. You can follow him on Twitter at @RichEdmonds.


