Battlefield games are interesting animals. This isn't a run-and-gun situation, nor is as simple as it seems at first glance. Winning requires you use your smarts to outwit the enemy rather than just having a faster reaction speed. Here are some tips we felt you should know before jumping into Battlefield 1's multiplayer.
- Some melee weapons can cut wire
- Have patience
- Utilize the squad mechanic
- Single-shot rifles do the most damage at a certain range
- Heavy machine guns should be sprayed
- Spot enemies
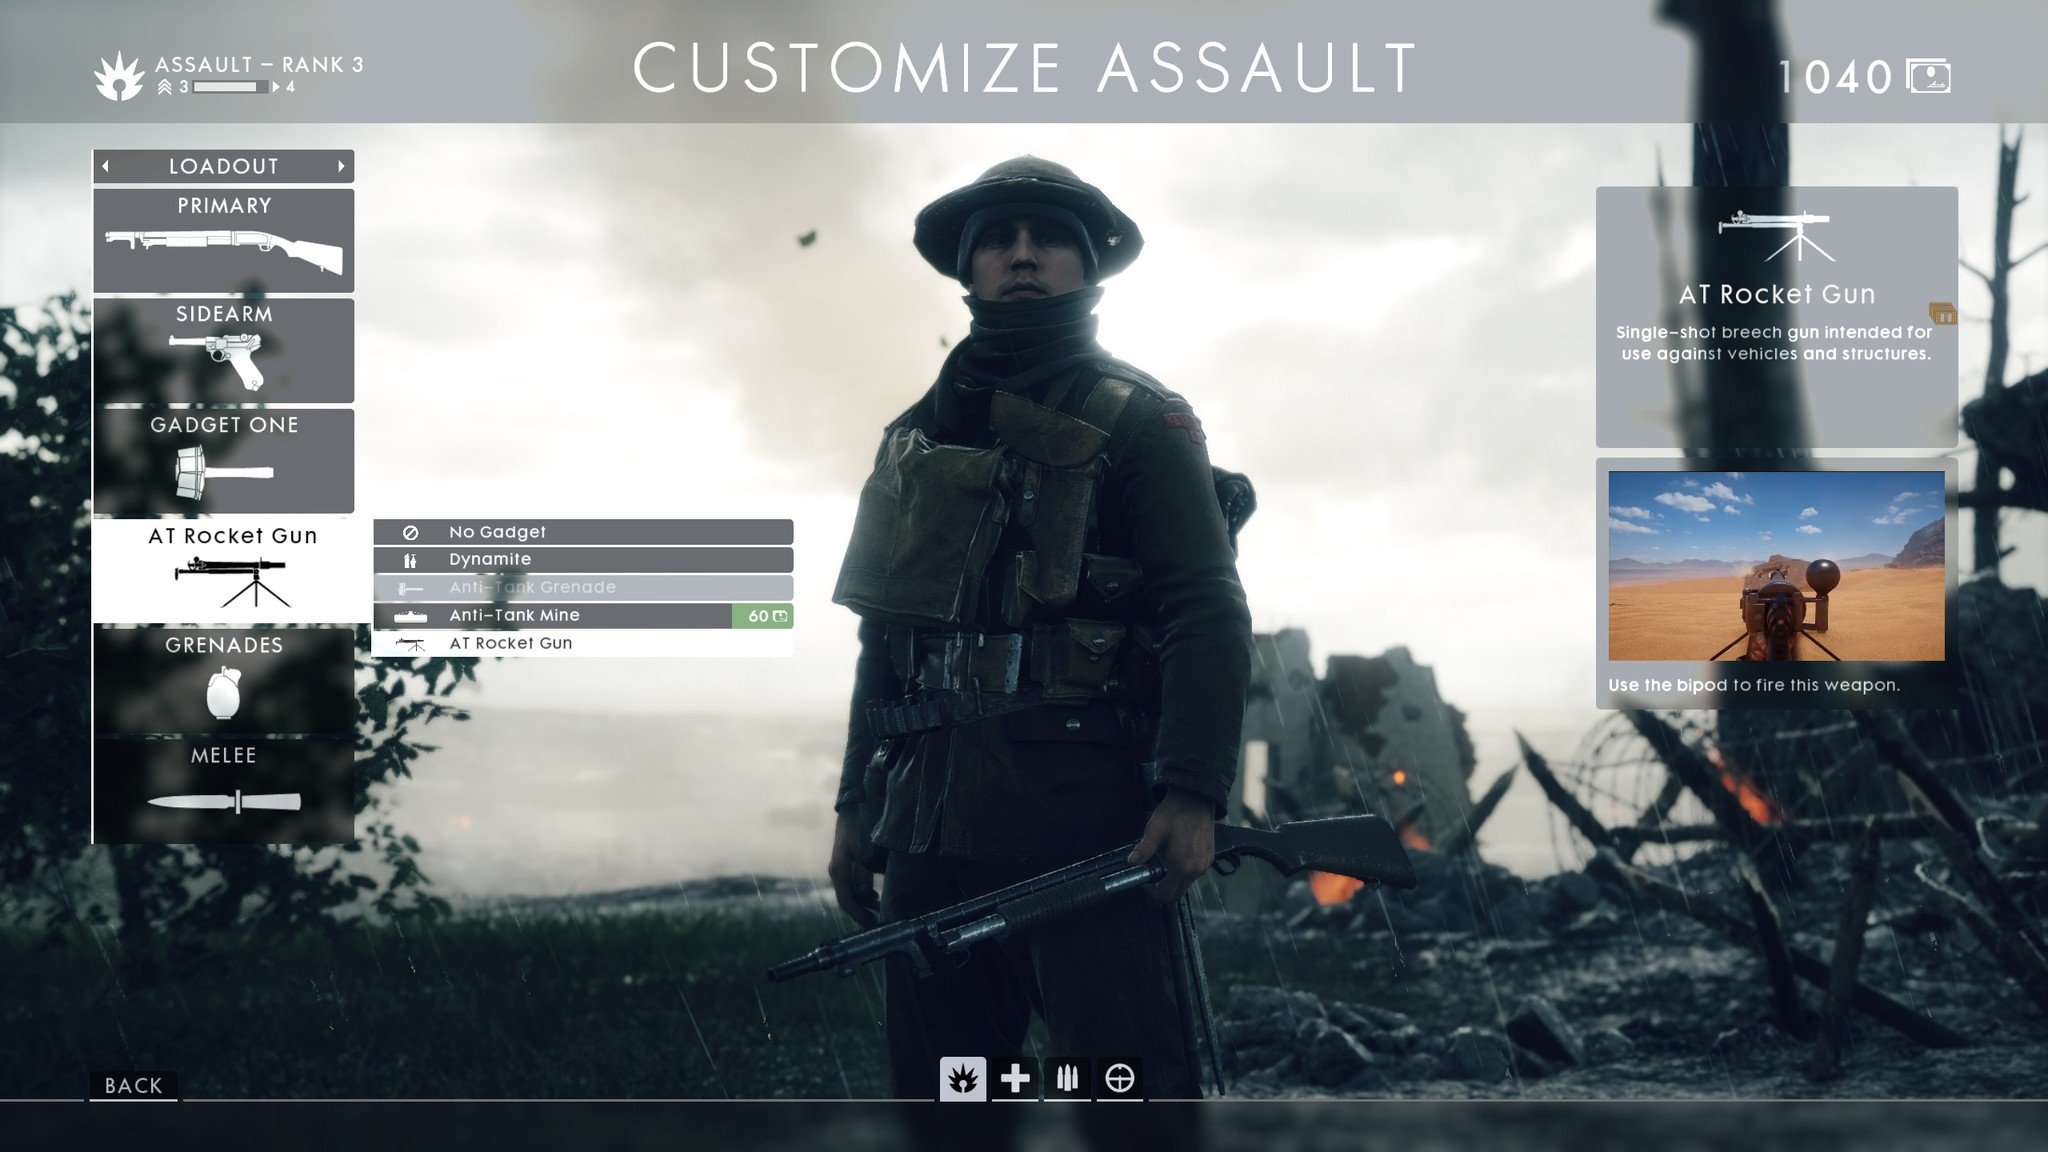
- Assault class starts out with the AT rocket gun
- Protect sentry units
- Operations mode is new and amazing
- Retreat promptly after losing a sector
- Use voice commands
- Don't skip revives
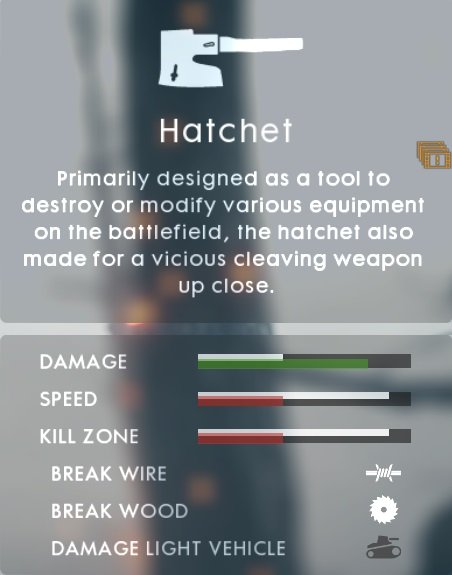
Some melee weapons can cut through wire
The battlefields you'll encounter are littered with barbed wire. Walking through or jumping over lines will harm you, but sometimes the best route is right through this wire.
In these cases, pull out a melee weapon capable of cutting through wire and attack. How to tell if the weapon can cut through wire? In the customization menu, highlight a melee weapon with your cursor. This will bring up a small sub-menu that displays the weapon's alternative uses.


Note that you can also damage light armor with some weapons, but don't expect any heroic moments involving you blowing up a tank with a hatchet.
Have patience
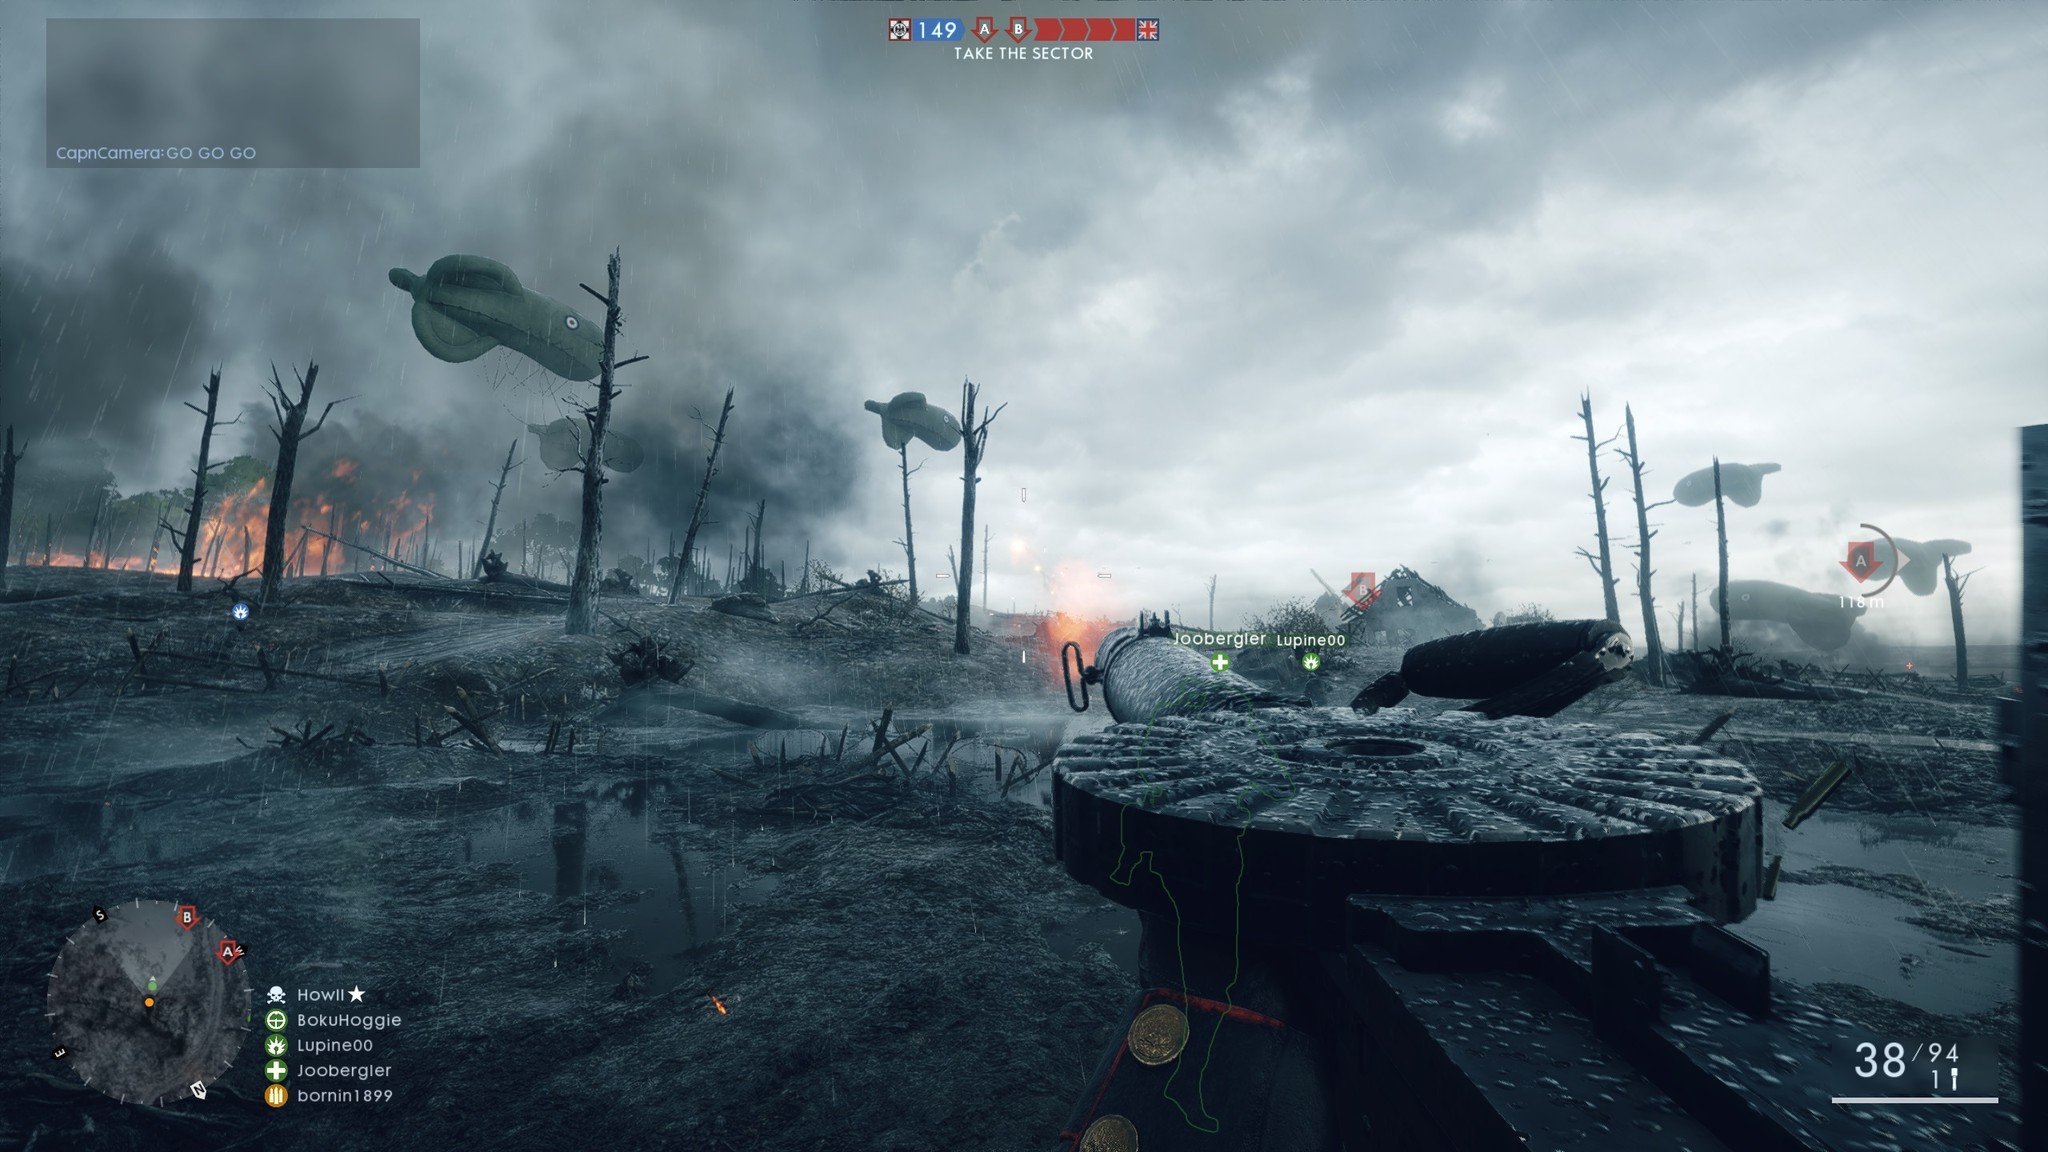
If you're coming in from the cold of other, more frantic first-person shooters, your first lesson is one of patience. Running around with guns blazing is fun at first, but you'll soon become frustrated.
In Battlefield, you want to move slowly, checking corners, alleys, and windows as you go. The last thing you want to be is this team right here:
Utilize the squad mechanic
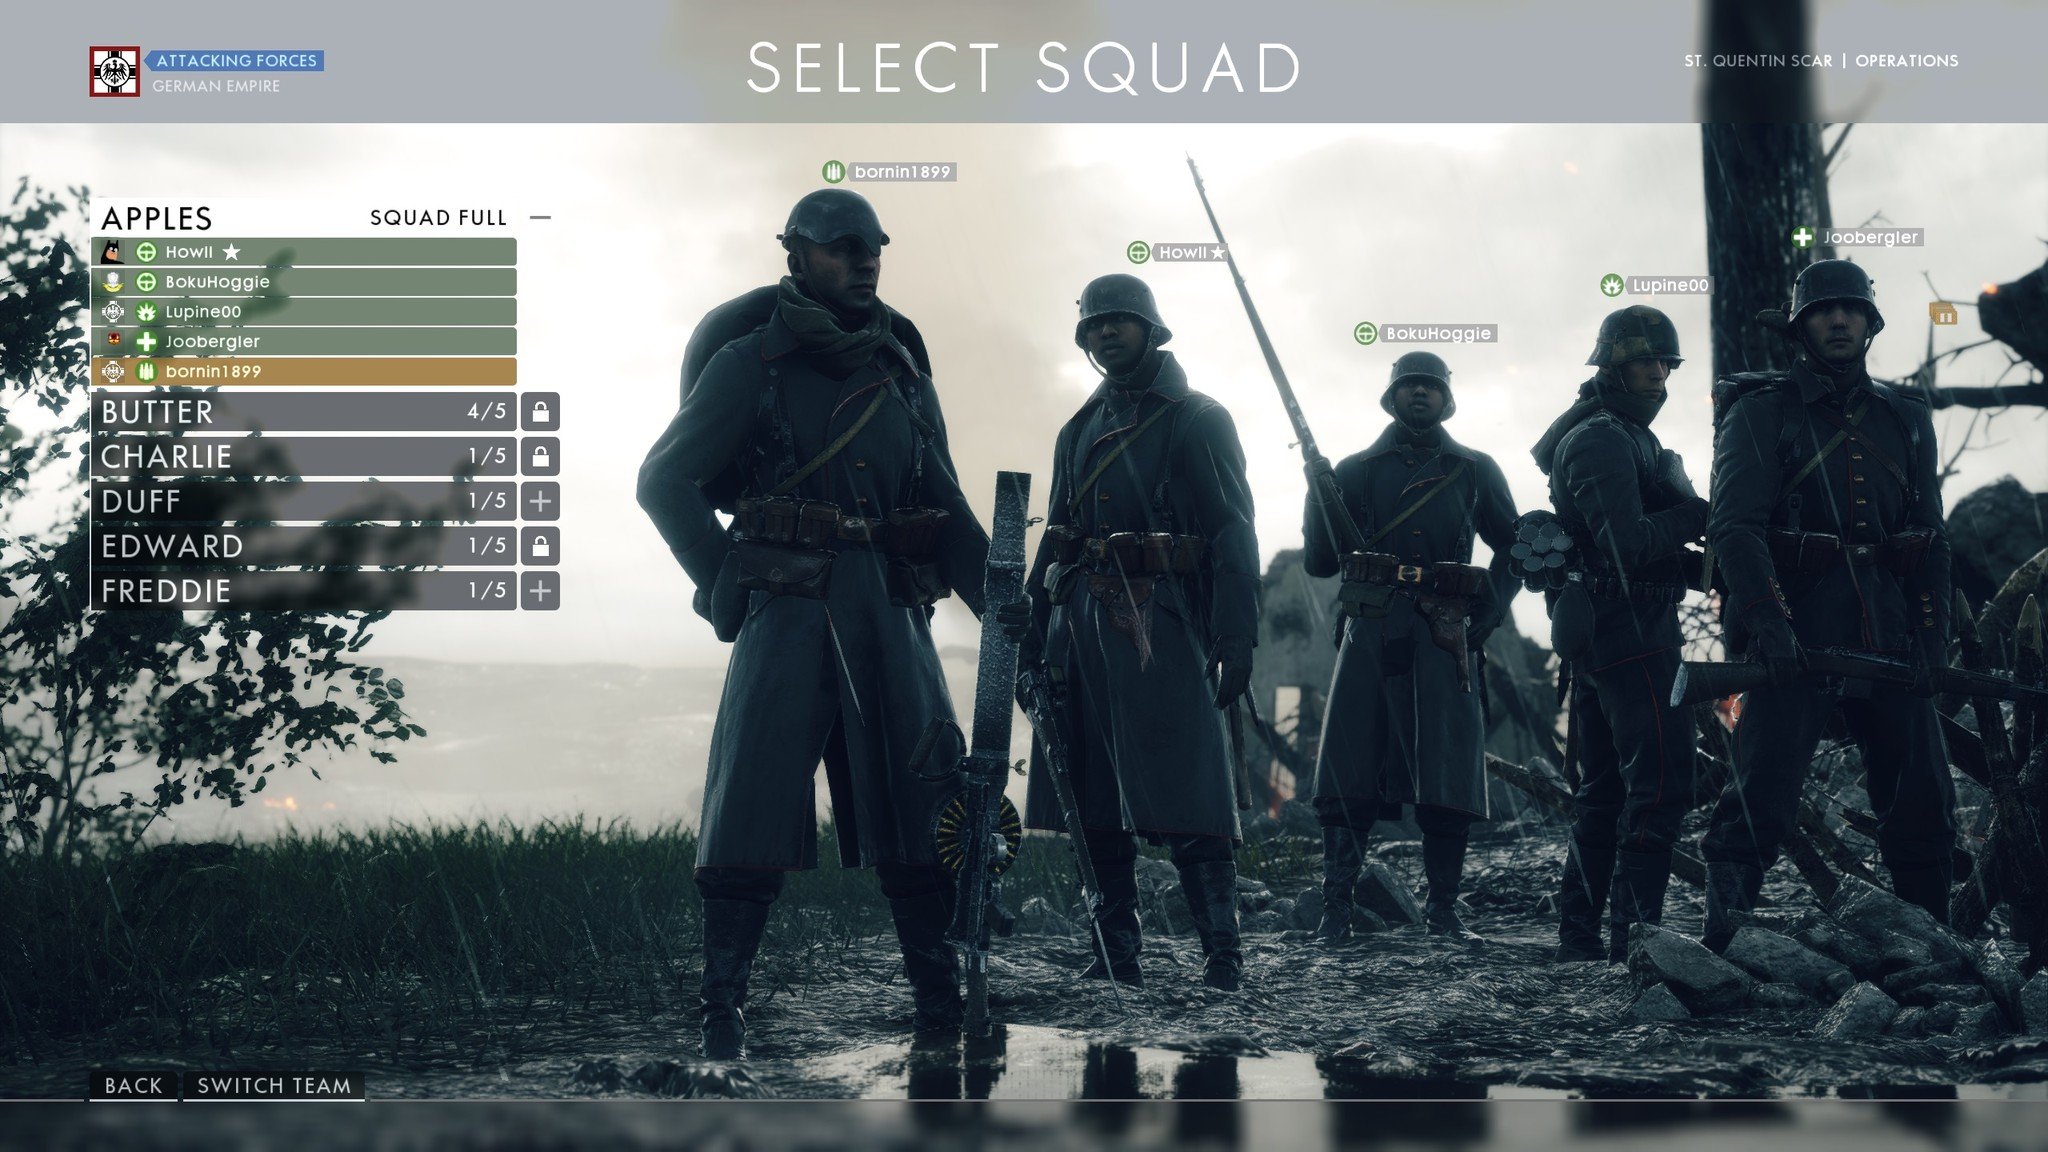
One thing that sets Battlefield 1 apart from other first-person shooters is the squad mechanic. You team up with four other players, with one of you appointed squad leader. The squad leader is tasked with marking objectives — successfully securing or defending a marked objective gains you and your squad extra XP.
All the latest news, reviews, and guides for Windows and Xbox diehards.
Squad members can spawn on each other as long as they're not currently taking fire. Use this to stay together and work as a team. Having multiples classes within your squad is a great idea; someone hands out ammo, someone revives and heals, someone scouts ahead with a scope, and someone has the hardware necessary to deal with armor.
A single squad working well together can change the tide of an entire battle, and will almost always find themselves at the top of the scoreboard when the round is over. Don't forget to use your voice chat for easy communication!
Single-shot rifles do the most damage at a certain range
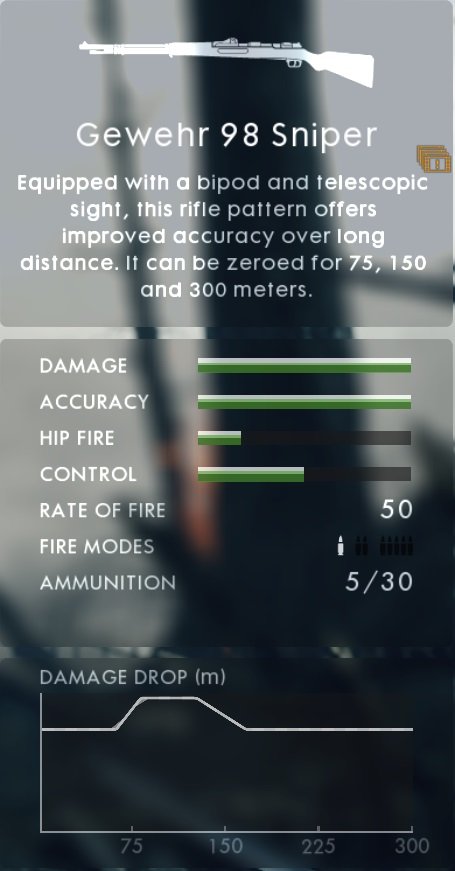
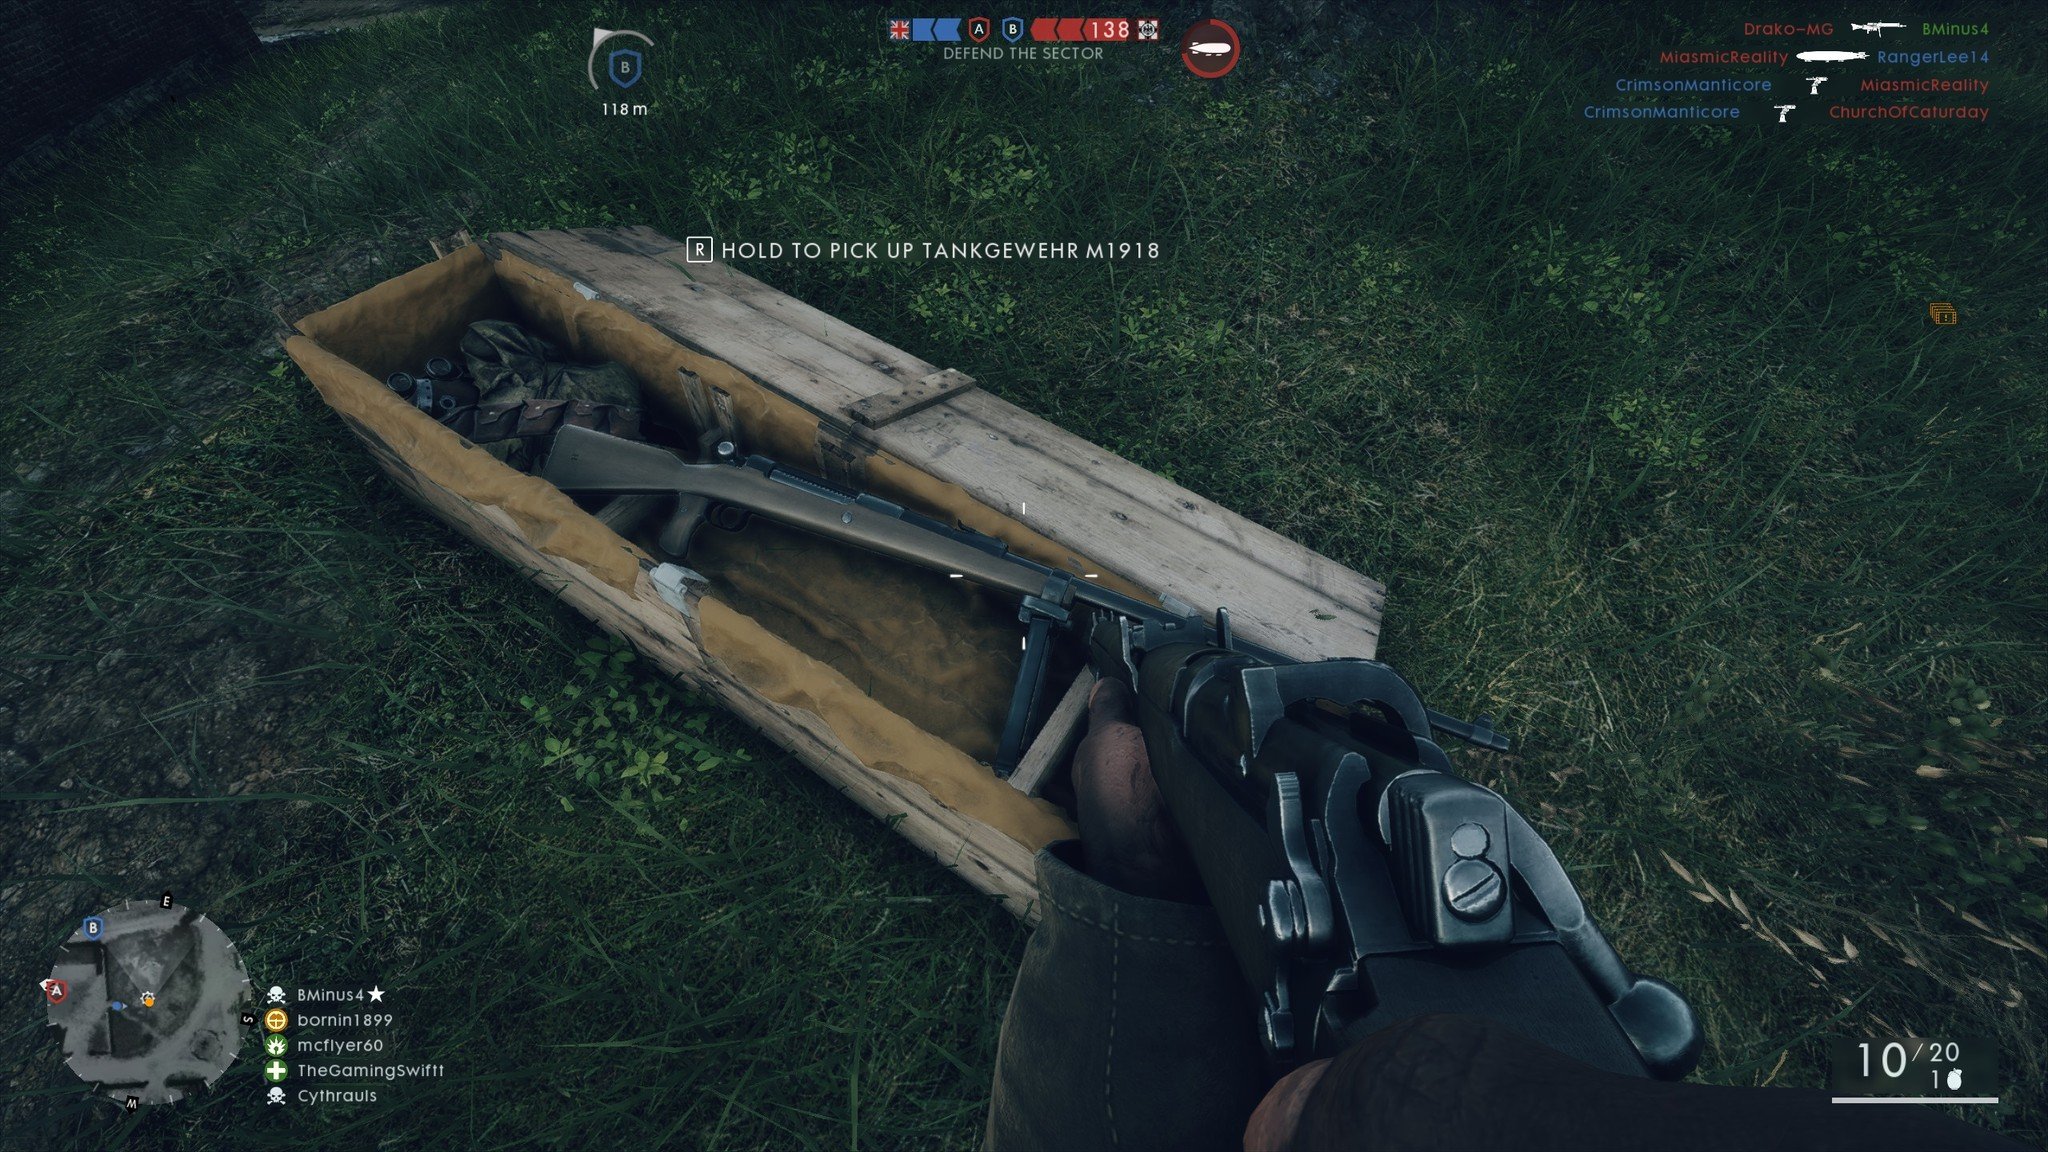
While many of us patiently wait for Hardcore mode and with it a sniper's dream arena, you can take advantage of the sweet spot many sniper rifles have. Yes, you can still kill with one shot to the upper torso.
Each sniper rifle's maximum damage is shown on a range chart within the customization menu. All you have to do is hover your cursor over the rifle, and the chart will be shown. Where the line reaches the top is the range you're guaranteed to do 100 damage when hitting the enemy above the waist.
Use these charts to your advantage by selecting a rifle that suits your playstyle. Like to be an aggressive scout? Choose a rifle with a short range like the SMLE MKIII. Like to hide and methodically pick off enemies from afar? Choose a rifle with a long range like the Gewehr 98.
Heavy machine guns should be sprayed
Guns available to the support class are heavy and hold a lot of ammo, but for good reason. The first few shots out of the barrel are always very inaccurate — the longer you hold down the trigger, the more accurate the gun shoots.
While many guns in this game are meant to be aimed carefully before shooting, your best bet here is to spray and pray. Alright, you can aim down the sights, but keep firing until you run out of bullets or all enemies have fallen.
Spot enemies
Battlefield 1 has made it more difficult to spot enemies. You can no longer spam the spot button and expect to see a several red icons show up. Focusing on the enemy player with your crosshair near or on them is pretty much necessary for a spot.
Take your time, ensure the enemy is highlighted, and hit the Q button or right bumper — your team will love you. Spotting ensures no one flanks your friends, and is a great way to gain yourself more XP.
If you're playing as the scout class, your "spot" flare gun, when shot into the air, will spot nearby enemies for you and your team.
Assault class starts out with the AT rocket gun
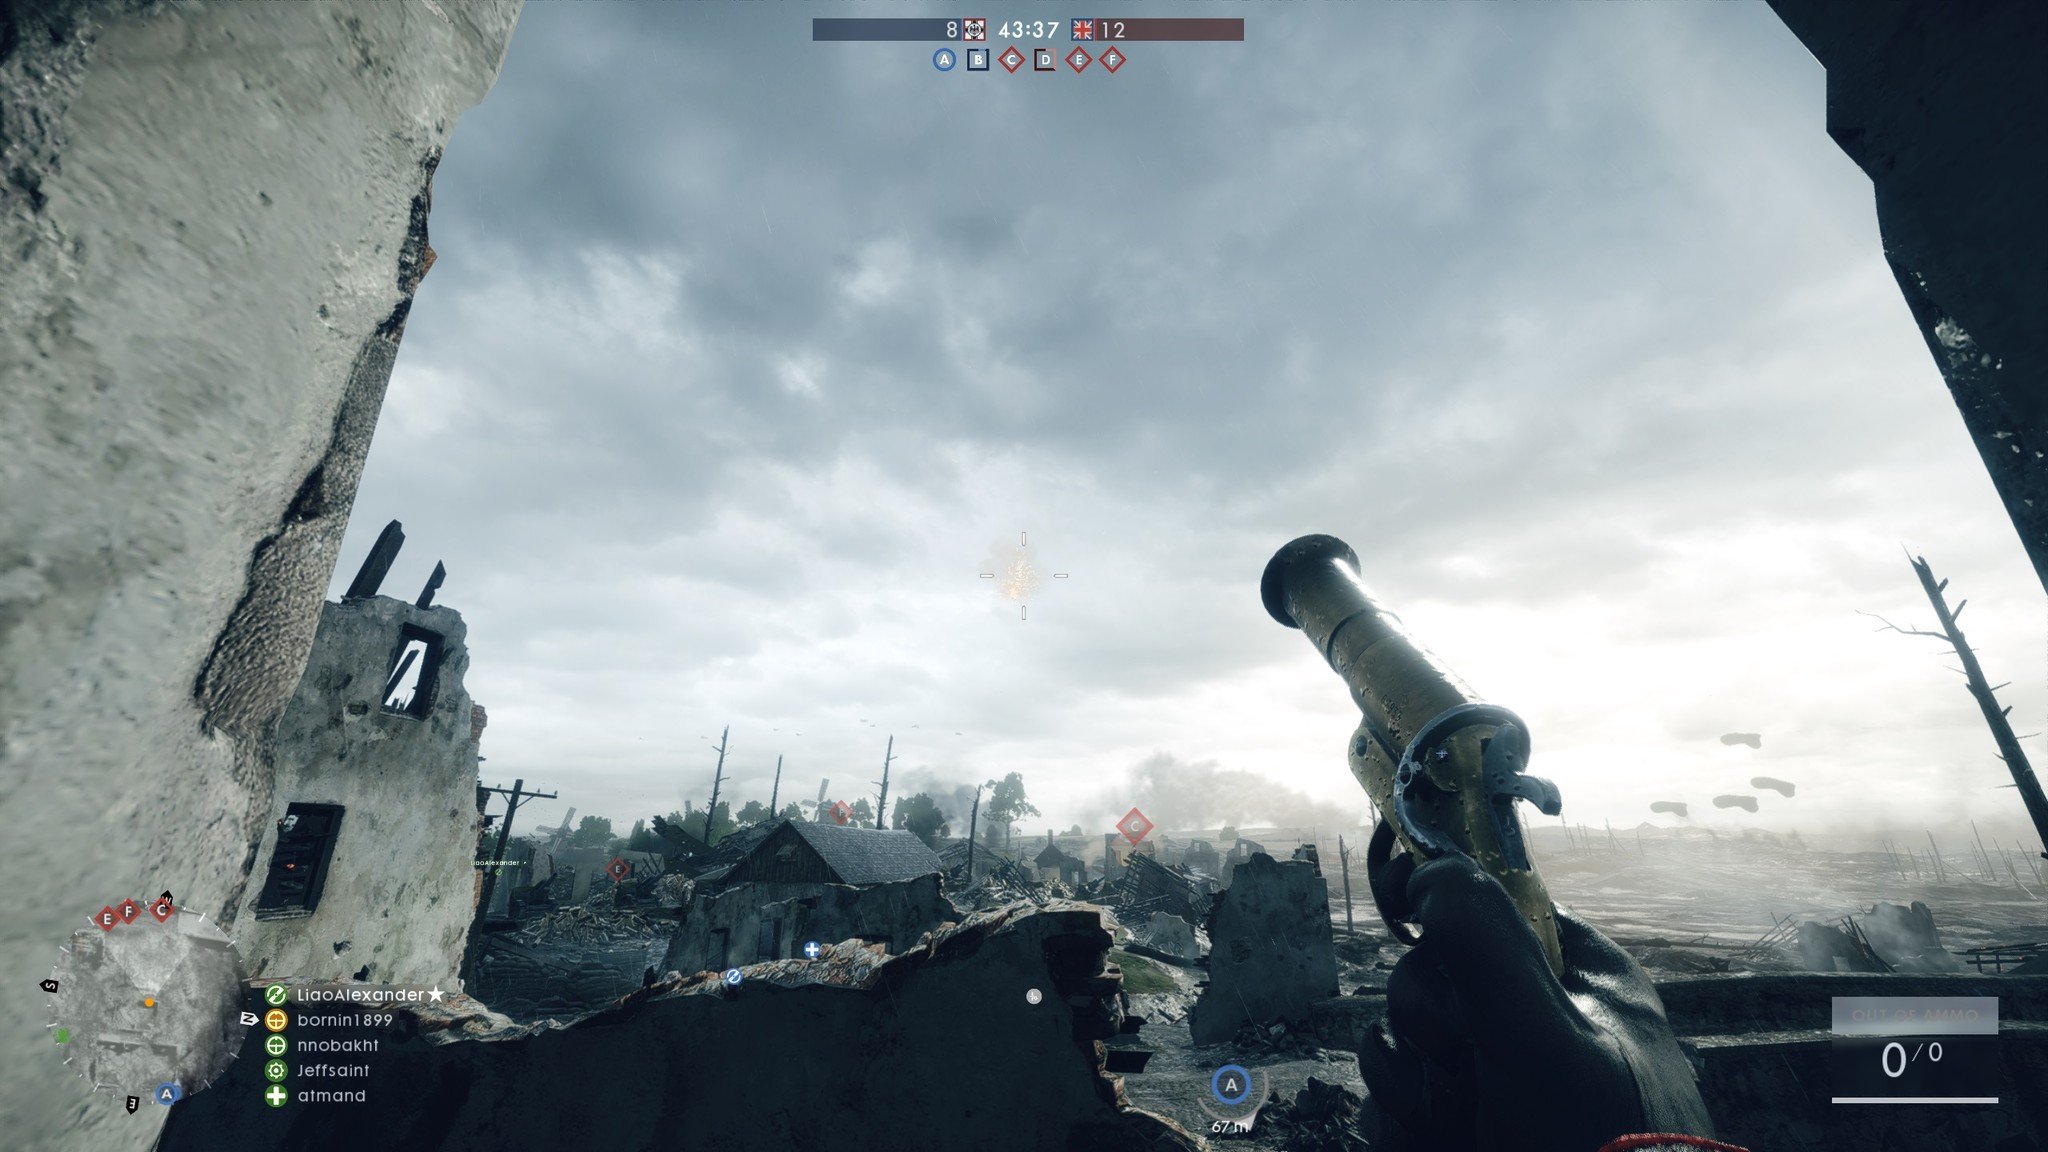
It's surprising to see how many players don't realize the assault class starts out with the powerful AT rocket gun as a gadget choice. Yes, the heavy grenades do a lot of damage to armored vehicles (and infantry), but the rocket gun can be used at a great distance and delivers substantial damage.
If you're focusing on anti-armor gameplay, the AT rocket gun should be your first choice for a gadget. Aim when you can for the tracks of a tank — disabling its movement often causes the crew to bail. Don't forget, the AT rocket gun will do a lot of damage to infantry when aimed with precision.
Protect sentry units
Every once in awhile, a voice will let you know that a sentry unit is available near you. These units include a flame trooper, an anti-armor trooper, or a heavy assault trooper. Donning this gear gives the player more health and armor, but they must still be protected. Proper use of a sentry unit can turn a battle around in a serious way.
Medics should toss health whenever possible, and everyone else should ensure there are no flanking attacks — sentry units are vulnerable to melee kills. Also keep in mind that heavy troopers can't put a gas mask on, so teammates should avoid tossing out any mustard gas.
Operations mode is new and amazing
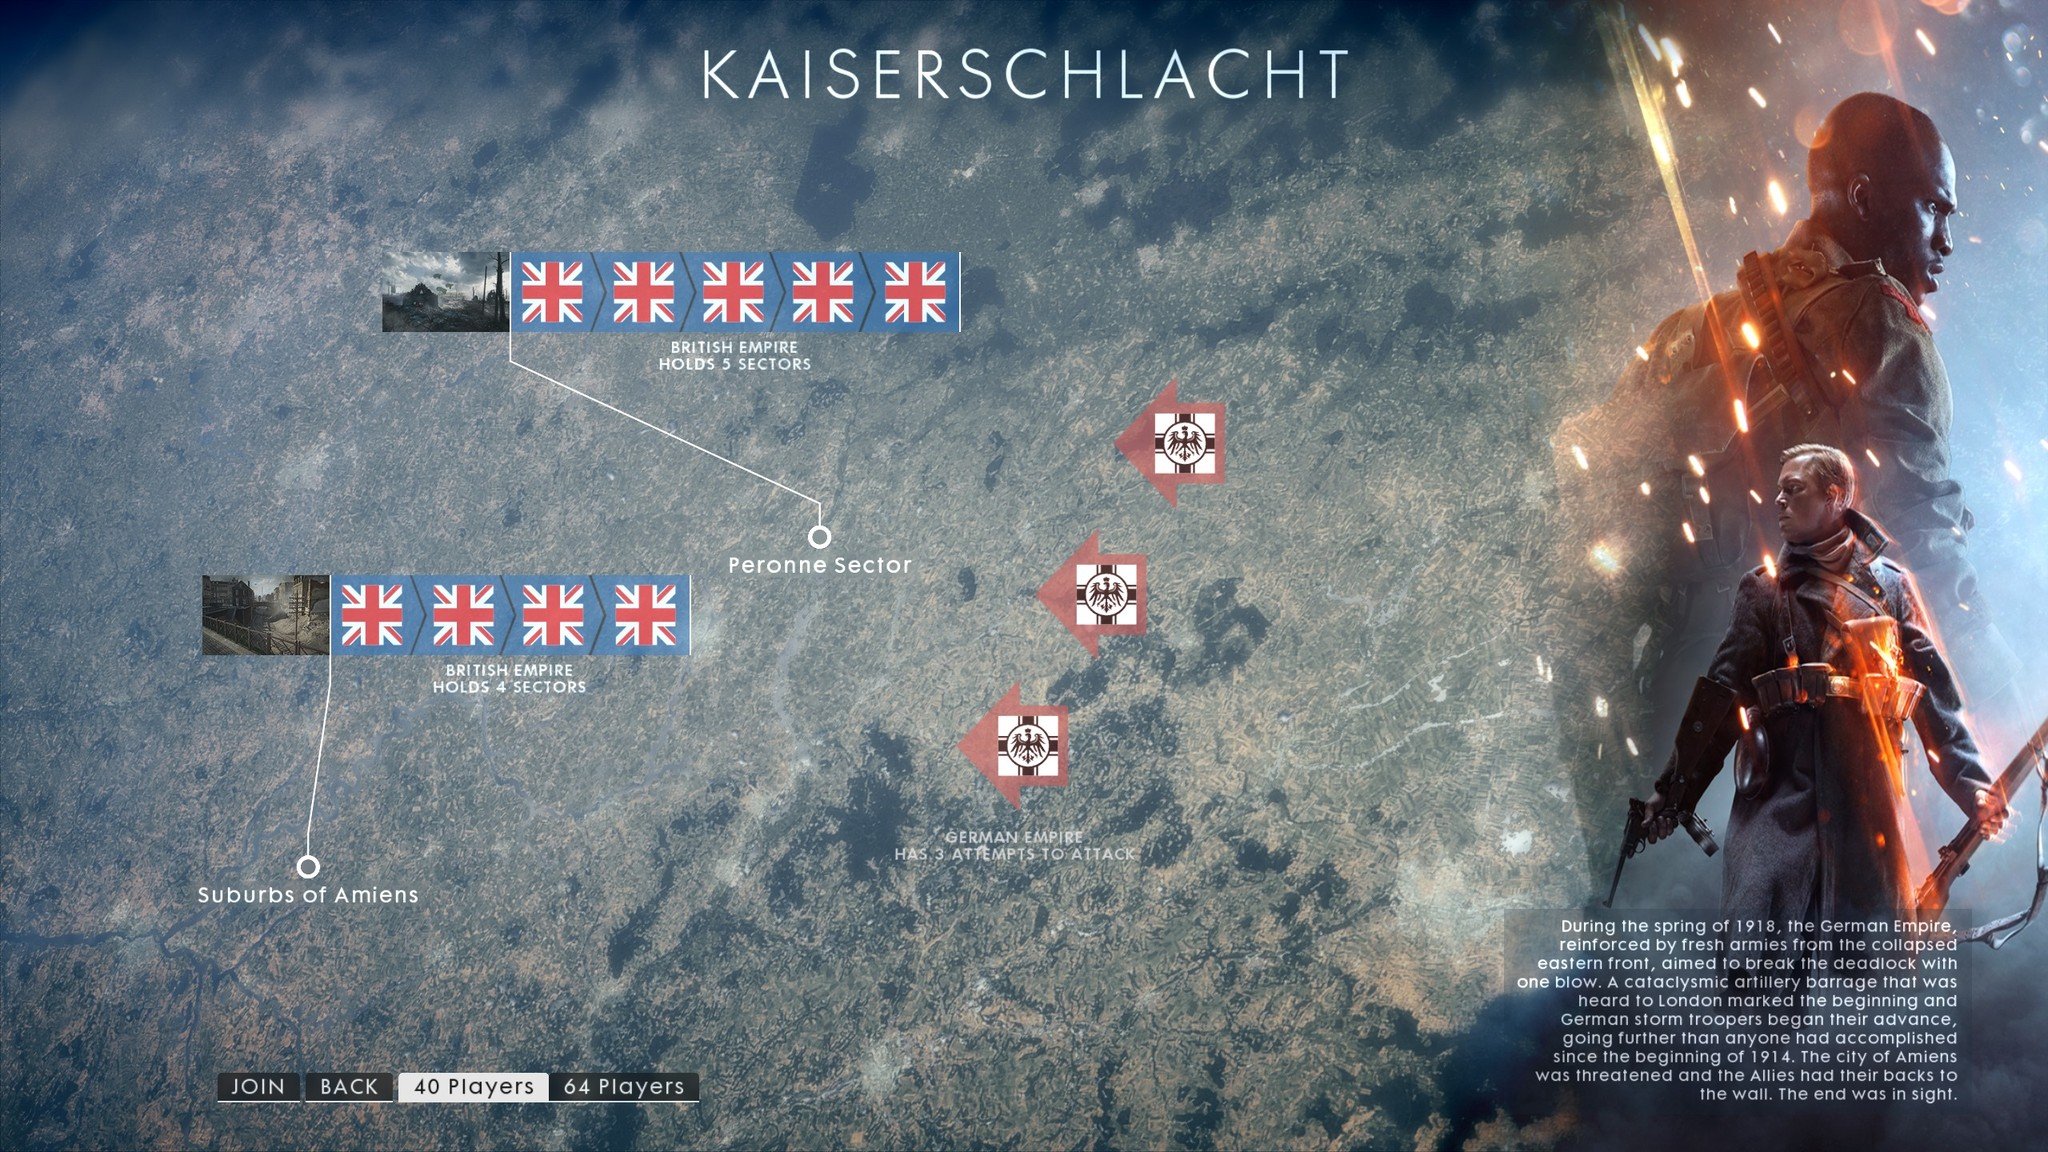
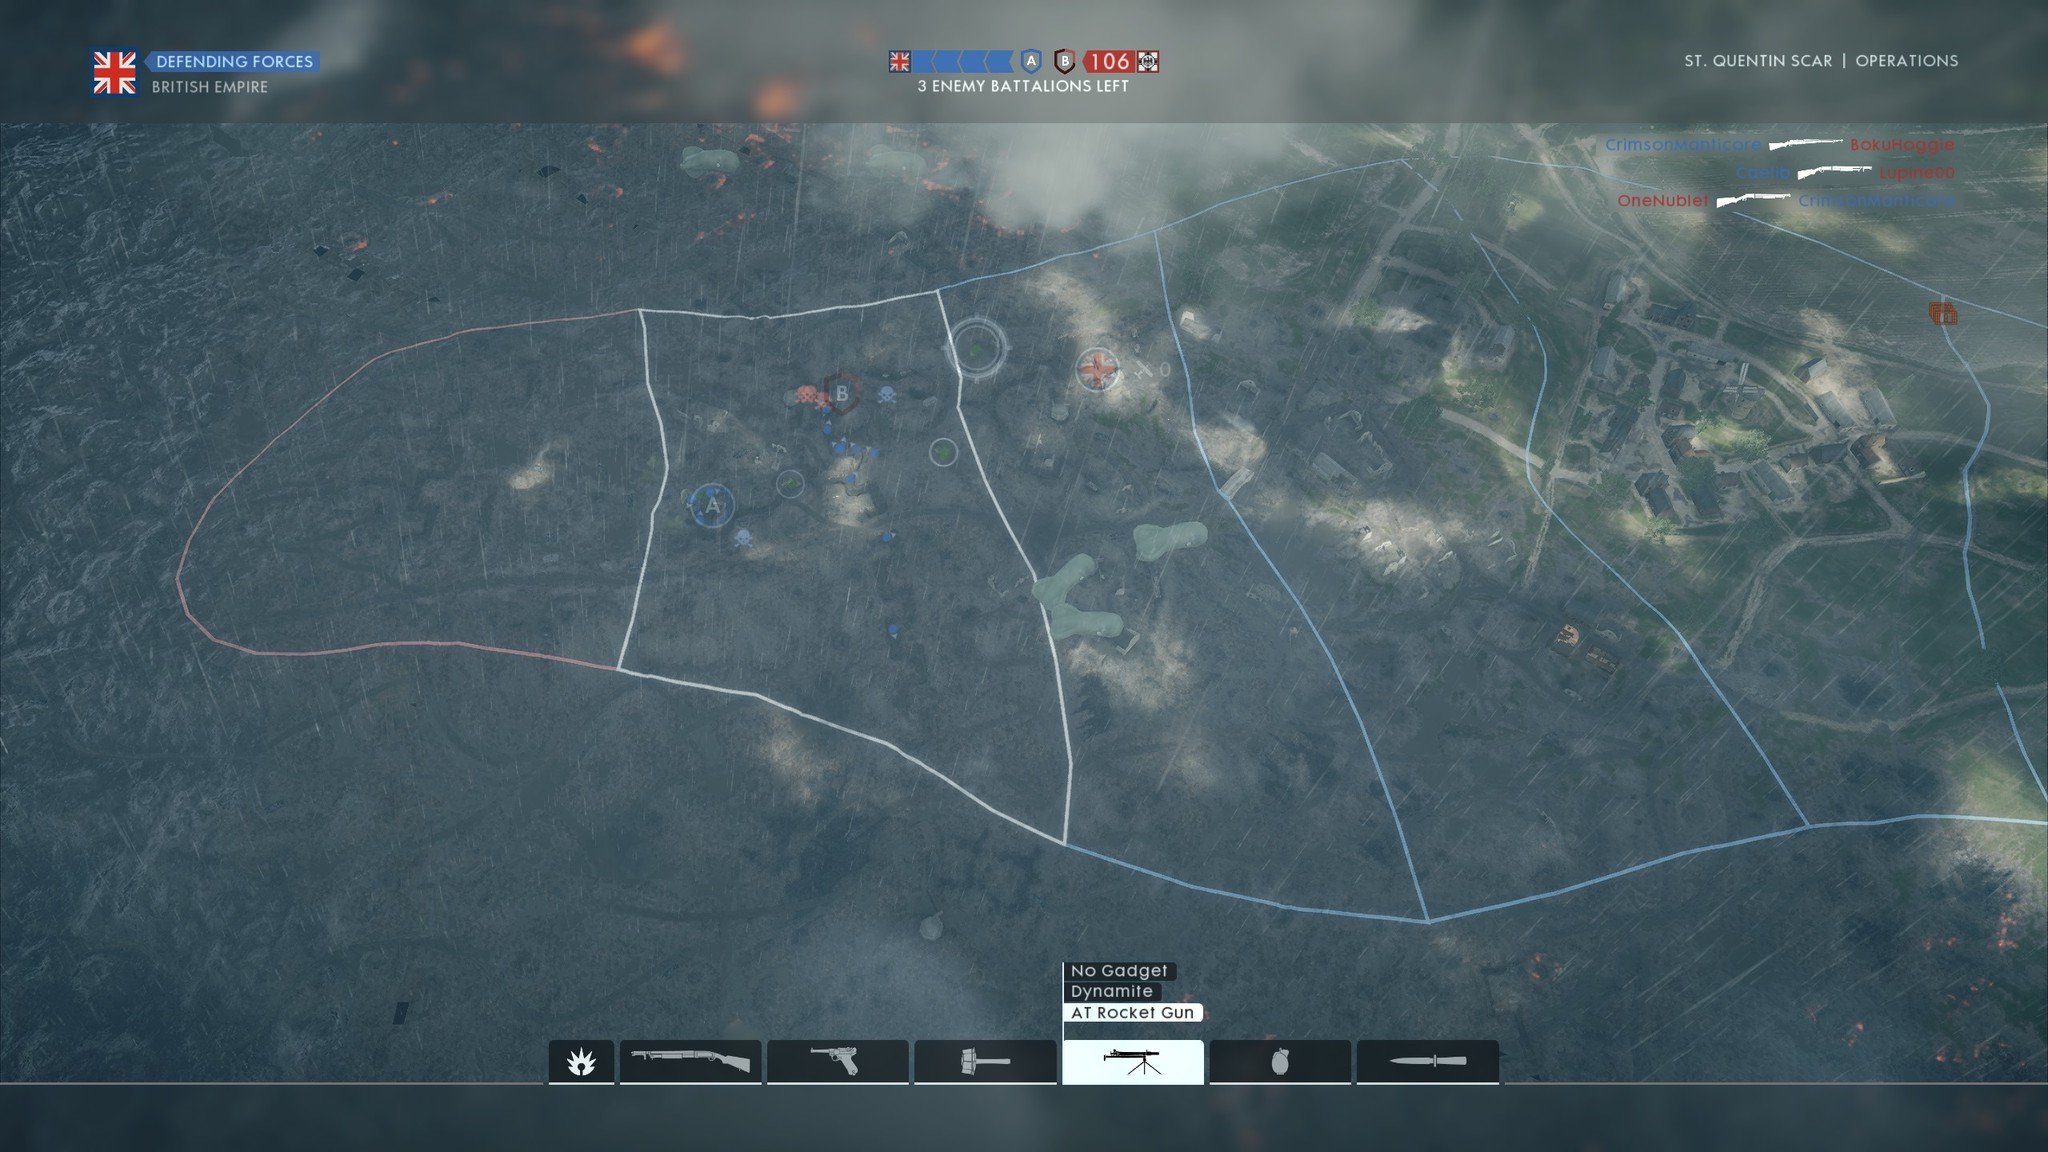
DICE added a new game mode this time around, and it's our favorite way to play online. Operations lets you choose from 40- and 64-player matches where you have multiple sectors spanning multiple maps to capture or defend.
Unlike Rush mode, where one player can arm and defuse the objectives, Operations requires serious teamwork. Instead of bombs to be armed, there are flags — ala Conquest — that attackers must capture and hold at the same time in order to take the sector. Attackers have three attempts to make it through the gauntlet, and will sometimes be backed up by a behemoth.
Defenders have some heavily fortified positions to work with, but still have to rely on each other to make it through. The culmination of armor rolling onto the flags, endless artillery and mortars going off around you, and mustard gas spraying everywhere leads to arguably the most intense moments the Battlefield series has seen. If you haven't already, give Operations mode a try — you won't regret it.
Retreat promptly after losing a sector
When playing an operation on the defending side, you'll no doubt lose a sector or two on your way to victory. Immediately after losing all flags, beat a hasty retreat to the next sector. Why? Any deaths within the lost sector result in the attackers gaining reinforcement units.
While this doesn't seem like a huge deal, we've seen some operations come down to a single attacker ticket making the difference as a round ends. Look for small advantages everywhere you can — they add up.
Use voice commands
On PC, hold down the Q key until a radial menu pops up, then hover your mouse over a selection and click. This will give a command or request to your entire team, rather than just your squad.
On Xbox One, hold down the right bumper until a radial menu pops up, then use your joystick to select an option.
Asking for ammo or health will probably be used most, but giving your team a boost by blowing your whistle — Go, Go, Go! — is definitely a unique part of Battlefield 1.
Don't skip revives
One of the most annoying things for a medic is rushing out to save a friend and having them skip the revive just before the needle goes in. Unless you want to change classes or modify your loadout, there's really no reason to skip the revive time before you can deploy again.
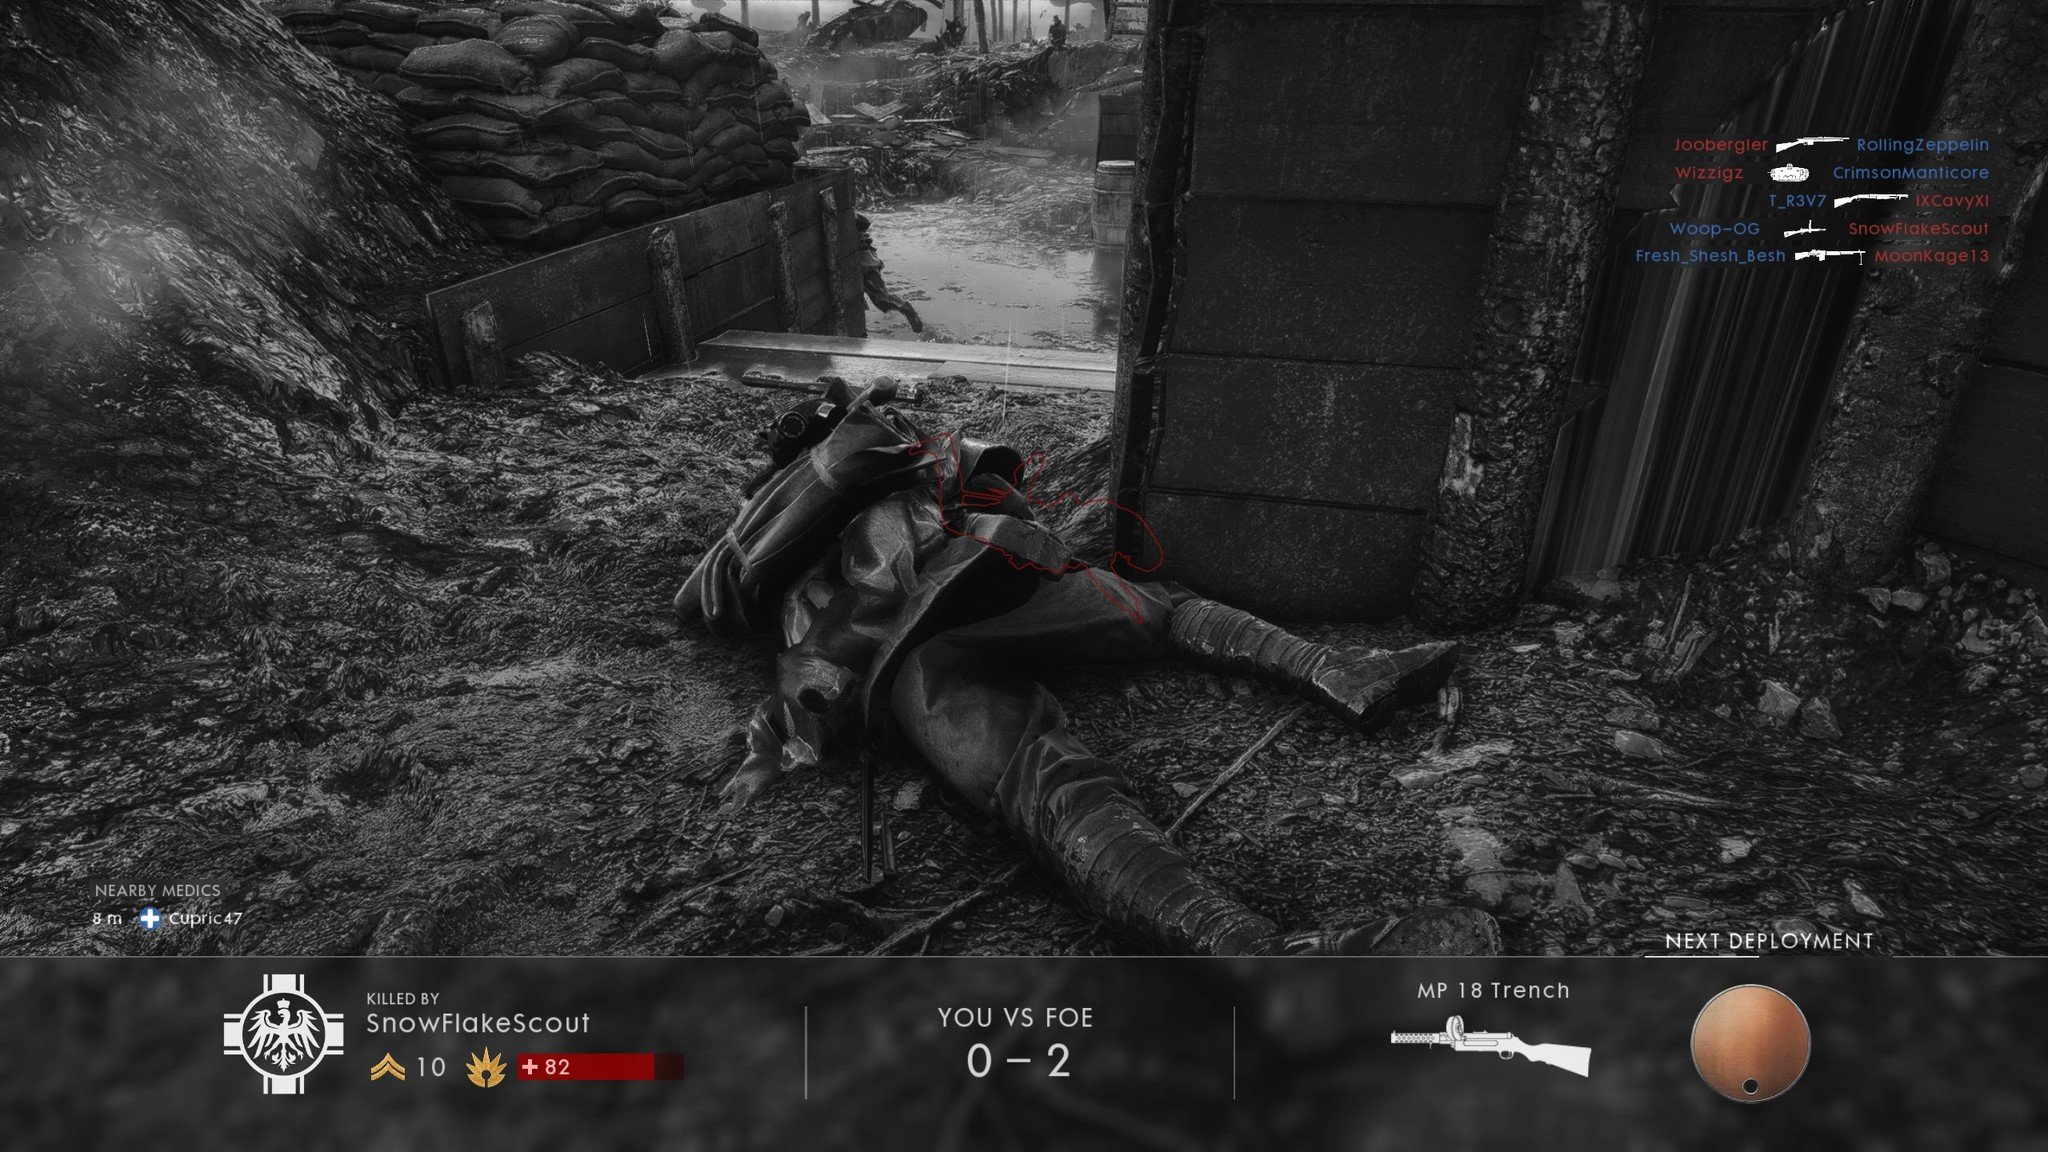
When you go down, you'll see a bar begin to fill in the Next Deployment field. Many impatient players immediately hold down the spacebar and skip back to the customization menu, effectively canceling any chance of revival. This costs your team a ticket and frustrates your friendly medics.
Holding back the urge to skip the revive time can be weird — you want to get back out there as soon as possible — but trust us on this one. After about the tenth time a medic shows up to revive you when you'd already be back at the menu is a great feeling.
Do you have any tips?
Have you discovered something about Battlefield 1 you think the rest of us should know? Tell us in the comments section below!

Cale Hunt brings to Windows Central more than nine years of experience writing about PC gaming, Windows laptops, accessories, and beyond. If it runs Windows or in some way complements the hardware, there’s a good chance he knows about it, has written about it, or is already busy testing it.

 Windows Central Insider


