
The Windows 10 release is fast approaching, and it's time to start thinking about the upgrade. Have a Windows 7 machine and thinking about upgrading to Windows 10? Even though this could be a relatively easy task for many users, it may not be as easy for everyone else. There are few things you want to keep in mind. As such today, we're going to go through the basics to try to minimize any friction that may appear upgrading to Windows 10 from Windows 7.
Now that Microsoft has ended the support for Windows XP, Windows 7 has jumped in the list as the most popular operating system in use today. However, the software maker hopes that Windows 10 will make a huge difference, not only because the next version packs a bunch of new features, such as a new Start menu, Cortana, universal apps, the new Microsoft Edge web browser, and much more, but because it'll be a free upgrade. The company is expecting a faster adoption of Windows 10.
For example, you'll be getting the operating system free of charge, but only if you're running Windows 7 with Service Pack 1.
You can check if you have Service Pack 1 by opening the Run command with the Windows + R keyboard shortcut, typing winver, and below the operating system name, it should read "Version 6.1 (Build 7601: Service Pack 1)".

If you don't have it, you will have to install the update via Windows Update, or by visiting this Microsoft support page. You can manually download the update. Make sure to download "windows6.1-KB976932-X64.exe" if you're running a 64-bit version or "windows6.1-KB976932-X86.exe" if you're running a 32-bit version of Windows 7.
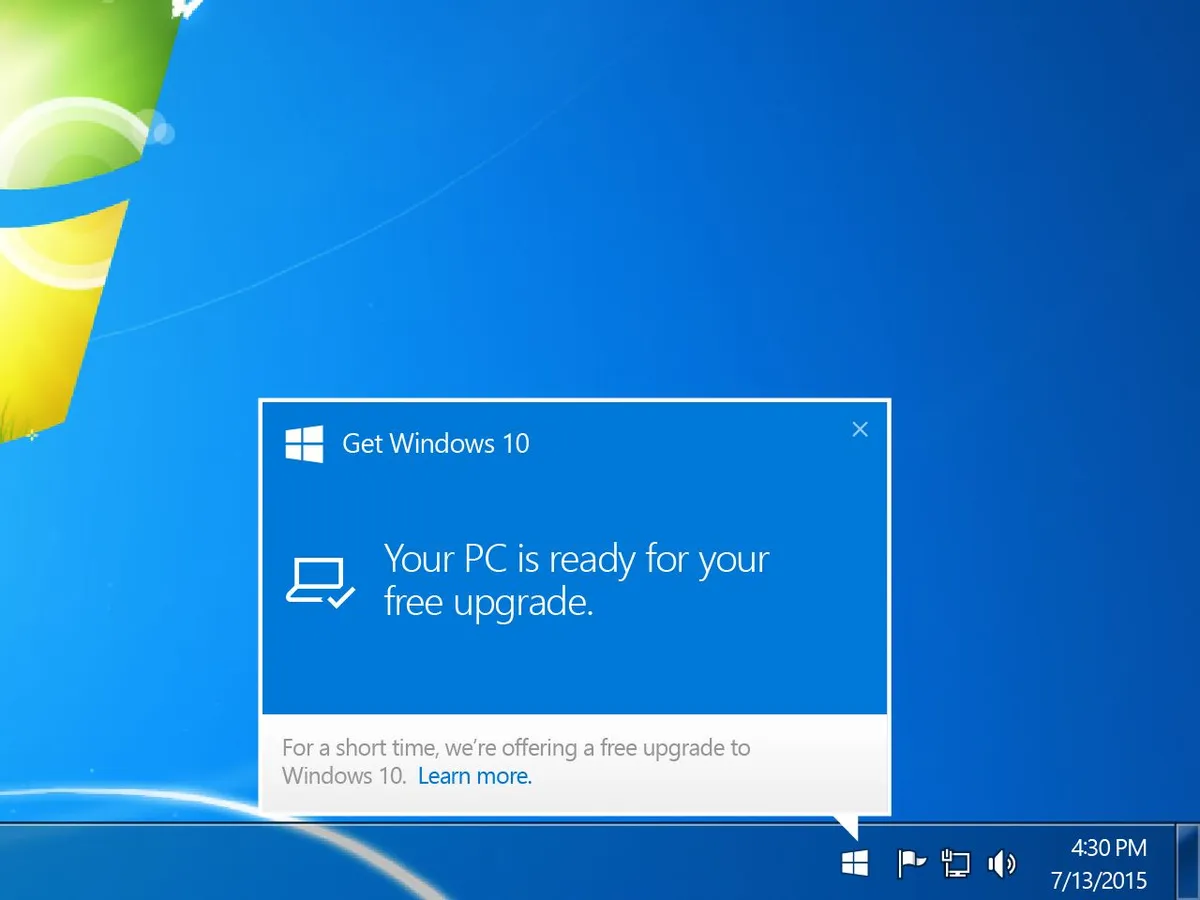
Once you have the latest updates installed and made sure Windows Update is enabled, the "Get Windows 10" app should soon appear in the notification area with a Windows icon. At this point, if you don't see the app, your computer is probably not compatible with Windows 10. It's also possible that Windows Update isn't configured correctly.
In case you don't want to deal with Windows Update, you can download the update KB3035583, which will install the "Get Windows 10" app in your system. (You also want to make sure you have installed KB2952664)
After you install the app, click the Windows icon in the lower-right corner of the screen, and then click the Reserve your free upgrade button. Enter an email address to get a confirmation when the operating system is ready to install, click the Send confirmation, and you're good to go.

On July 29, Microsoft will begin rolling out its new operating system starting with machines that are part of the Windows Insider Program. The company will continue rolling out Windows 10 gradually to everyone else who reserved the copy using the "Get Windows 10" app and those who bought a new PC. Later on, everyone else will get the upgrade as well.
So, this means that as we have previously reported, Windows 10 won't be available for everyone at once on July 29. Making a reservation before it releases will ensure your PC will get the new operating system as soon as possible.
If you were able to make a reservation, it means that your computer or tablet is compatible with Windows 10, but it doesn't mean you won't encounter any issues at the time of the upgrade. You also have to make sure your apps, all your hardware, peripherals, and drivers are compatible as well.
Luckily, the Get Windows 10 app also includes a PC checkup tool that will list any problems with your computer, and various other information you need to know before the upgrade. To check your PC compatibility, open the Get Windows 10 app, click the hamburger button, and from the menu click Check your PC.

Once Windows 10 is available for your computer, you will get notified. Even though the installation should be straightforward, you should make a backup of all your personal files to an external storage and make a full backup of your system using the built-in System Image Backup tool. (You can use my previous guide to perform this task, but note that even though the guide was written for on Windows 10 and 8.1, the same instructions will work on Windows 7.)
Next, you want to disable or uninstall your antivirus and other security software, and you want to disconnect any peripherals other than your keyboard, mouse, and monitor. You may also want to uninstall any applications that you don't use or apps that have been listed by the "Get Windows 10" as problematic. Sometimes antivirus, peripherals, and certain software could be the cause of an unsuccessful installation.
You also want to make sure you have at least 10GB or more of free storage space available to perform the upgrade. Windows 10 requires at least 16GB of space to install the 32-bit or 20GB to install the 64-bit version.
Once Windows 10 is available to you (time that will vary from PC to PC), a notification on your desktop will appear. Just accept the Important Legal Stuff, and then the Windows setup wizard Your upgrade is ready to install will pop up. You can schedule a time to upgrade, or you can click Start the upgrade now to begin the process.
Now, sit, relax, and wait for the setup will take care of the rest. The upgrade process to go from Windows 7 to Windows 10 could take some time, so make sure to plan ahead and free up at least an hour of time for the upgrade process. (You may also want to do this on a weekend.)
After the installation process completes, you'll be presented with the out-of-the-box experience. Choose the settings you feel more comfortable using, and let the setup finish the process.
That's all! Now, you should be all upgraded to Windows 10. Enjoy!
Here are some additional information
- Yes, your files and programs will be kept after the upgrade
- You won't be prompted to enter a product key during the upgrade of Windows 7 or Windows 8 to Windows 10
- Make sure to re-enable or re-install your antivirus software and other software you need
- Make sure to go to the Settings app, Update & security, and check for new Windows and driver updates
- Open the Windows Device Manager and make sure all the drivers are working correctly. If you don't see a yellow exclamation mark or anything on red, you should be fine.
- If you're upgrading Windows 7 Starter, Windows 7 Home, or Windows 7 Home Premium, you'll be upgraded to Windows 10 Home. If you're upgrading Windows 7 Professional or Windows 7 Ultimate, you'll be upgraded to Windows 10 Pro
- Windows 10 Home won't be able to opt out from automatic updates
- Windows 10 Pro will be able to choose how to receive new Windows Updates
- You'll need to switch to a Microsoft Account if you want to take advantage of installing Windows Store apps, Cortana, and various other features -- here is how
Wrapping things up
The upgrade from Windows 7 to Windows 10 should be a very simple process. With the new operating system, Microsoft is working to deliver the upgrade with the best experience possible by rolling out the new bits in stages. It starts with savvy users and works its way down to make sure every upgrade is successful.
While this guide focuses on Windows 7 users, the upgrade from Windows 8 to Windows 10 is almost identical, with the difference that you'll need to be updated to Windows 8.1 Update first before upgrading.
Windows 10 will launch on July 29, but it will take some time to reach everyone.
Are you upgrading to Windows 10 on July 29 or will you be waiting for a later date? Tell us what you'll be doing in the comments below.

