How to get Destiny 2's Parasite Exotic Grenade Launcher in The Witch Queen
How to snag one of Destiny 2's most coveted Exotic additions.
All the latest news, reviews, and guides for Windows and Xbox diehards.
You are now subscribed
Your newsletter sign-up was successful
If there's one thing Destiny 2 players love, it's an Exotic Quest. Exotic Quests present a moment in time, or several in relation to Hawkmoon and Dead Man's Tale, where a unique mission offers players a rare and completely unique reward for their efforts. These weapons offer different playstyles or unique traits that can't be found anywhere. In The Witch Queen, the "Of Queens and Worms" Exotic Quest is the first of at least two Exotic Quests. It offers a series of challenges before a wonderfully intriguing final mission with the Parasite Exotic Grenade Launcher as its reward.
Here's everything you need to know about the Parasite Grenade Launcher and how to get it through the Of Queens and Worms Exotic Quest in The Witch Queen.
What is Parasite in Destiny 2?
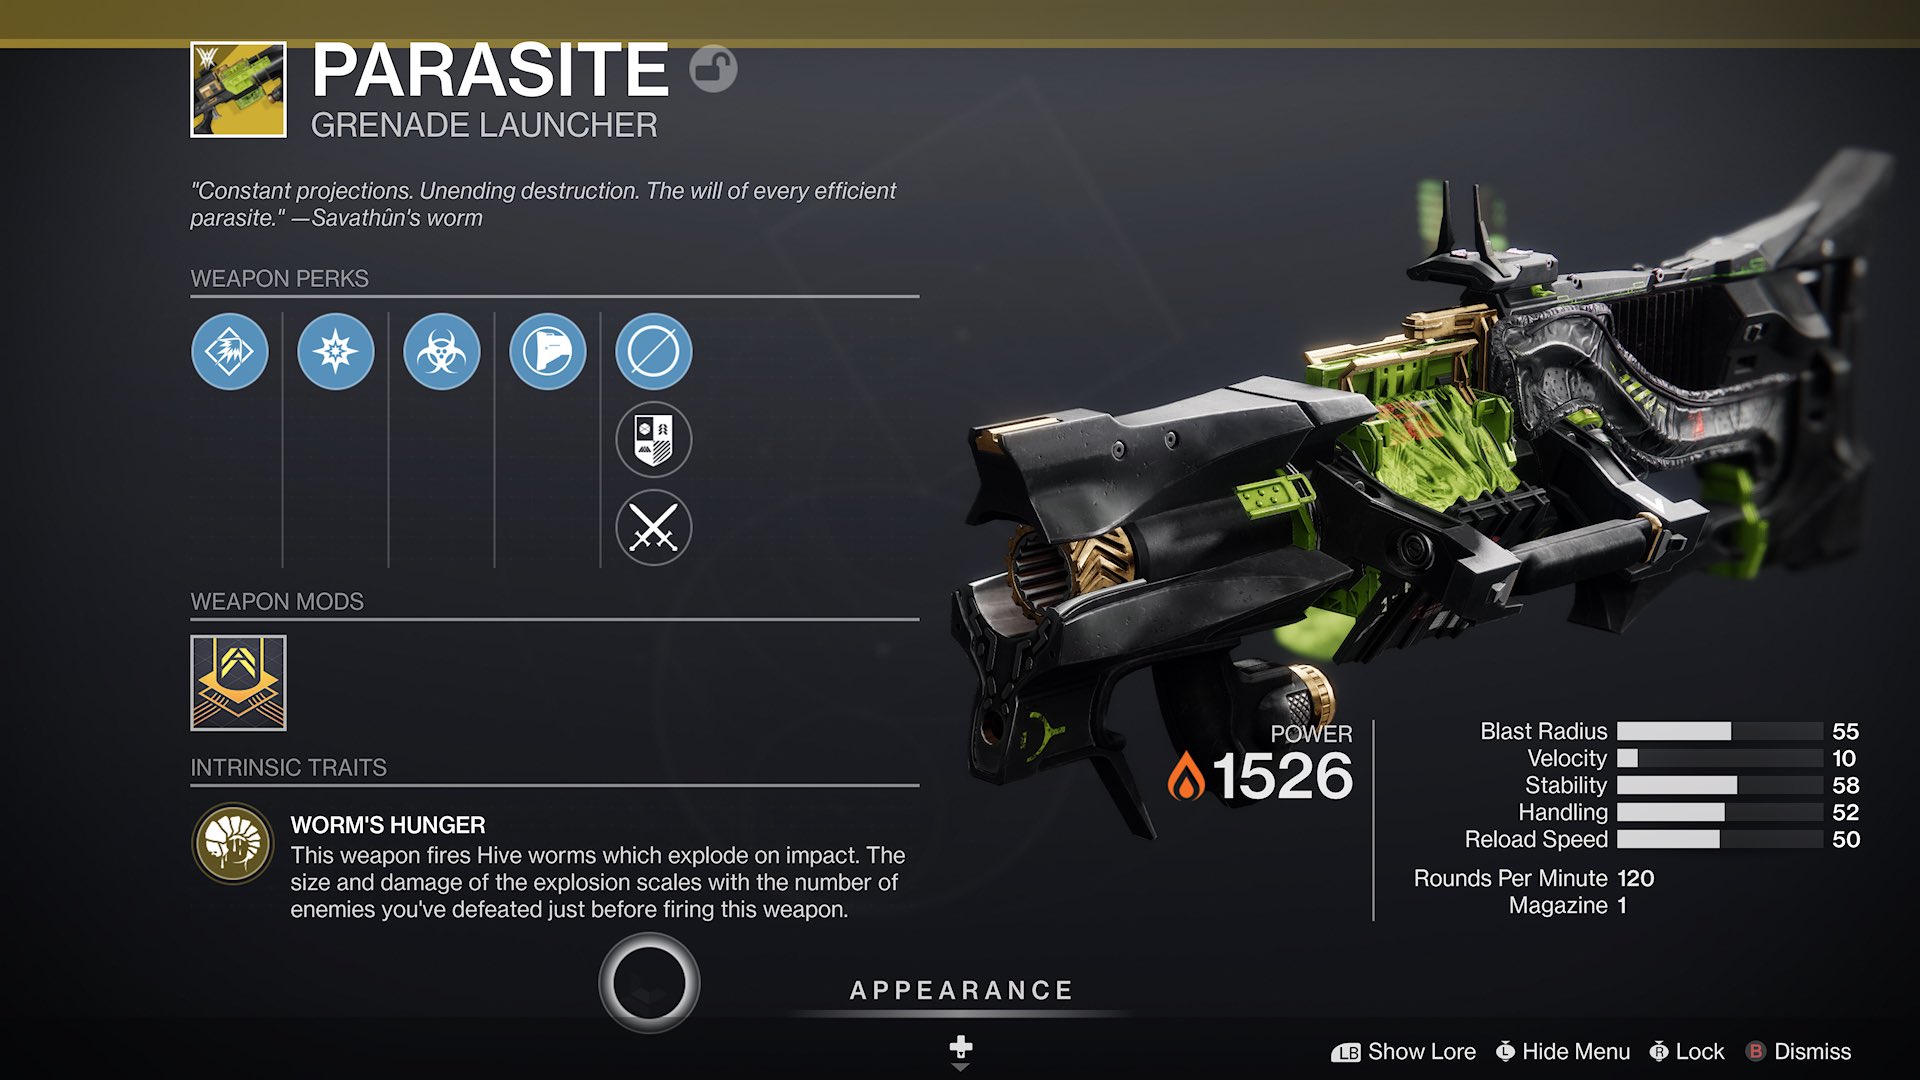
Parasite is an exotic Grenade Launcher that fires living Hive Worms at your enemies which explode on impact. It uses heavy ammo and deals a ton of damage to justify its use. The unique perks of the weapon, Worm's Hunger and Worm Byproduct, encourage you to kill enemies prior to firing off a Worm, increasing its size and damage and taking damage from said, in turn, empowers your weapons for a brief period.
At its core, Parasite is all about clearing small enemies before unleashing a violent explosion, harming yourself in the process, charging your other weapons – before playing into the loop all over again. It can be a bit more complex than other hard-hitting exotics and its projectiles are slow, but it's certainly a fun weapon to use.
How to unlock the Parasite Exotic Grenade Launcher
To unlock the Parasite is a long and arduous quest that's not without its high points. In total, there are several steps to unlocking Parasite and we've outlined them down below.
But, before you can even begin to discuss the first step for Of Queens and Worms, all Guardians must complete The Witch Queen's campaign to start this Exotic Quest. The difficulty at which you complete the campaign does not matter, but finish it before getting started.
1. Speak to Ikora Rey and Mara Sov at the Enclave
After completing the campaign, speak to Ikora Rey at the Enclave on Mars to pick up the "Of Queen and Worms" quest. After acquiring the quest, seek out Mara Sov at the bottom of the Enclave on Mars.
All the latest news, reviews, and guides for Windows and Xbox diehards.
2. Complete the Birthplace of the Vile Strike
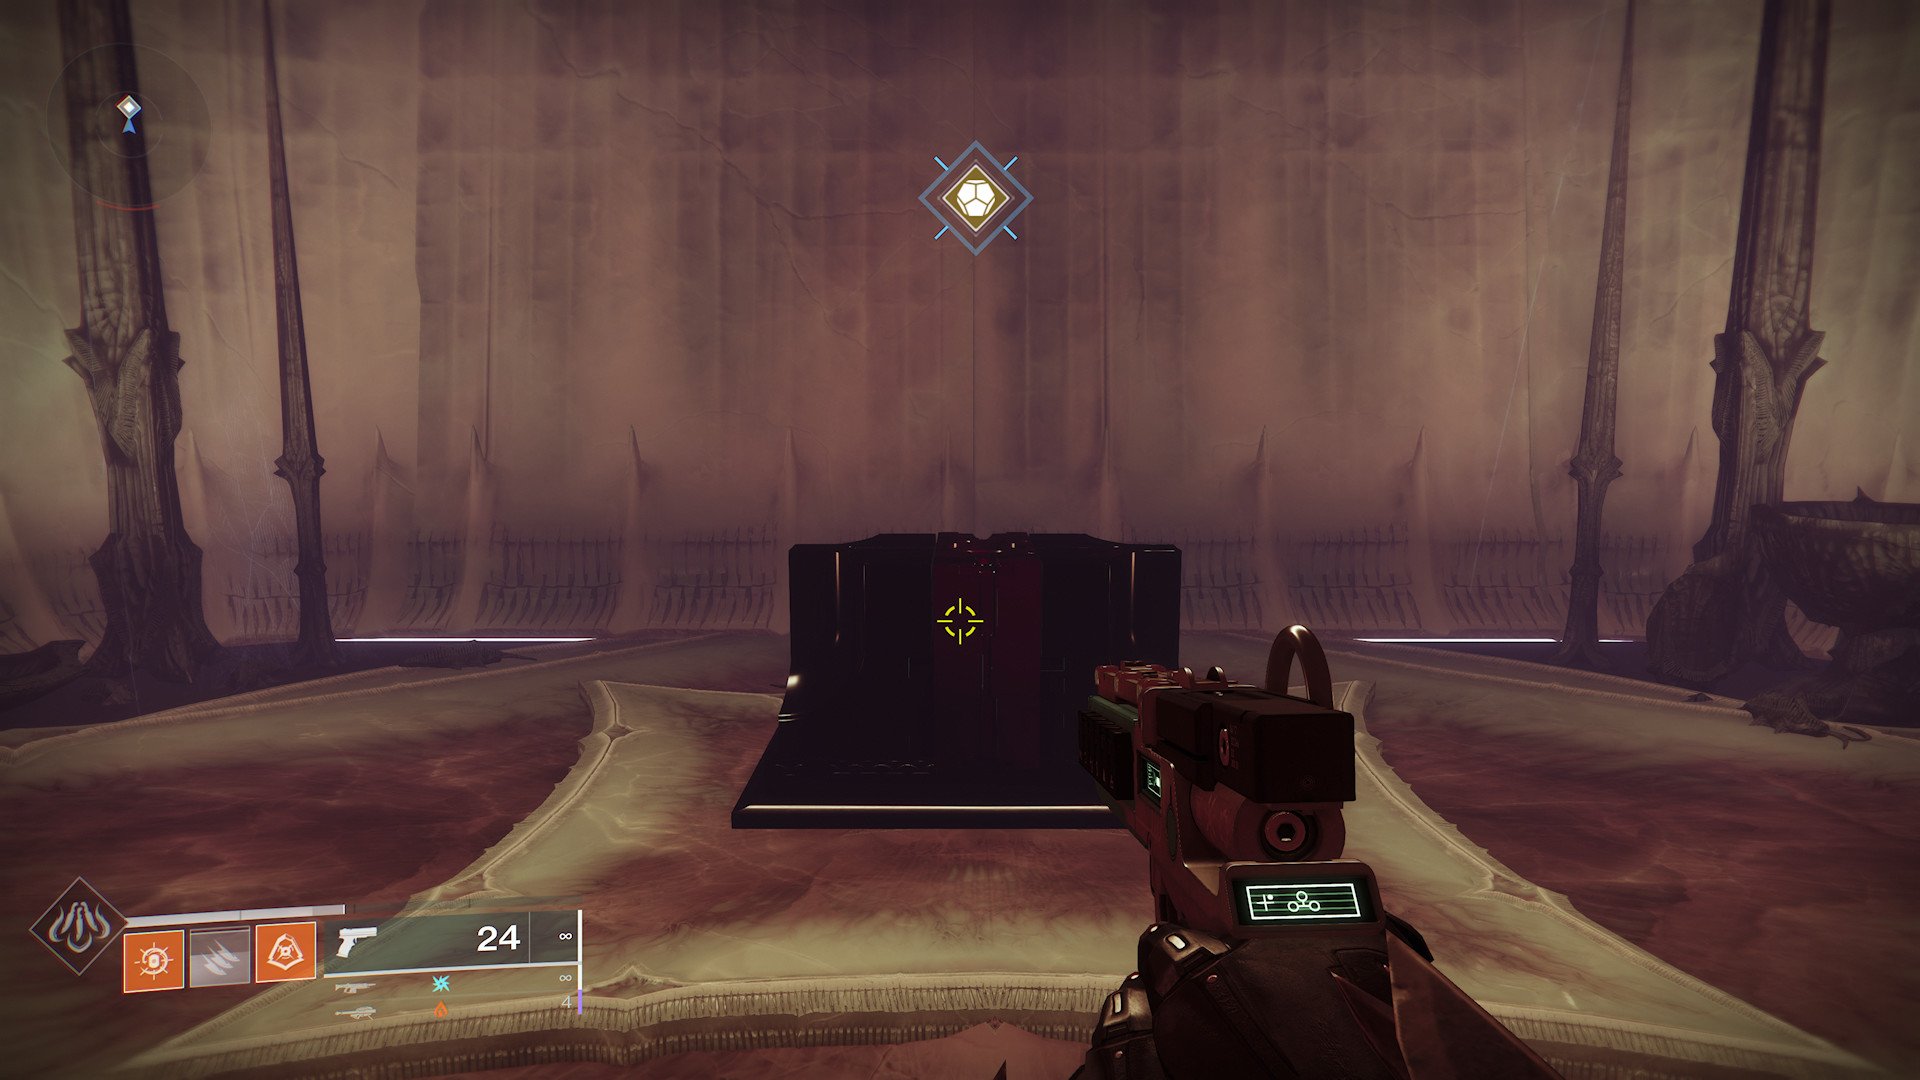
Mara Sov progresses the quest and advises you to complete the "Birthplace of the Vile" strike. This strike can be accessed through the map on Savathun's Throne World on the Destination tab. Progress through the Strike as normal until you reach the end. After killing the "Heimiks, Warden of the Harvest" to complete the strike, use your Deepsight ability to find an altar at the back of the room. Place your first Hive Worm upon an altar.
3. Visit Fynch on Savathun's Throne World and locate the Cryptoglyph rune in the Temple of Cunning
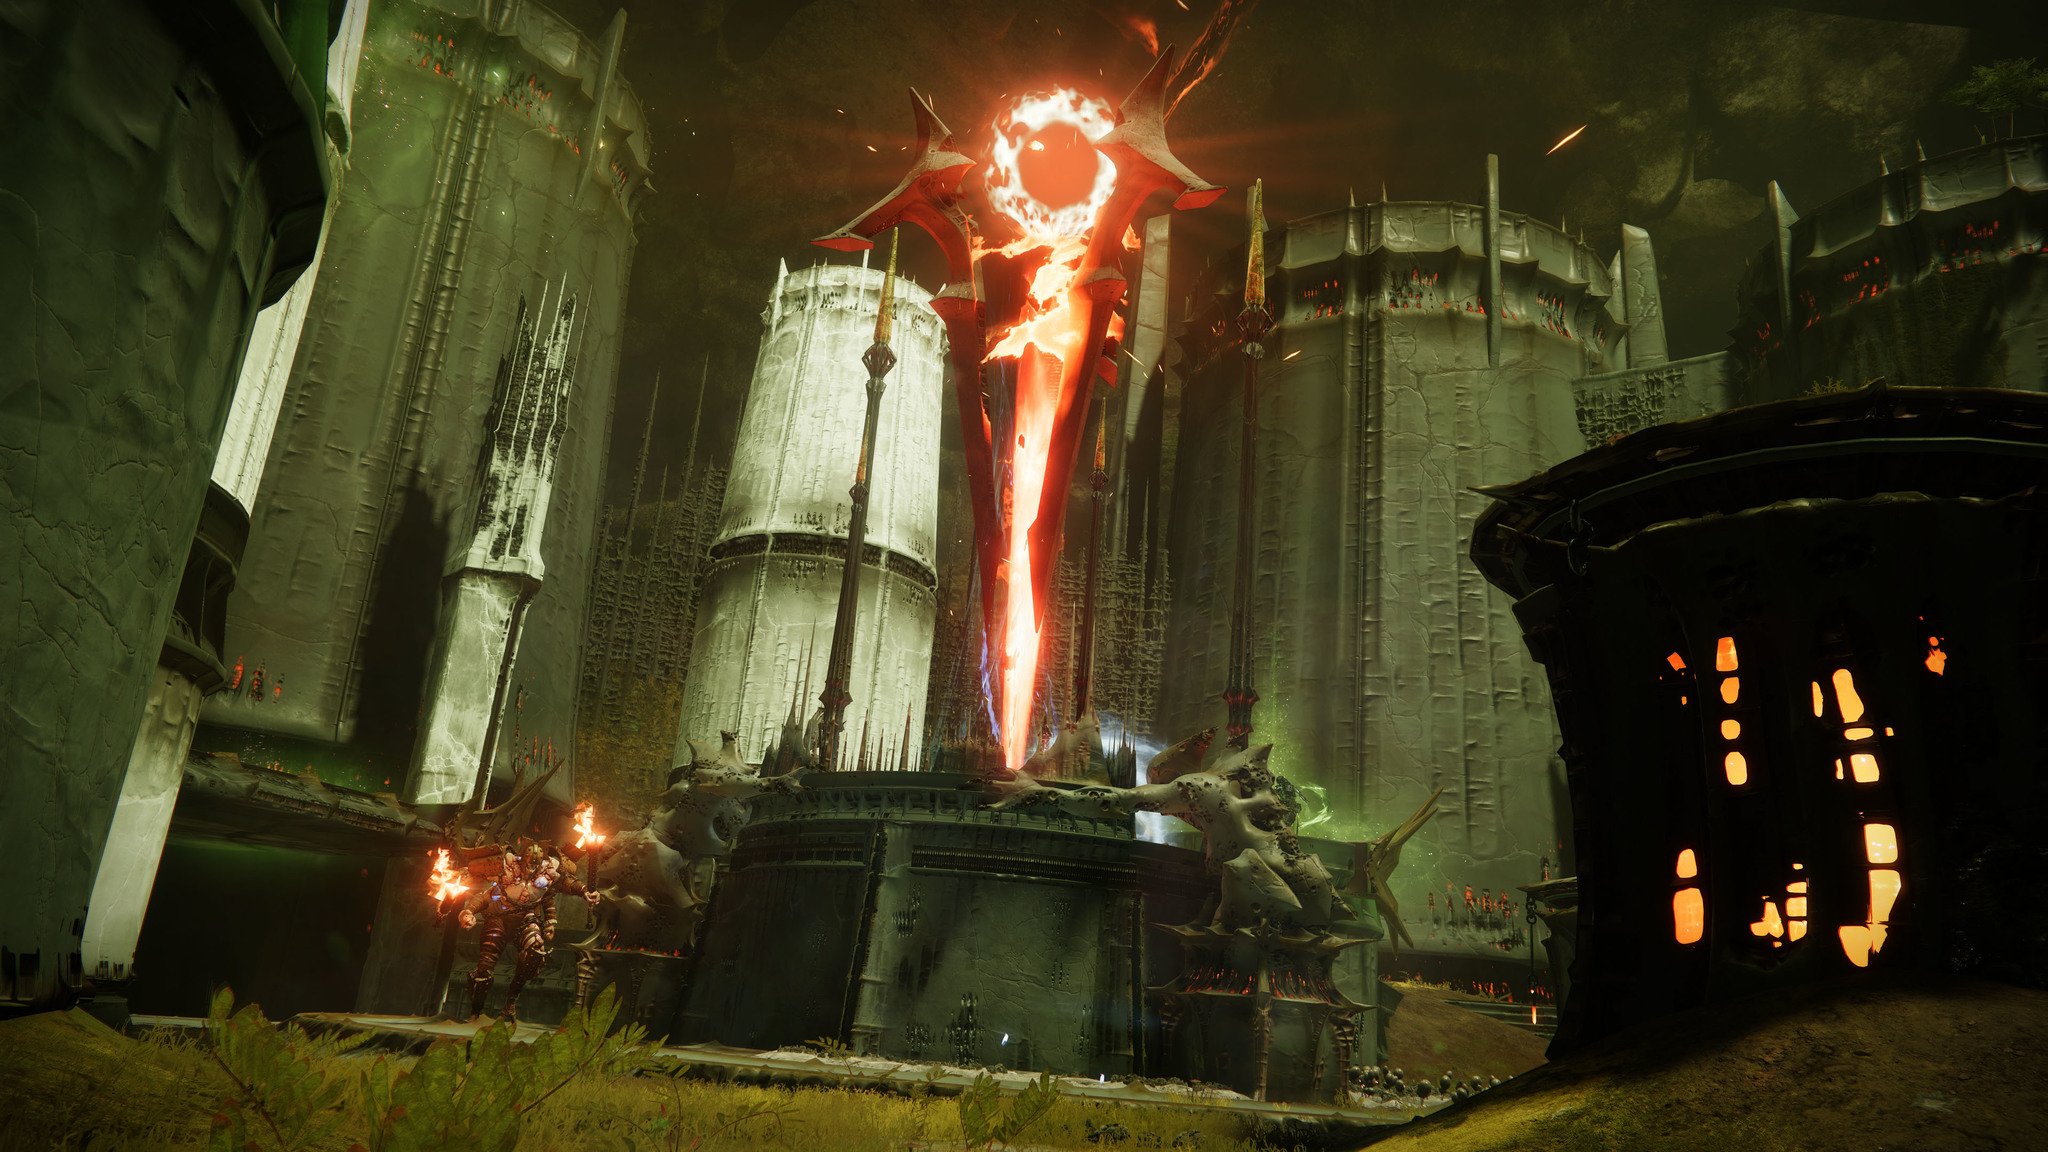
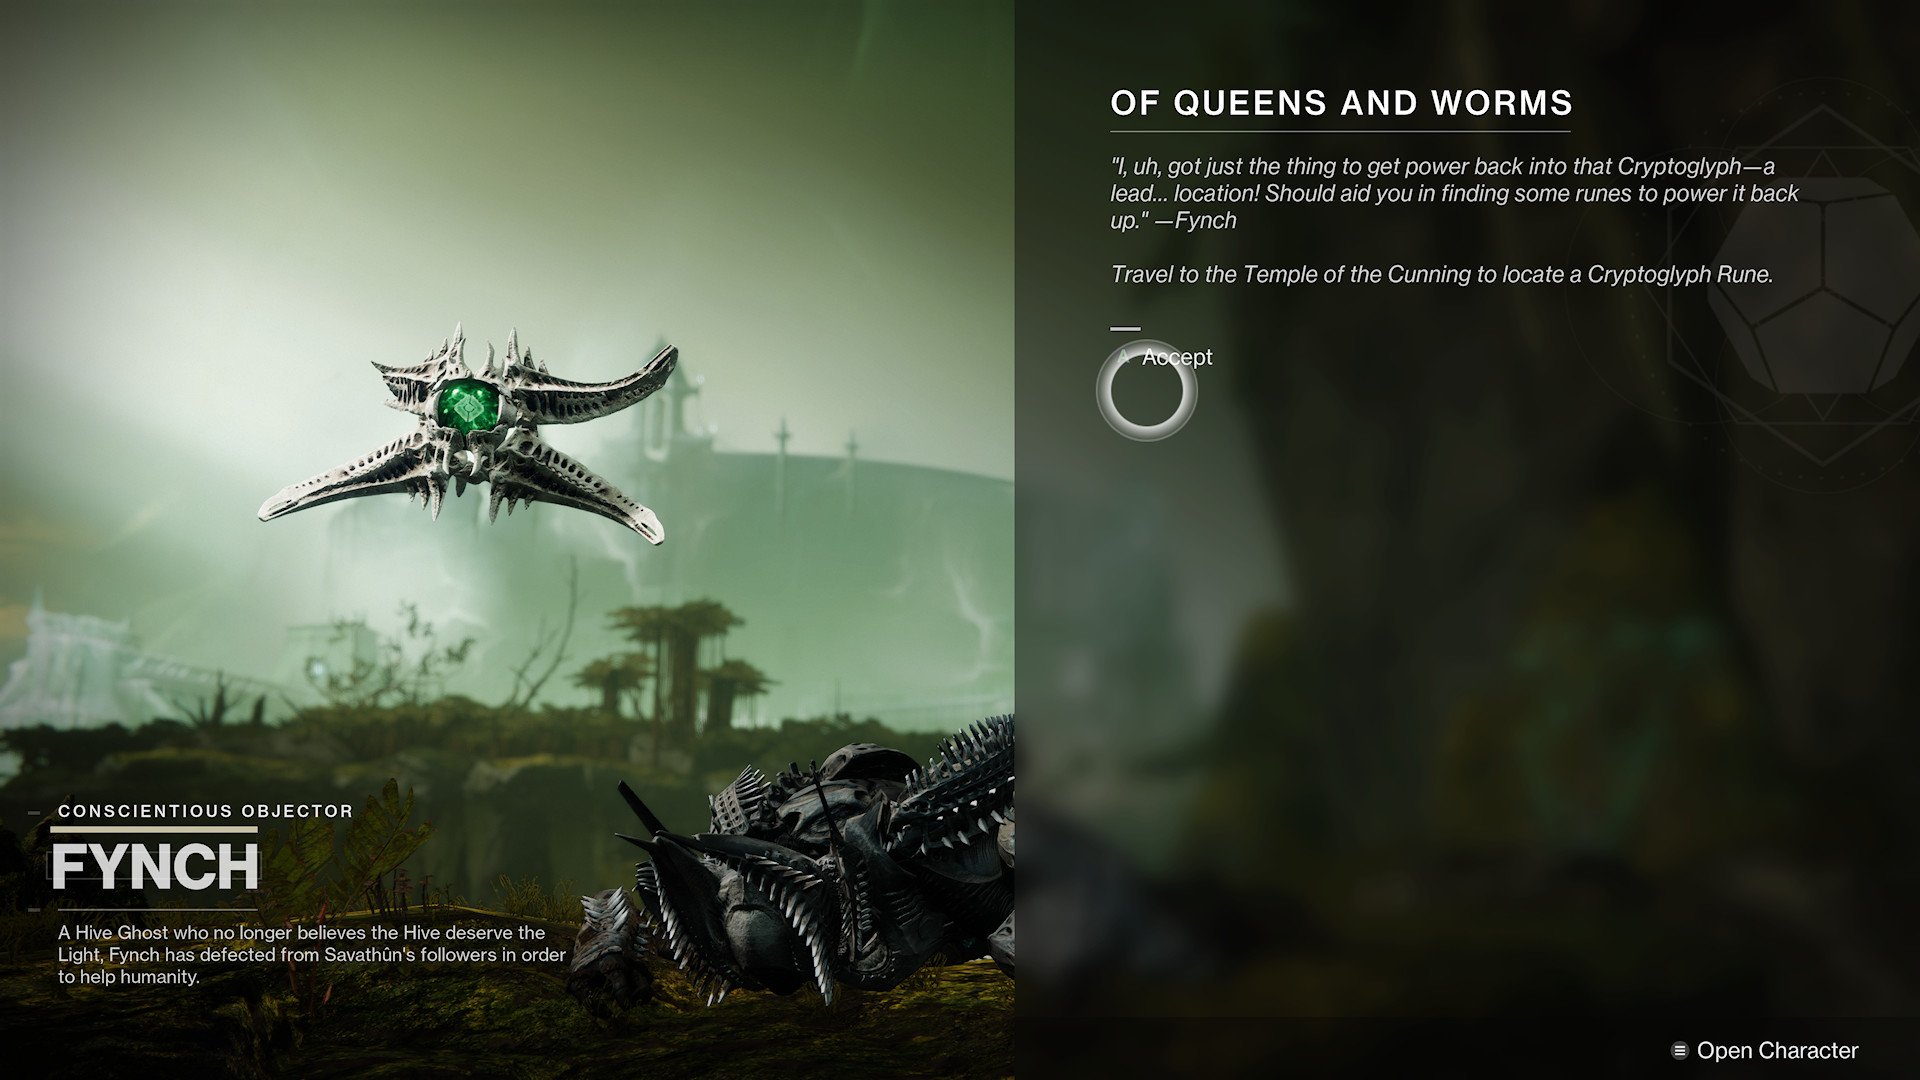
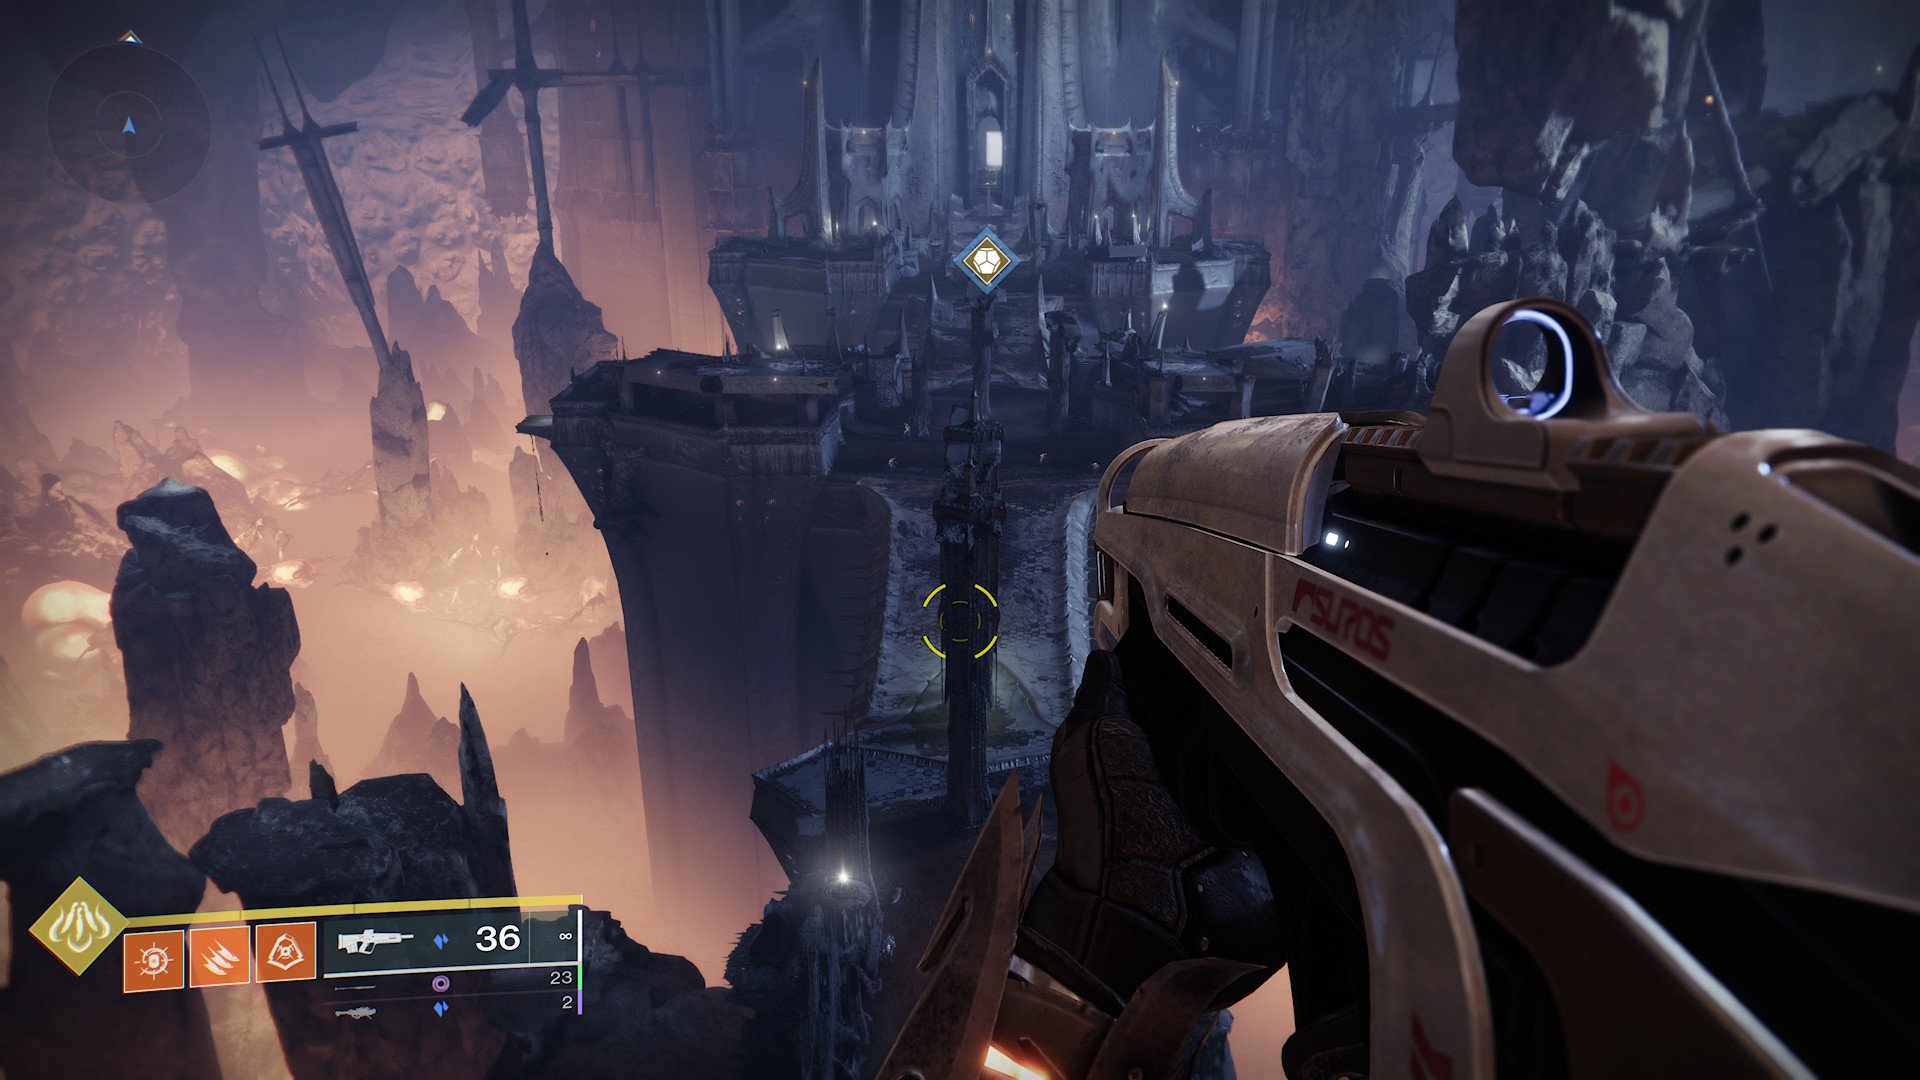
After completing the Birthplace of the Vile, visit Fynch. Fynch is located on Savathun's Throne World right next to the Quagmire Landing Zone. Fynch tells you to locate a Cryptoglyph rune in the Temple of the Cunning. While the location of the Cryptoglyph appears to be just North, set it as your objective via your quests and follow the marker underneath the Savathun's Throne World to get there. Once there, fend off a load of Hive and even some Lucent Brood Hive Guardians before you are given the Cryptoglyph.
4. Charge the Cryptoglyph rune
Charge the Cryptoglyph rune by killing 100 Scorn on Savathun's Throne World. This is easily done by completing the Scorn Public Event in the Quagmire and can be doubled up with your Fynch bounties too if you have a few to spare.
5. Locate and complete the Sepulcher Lost Sector on Savathun's Throne World
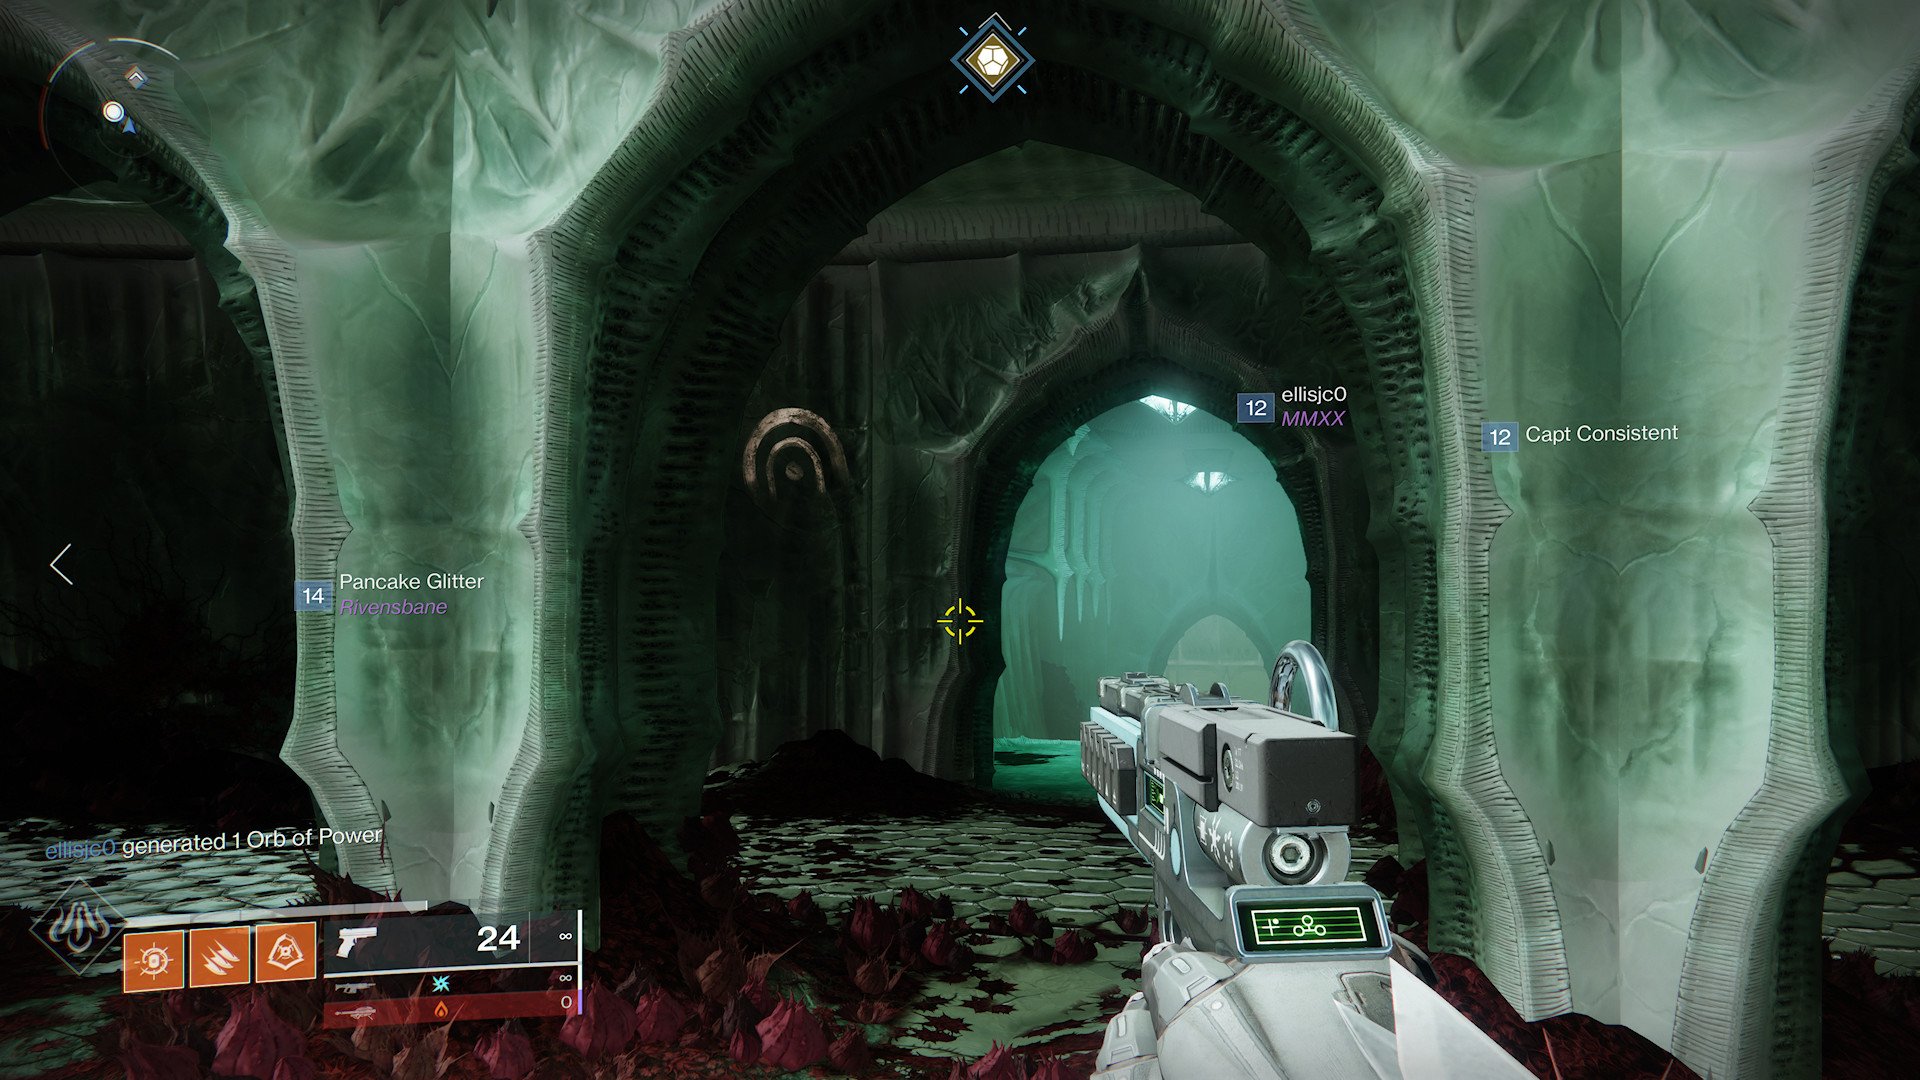
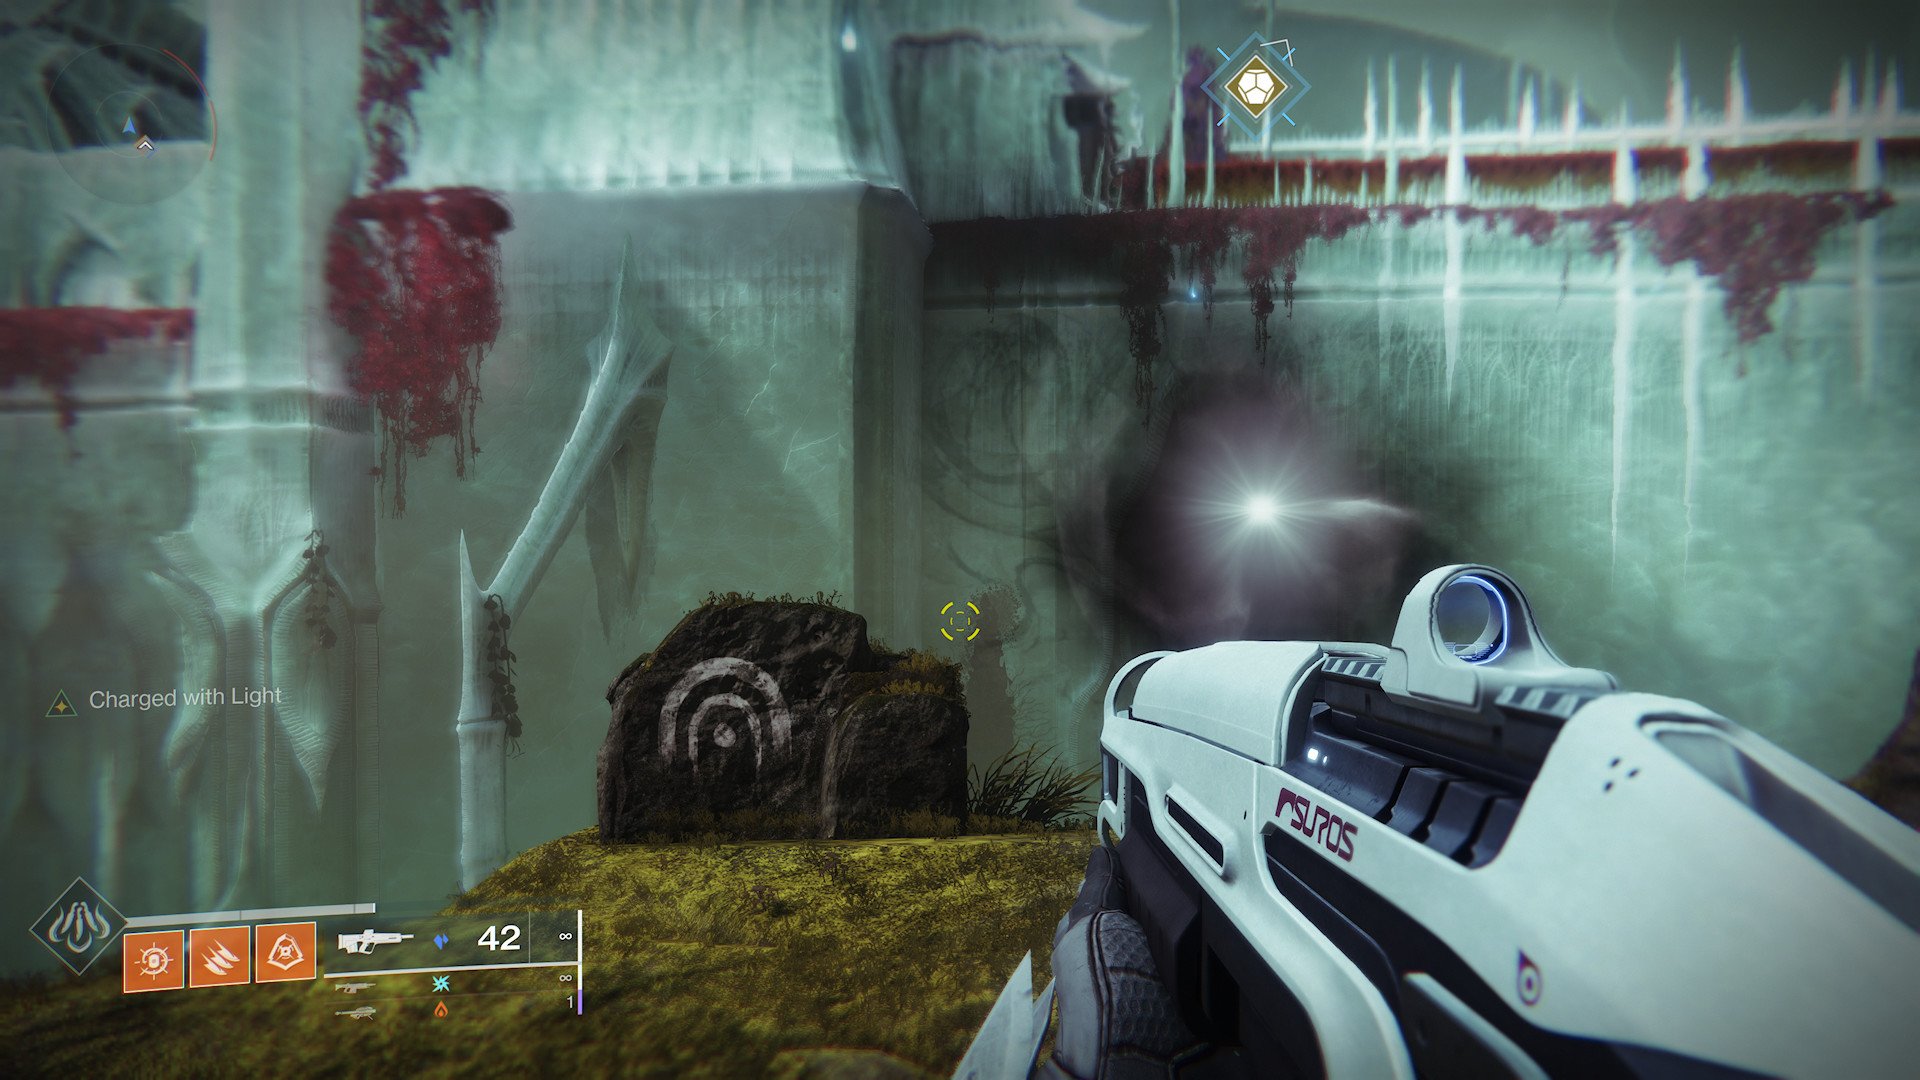
When the Cryptoglyph Rune is fully charged, find the entrance to the Sepulcher Lost Sector. Sepulcher can be found within the Florescent Canal on the Throne World. The entrance is under the courtyard behind some awnings (as pictured). After entering, locate a Hive Incubator. Similar to the strike, reach the end of the Lost Sector and use your Deepsight ability to discover a platform that allows you to jump behind the statue near where you activate your Deepsight. After jumping over the statue, find another altar to place your second Hive Worm.
6. Complete three Patrols on Savathun's Throne World
The quest, like all good Exotic Quests, also finds itself with some needless padding. When it comes to Of Queens and Worms, it means completing three patrols in the Florescent Canal. When it comes to patrols, those that require you to kill enemies or collect resources are typically the fastest and easiest to complete. If you feel like the available patrols in this area are too difficult, you can return to orbit and revisit to try and coax Destiny 2 into giving you better patrols – ain't nobody got time to be footering around trying to assassinate marked targets.
7. Locate the second Crytoglyph rune in the Queen's Bailey
Following the completion of your third patrol, you will be tasked with locating a second Cryptoglyph rune. This Cryptoglyph rune is in the Queen's Bailey on the Throne World. You gain access to the Queen's Bailey from the most northern point of the Florescent Canal. When you arrive at the location, you will once again be greeted by the Lucent Brood and a bunch of Hive. The fight concludes with your second Cryptoglyph.
8. Discover and complete the Metamorphosis Lost Sector on Savathun's Throne World
Just like last time, complete another Lost Sector. This time it's the Metamorphosis Lost Sector. Metamorphosis can be found within the Miasma on Savathun's Throne World. The Lost Sector is slightly South of the center of Miasma and on the lower section of the area. There will be another Deepsight at the end of this Lost Sector allowing you to access another altar to place a third Hive Worm.
9. Locate the final Crytopglyph rune
Now it's time to locate the final Cryptoglyph rune. This rune is in the Alluring Curtain on Savathun's Throne World. You'll need to navigate through the Quagmire to the South and then, using Deepsight, platform to an area where another group of Hive and Lucent Brood await. This time you'll be informed there is no Rune and will receive a transmission urging you to continue.
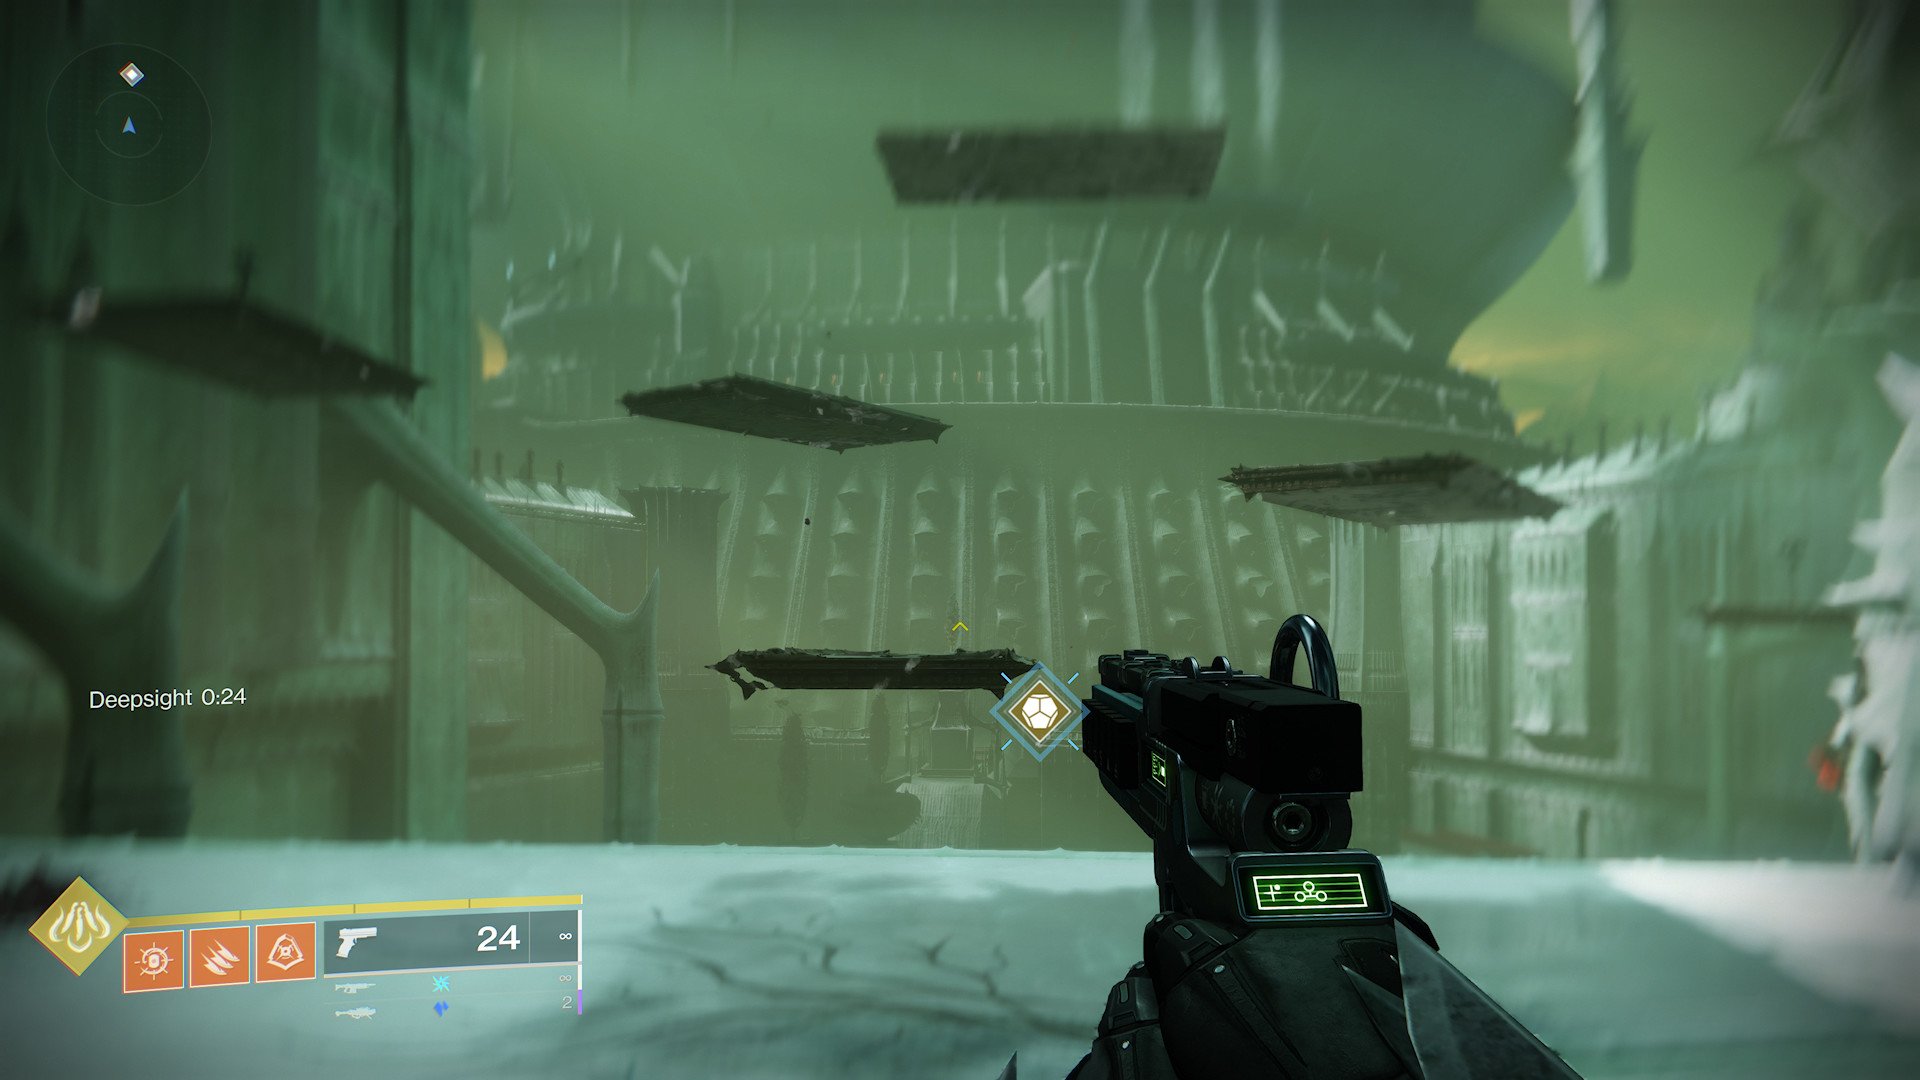
10. Find and open a Deepsight Cache
This transmission states you need to locate a Deepsight cache. Continue onwards from the point where you fought the Lucent Brood until you see an area to use the Deepsight ability. After activating your ability, a series of platforms appear with torches on them. Shoot all three torches to ignite them and a cache spawns back next to where you activated Deepsight.
11. Locate and complete the Extraction Lost Sector on Savathun's Throne World
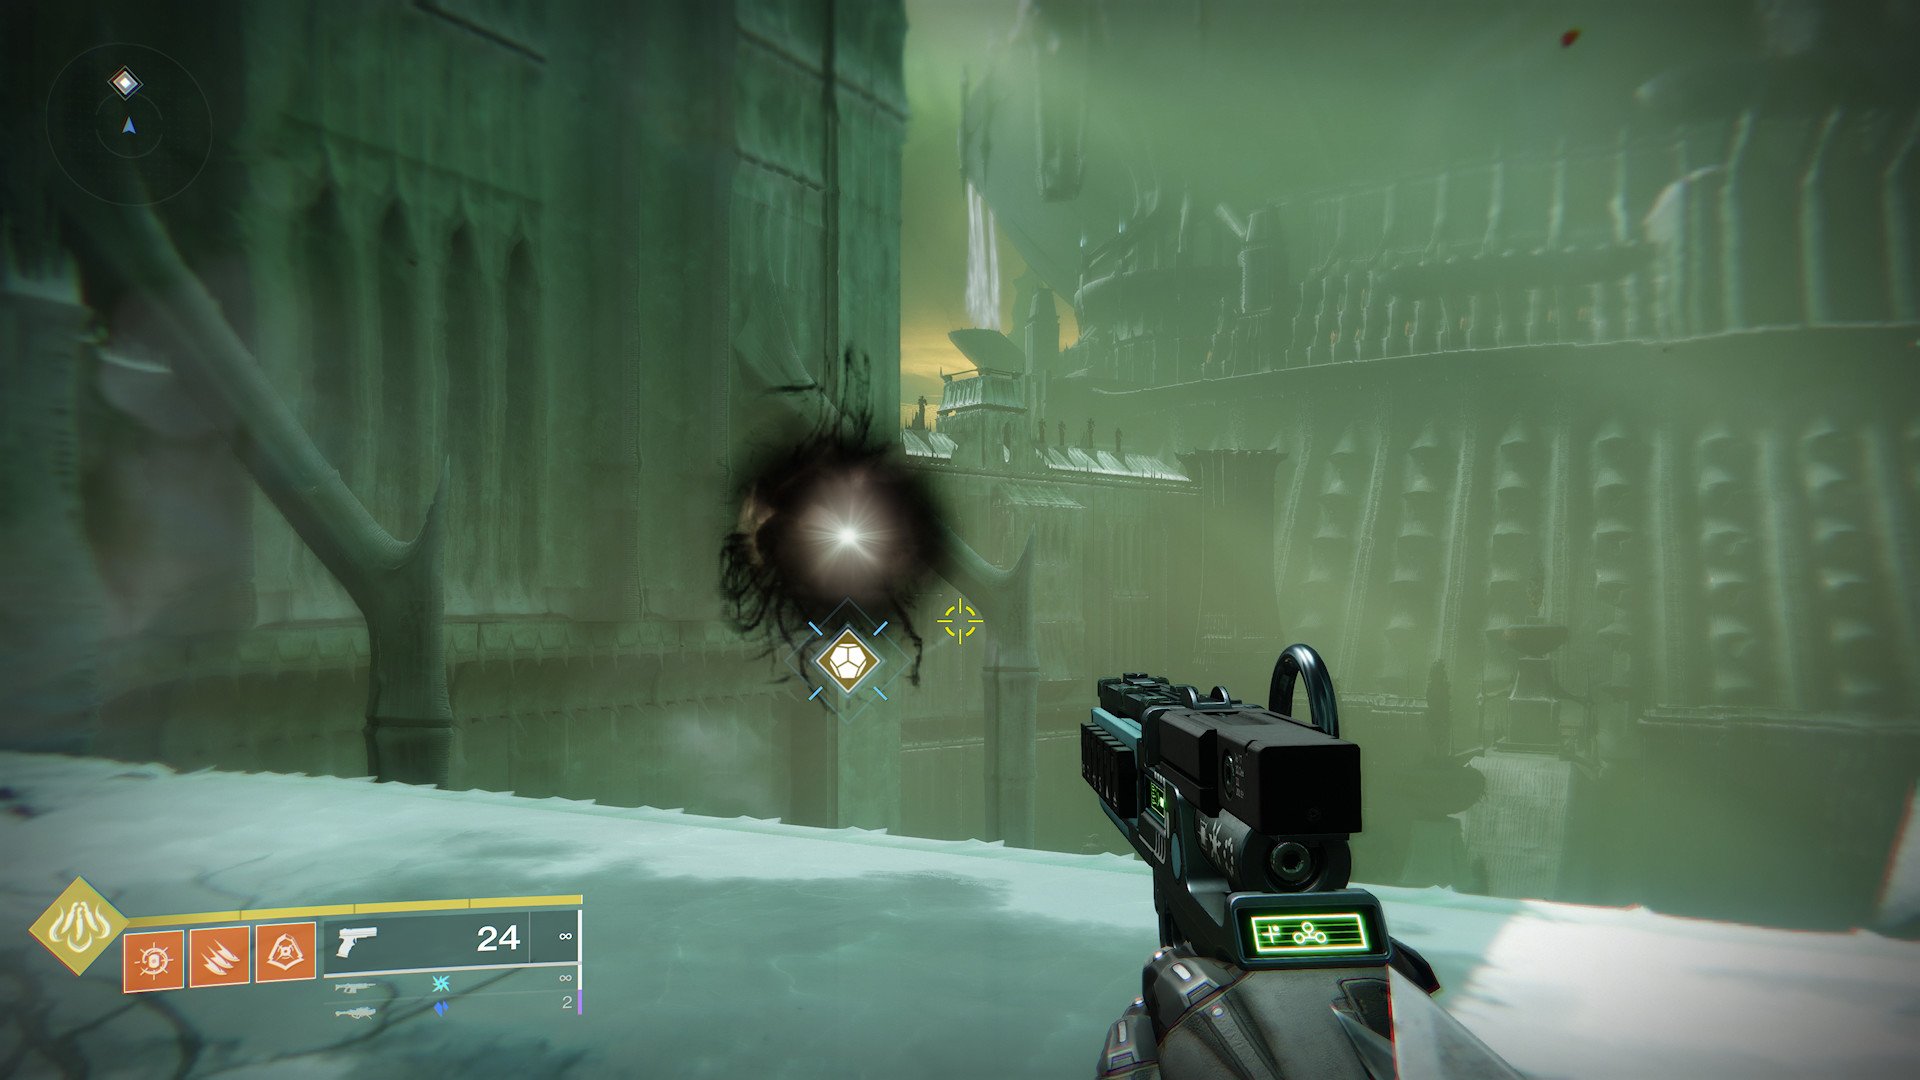
After opening the cache, locate the Extraction Lost Sector in Quagmire on Savathun's Throne World. You gain access to this Lost Sector by using Deepsight on the ledge in the North of the Quagmire and walking down the series of platforms that spawn, as pictured. For the final time, make your way through the Lost Sector, kill the boss, and use your Deepsight ability to locate another altar to place a final Hive Worm.
12. Return to Fynch and pick up the Hive Casing Exotic item
Nearing the end of the Exotic Quest, return to Fynch to receive a Hive Casing Exotic item. This will take up space in your heavy slot inventory, so make sure you have some space to carry it.
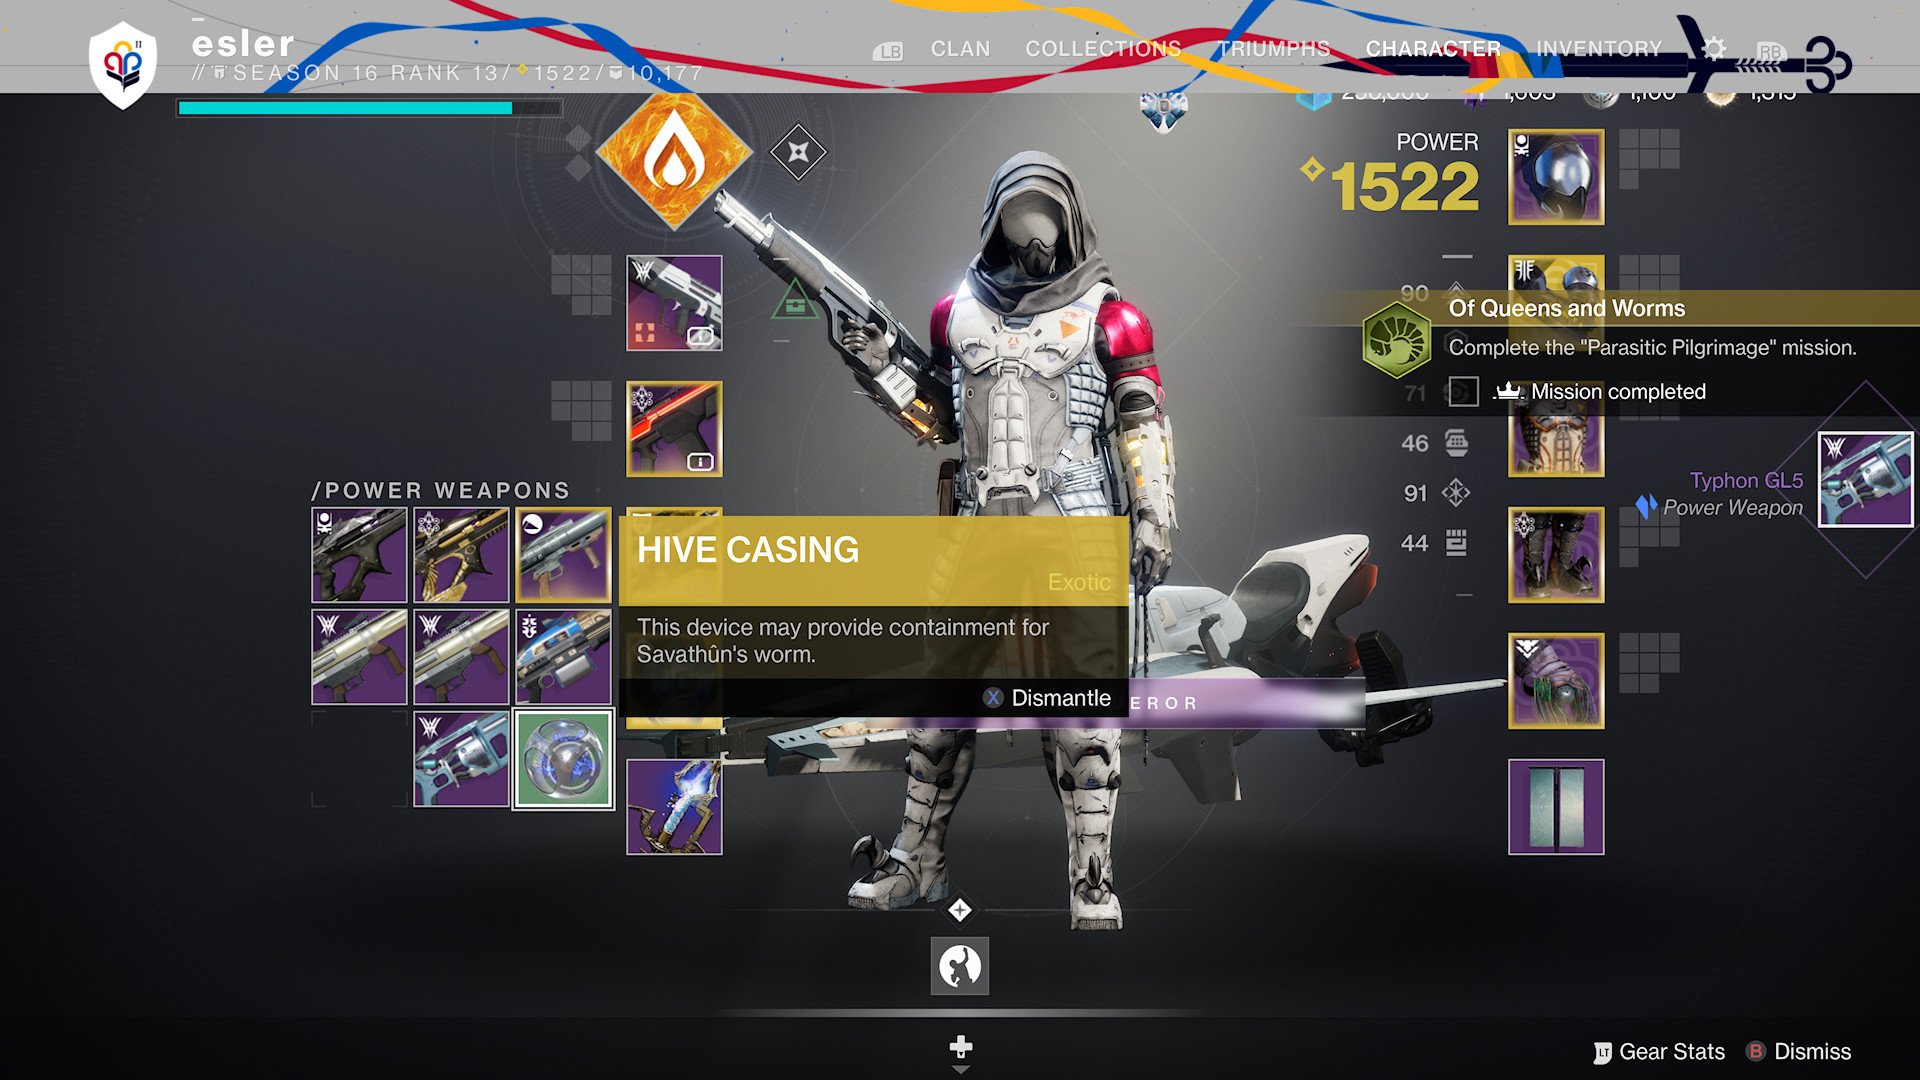
Take this Hive Casing through a newly accessible "Parasitic Pilgrimage" mission which can be found in the middle Florescent Canal. This mission requires you to charge a Hive Worm by running through energy wells in under three minutes. While holding the Hive Worm enemies have less aggro and you'll need to avoid hazards as you collect the energy from the wells. Once you have charged the Hive Worm, defend the Hive Worm while it performs a ritual before carrying it to Mara Sov before it detonates. After delivering the Hive Worm, Mara forms the Parasite Exotic Grenade Launcher and presents it to you to defend her.
Upon completion of Mara Sov's ritual, Of Queens and Worms will come to an end with one final piece of exposition. You can breathe a sigh of relief and briskly drop off your new Exotic Grenade Launcher at the Vault for safekeeping. Yes, the Vault. This is the season of ROCKET LAUNCHER MODS BABY.
Take back the Light
The new Witch Queen expansion features the sinister Savathûn and her brood of Light-wielding Hive, which will undoubtedly prove to be the most challenging foes faced by Guardians yet. Players can expect tons of new loot, enemies, locations, and more.

Ryan is a Former Contributor for Windows Central, covering Destiny 2 and other gaming hits.
