Hipstar - Review

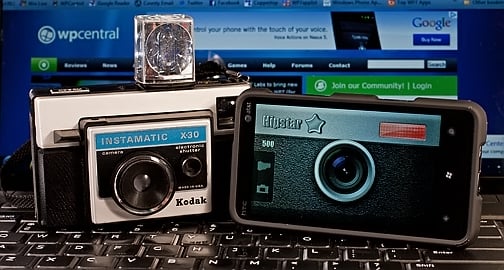
There are plenty of photo effect apps for your Windows Phone but Hipstar adds a nostalgic feel to things. The app brings an old, fixed lens camera into the mix and designs the user interface around the camera.
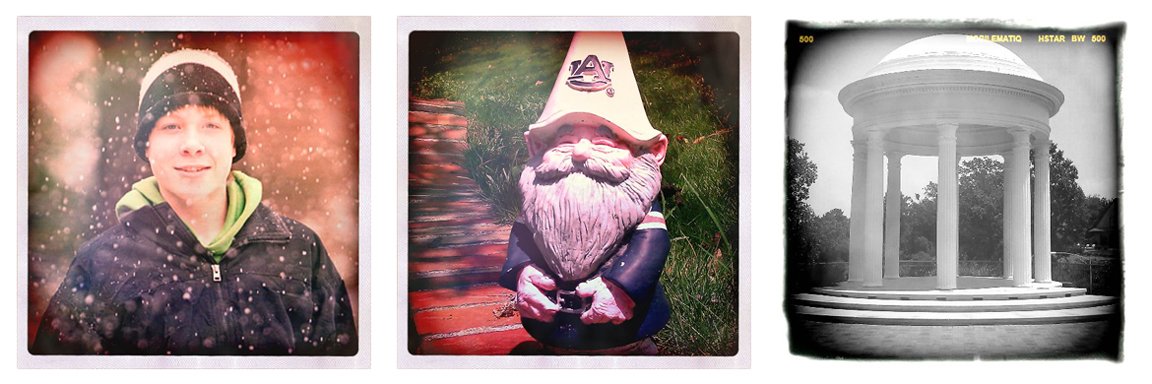
Hipstar adds a vintage look to things by adding light leaks and vignetted corners to your photos. It gives the images a 60's Kodachrome feel. We like the concept and while Hipstar has potential, it falls a little short of the mark.
Snap on past the break to read more on Hipstar.
App Design

Hipstar center's its user interface around an retro-styled camera giving you the choice of four lenses, four film choices and six filters. To access each you have icon buttons that sit on the left side of the camera body. The film roll takes you to the film and filter selection and the camera icon (front view) takes you to your lens choices. The camera back icon takes you to the actual picture capture/processing screen.
Film, filters and lens choices are made by swiping through the various options. Once you've made your choices, tap the camera icon (back view) to enter the capture screen. There's a large shutter button in the upper right corner that, when pressed, launches your Windows Phone camera.
Just snap the shot, accept it and it will show up in the preview square on the camera back. You can move the image around to crop it and when the position is just right, tap the green "Print" button. Your image will be saved in your Pictures Hub "Saved Pictures" gallery.
Here in lies the problem
Again, we like the concept of Hipstar but the user interface is dreadfully slow. It takes several seconds to go from lens choice to film choice. The delay is long enough to make you wonder if you pressed the icon hard enough.
All the latest news, reviews, and guides for Windows and Xbox diehards.
While having a variety of lens choices, Hipstar doesn't allow you to utilize you Windows Phone camera's full field of view. I realize that the square photos are part of the retro feel to Hipstar but I would have liked to have seen a camera lens that reflects the full view of the cameras' native view.

There is a healthy settings menu (accessed from the "M" emblem on the lower right corner of the camera back view). Settings include Facebook, Twitter, and Flickr account support, contact information for the developer, and access to Hipstar's accessory store. The accessory store has additional films and filters to purchase.
What the settings lack is a Help Section. Through trial and error you can get a decent handle on what each film, filter and lens will do. But it would have been nice to have seen a help section that defines what each does.
You can apply Hipstar's effects to images already in your Photo Hub but you'll have to do so through the Extras Menu in the image gallery. There's no way to import images into the application from the application (hope that makes sense).
Overall Impression
While Hipstar's concept has a lot of appeal, it falls way short on delivery. The user interface has a cool feel to it but it can be dreadfully slow. We give Hipstar's end result an 8.5 but the process falls well short at a 4.
Speed things up, add a help section to let users know what everything does, and find a way to import existing photos into the app and then Hipstar would be well worth the $1.99 price tag.
Oh and another negative is that there isn't a free trial copy of Hipstar. If things improve with future updates to Hipstar we'll let you know. But for now, you purchase at your own risk. You can find more information out on Hipstar here (opens Zune) at the Marketplace.

George is a former Reviews Editor at Windows Central, concentrating on Windows 10 PC and Mobile apps. He's been a supporter of the platform since the days of Windows CE and uses his current Windows 10 Mobile phone daily to keep up with life and enjoy a game during downtime.
