How to set up and configure your Razer Naga gaming mouse
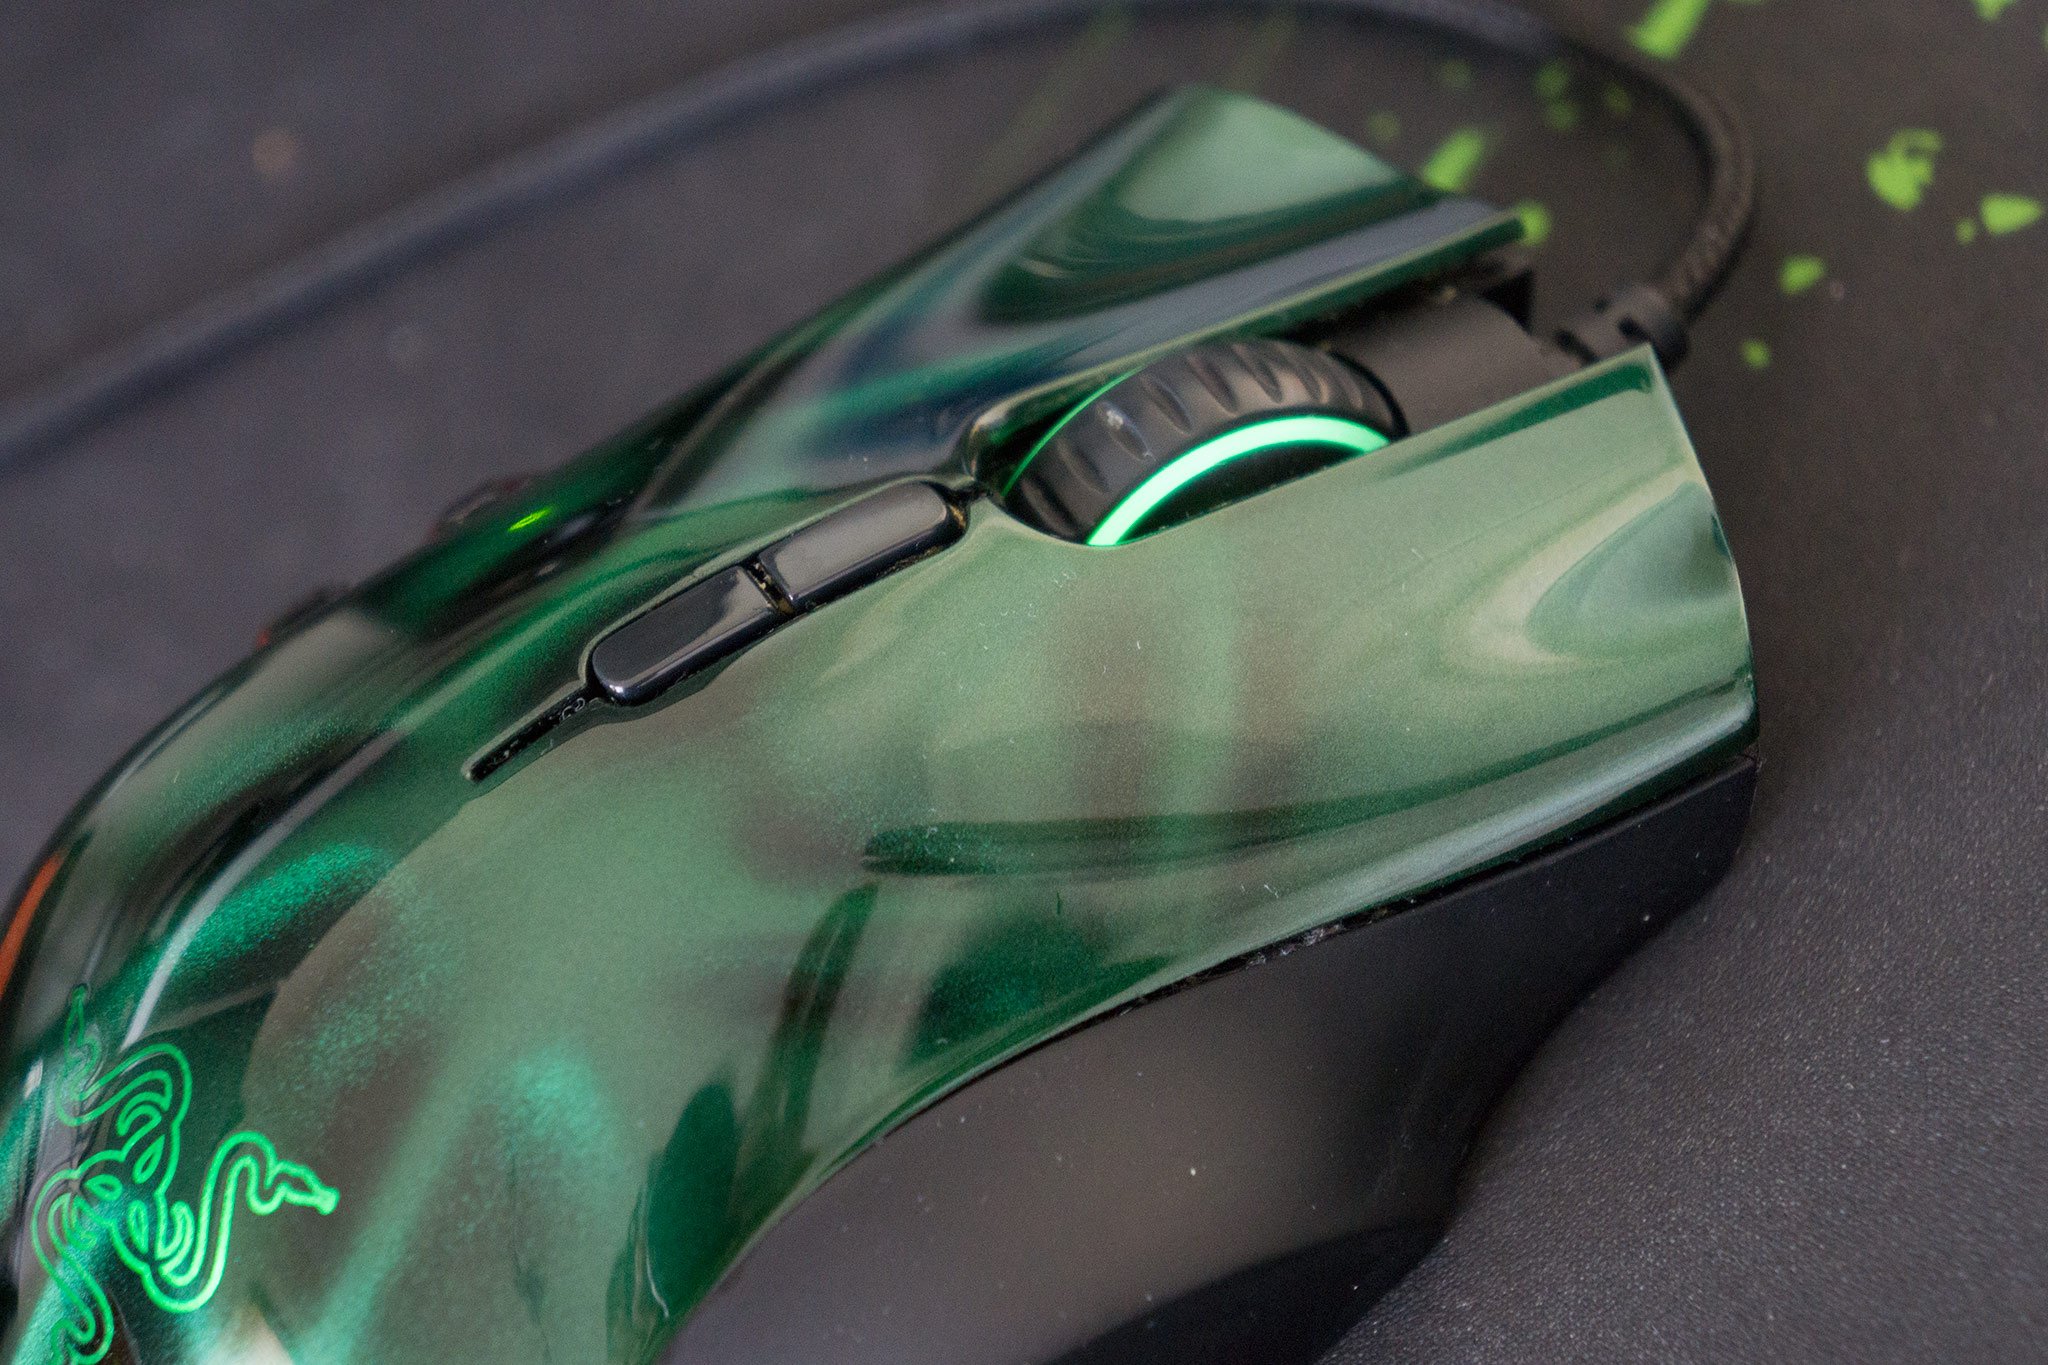
The Razer Naga line of mice are superb options for those seeking solid peripherals to aid their performance in MMORPGs (Massive Multiplayer Online Games) and MOBAs (Massive Online Battle Arenas). As a gamer, you have three options, the Naga Hex V2 (this is the successor to the original Hex, same price), Naga Epic Chroma and Naga Chroma. While setting up the available mice is a fairly standard affair when it comes to Razer peripherals, it's worth noting the differences between them and who they're aimed at.
The former is your ideal companion for the Rift (or any other competing battle arena you enjoy) and will enable you to assign skills and items to thumb-activated buttons on the left-hand side. The Naga Epic Chroma goes all out with 12 buttons for your thumb, perfect for online RPGs that require you to hit a million skills in quick succession. Finally, we have the Naga Chroma, which is the more affordable variant for those who won't pay out for the Epic Chroma.
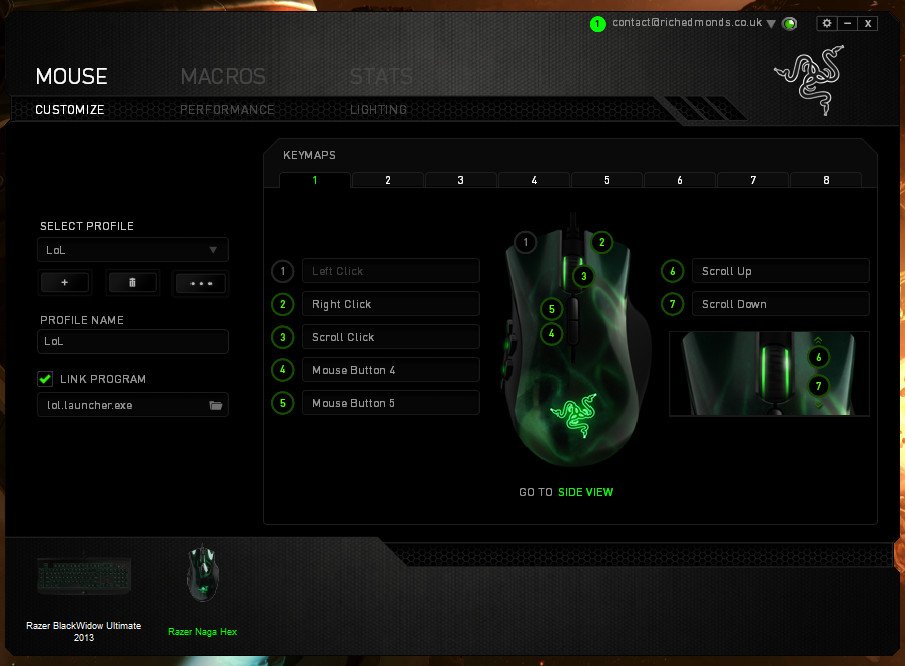
Razer Synapse is the heart of Razer peripherals and is the suite you'll be firing up every time you wish to make some alterations — be it changing the color of the lighting or switching out profiles and re-programming available buttons. Once you have your shiny new Razer Naga mouse plugged in, simply install Razer Synapse and everything should be detected for further configuration. Before we continue, be sure to login with your Razer account on Synapse and activate your peripheral warranty.
Having your Razer account connected to the suite will also aid in saving your configurations and profiles to the cloud, which can then be loaded onto another PC.
Customize
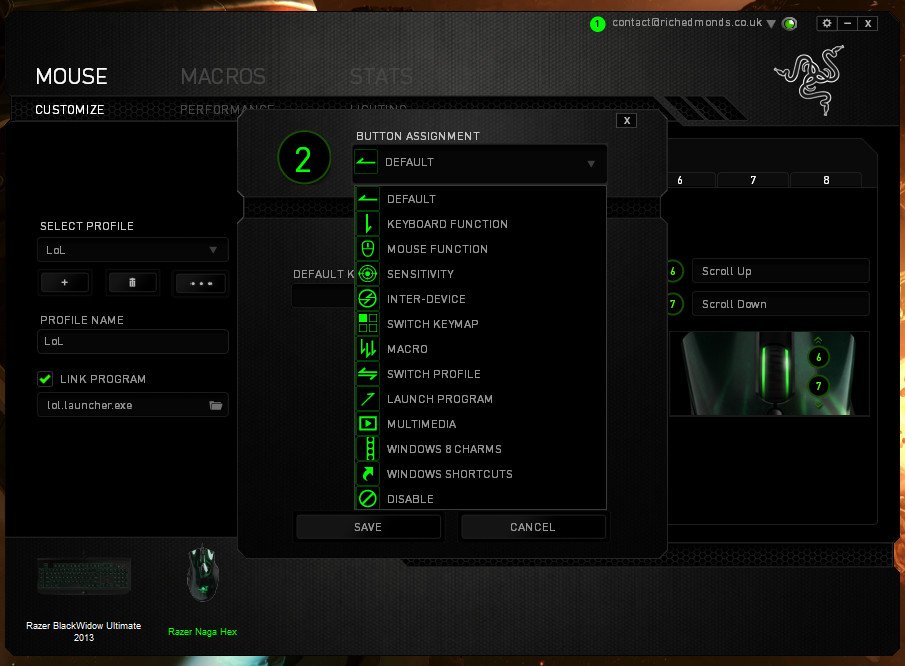
The Customize screen is the initial section of the Synapse app you'll be greeted with when selecting the device you wish to configure. This area enables you to set up profiles, load existing ones and re-program available buttons on the mouse. Selecting each button number will open up a new window where you can re-map what that button does when activated from a list of predetermined functions.
But what if you wish to map the right-click to something strange, but do not wish to have to activate/revert it each and every time you wish to play said game? There are profiles! These handy little save files will take note of your configuration and save everything to the cloud. When you wish to activate a certain button layout, simply choose the appropriate profile before heading in-game. Better yet, you can configure Synapse to automatically switch profiles when games are loaded.
Performance
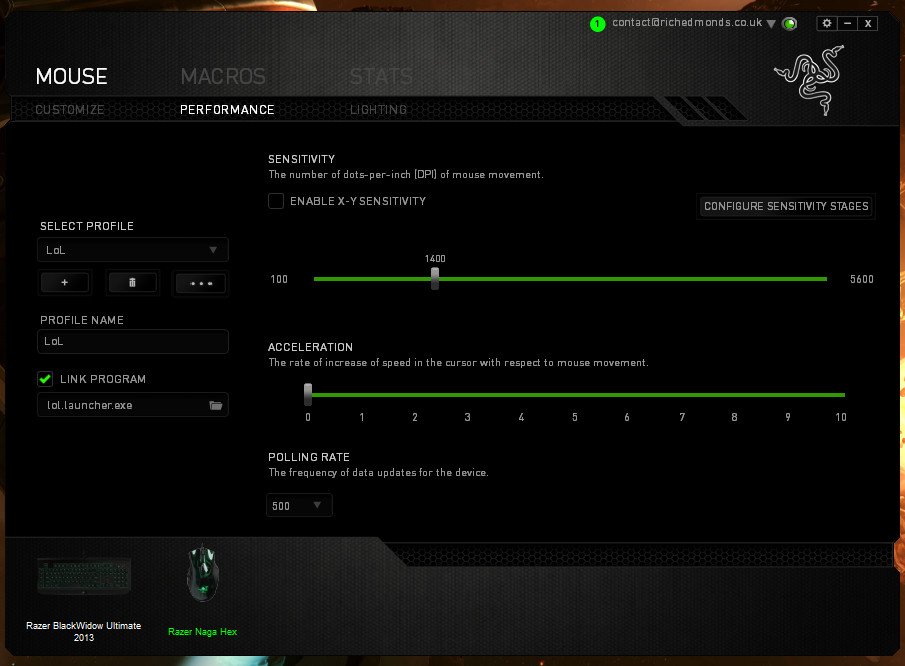
The Performance area of Synapse will let you fine tune how the mouse tracks movement and whether or not you desire any cursor acceleration. Sensitivity is determined by the level of DPI (Dots Per Inch) that are detected by the mouse and turned into cursor movement on-screen. The higher this number, the more sensitive your mouse will be and the further the cursor will travel.
All the latest news, reviews, and guides for Windows and Xbox diehards.
Going from low DPI to higher settings can cause issues in-game so be sure to spend some time getting acclimated to your new configuration. I have anywhere between 1500 and 3500 DPI, even though this particular model (Naga Hex V1) can reach 5600 DPI. Higher DPI doesn't necessarily mean better performance, which is something you should note when looking for a new mouse.
If you wish to increase the speed of which your cursor moves compared to the mouse itself without messing with sensitivity, you'll need to play with the acceleration bar below the DPI setting. Higher numbers selected here will result in the cursor whizzing around your screen with little effort. Just like your button settings, everything configured under Performance will be saved to profiles automatically.
Lighting
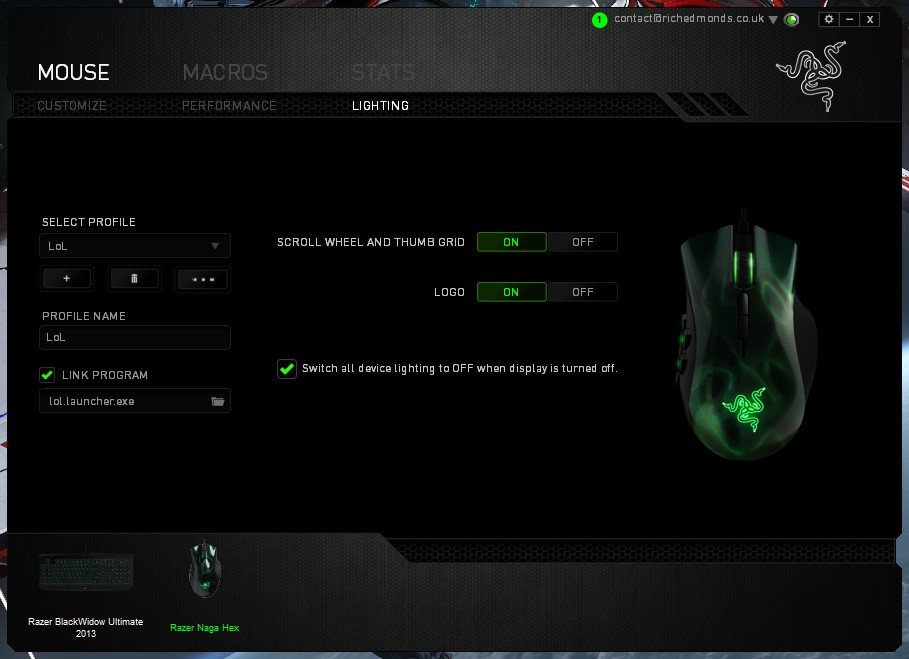
This is a fairly straightforward screen that allows for different lighting settings to be configured, depending on what peripheral you're currently setting up. For peripherals that aren't Chroma with millions of color combinations, you'll have only but a few options to turn on and off available lighting. Those of you with Chroma gear will be able to select exactly which color will be blasted into your surroundings.
You're now set up and ready to get in-game!
RzStats
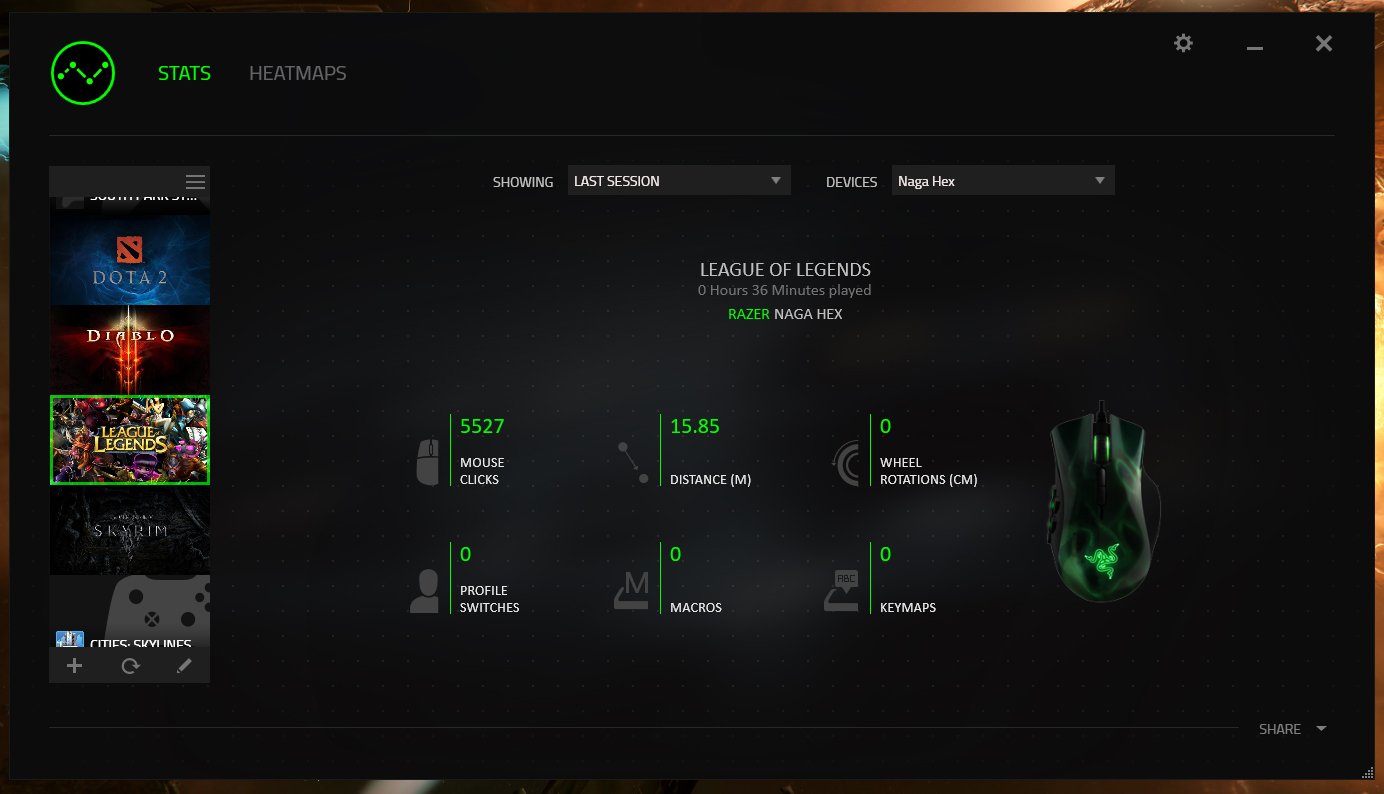
After you've enjoyed many sessions with your new Razer mouse, the company can actually show you statistics as to how you used the connected mouse of keyboard to interact with objects on-screen. The number of mouse clicks, distance travelled, wheel rotations, macros deployed, profiles switched and keymaps are all available for viewing for the last session in a game, the day as a whole, week or all time.
A list of supported titles can be found on the left-hand side. You can view details and statistics for each game by selecting them from the list. As well as checking out how many times you mashed that mouse button, you can also see just where on-screen you moved the mouse and did some hardcore clicking.
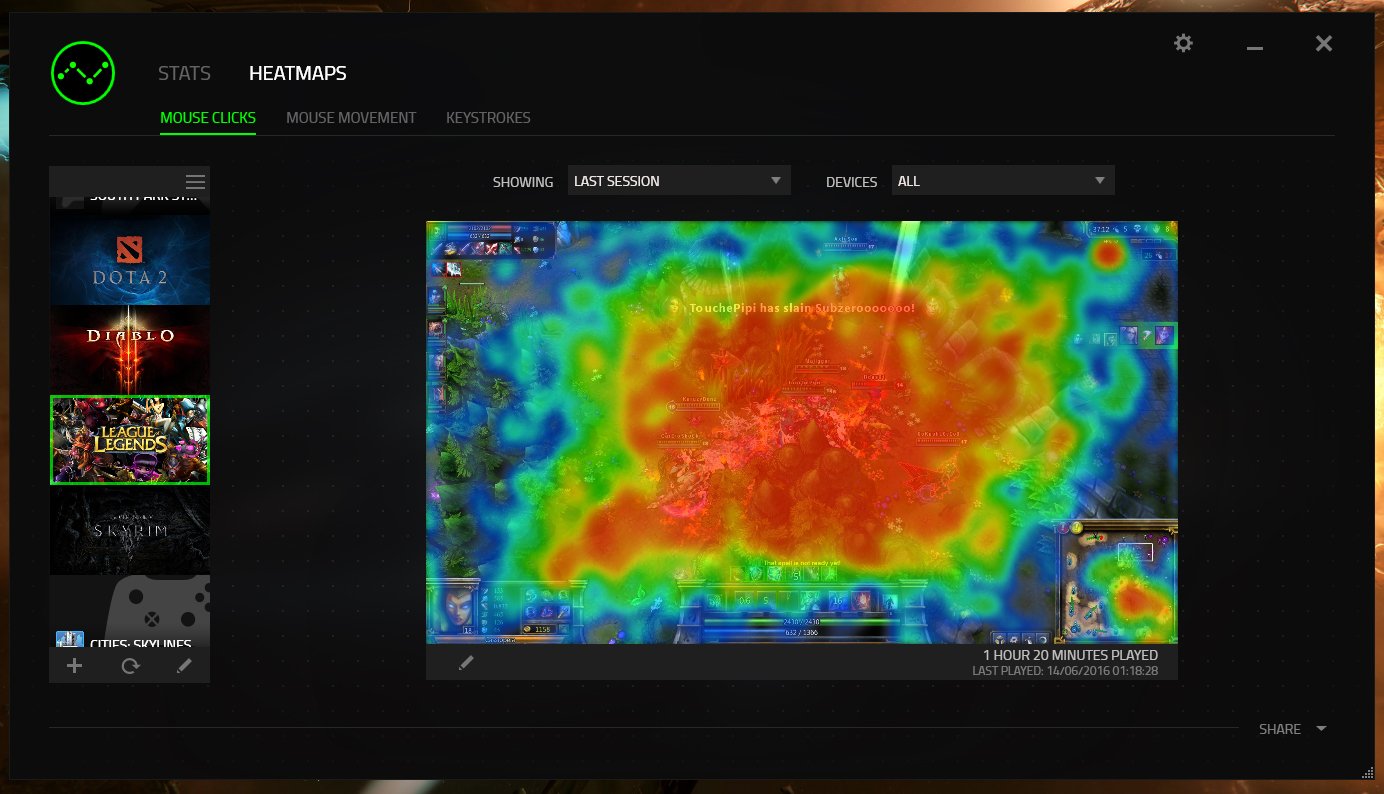
The heat maps available can show mouse clicks, mouse movement and even keystrokes from connected keyboards. The tools can provide some unique insights into how you use the peripherals and can even be used to help improve your game by enhancing movement or deploying new techniques. All-in-all, it's a great set of tools that can help you both in and out of your favorite titles.

Rich Edmonds was formerly a Senior Editor of PC hardware at Windows Central, covering everything related to PC components and NAS. He's been involved in technology for more than a decade and knows a thing or two about the magic inside a PC chassis. You can follow him on Twitter at @RichEdmonds.
