List of Minecraft Dungeons Artifact Skills and Abilities
Minecraft Dungeons' abilities aren't bound to a class structure. Instead, you equip them! Minecraft Dungeons' Artifacts give you a range of abilities to make dungeon crawling all the more fun.
Minecraft Dungeons is a dungeon crawler from Mojang, bearing similarities to Diablo and other famous action RPG dungeon crawlers. Minecraft Dungeons is set in the same blocky world as the base game, with many returning familiar monsters and creatures, albeit with an all-new abilities system, that lets you tailor your playstyle as you see fit.
Here are all the Artifacts we've found so far in the game.
Minecraft Dungeons
Main
- Unlock all Minecraft Dungeons levels
- All Minecraft Dungeons Unique Gear
- All Minecraft Dungeons Weapons
- All Minecraft Dungeons Armor
- All Minecraft Dungeons Enemies
- Best Minecraft Dungeons Builds
But wait, what are Artifacts exactly?
Skills are active abilities that you can equip, based on items and artifacts you collect throughout the game. They have varying strengths, and you can get more powerful ones as you go through the higher difficulty tiers throughout the game. Oftentimes, the game will tell you that you can get them as a reward for going through a level on a specific difficulty, and you can get them by spending emeralds at the artifact trader back at your camp.
Article continues belowCertain armor and unique enchants you get in the later stages of the game and higher difficulty tiers can, directly and indirectly, benefit your Artifacts too, lowering cooldowns, or boosting Souls gathered that power some skills.
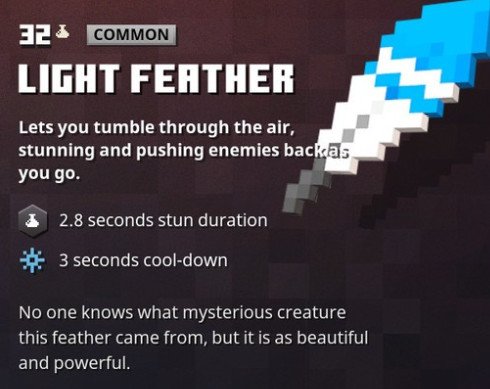
Light Feather
Light Feather basically grants you an extra dodge roll, except it will also stun an enemy near to you as you move.
This is an ideal ability to use on a character that is perhaps less physically defensive, giving you an escape mechanism if you're playing something more ranged or squishy, like a sickle-wielding assassin.
This could also be a good tool to use as a gap-closer for a berzerker or a warrior.
All the latest news, reviews, and guides for Windows and Xbox diehards.
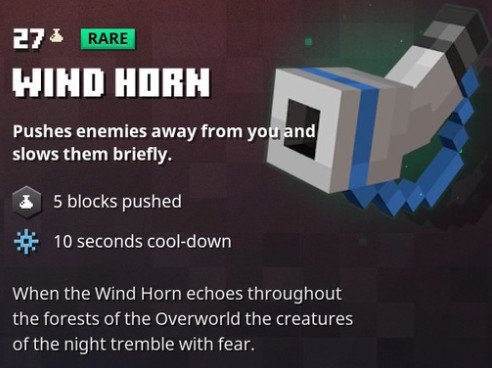
Wind Horn
The Wind Horn is an absurdly powerful skill that knocks back all enemies around you a considerable distance.
Like the Light Feather, this is another good option for ranged characters who may want to keep enemies away from them.
Even for melee attackers, this might also be good at managing large groups of mobs, or pushing away an angry Creeper or two from yourself or an ally.
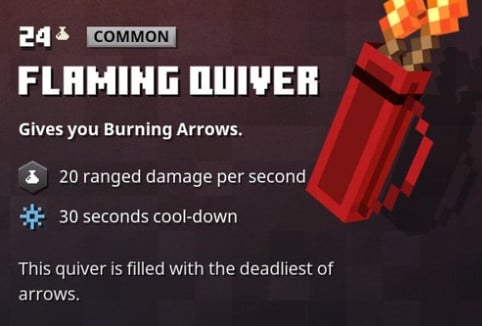
Flaming Quiver
One for the archers, this will add fire to your next few arrow shots, producing damage over time.
This is a great ability for battling mini-bosses and large bosses, who may keep you on your toes with their mechanics. Fire off a few fire arrows to ignite the target, then keep moving to avoid further damage.
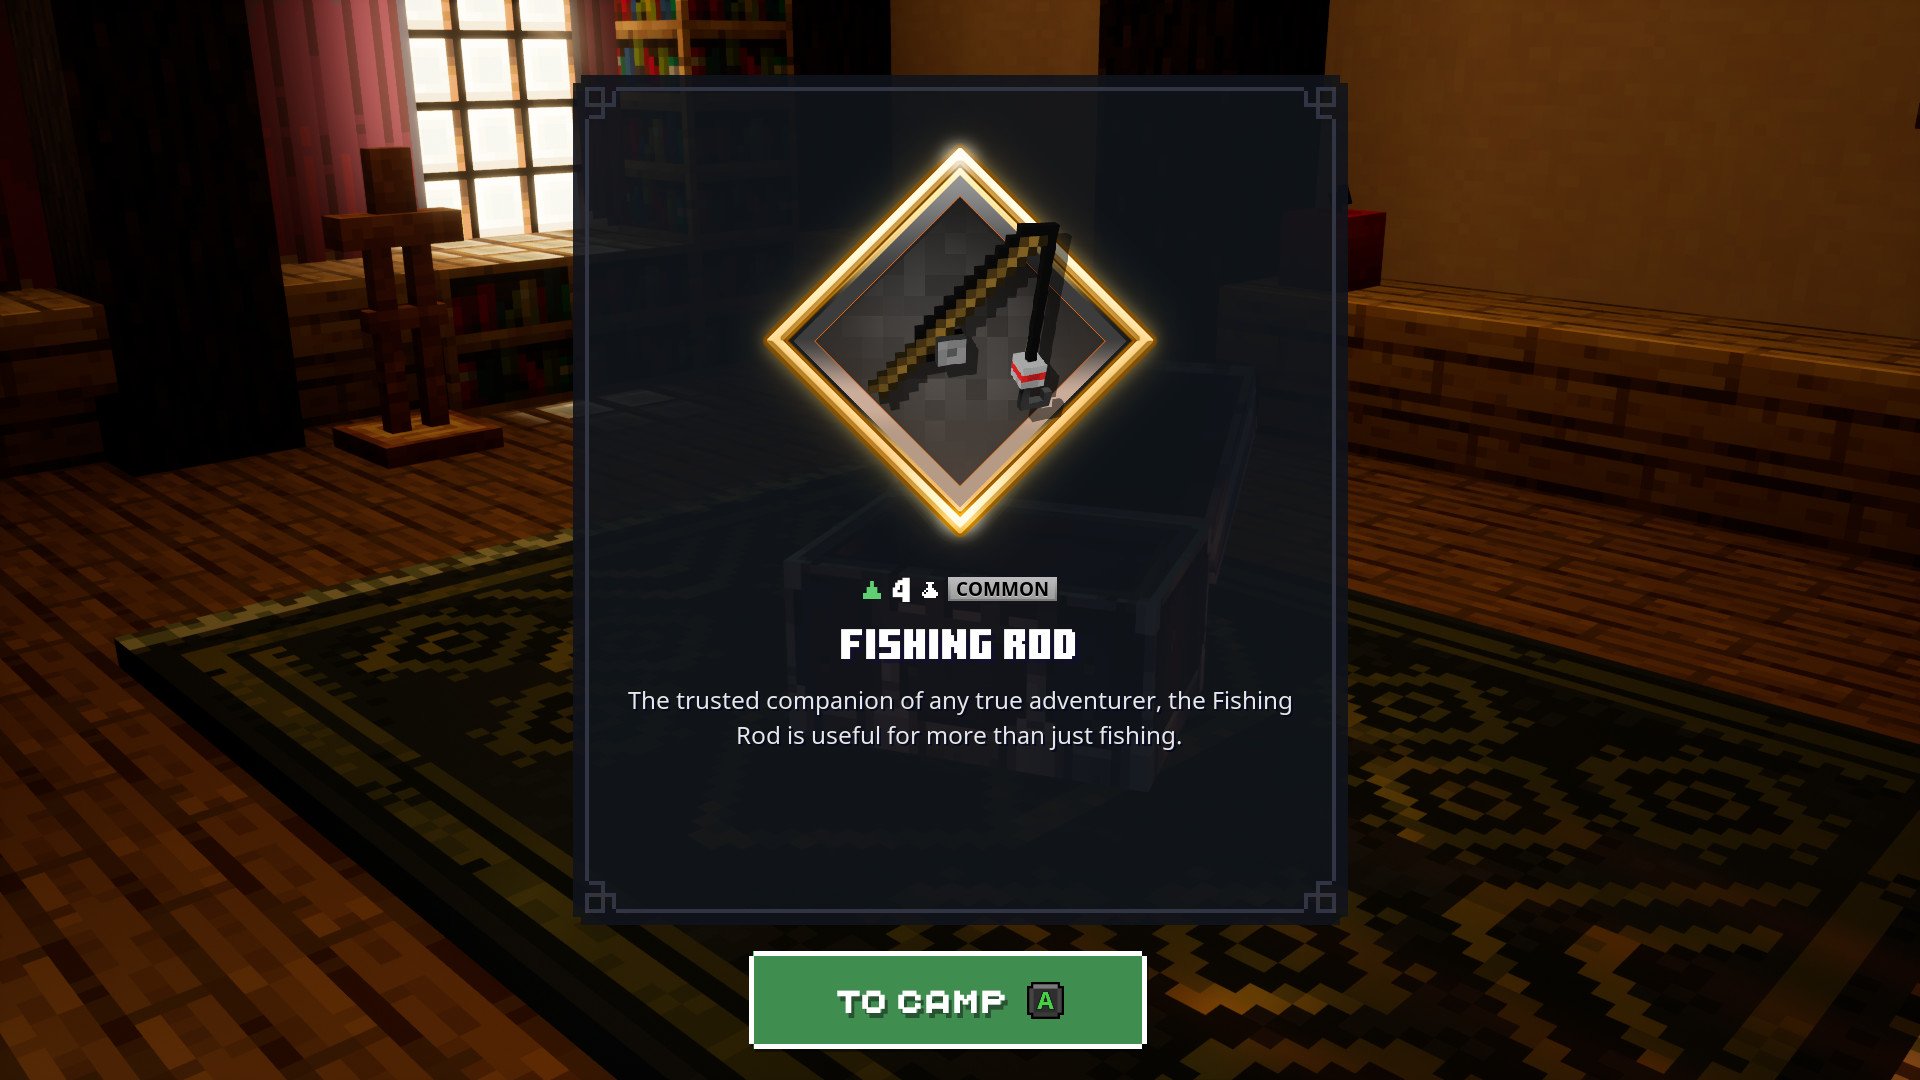
Fishing Rod
Formerly designed for relaxing weekends by the lake, this humble Fishing Rod is now a tool of death, repurposed in the battle against the Arch Illager.
A quick swing of this weapon will pull a mob towards you and stun it for a quick kill. This is useful for melee players who want to stop ranged mobs from running away.
Death Cap Mushroom
The Death Cap Mushroom is a power-up that gives you an attack and movement speed boost on a fairly hefty cooldown at base level.
This is ideal for popping in a pinch for melee-oriented characters, to fight off harder mobs or crowds of enemies.
Coupled with fast weapons like Sickles or Daggers, the Death Cap Mushroom truly lives up to its name, creating a flurry of rapid blows.
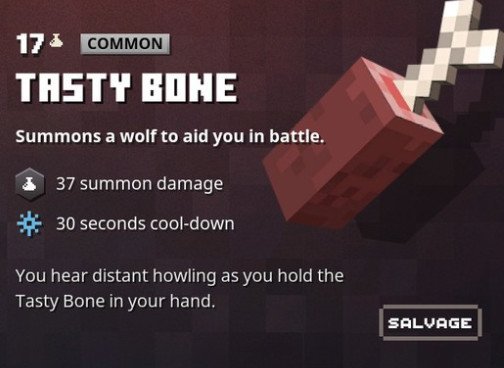
Tasty Bone
The Tasty Bone summons a trusty wolf companion to fight by your side and take agro from mobs until he dies (don't let him die!)
The higher level the item, the more damage it'll deal. You can also heal him using certain abilities that provide strength to allies, as the game recognizes the pooch as a friendly character. Targeting mobs with the Hunter's Bow lets you direct the wolf's attacks as well, and you can equip up to three of them! Sadly, you can't pet him though.
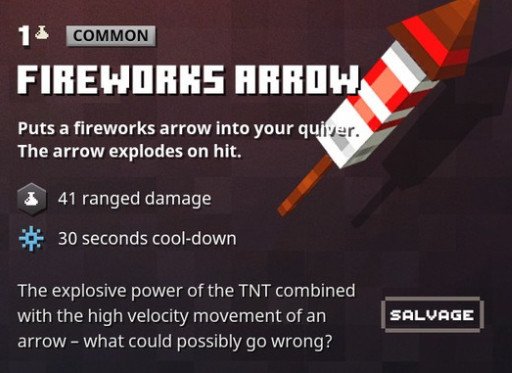
Fireworks Arrow
The Fireworks Arrow attaches an explosive to your ranged slot, allowing you to deal boosted damage and knockback in a big area of effect every few dozen seconds.
This also stacks with bow enchantments, allowing you to fire off multiple rockets at a time for example.
It also works well with other explosive enchants, and anything that helps you position mobs more easily, such as the Gravity enchantment.
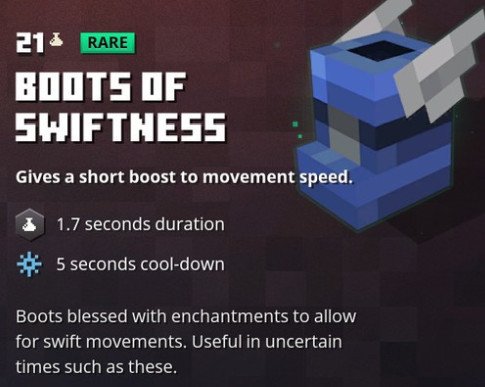
Boots of Swiftness
This gives you a short boost of speed on a fixed cool down, letting you escape from trouble in a flash.
This is great for basically any playstyle. Melee attackers can use it to close gaps with ranged enemies, while ranged playstyles can use it to escape swarms of angry Creepers.
This is a great option for any player, but the Ghost Cloak (below) is arguably a more potent option, since it grants speed while also granting pass-through.
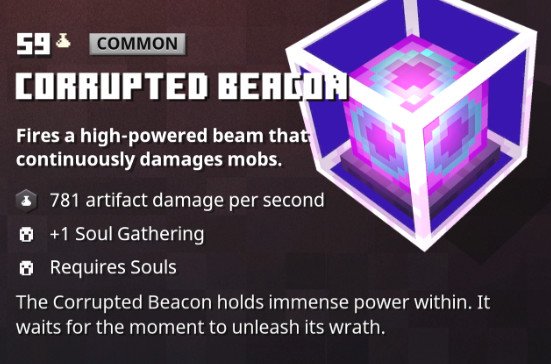
Corrupted Beacon
The Corrupted Beacon is a toggleable death-ray charged by Souls, which you obtain from defeating monsters (or using one of the end-game items that grant Souls on-hit.)
The Corrupted Beacon does crazy damage and has an infinite range, but drains Souls very quickly. This is great for wizard-style builds that focus on gathering Souls.
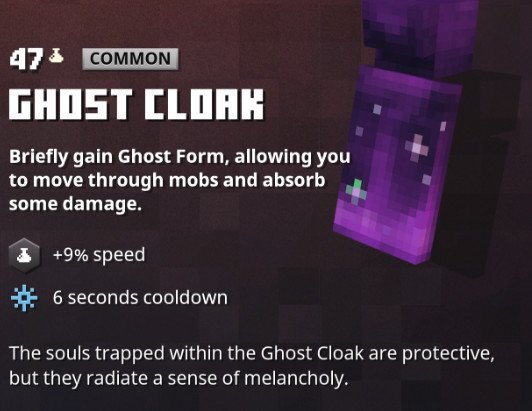
Ghost Cloak
The Ghost Cloak is a defensive tool that lets you disappear for a few seconds, with increased speed and some damage resistance.
This is a great Artifact to pick for squishy builds for characters like rogues, archers, and wizards, who may need a quick getaway tools. It can also be useful to help you close the gap with a ranged attacker, since it lets you pass through mobs when you use it. It also lets you pass through the nasty Geomancer walls, which can save your life on higher difficulties.
Golem Kit
We haven't gotten this one in-game for ourselves yet, but the Golem Kit is exactly as it sounds like: it lets you spawn an Iron Golem under your command from the base game!
Coupled with weapons like the Hunter's Bow that lets you command summoned creatures, this is a great option for summoner-style builds.
Gong of Weakening
The Gong of Weakening produces an area of effect that reduces the damage dealt by nearby mobs. This is a good pick for a melee-oriented support "Shaman"-style built to go along with some of the game's totems.
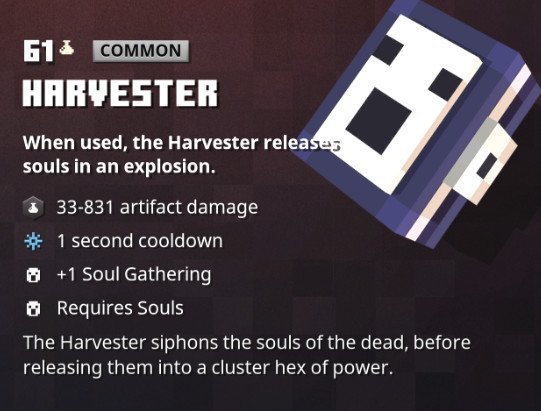
Harvester
The Harvester is a spooky book that boosts your Soul gathering, while also containing a rather impressive hidden power.
Your Soul meter charges with every mob you slay, and you can use the Harvester to then unleash a large explosion at your feet, dealing a massive amount of damage.
It depletes souls very quickly, but can be a good tool for a melee-oriented Soul build.
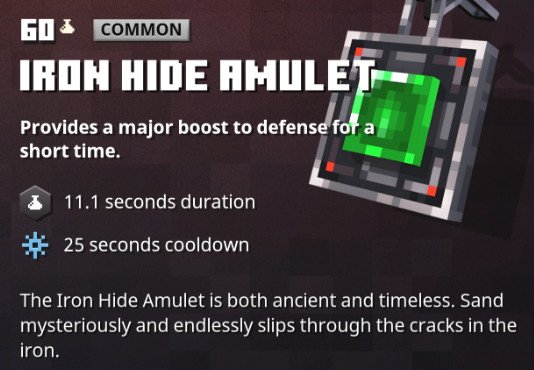
Iron Hide Amulet
The Iron Hide Amulet grants a large defensive boost on a fairly long cooldown.
This is a very high-value pick for any melee-oriented attacker, especially in the higher difficulties when mobs deal very high amounts of damage. If you want to play as a holy warrior or a berzerker, you should consider getting one of these for your arsenal.
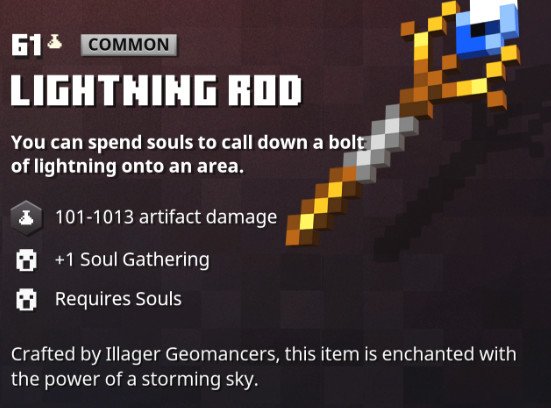
Lightning Rod
The Lightning Rod is a Soul-powered staff that summons a large lightning bolt on a targeted mob, landing after around a second or so.
The blast radius can be seen around the mob, and can hit multiple targets in a small area of effect.
This is a great ability for anyone who wants a Wizard or Battlemage-type playstyle.
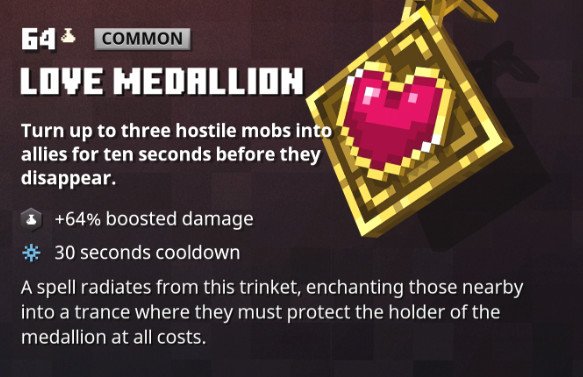
Love Medallion
The Love Medallion is a powerful Artifact players can use to turn mobs against their allies.
The cooldown is fairly long at 30 seconds but paired with gear that lowers Artifact cooldowns such as some of the Wizard-style sets can reduce it.
This can be a powerful defensive and offensive ability, removing attacking enemies and turning them against your foes. Note that it doesn't work on boss-type mobs.
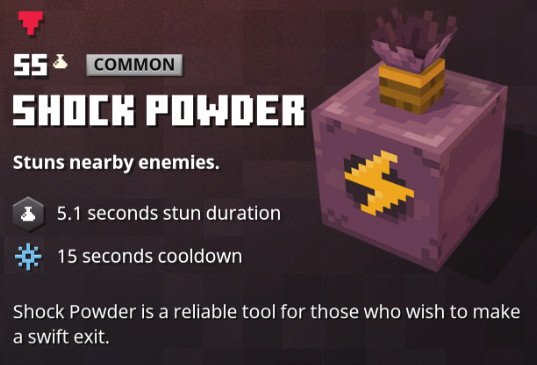
Shock Powder
Shock Powder is what you'll want to use as a light-armored melee attacker, such as a rogue-style or berzerker-type player.
The Shock Powder creates a large cloud, stunning all nearby mobs for a significant amount of time. If you're a character that is a bit squishy, this is a great tool to keep mobs still while you slap them down or make a rapid escape. Note that it doesn't work on bosses, or even mini-bosses, though (I found out the hard way).
Soul Healer
The Soul Healer is a medallion that grants a sizeable heal to a member of your party (including yourself) with the lowest health. It's powered by Souls, and with a full Soul bar you can cast it around three to four times before running empty.
The heal itself also has a bit of a travel time and a minimum range, so make sure your comrades remember to stand near you if they want to get healed.
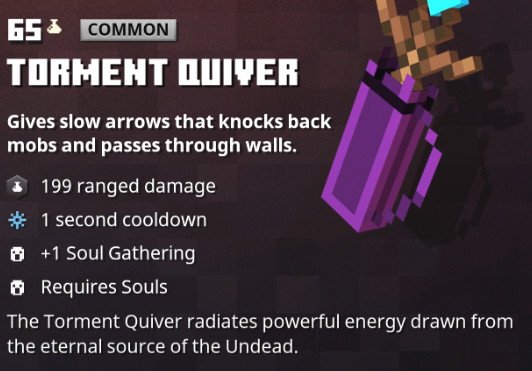
Torment Quiver
The Torment Quiver is a fun Artifact ability that gives Soul-oriented builds some seriously impressive ranged capabilities.
When you activate the Torment Quiver, you gain three arrows that can pass through walls, that also knock back mobs. The ability stacks with any arrow enchant you may have too. One build I was using gave me a chance-on-hit to get a triple-crit, and another enchant granted me a chance to shoot five arrows in a radius. Using the Torment Quiver, I was effectively sending out slow waves of death that cut through large groups of mobs.
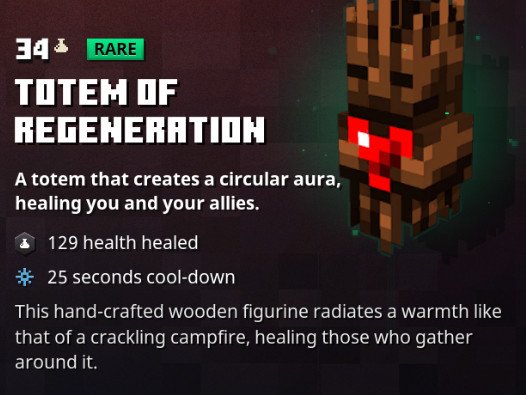
Totem of Regeneration
The Totem of Regeneration is a support Artifact that lets you create an area of passive health regen, as its name suggests.
The heal itself doesn't seem particularly potent, and may need to be paired with other support abilities or Unique enchants to really shine.
There are some items and armor sets in the game that provide passive auras, and this Totem may be good to stack with lifesteal and other regenerative health enchants.
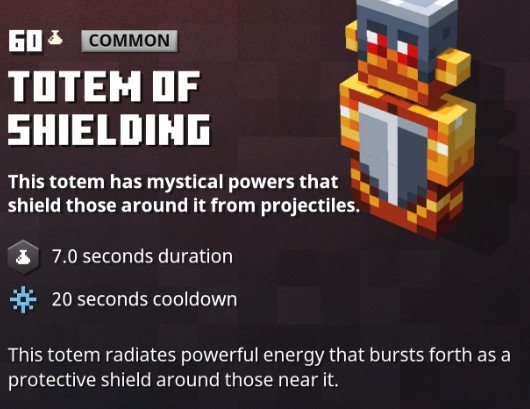
Totem of Shielding
Similar to the Totem of Regeneration, the Totem of Shielding creates a magical bubble that can protect you and your allies.
The Totem of Shielding deflects projectiles, which can be particularly handy in some of the later levels when crossbow-wielding Illagers show up in large swarms. They hurt!
Totem of Soul Protection
We haven't actually found this one in-game yet, but it creates an aura when it hits the ground, preventing your allies from suffering from a killing blow for the duration. We'll add some more detail here when we get to try it out for ourselves.
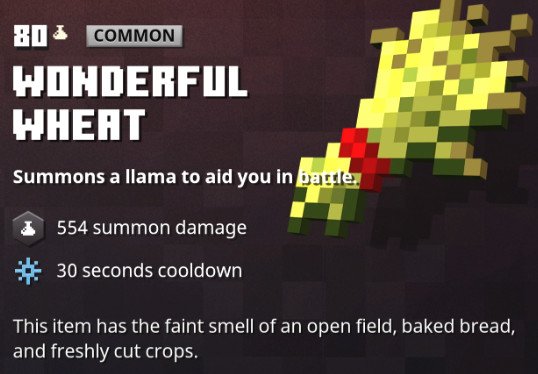
Wonderful Wheat
The Wonderful Wheat is rather wonderful indeed, as it lets you spawn a llama!
Llamas do summoning damage at range, spitting at anything and everything hostile they see. You can even equip three of them at once, for maximum llama mayhem. Builds that boost pet damage or improve pet targeting will benefit most from llama friends.

Jez Corden is the Executive Editor at Windows Central, focusing primarily on all things Xbox and gaming. Jez is known for breaking exclusive news and analysis as relates to the Microsoft ecosystem — while being powered by tea. Follow on X.com/JezCorden and tune in to the XB2 Podcast, all about, you guessed it, Xbox!

 Windows Central Insider


