Stardew Valley beginner's guide: how to play, make easy money and more!
Stardew Valley is available now on Xbox One, and while it looks simple on the surface, there is a lot to learn!
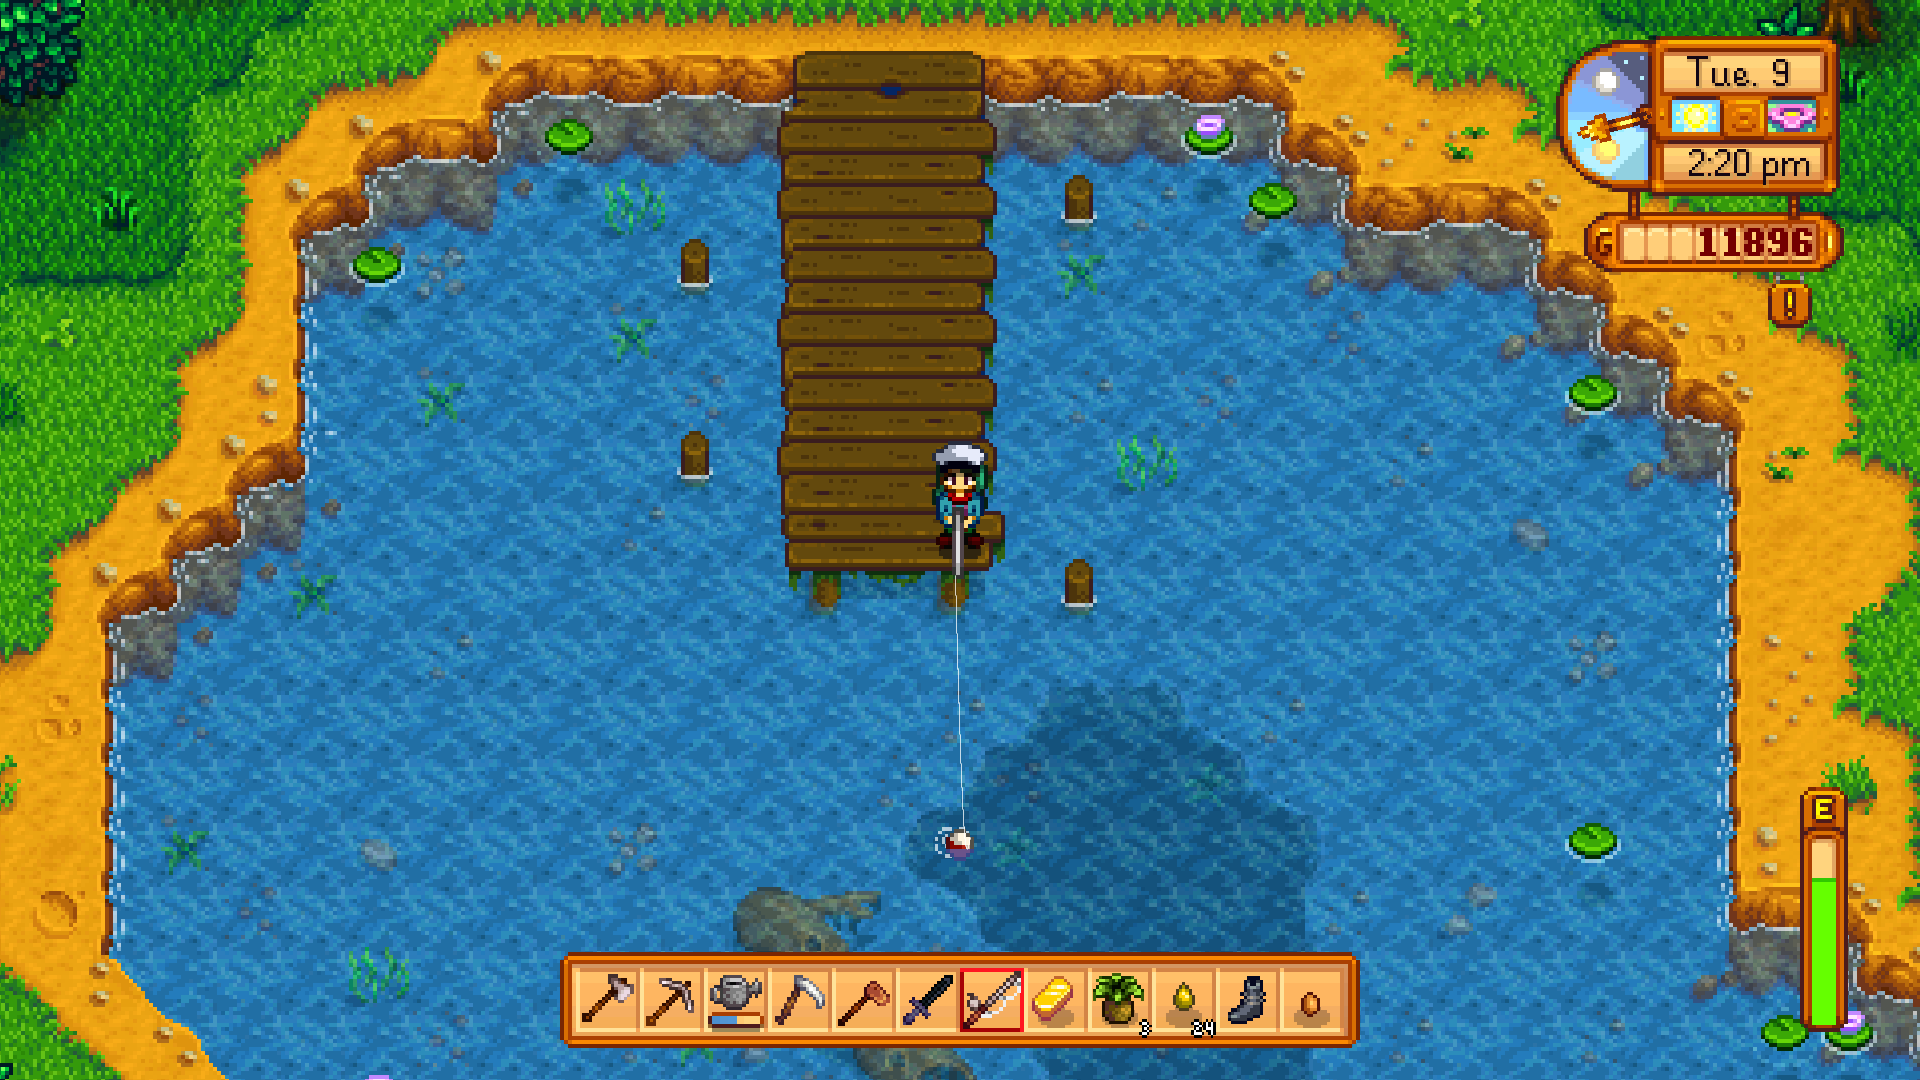
With changing seasons, tool upgrades and ores and minerals to collect, animals to look after and crops to harvest... where on earth do you start? These tips should help you on your way to creating a successful and bountiful farm!
What is Stardew Valley?
Stardew Valley is an indie farming simulation game, with RPG elements. It is available for Xbox One, PS4 and PC, and it's bloody wonderful. Your grandfather has passed his old farm onto you and you need to get it up and running.
Just how you do that is entirely up to you. Stardew is a particularly 'open' game; you have a lot of freedom to farm just how you want and if you don't keep a goal in sight, it's easy to get off track and lose your momentum.


Before you even begin...
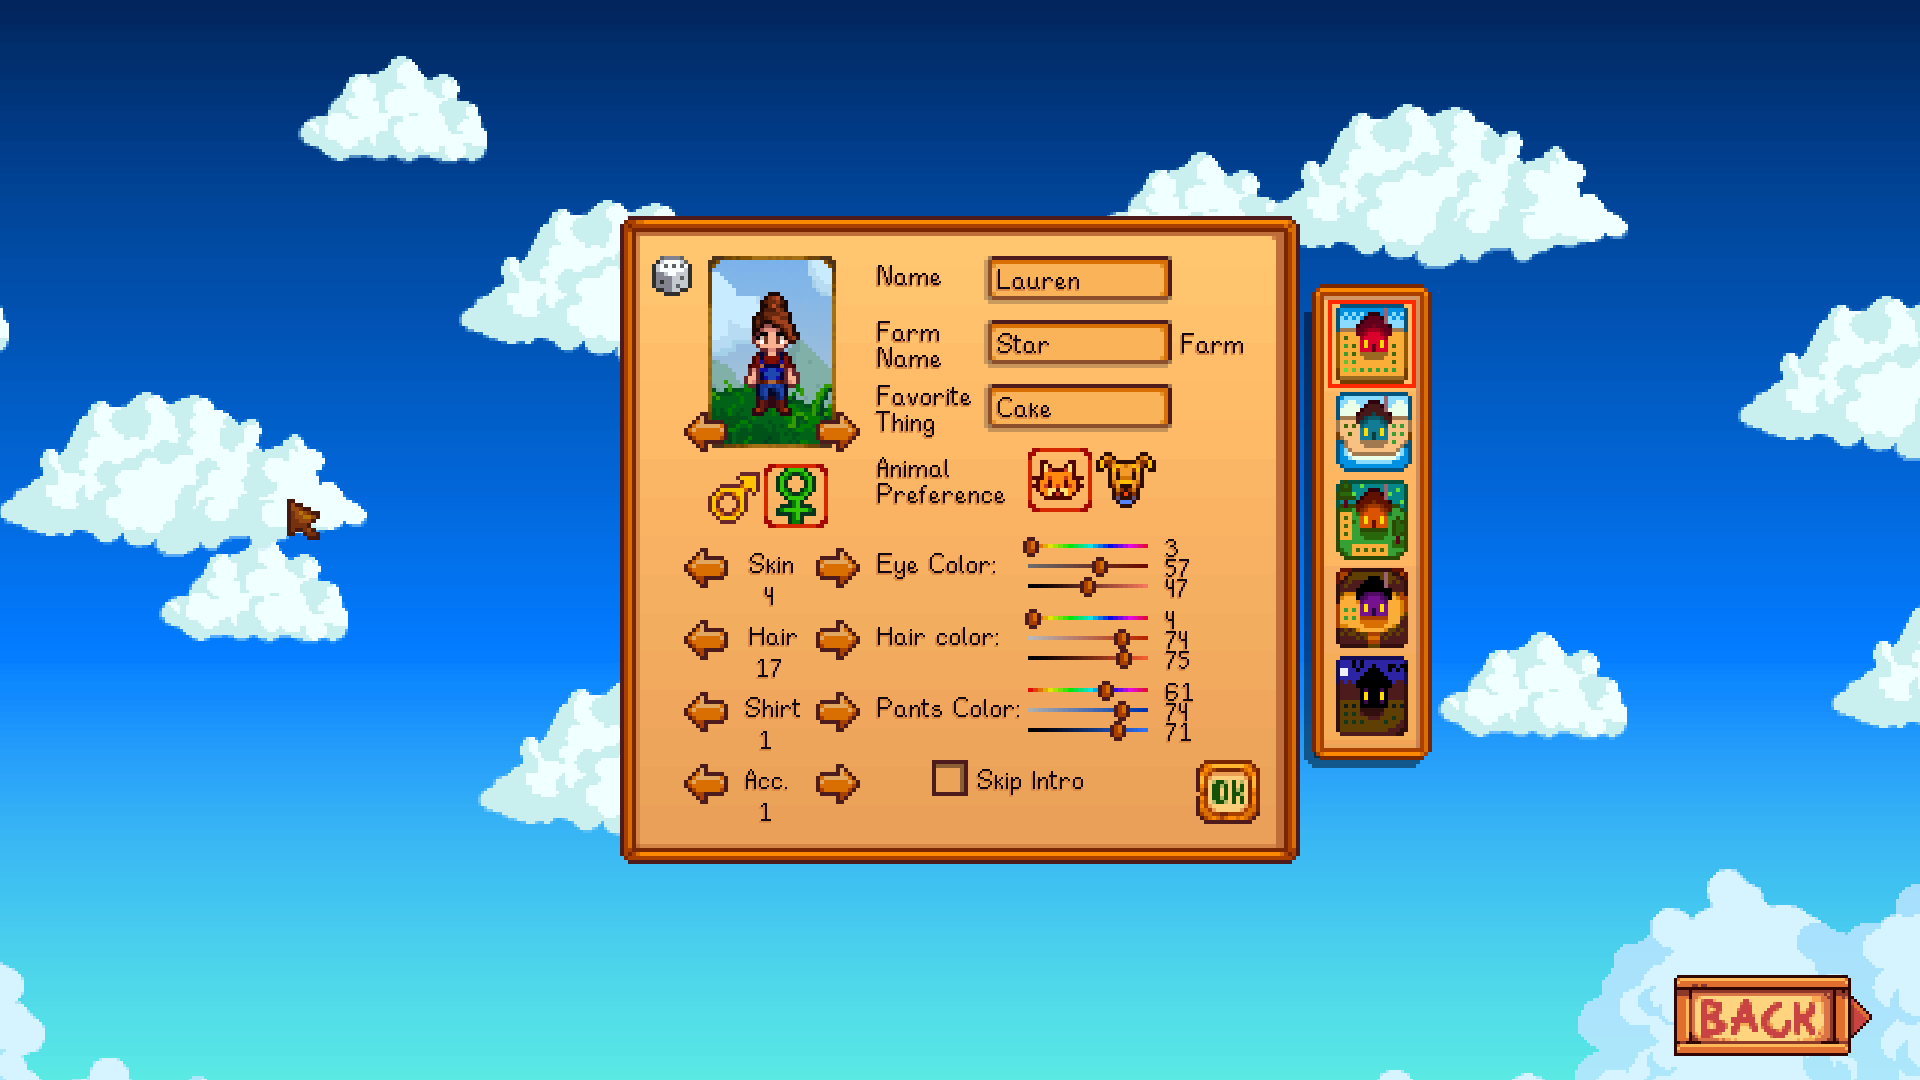
You'll need to create your character and pick where your farm is located. Here is a breakdown of each location you could choose:
- Standard - offers a large amount of open space to get creative with your farm design.
- Riverland - the farm is on a number of islands and riverbanks. Fish are more common.
- Forest - the woods are on your doorstep, limiting the space, but an increased bounty of natural goodies.
- Hilltop farm - set on a rocky terrain and a winding river, there isn't a lot of space for creative farming, but there is a mineral deposit for mining.
- Wilderness - lots of spacious land, but monsters come out at night.
Home on the range
When you're able to take control of your character and start your new life as a farmer, you'll notice you have some tools on your toolbar.
- Hoe - tills soil to plant crops.
- Sickle - cuts grass and vegetables.
- Watering can - watering crops.
- Axe - cutting down trees and logs.
- Pickaxe - breaking stones and boulders.
Later you can also get a fishing pole and a sword. More on these later!
All the latest news, reviews, and guides for Windows and Xbox diehards.
As you use your tools, they level up in Proficiency. Proficiency can have a number of different effects: it will mean you use less energy when you use a tool, you could hold a tool's action before releasing to have a larger area of effect, the green 'reel' bar in fishing becomes bigger, or you may be able to learn a new crafting recipe or pick a perk.
Your first task should really be clearing a patch in the awful mess that has grown in the time Grandpa has been "gone". Clearing the rocks will give you stone, trees and branches will give you wood, and clearing weeds and grass will give you mixed seeds and fibers. Hang onto these for as long as it takes until you're able to build a chest. They will stack to a maximum of 999, so you don't have to worry about them taking up loads of inventory space.
Green thumbs
On your first day, when you wake up you'll find a box on the floor of your house. It contains 15 parsnip seeds, and this is a good opportunity to get to sowing.
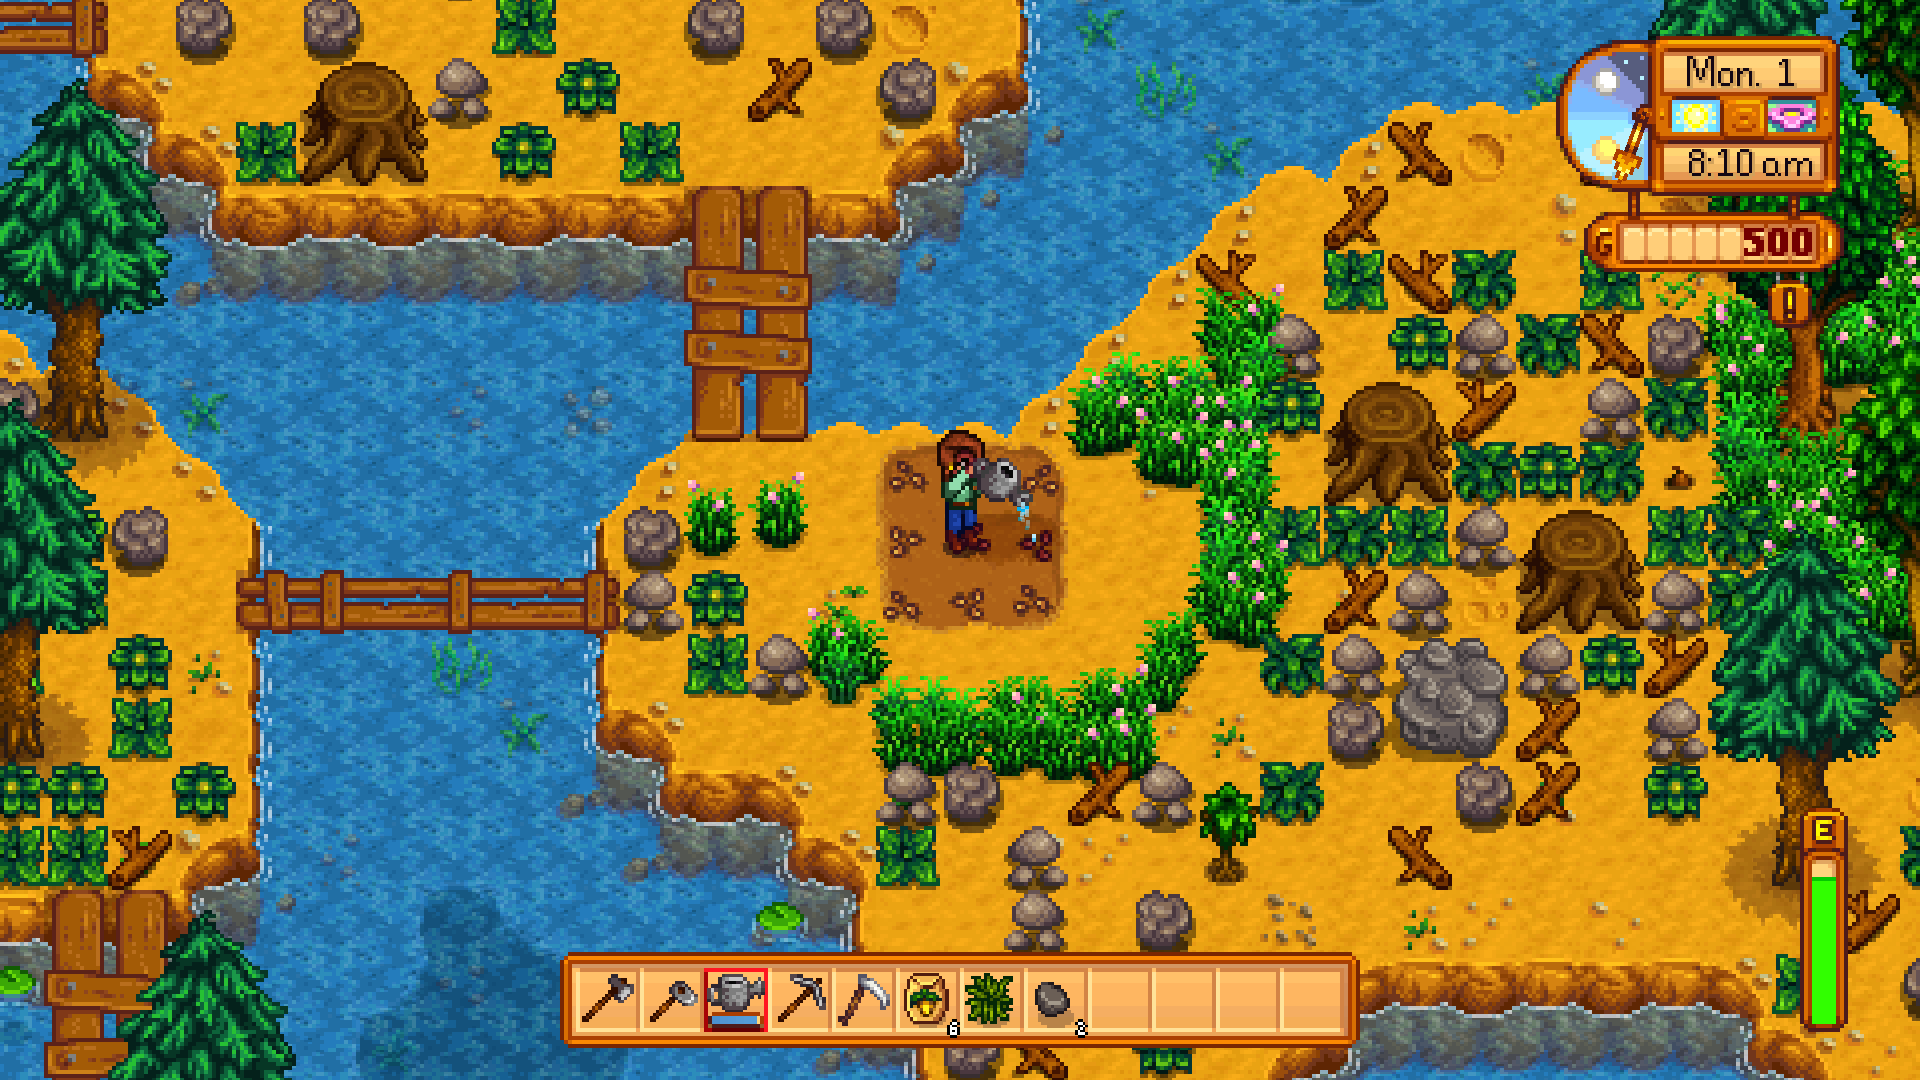
Scroll to the hoe in your toolbar. You'll need to make a patch of 15 tilled tiles, plant the seeds on the soil, and water them. Maintaining your growing patches will be a constant battle, and you'll also have to take your farm design into account when deciding what crops to plant. If a crop creates a patch that you can't walk over once it has begun shooting, you're going to lose access to the plants behind it. Those will wither and die, so take that into consideration.
Some crops such as green beans will be on a trellis. You can't move through these, so it's a good idea to create a patch of "strip plots" - plots that are long or tall but only one or two tiles wide, with enough space to access all of the squares from one side or another.
Note: Sickles/scythes will not cut down crops that aren't ready to be harvested yet! Go crazy with them in your vegetable patch and see what happens... Spoiler: nothing.
How often should I water my crops?
Crops should be watered once a day, with a couple of exceptions.
- On rainy days.
- When you have fertilized the soil with Retaining Soil, which should (but not always) hold water overnight.
- When you have installed a sprinkler system. The basic sprinkler will water the crops around them in a cross shape +, an advanced sprinkler will water every square that surrounds it to a depth of one tile, and an Iridium sprinkler will water up to 24 tiles at once.
Sprinklers will really cover you when you upgrade your watering can and don't have access to it for a couple of days.
Where do I get seeds?
Seeds can be bought at Pierre's, the General Store in Pelican Town. You can also buy them at special events throughout the year, at the Oasis in Calico Desert, get them as rewards from donating books to the Town Library and fulfilling Junimo bundles at the Community Centre. You could also learn a crafting recipe for, or create a Junimo bundle to receive a Seed Maker, which takes one crop and turns it into a couple of seeds!
How do I grow giant crops?
Have you ever walked out of your house one morning and found a GIANT crop sitting in the middle of your vegetable patch? I'm not talking the difference between a normal and large milk... this thing is 9 tiles in size! Don't worry if you haven't, here's how you can. To grow crushing cauliflowers or massive melons, till the toil in a 3x3 grid, fertilize with Quality Fertilizer, and plant cauliflower, melons or pumpkins. To harvest it, you'll need to hit it with an axe, and it will yeild twice the amount of produce. Leaving ripened crops for a day or two after they are due for harvesting may also prompt them to join together into one large crop.
Worm patches
See the little wriggly worms here and there while tending to your duties? You'll find them on the farm and in the town and all surrounding areas. If you dig them up with your hoe you can get different items. The most common are seeds, or clay and stone - but sometimes you can dig up artifacts that can be donated to the Town Library. Rewards for donating will help you on your farm, or decorate your house, but if you donate enough you will be given the Rusty Key to open the Sewer.
Boulder Breaker
Mining is a necessity in Stardew Valley. Your Pickaxe will become your most-used tool, and is useful not only on the farm but in the Mines and Quarry, too. Mining is a great way to make money and collect a lot of resources that you will need to upgrade items.
The Mine
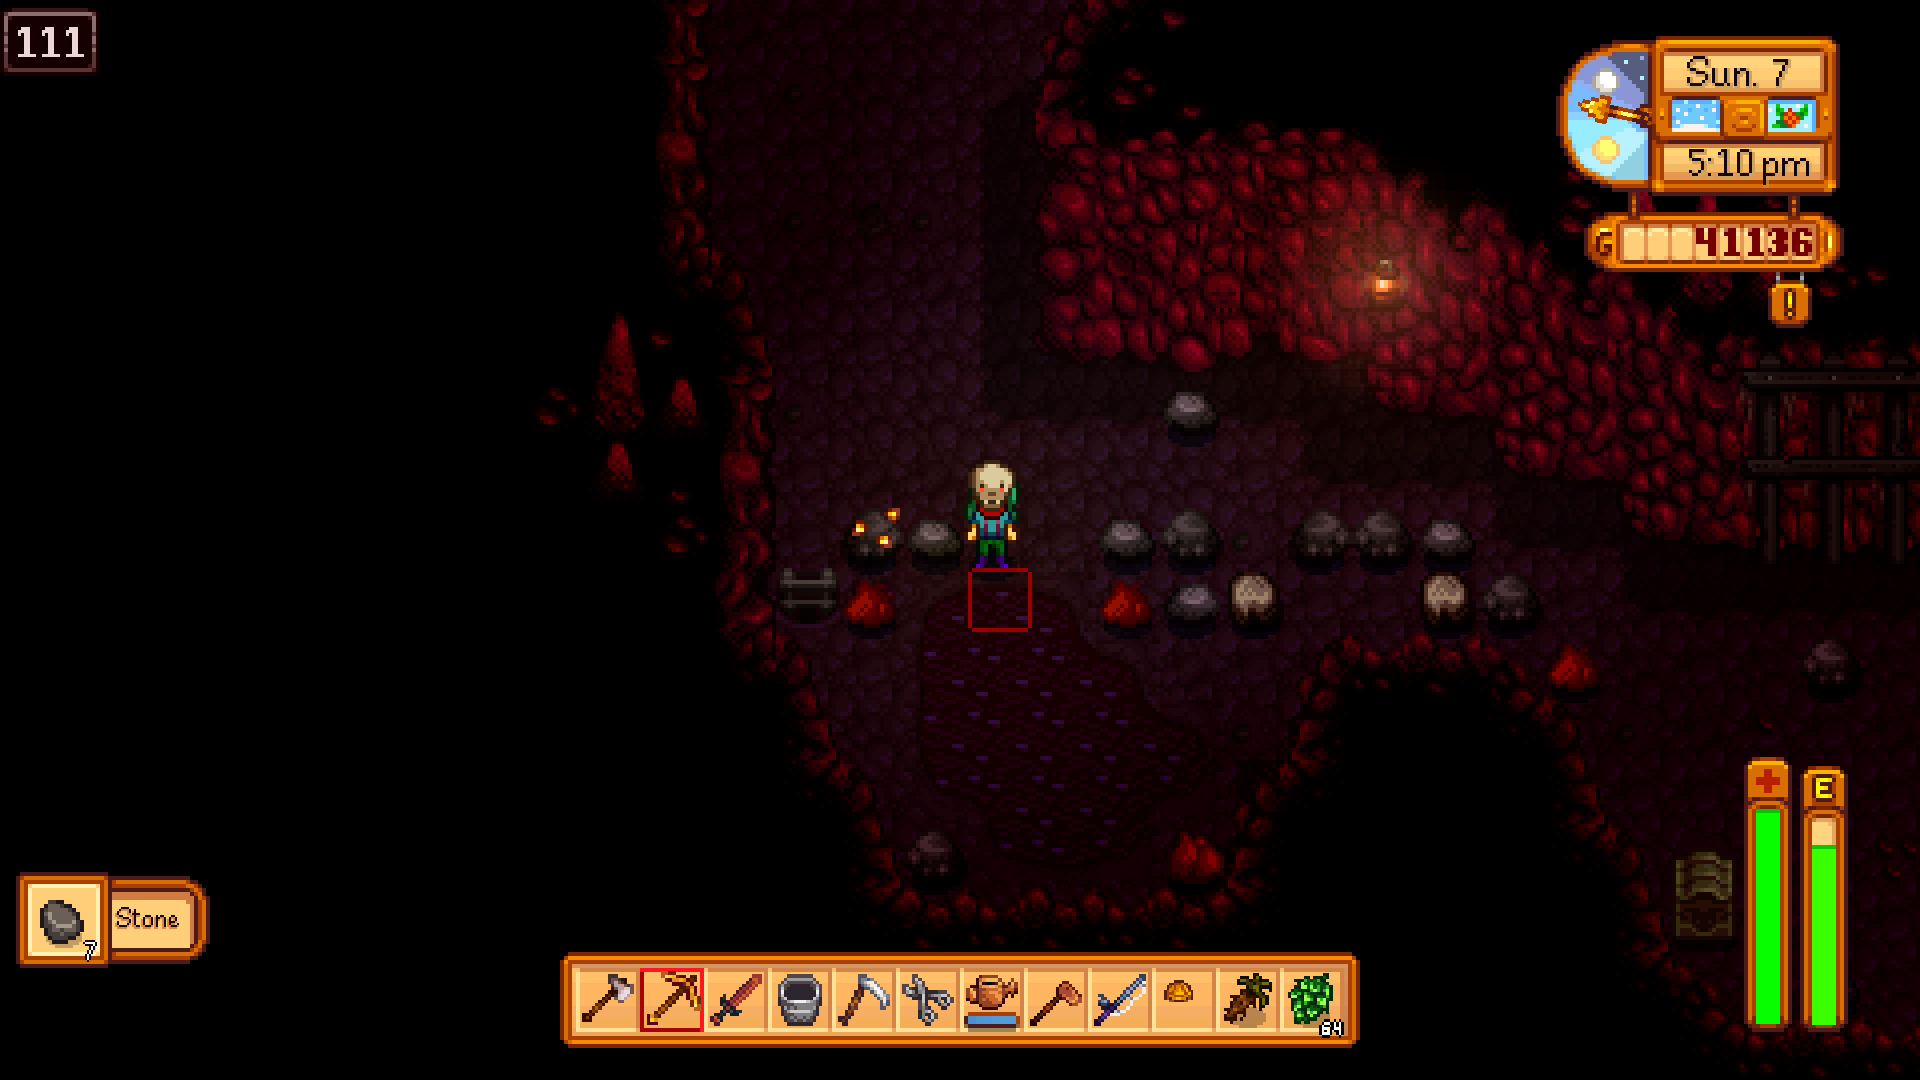
When the Mine is opened after Day 5, you will be given a challenge to plumb the depths. As you descend, you will come across monsters and more rare and valuable gems and ores. The elevator on the ground-floor of the Mine will become active once you have reached level 5, and every 5 subesquent levels will become available once you have reached those floors. Some floors have an open ladder showing the way to the next floor below, but when there isn't you'll have to find one by breaking the rocks on the floor. You can speed this process up by using bombs to clear out clusters, which also saves on using your energy.
Skull Cave
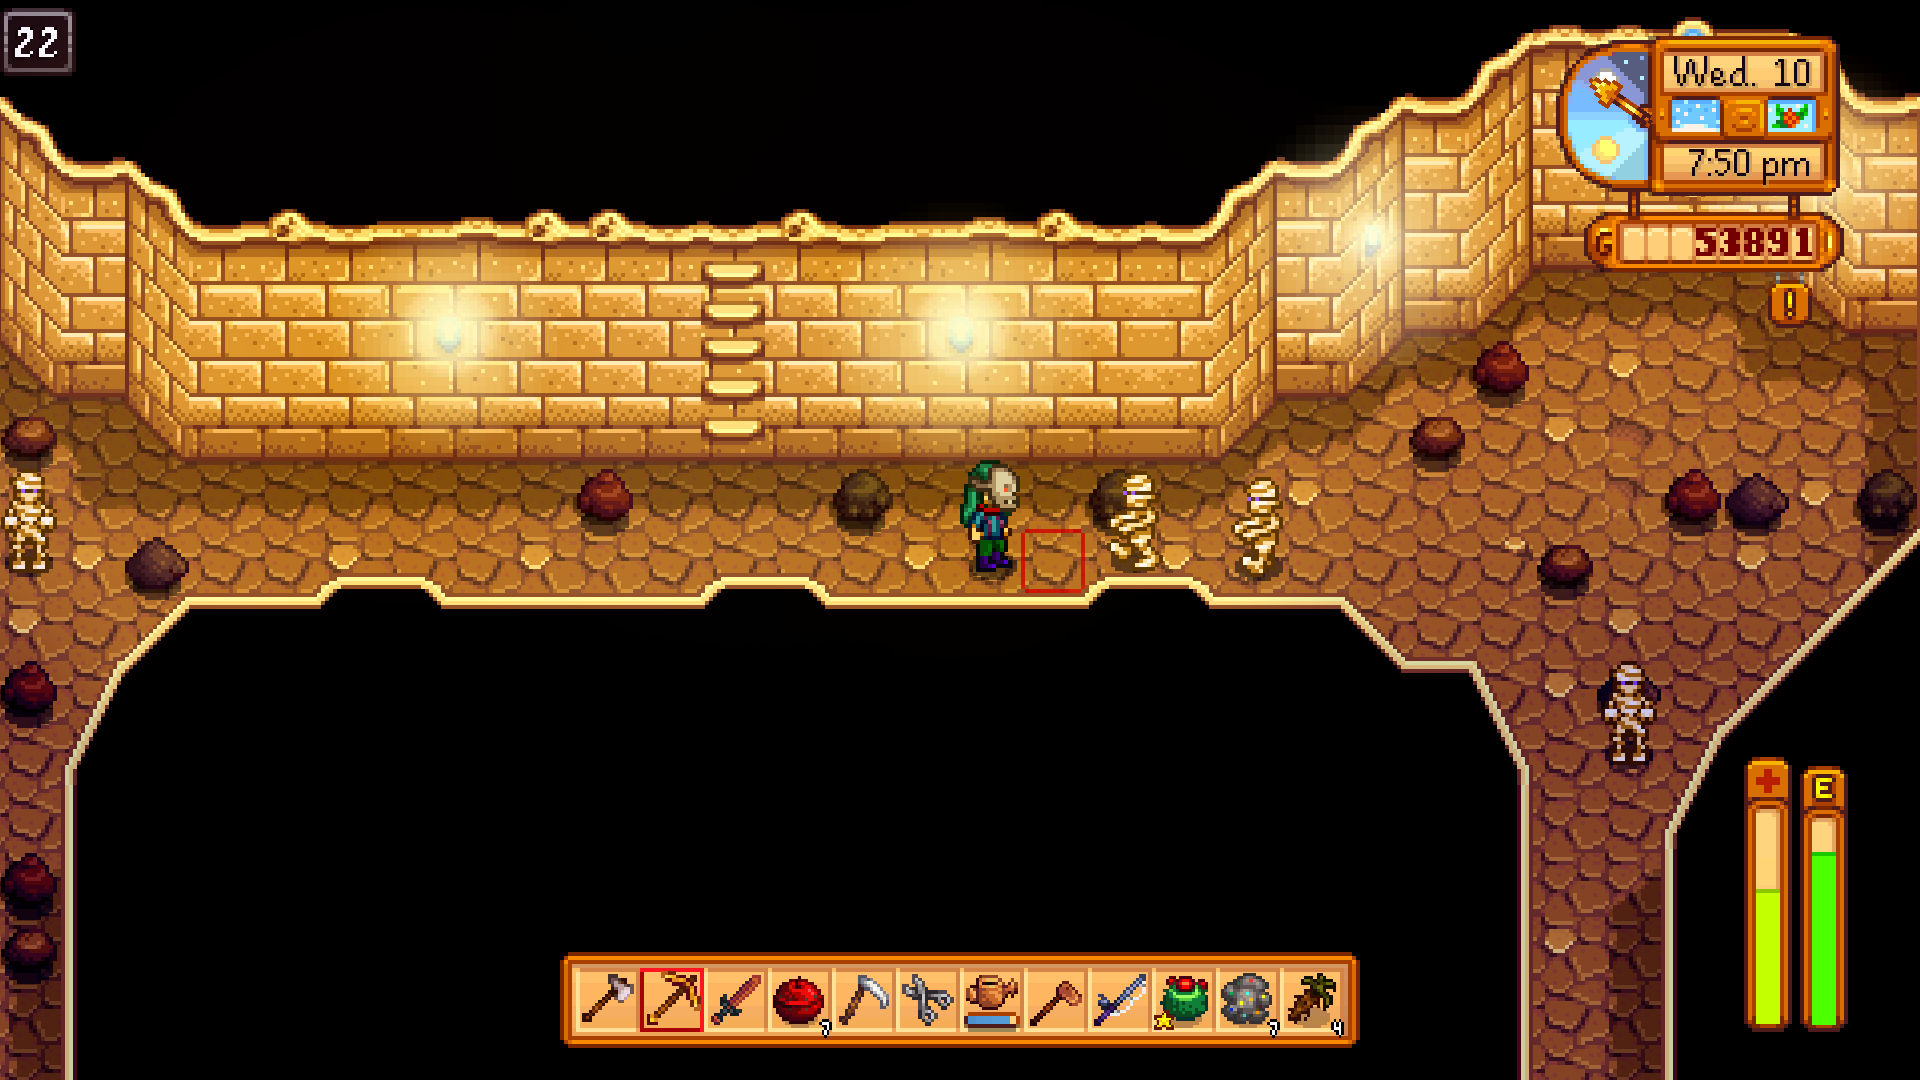
When you reach level 120 of The Mine, you'll have reached the bottom and your reward is a mysterious Skull Key. The Skull Key opens Skull Cavern, found in Calico Desert. Skull Cavern is bottomless, and you will descend for as long as you can, collecting rare ores and items and fighting monsters.
Geodes
Geodes can hold a variety of mundane or rare items inside them. They can be broken open by Clint the Blacksmith at 25G per geode. Sometimes he may find a rare artfact or mineral inside that can be donated to the Town Library.
How can I get the most out of Mining?
First and foremost, take some health and stamina restoring items with you every time you go into the Mine. Meals are often a good idea because they can come with buffs that might also increase your proficiency for a short time.
If you want to make big bucks from Mining, select the Geologist perk at level 5 which will increase the likelihood of gems appearing in pairs by 50%, and select Gemologist at level 10 which increases gems value by 30%. A diamond will go from 750G to 975G.
Fishing Master
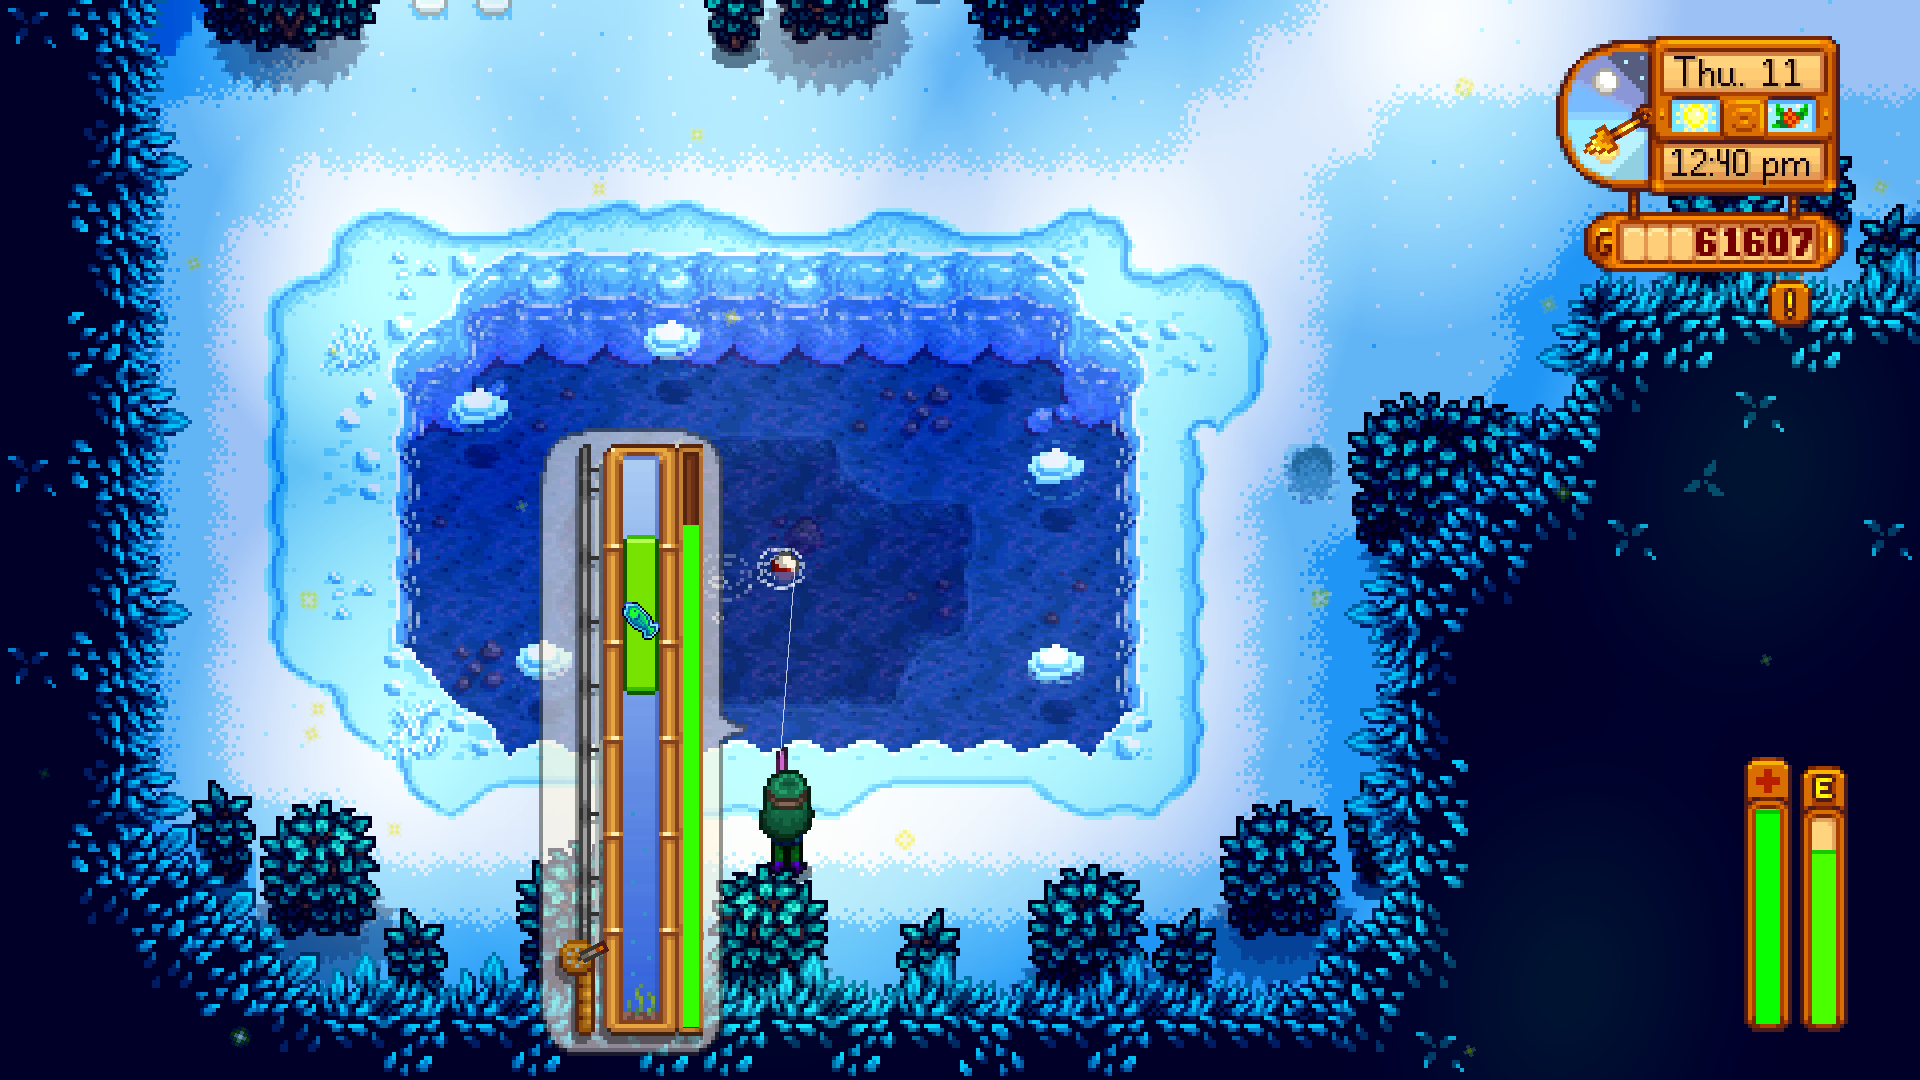
Fishing can be difficult, and until you get the hang of it, is quite likely to be your most under-developed skill. The aim of the fishing mini-game is to keep the green 'fishing' over the fish icon, until the 'catch' bar on the right hand side fills to the top. The difficulty comes in that some fish dart around quite quickly, making it very hard for you to keep the reel bar on the fish, and the catch bar decreases while they are not in contact. When the catch bar is empty, the fish has gotten away and you will have to recast your line.
Bait
Whether you use bait is up to you. Its purpose is to increase the 'bite rate', the amount of time between casting the line and waiting for a fish to bite. It may be an idea to use bait when you are after a particular fish that only comes out at certain times of day during particular weather conditions, just so you have a larger number of potential catches in the sometimes tiny window of opportunity.
Crab Pots
Crab Pots have to be baited, but if you pick the Trapper perk at Level 5 (Less resources required to make Crab Pots), when you reach level 10 you will be able to choose between never having to bait the Crab Pots, or never catching trash in them. Both are equally attractive perks, but if the money aspect is more important to you I'd pick never catching trash, as trash is essentially useless (even if you have a recycling machine you can get trash to recycle everywhere else). I have 9 Crab Pots, with the no bait perk I'd still have up to 9 pots to fill with trash, I just won't be wasting the bait to catch it. Whereas if I had the no trash perk, I'd still have to bait my pots, but I'd always catch something I could sell.
Fishing with Crab Pots still increases your fishing skill, as does catching trash.
Tackle
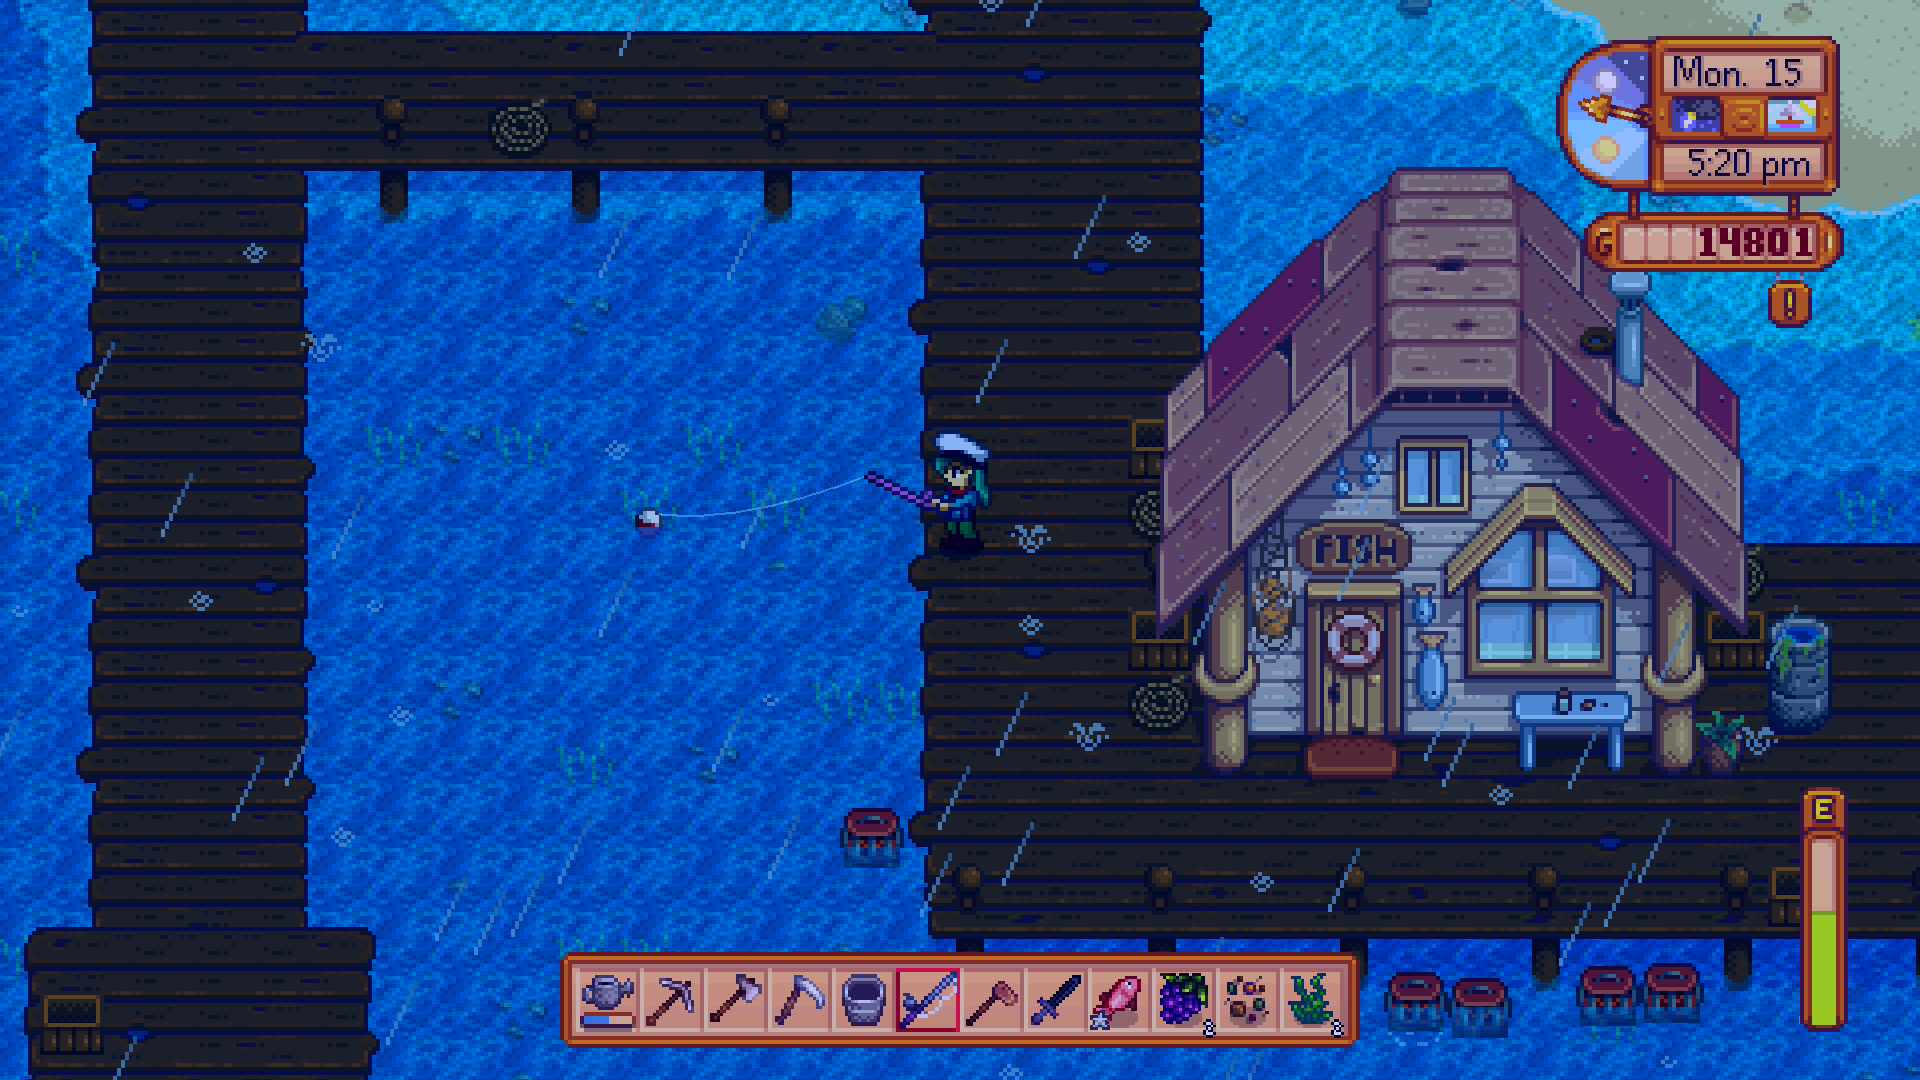
Tackle and lures can make fishing much easier, though you should bear in mind that fishing gets easier the higher level you are. There are some tackles like the Cork Bobber which increases the length of your fishing bar, making it easier to catch fish that zip about in a smaller area. You can get one that stops your line from bouncing on the floor. You will learn crafting recipes for these, or you can buy them from Willy's shop.
Is there money to be made in fishing?
Almost certainly. There are many places to fish all around Stardew Valley, even in the sewer and mines. In those barren days at the start of the seasons when you're waiting for your crops to mature, you could spend your time at the riverbanks fishing for Shad, or take a wander down to the beach and fill your pockets with shells. Then head to Willy's shop on the water and sell him your fishy foragings to make some more room - rinse and repeat! At Fishing level 5 you pick the perk to increase the shipping value of fish by 25%, and at level 10 you can increase it with the Angler perk, for an additional 50%.
Farming Fanatic
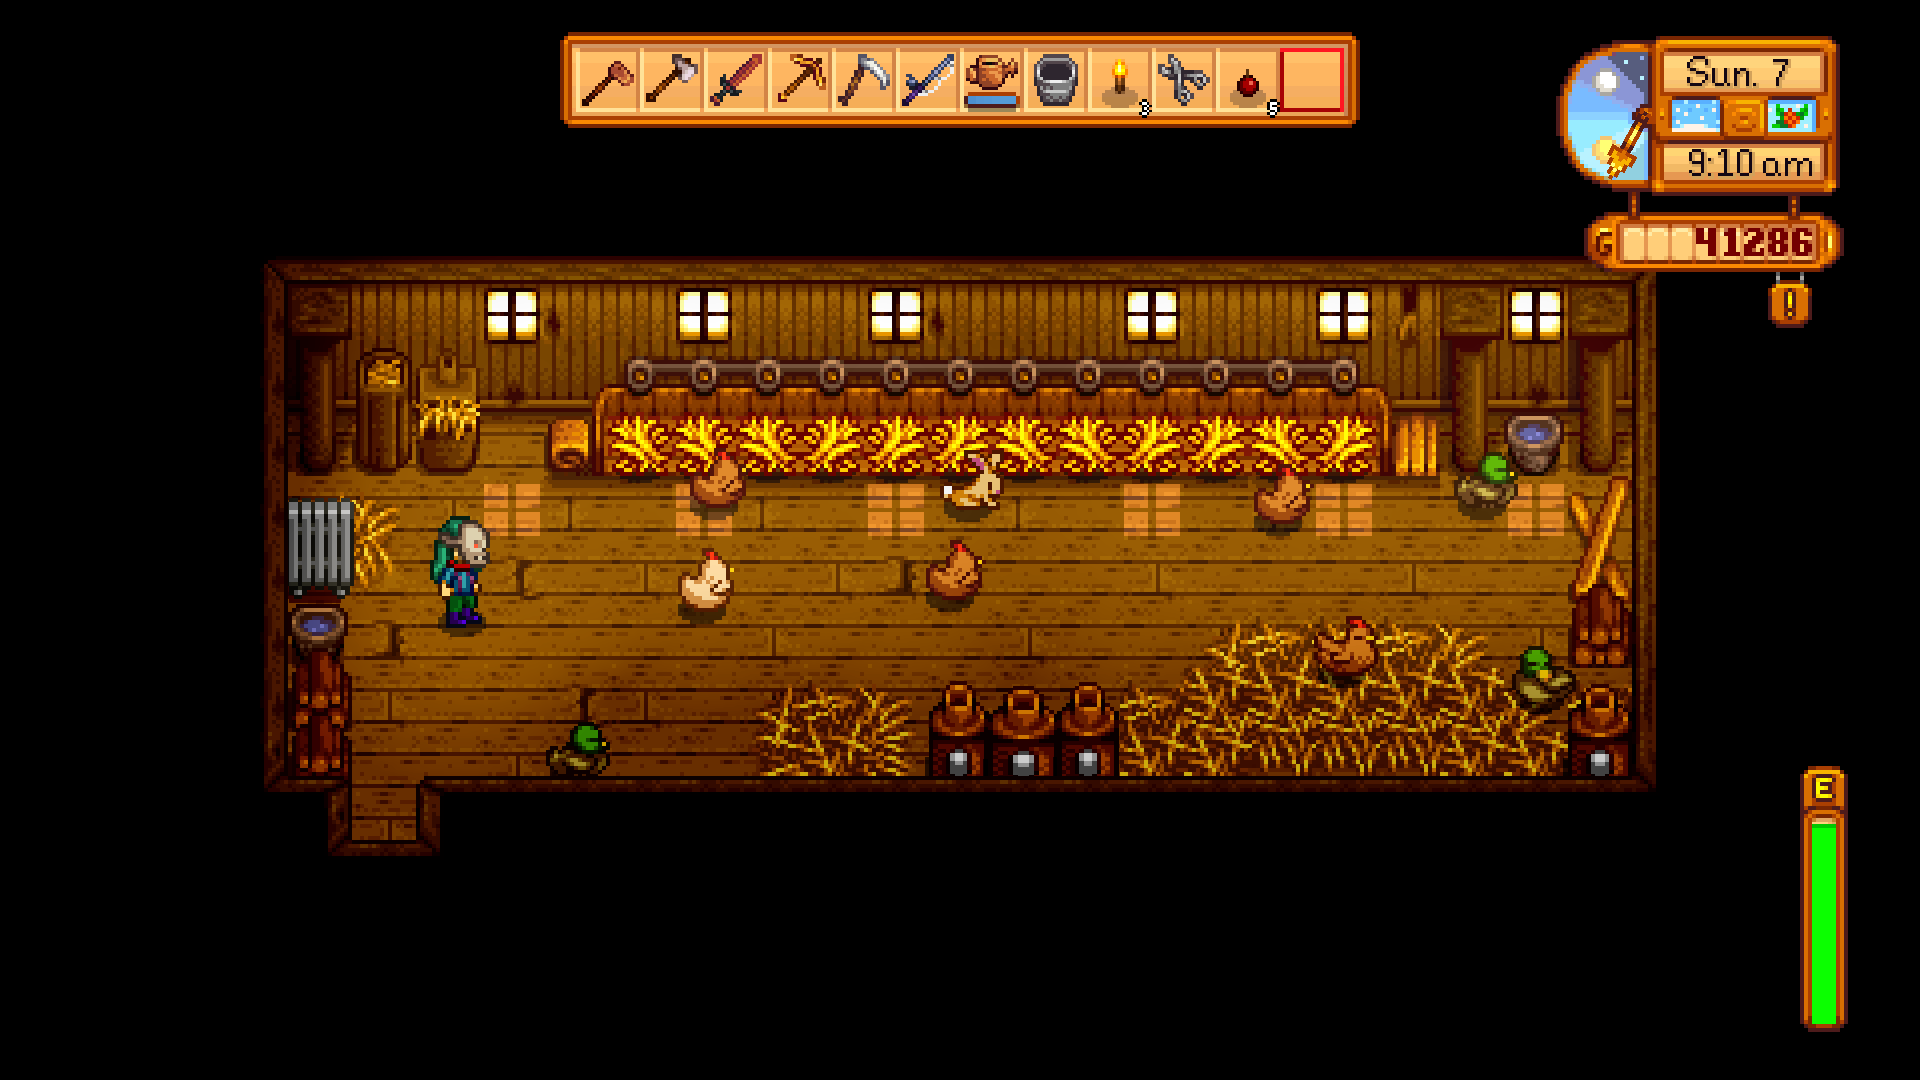
Some people argue getting chickens is a waste of time because the eggs they produce are not worth very much money (50G), and they're costly - 800G layout on one chicken before you begin to even get close to breaking even on their egg shipping values. This is understandable, the coop is expensive when you're only shipping about 500G a day and requires lots of resources, and it is a necessity to even be able to buy the chicken. Before long though, you'll have access to crafting recipes for small machines and helpful items for your farm which will increase the shipping values of your produce. These are known as Artisan Goods.
- Bee Hive: Produces wild honey
- Tapper: Collects sap, syrup and tar from trees.
- Mayonnaise Maker: Eggs go in, mayo comes out.
- Cheese Press: Milk goes in, cheese comes out.
- Preserves Jar: Creates fruit jelly, or pickles from vegetables.
- Keg: Makes wine from fruit, juice from vegetables, and other beverages.
- Loom: Turns wool into cloth.
- Oil Maker: Turns truffles into truffle oil, and sunflower seeds or corn into oil.
- Cask: Ages cheese and matures wine, ale, beer and mead, increasing their quality
If you get the Carpenter to build a shed on your farm, you can fill it with all your Artisan Goods Makers. You can even put some of them into the animal barns. If you keep the Mayonnaise Maker in the chicken coop, you will be able to grab the new Mayo, collect the eggs and set the Maker to go again all in one visit. Time management can be essential.
Note: When processing large items, for example large eggs or large milk, the resulting product will not be 'large', but the quality will be gold star, which has a higher shipping value again.
Are these Makers really worth it?
If you keep produce back instead of shipping it immediately, and have enough Preserve Jars, Mayonnaise Makers and Cheese Presses, as well as having Tappers on as many different types of trees, you will begin to make thousands of Gold per day. With the Artisan Farming Perk at Level 10, your processed goods will also be worth 40% more which is often the difference of at least 100G. If you've got a shed of Makers, you're pretty set to start raking in the cash. Not only this, but you don't have to pay anything towards crafting one. Once you're able to make one, you should think about making as many as you think you're going to sustainably keep going. If you grow lots of crops, you might want to split the haul between the Preserve Jars and the Kegs, and they can take a couple of in-game days before they're ready for shipping - so having more Preserve Jars and Kegs means you can process more of your crops at one time. While they're processing, you can plant more.
Build them. Lots of them.
Know of any other ways to make stacks of cash? Let us know in the comments!

Lauren Relph is a Former Games Writer, focusing on Xbox. She doesn't like piña coladas but loves getting caught in the rain. Follow her on Twitter!

 Windows Central Insider


