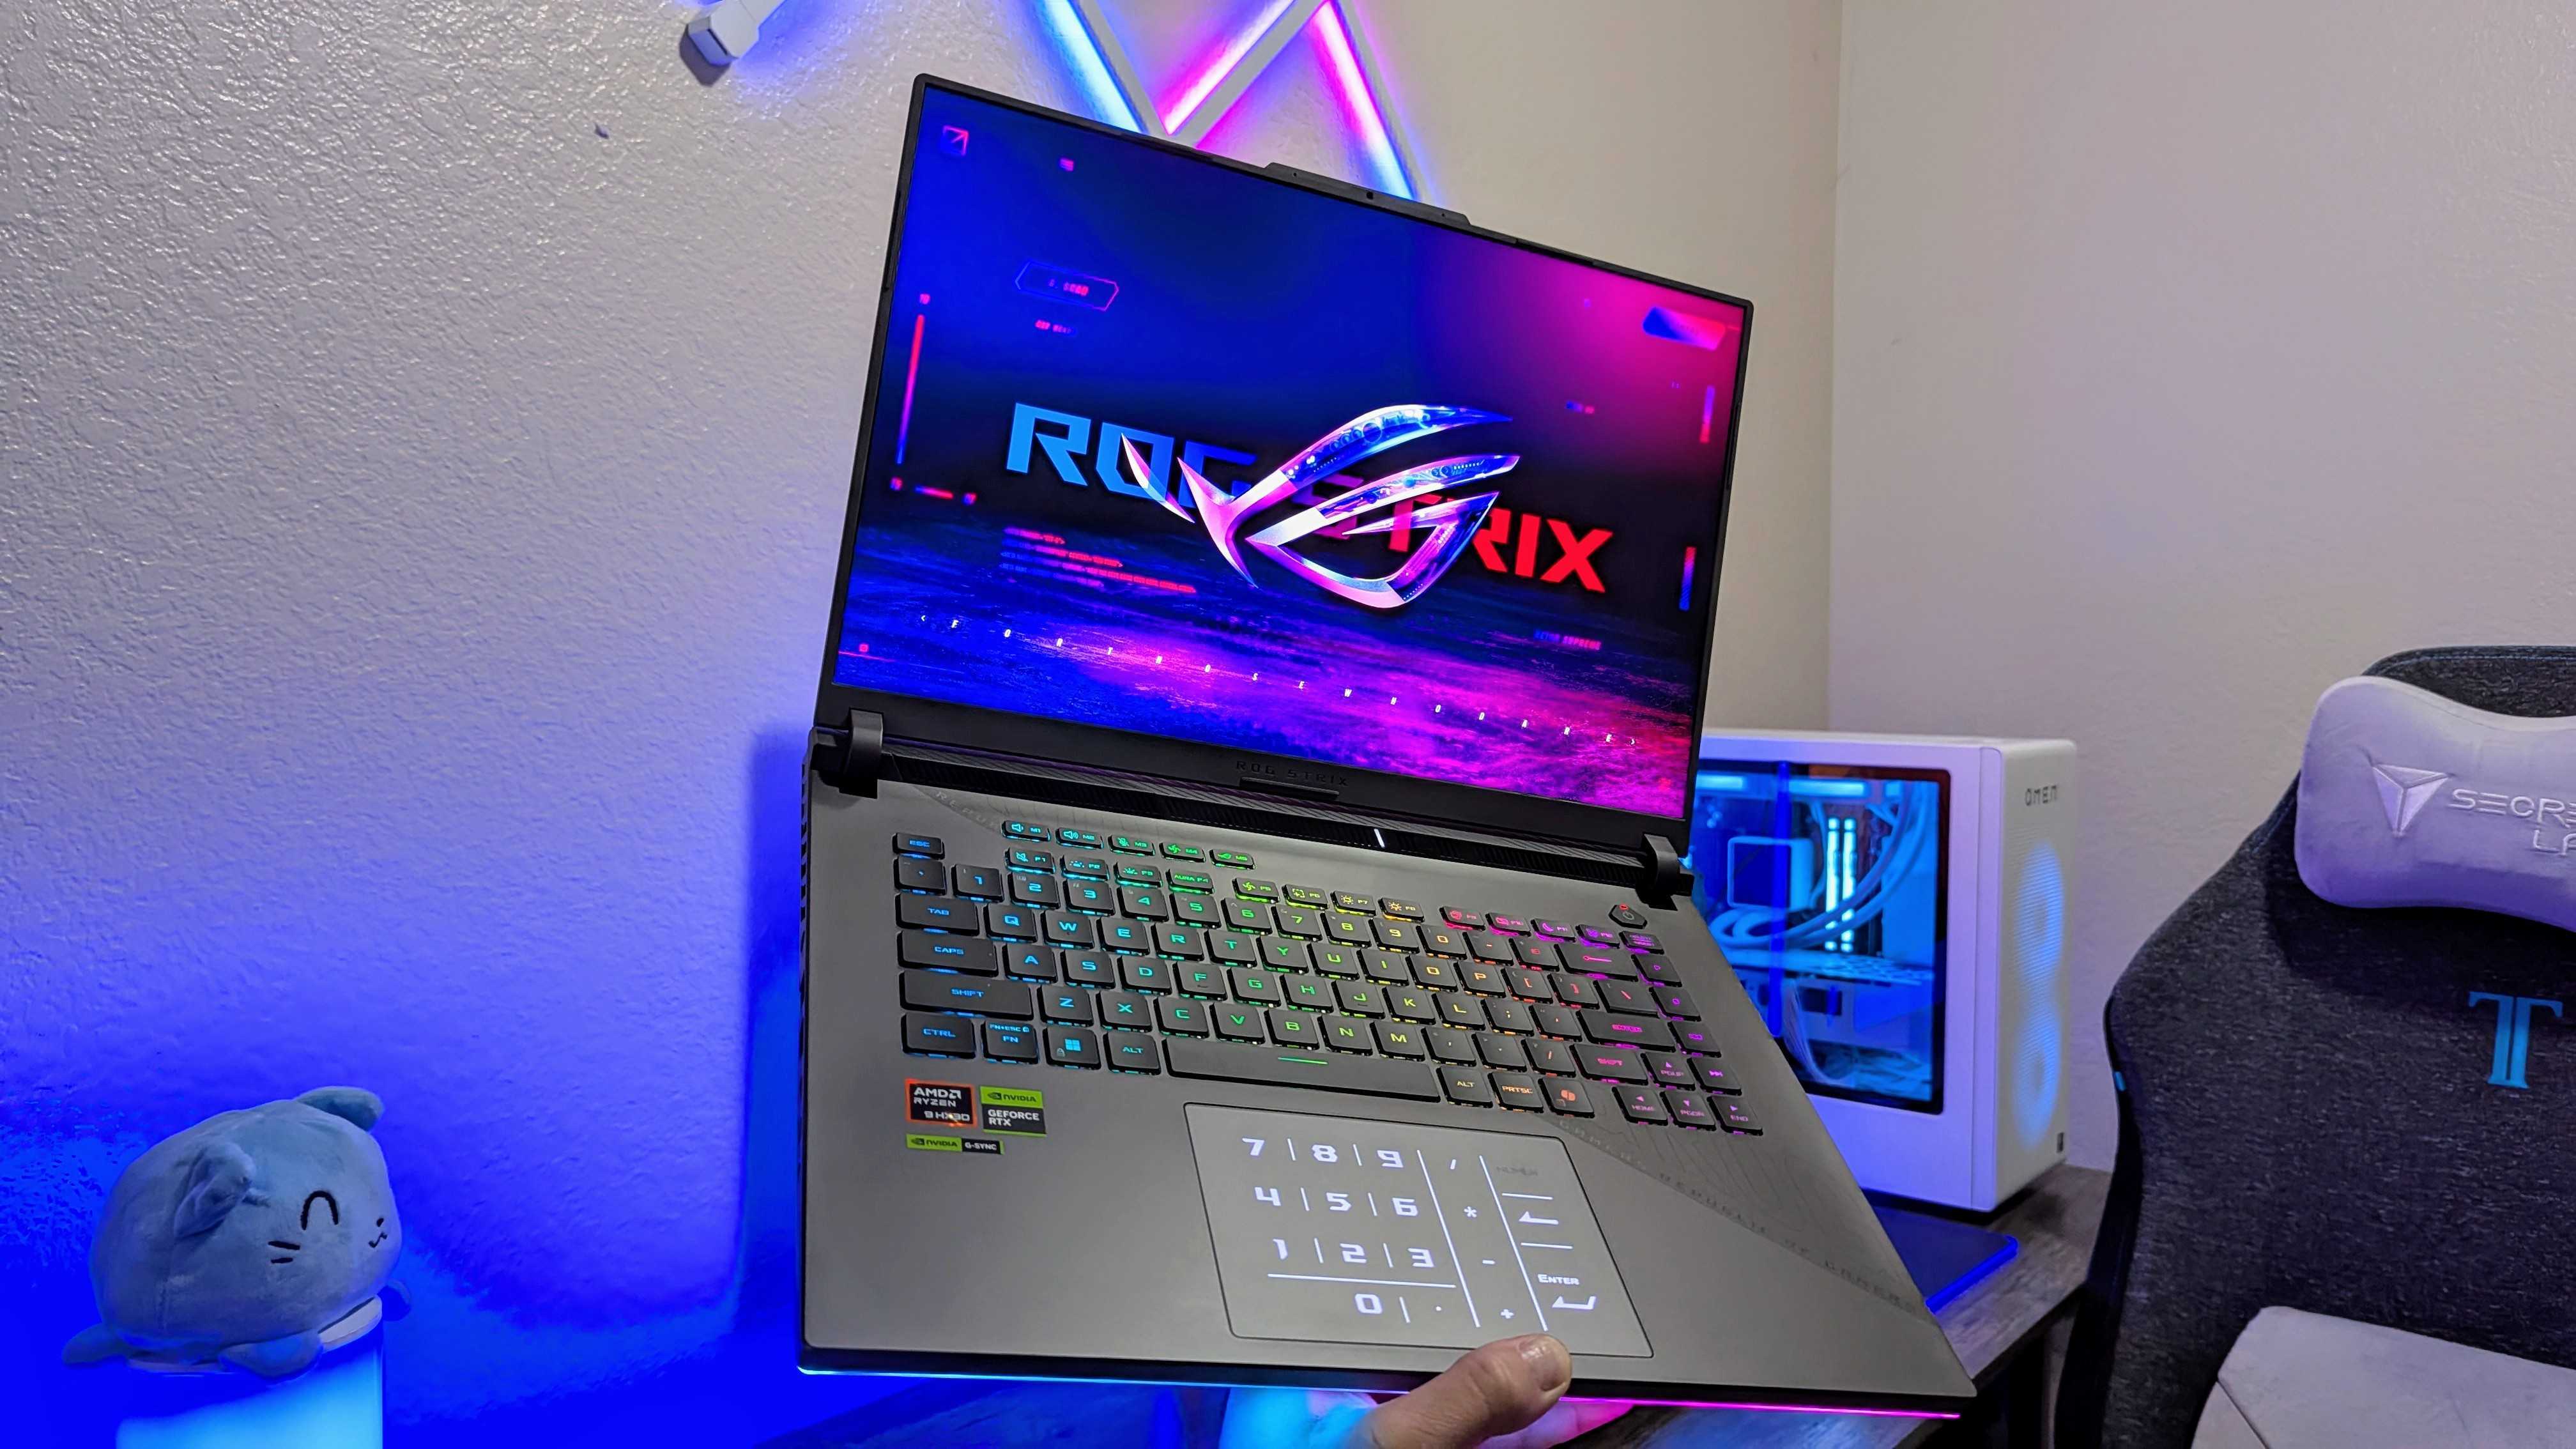
How to install SteamOS on ROG Ally and Legion Go Windows gaming handhelds
SteamOS can now officially be installed on ASUS and Lenovo's Windows handhelds. Here's how to do it.
All the latest news, reviews, and guides for Windows and Xbox diehards.
You are now subscribed
Your newsletter sign-up was successful
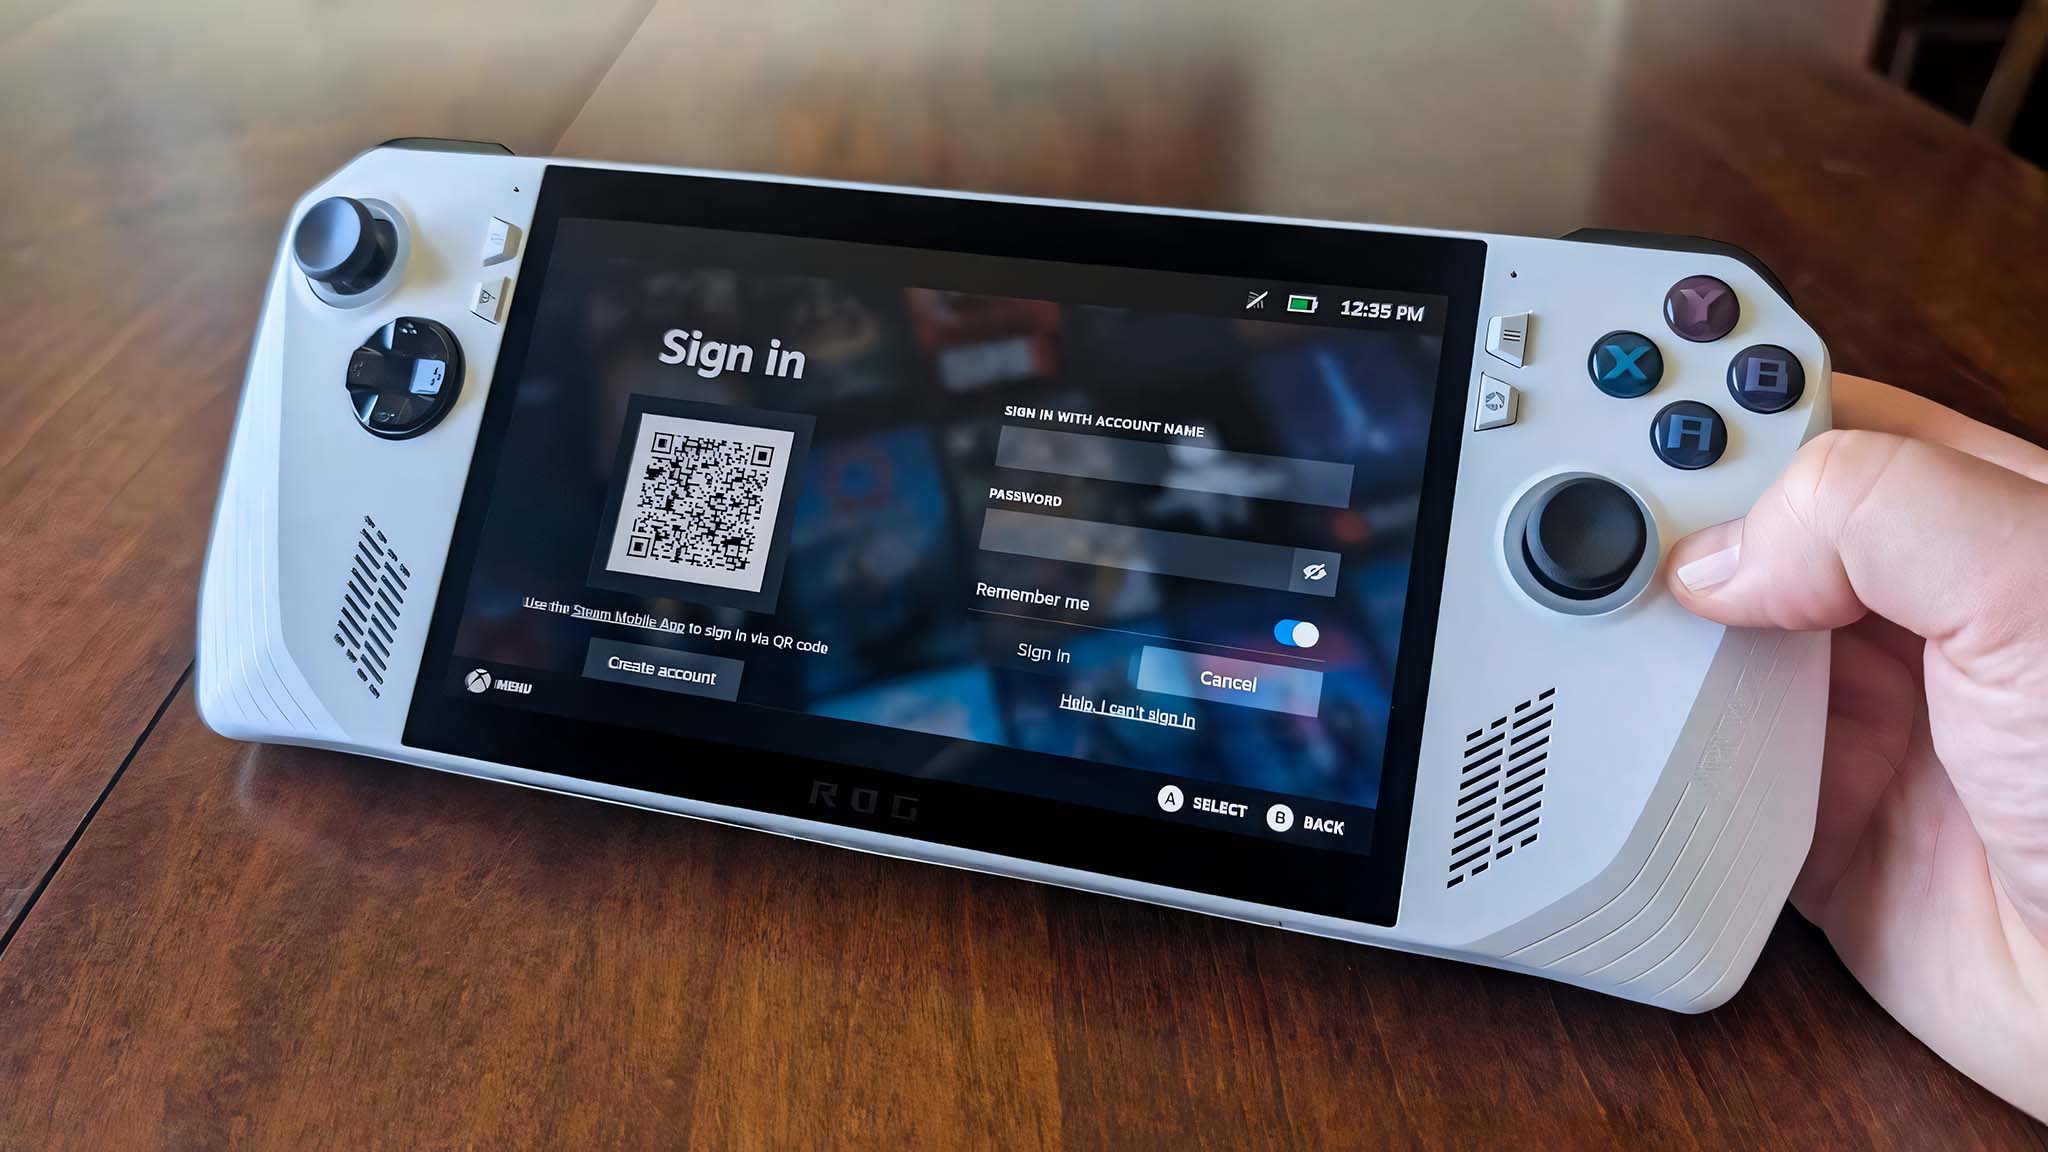
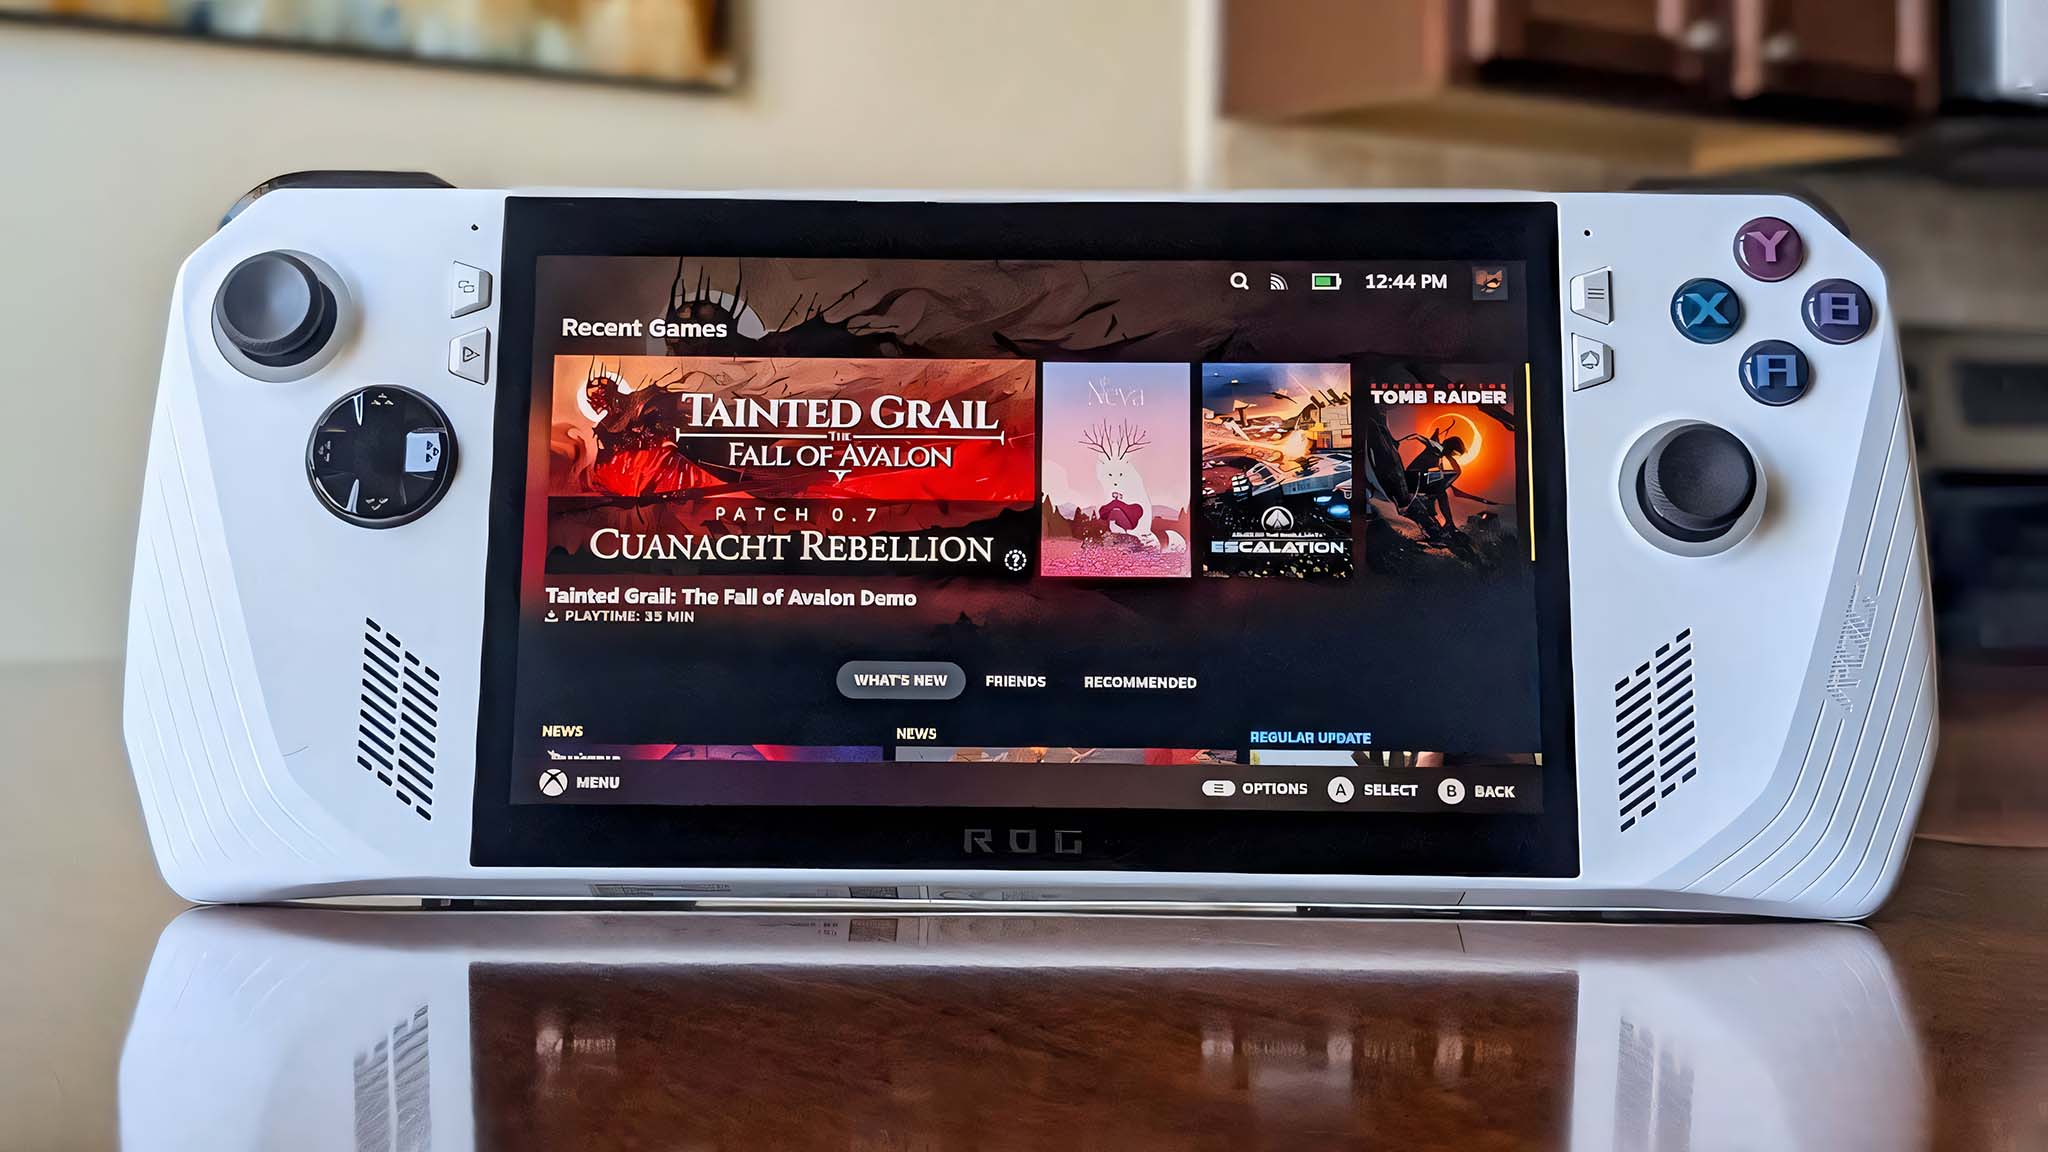
After months of anticipation, SteamOS is now officially available for non-Steam Deck gaming handhelds such as the Windows-toting ASUS ROG Ally and Lenovo Legion Go.
I went through the process of installing SteamOS on my ROG Ally, while my Editor-in-Chief installed SteamOS on his Legion Go.
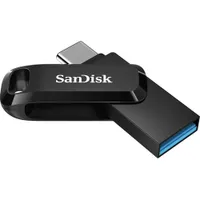
This page contains step-by-step instructions with pictures to help you get SteamOS installed on your Windows gaming handheld. Just make sure you have a flash drive, such as the SanDisk USB-C stick I used, and you'll be good to go.
What you'll need to install SteamOS on a non-Steam Deck handheld
- This is a permanent change: Reimaging your ROG Ally or Legion Go will completely wipe everything on it, and this action cannot be undone. If there are any files you want to save, make sure to move them onto another device before installing SteamOS on your handheld.
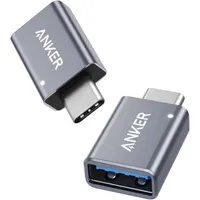
- You'll need a flash drive: The easiest method for putting SteamOS on a Windows handheld is by using a USB-C flash drive. If you only have a USB-A flash drive, you'll need to use a USB-A to USB-C adapter.
SanDisk 64GB Ultra Dual Drive Go USB Flash Drive
Buy now: $14.99 at Amazon
The easiest way to reimage the ROG Ally with SteamOS is using a flash drive. I love this USB flash drive because it has a USB-C side and a USB-A side for you to use. You can simply plug it into the USB-C port on your ROG Ally or Legion Go.
👉 See at: Amazon.com
Anker USB-A to USB-C Adapter (2-Pack)
Buy now: $9.99 at Amazon
If you're using a flash drive with a USB-A connection, then you'll need a USB-A to USB-C adapter like this one.
👉 See at: Amazon.com
How to install SteamOS on ROG Ally and ROG Ally X
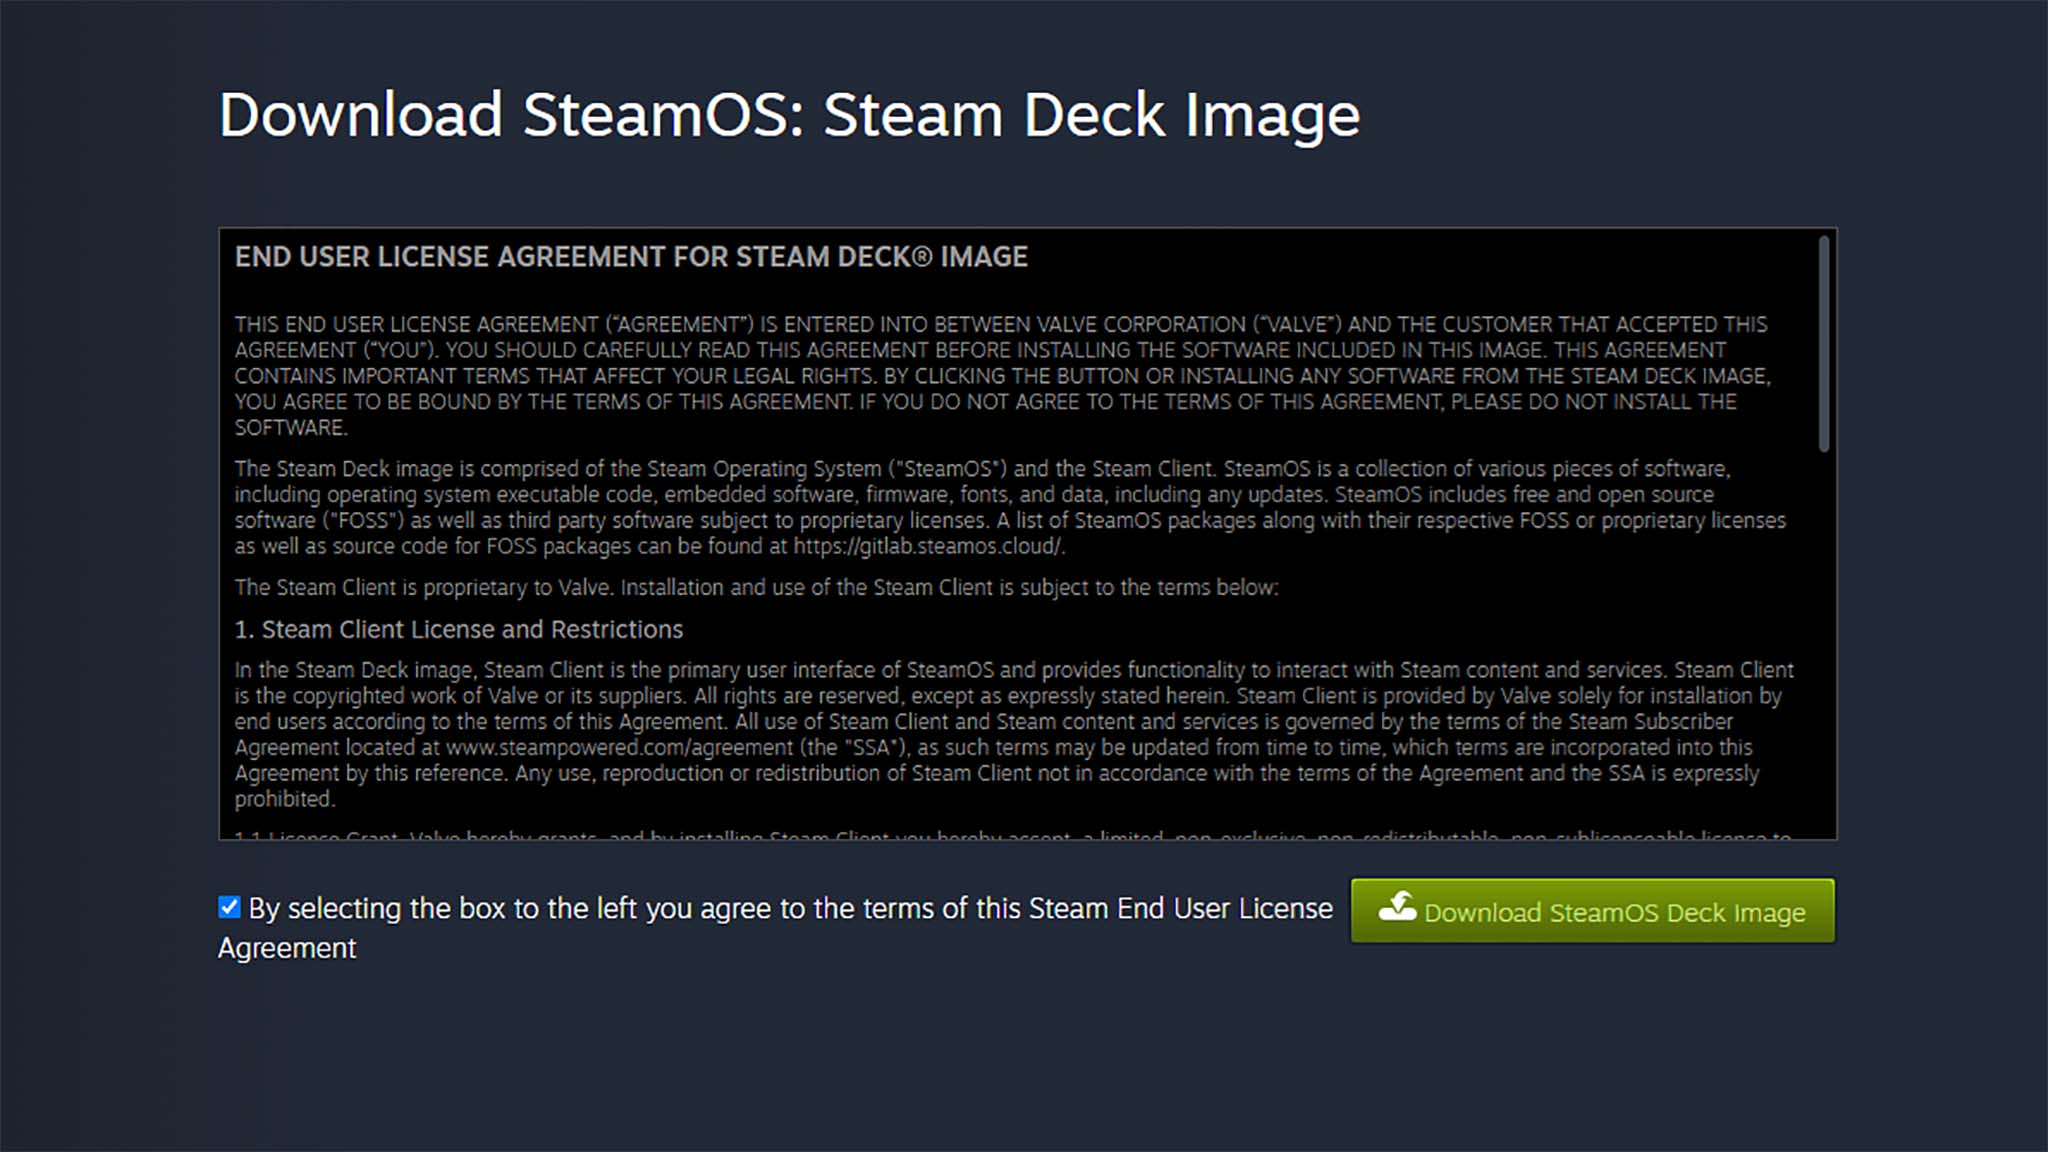
- To start off, plug your USB flash stick into your computer and then download the SteamOS: Steam Deck recovery image from Steam's website.
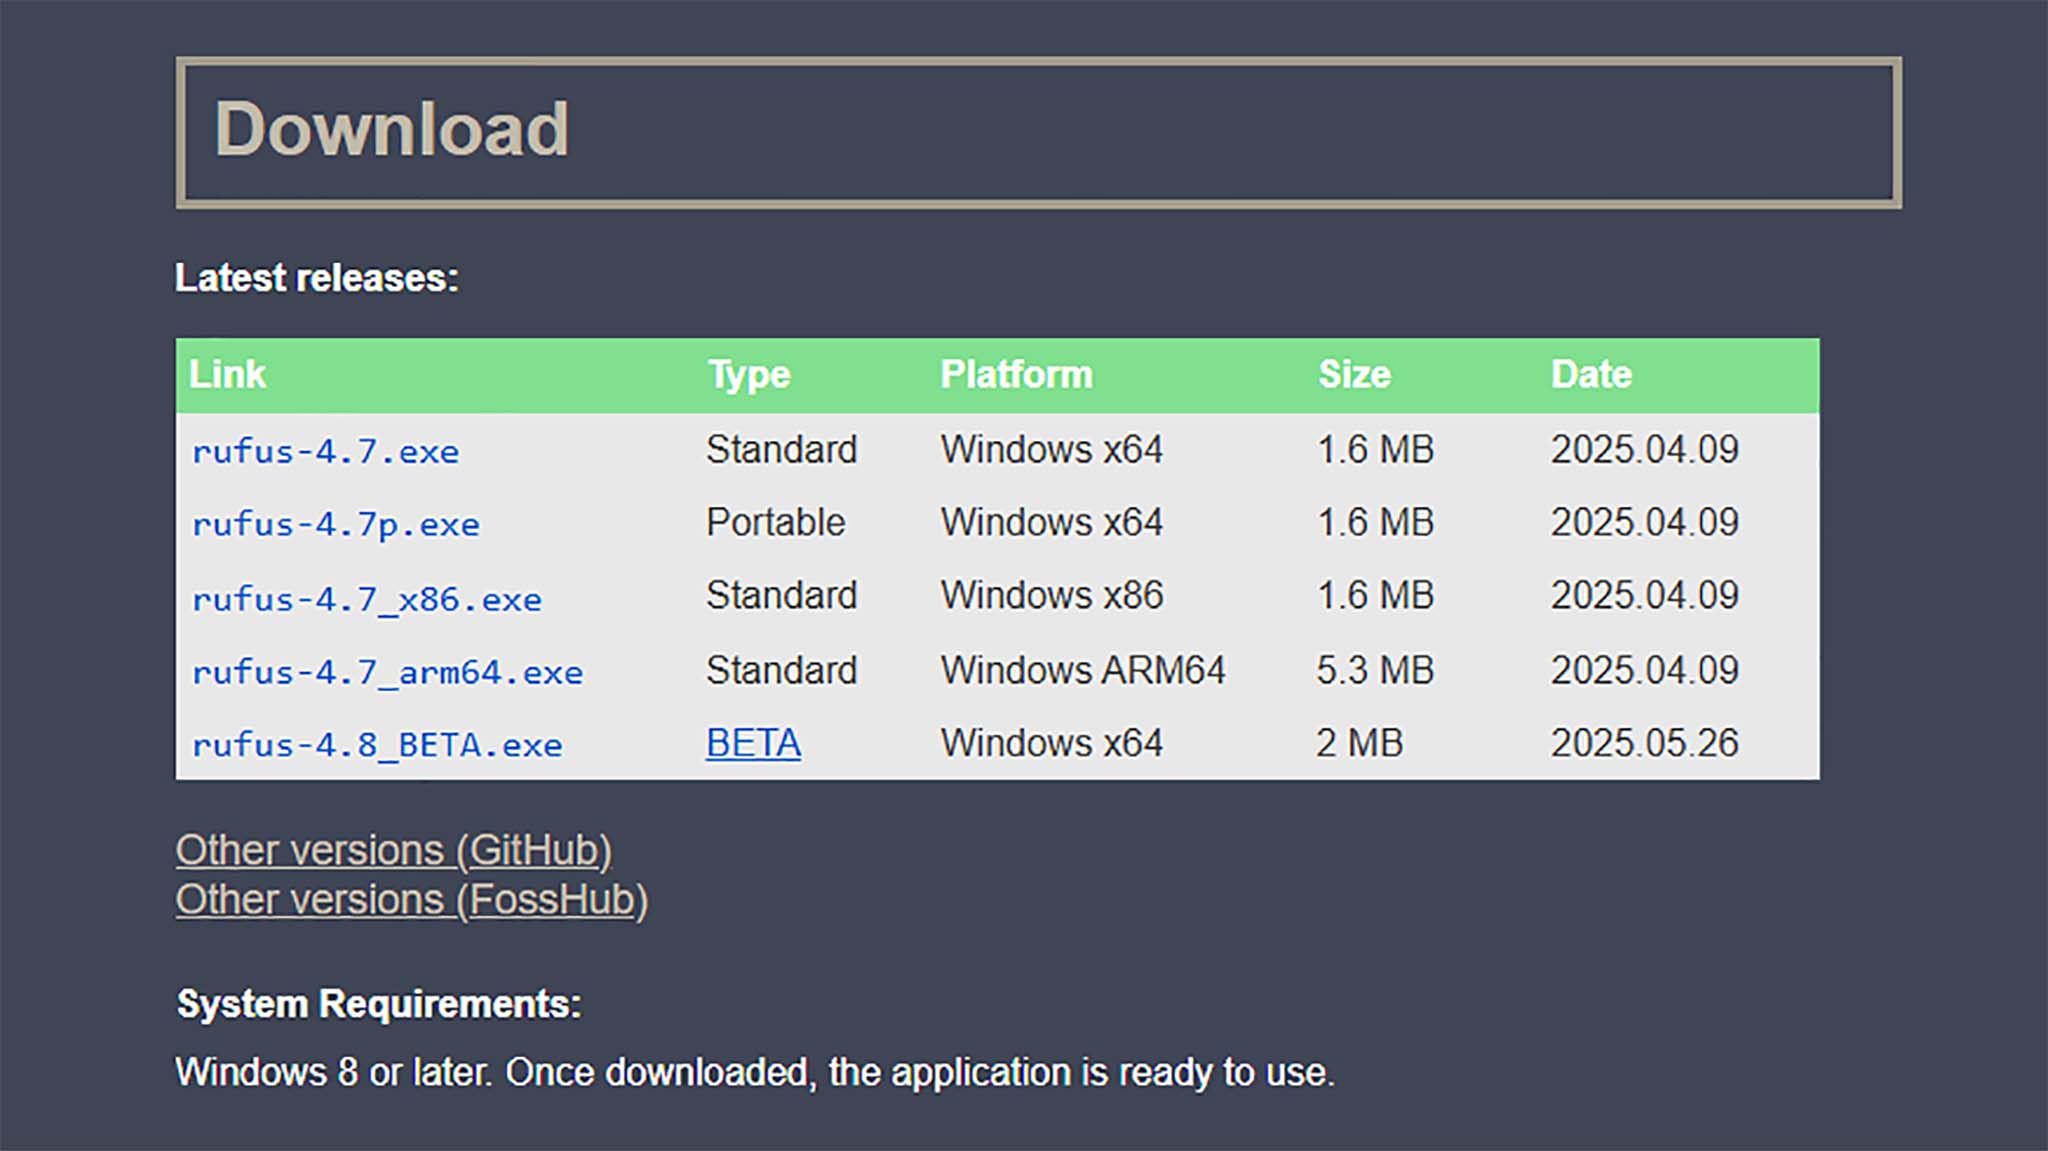
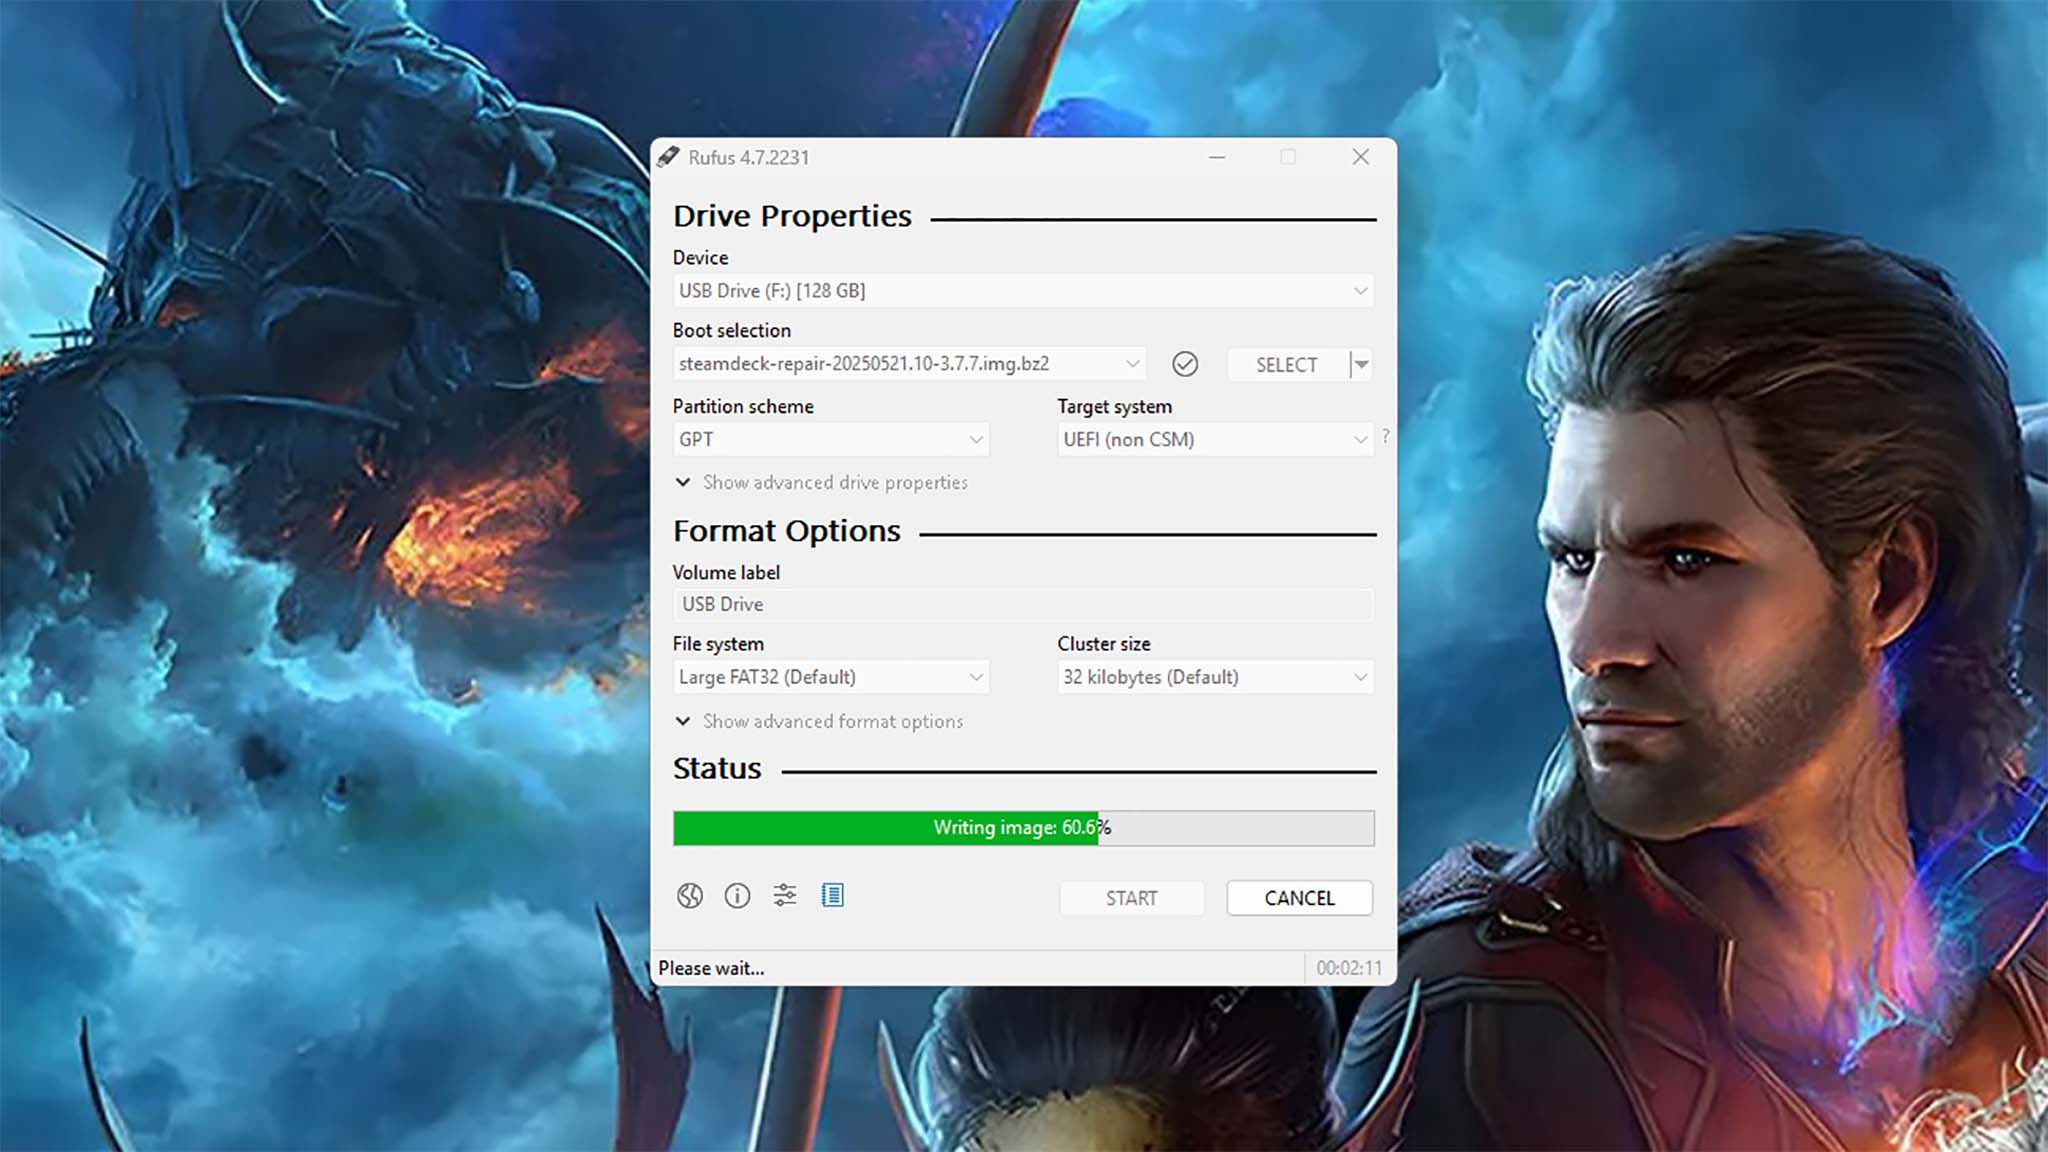
- Now, download the Rufus utility by clicking on the latest executable listed on the Rufus website.
- Open File Explorer and navigate to Downloads. Then right-click on the Steam Deck repair file you downloaded from Steam and select Extract All.
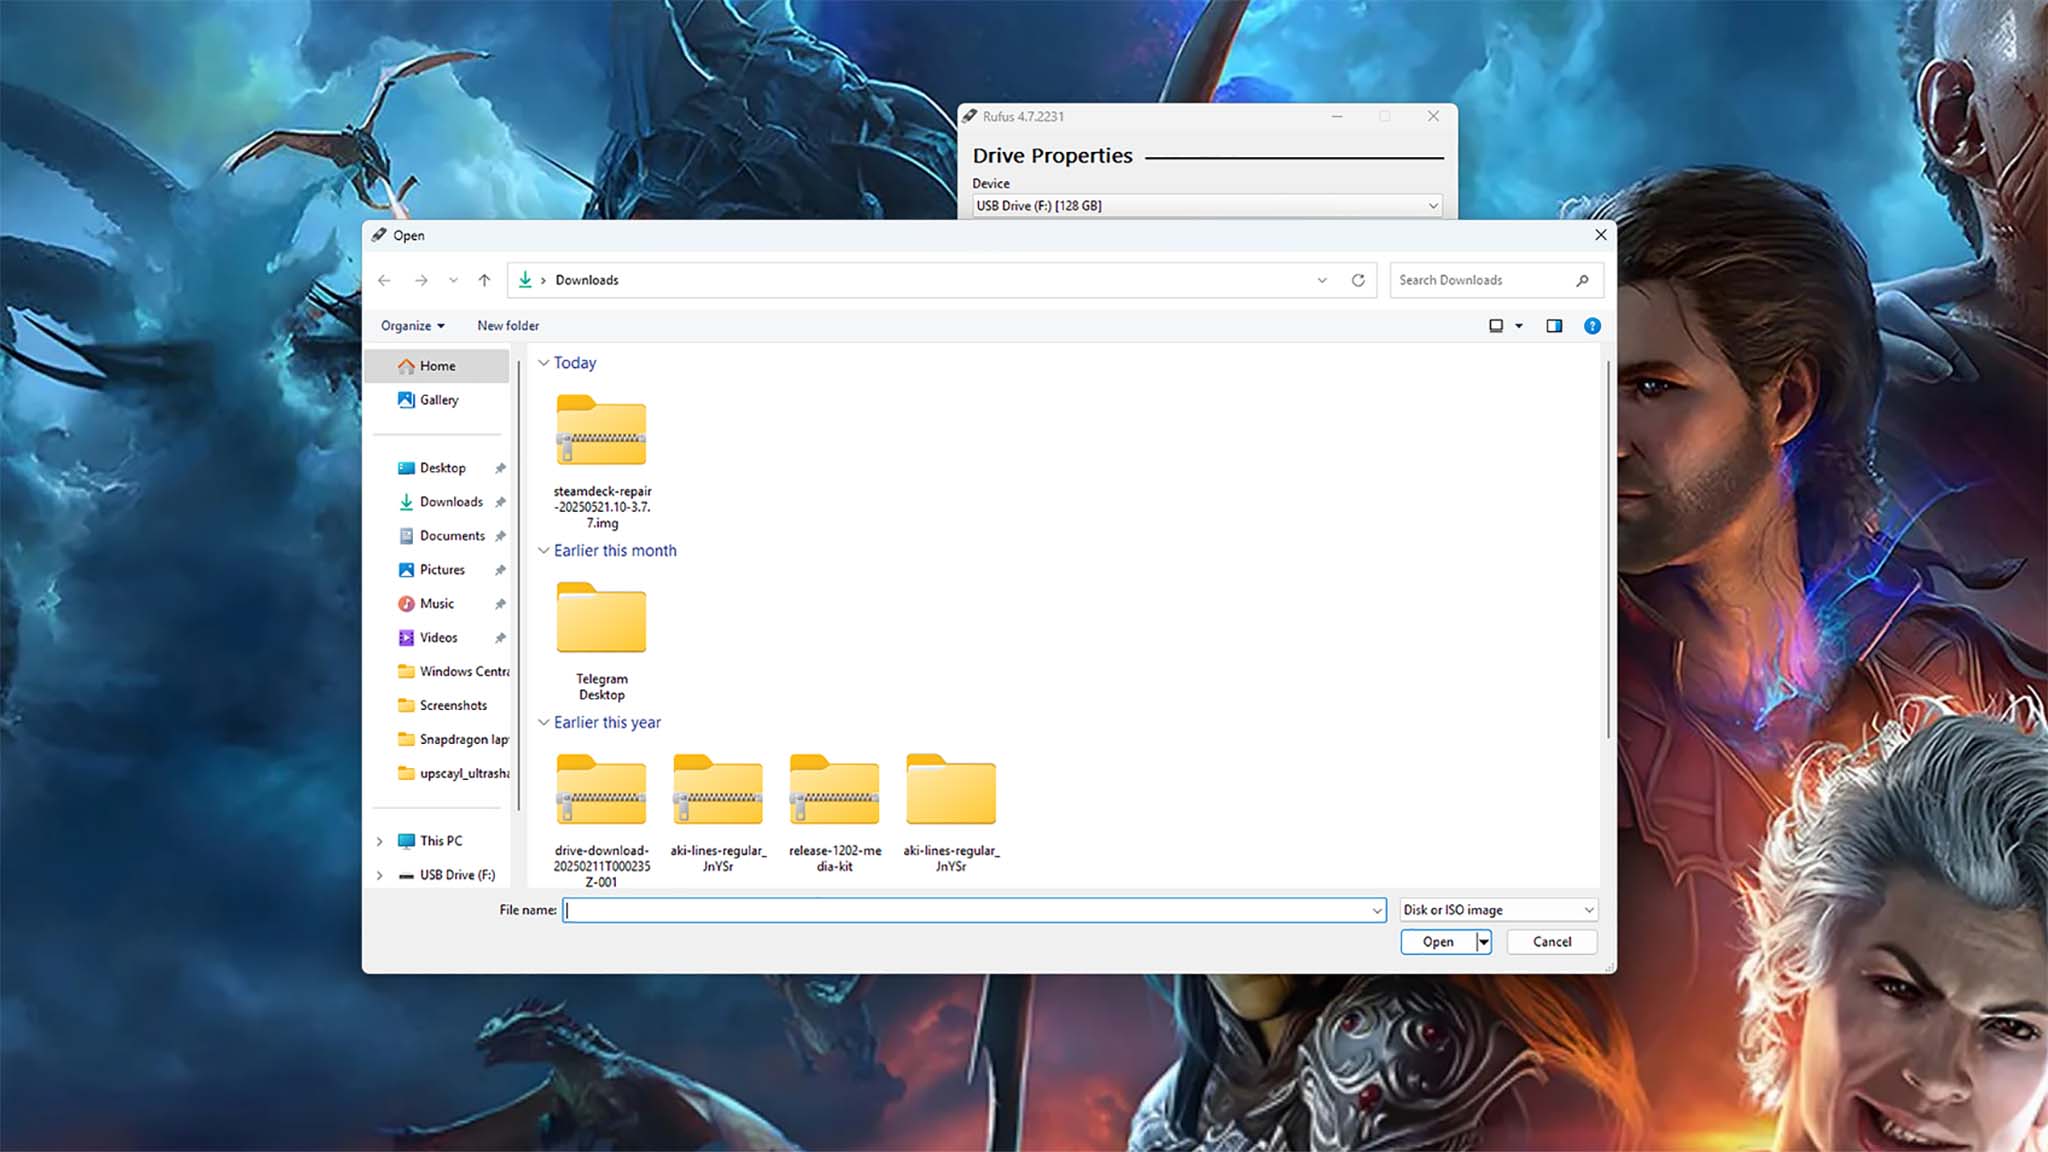
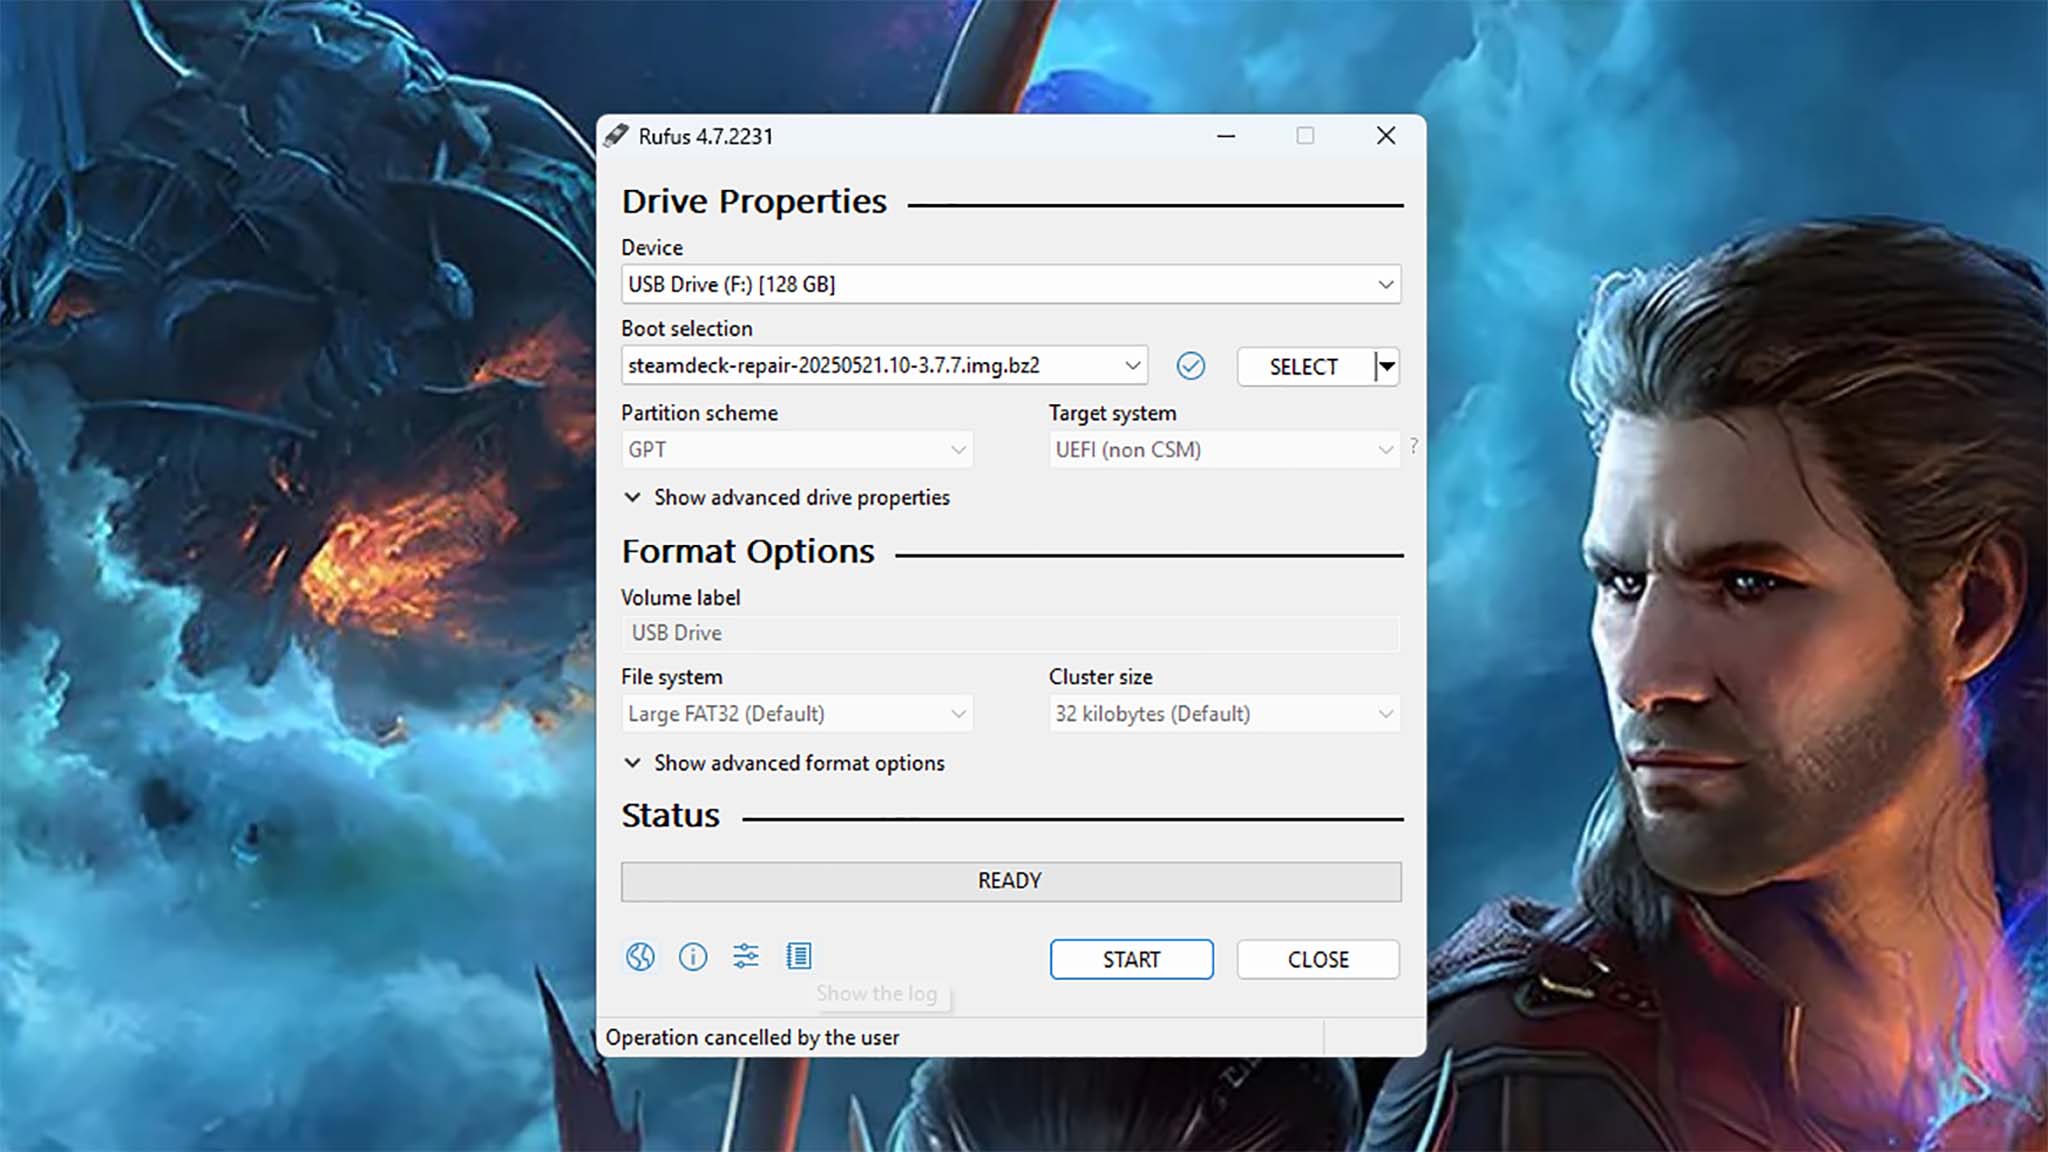
- When the computer is done extracting, open Rufus and click on the Select button. Then choose the uncompressed Steam Deck Repair files in Downloads.
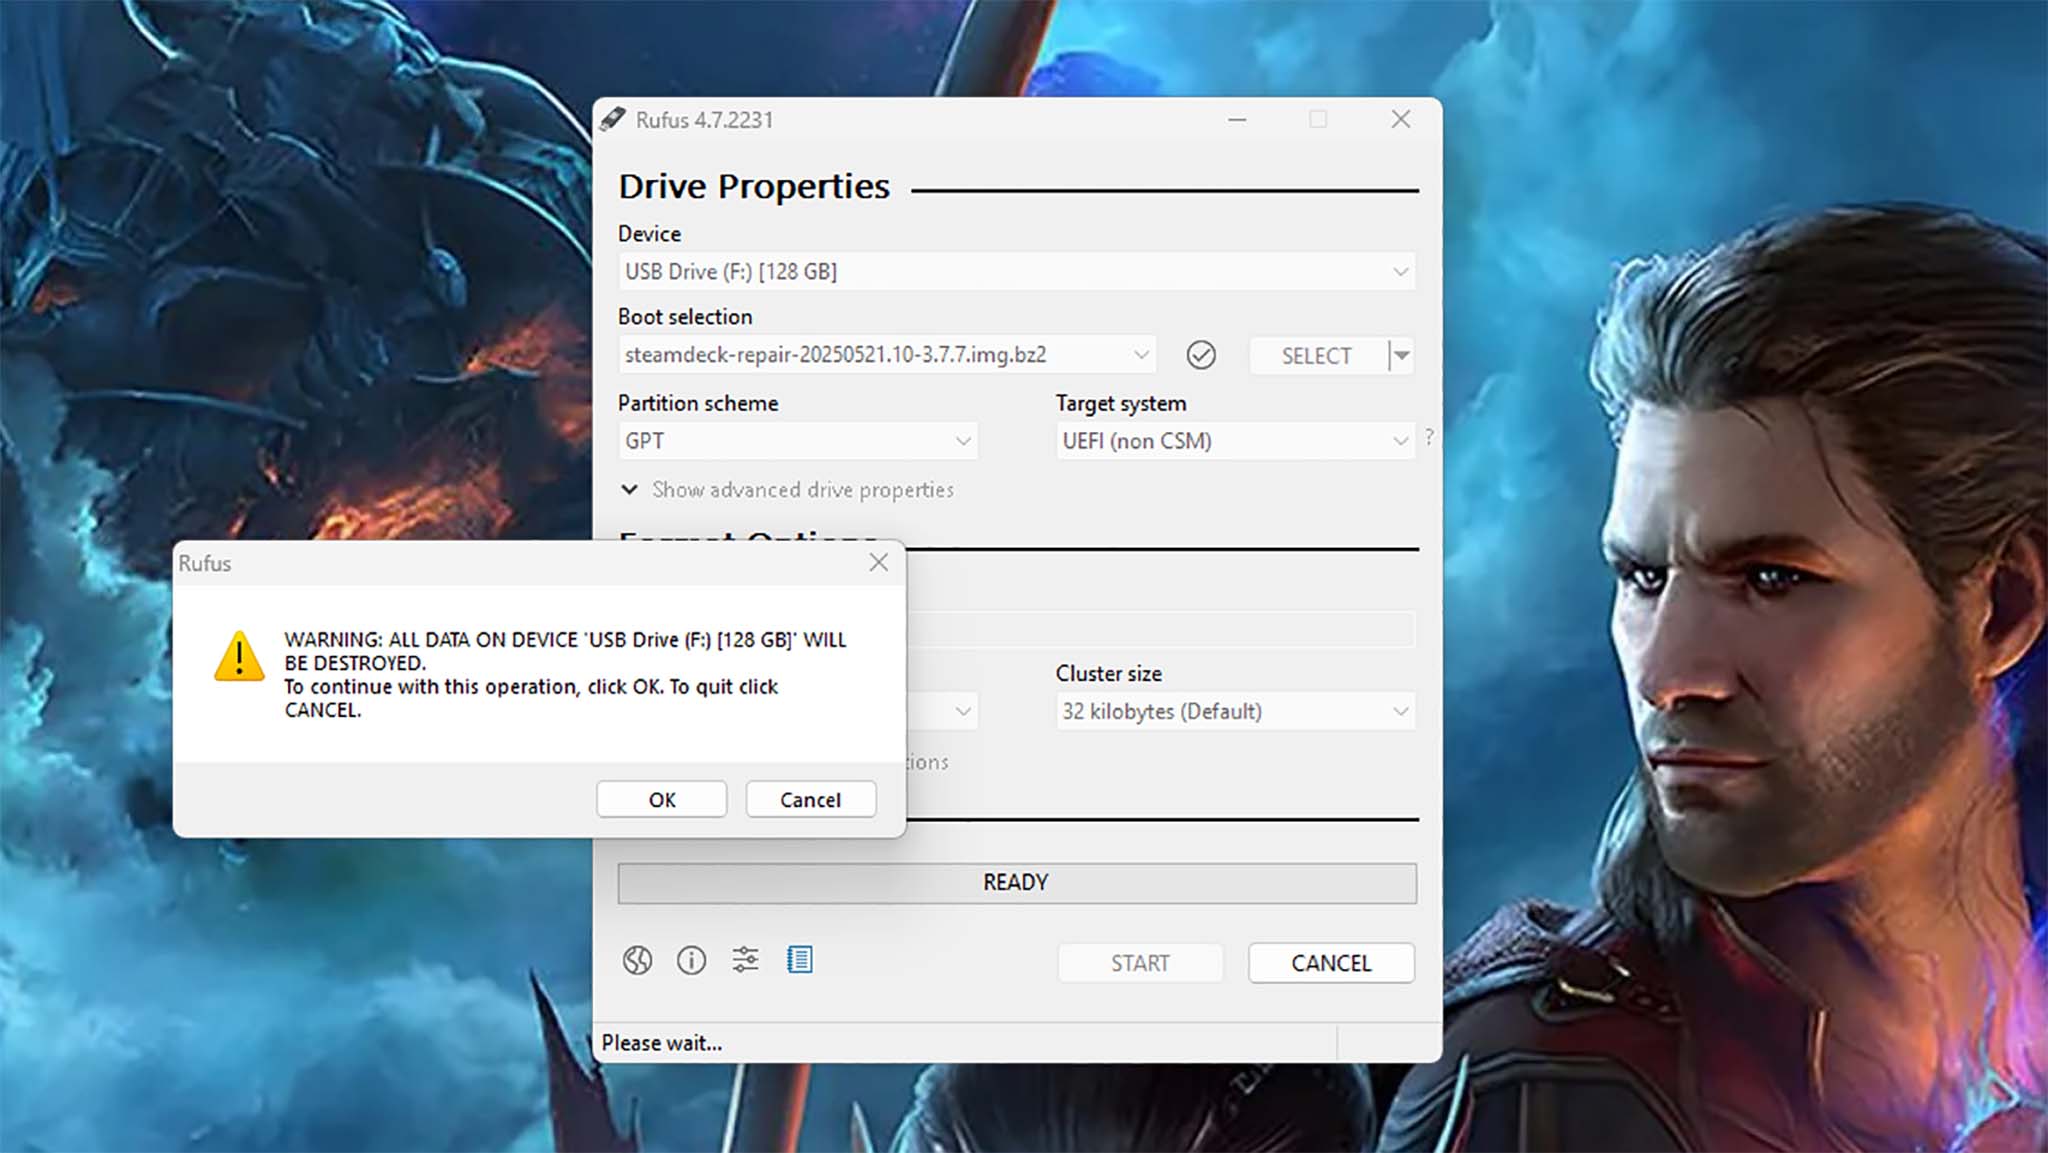
- Now click Start. A pop-up will appear warning that anything on the USB will get destroyed. Select OK if you're good to continue.
- Wait while Rufus turns your USB flash stick into a bootable SteamOS key. When it's done, close out of Rufus and remove the flash drive from your computer.
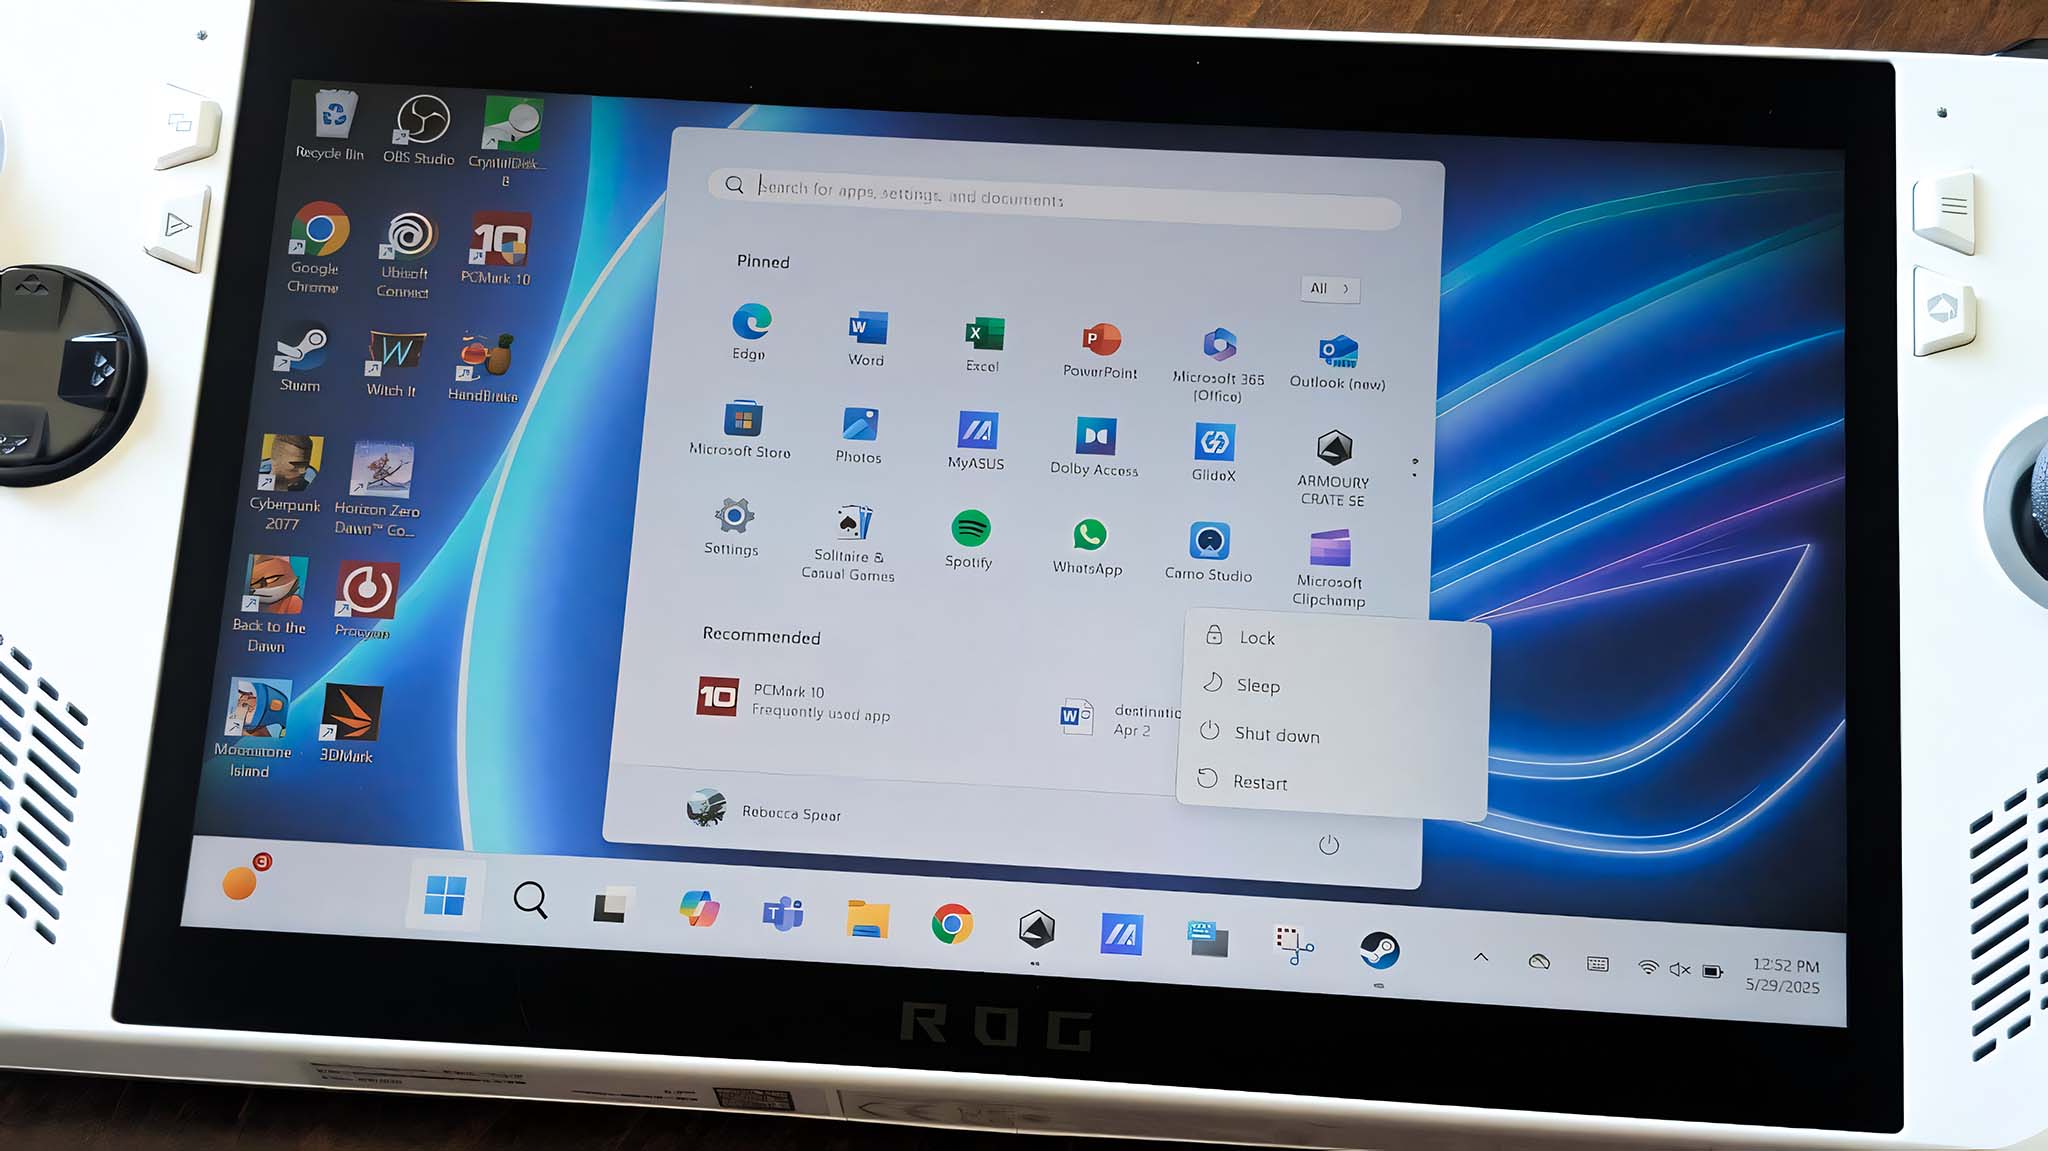
- On your ROG Ally, select the Start button, then the Power icon, and select Restart.
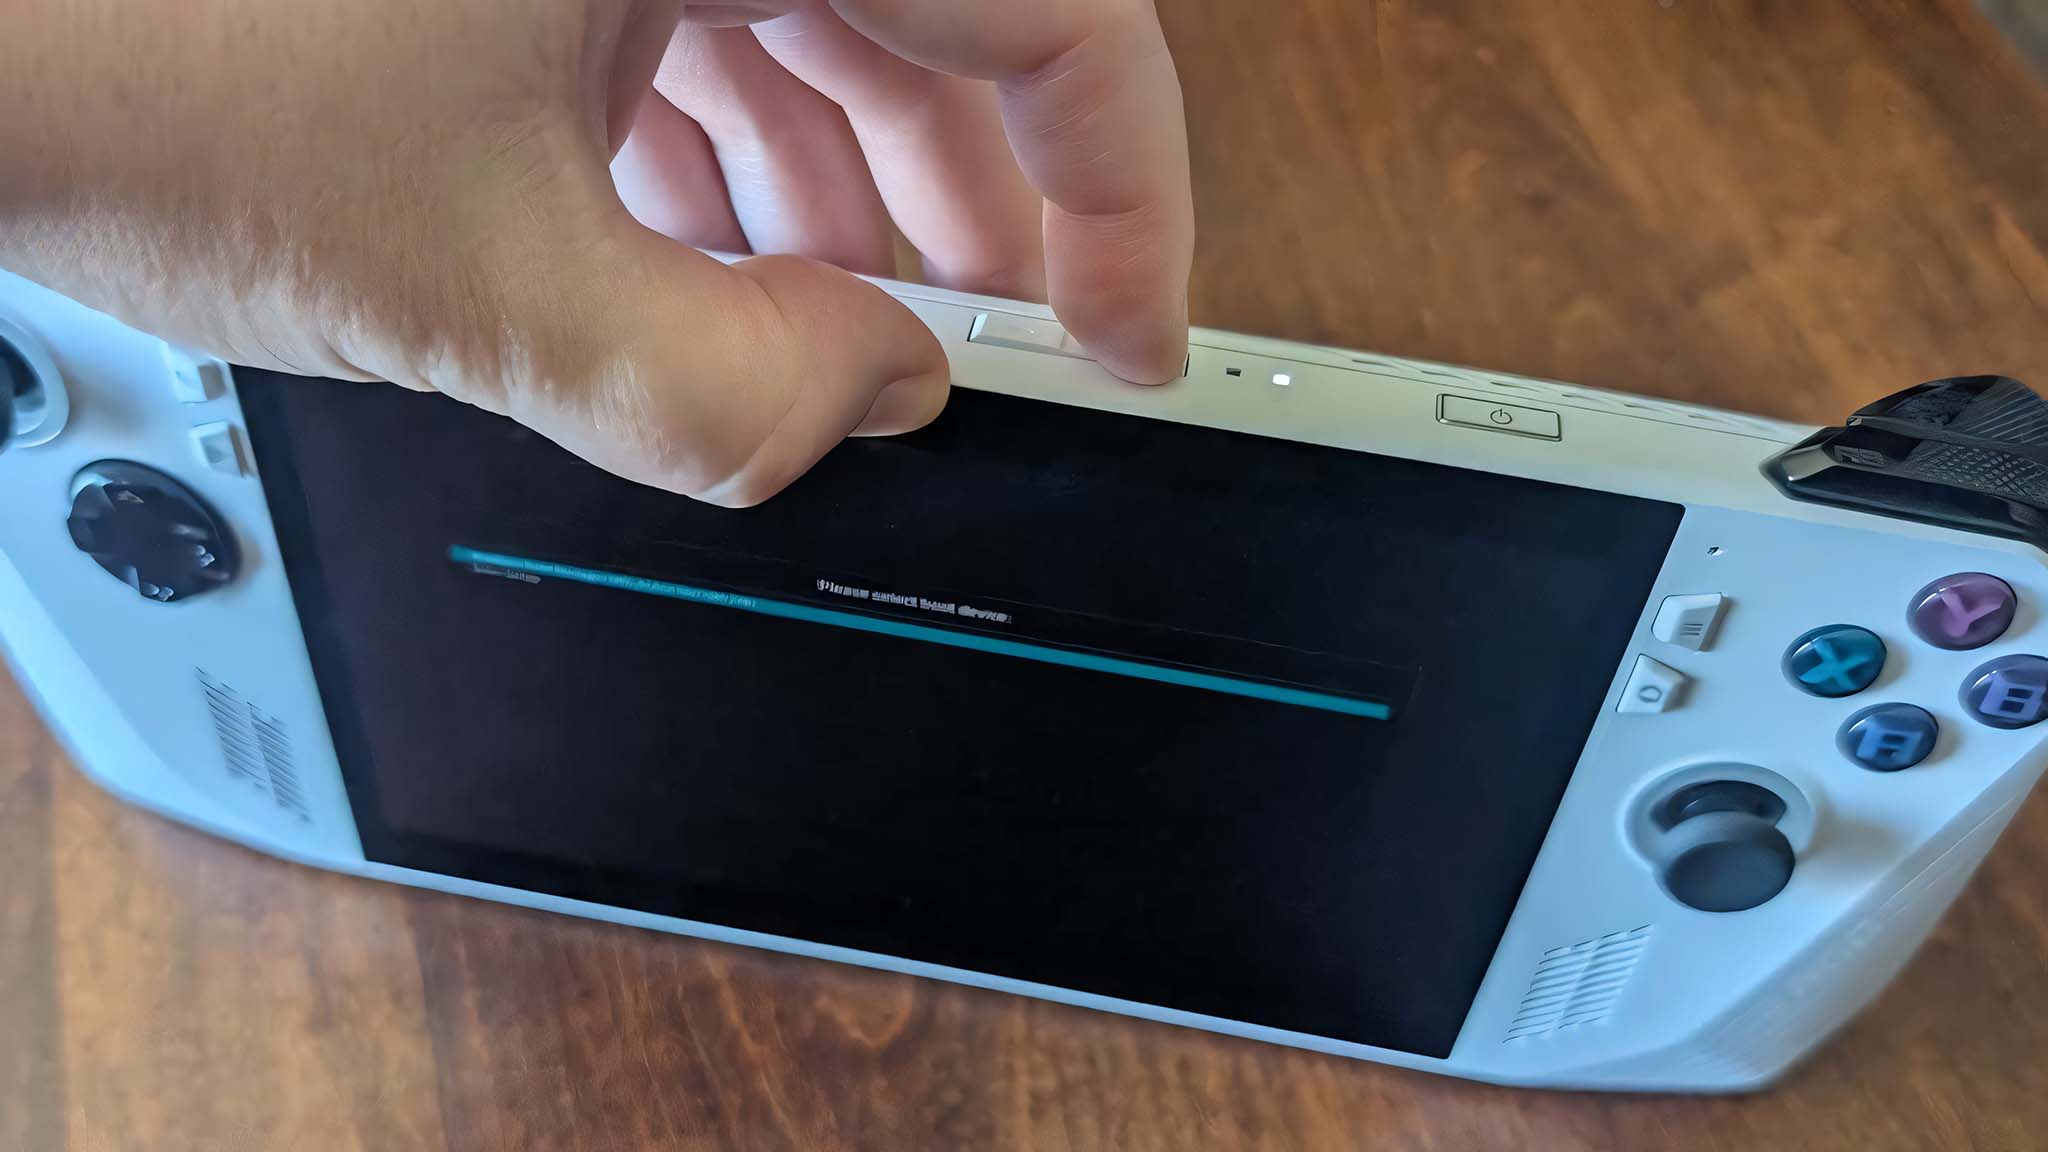
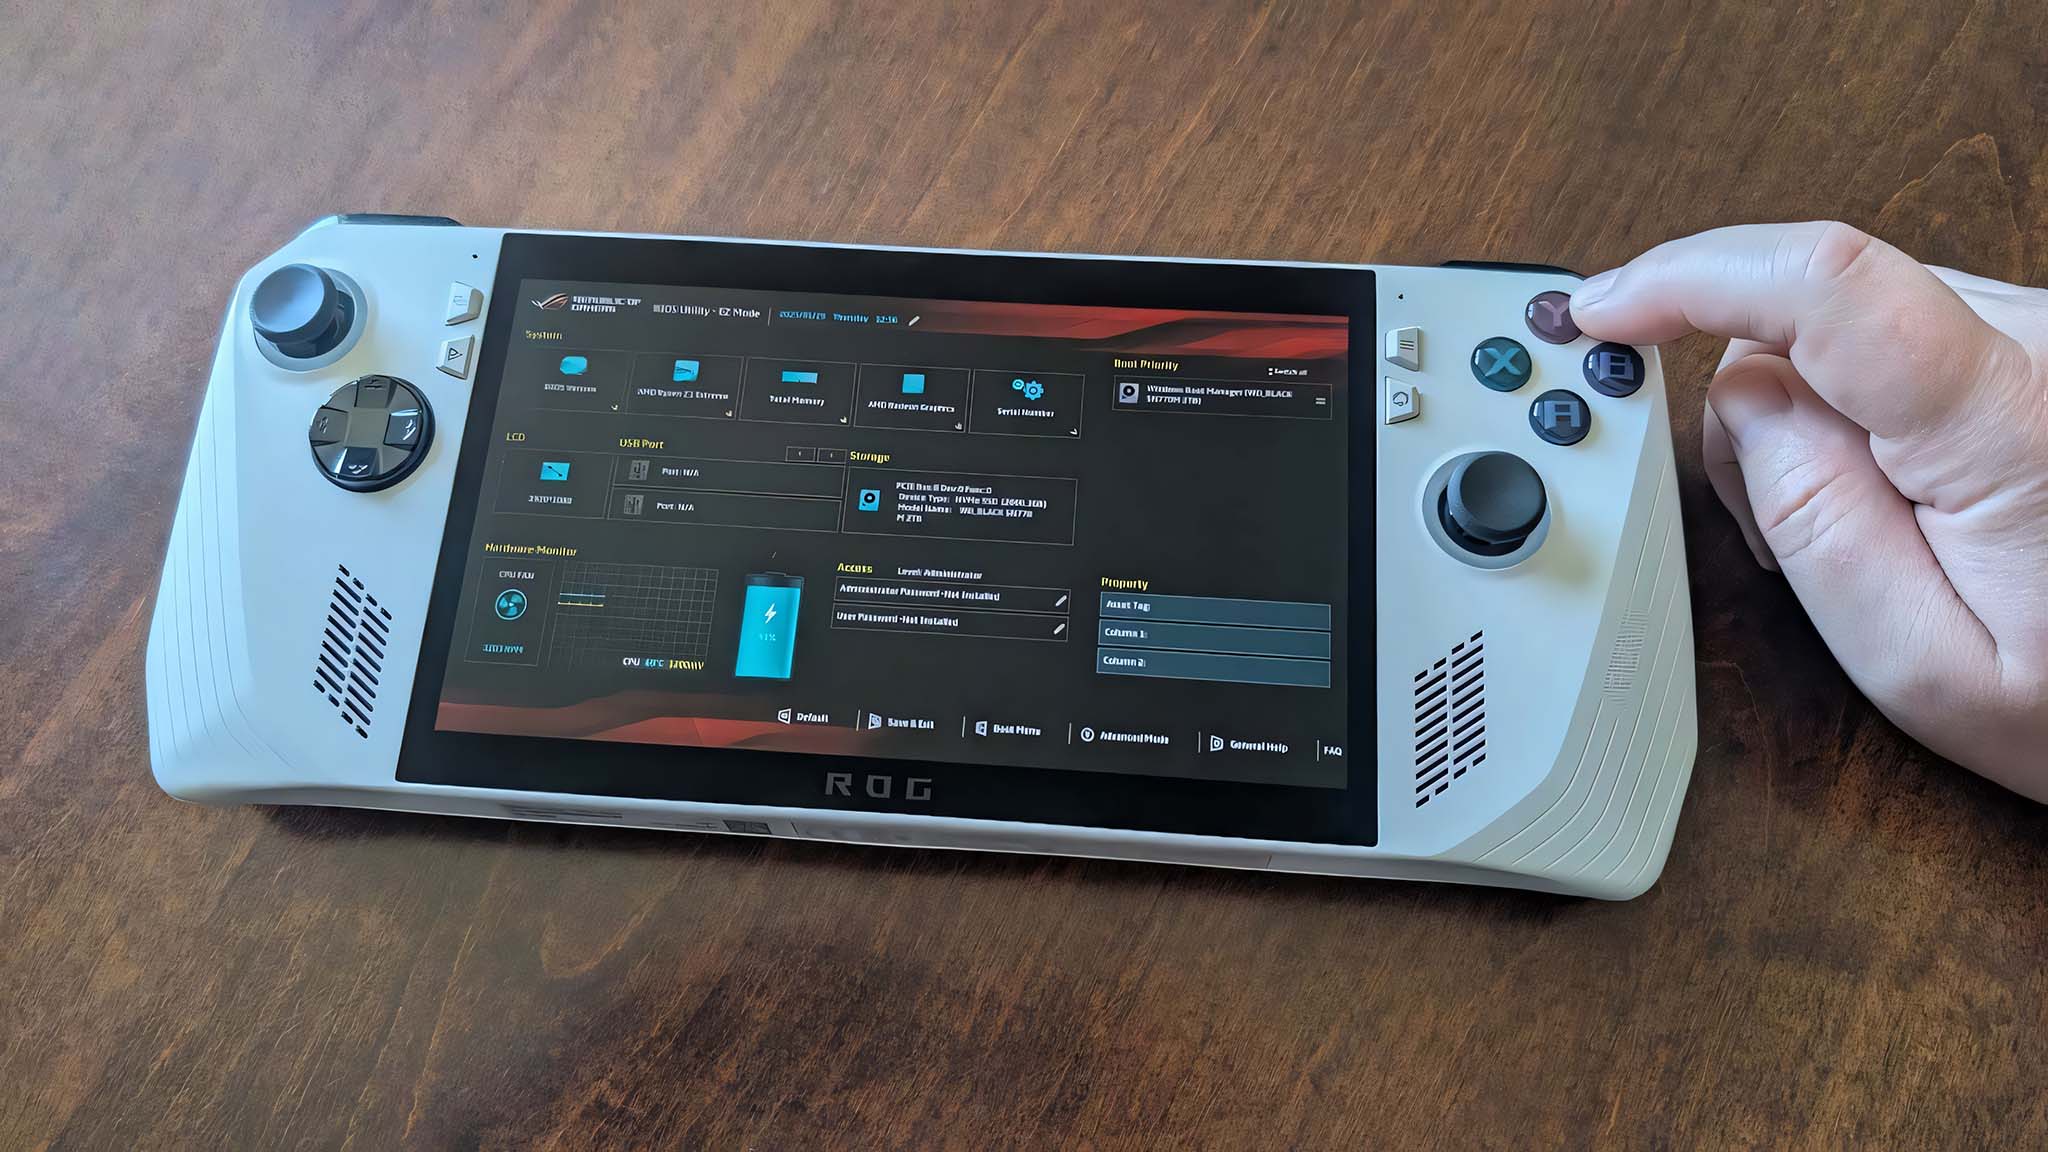
- While the ROG Ally restarts, hold down the Volume down button until the BIOS boots up.
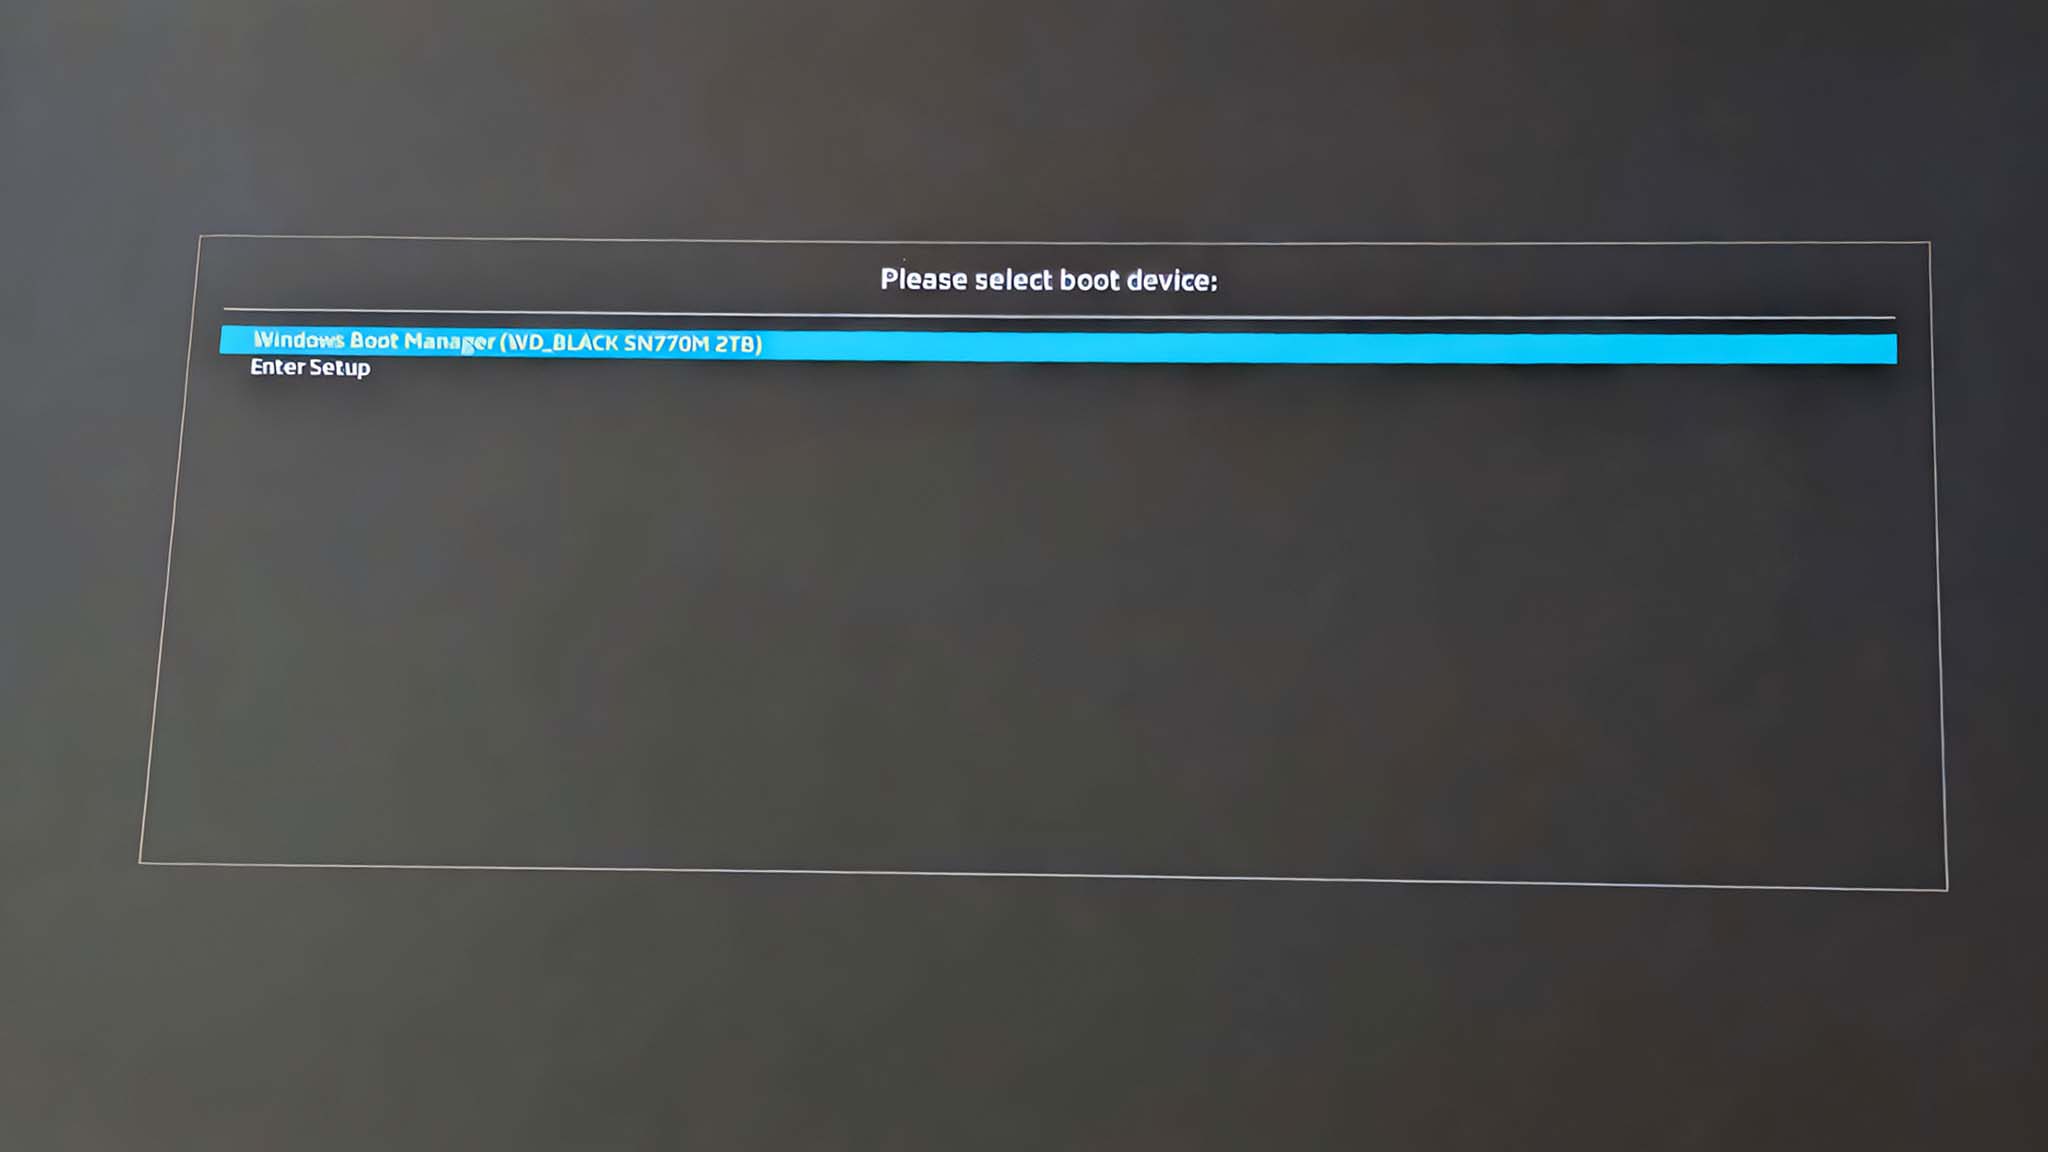
- If you get this screen, select Enter Setup.
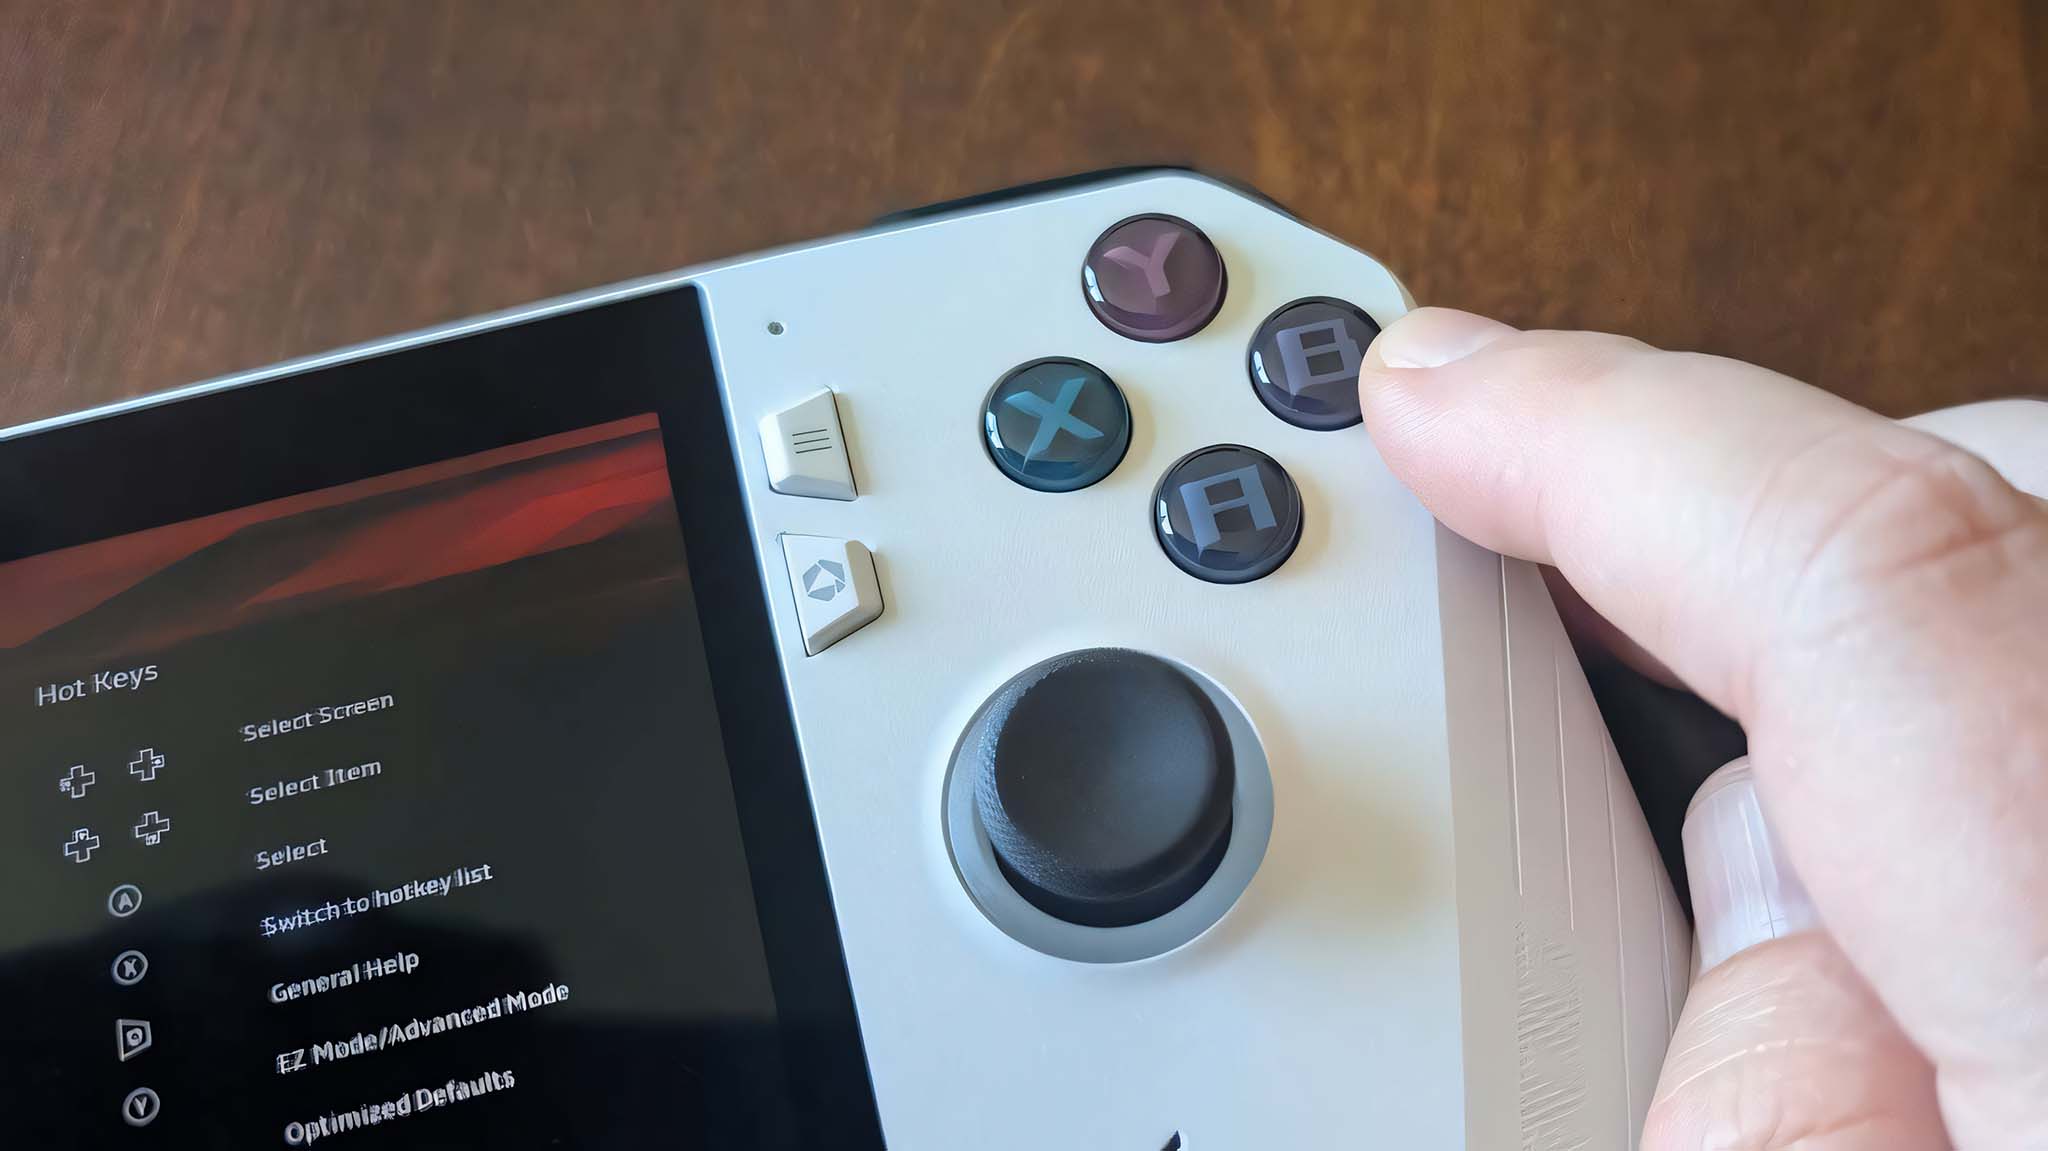
- After you enter the BIOS, press the Y button to go to Advanced Mode.
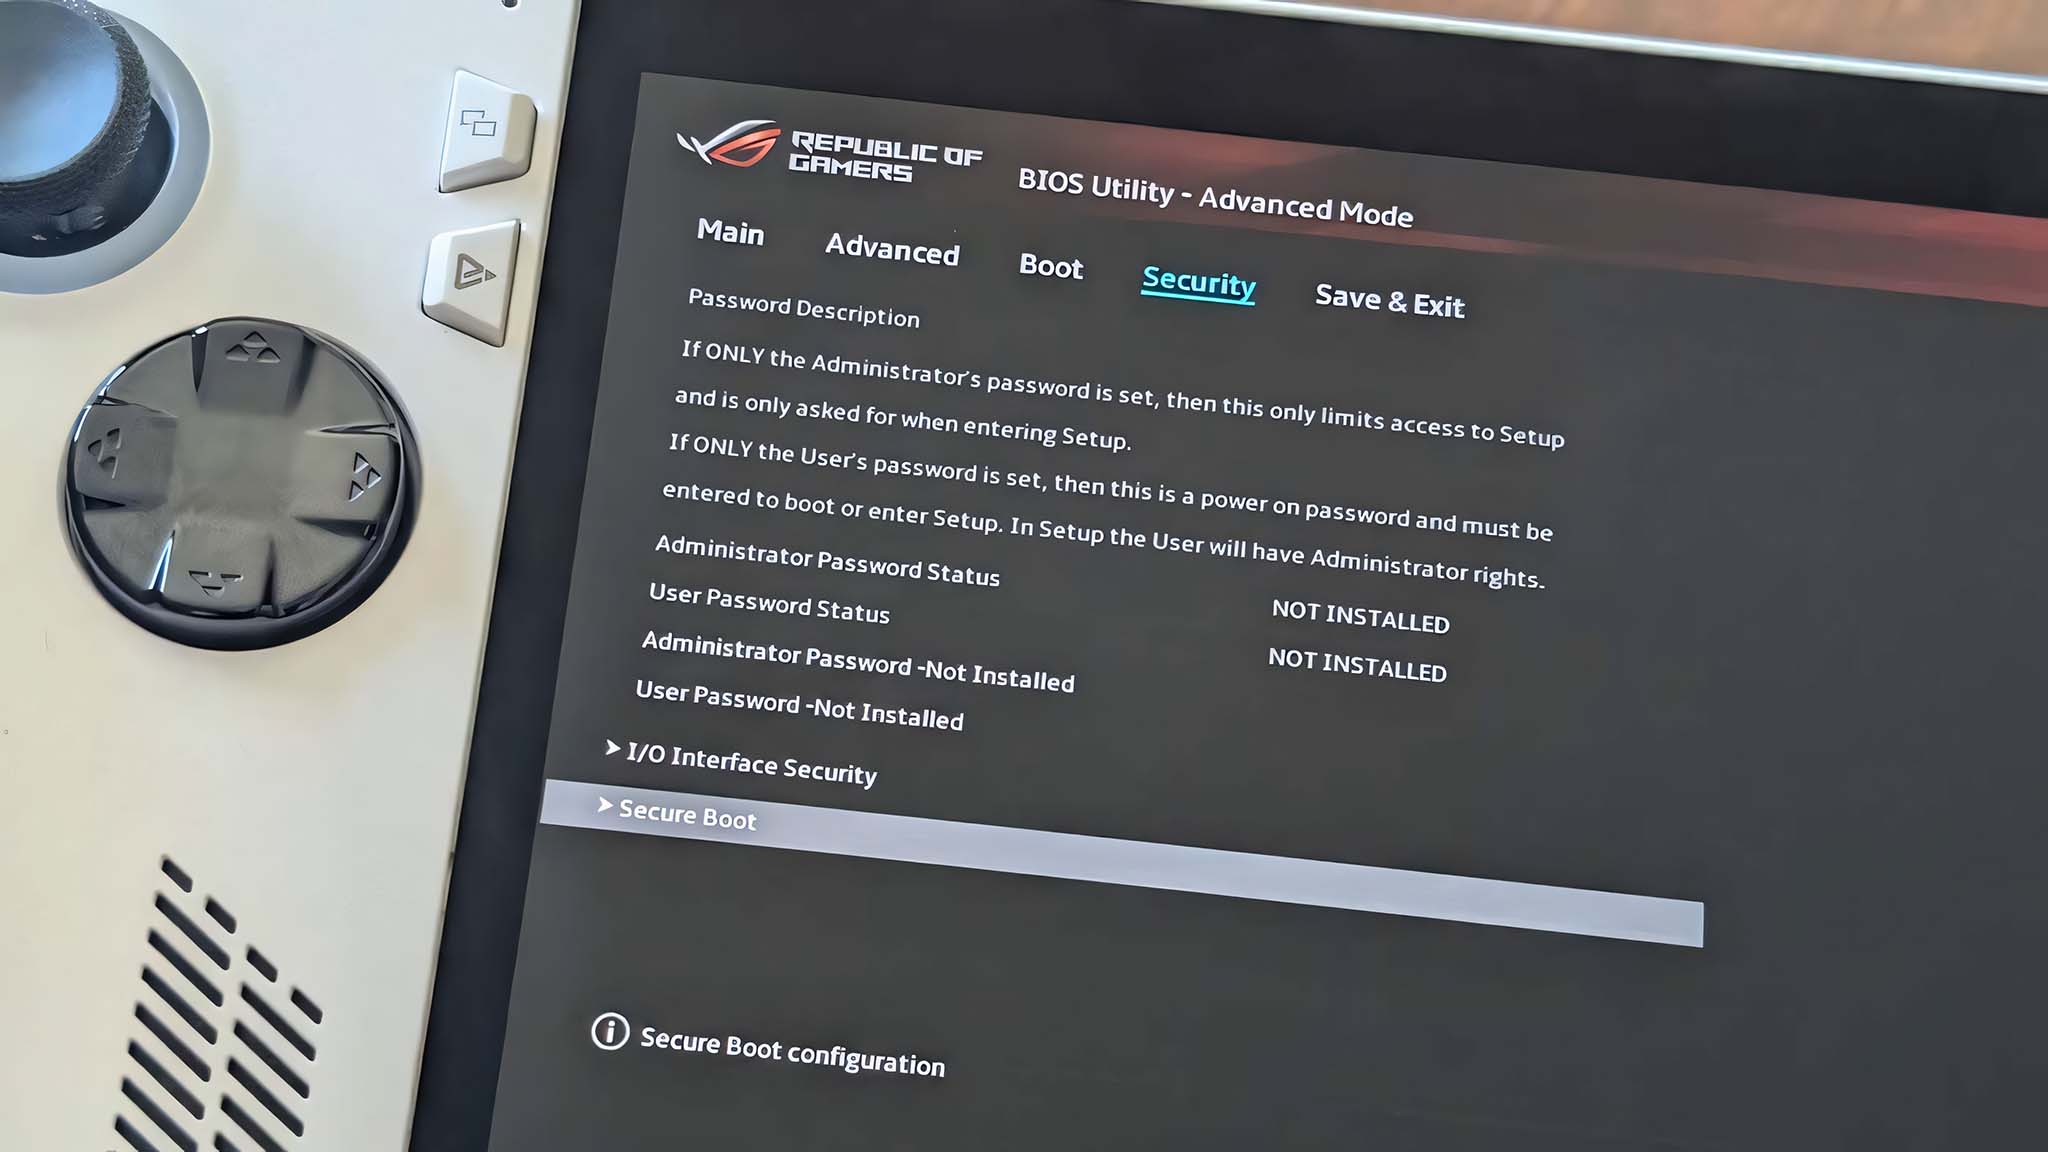
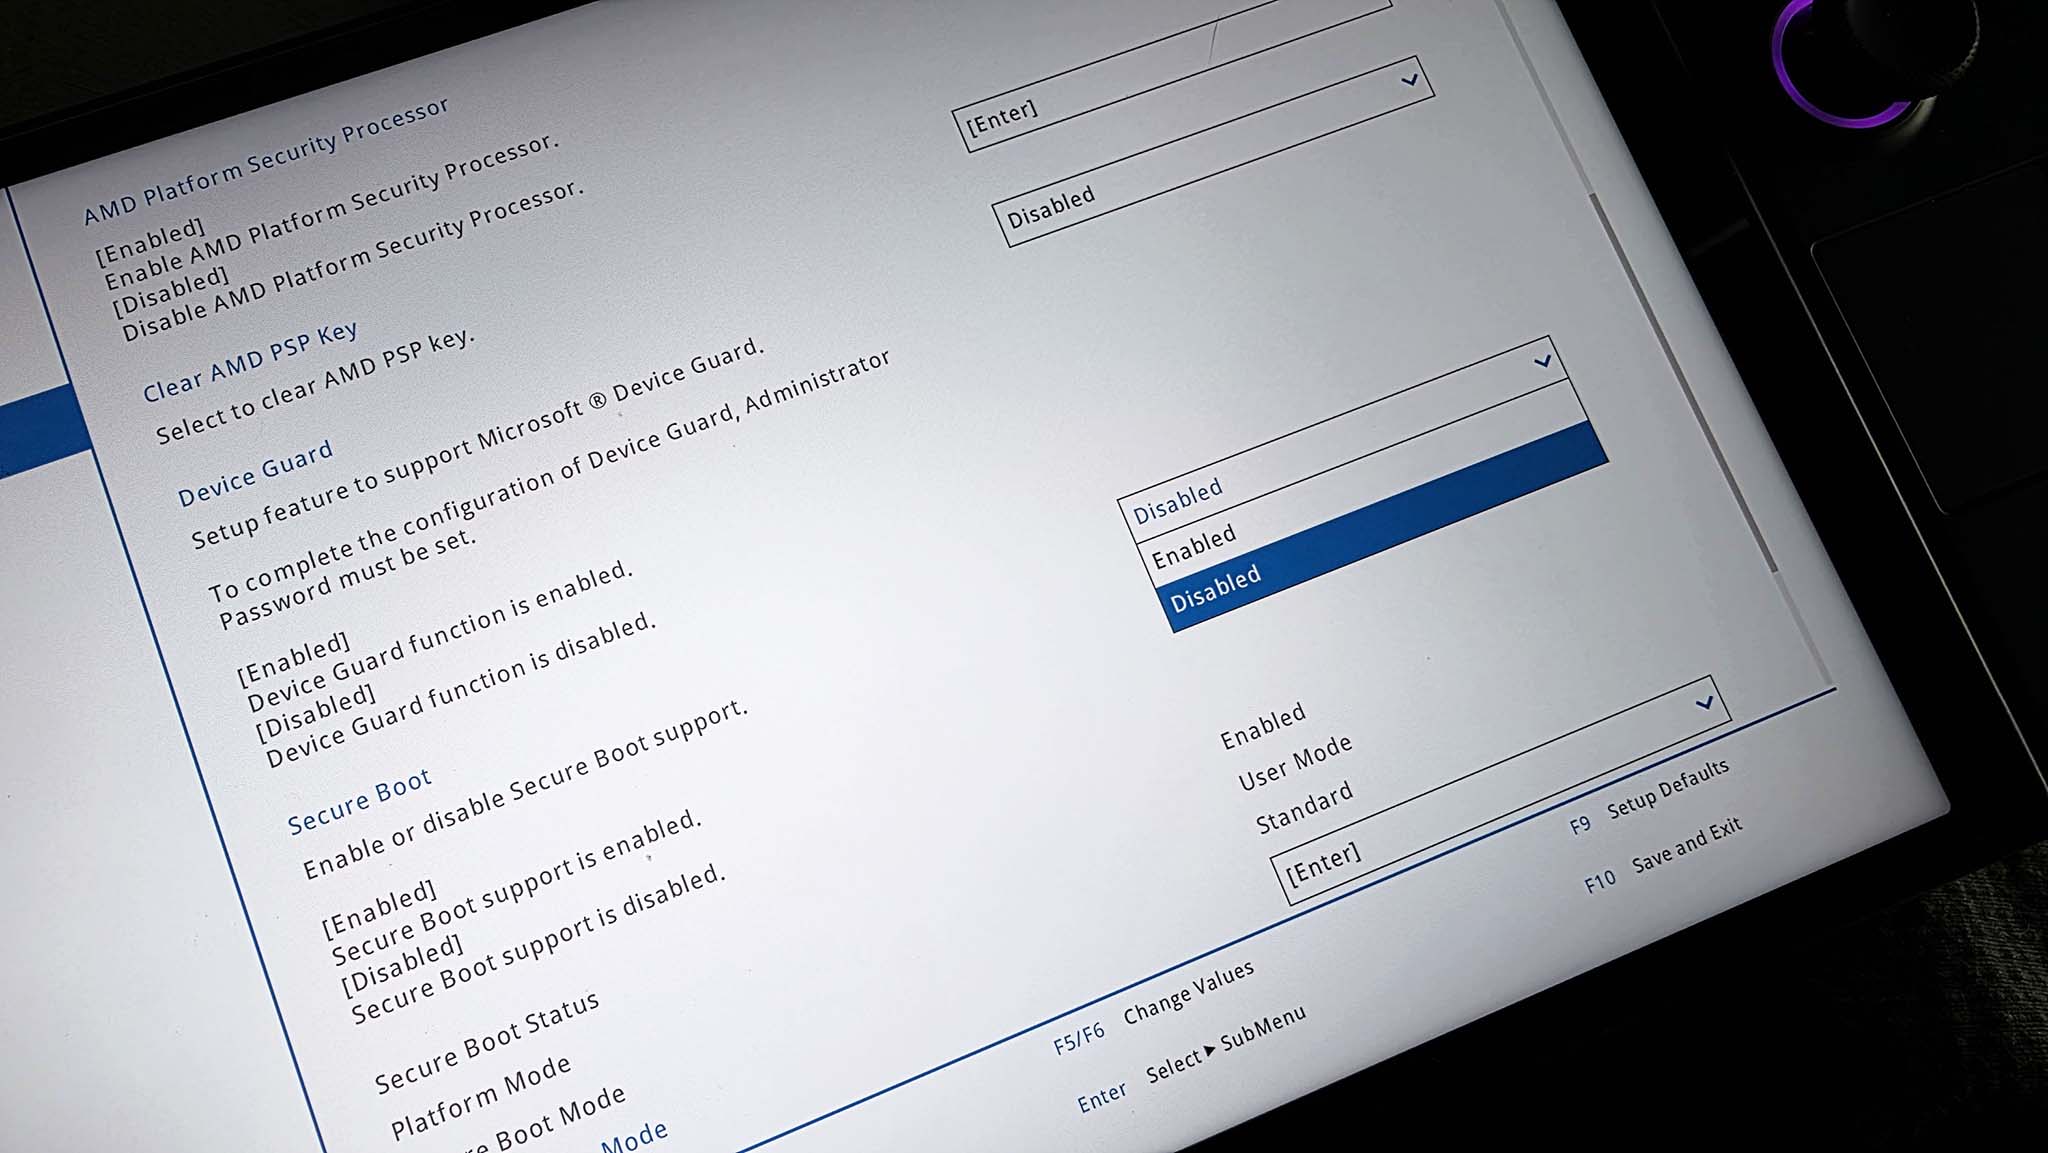
- Use the right D-Pad button to get to the Security tab and then select Secure Boot.
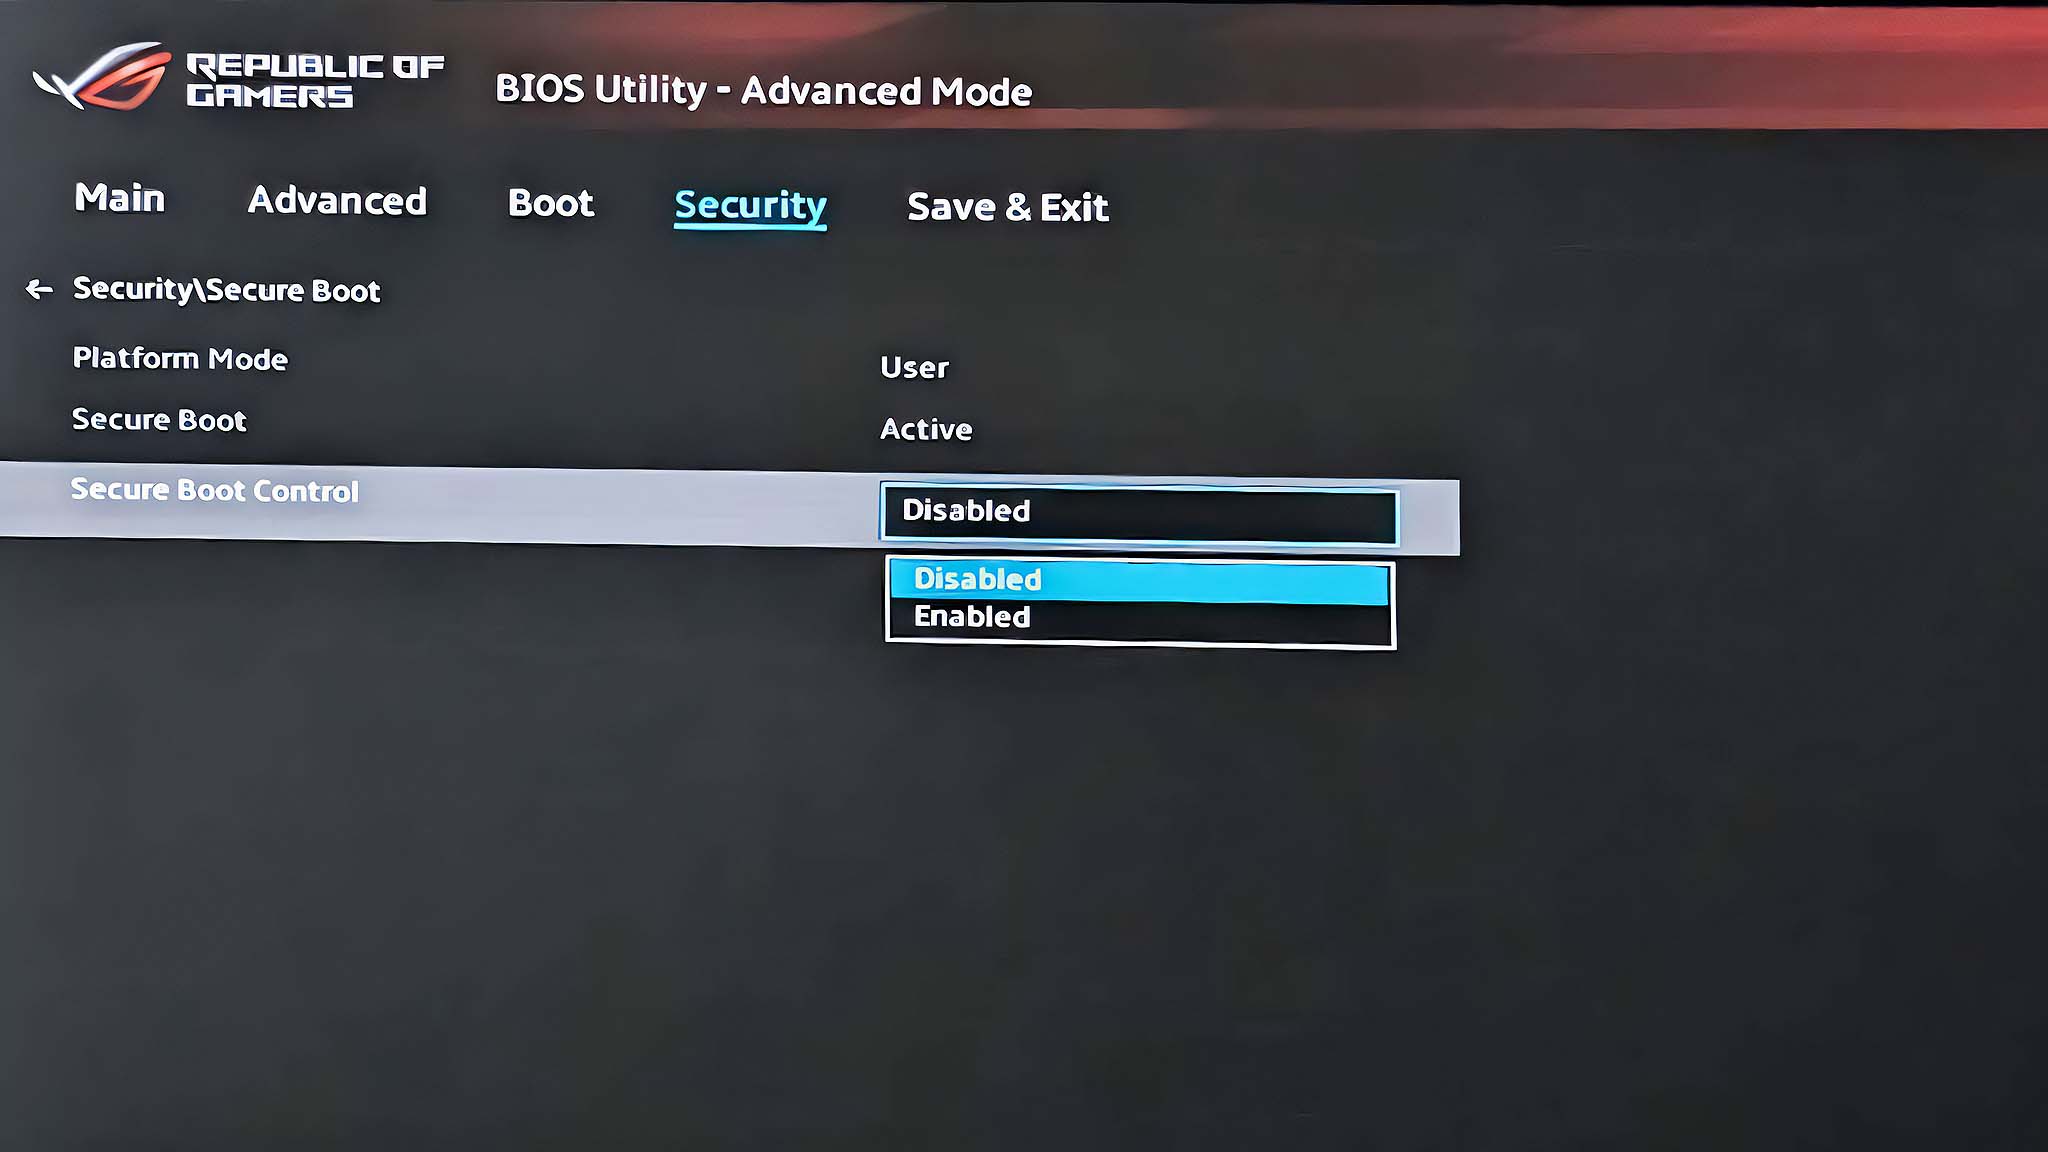
- Click on the dropdown menu box for Secure Boot Control and select Disabled.
- Press the B button to go back to the previous menu.
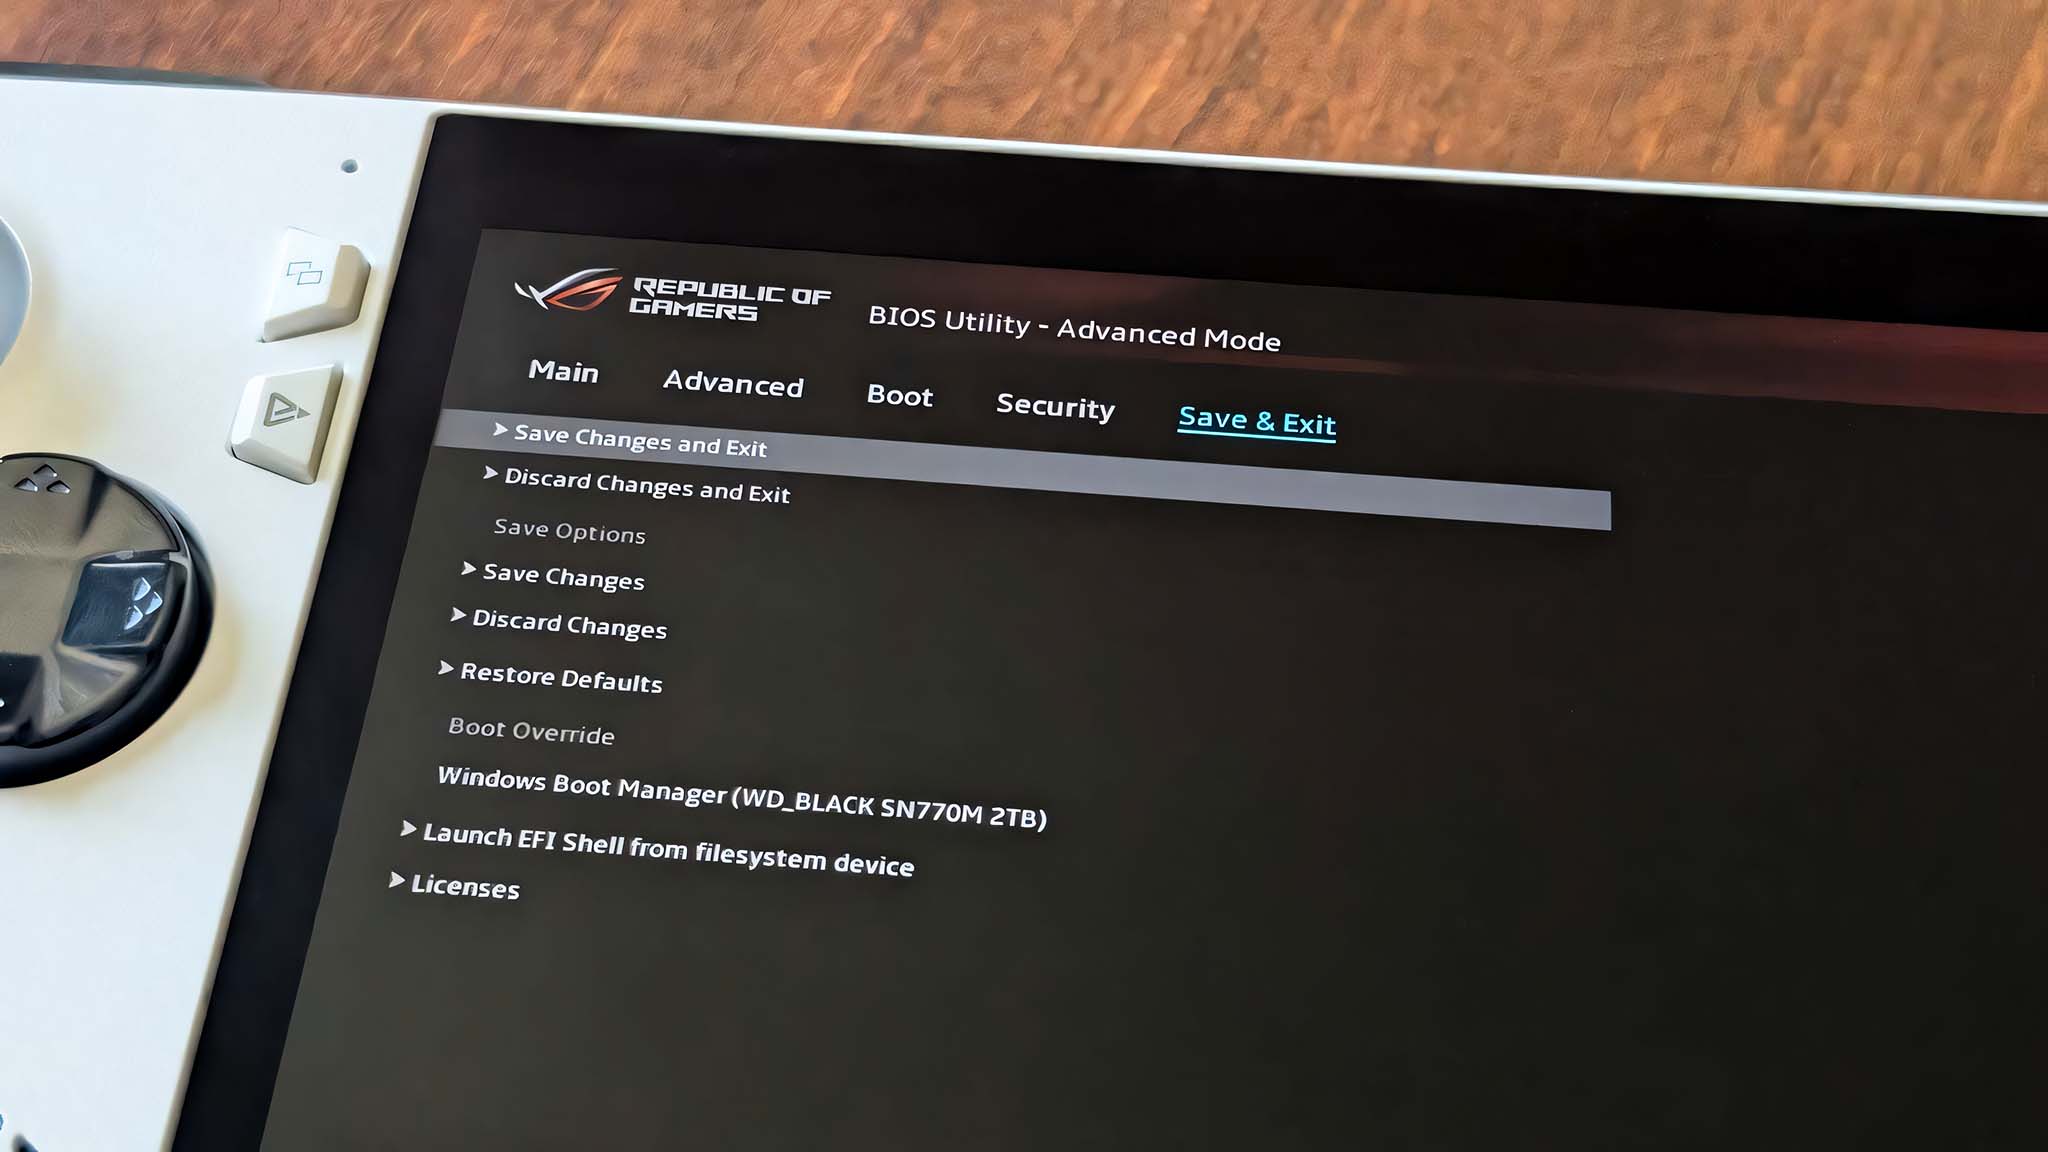
- Use the right D-Pad button to get to the Save & Exit tab then select Save Changes and Exit.
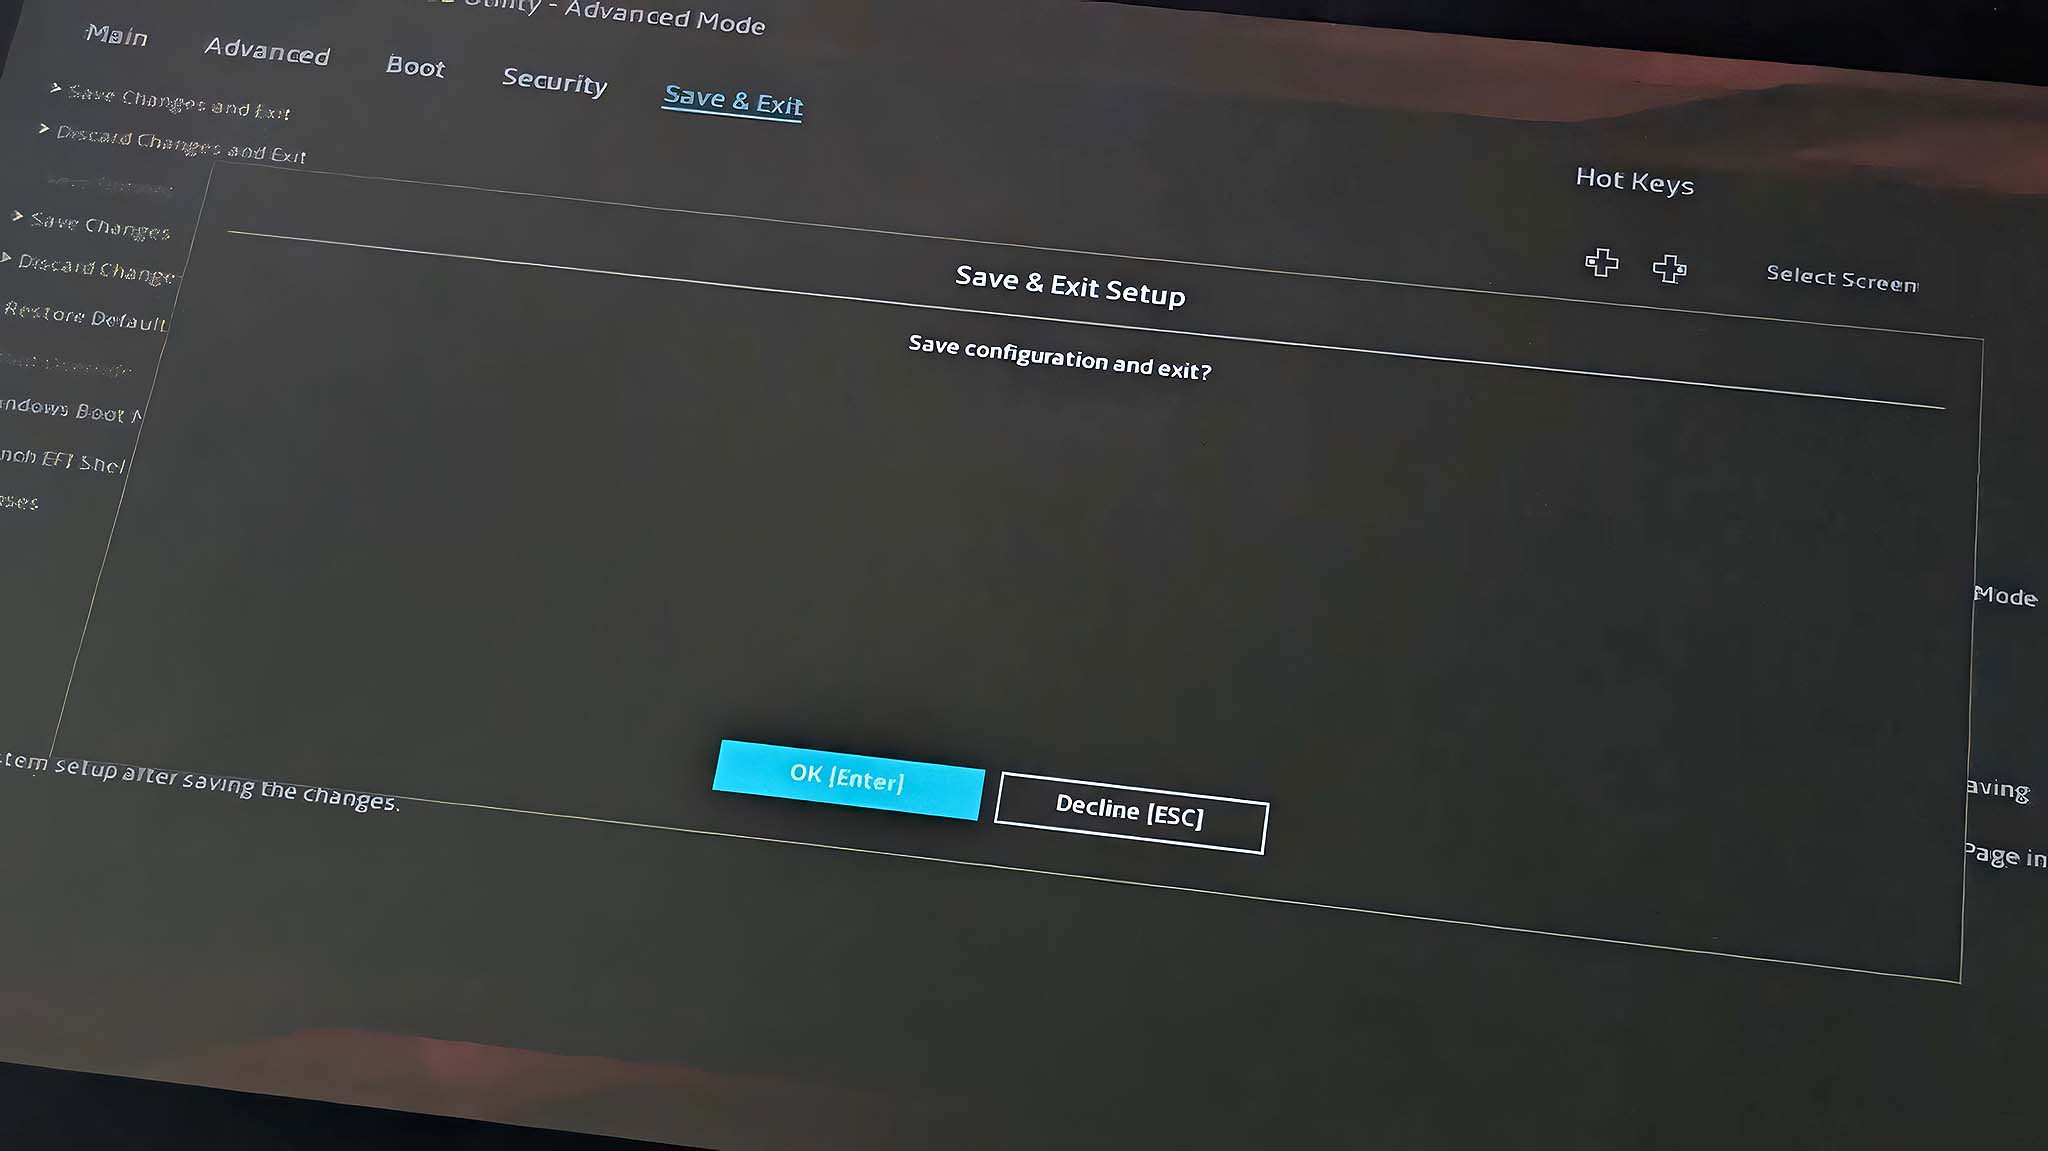
- Now select OK [Enter] to exit the BIOS.
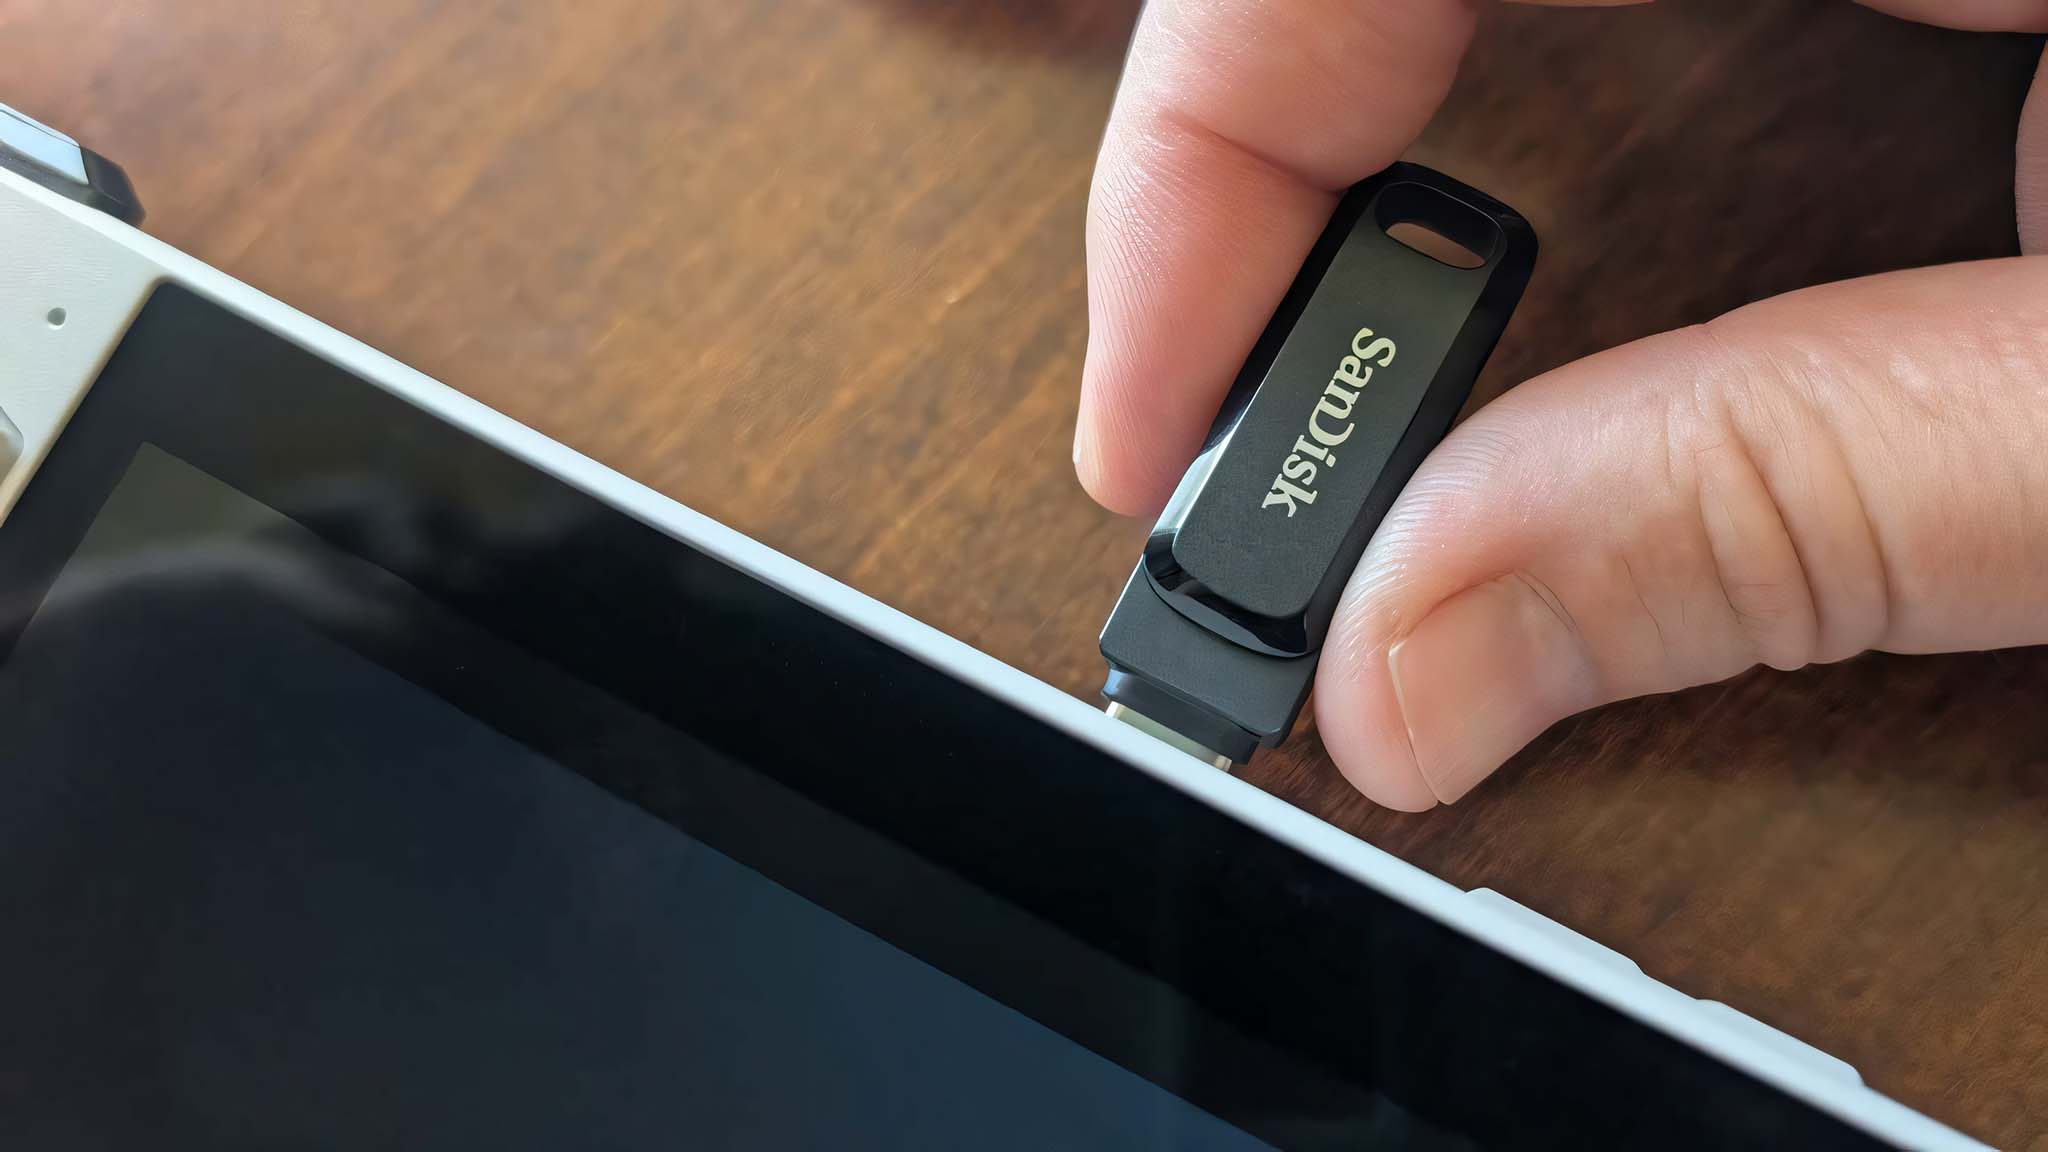
- Next, you'll need to plugin your prepared USB flash drive key. If your USB stick is a USB-A, you might need to use a USB-A to USB-C adapter.
- Then, restart your ROG Ally.
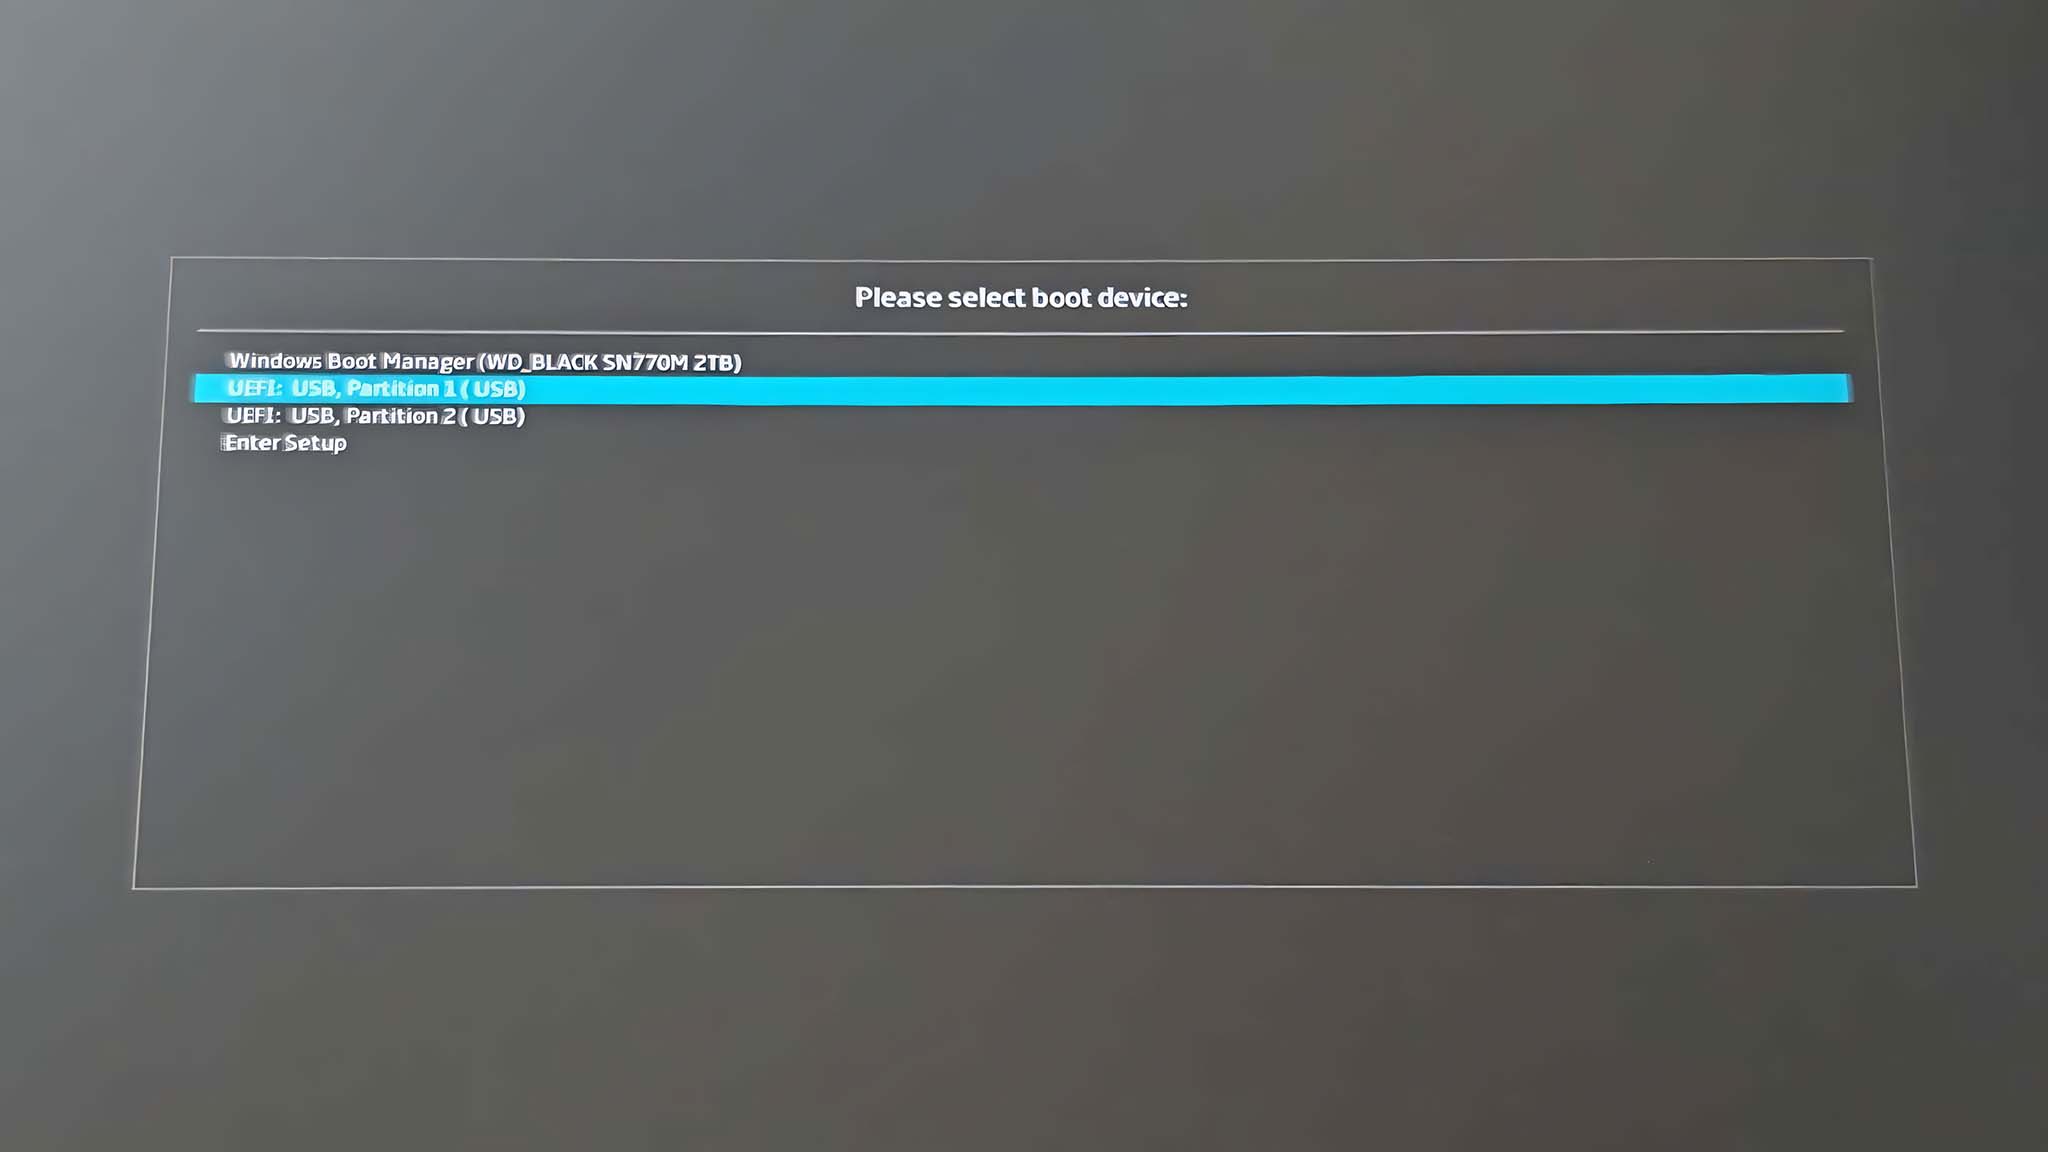
- As soon as the ROG symbol appears on the screen, hold down the Volume up button to boot into the BIOS.
- Tap on UEFI: USB, Partition 1 (USB).
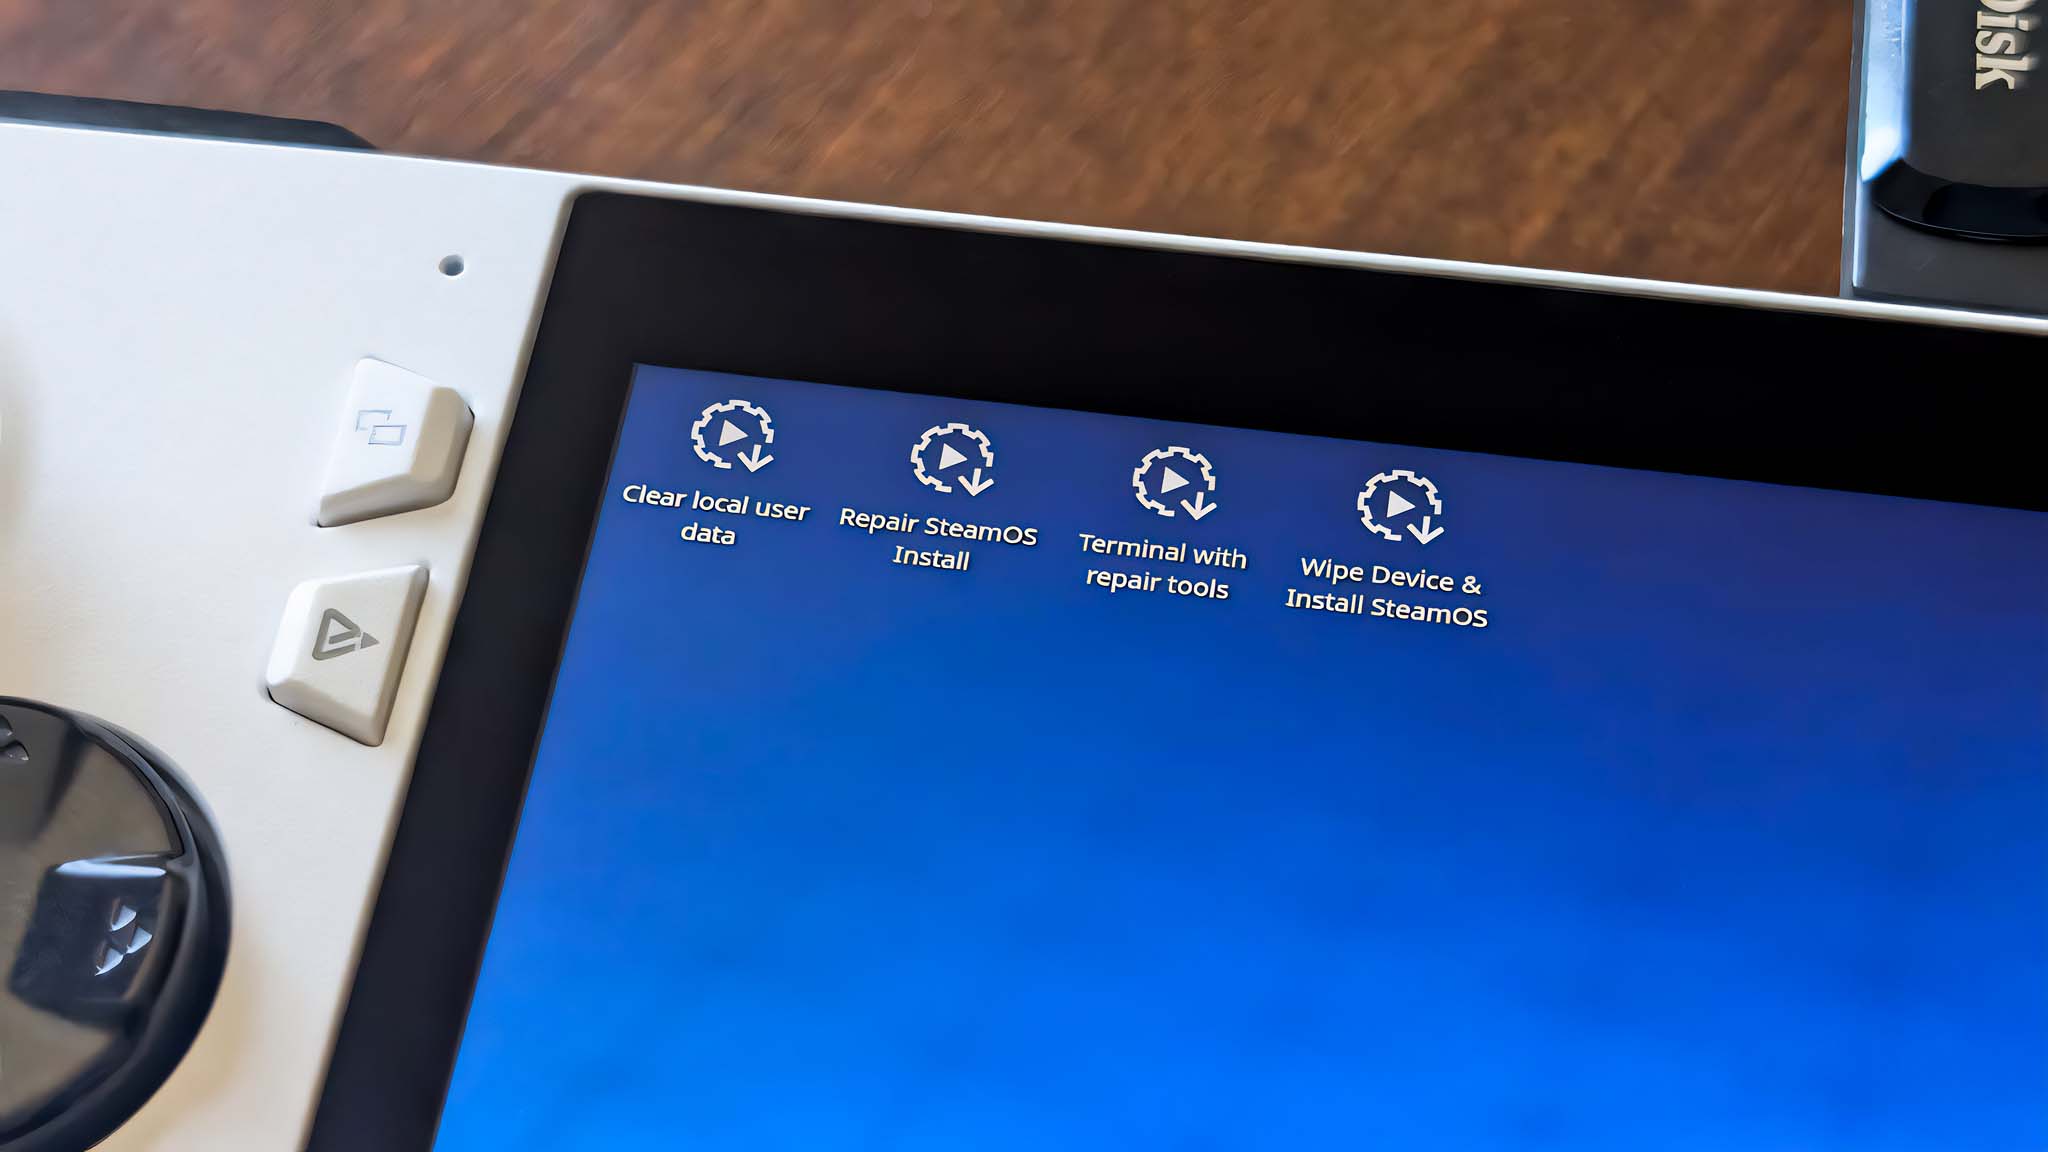
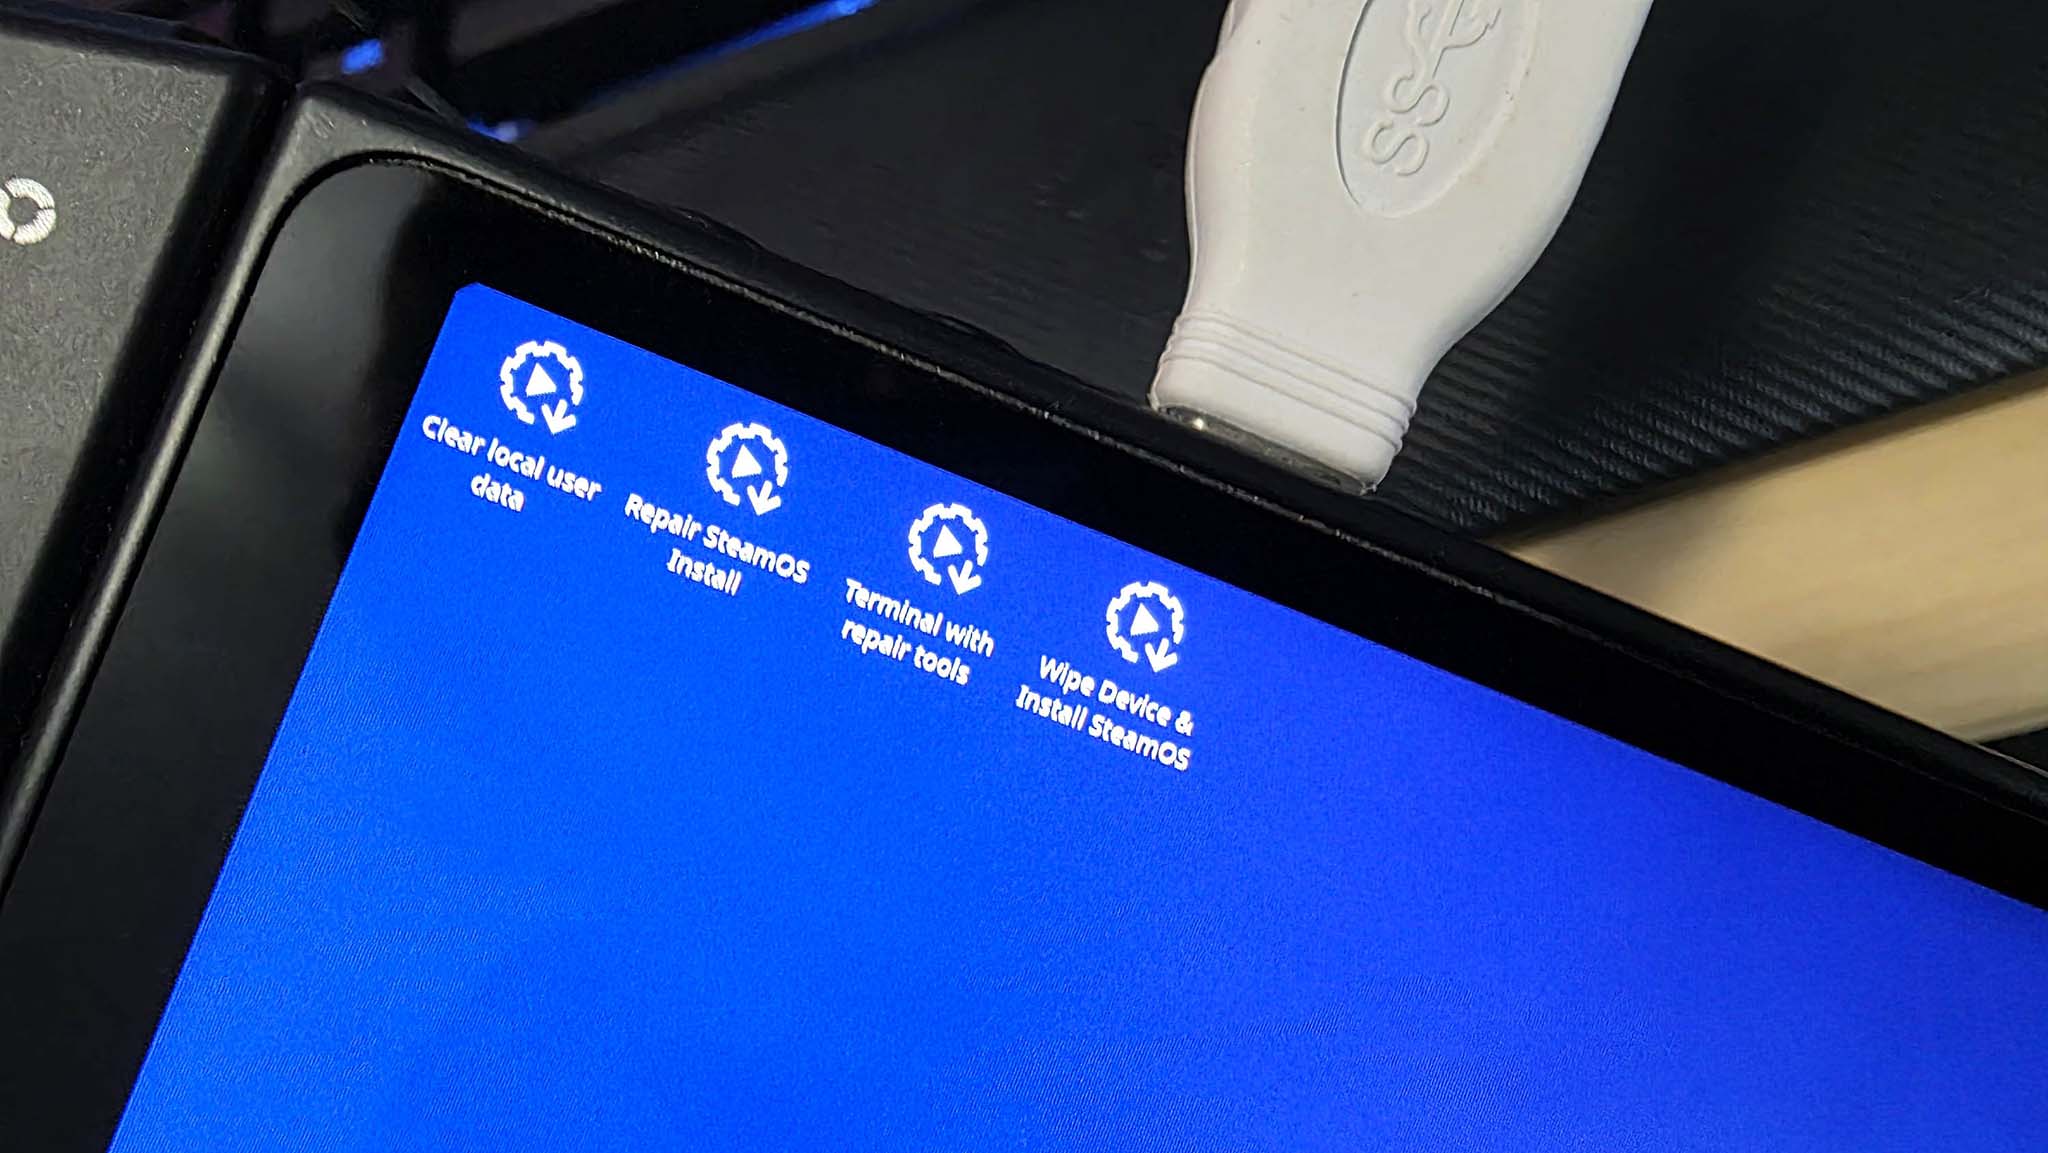
- After a moment, you'll find yourself in a desktop setup. Double tap on the icon on the top of the screen that reads Wipe Device & Install SteamOS.
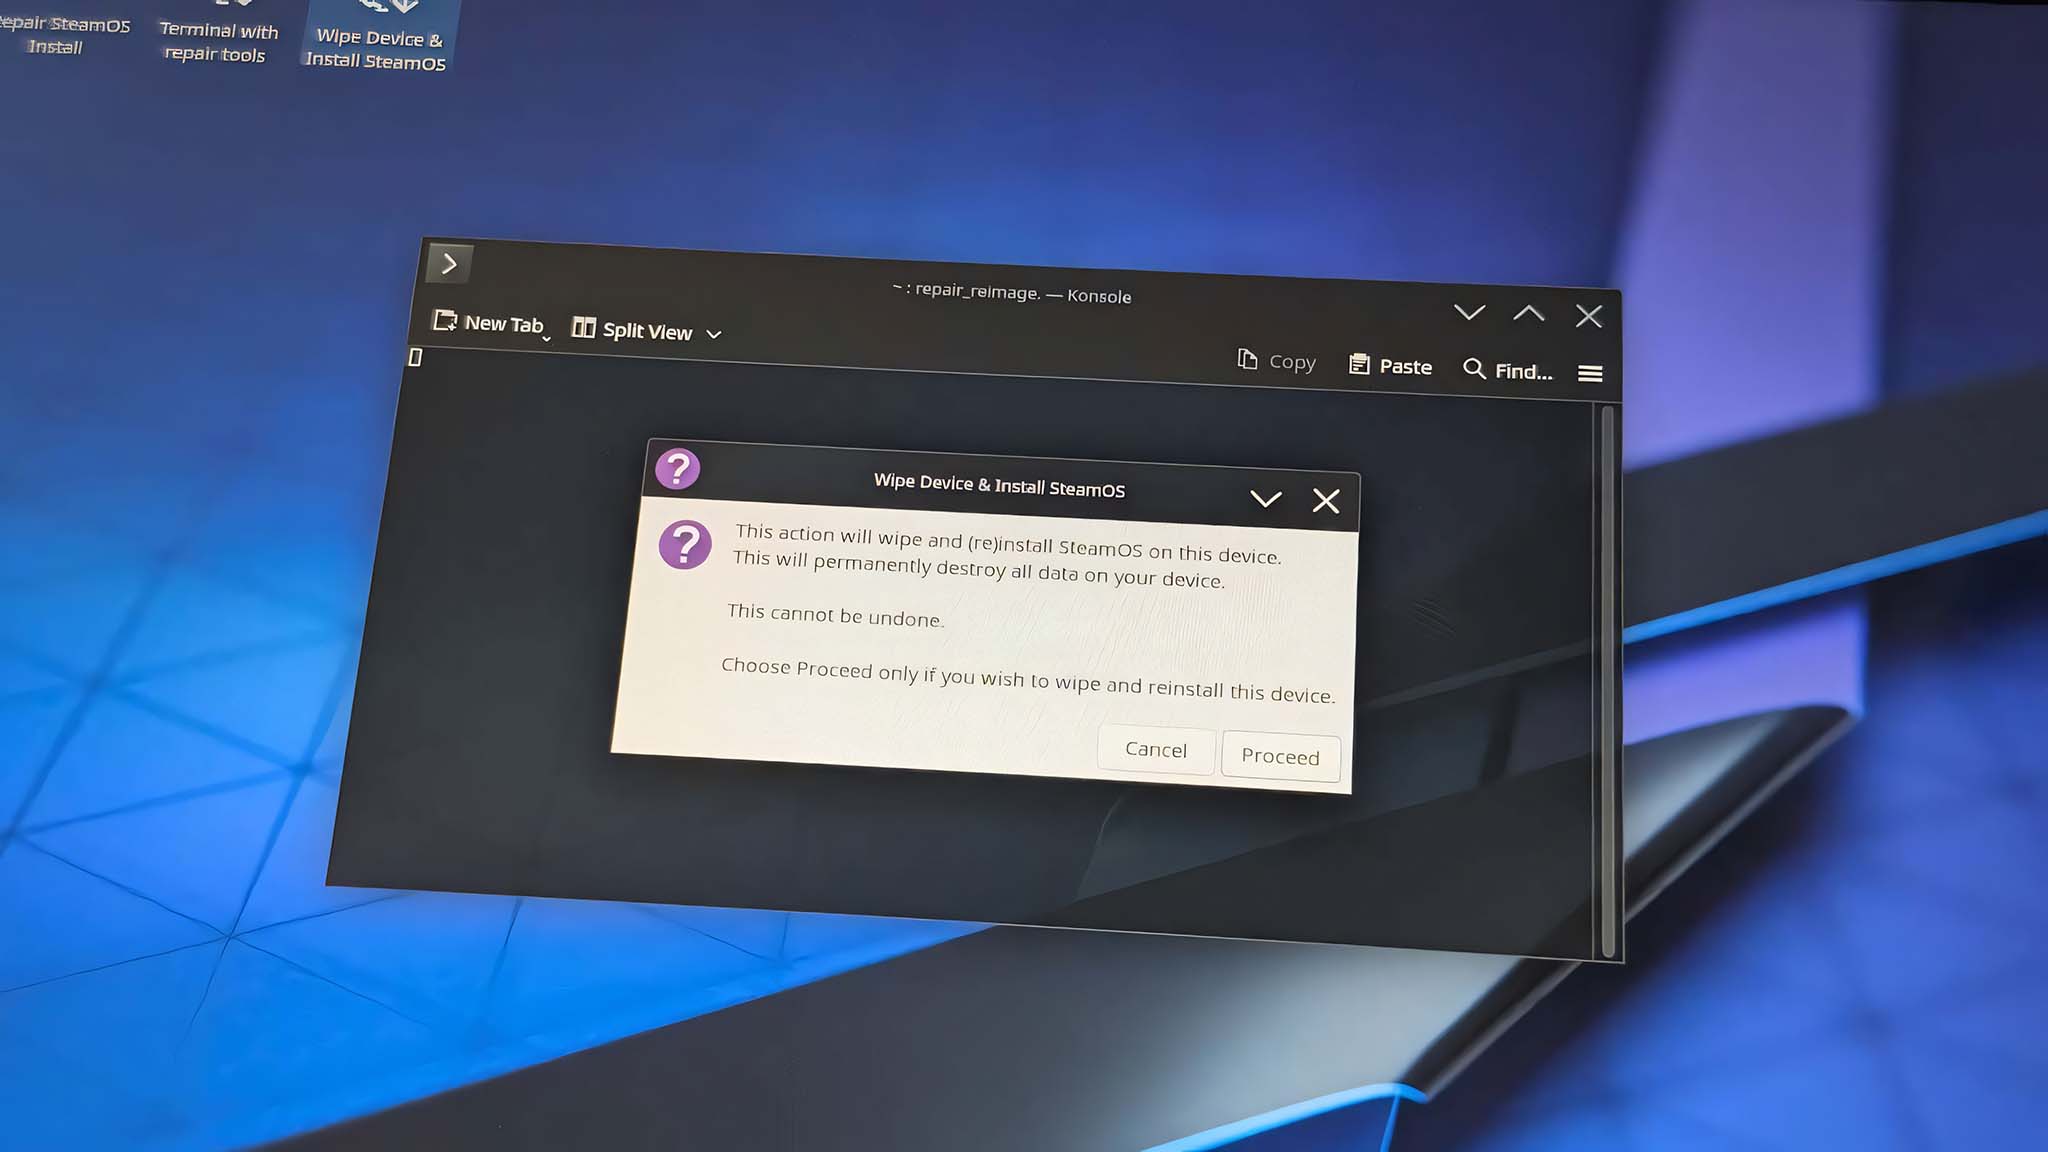
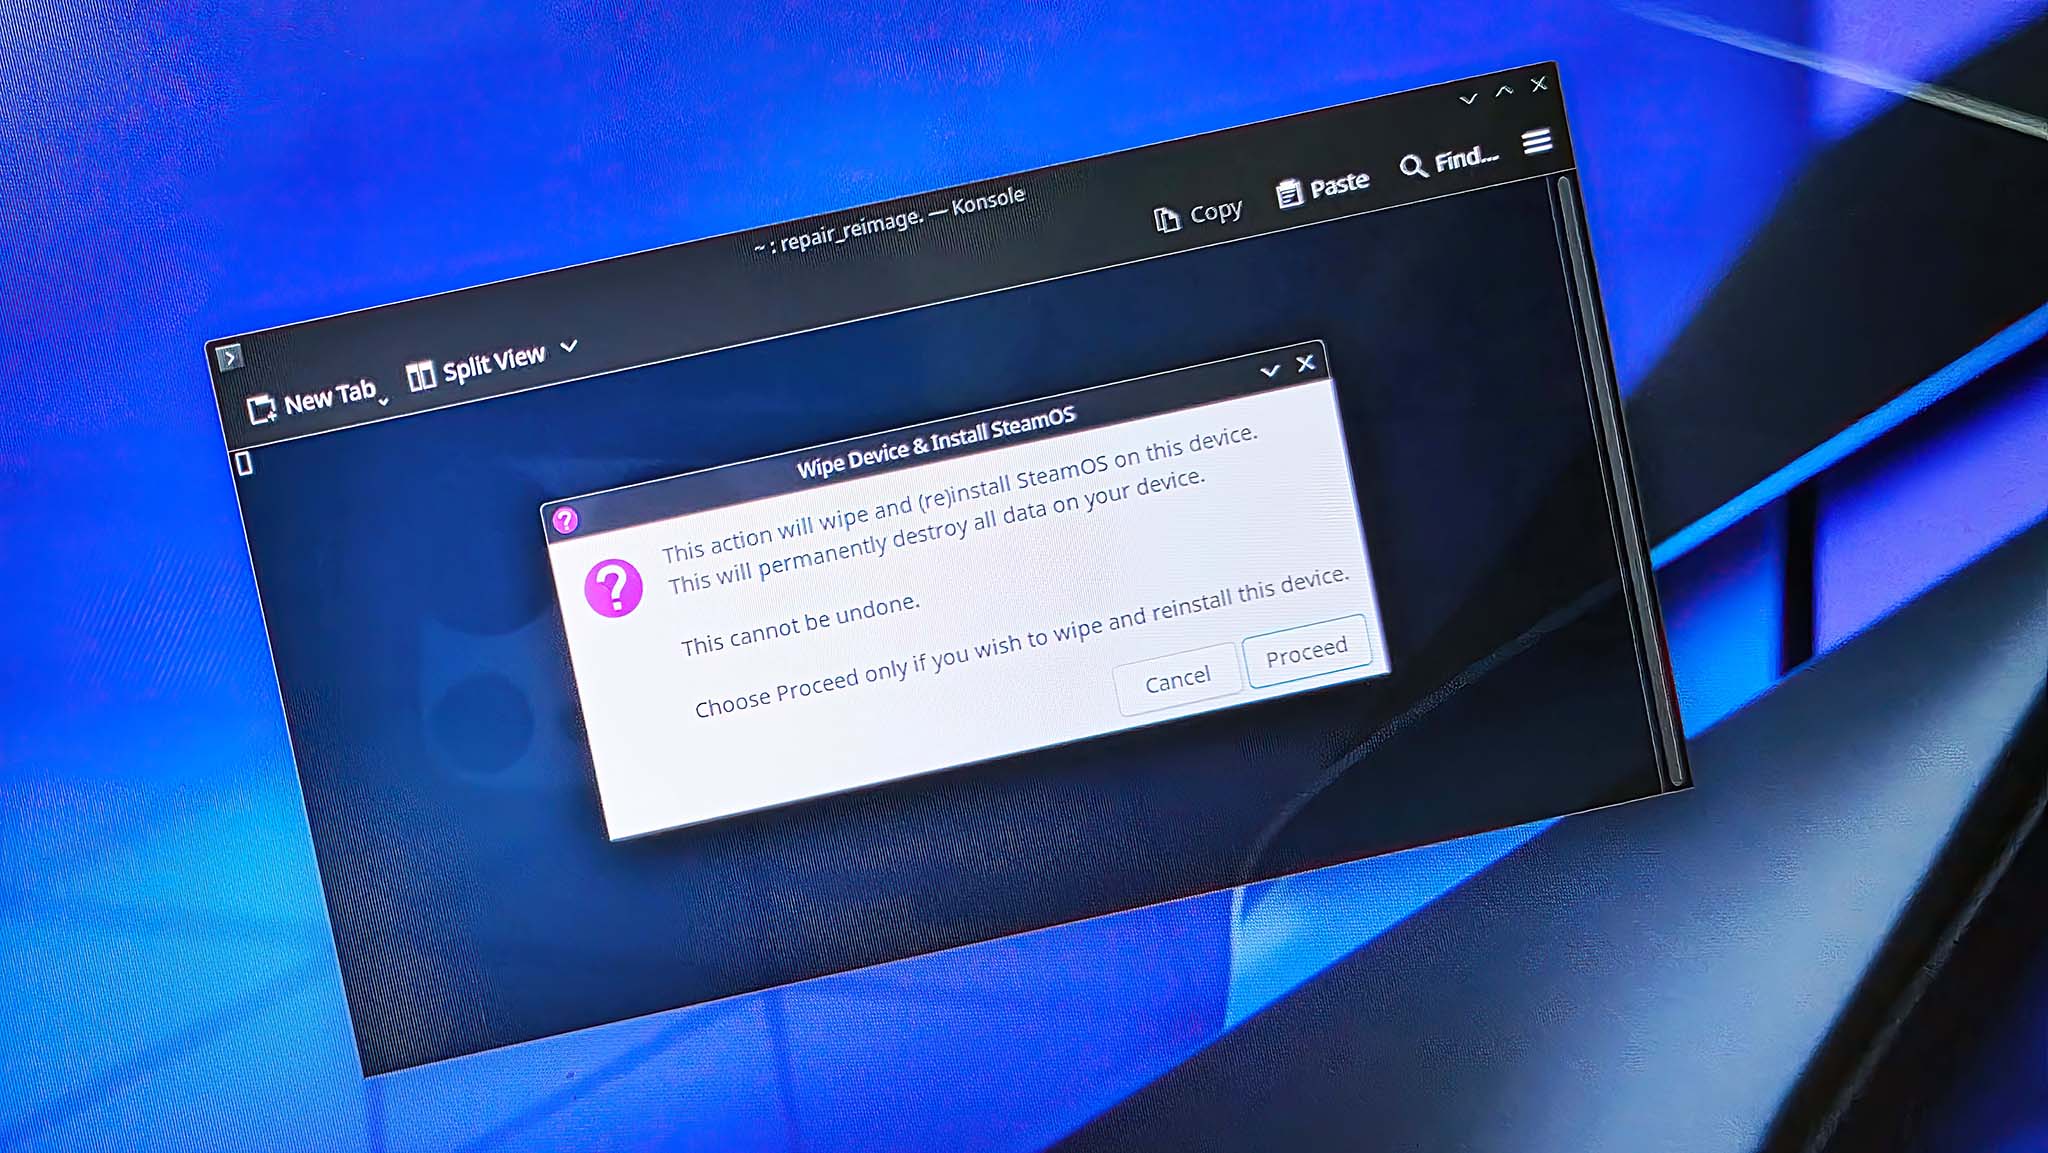
- A warning pops up letting you know that this process will completely remove everything currently on the device and cannot be undone. If you're okay with this, select Proceed.
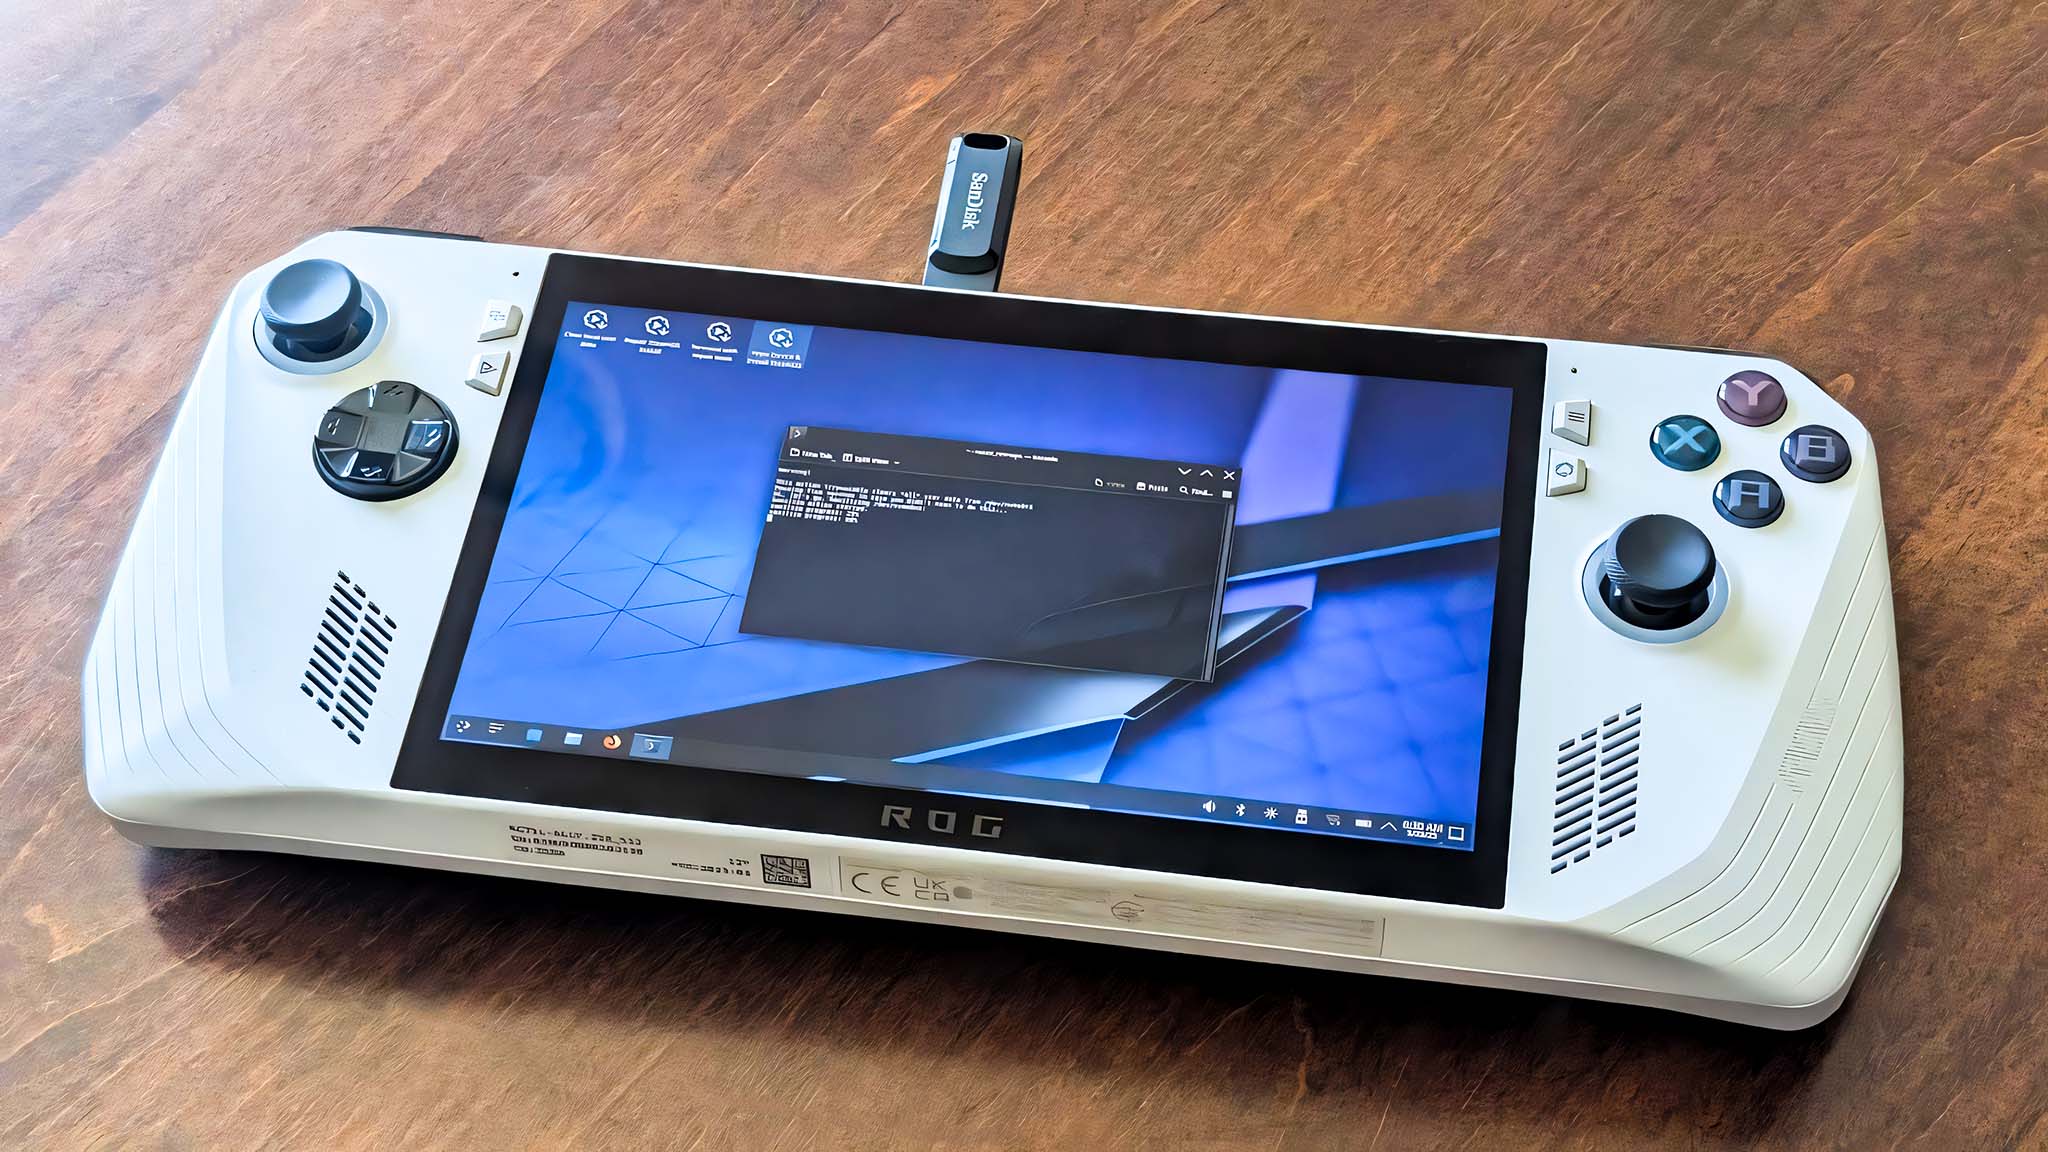
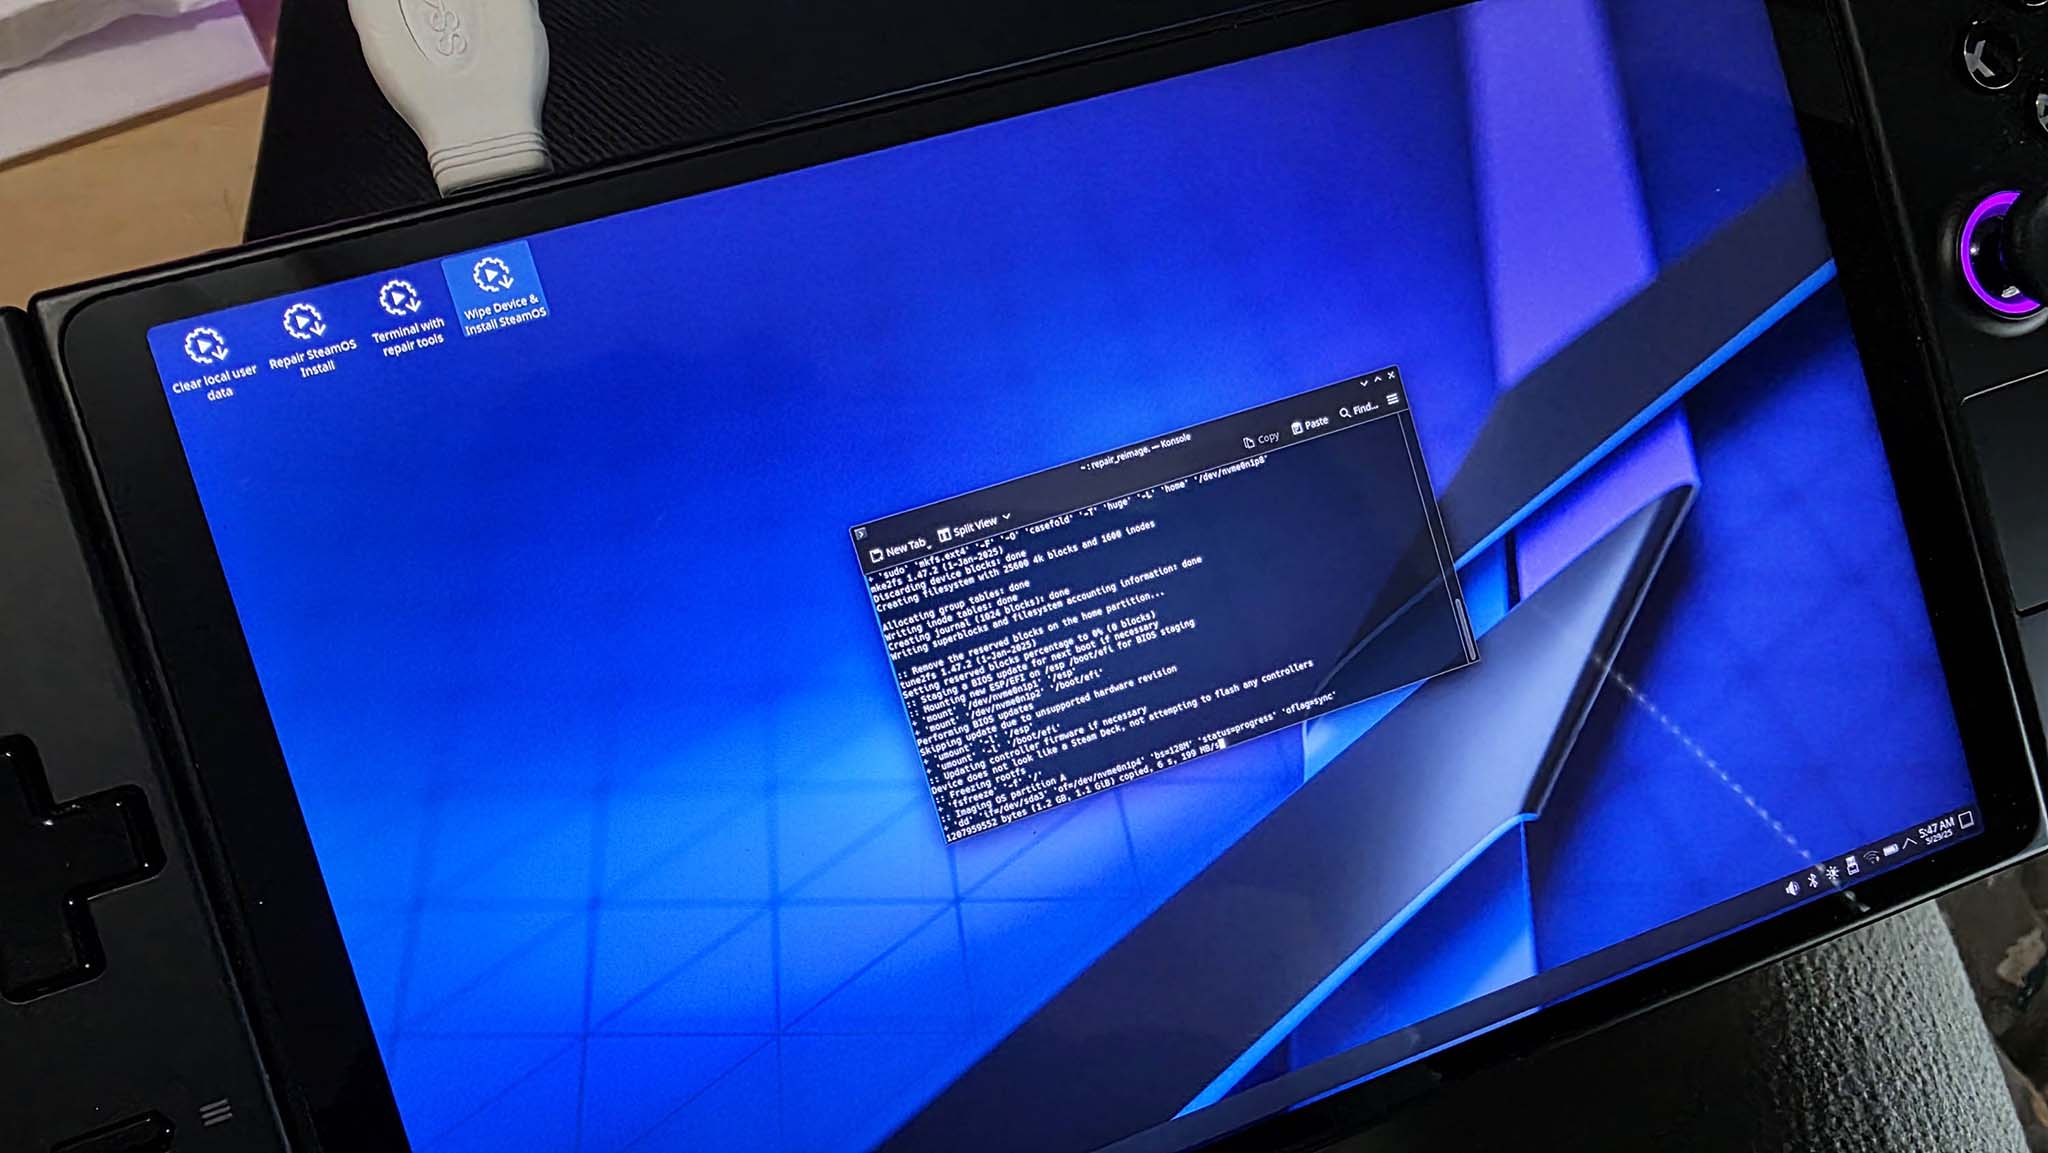
- Leave the ROG Ally alone and let it finish the process.
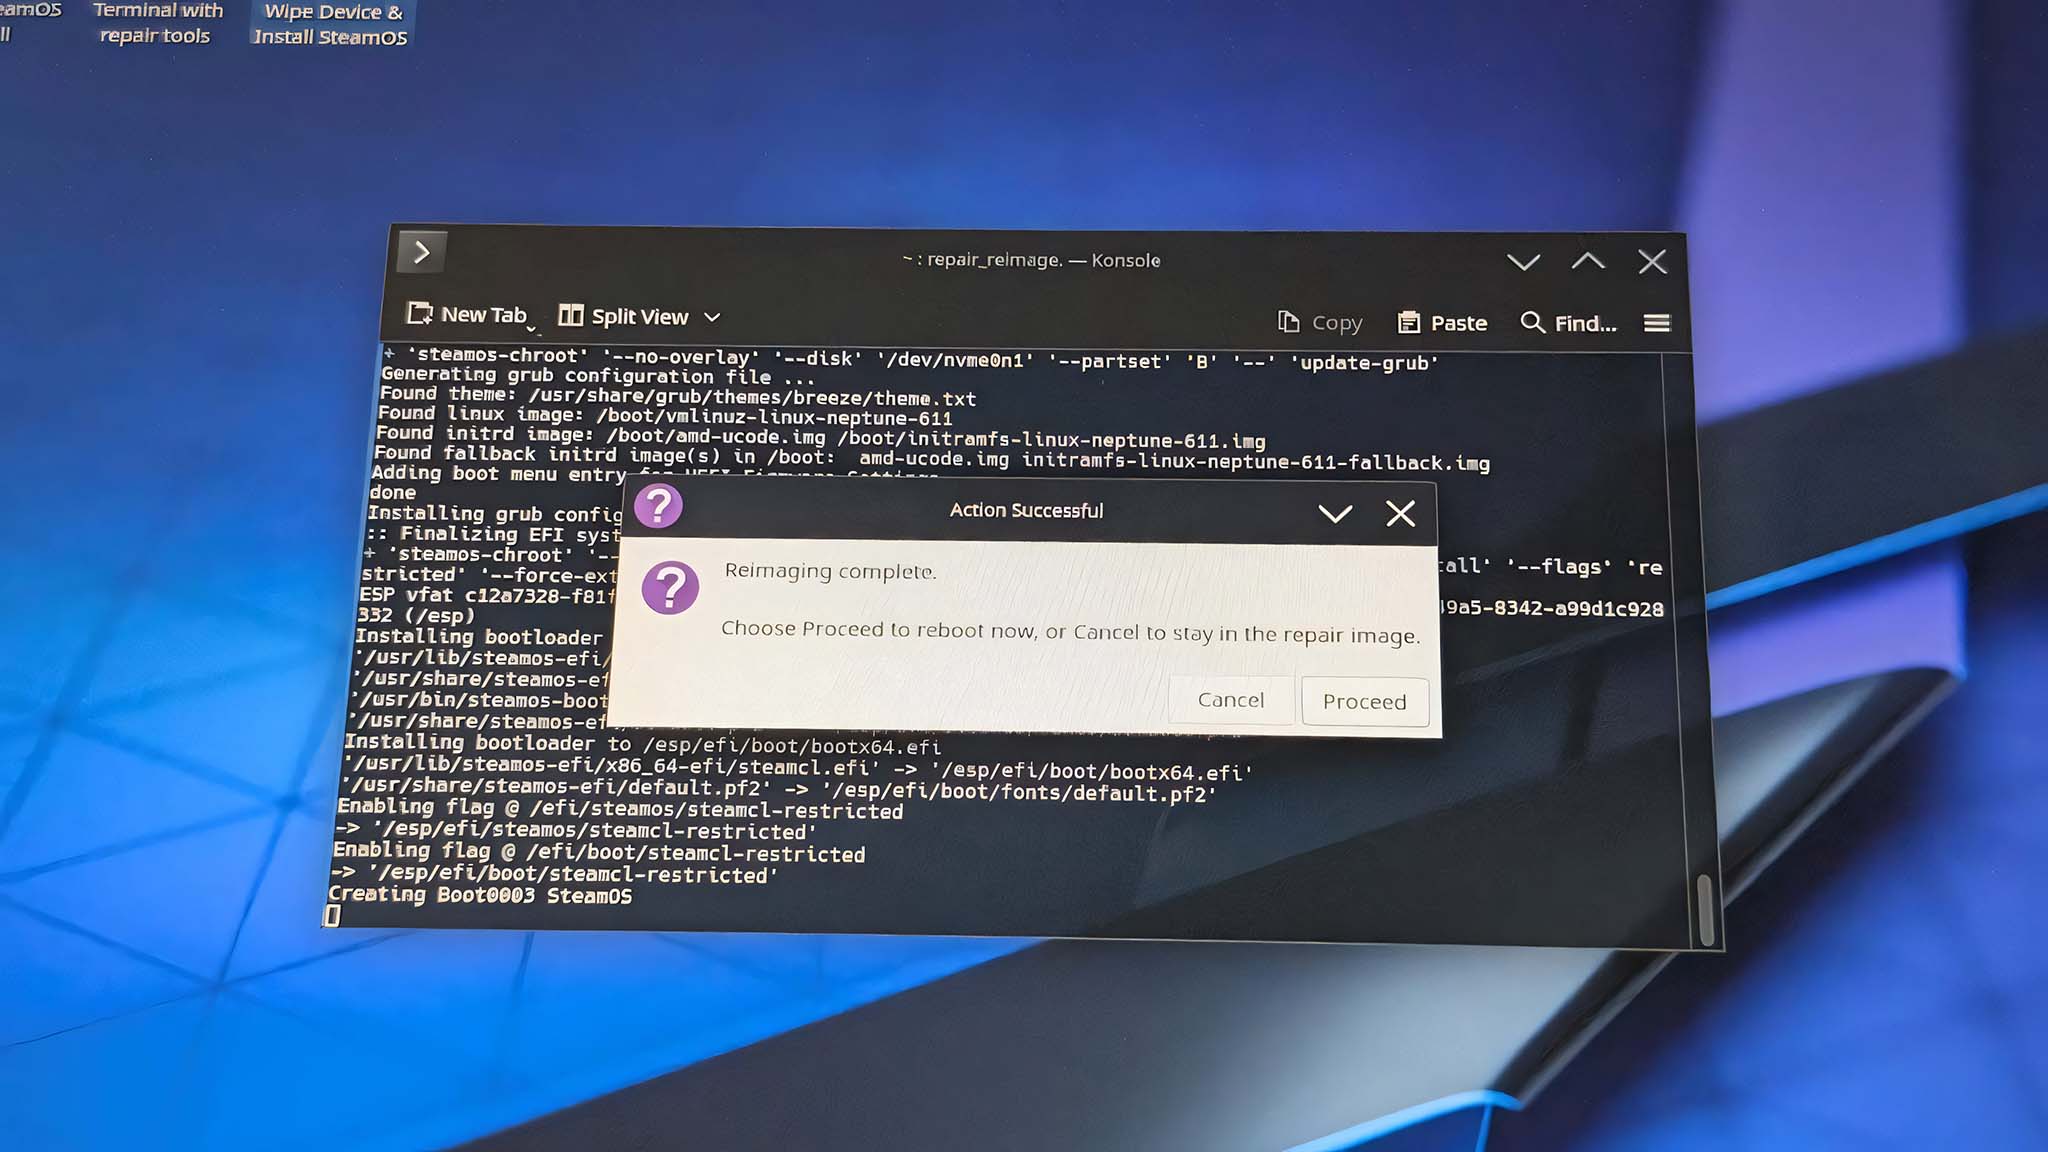
- A pop-up will then let you know the reimaging has completed. Select Proceed to restart the device.
- You can now remove your USB stick from the ROG Ally.
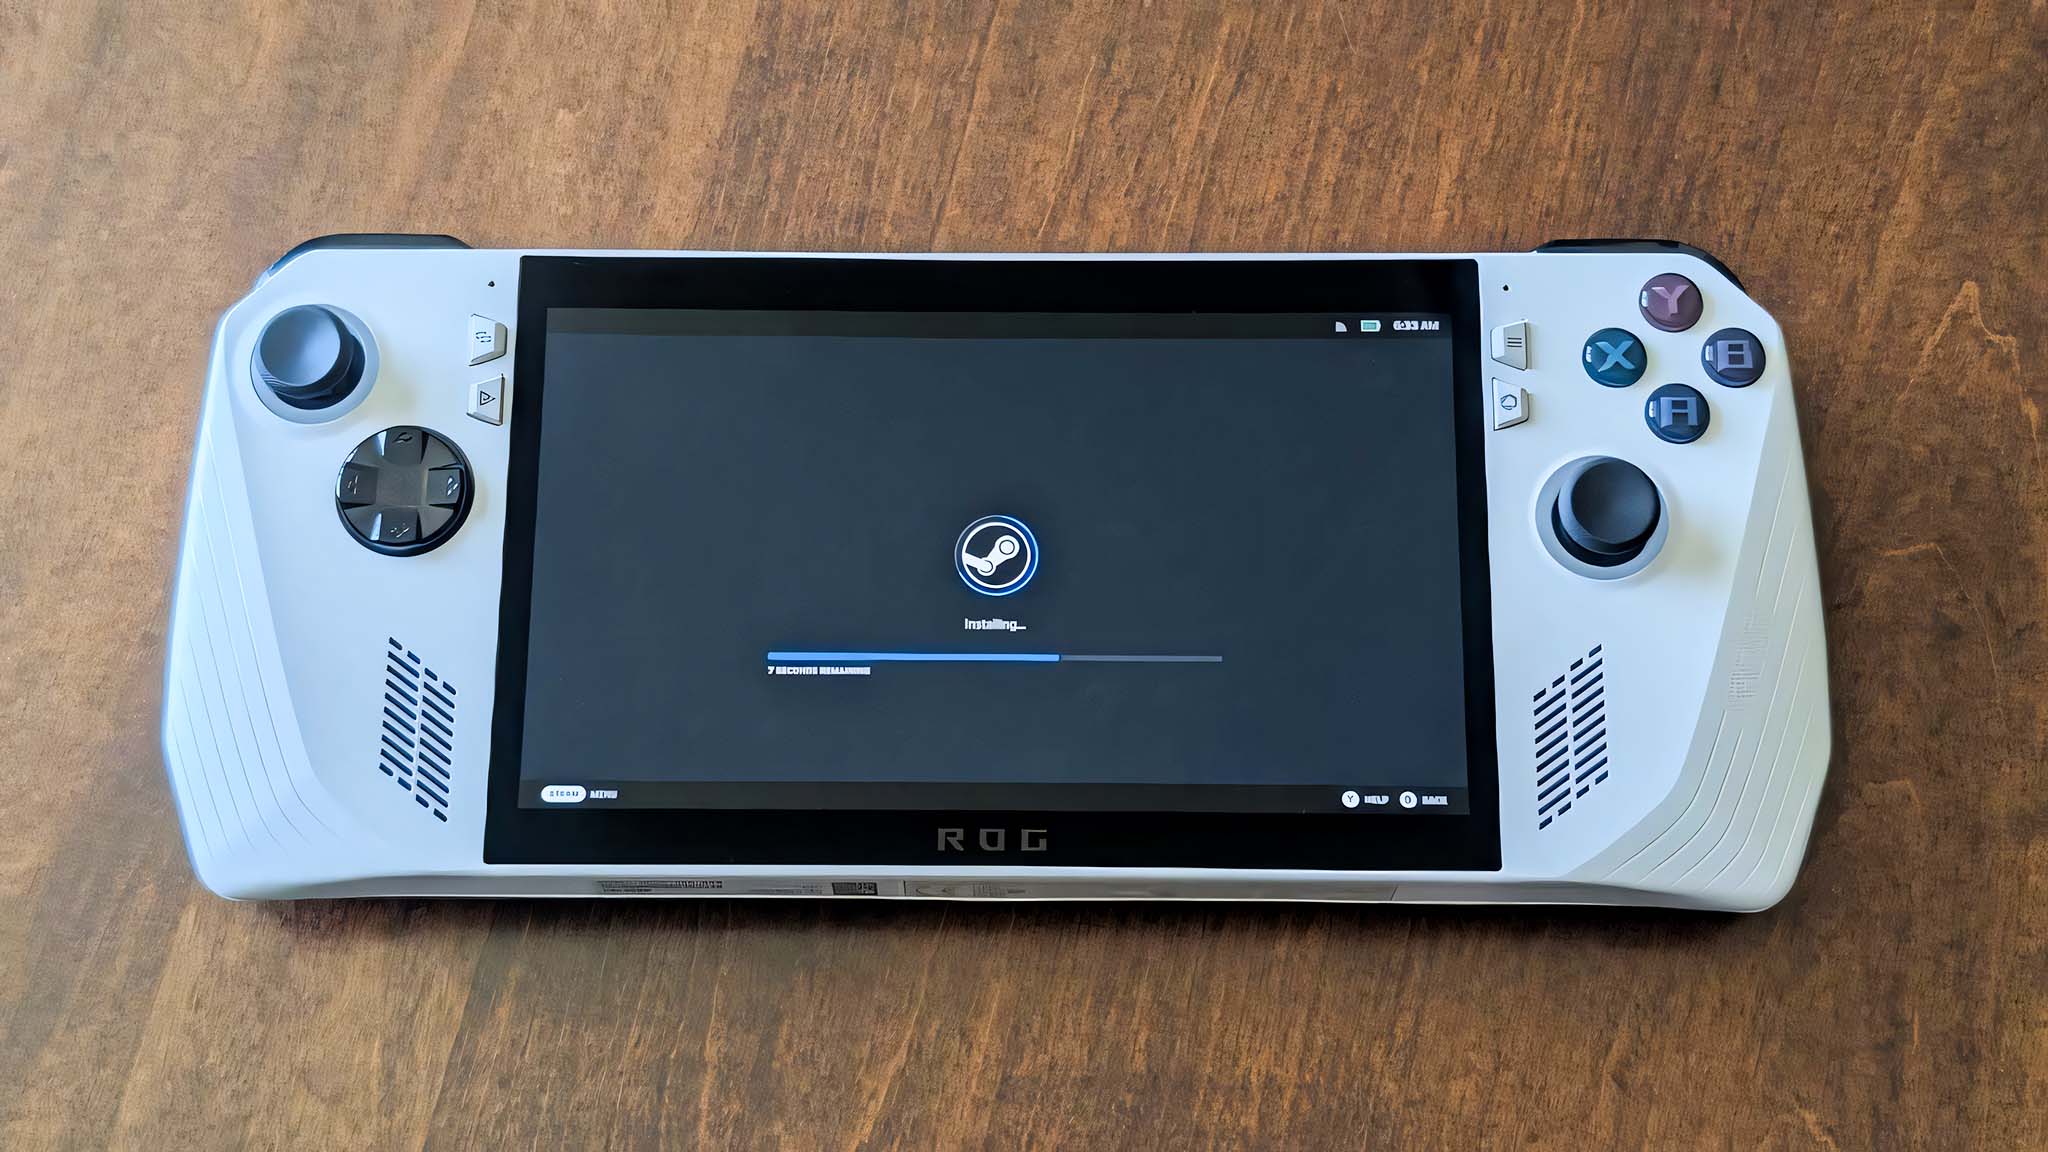
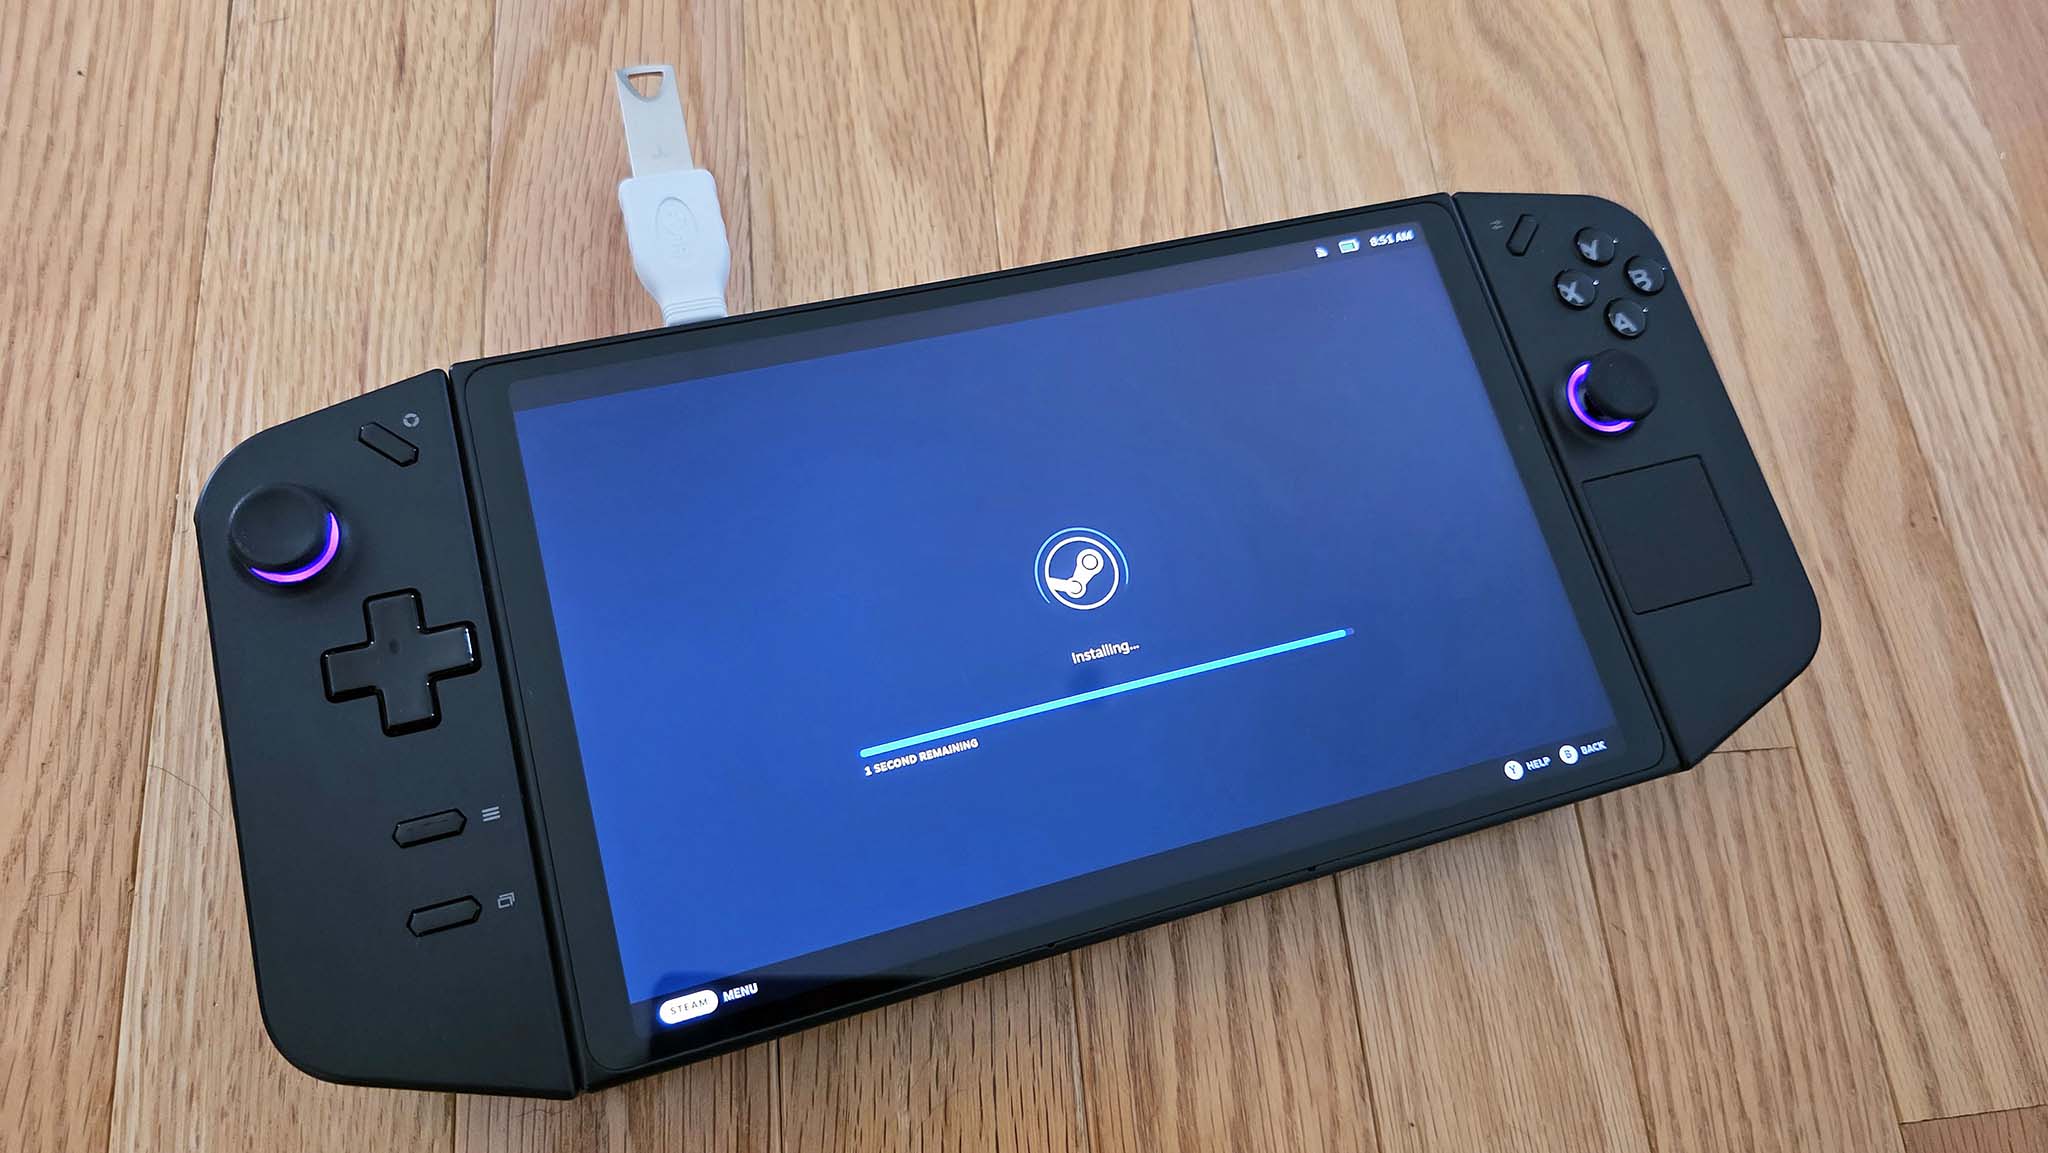
- After it boots up, wait for SteamOS to install on your Ally.
- When the installation finishes, set up SteamOS and log into your Steam account.
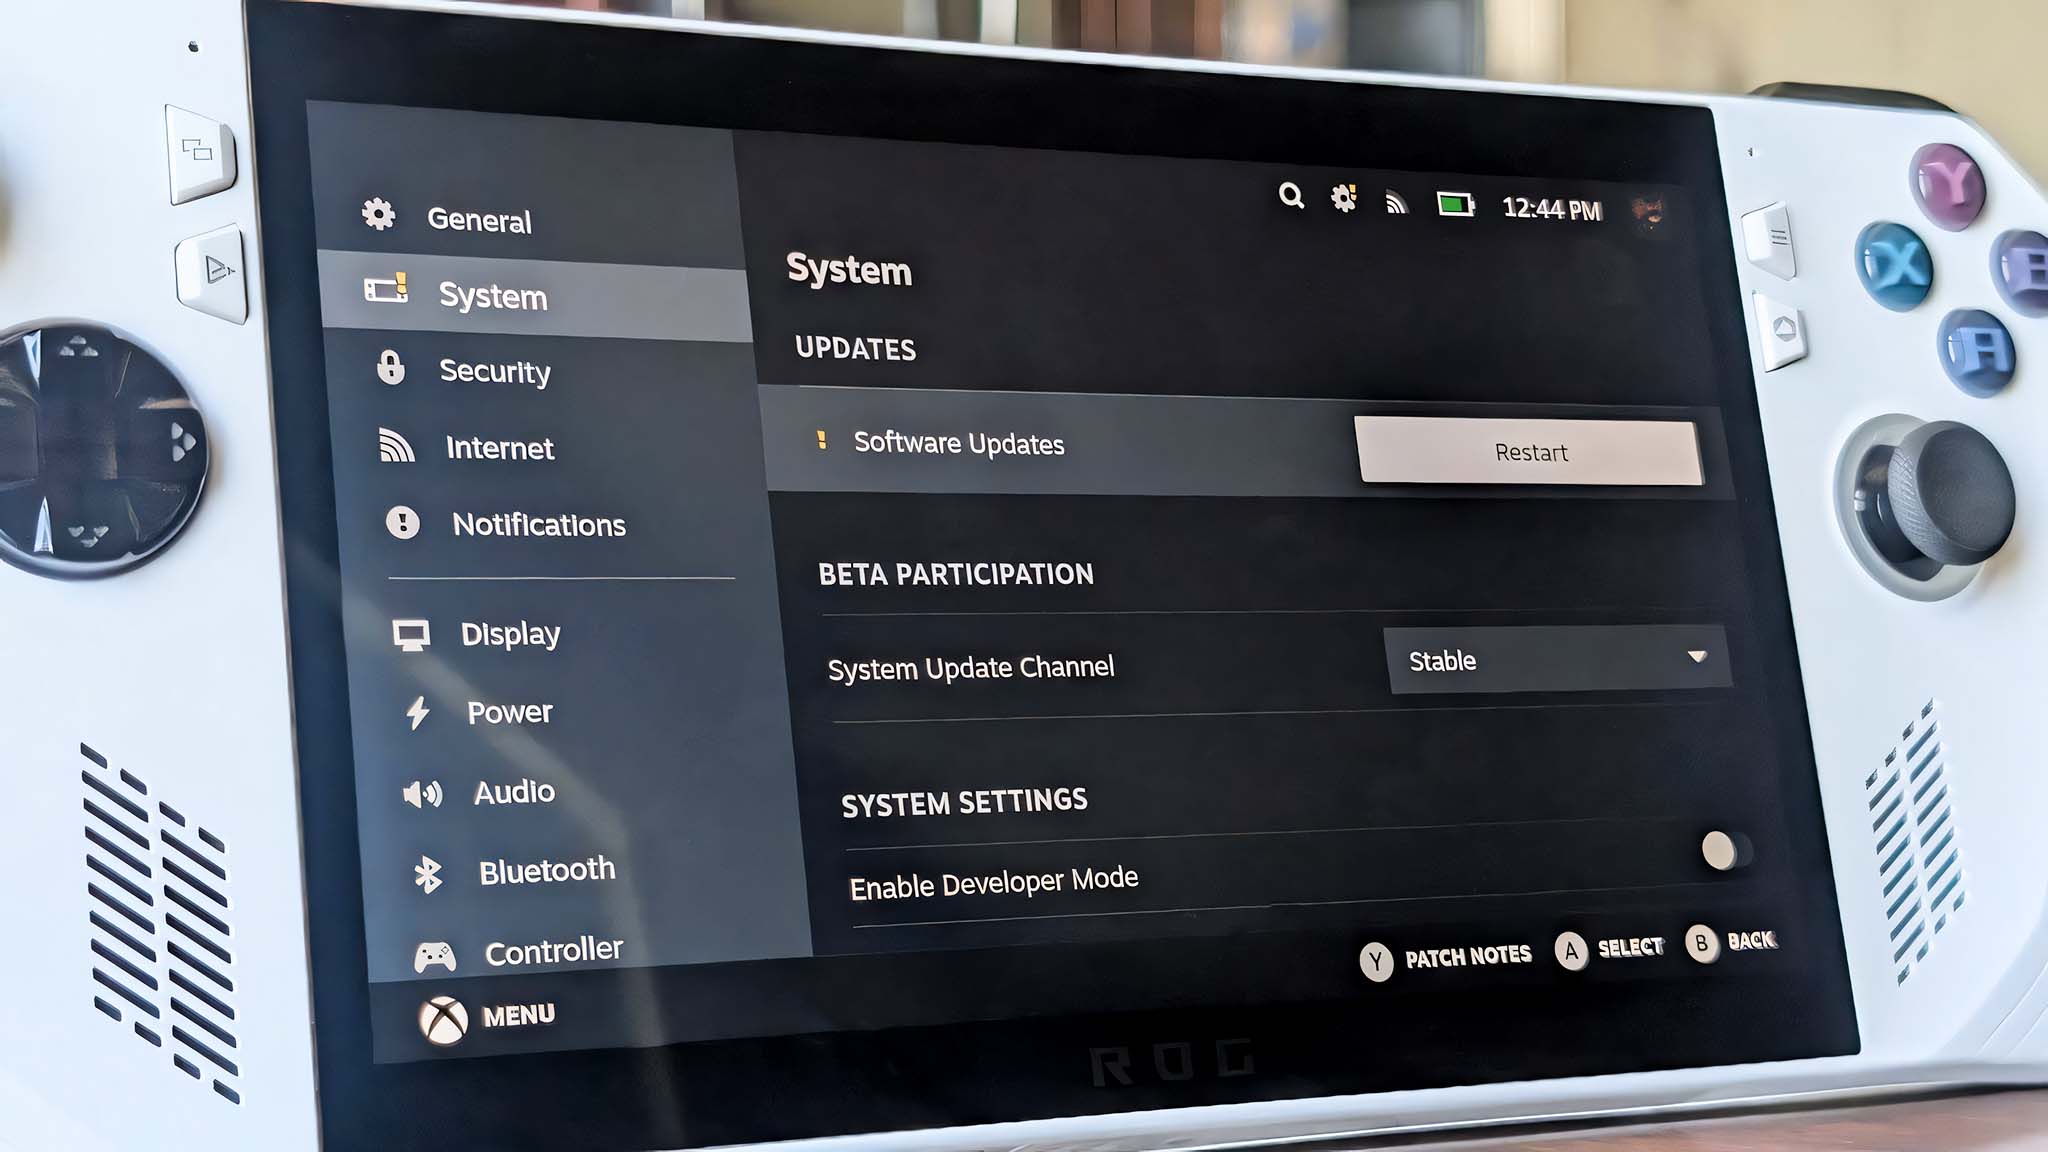
- Before doing anything else, tap on the Menu icon in the bottom left of the screen, tap on System, and then check for updates and install system updates.
Now that you've wiped your ROG Ally, installed SteamOS on it, and installed the latest updates, you're good to start playing games and using your SteamOS ROG Ally.
Have fun with your gaming handheld!
How to install SteamOS on Legion Go and Legion Go S (Windows)
- Plug your USB flash drive into your computer and then download the SteamOS reimage files from the Steam website.
- Navigate to the Downloads menu and then right-click on the SteamOS image files and select Extract All.
- Next, download Rufus utility from the Rufus website.
- Open Rufus and tap on the Select button, then choose the SteamOS reimage files you downloaded earlier.
- Press Start and then OK to start the process. Note that this will destroy anything on the USB, so make sure any important files have been put elsewhere.
- Wait while Rufus turns your USB flash drive into a bootable SteamOS key.
- When Rufus is done, remove the USB flash drive from your computer.
- Next, you'll need to completely power off your Legion Go handheld.
- After that, hold Up Volume + Power for a few seconds to make the device enter BIOS.
- Using your finger, tap BIOS Setup in the small box. The buttons and joysticks won't respond.
- Select "Novo Button Menu" as your BIOS setup.
- Select More settings.
- Next, select Security and tap on the Secure boot drop box to change it to Disabled.
- After that, tap Exit and then tap Exit saving changes.
- Now, plug your USB flash drive into the Legion Go.
- Hold the Power button and Volume up button to enter BIOS, then select the USB stick. This will boot up the SteamOS reimage files.
- Double-tap on Wipe Device & Install SteamOS.
- Select Proceed in the pop-up box and then press Proceed again in the next pop up.
- Wait while SteamOS reimaging happens.
- After a while, the system will start installing SteamOS. Wait until this process is over.
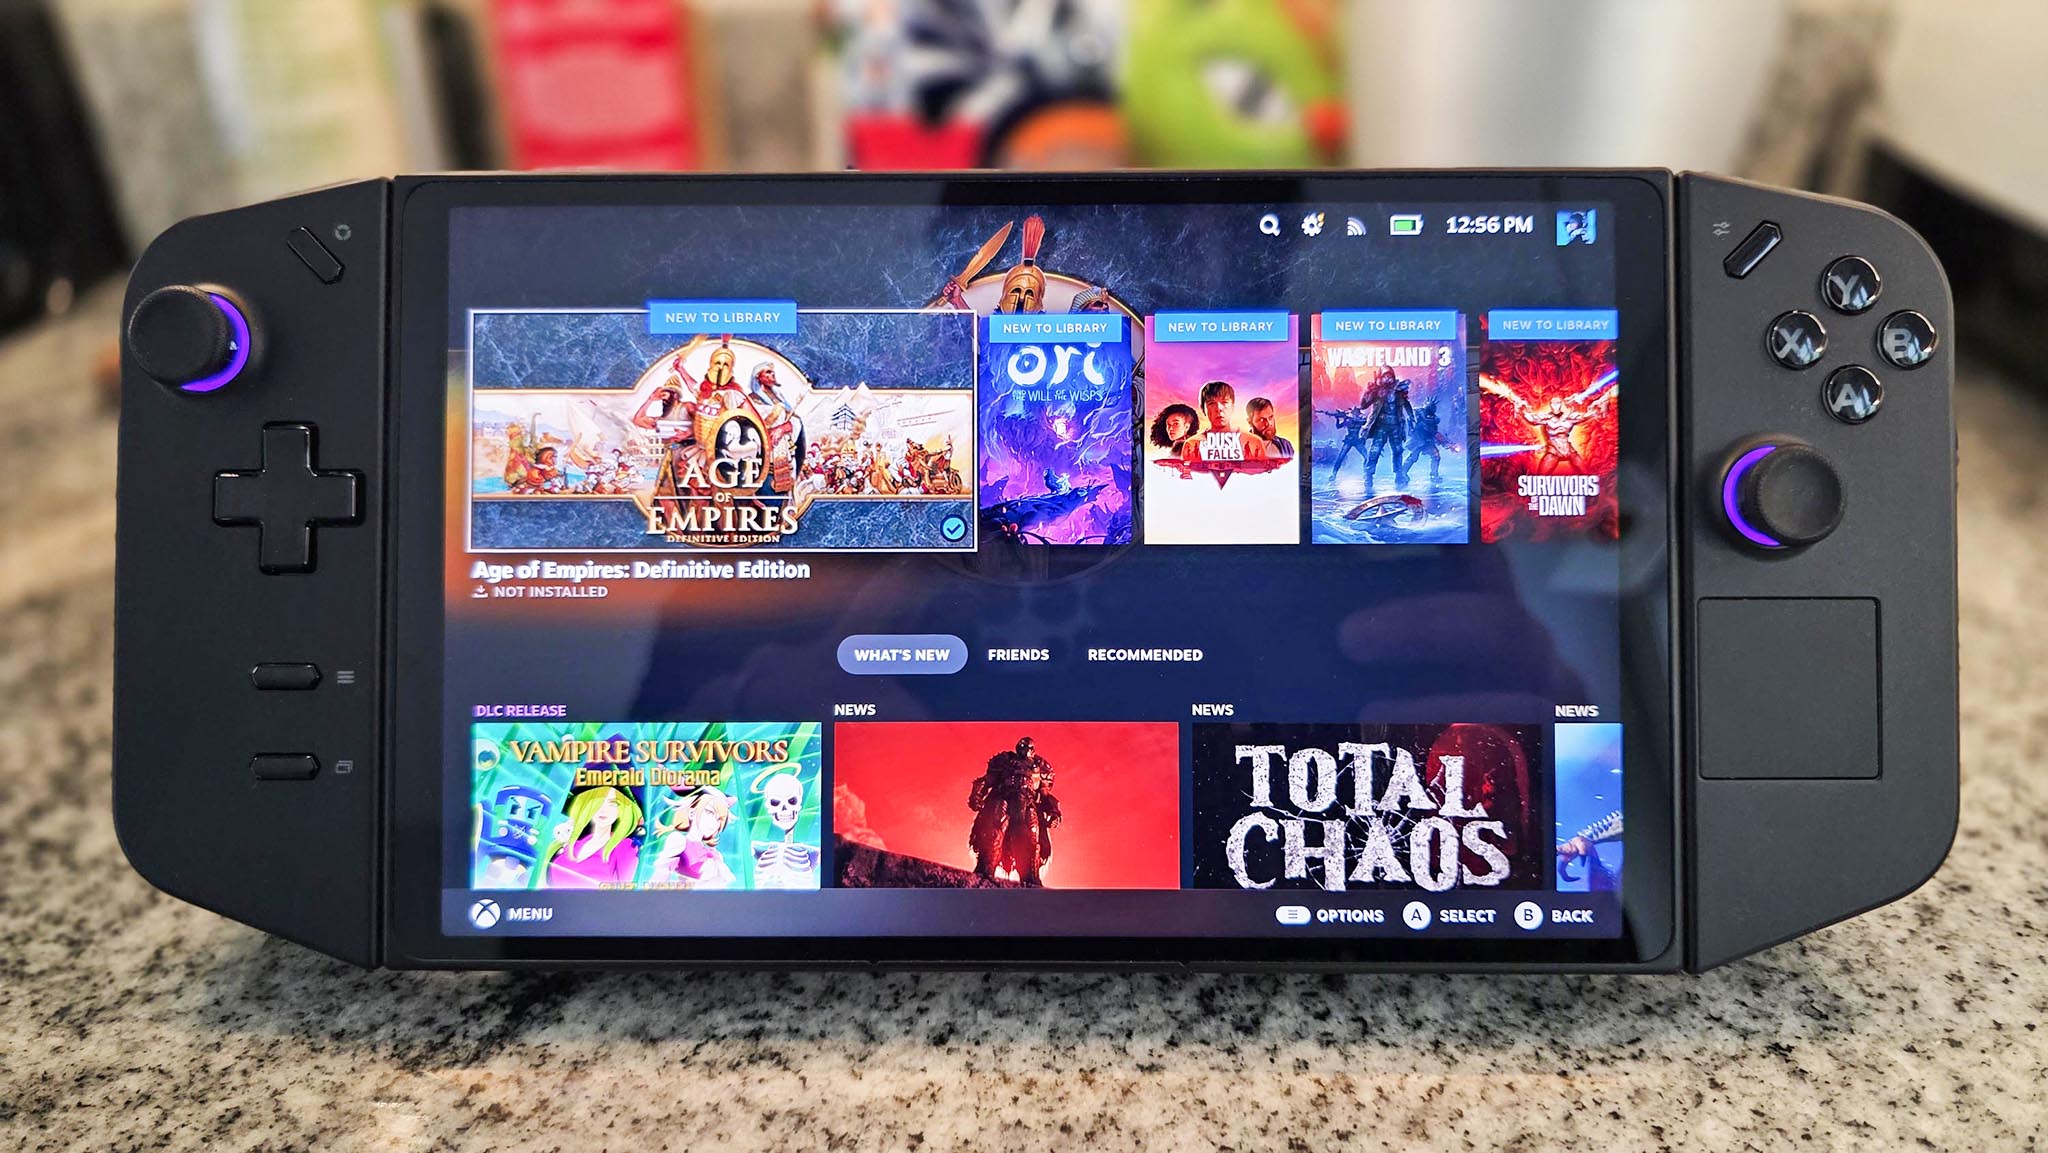
- Next, set up your device and log into your Steam account.
- Before doing anything else, open the menu, go to System, and install software updates.
- You'll need to allow the device to restart after updates are installed.
- The next thing you'll want to do is tap on the Menu button on the bottom of the screen, select System, and install system updates.
With that whole process completed, you're free to play games via SteamOS on your Legion Go. In some ways, it will feel like a brand new system, so enjoy using it!
Breathe new life into your Windows handheld
The ROG Ally, Ally X, and Lenovo Legion Go are all more powerful than the Steam Deck, but having Windows as their operating system has been a huge downside for many people. Now that we can officially install SteamOS on these gaming handhelds, you can get the best of both worlds.
I've been using my ROG Ally with SteamOS installed on it for the last day and I absolutely love it. My games run far faster and smoother than they do on my Steam Deck. Plus, the higher resolution screen makes everything look better, too.
Now that you've gotten SteamOS on your Legion Go or ROG Ally, enjoy playing your favorite Steam games.
All the latest news, reviews, and guides for Windows and Xbox diehards.

Self-professed gaming geek Rebecca Spear is one of Windows Central's editors and reviewers with a focus on gaming handhelds, mini PCs, PC gaming, and laptops. When she isn't checking out the latest games on Xbox Game Pass, PC, ROG Ally, or Steam Deck; she can be found digital drawing with a Wacom tablet. She's written thousands of articles with everything from editorials, reviews, previews, features, previews, and hardware reviews over the last few years. If you need information about anything gaming-related, her articles can help you out. She also loves testing game accessories and any new tech on the market. You can follow her @rrspear on X (formerly Twitter).
You must confirm your public display name before commenting
Please logout and then login again, you will then be prompted to enter your display name.
