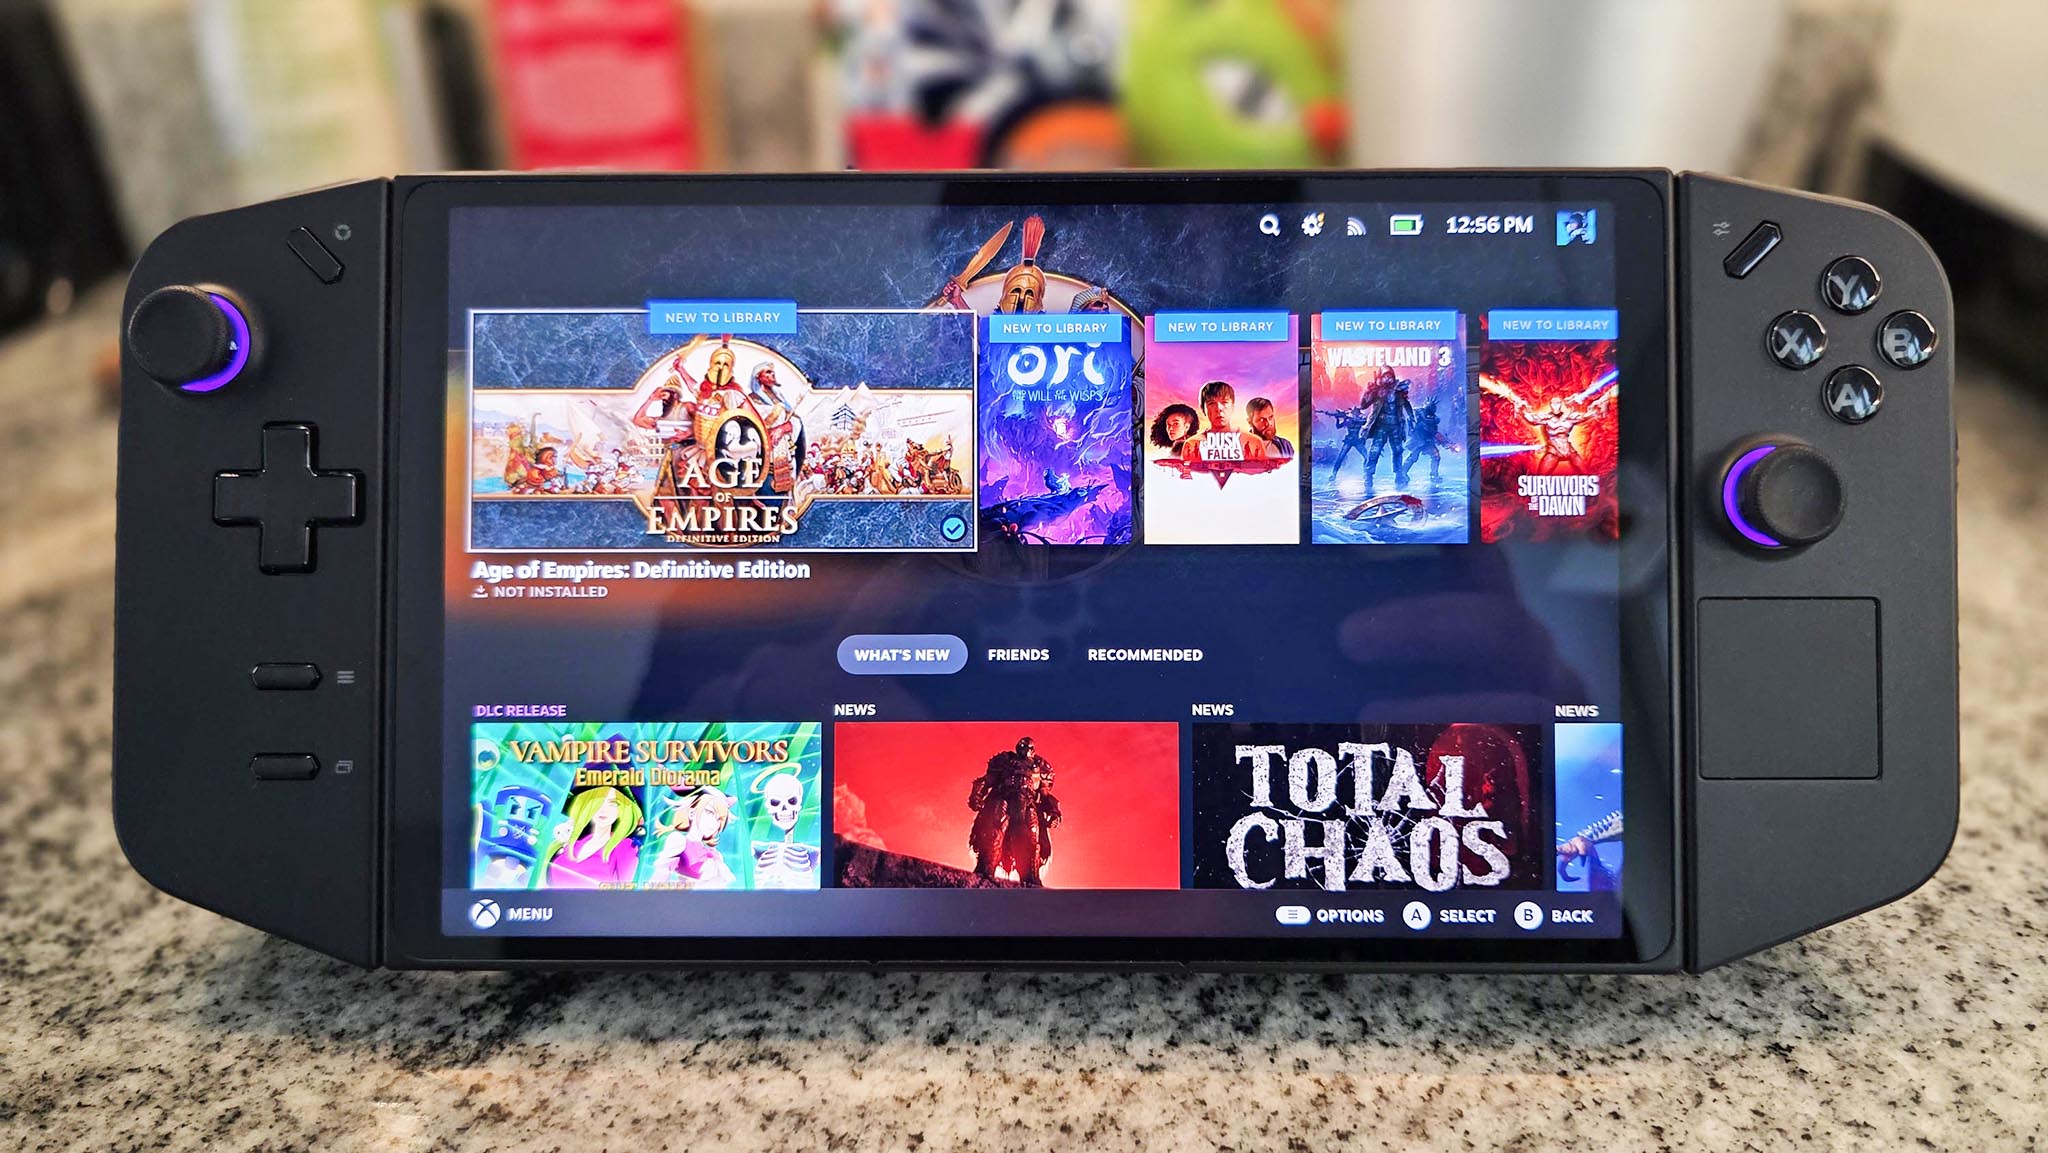
I got tired of running out of room on my Legion Go — Here's how I upgraded the SSD
I upgraded my Legion Go SSD from 1TB to 2TB. Here are some tips and instructions on how to safely do it.
All the latest news, reviews, and guides for Windows and Xbox diehards.
You are now subscribed
Your newsletter sign-up was successful
So, you've decided you want to upgrade your Legion Go SSD. I can tell you from my own upgrade experience that the process is relatively easy and doesn't take very long.
To help you out, I've included step-by-step instructions and pictures on this page to help you back up your SSD and then swap out your original Legion Go SSD for a better one. Let's dive in.
Legion Go SSD upgrade: What you need
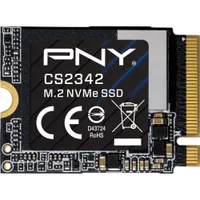
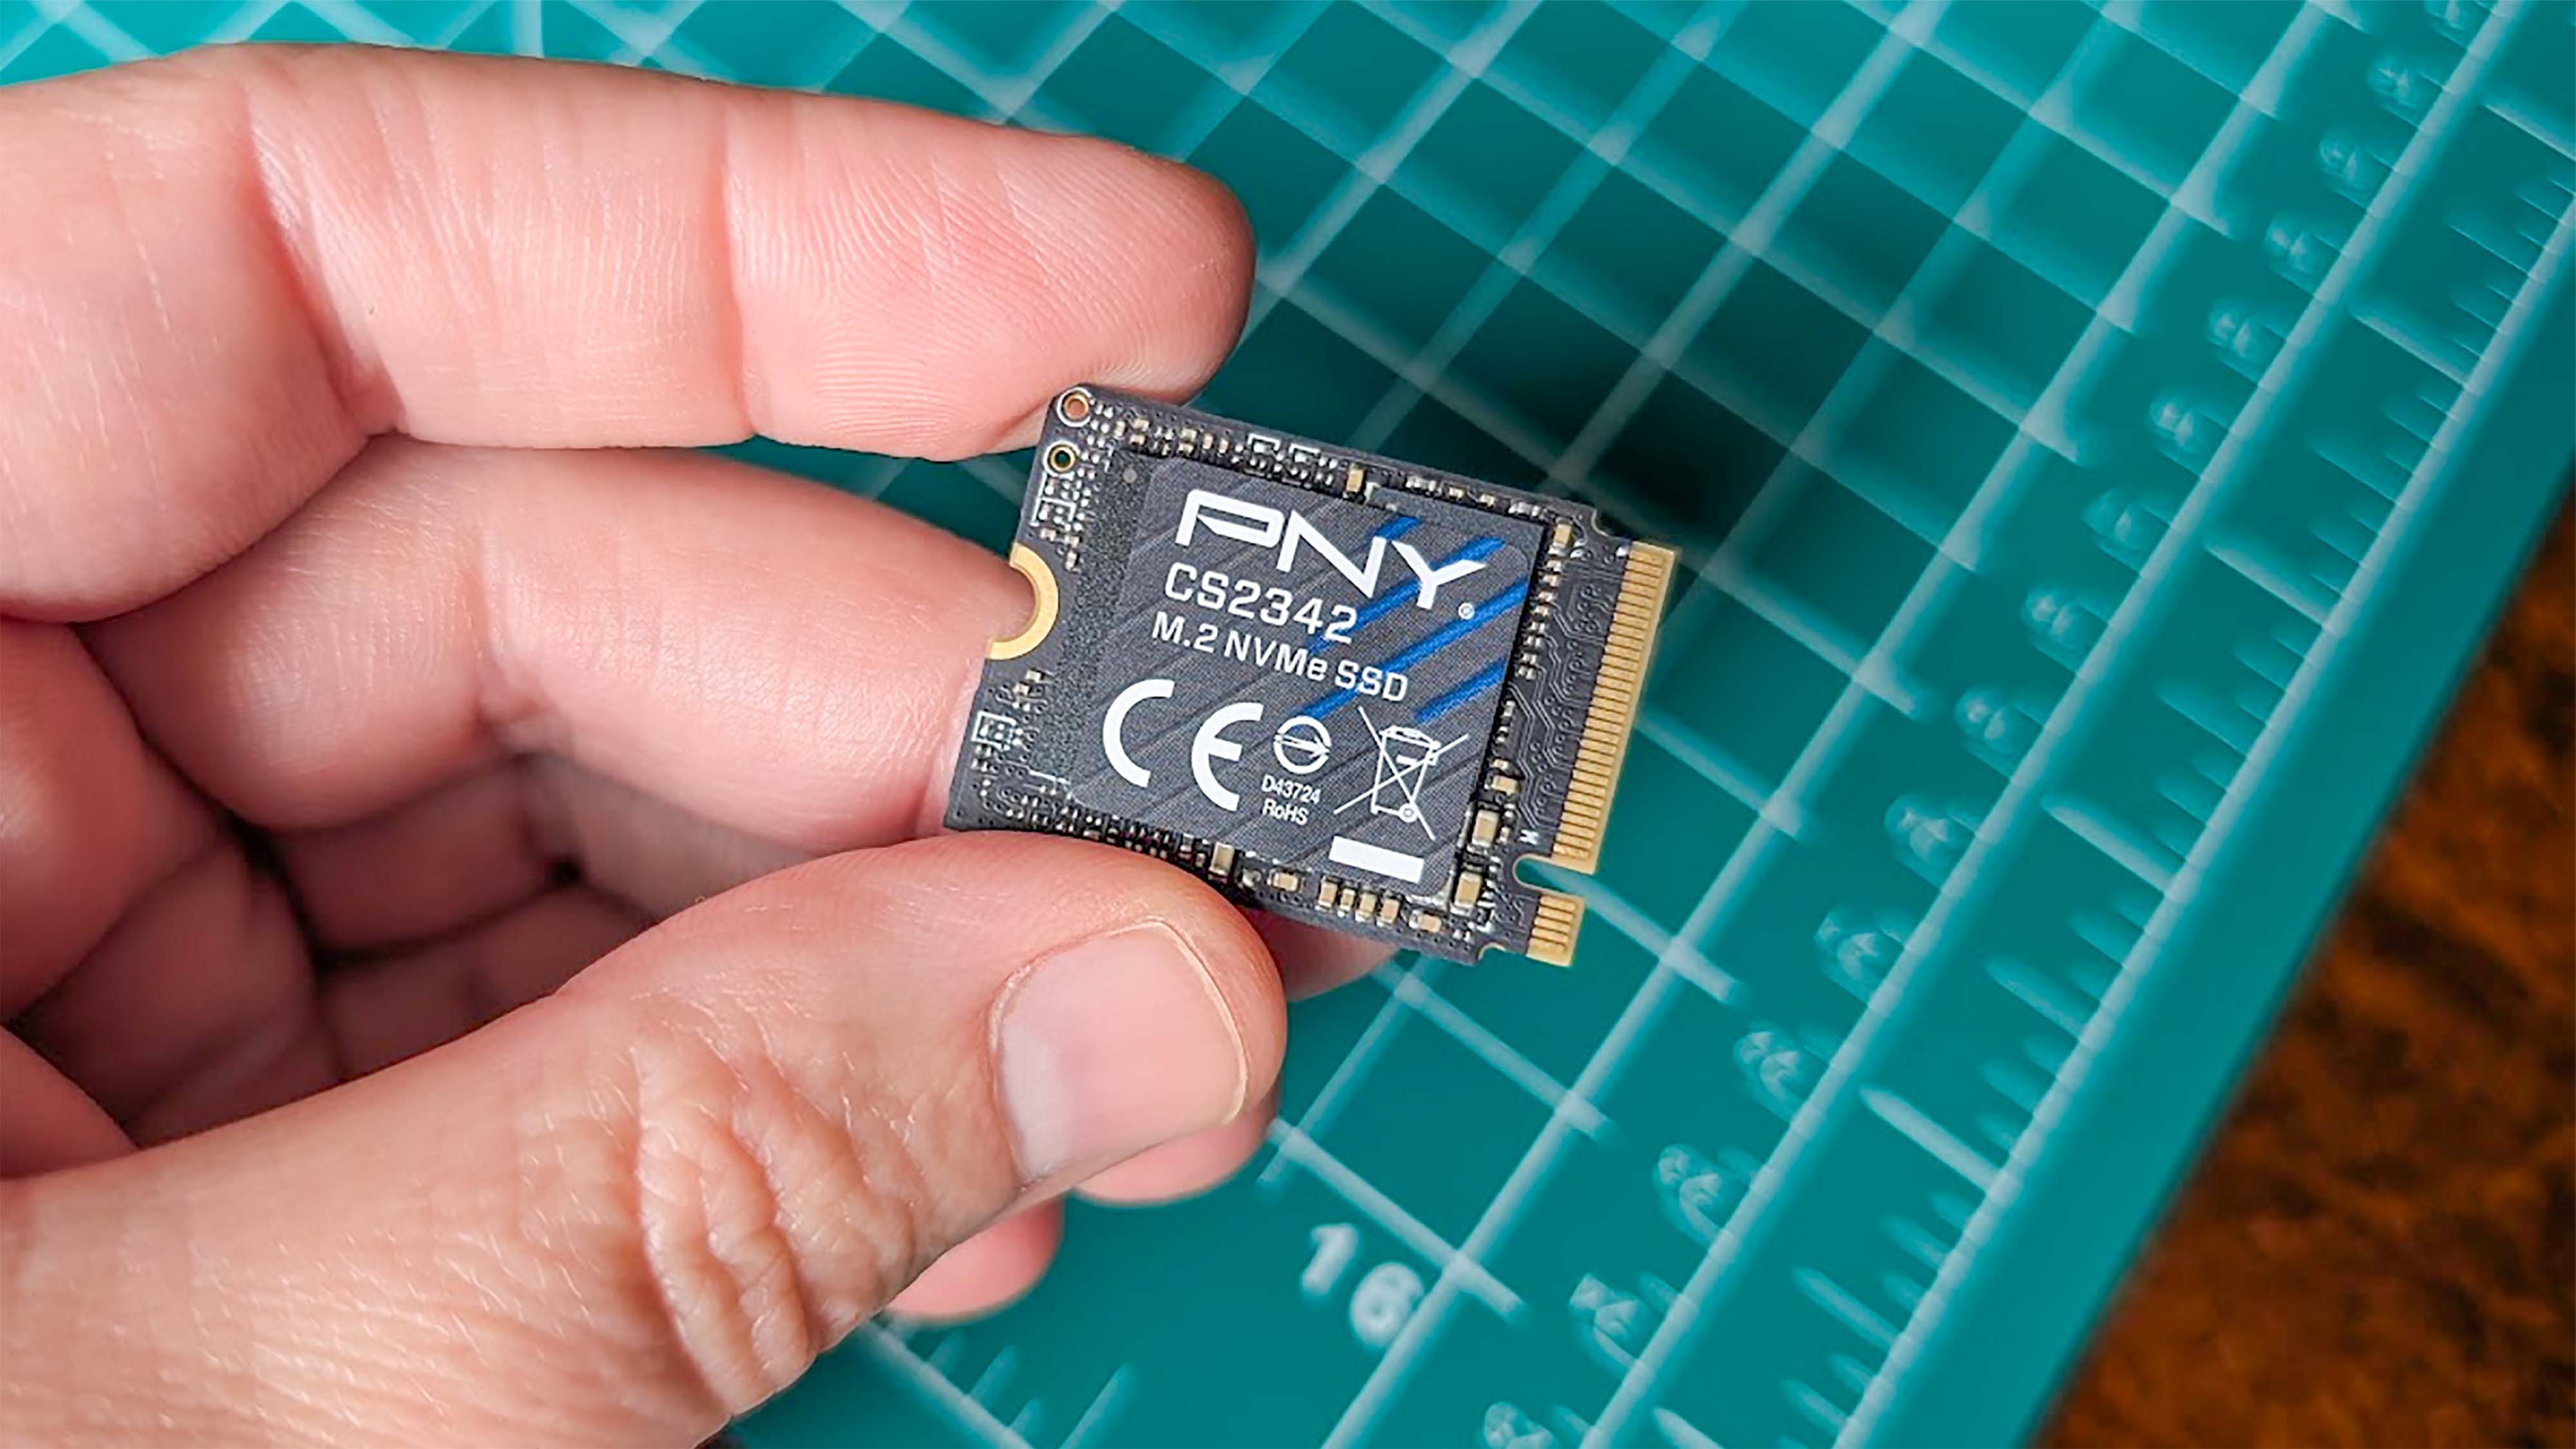
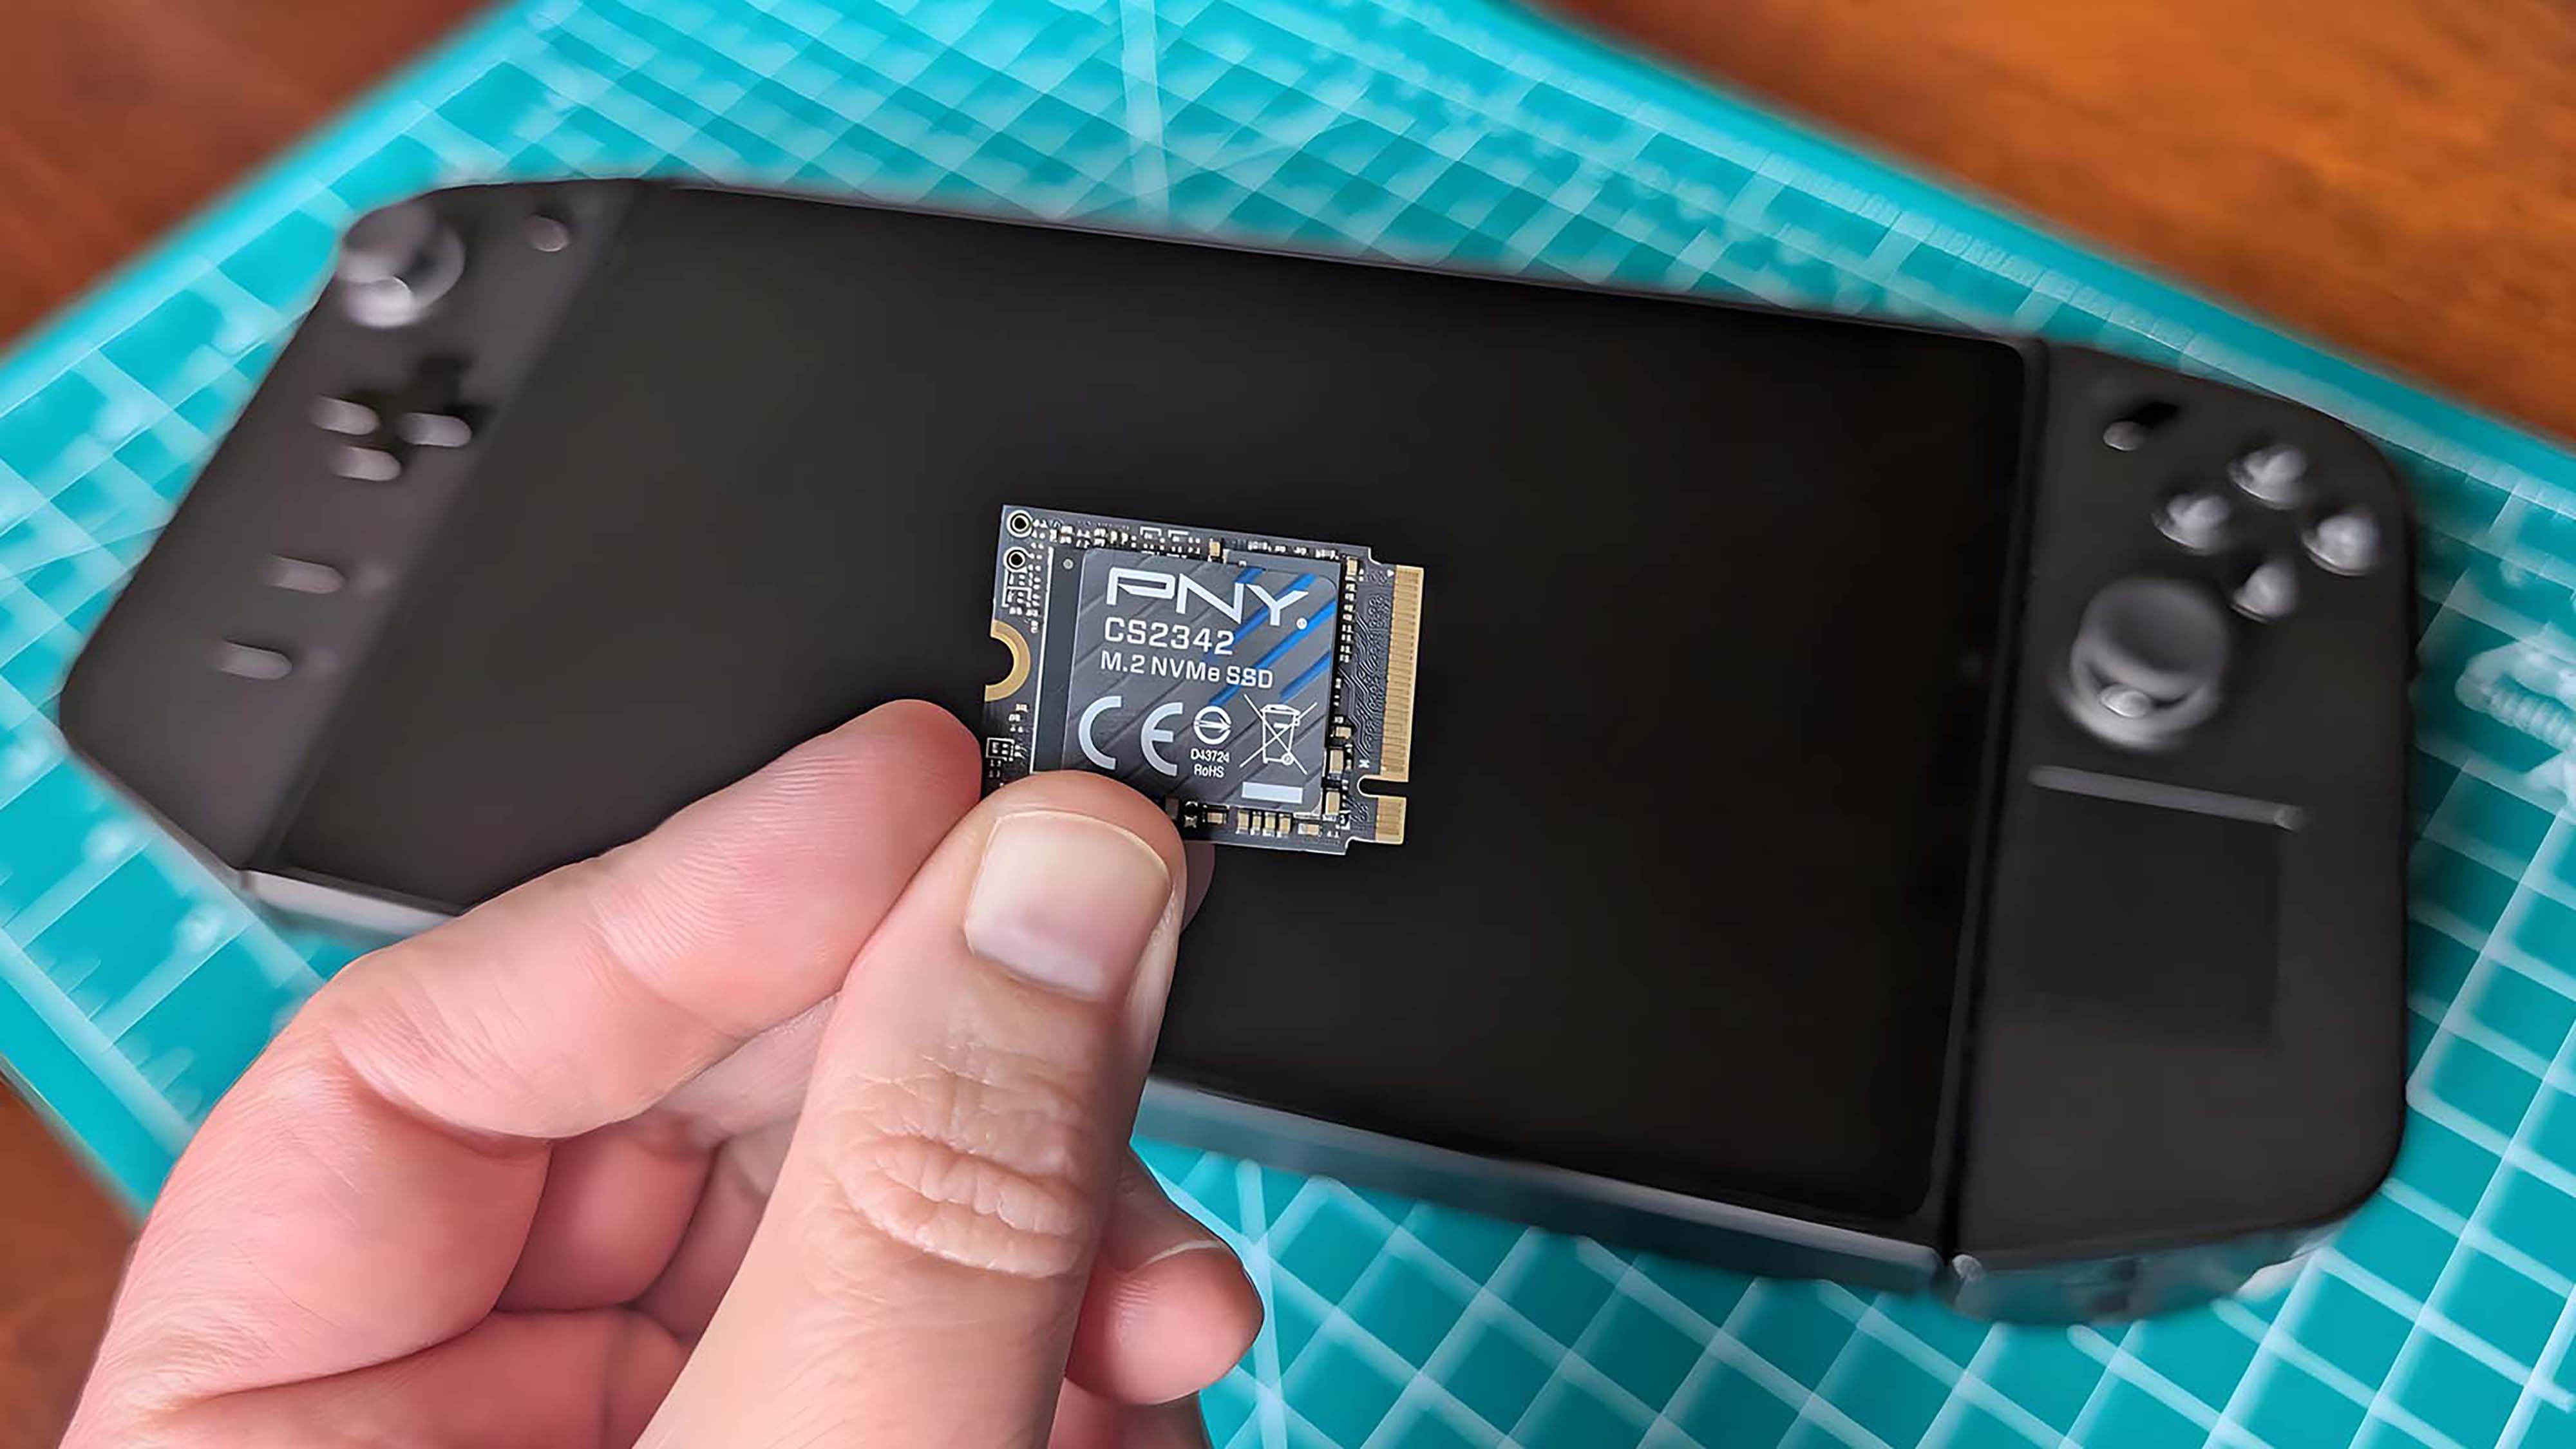
At the very minimum, you're going to need a reliable SSD to upgrade to. I recommend going with the PNY 2TB Gen 4 PCIe NVMe M.2 2230 SSD that I used. It offers super-fast transfer speeds, making it ideal for gaming.
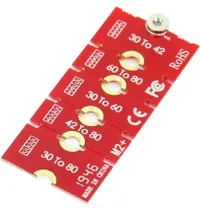
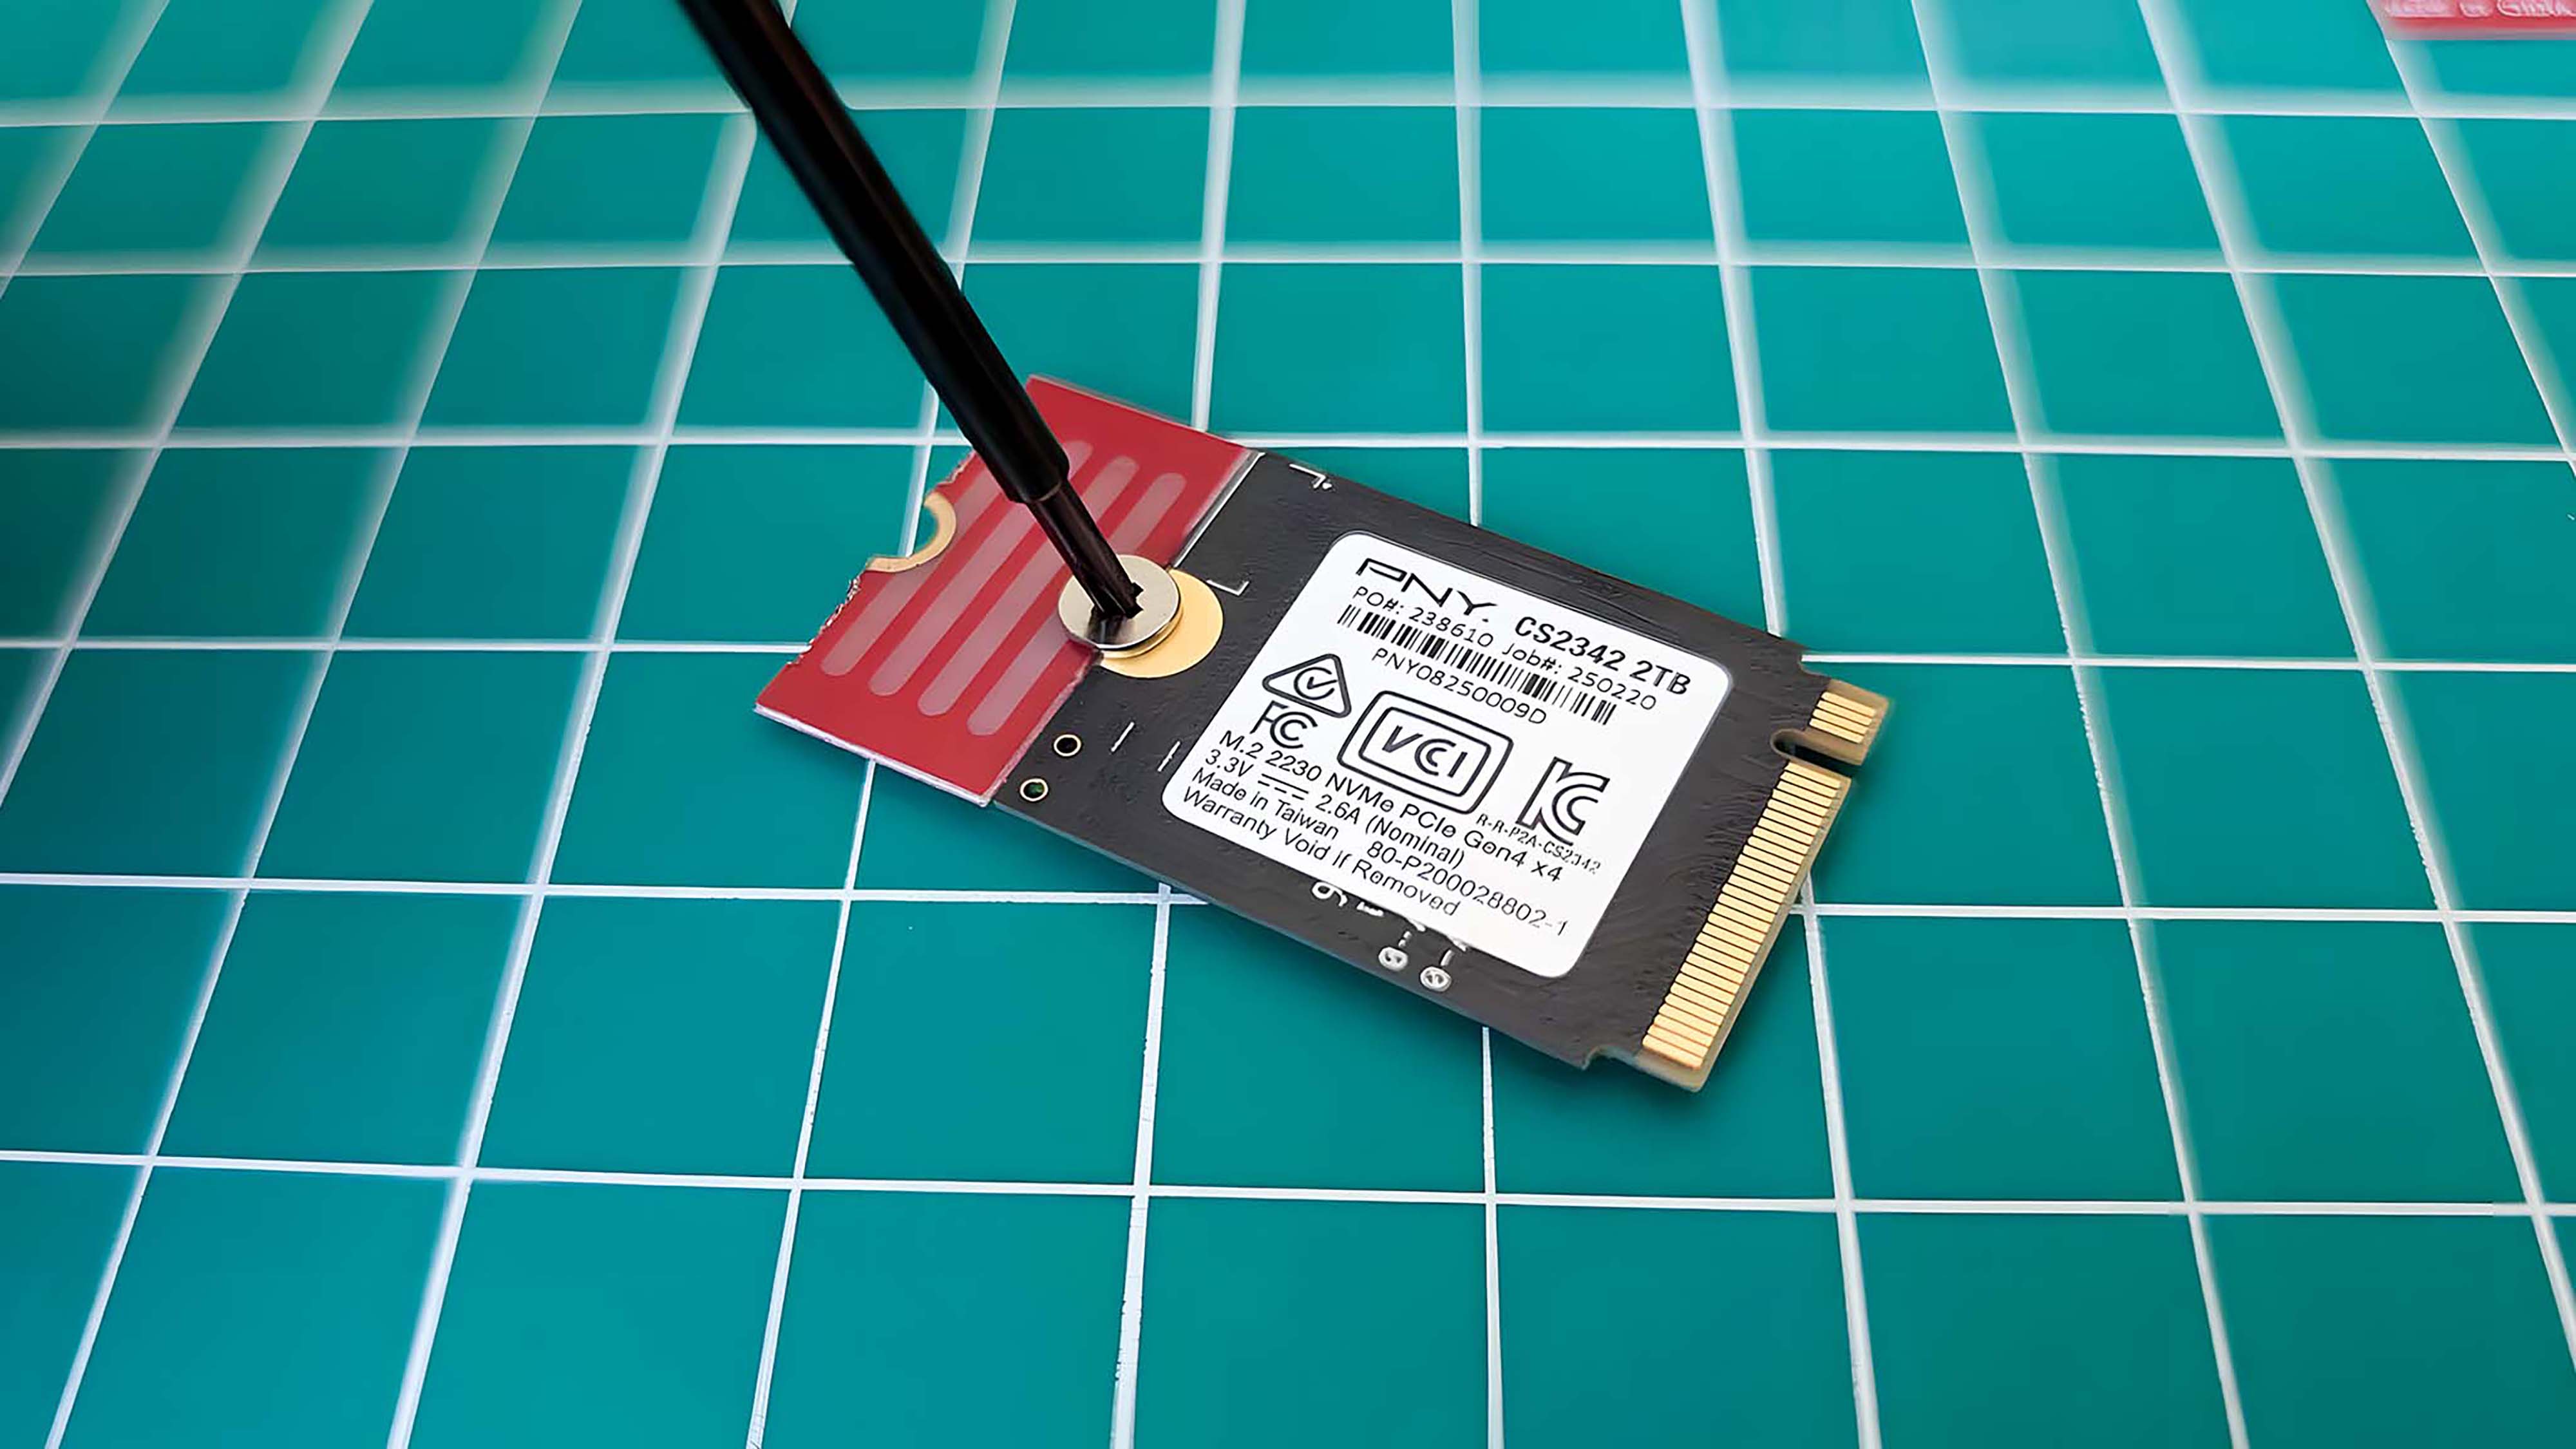
However, you will need to get an SSD Extender Adapter since the Legion Go has an M.2 2242 SSD slot.
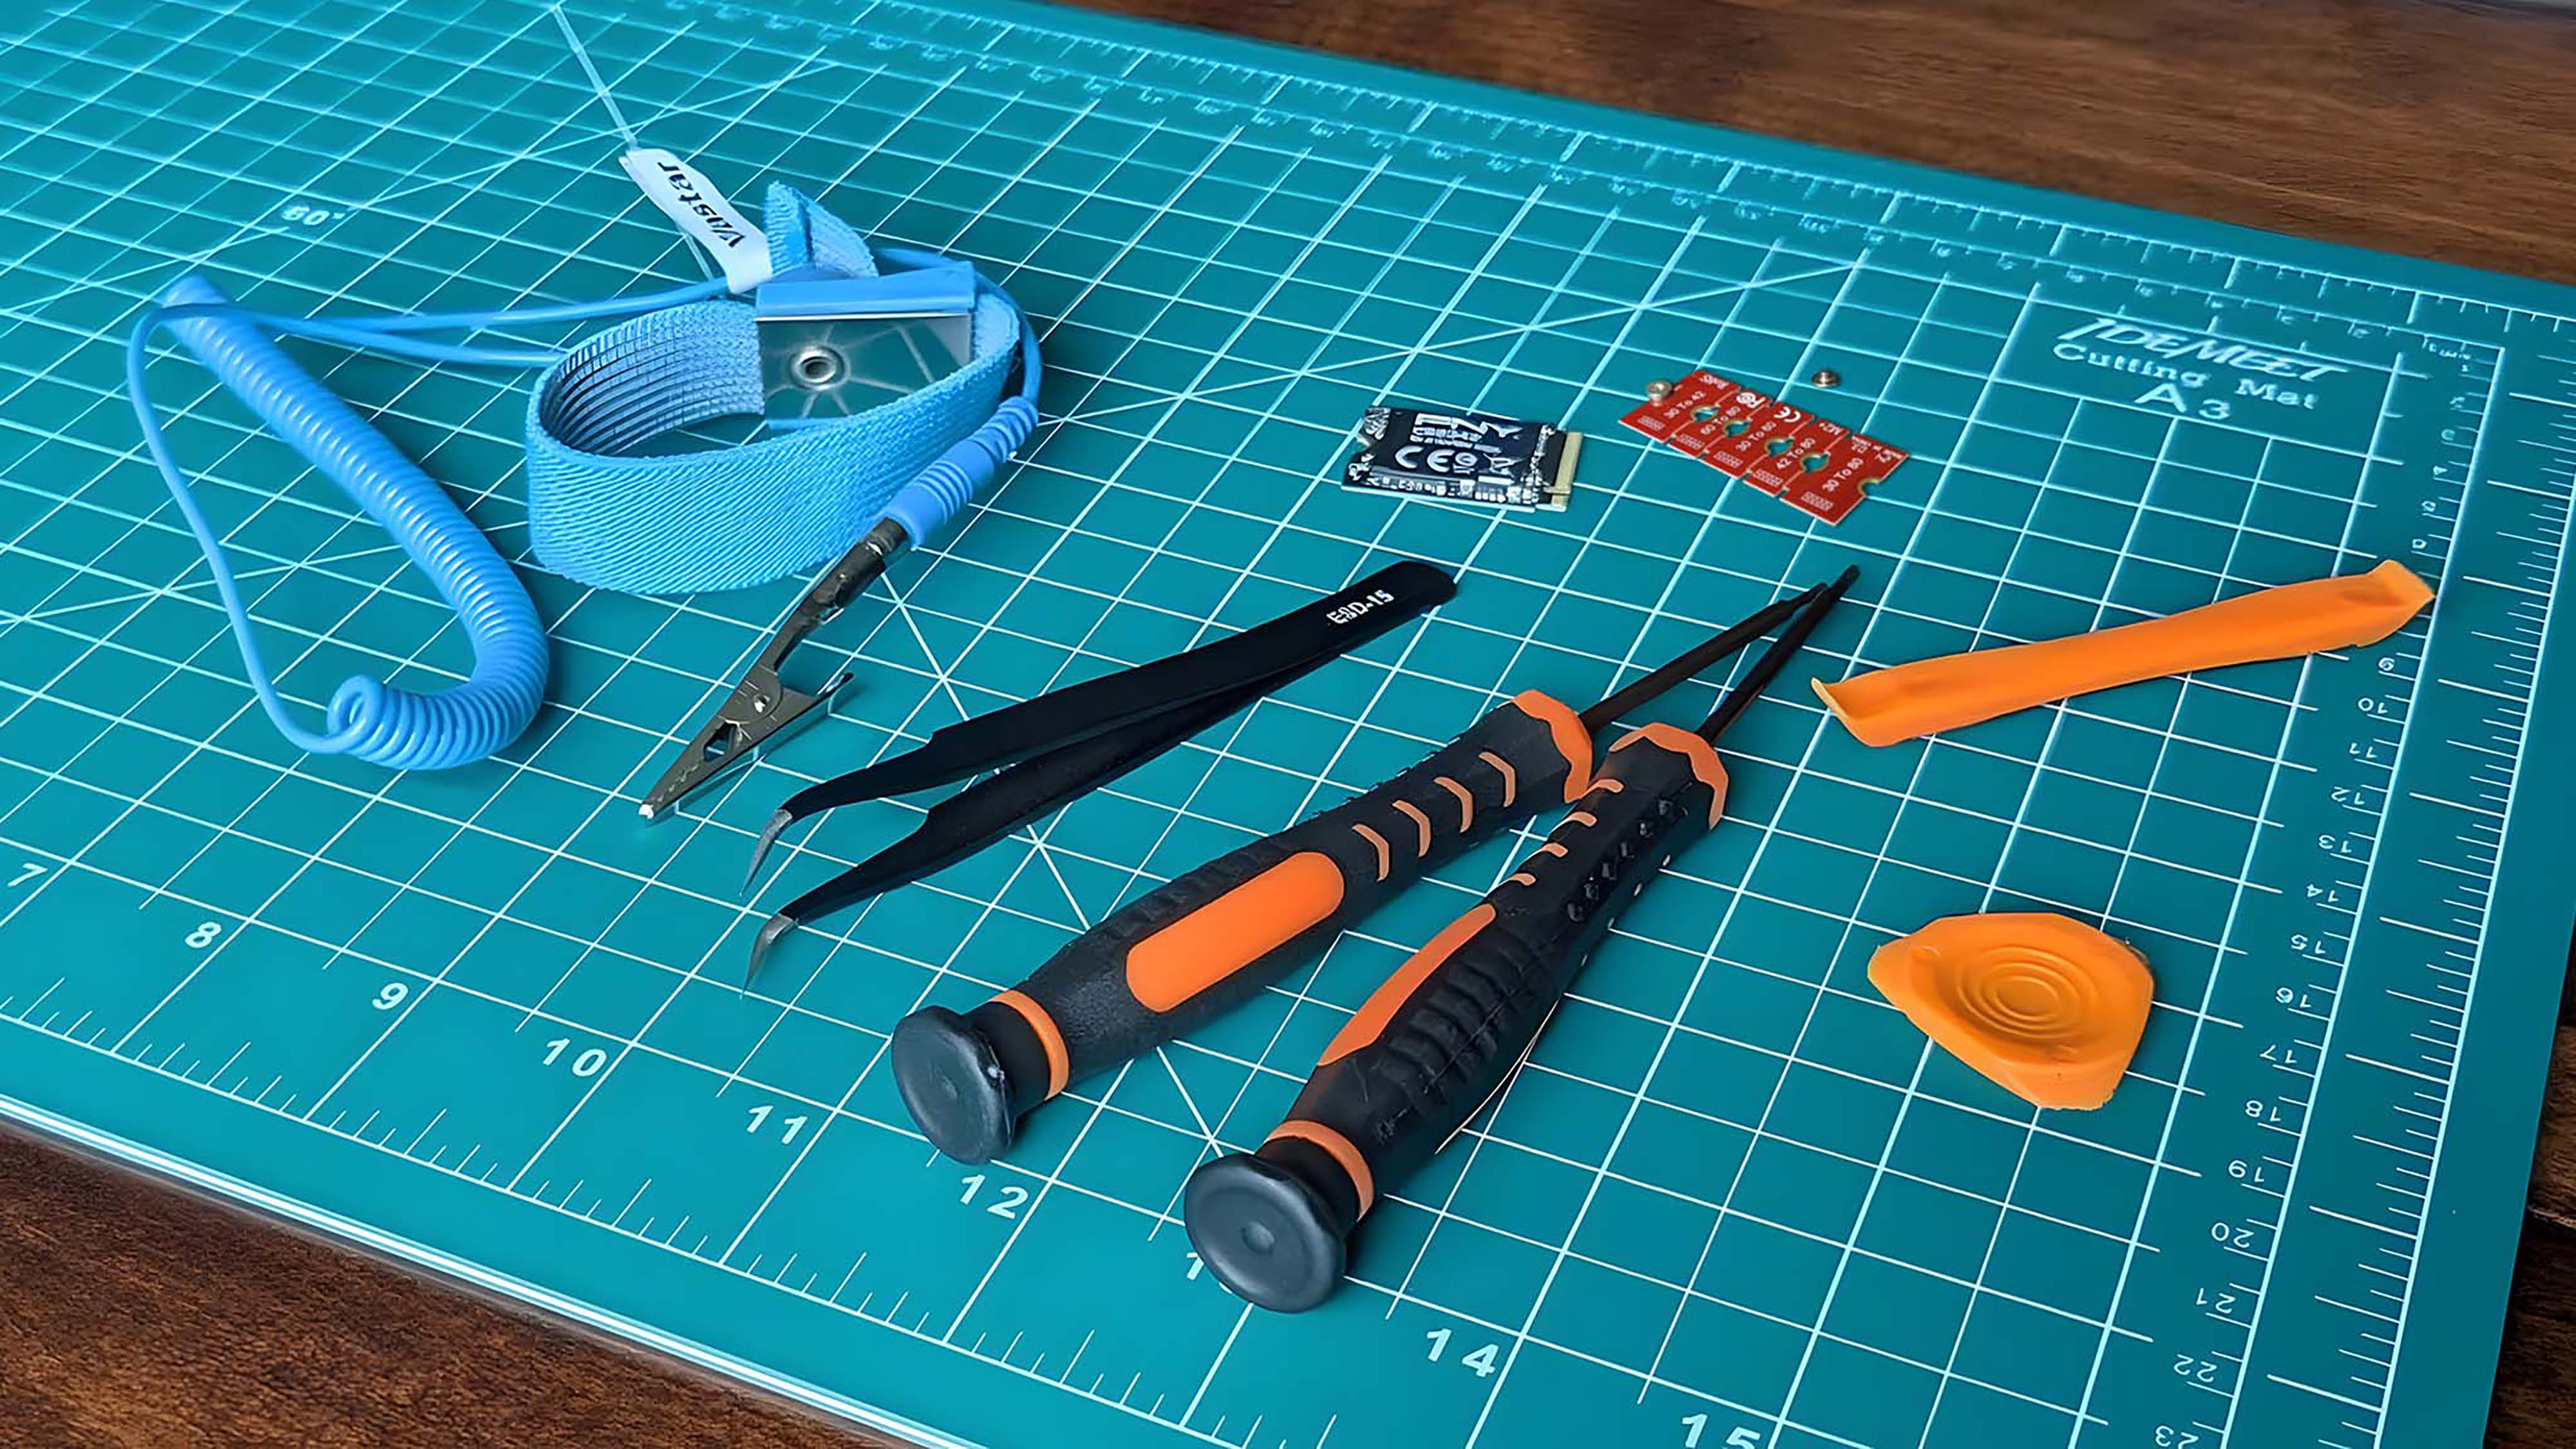
Outside of that, you might need some tools, an anti-static wrist strap, or a clean mat if you don't have them already. These are the tools and parts I used:
NOTE: Unlike Steam Deck and ROG Ally, the Legion Go does not have cloud recovery, so you will need to backup your original SSD in order for the handheld to work properly. I recommend getting an SSD enclosure adapter and downloading the free 30-day Macrium Reflect Home Edition trial to do this.
PNY 2TB Gen 4 PCIe NVMe M.2 2230 SSD
Was: $179.99
Now: $159.99 at Amazon
This storage card can hit a read speed of up to 7,300 MB/s and a write speed of up to 6,000 MB/s, to keep up with your gaming needs.
👉 Buy at: Amazon.com
SSD Extender Adapter
Was: $6.98
Now: $5.98 at Amazon
The Legion Go has an M.2 2242 SSD slot, so you'll need to use a M.2 2230 adapter to make the PNY SSD fit. Specifically, the 30 to 42 option on top of this set works beautifully.
👉 Buy at: Amazon.com
Macrium Reflect
Try: Free trial
Macrium Reflect is a disk imaging and disk cloning program to help you backup your data. This software is subscription-based, but there is also a free 30-day trial for you to check out if you want to see all that it provides first.
👉 See at: Macrium.com
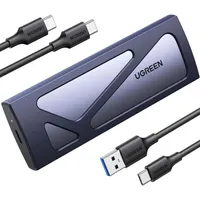
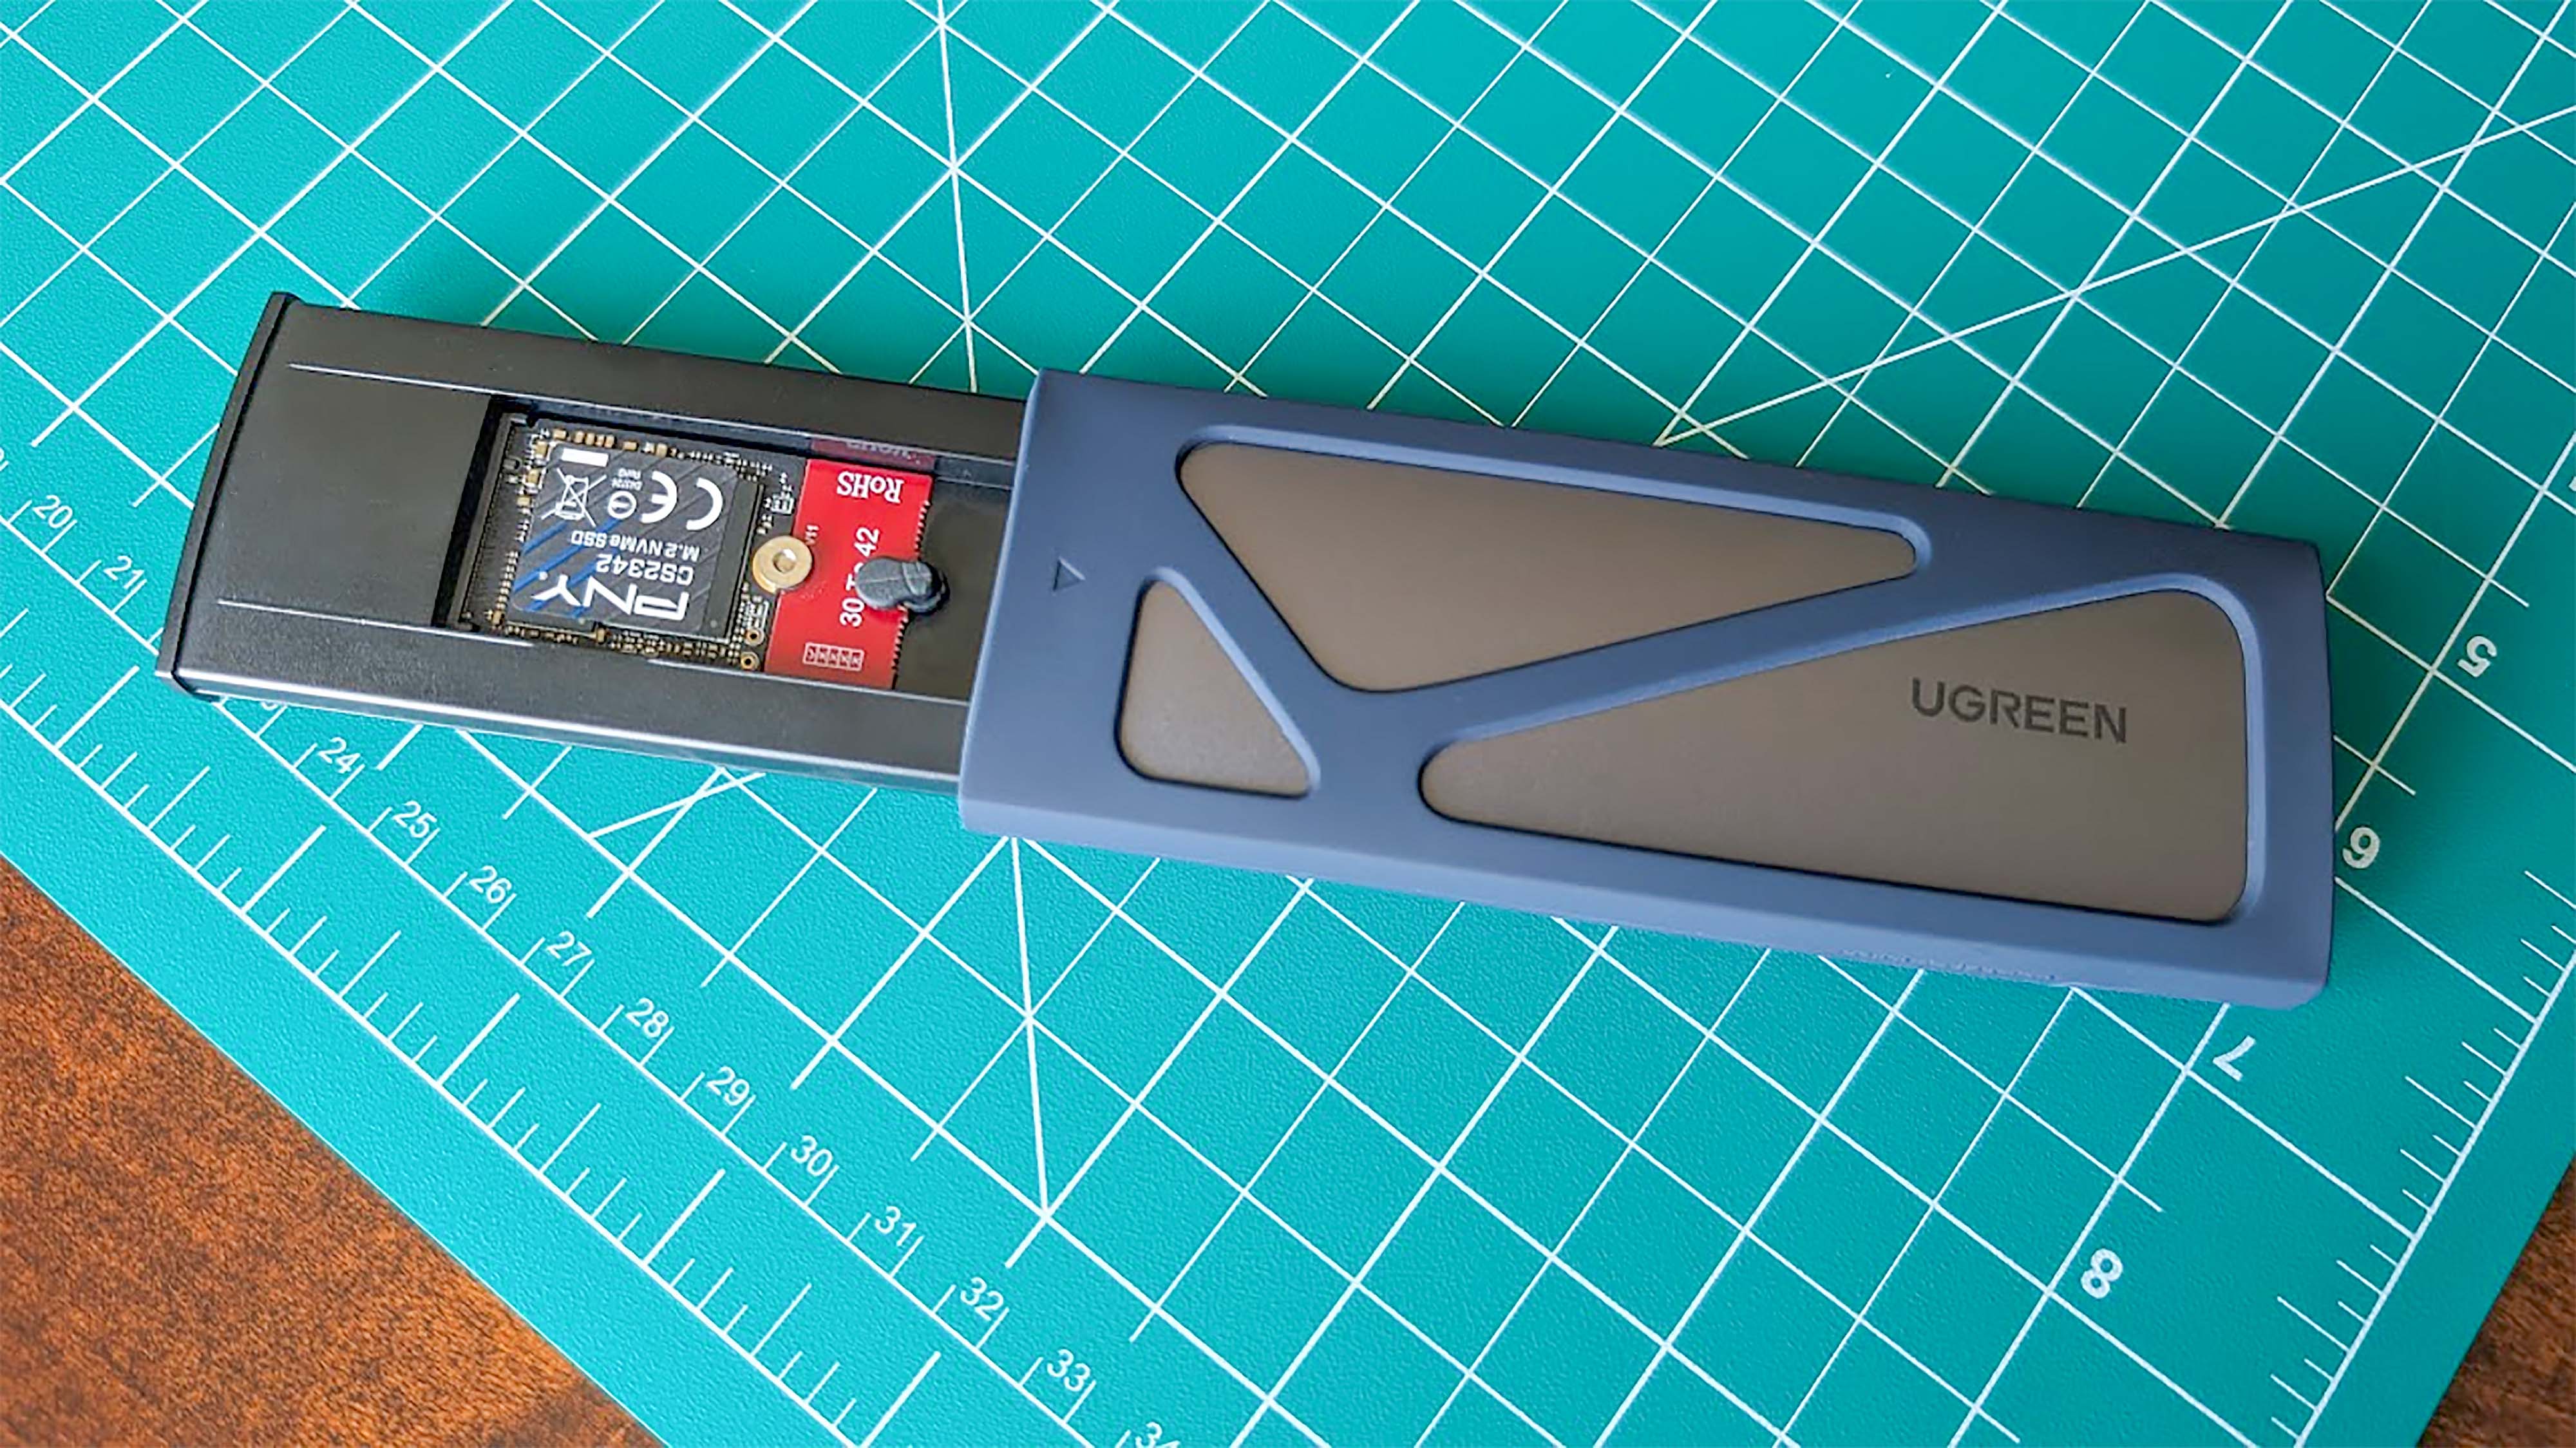
UGREEN SSD Enclosure Adapter
Now: $17.99 at Amazon
Put the new SSD in here, plug the adapter into a computer, and then use Macrium Reflect software to image or clone your original SSD data.
👉 See at: Amazon.com
Teckman Cleaning Repair Tool Kit
Now: $8.99 at Amazon
This set gives you four different-sized screwdrivers (PH0, PH00, PH1, T9H), a plastic triangular prying tool, a plastic crowbar, tweezers, a brush, a plastic spudger, and plastic opening tool.
👉 Buy at: Amazon.com
Vastar anti-static wrist strap
Now: $4.99 at Amazon
If you want to be extra safe during the upgrading process, you might want to wear this grounding wrist strap.
👉 Buy at: Amazon.com
IdeMeet 18x12inch Mat
Now: $8.99 at Amazon
I do all of my electronic repairs and upgrades on this mat. It provides a clean and stable work area that I can rely on.
👉 Buy at: Amazon.com
How to backup your Legion Go SSD
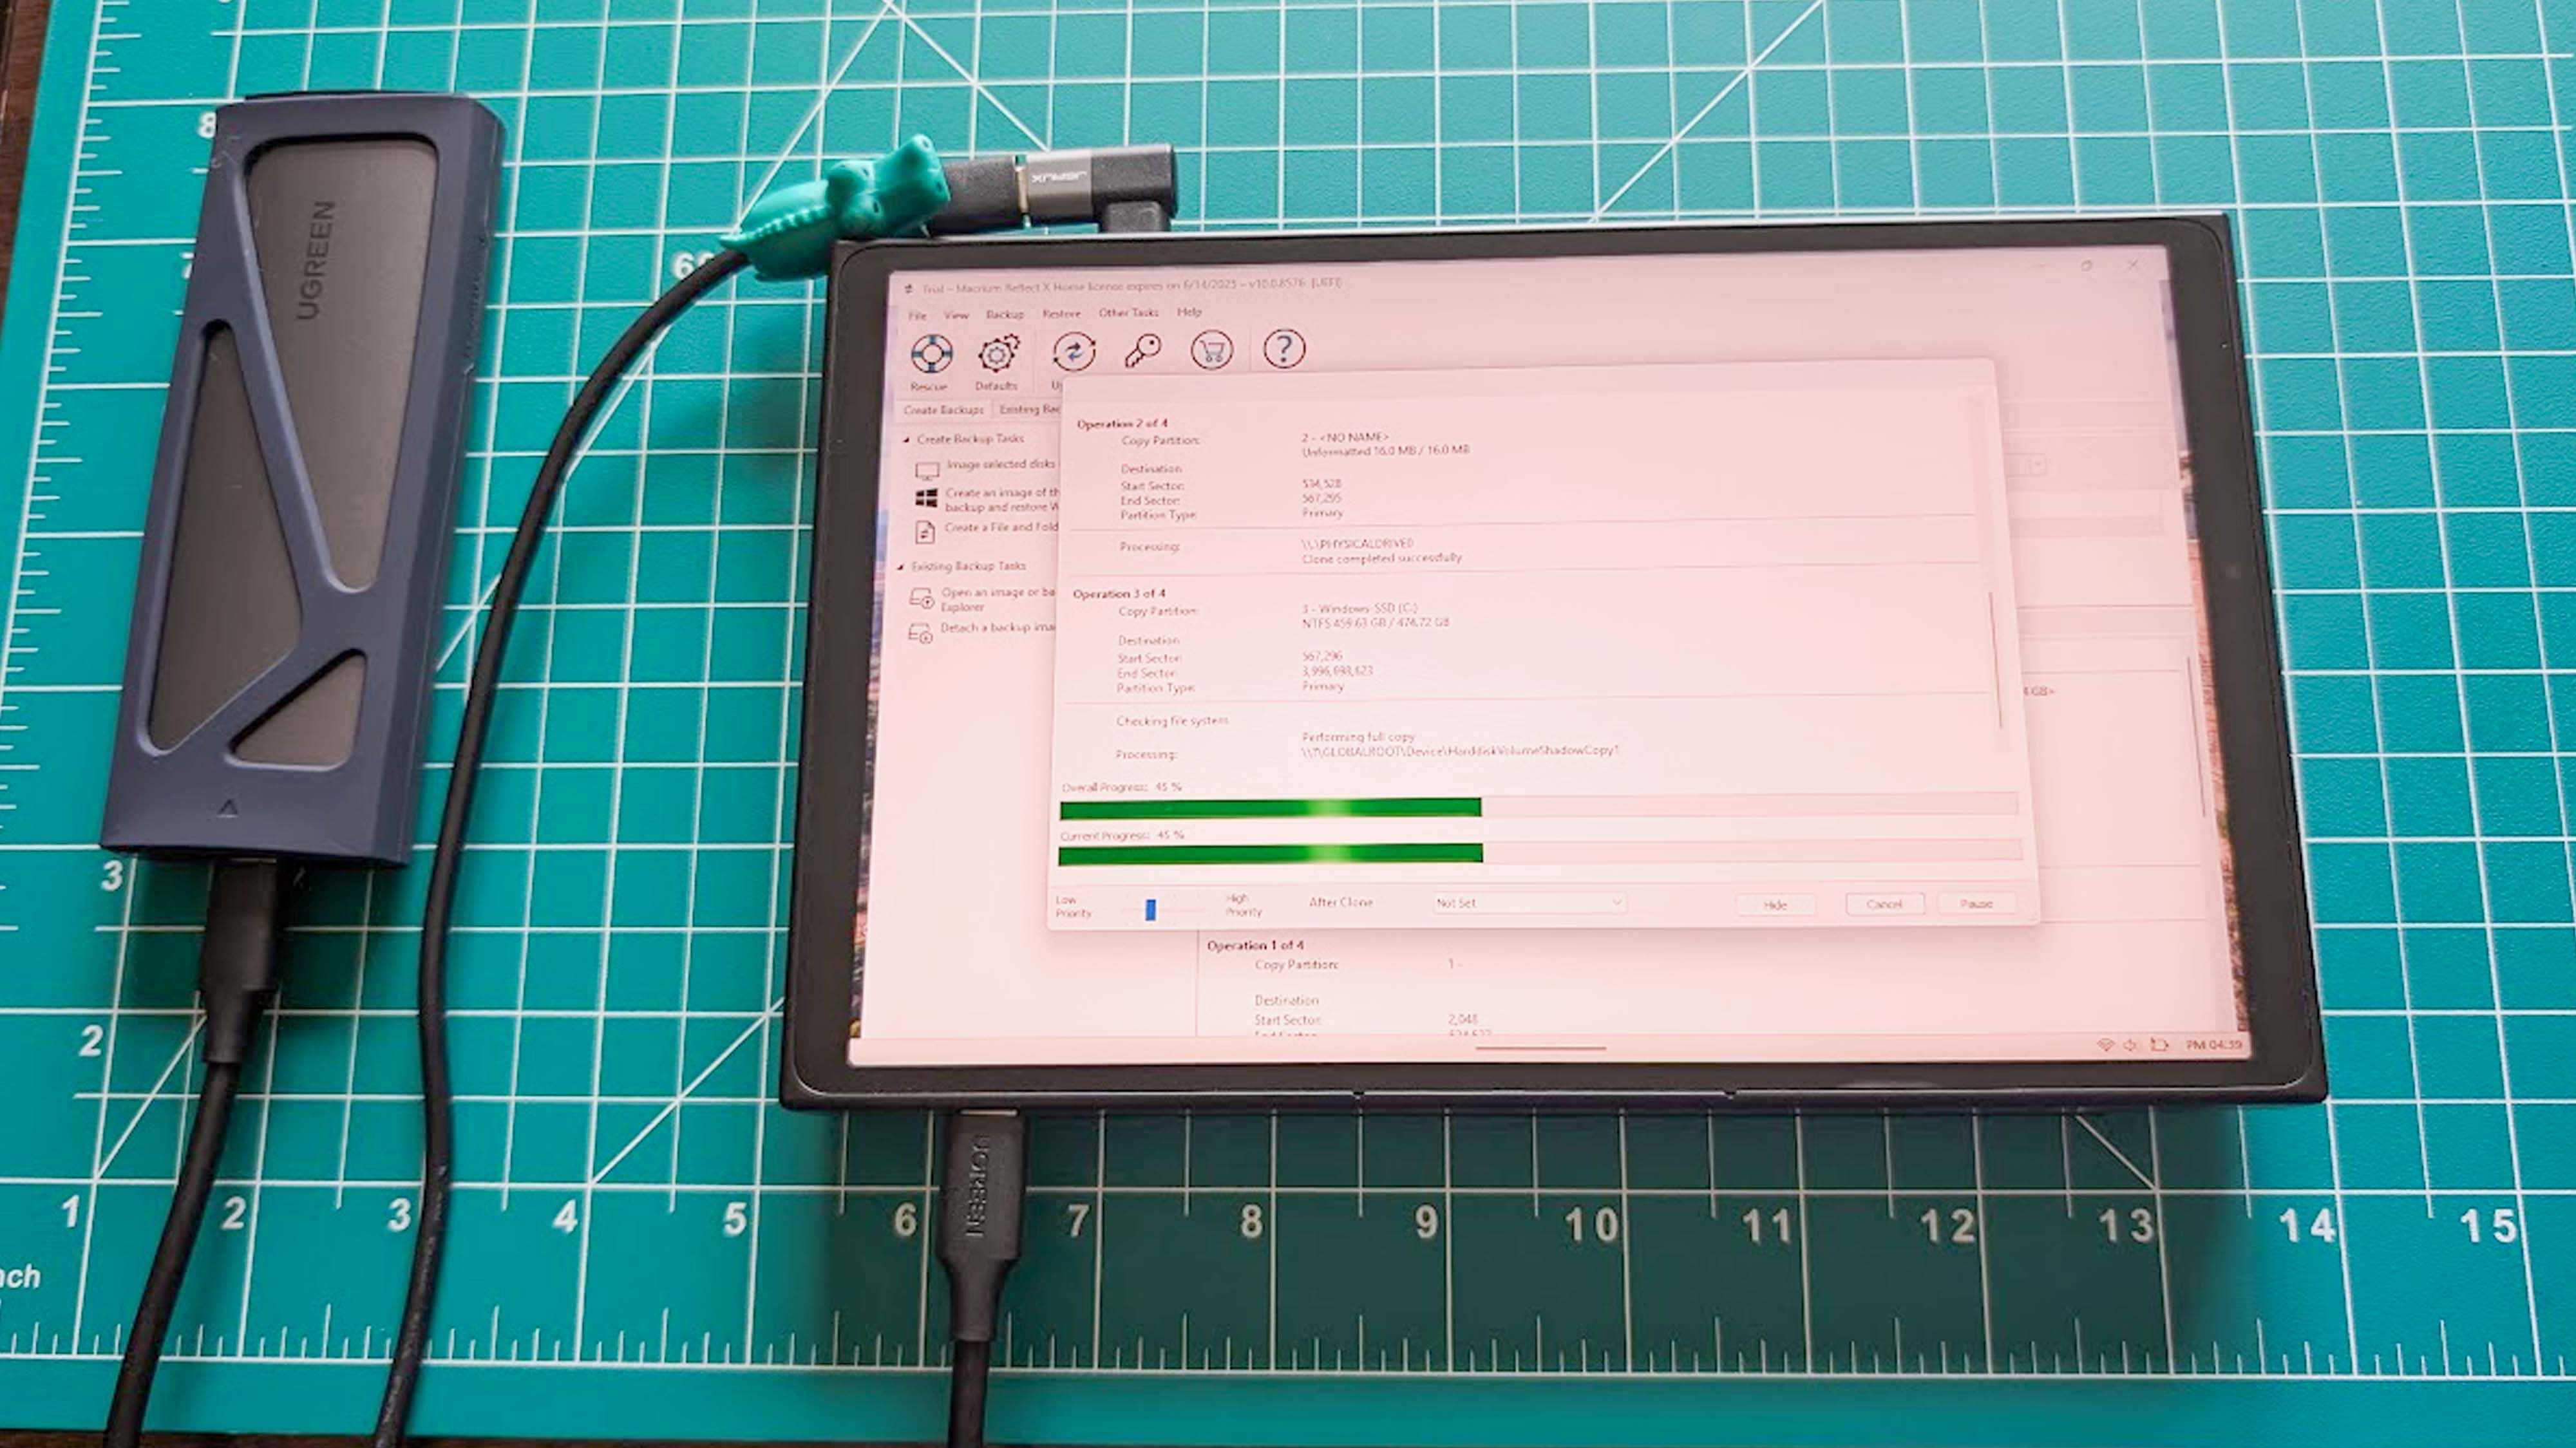
There are a few ways to back up your SSD data, but I find that using an SSD enclosure adapter and Macrium Reflect is one of the easiest methods. I'll show you how I did it:
NOTE: The backup process is easier if you connect a keyboard and mouse to the Legion Go, but you'll need a dock or USB hub for this. I personally just used my fingers and the touchscreen.
- If you have a 2230 SSD, take a moment to connect an SSD Extender to it so it will fit the Legion Go's 2242 SSD slot.
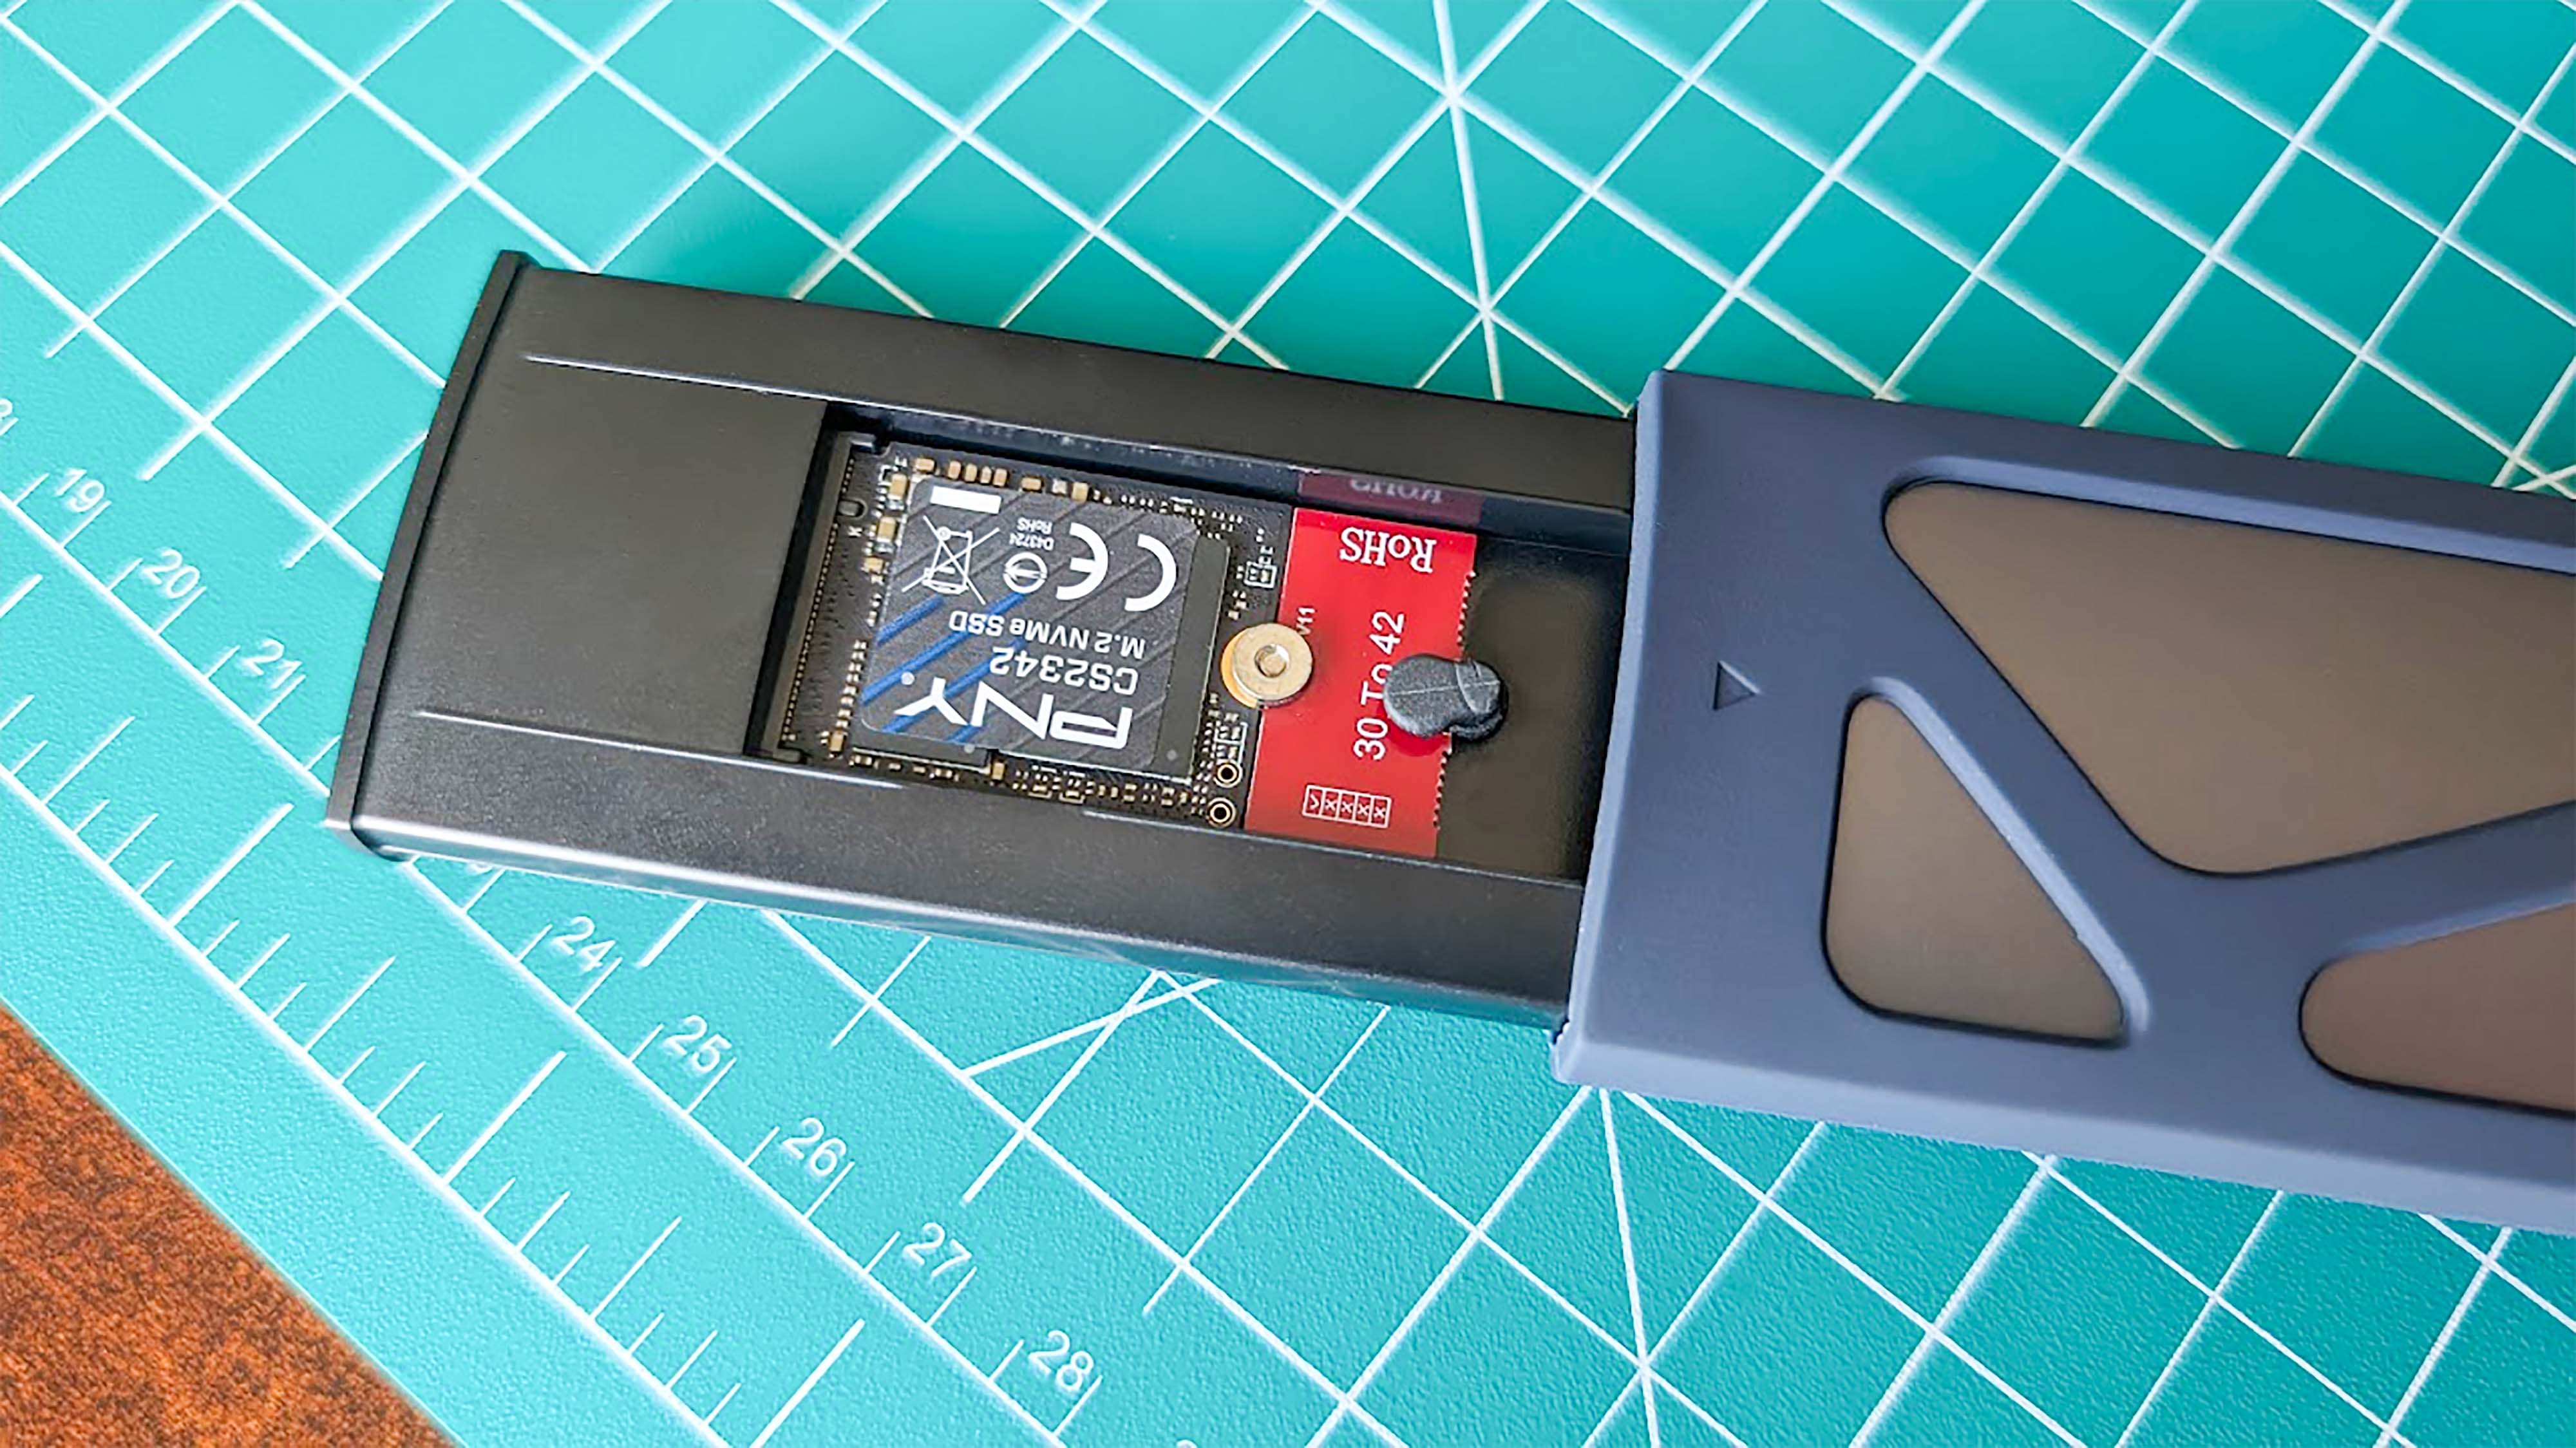
- Place the new SSD into the SSD enclosure. You'll need to make sure it's pushed into the connection area and then secure it with the rubber nub.
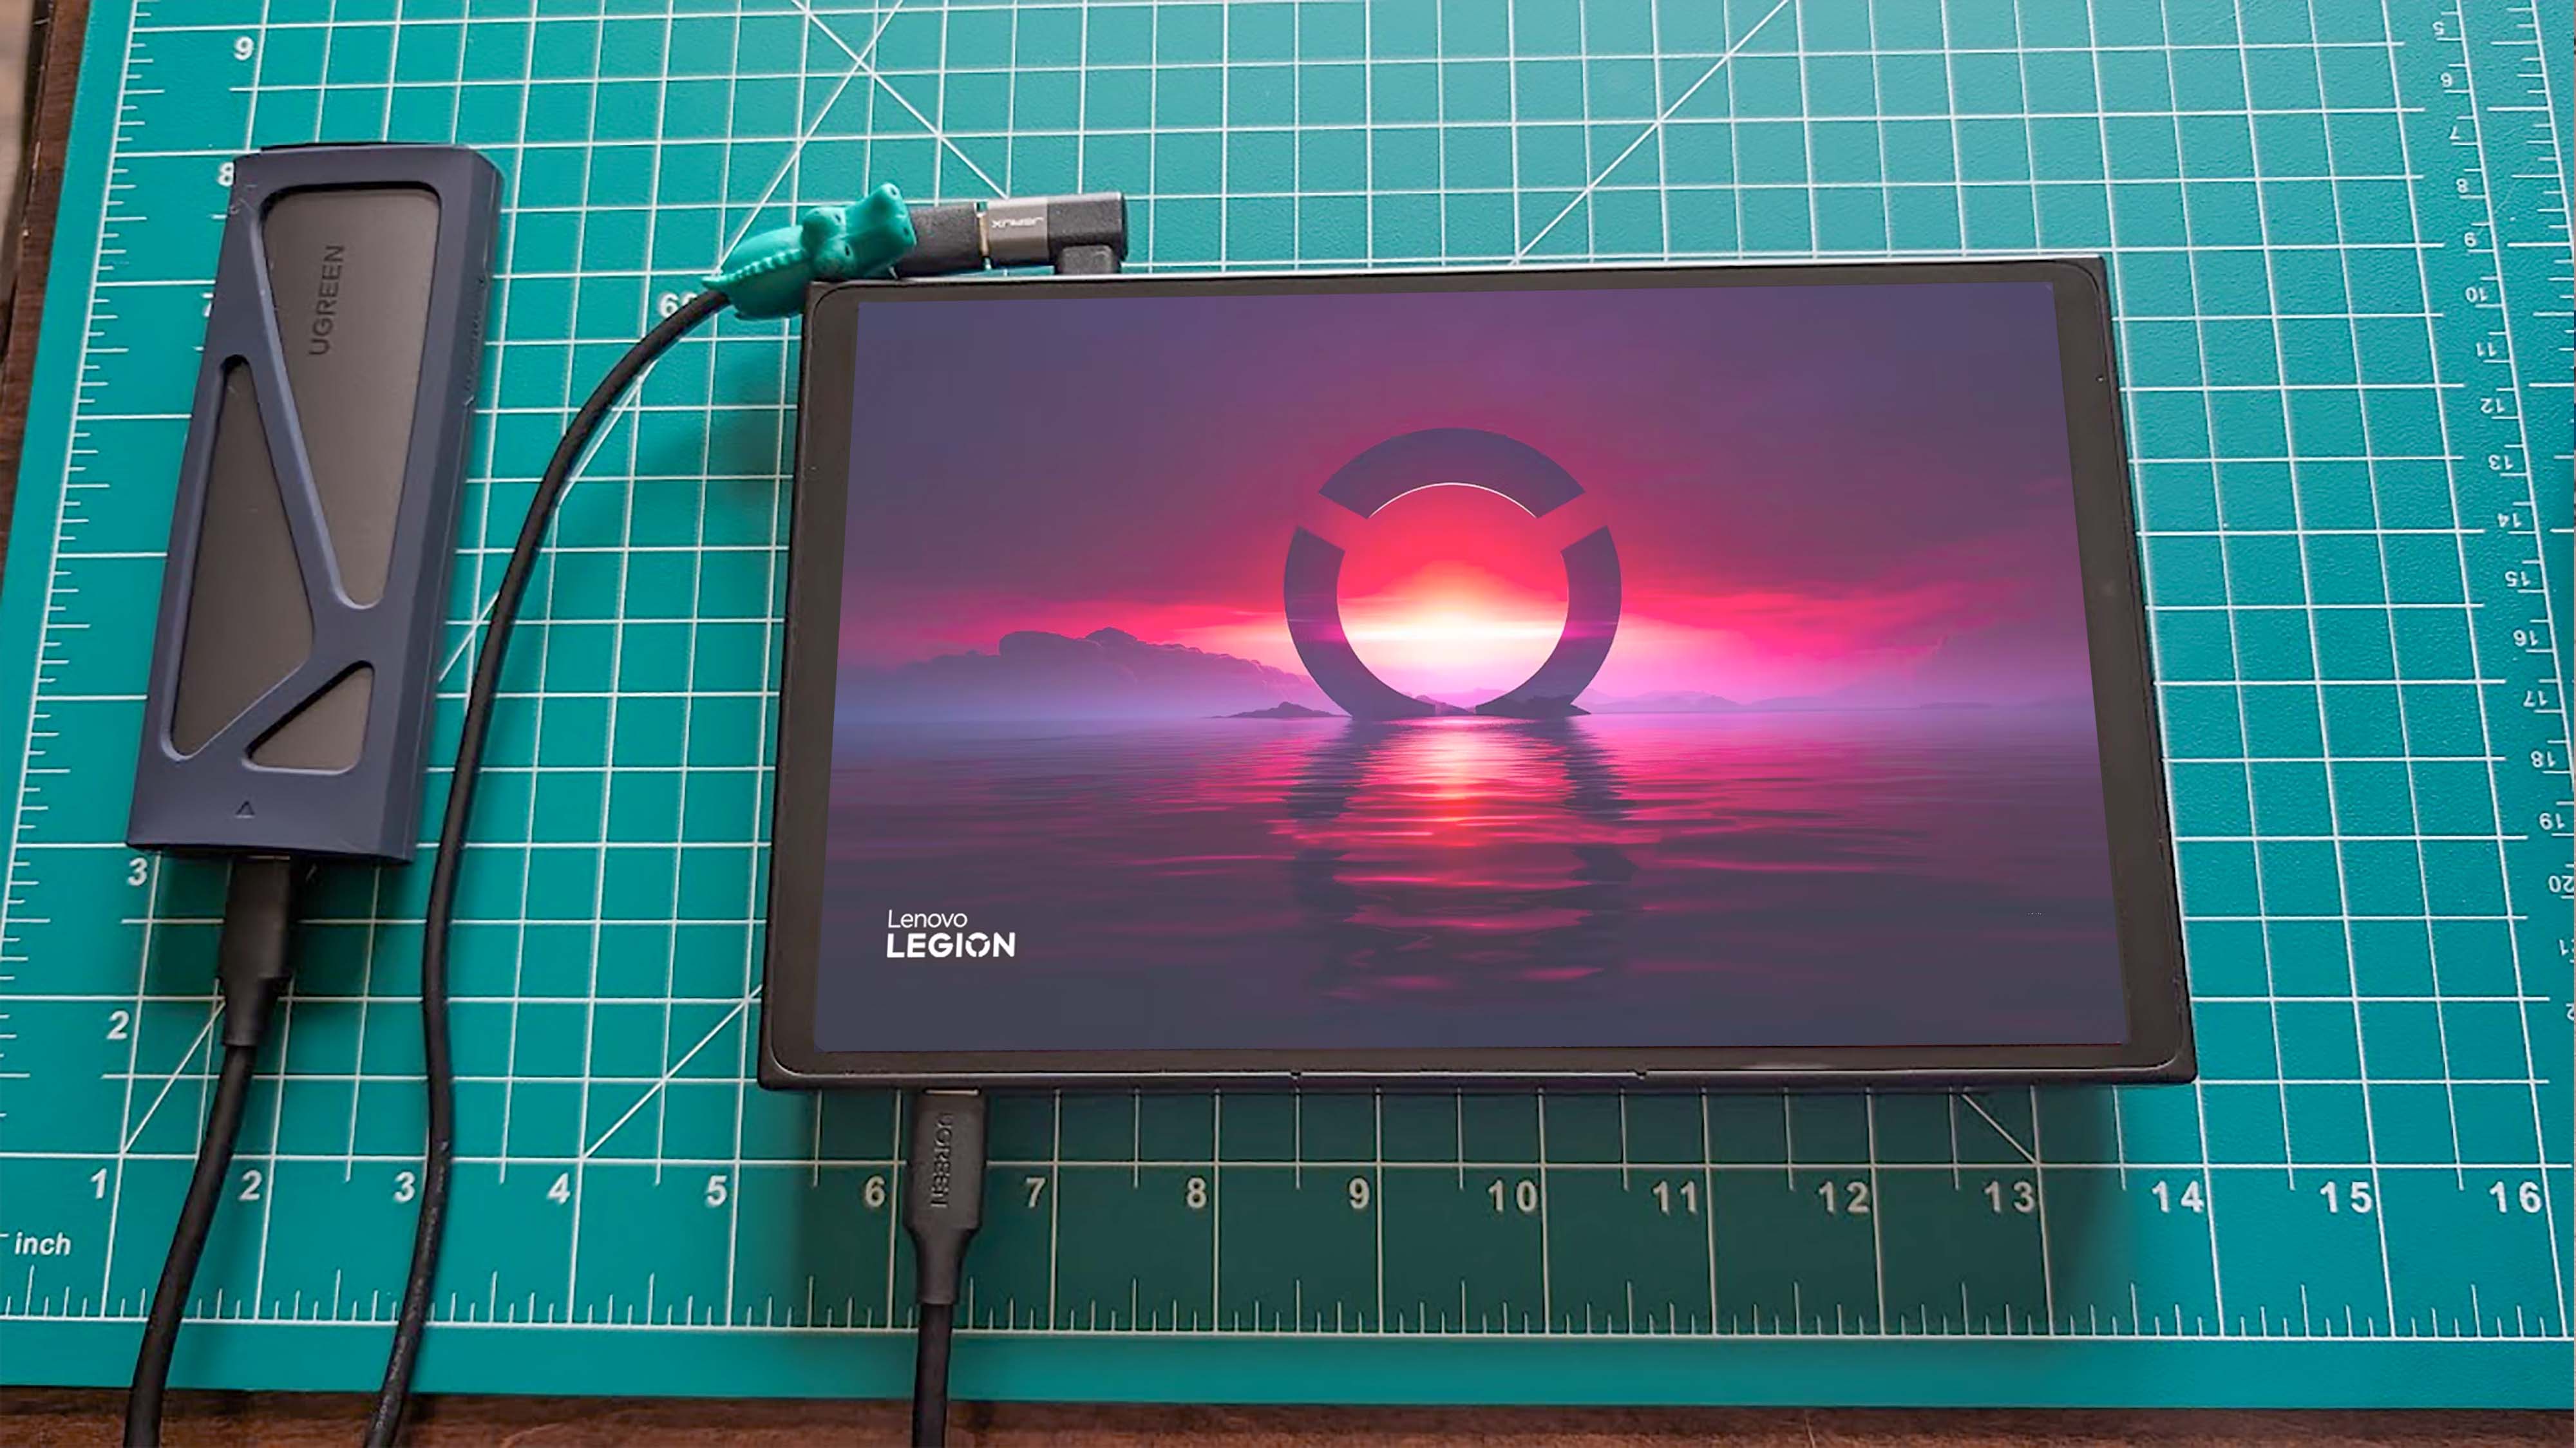
- Close the SSD enclosure and then plug it into one of the Legion Go's USB-C ports.
- Connect the power adapter into the Legion Go's other USB-C port.
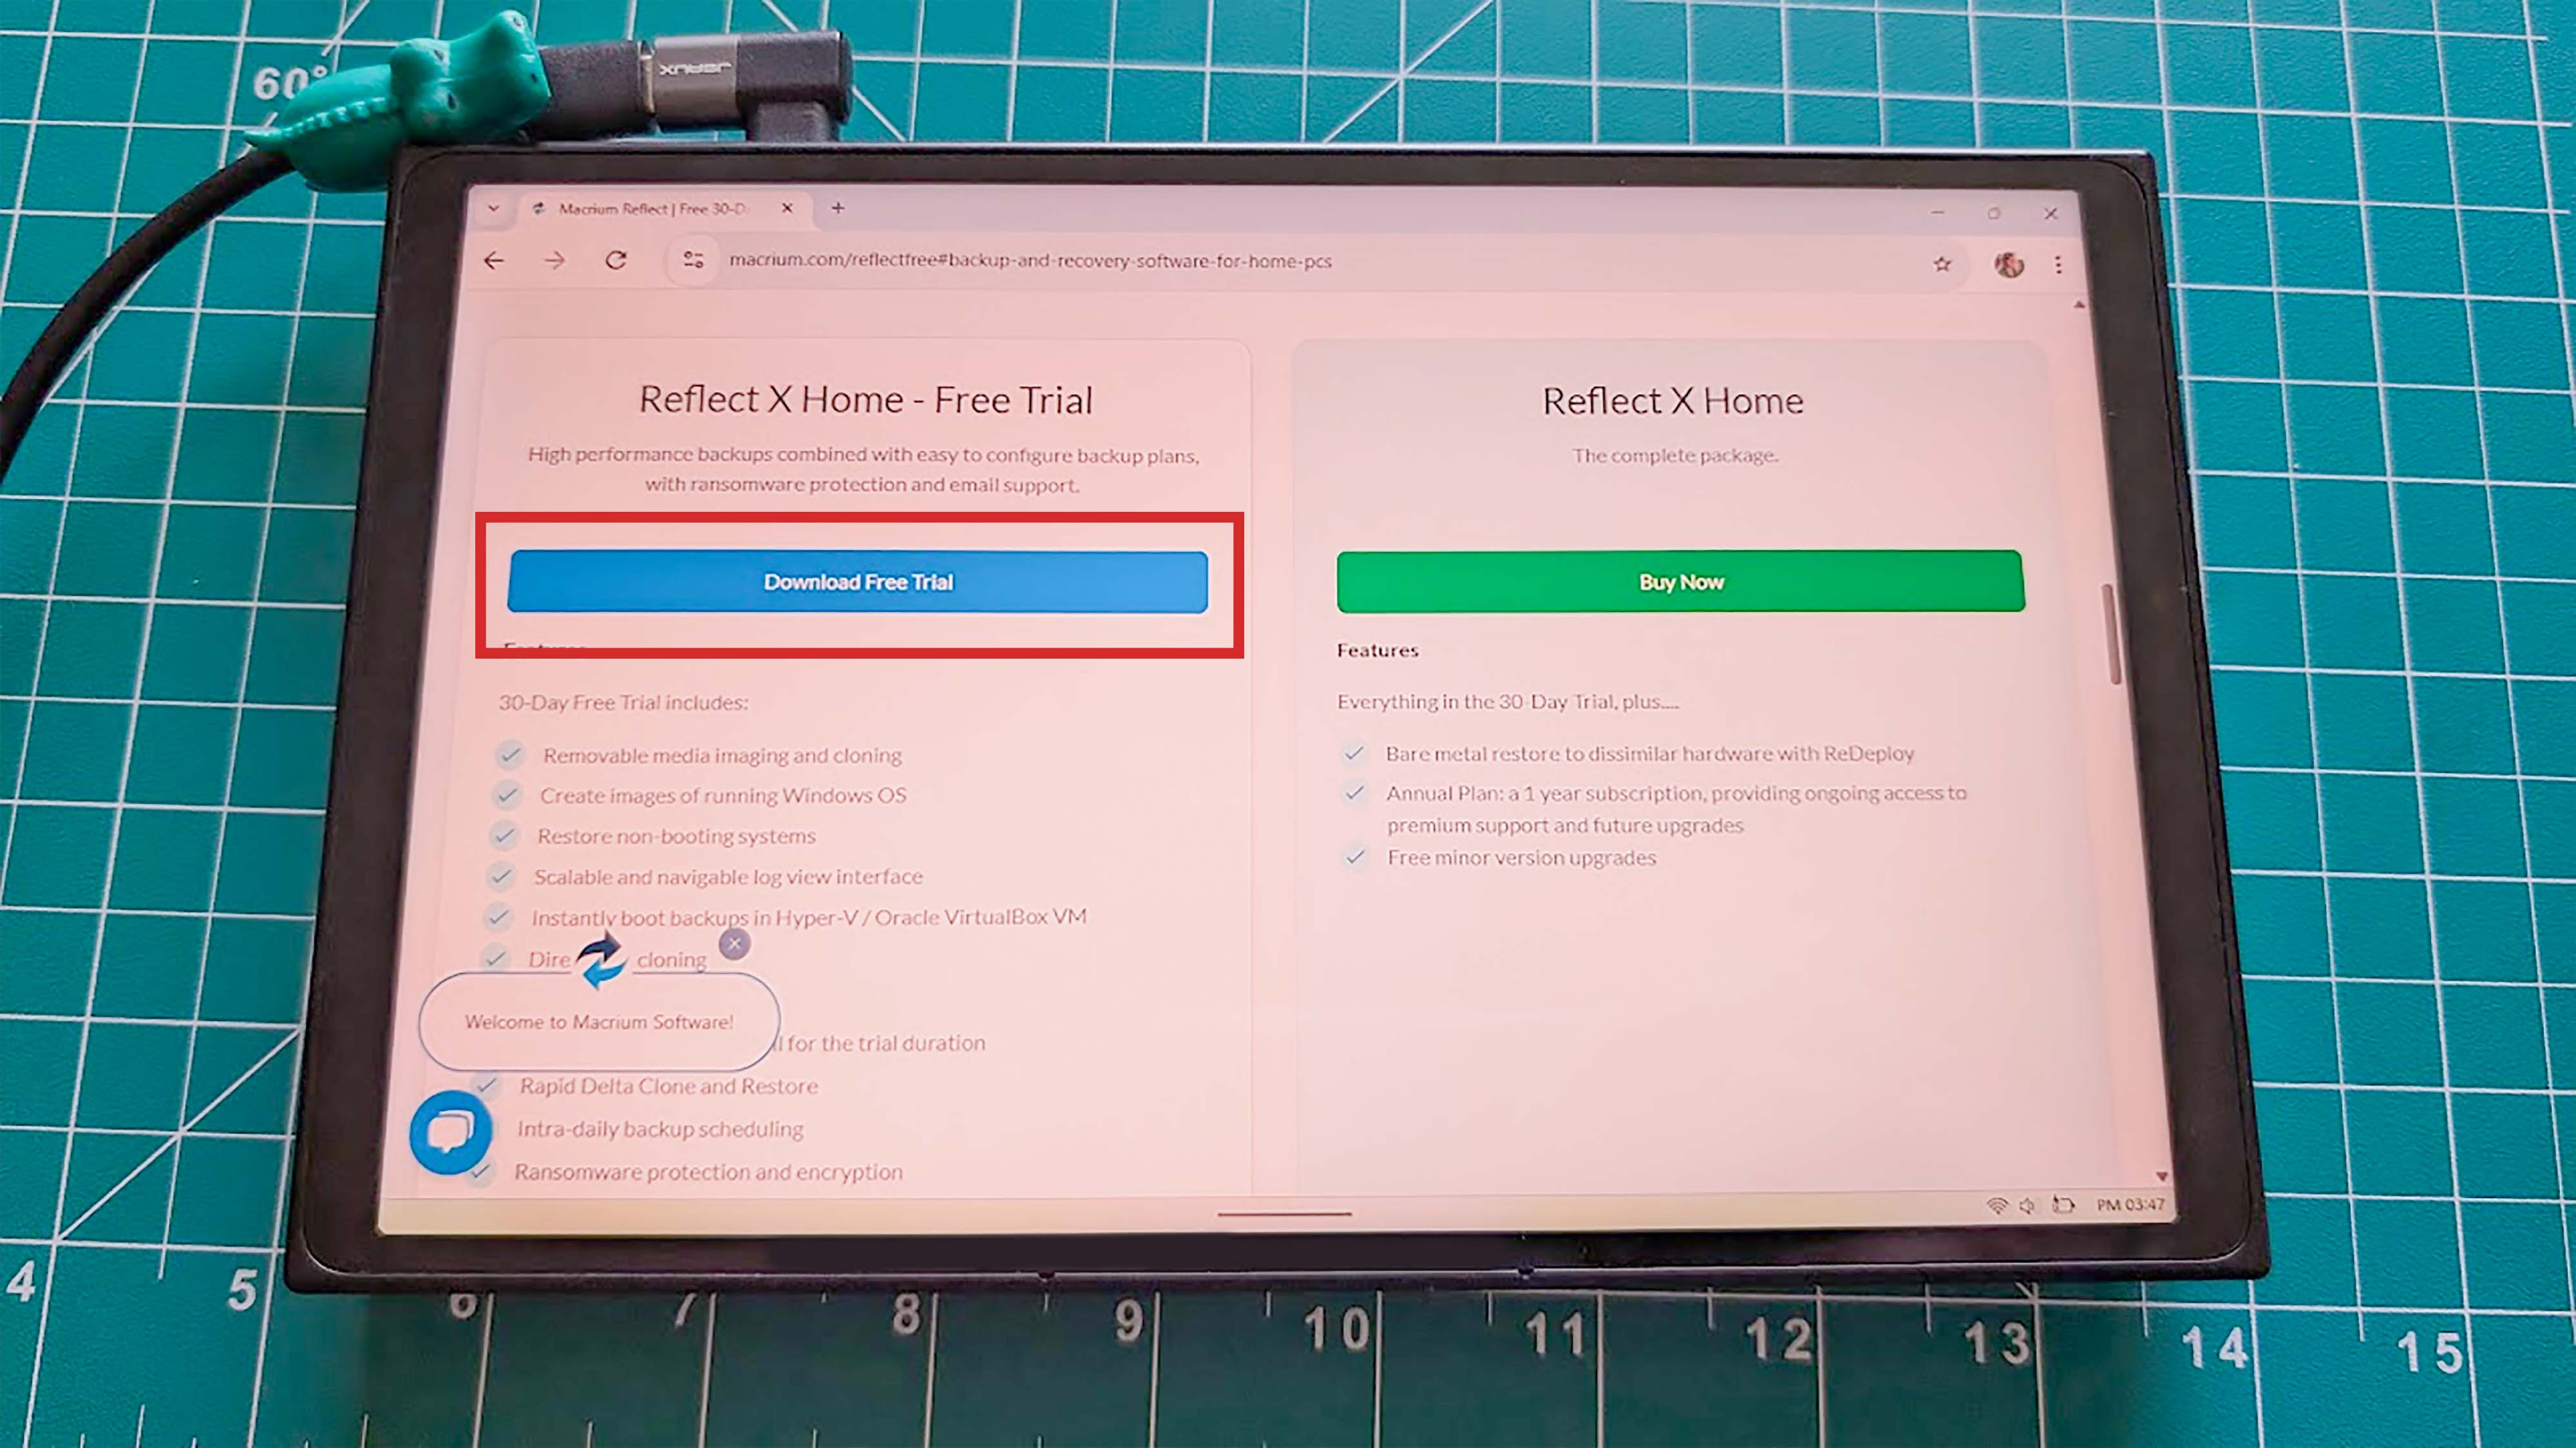
- On your Legion Go, go to the Macrium website (macrium.com/reflectfree).
- Scroll down and click on the free 30-day trial for Macrium Reflect Home Edition.
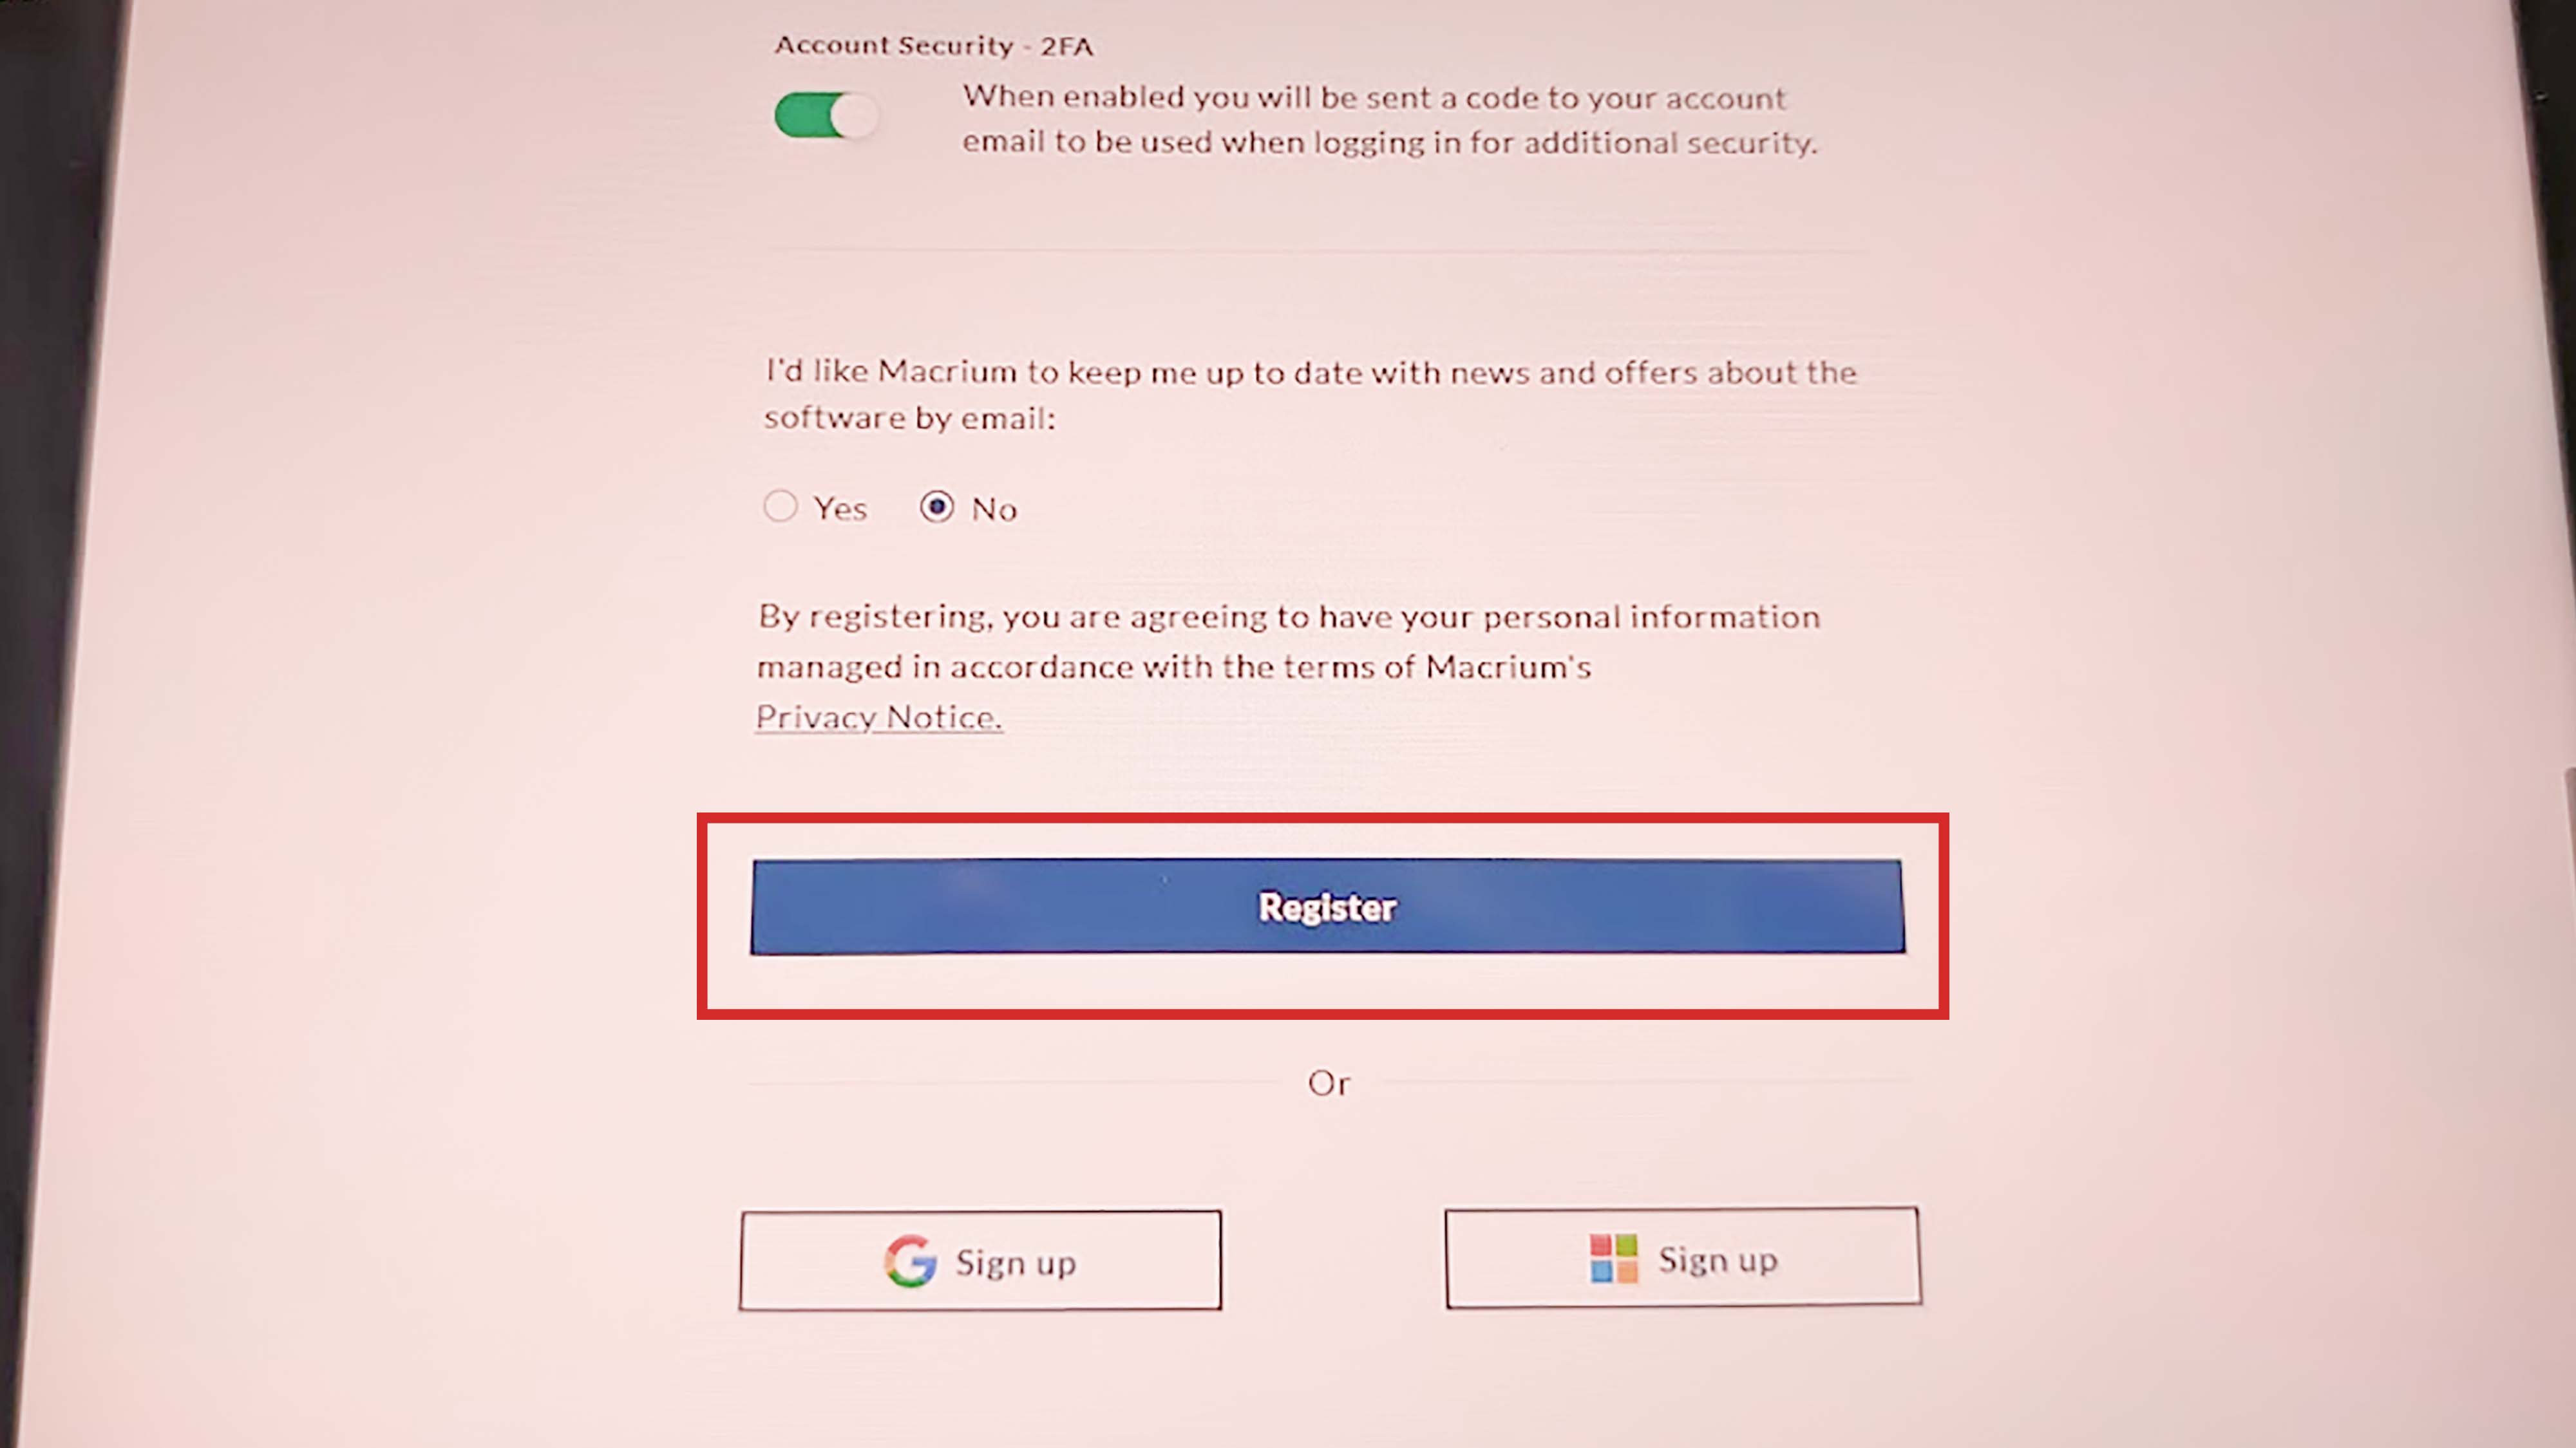
- Enter your information and then scroll down and press Register.
- Next, check your email and click on the registration link.
- Now, sign into your new Macrium account.
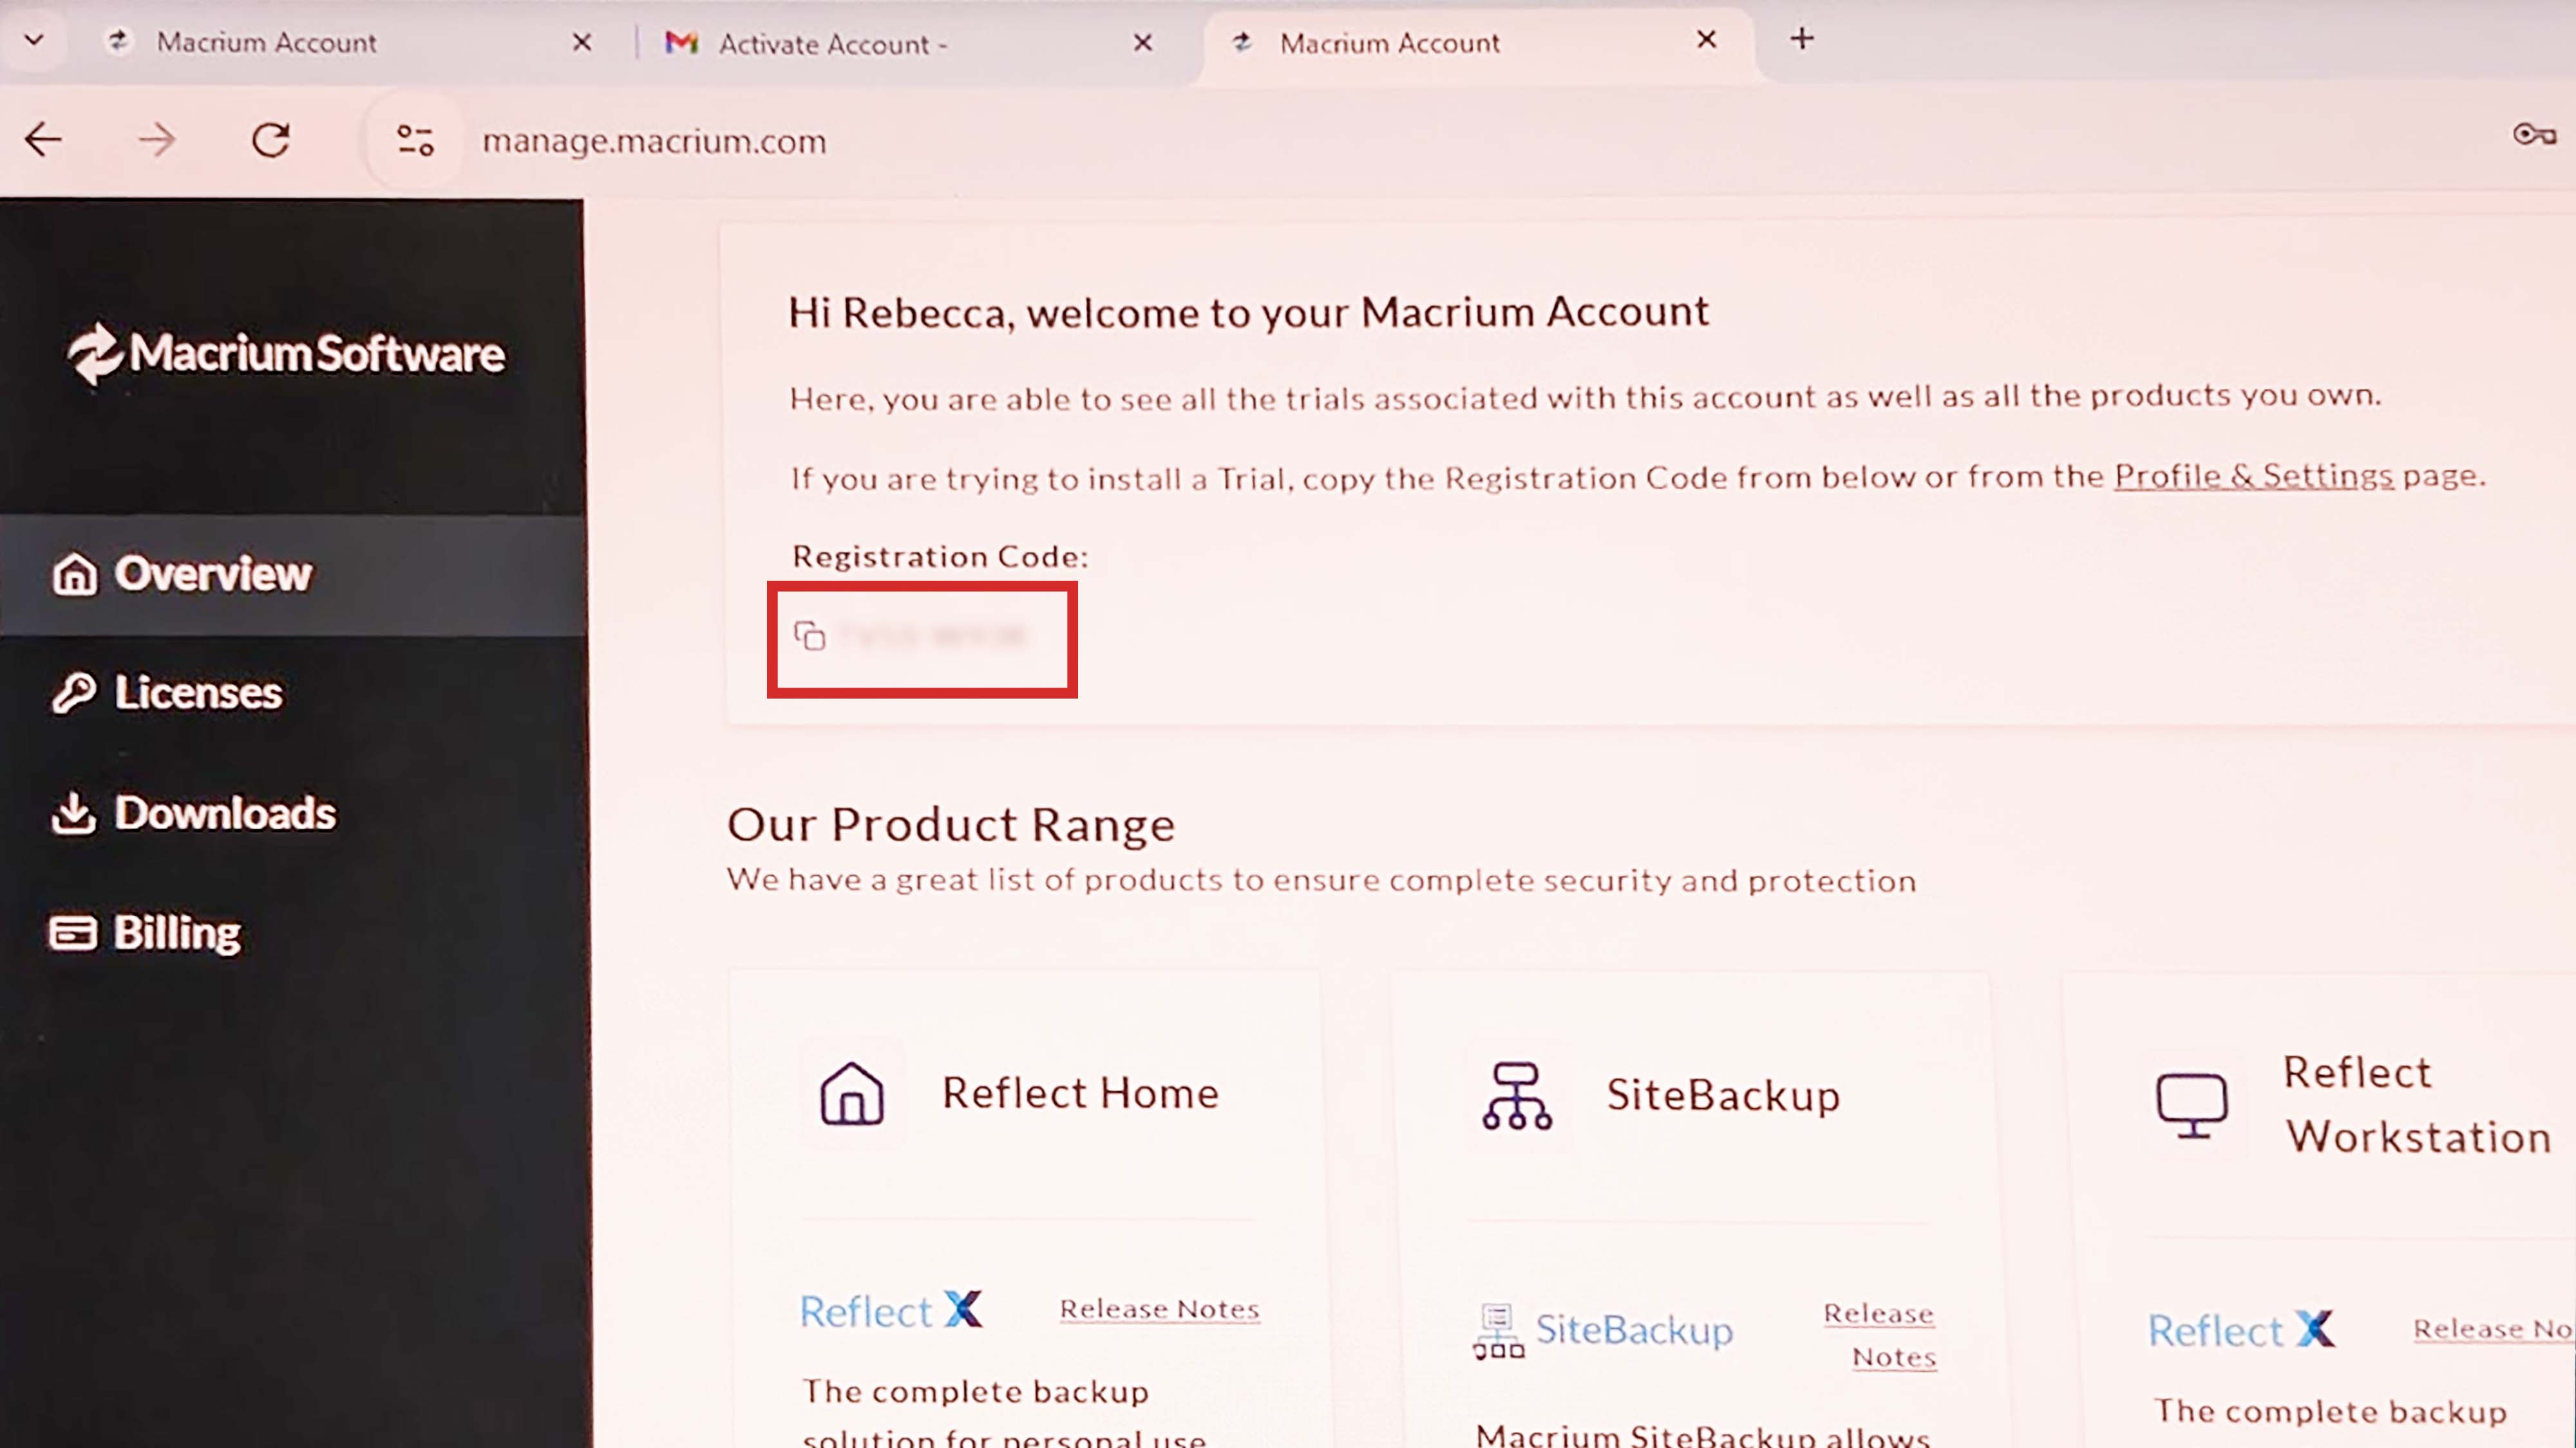
- The software will immediately start to download on your Legion Go. In the meantime, make sure you're on Marium's Overview tab and copy your Registration Code.
- When downloading finishes, go to your Downloads and install Macrium Reflect onto your Legion Go.
- A window will pop up asking you if you want to allow the app to make changes to your device. Select Yes.
- Select Next on the small window that pops up.
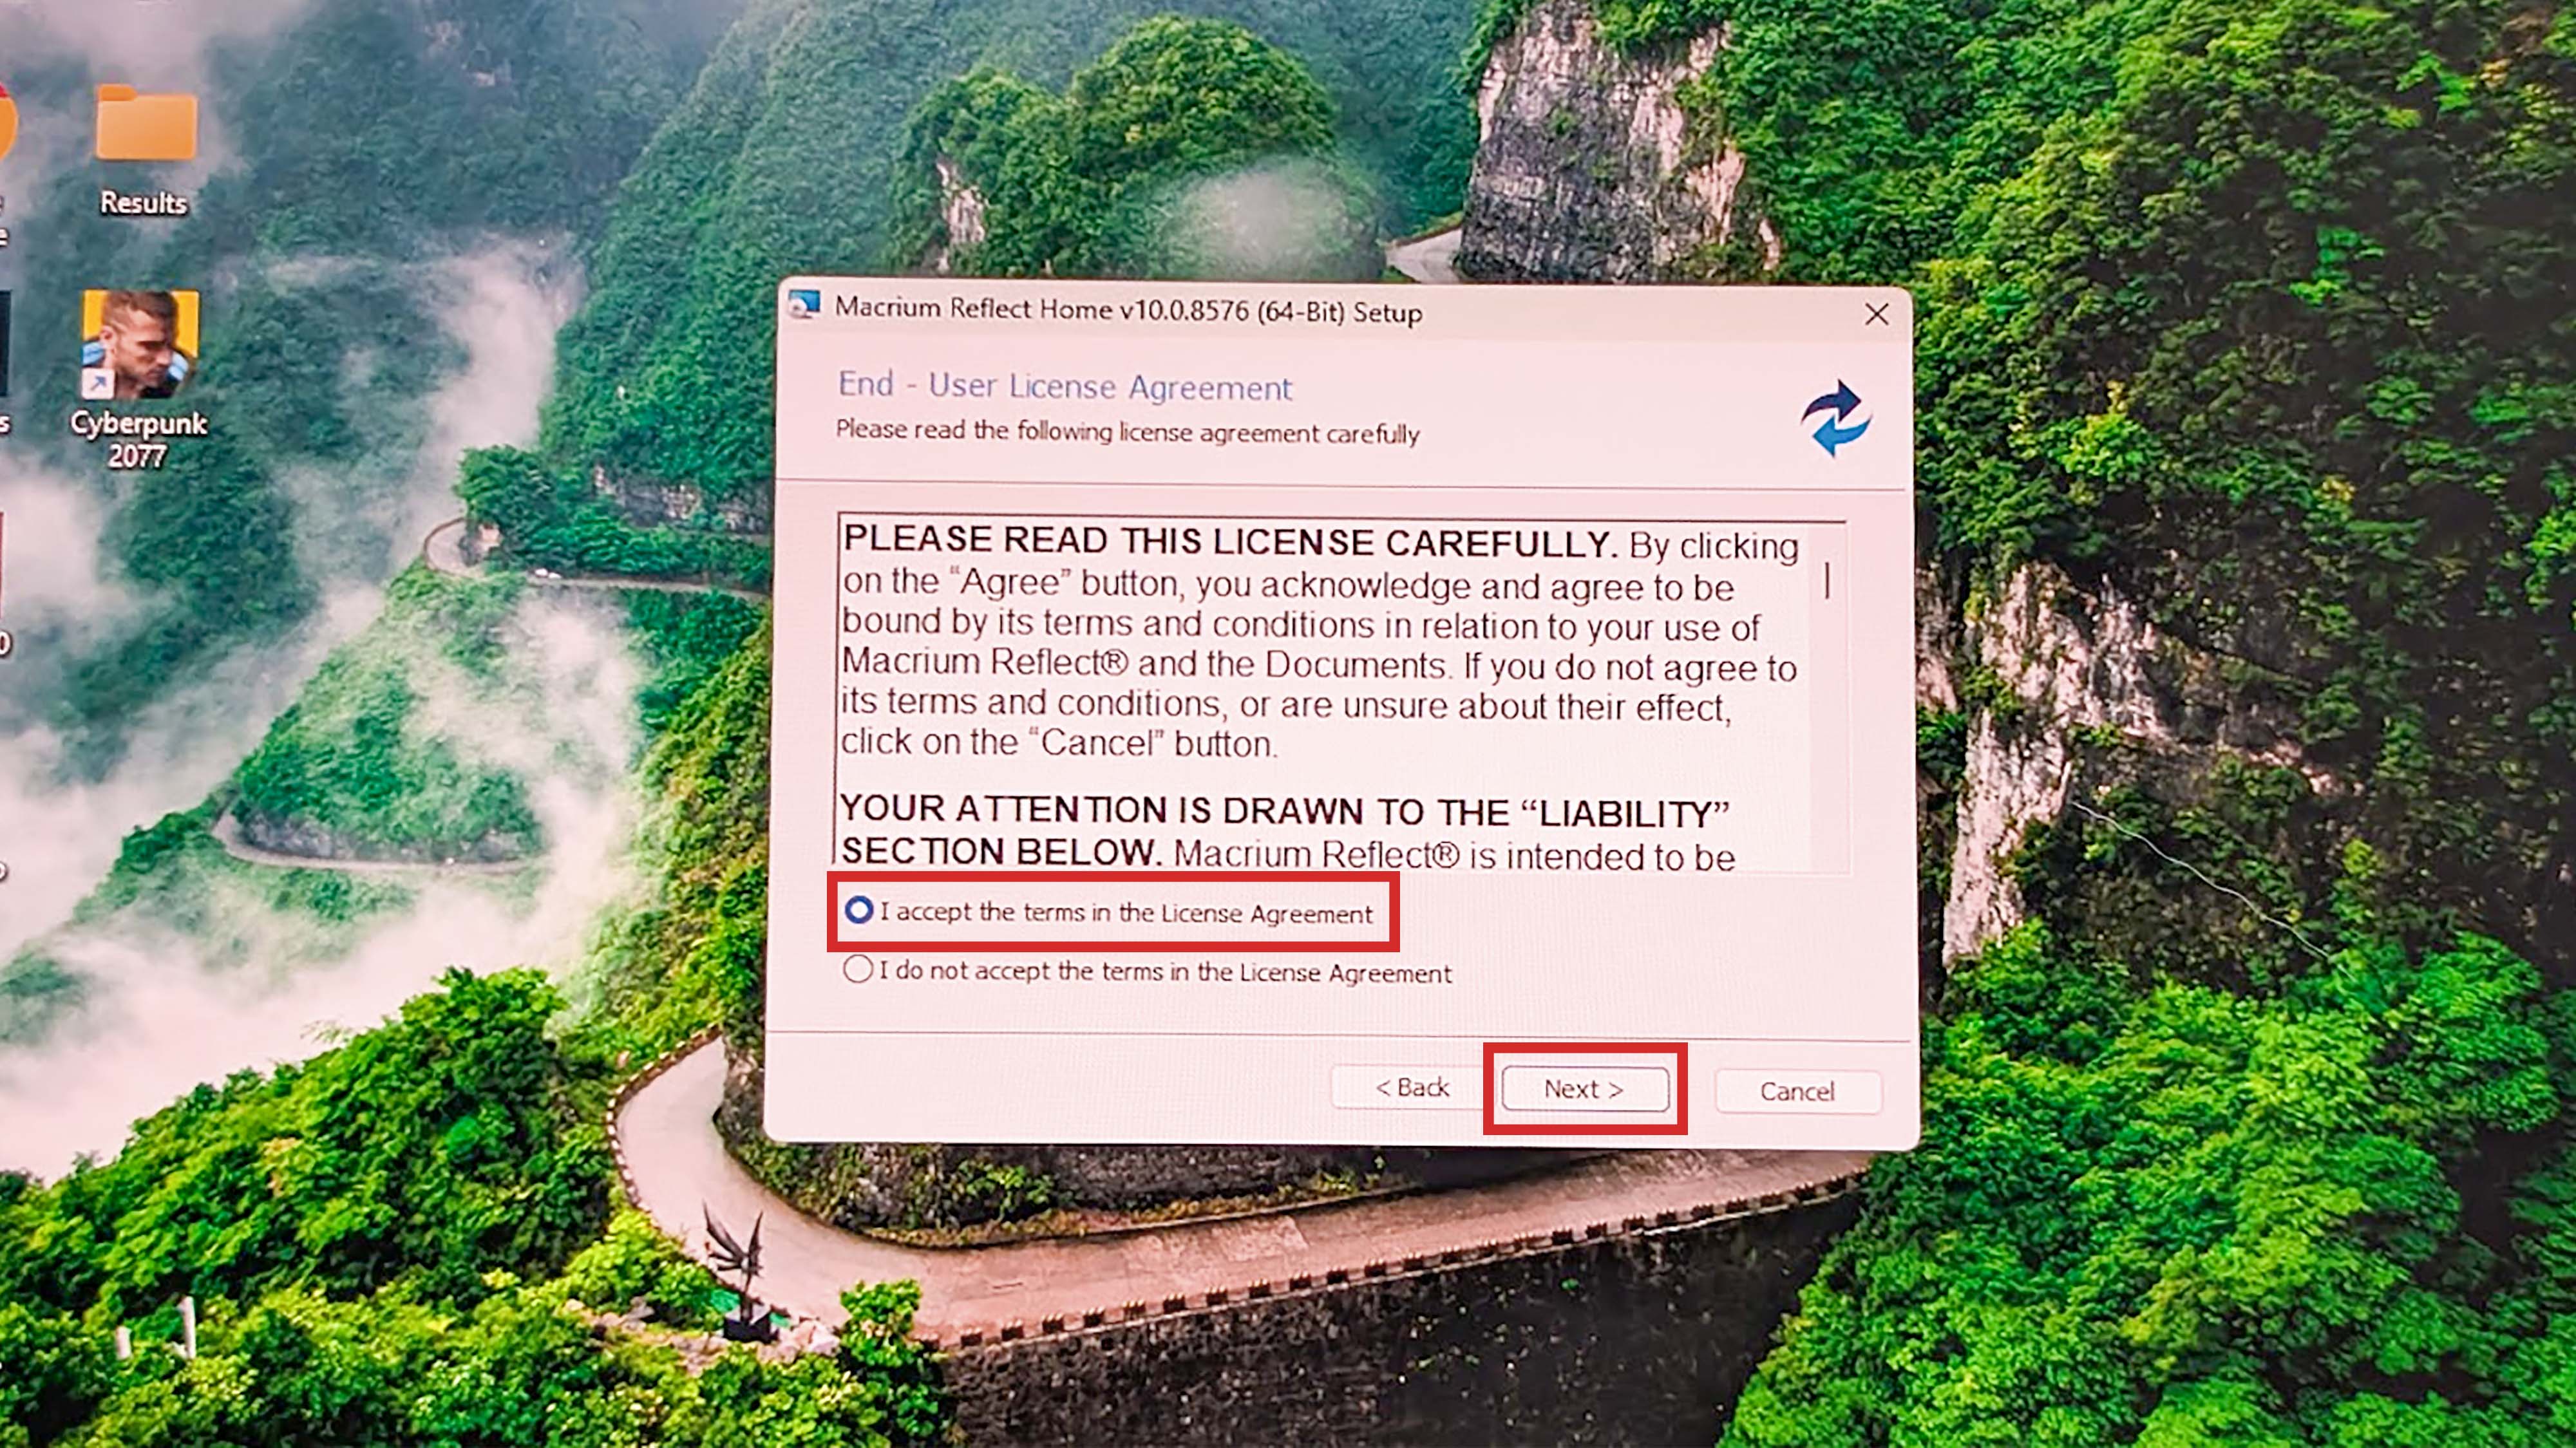
- Now read through the terms and conditions, and if you agree with them, accept and select Next.
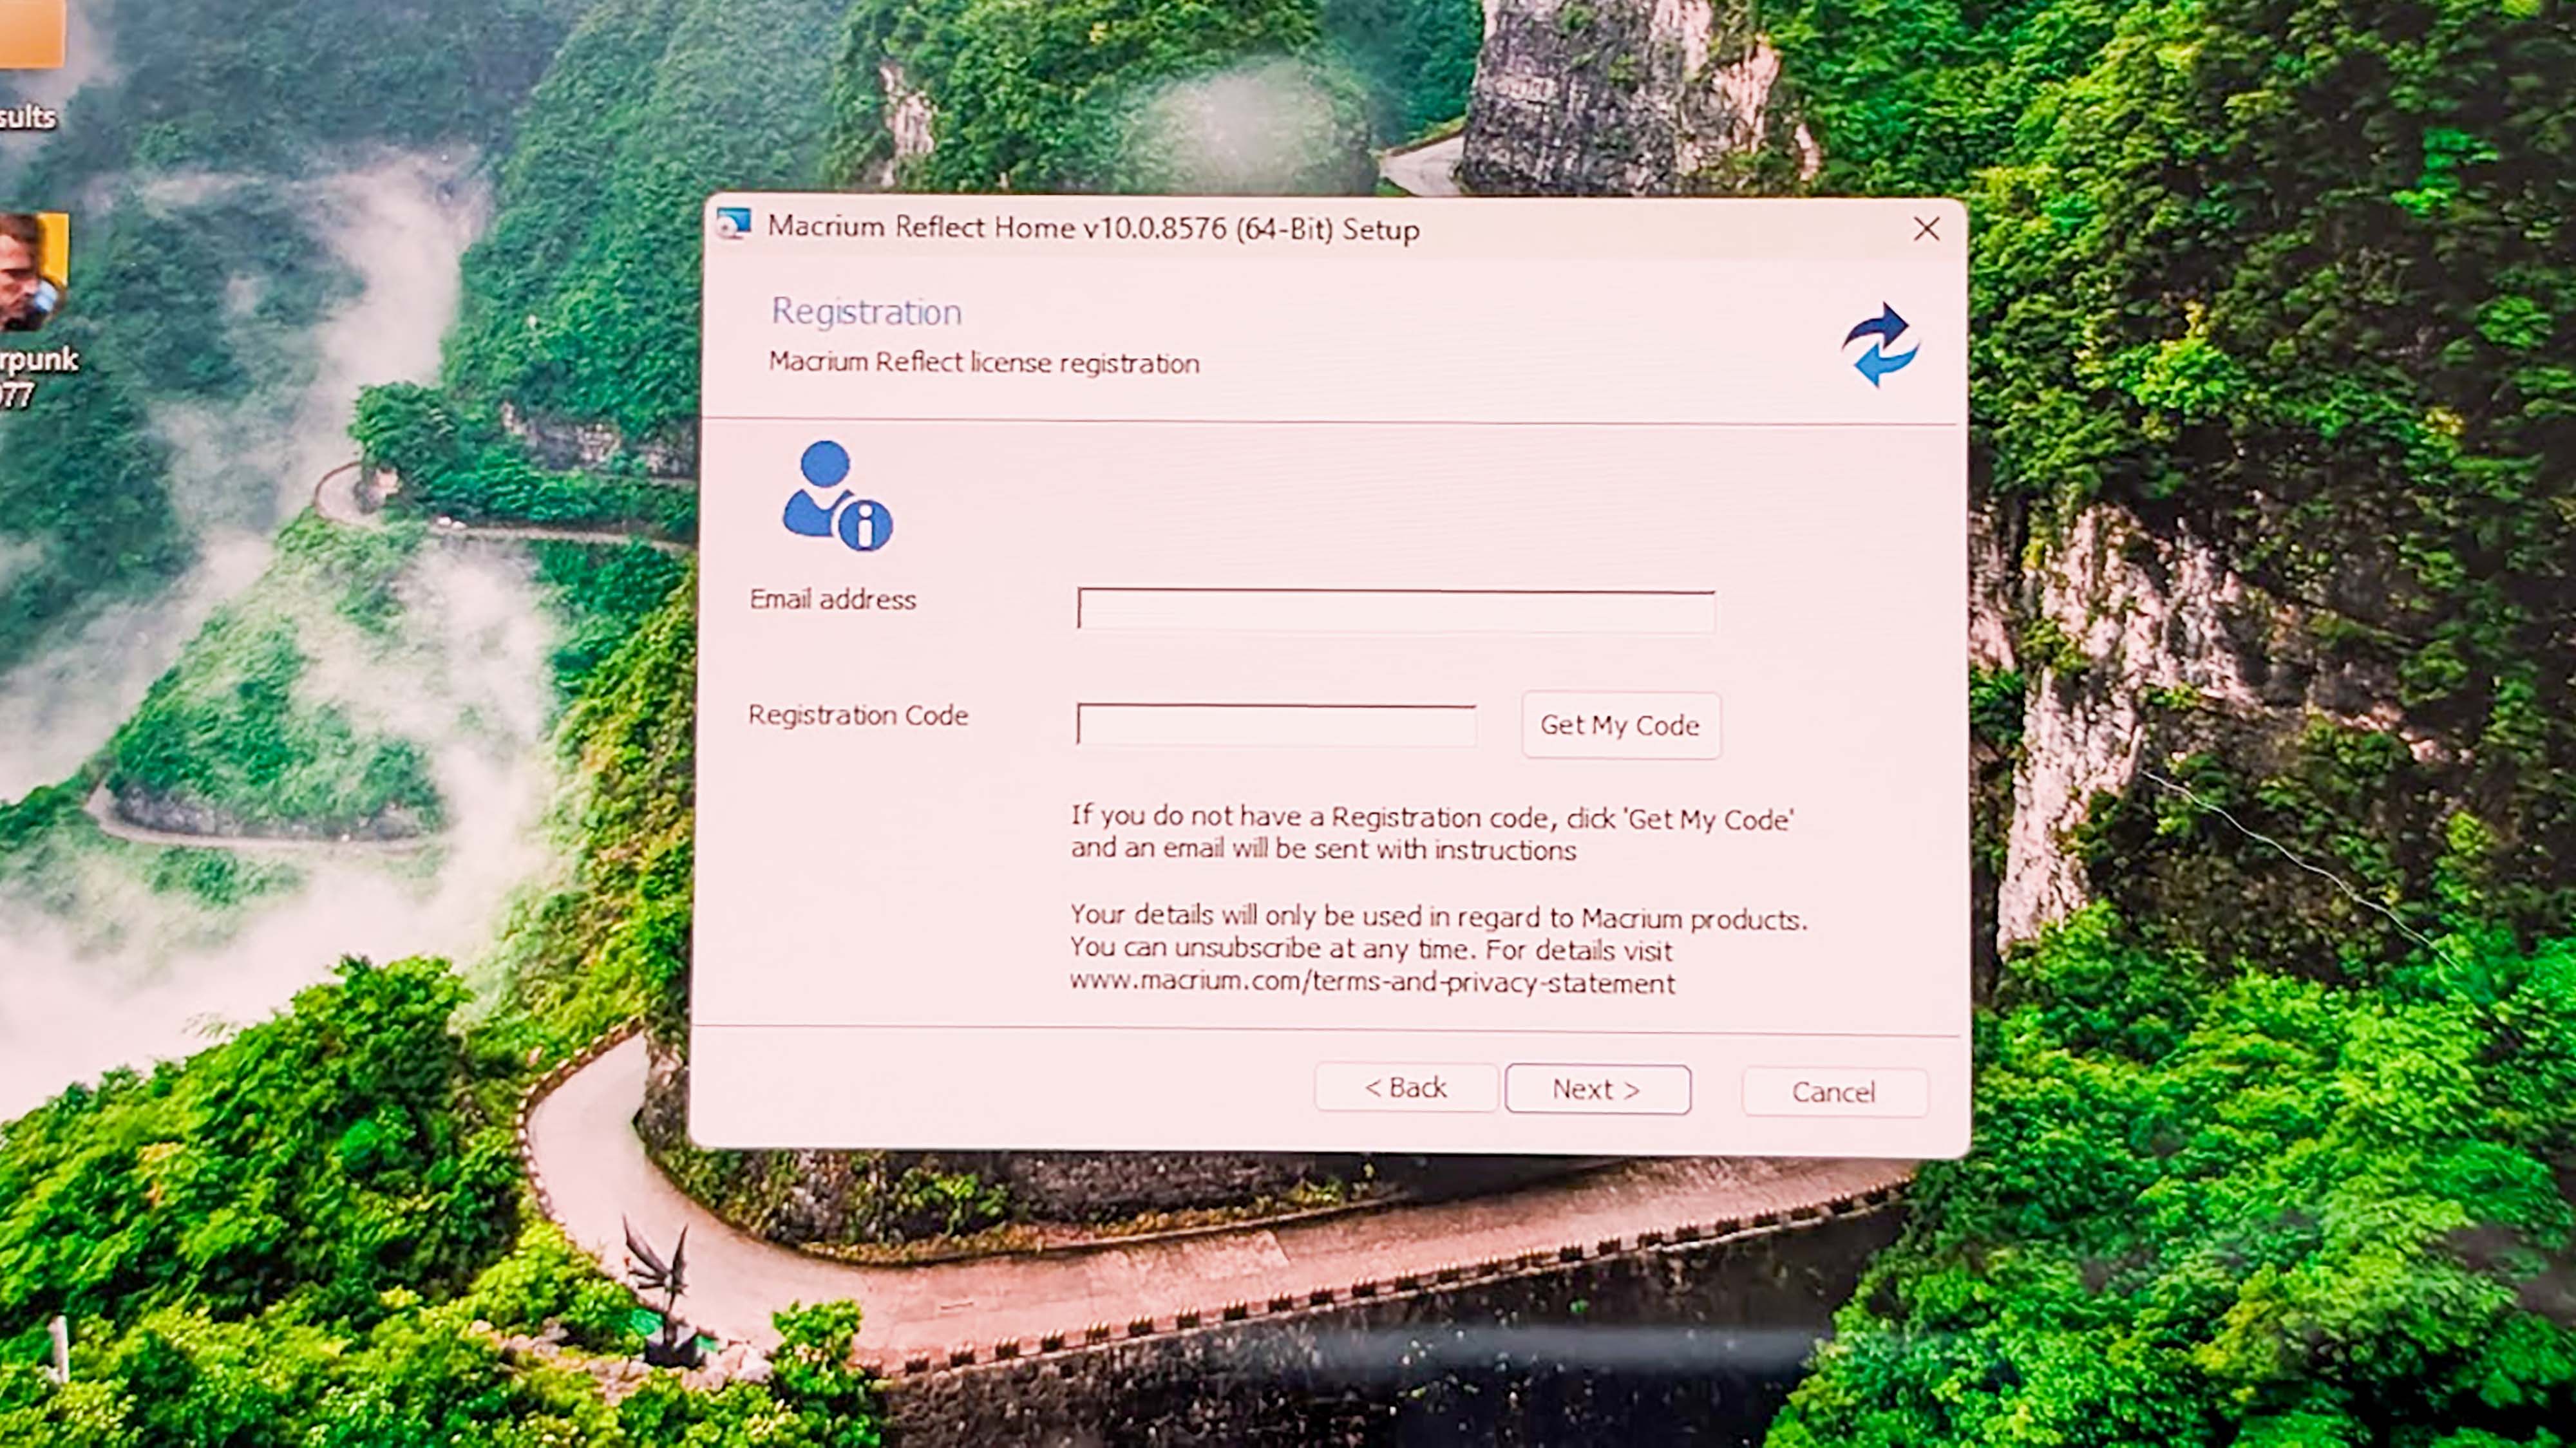
- When the setup window shows up, enter the registration code you copied earlier (if it hasn't auto-filled it) and select Next.
- Finish the installation process and then restart your Legion Go. It might take a few minutes to come back.
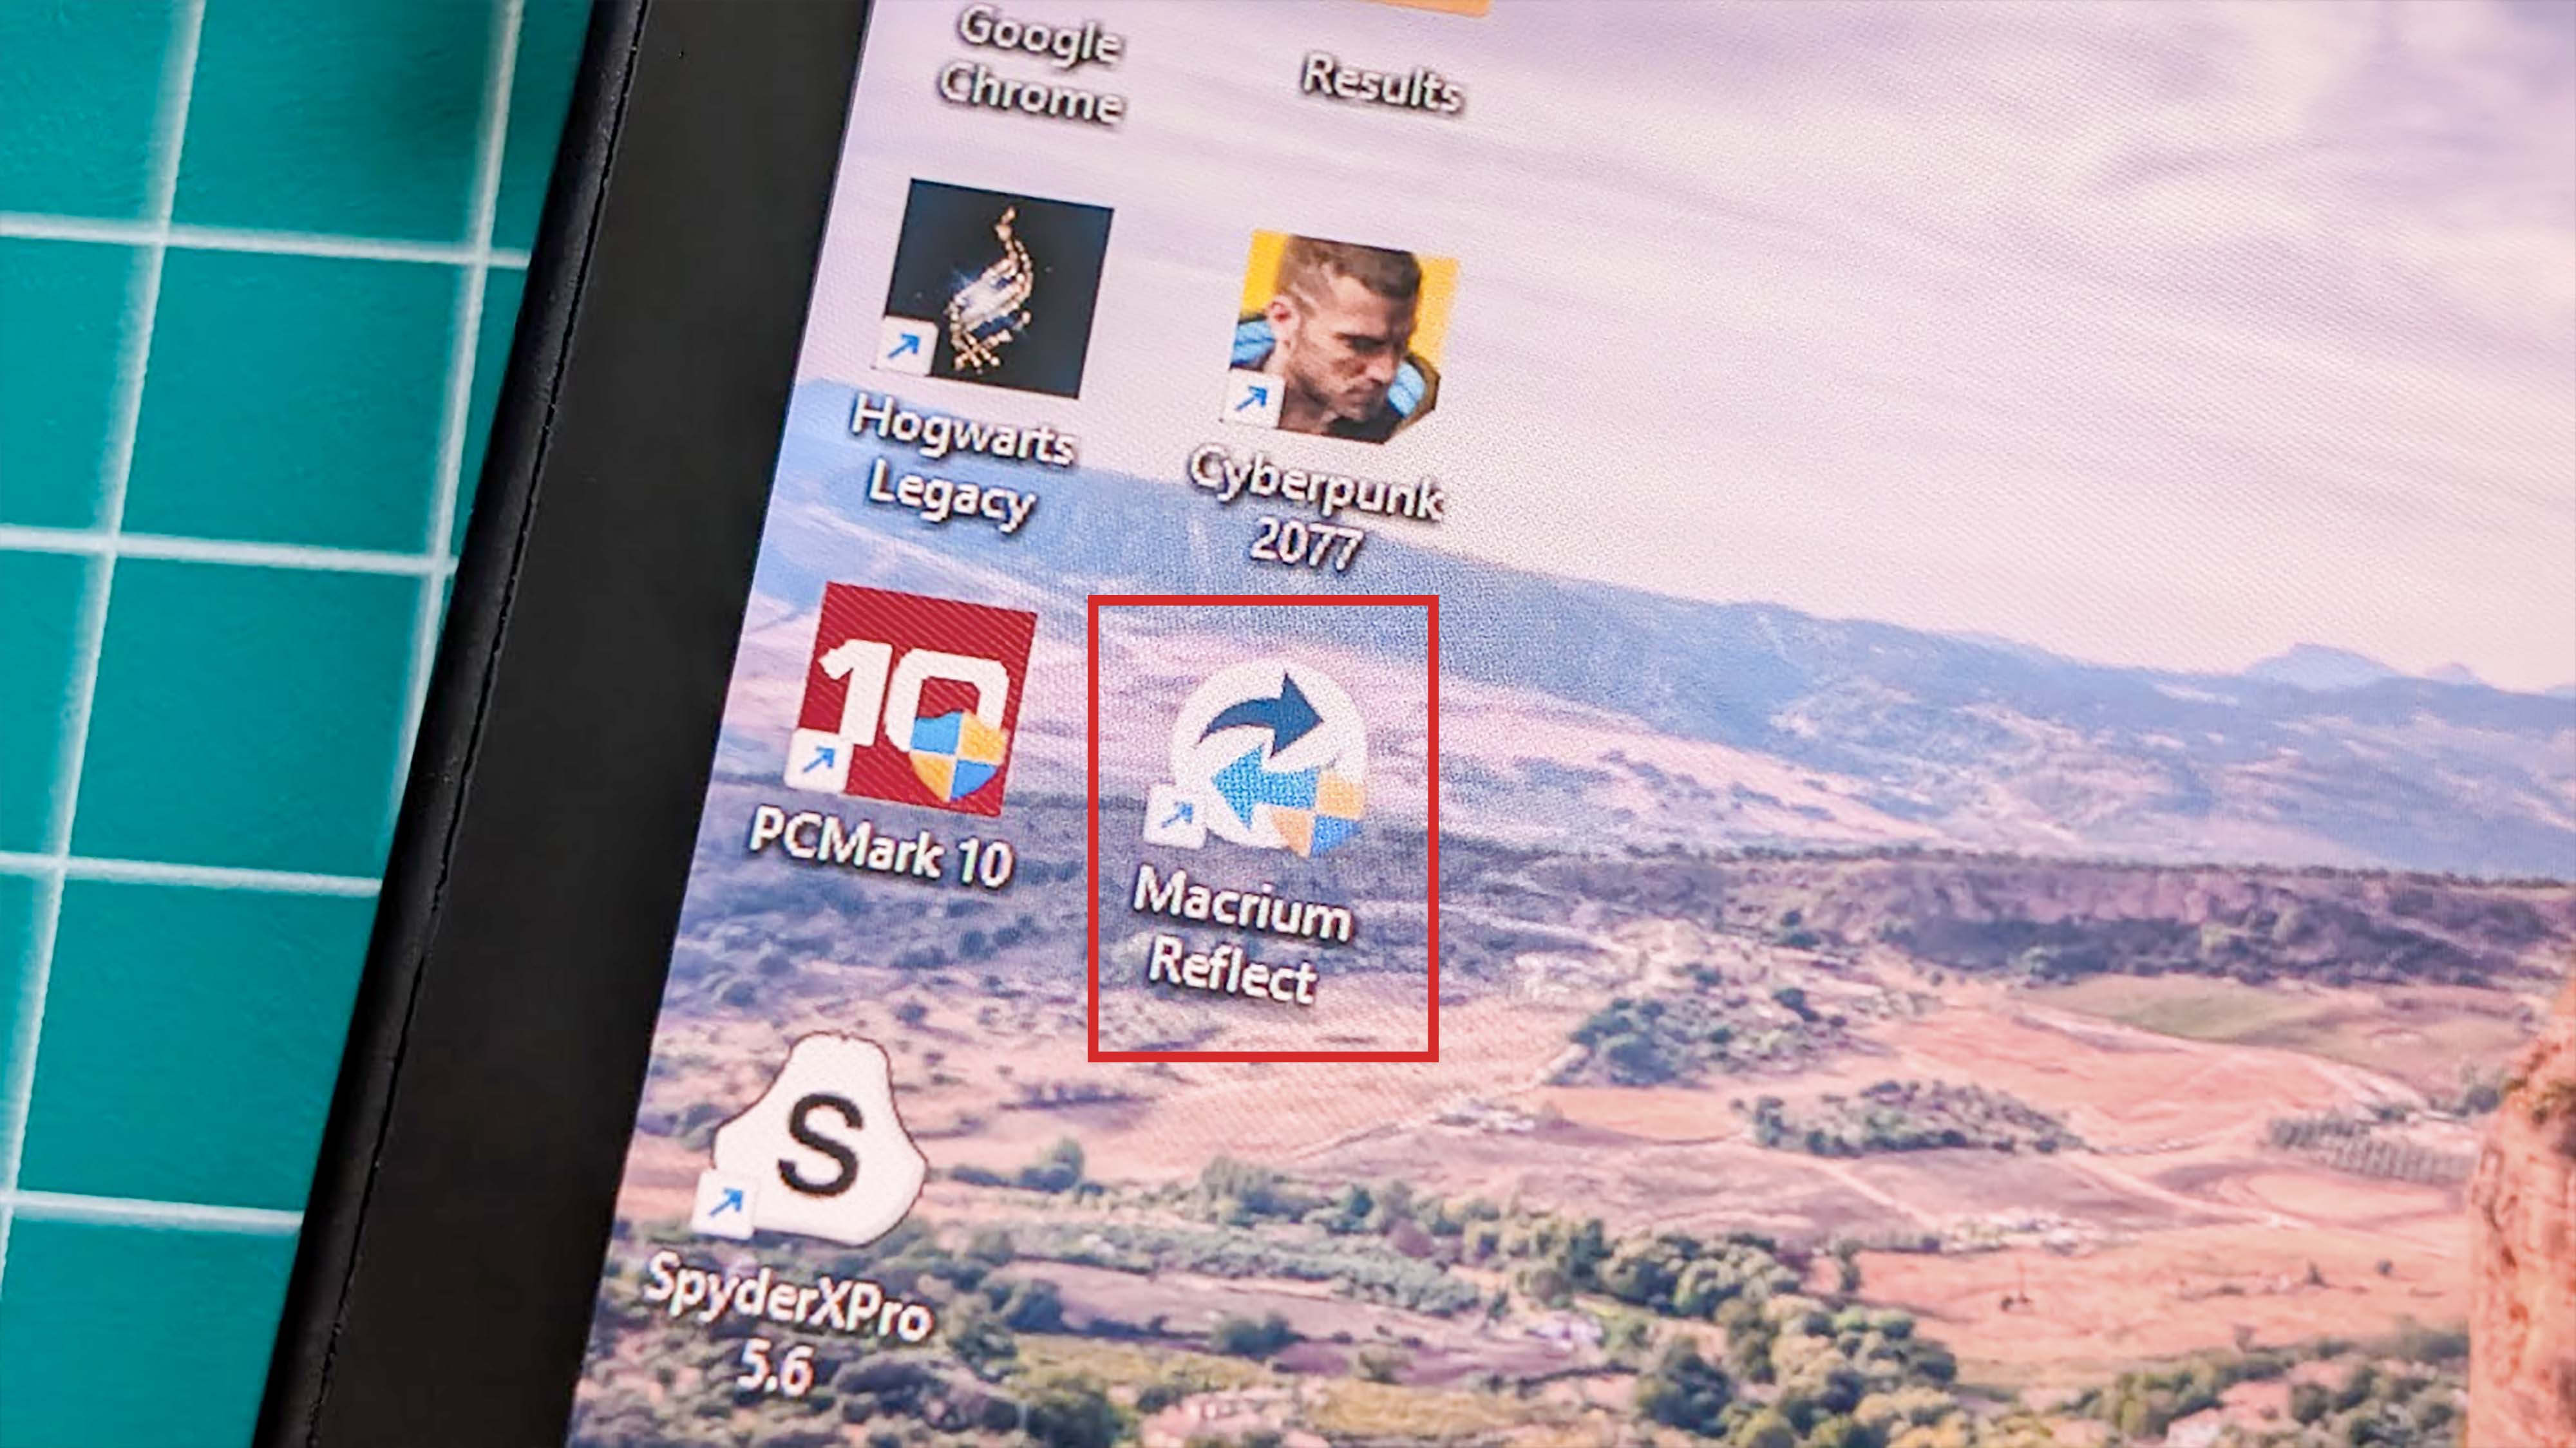
- Once your Legion Go is back up, open Macrium Reflect. It will ask you what theme you want to see. Pick whatever you want, I went with Light.
- Select Yes when the small window pops up.
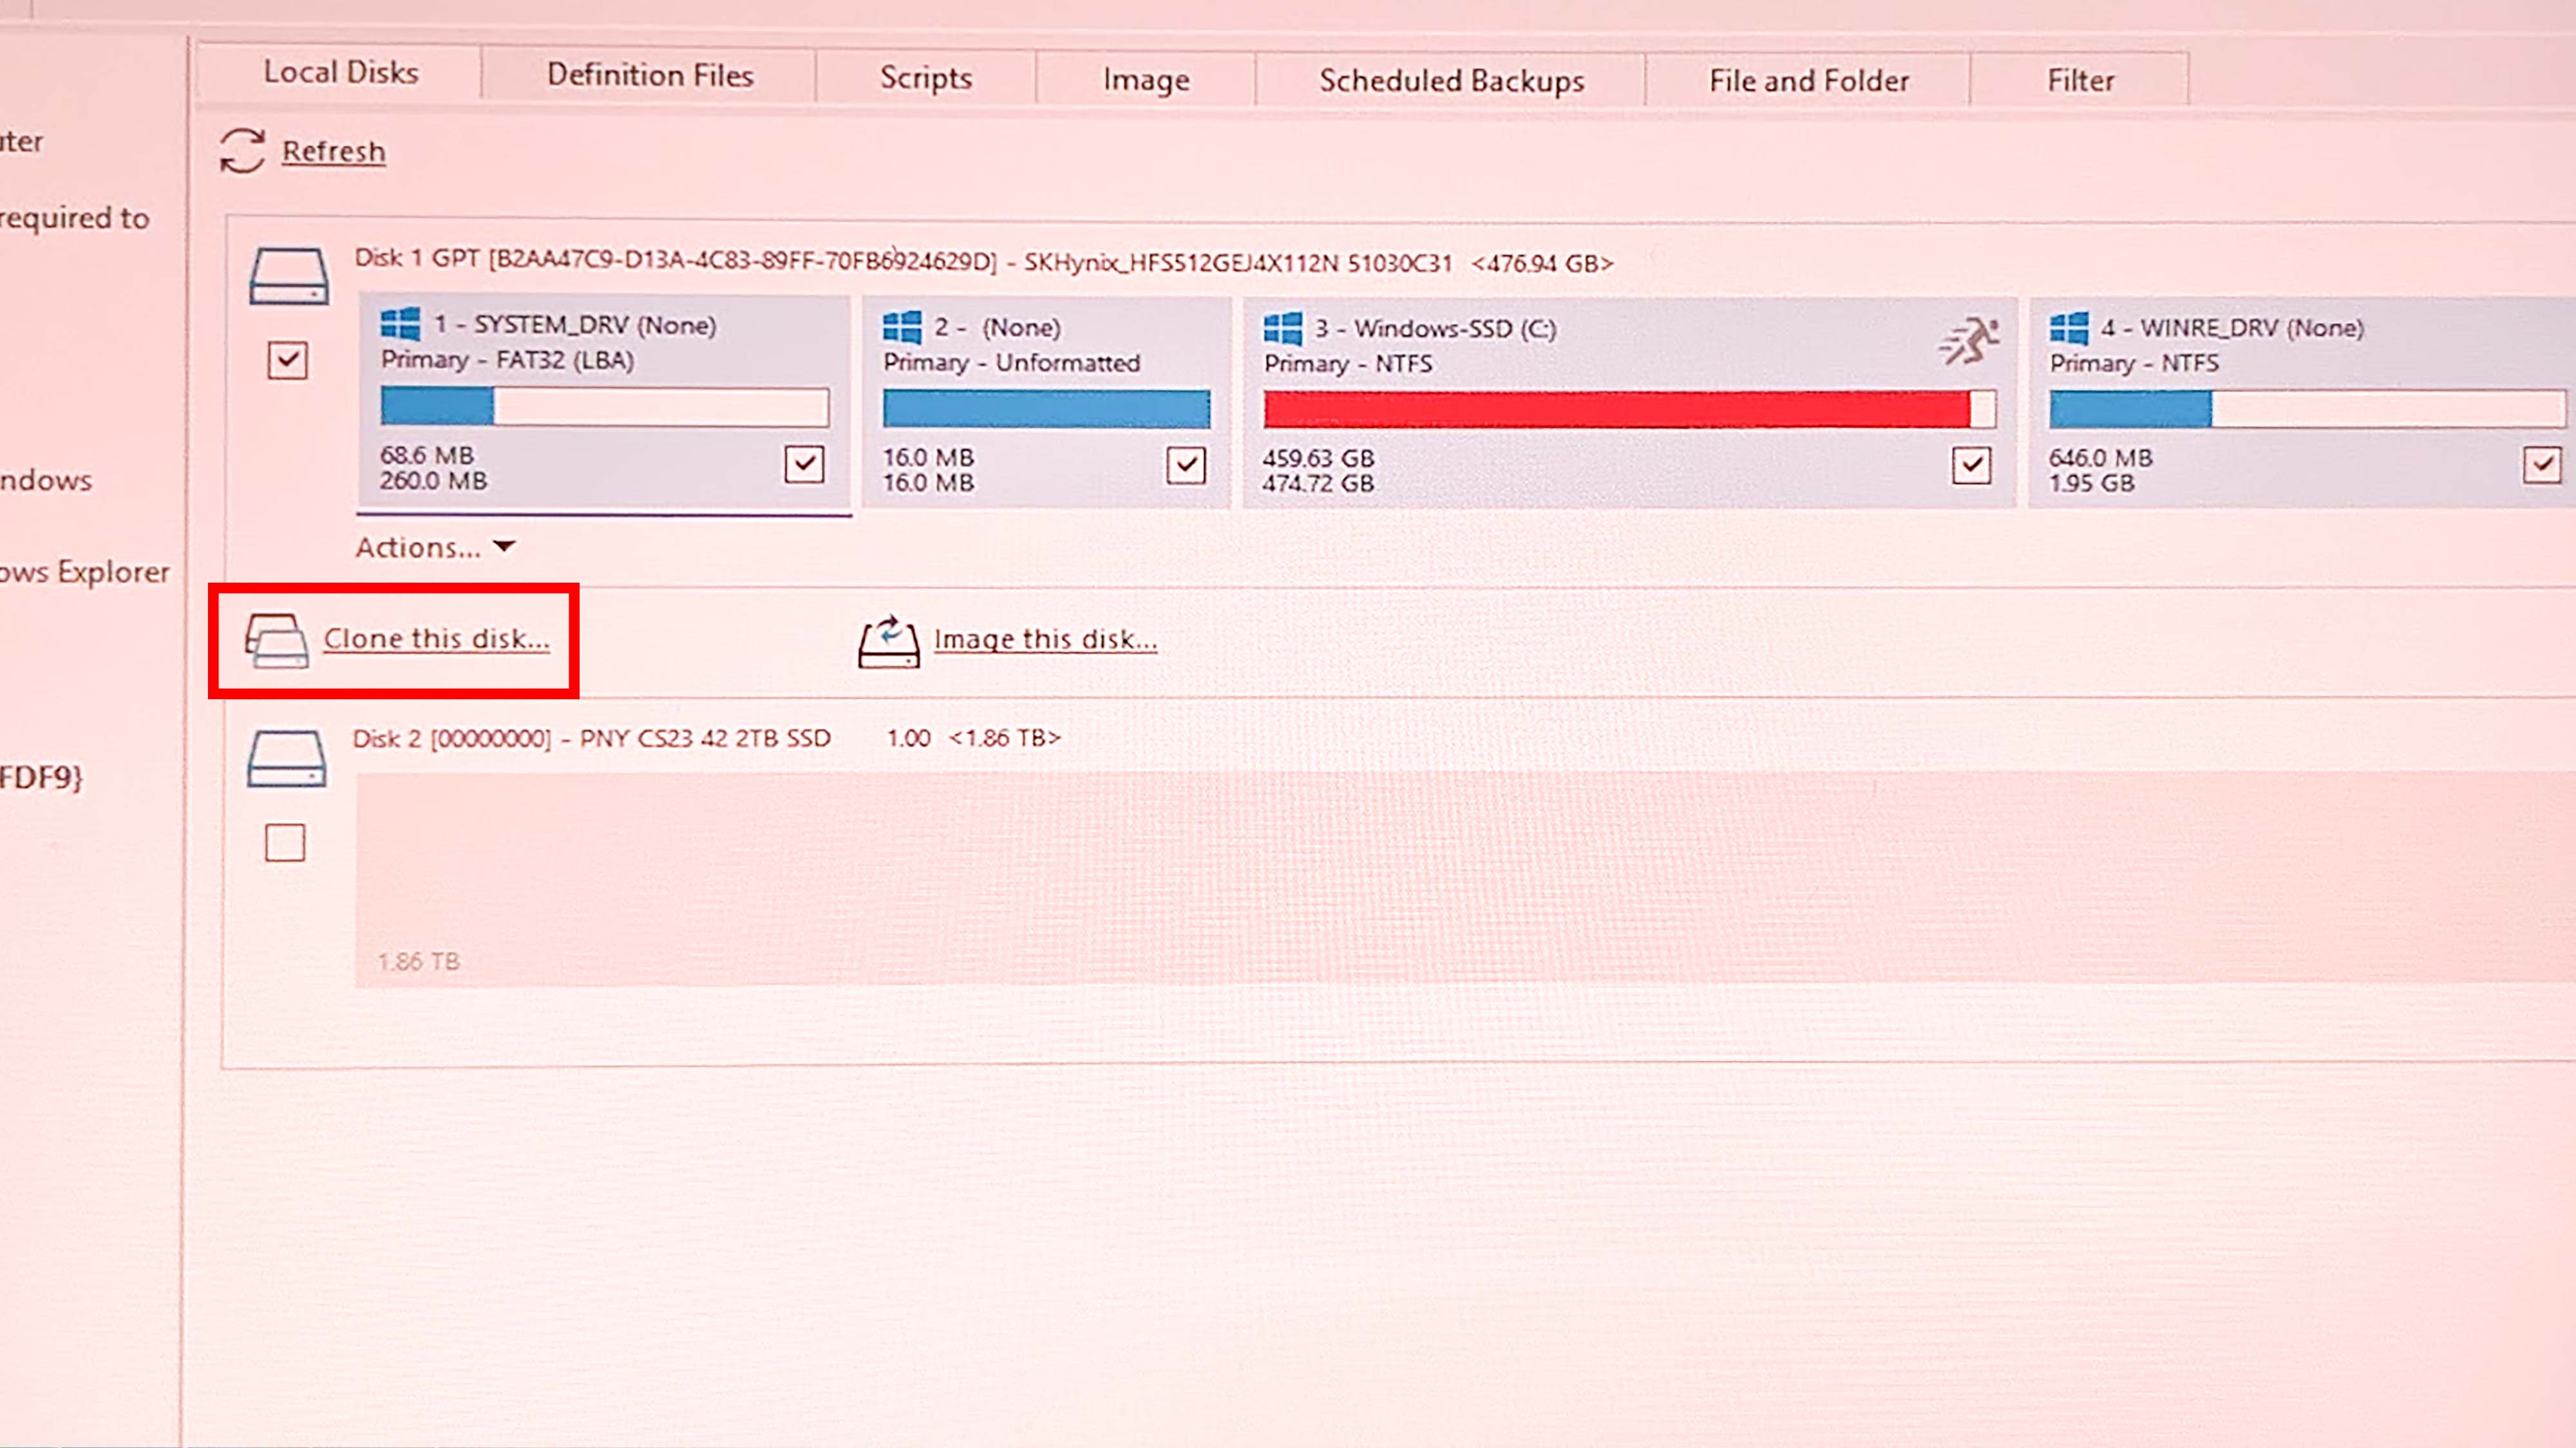
- Select Clone this Disc.
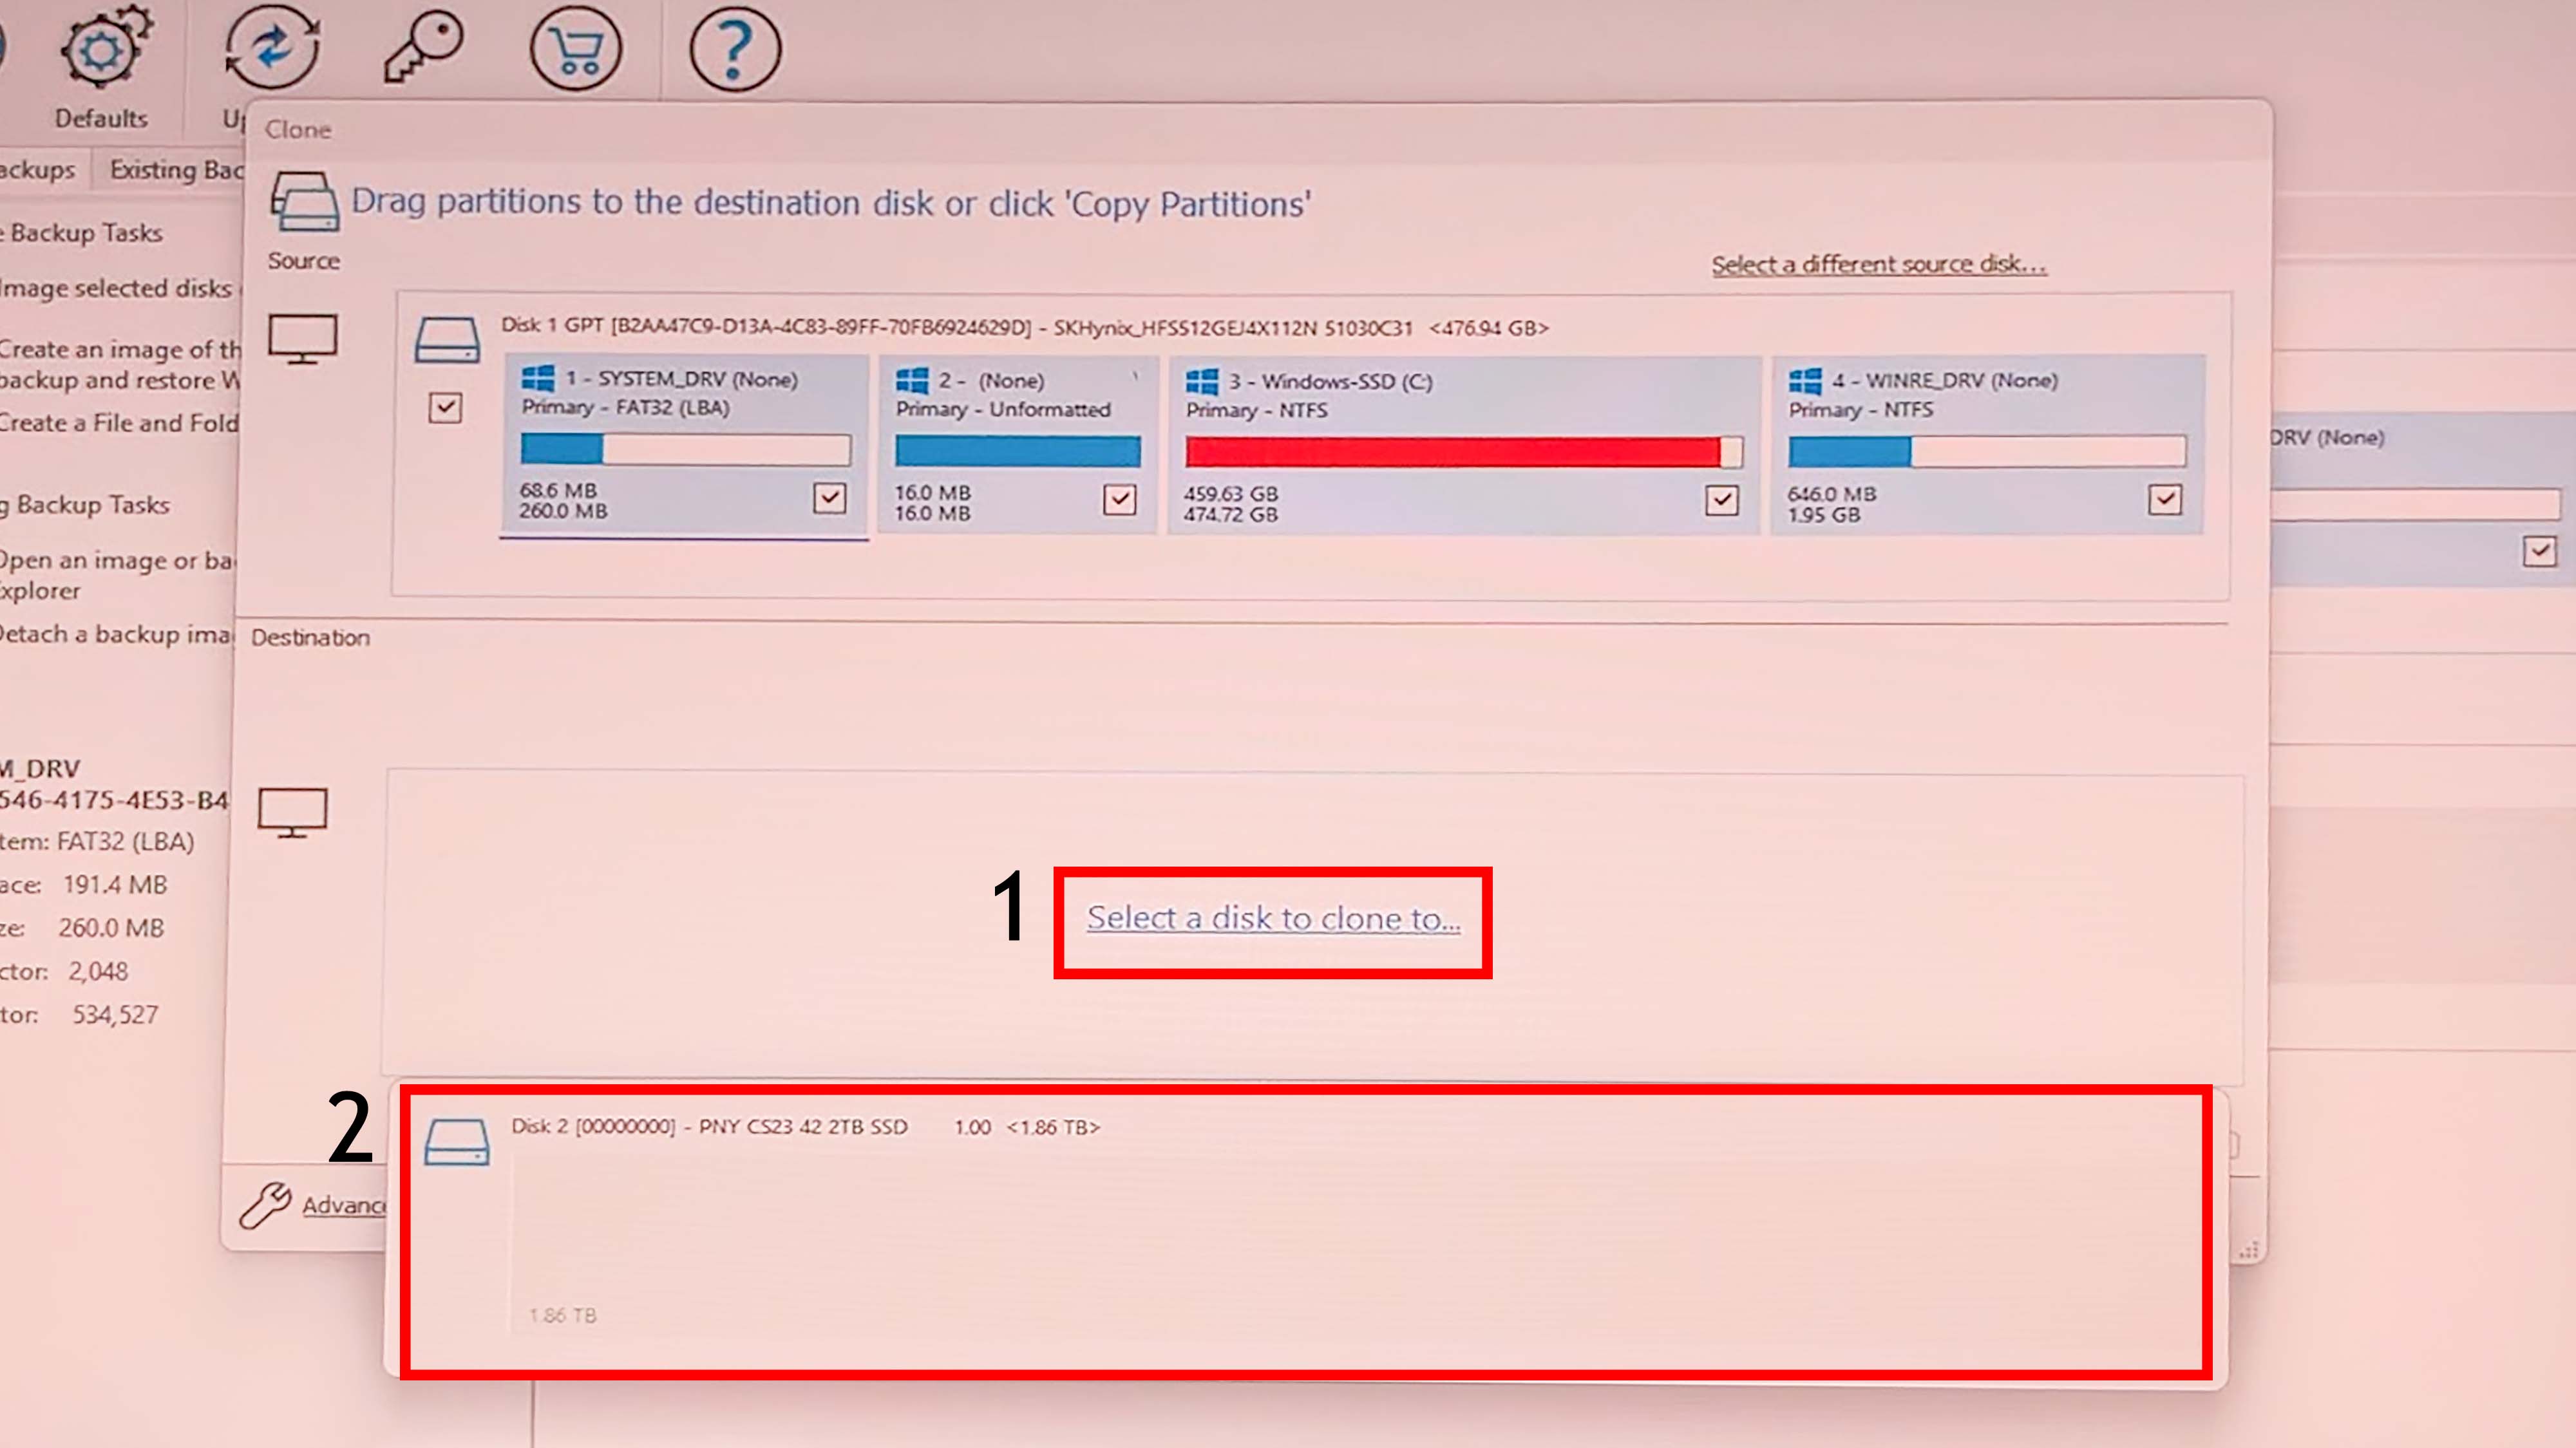
- In the window that pops up, click on Select a disk to clone to and choose the disk below that you want to use. In my case, I made sure it was the PNY 2TB SSD.
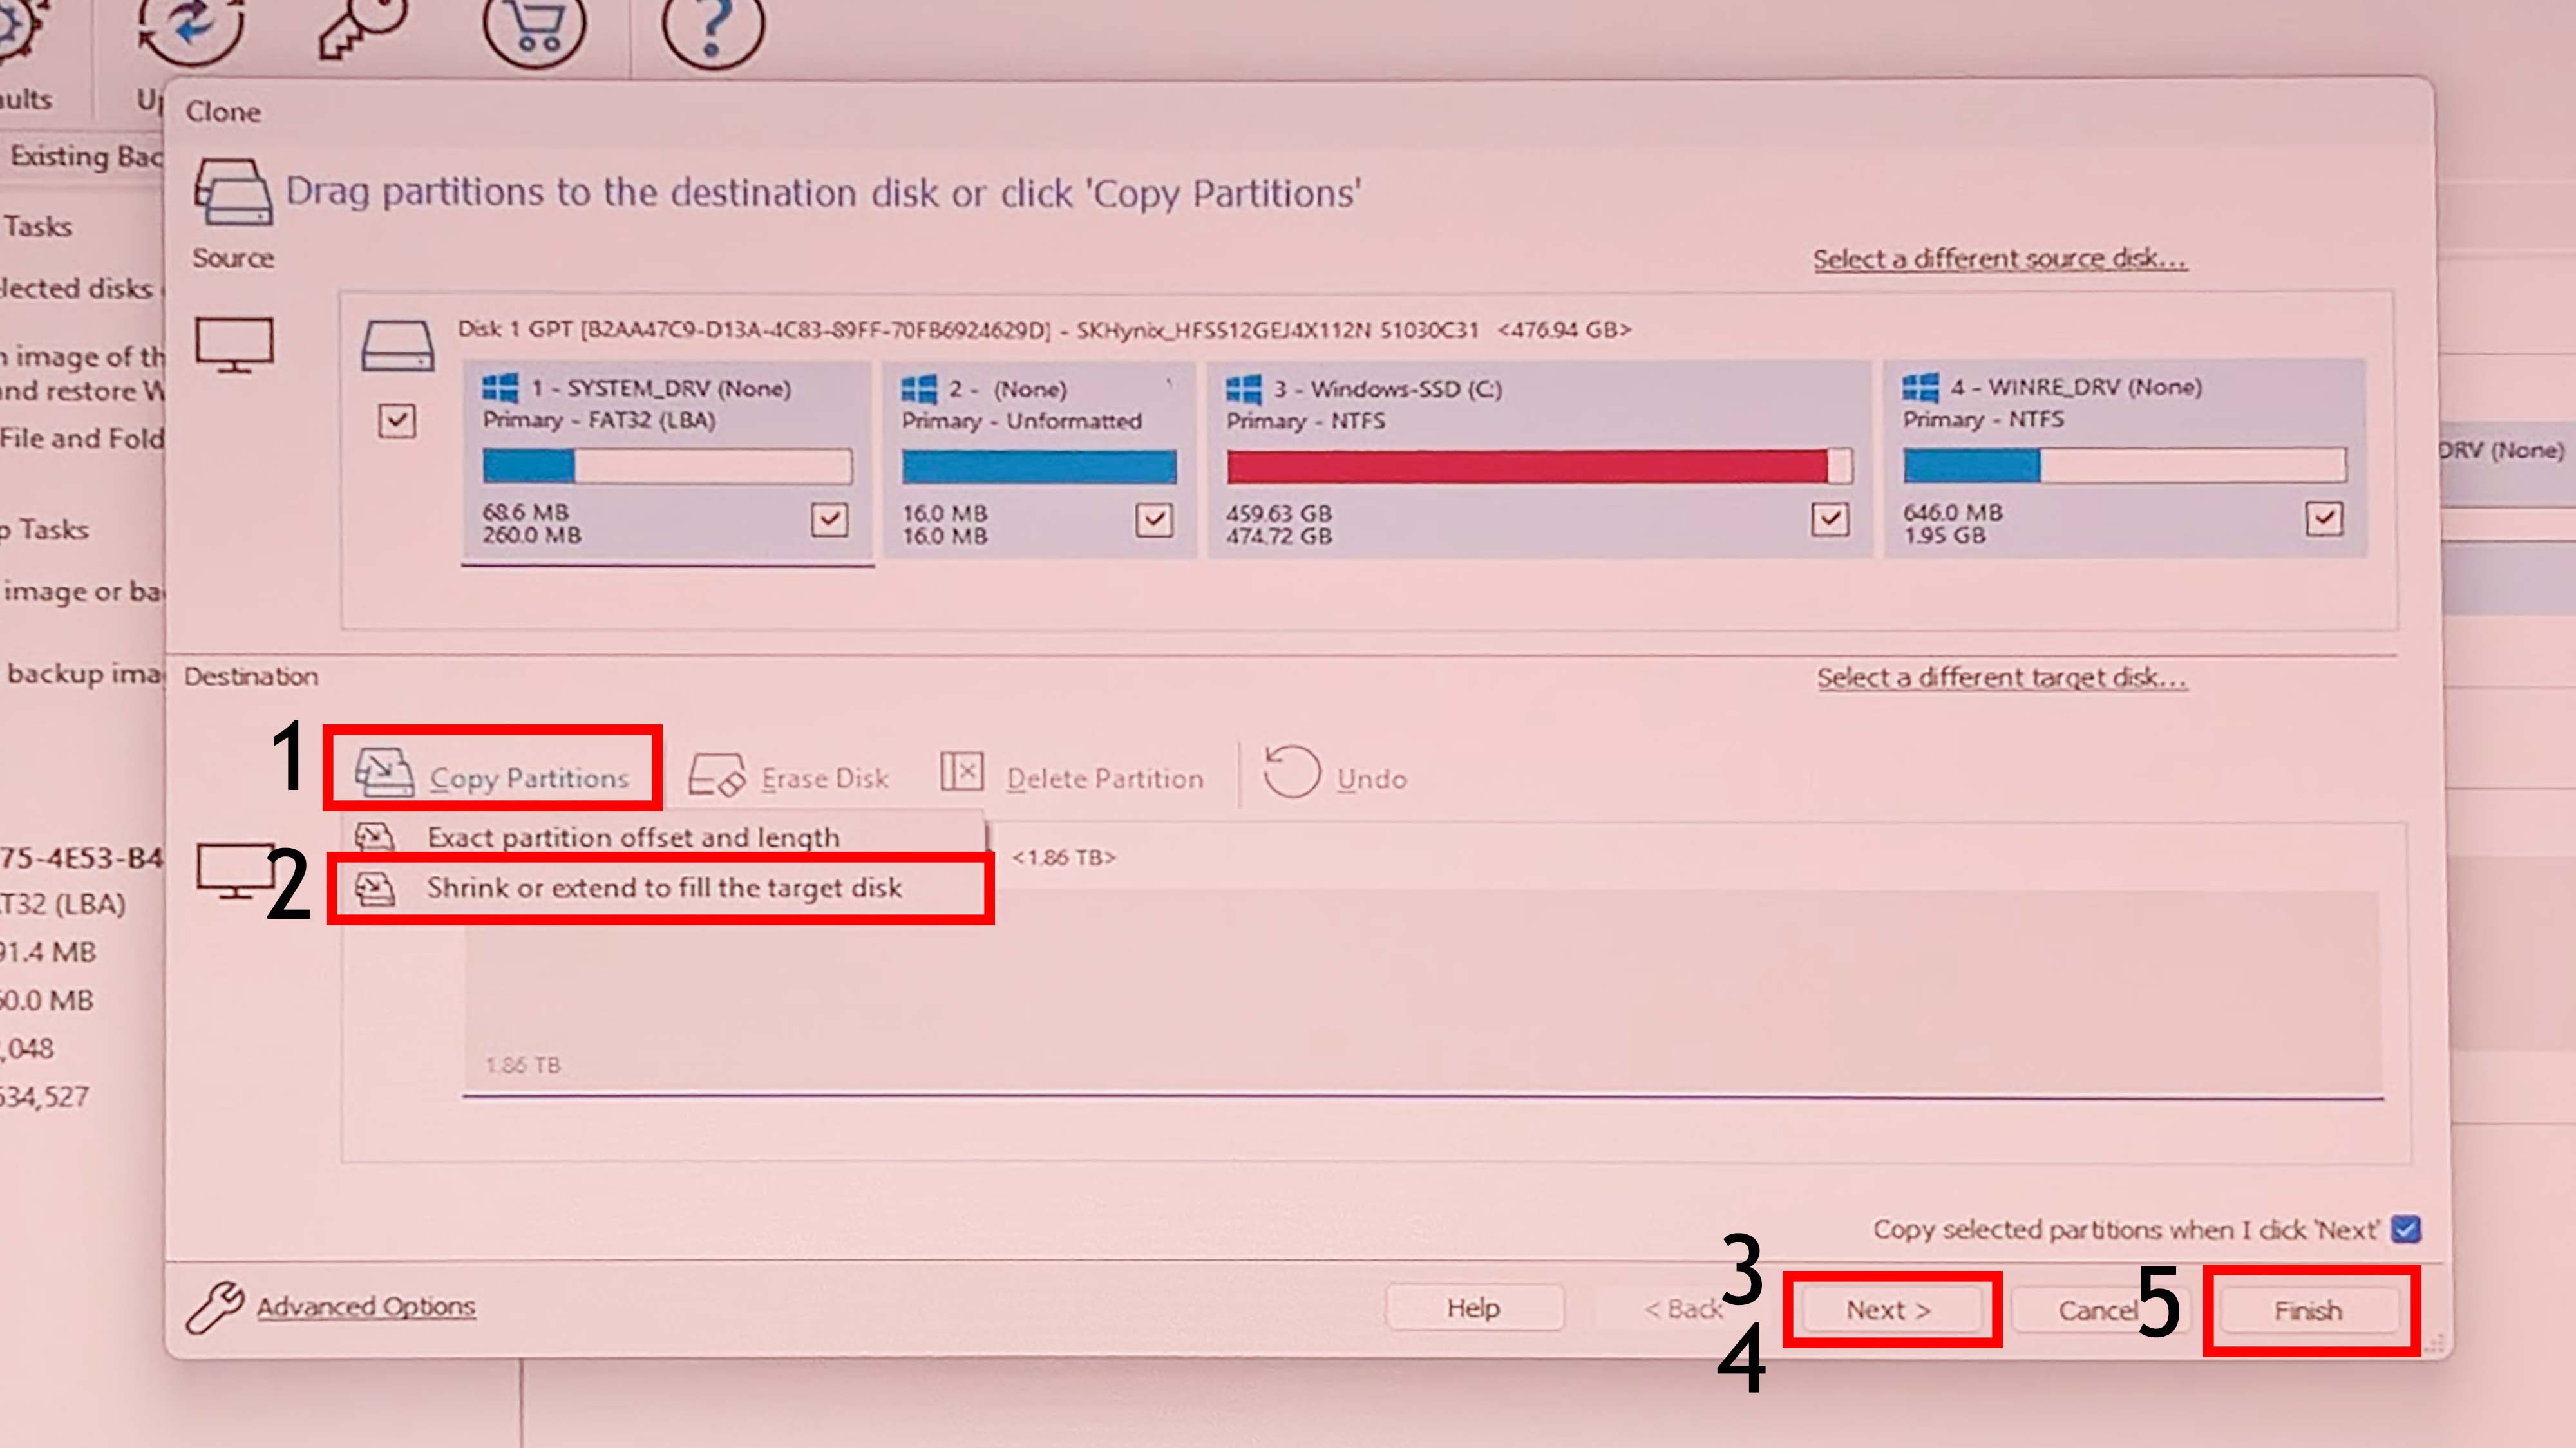
- Next, select Copy Partitions.
- Now click on Shrink or extend to fill the target disk.
- Select Next twice to review the cloning process you're about to start
- If everything looks right, select Finish followed by OK to get things rolling.
- Leave the Legion Go alone while it clones your disk. This process took 35 minutes for me.
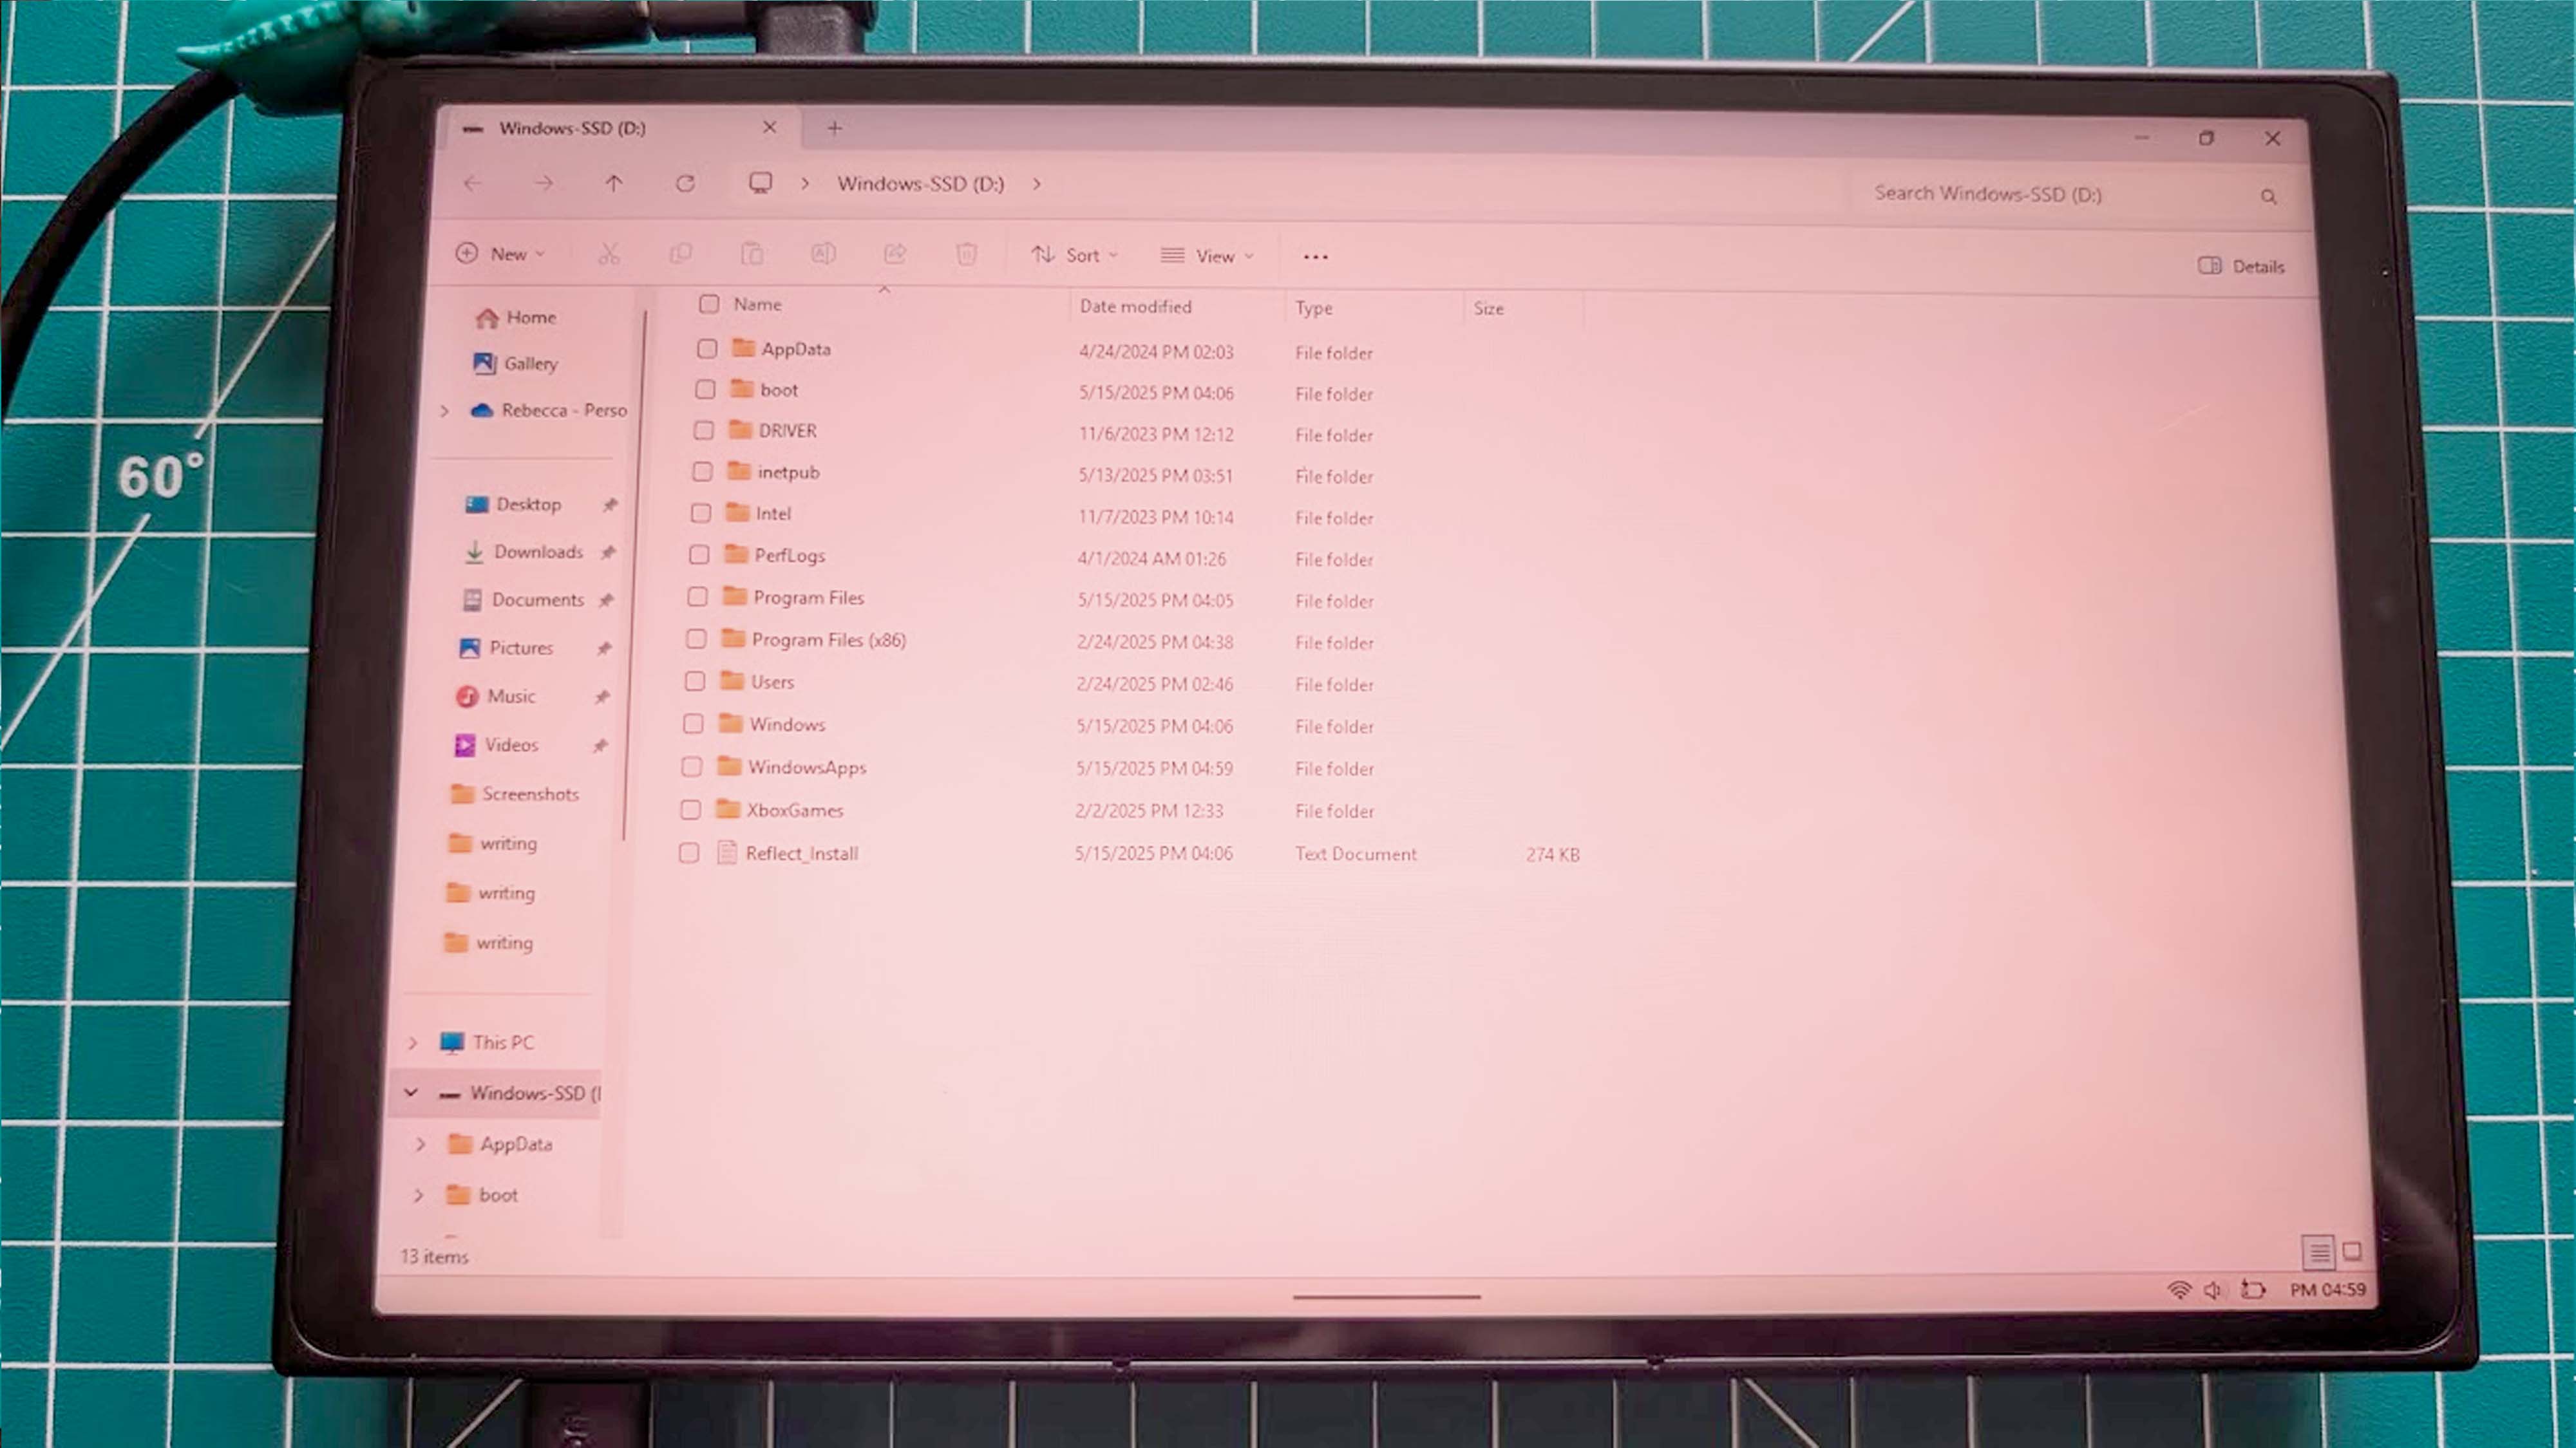
- Once the process finishes, File Explorer will pop up. Verify that all of the files have transferred to the new SSD.
- Now unplug the SSD enclosure from the Legion Go.
- Unplug the charging cable from the Legion Go.
- Next, carefully remove the SSD from the enclosure.
With the Legion Go's SSD cloned to the new one, you're ready to actually install it into your PC gaming handheld.
All the latest news, reviews, and guides for Windows and Xbox diehards.
How to upgrade your Legion Go SSD
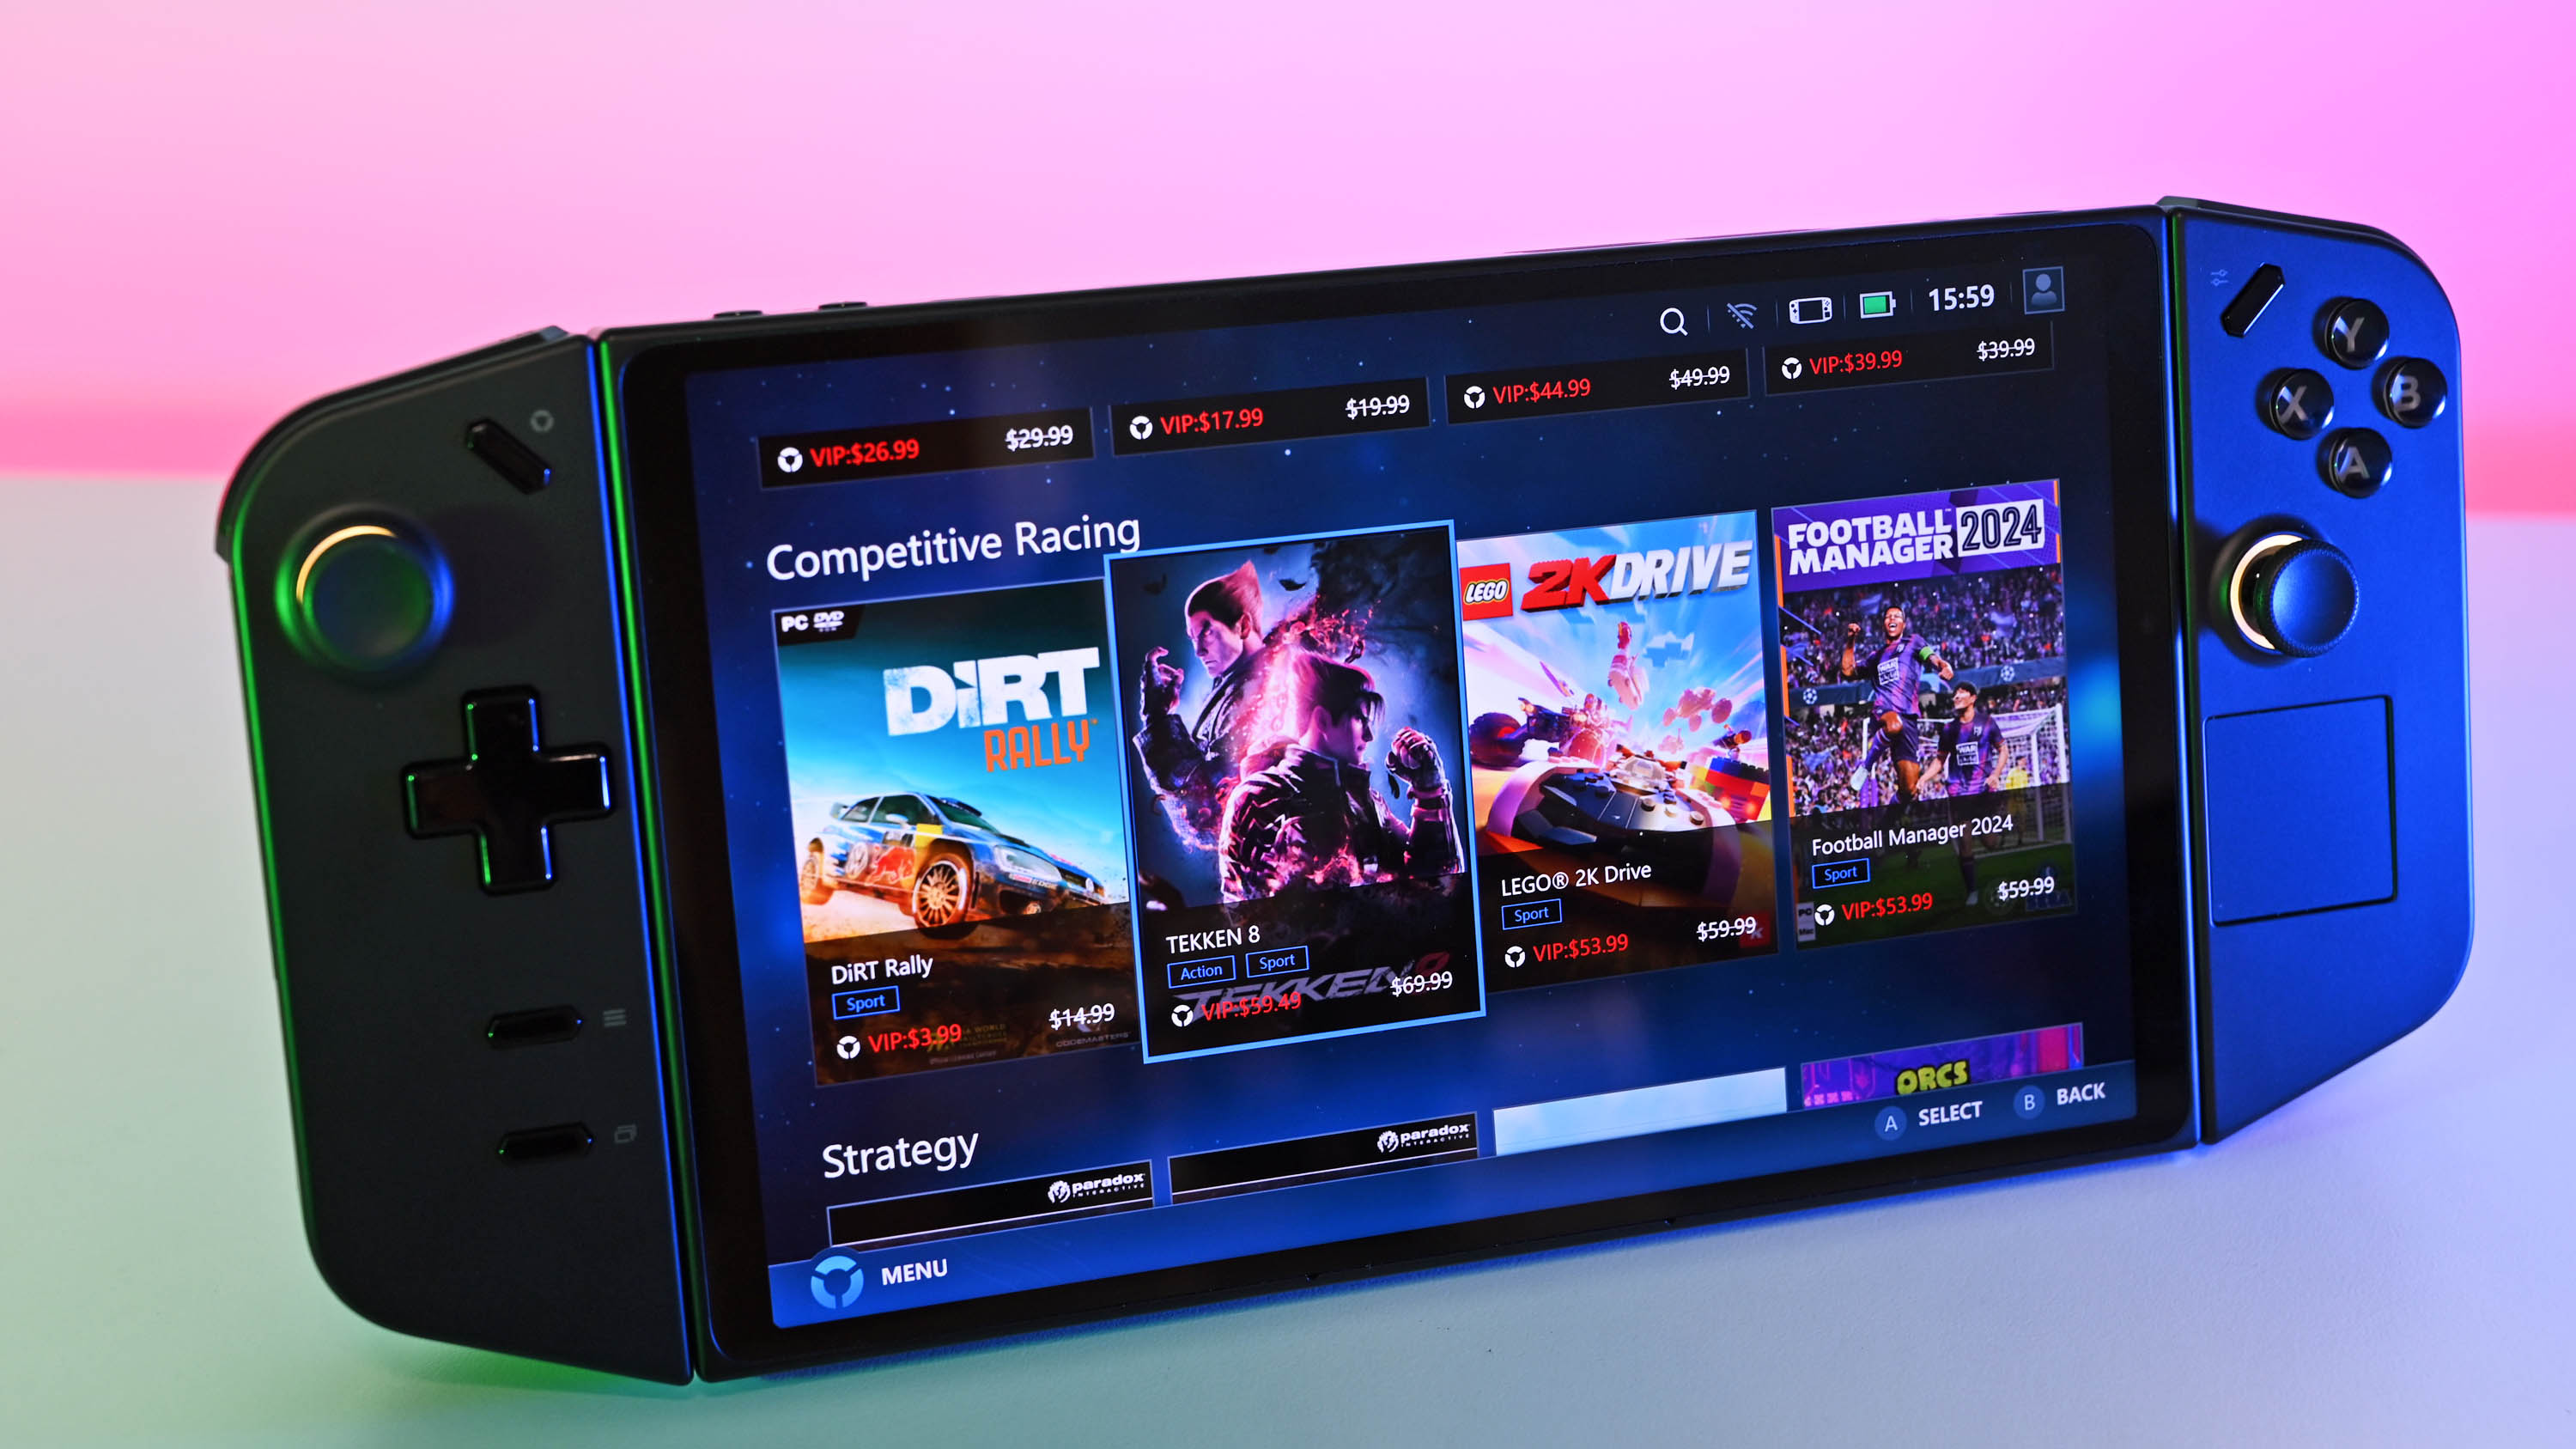
It was trickier for me to upgrade the Legion Go SSD than it was for me to upgrade the Steam Deck SSD or my ROG Ally SSD, largely because the case was harder to pry open and also because I needed to get an extension adapter for my 2230 M.2 SSD.
Here's how to install a new SSD into the Legion Go.
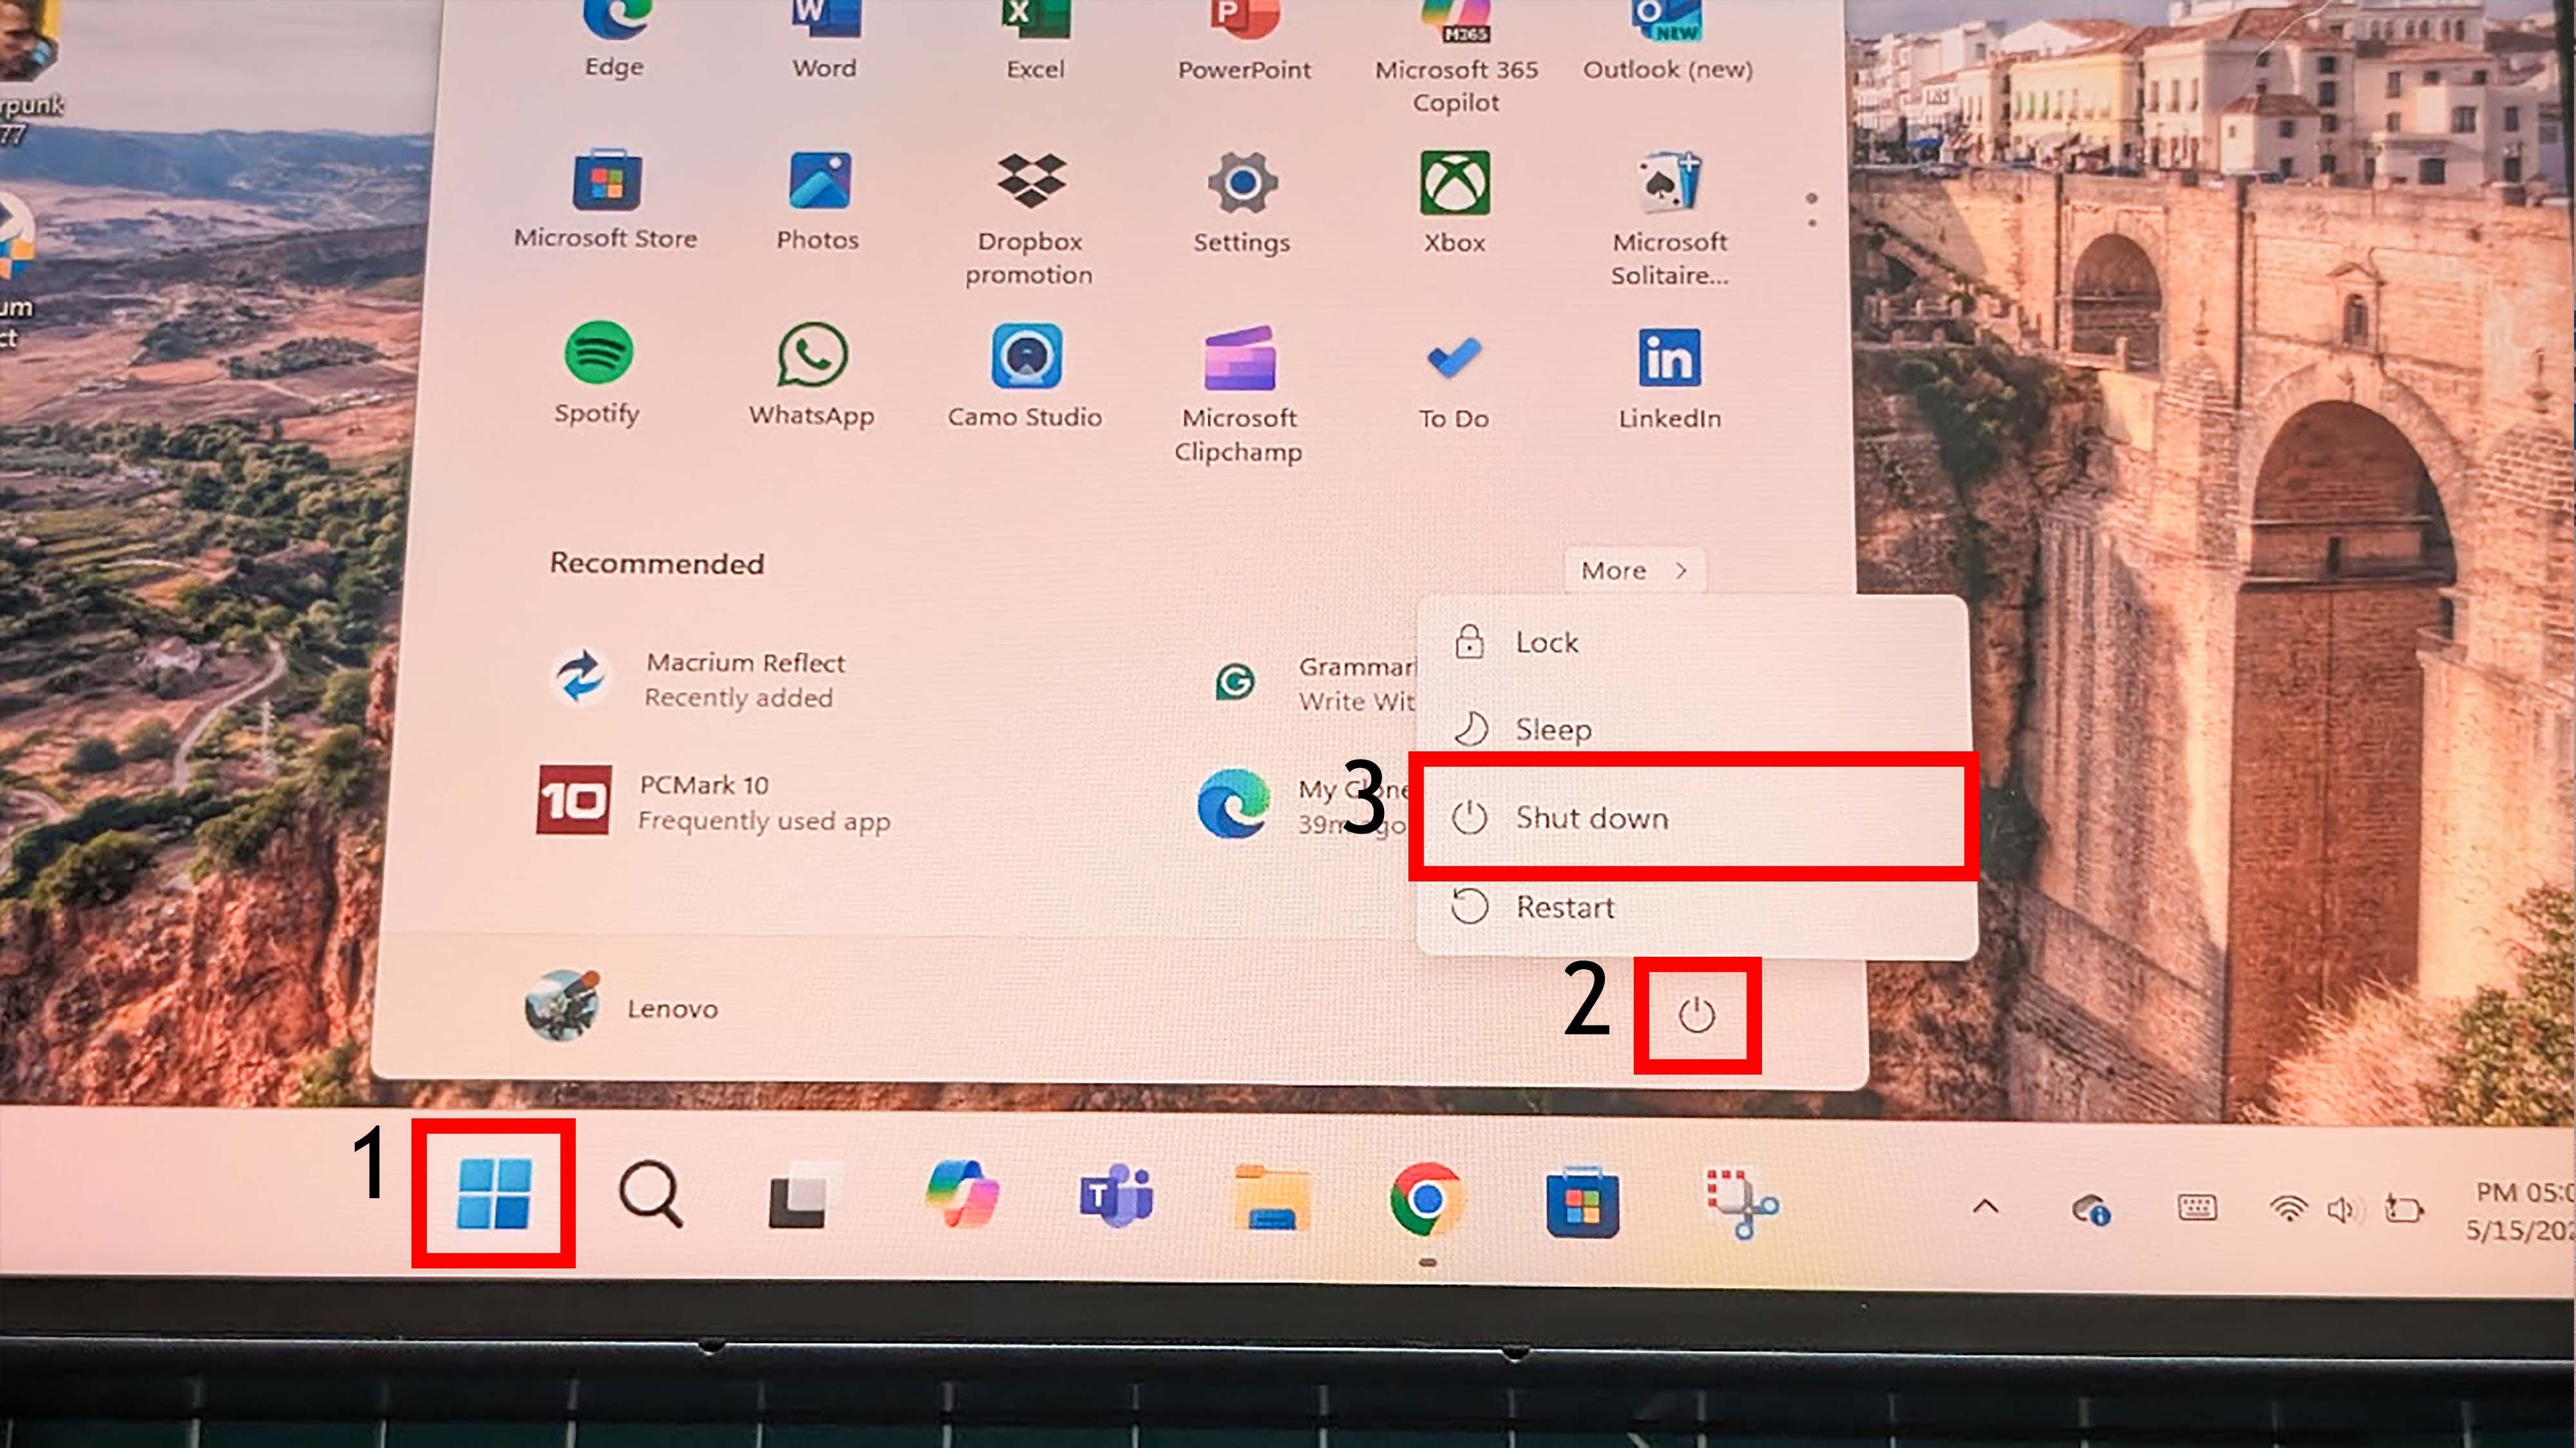
- Completely power off your Legion Go.
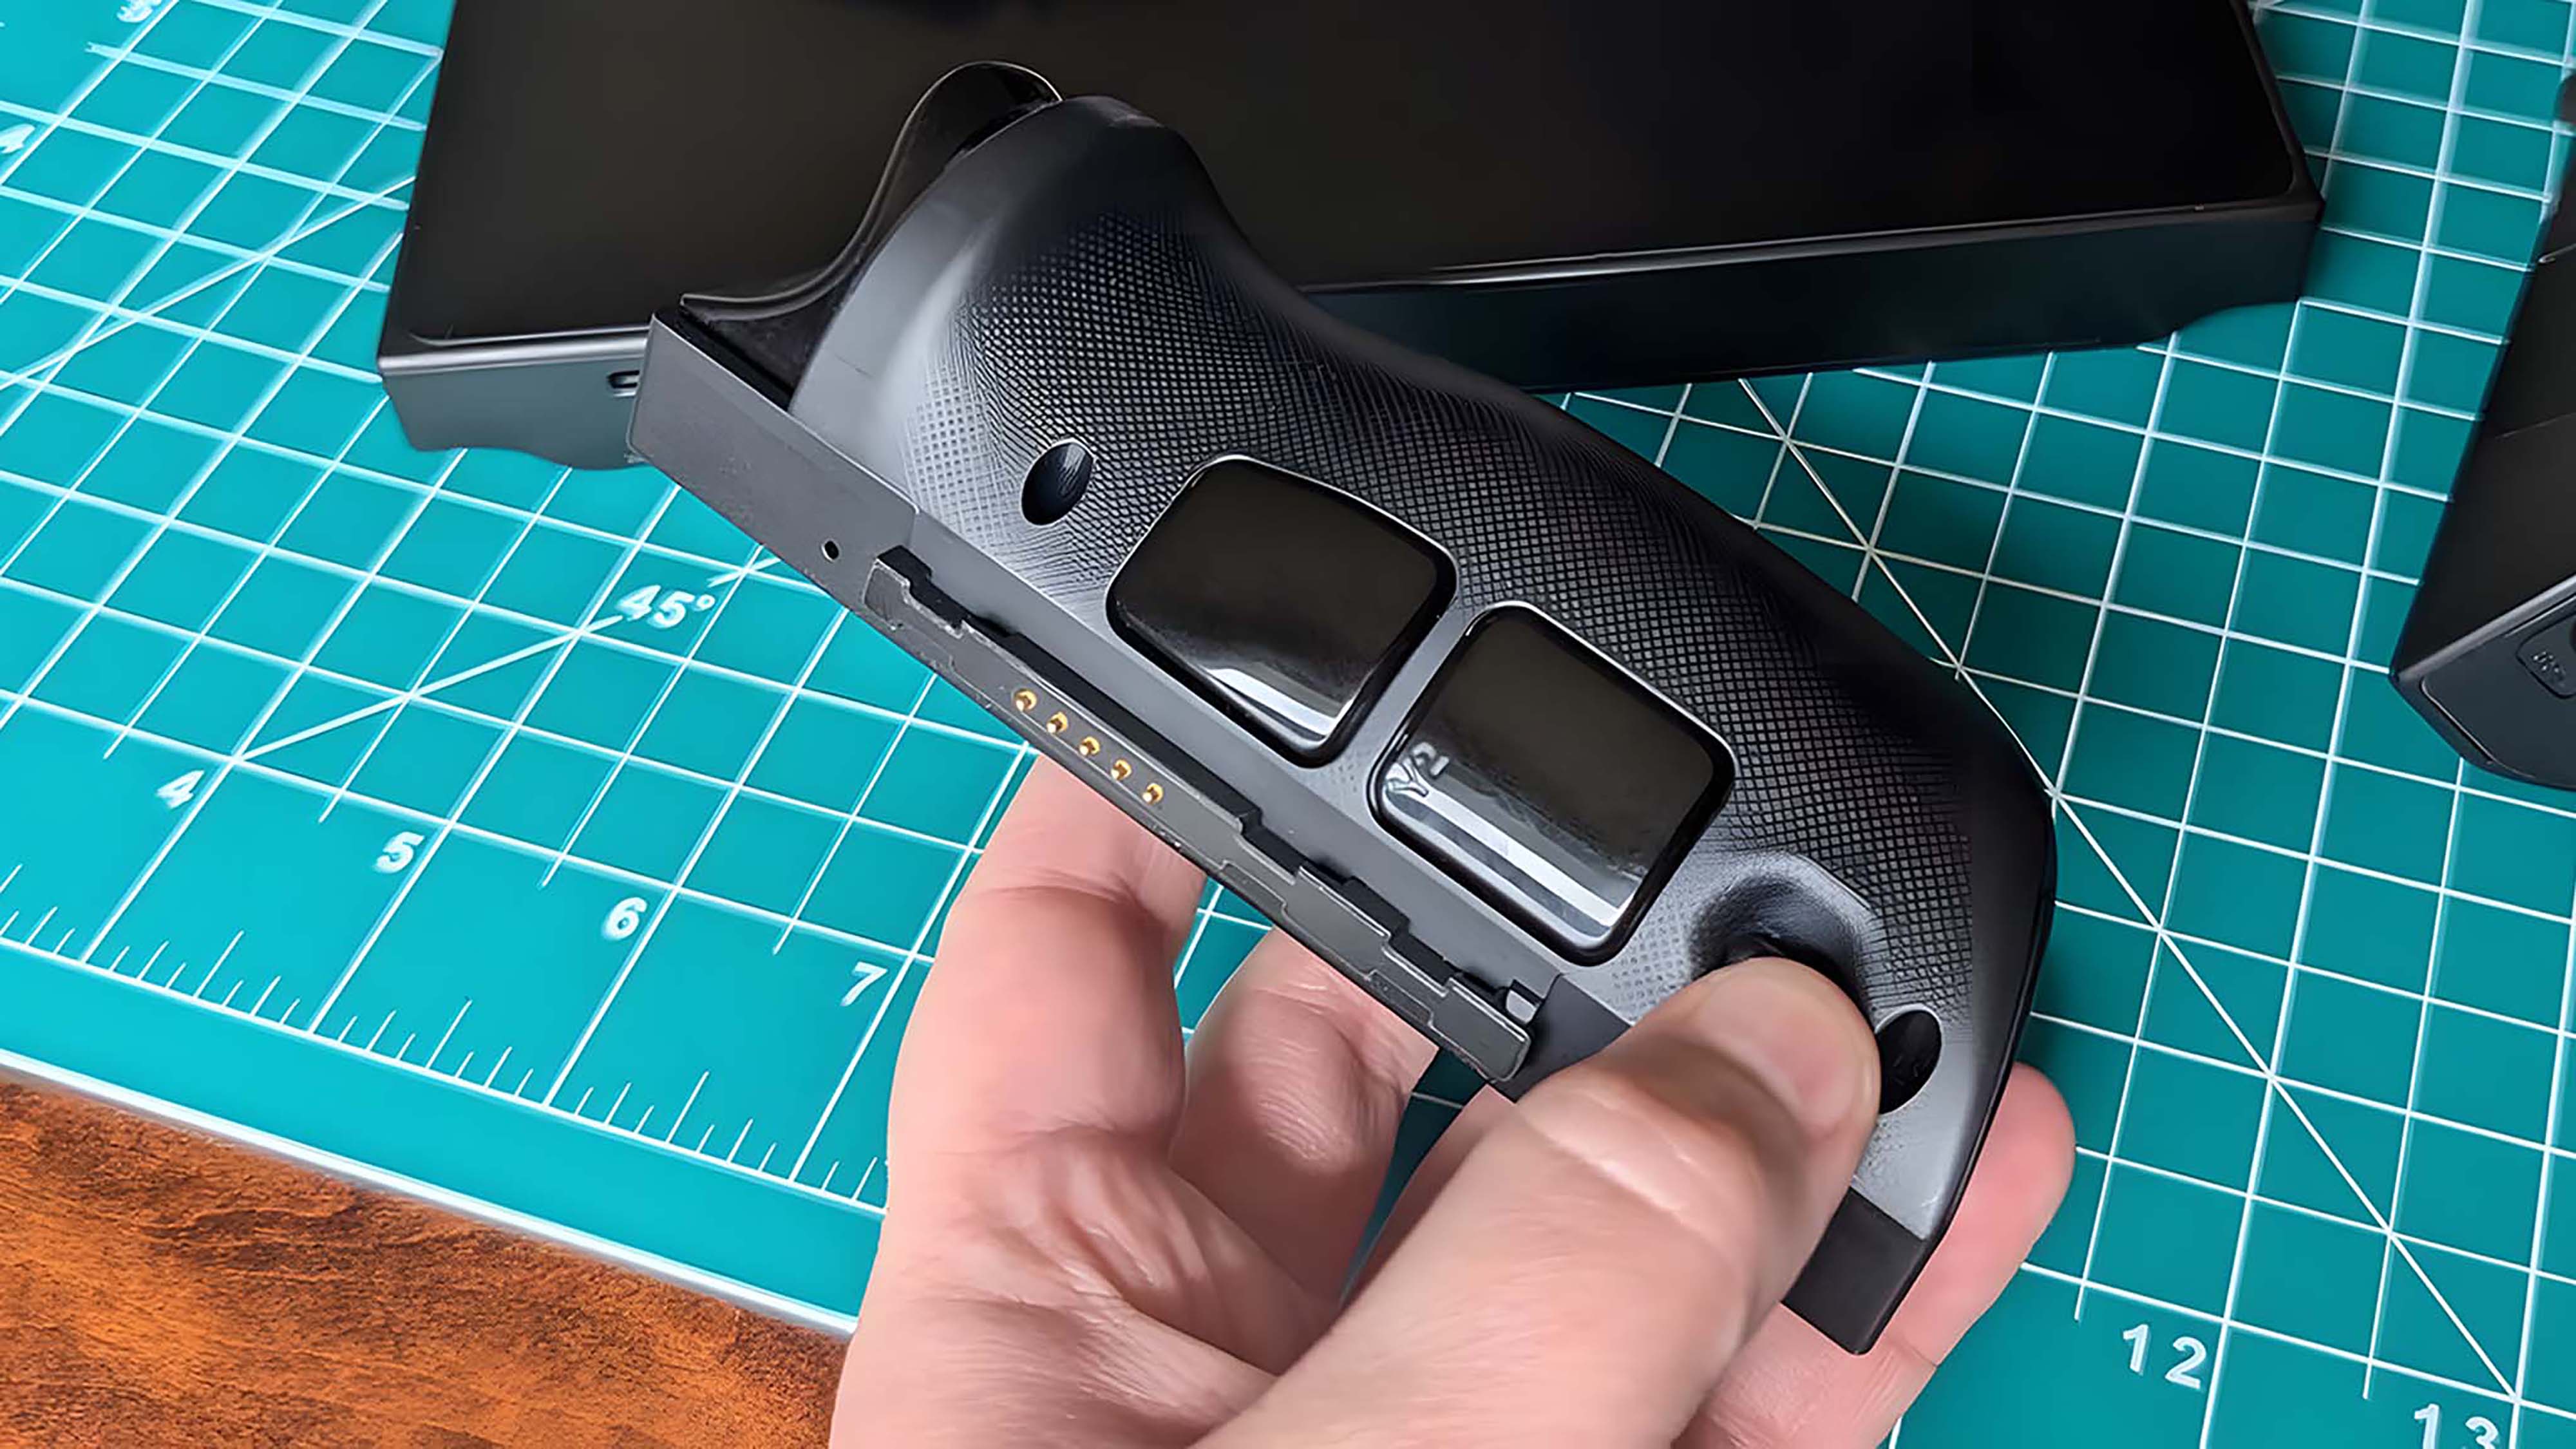
- Detach the controller halves from the Legion Go. They are removed by pressing in the backside buttons near the bottom and pulling the controllers downward.
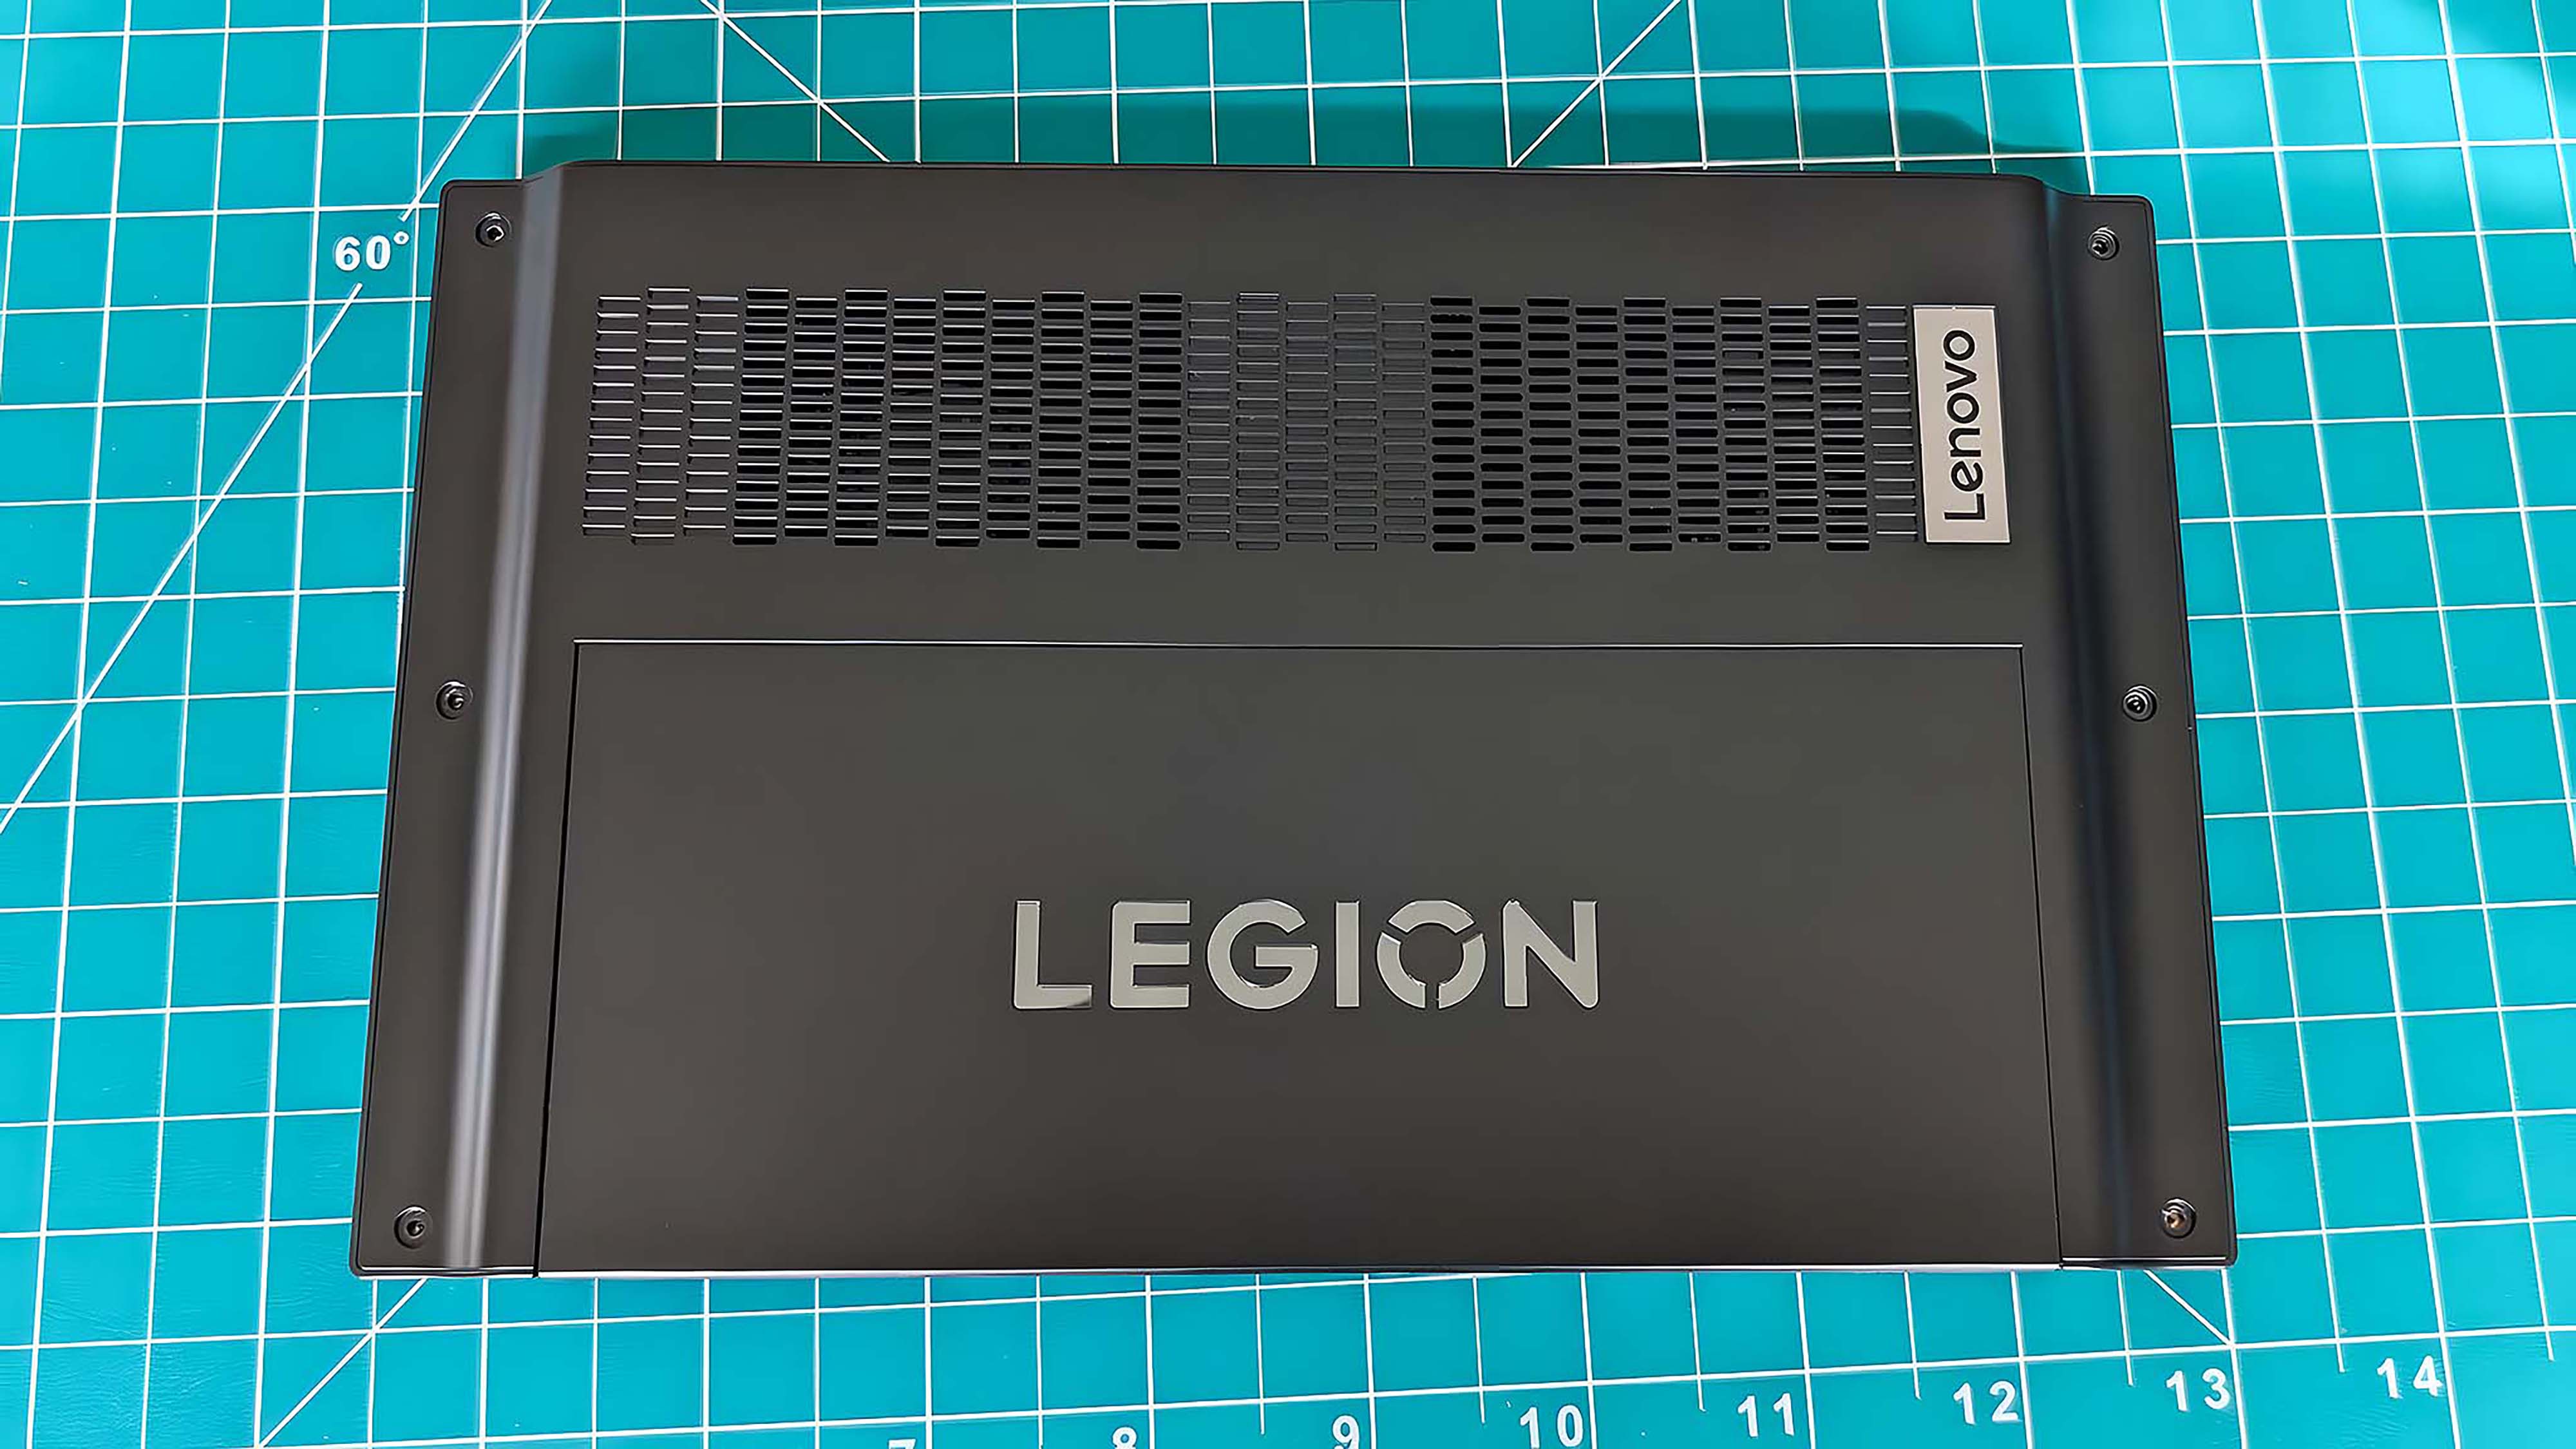
- Place the Legion Go screen down on a clean, dry surface.
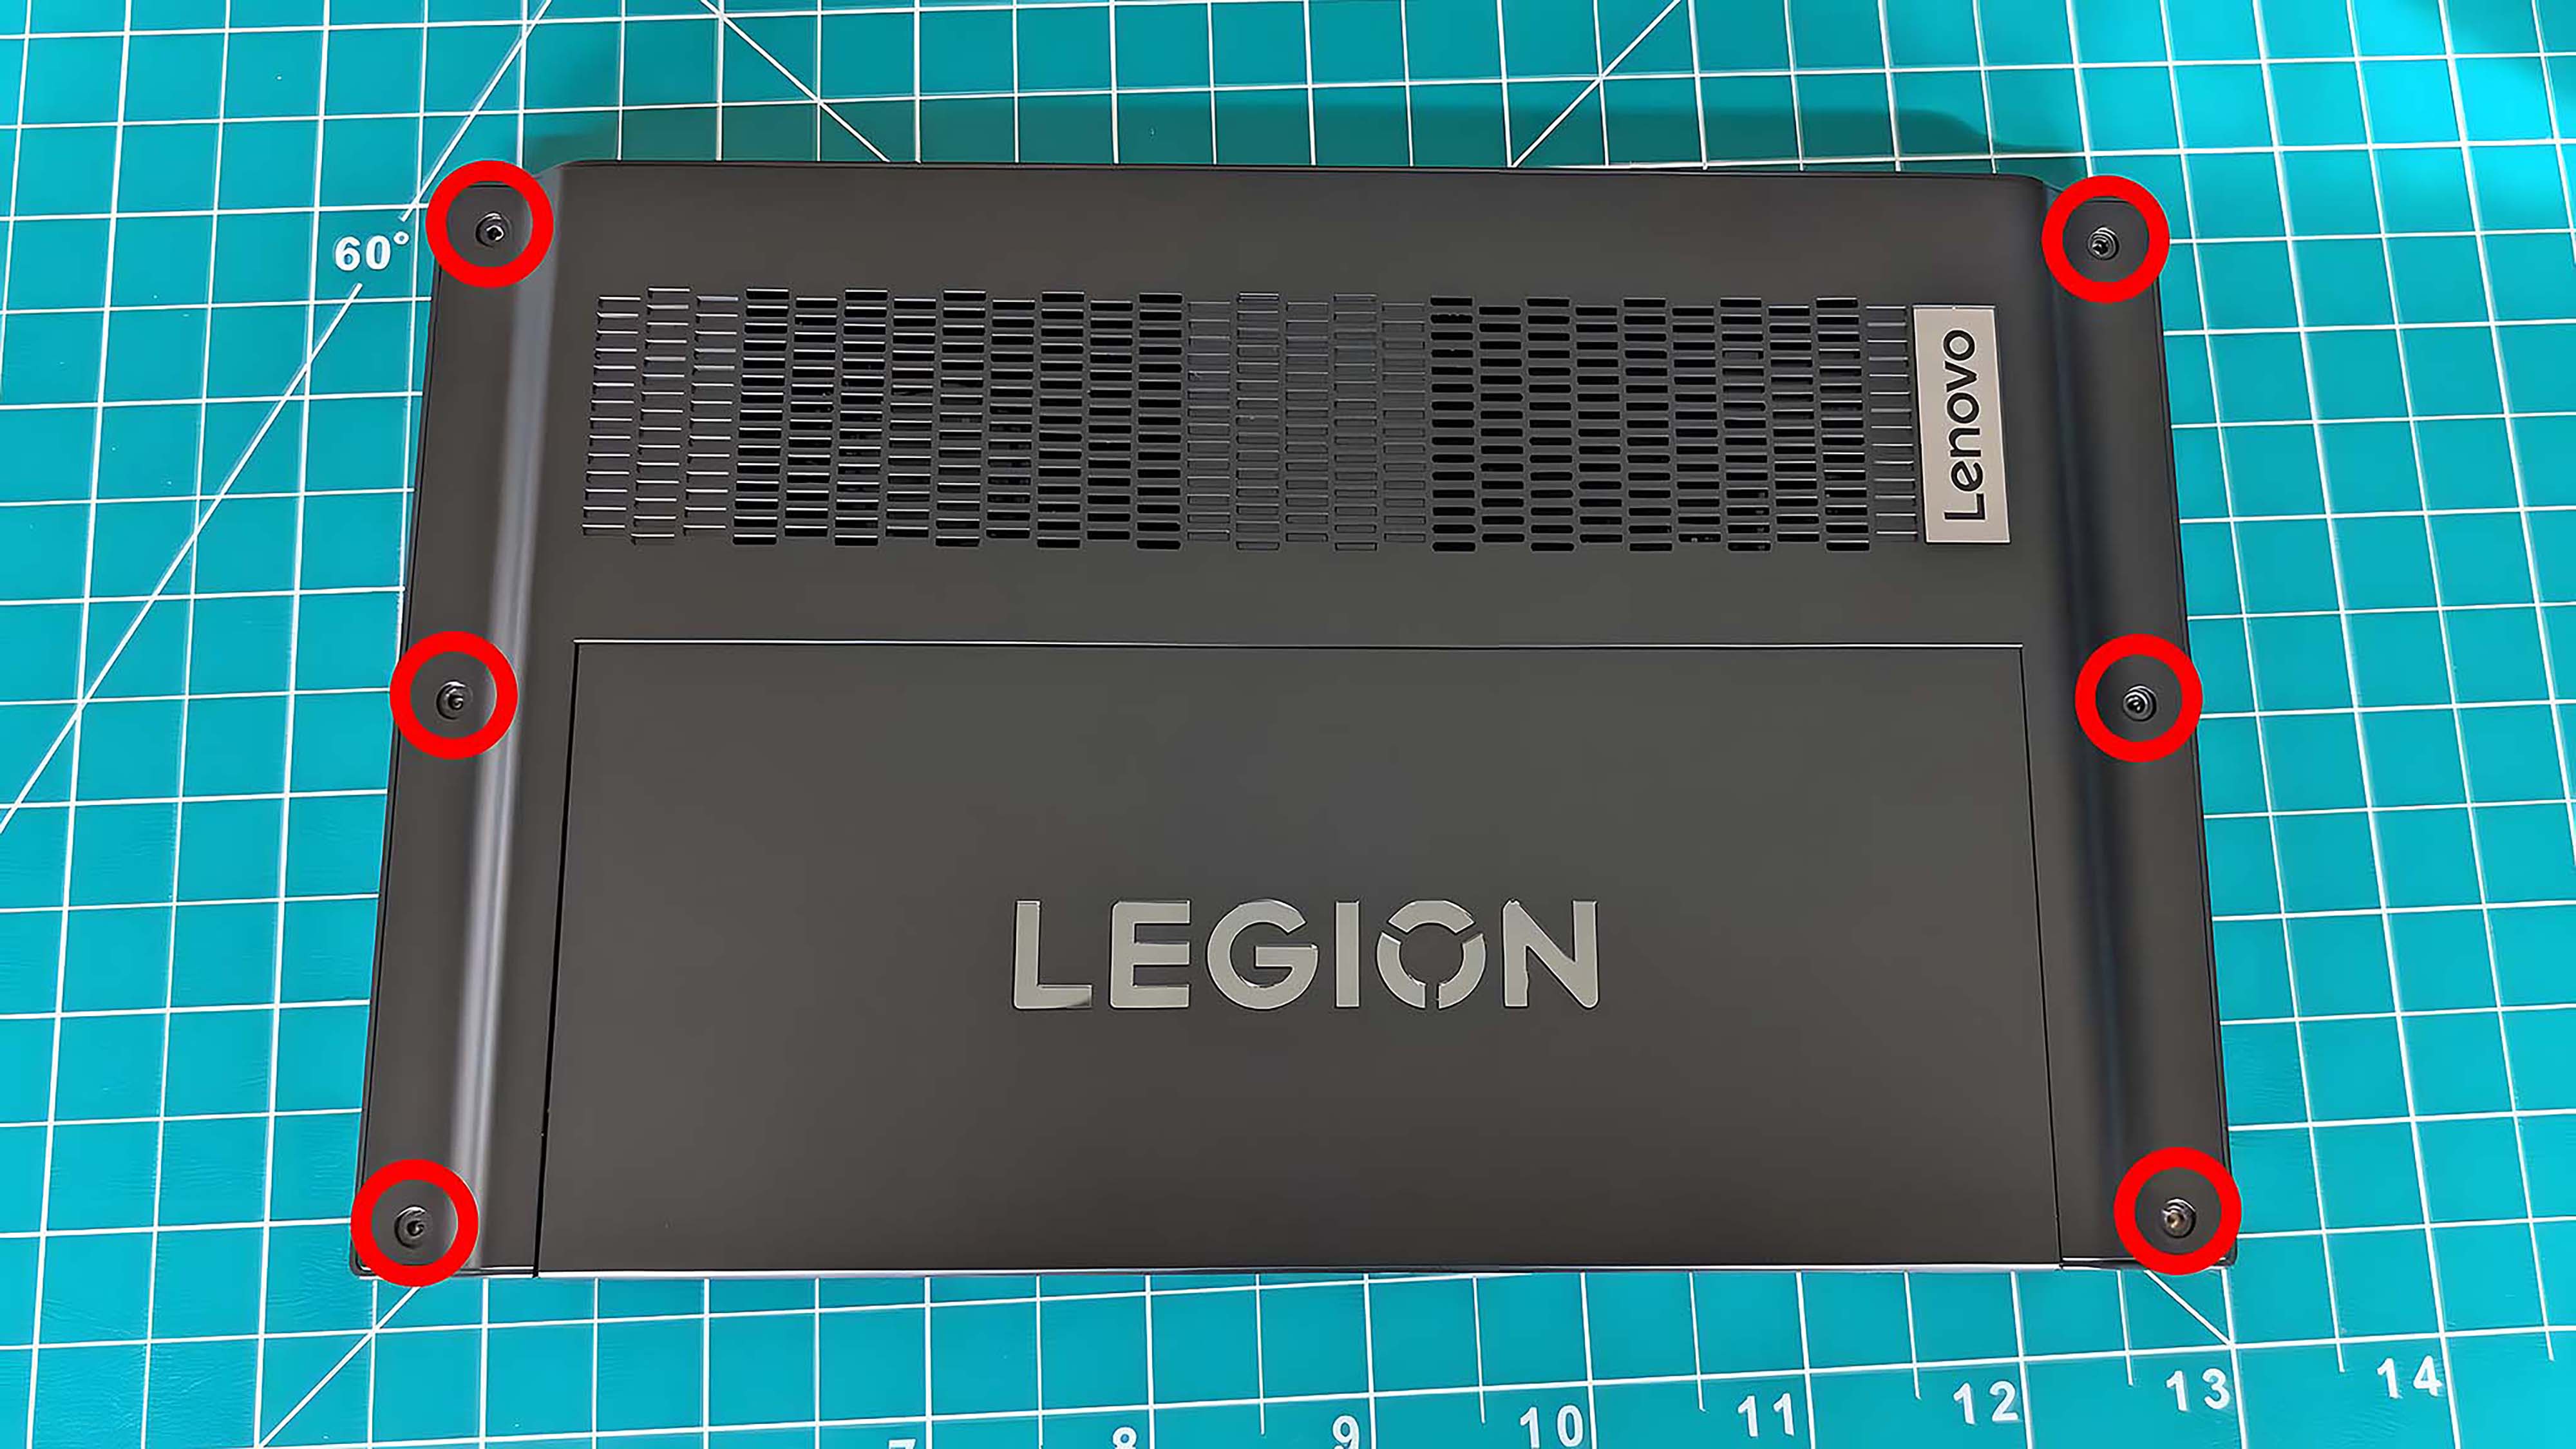
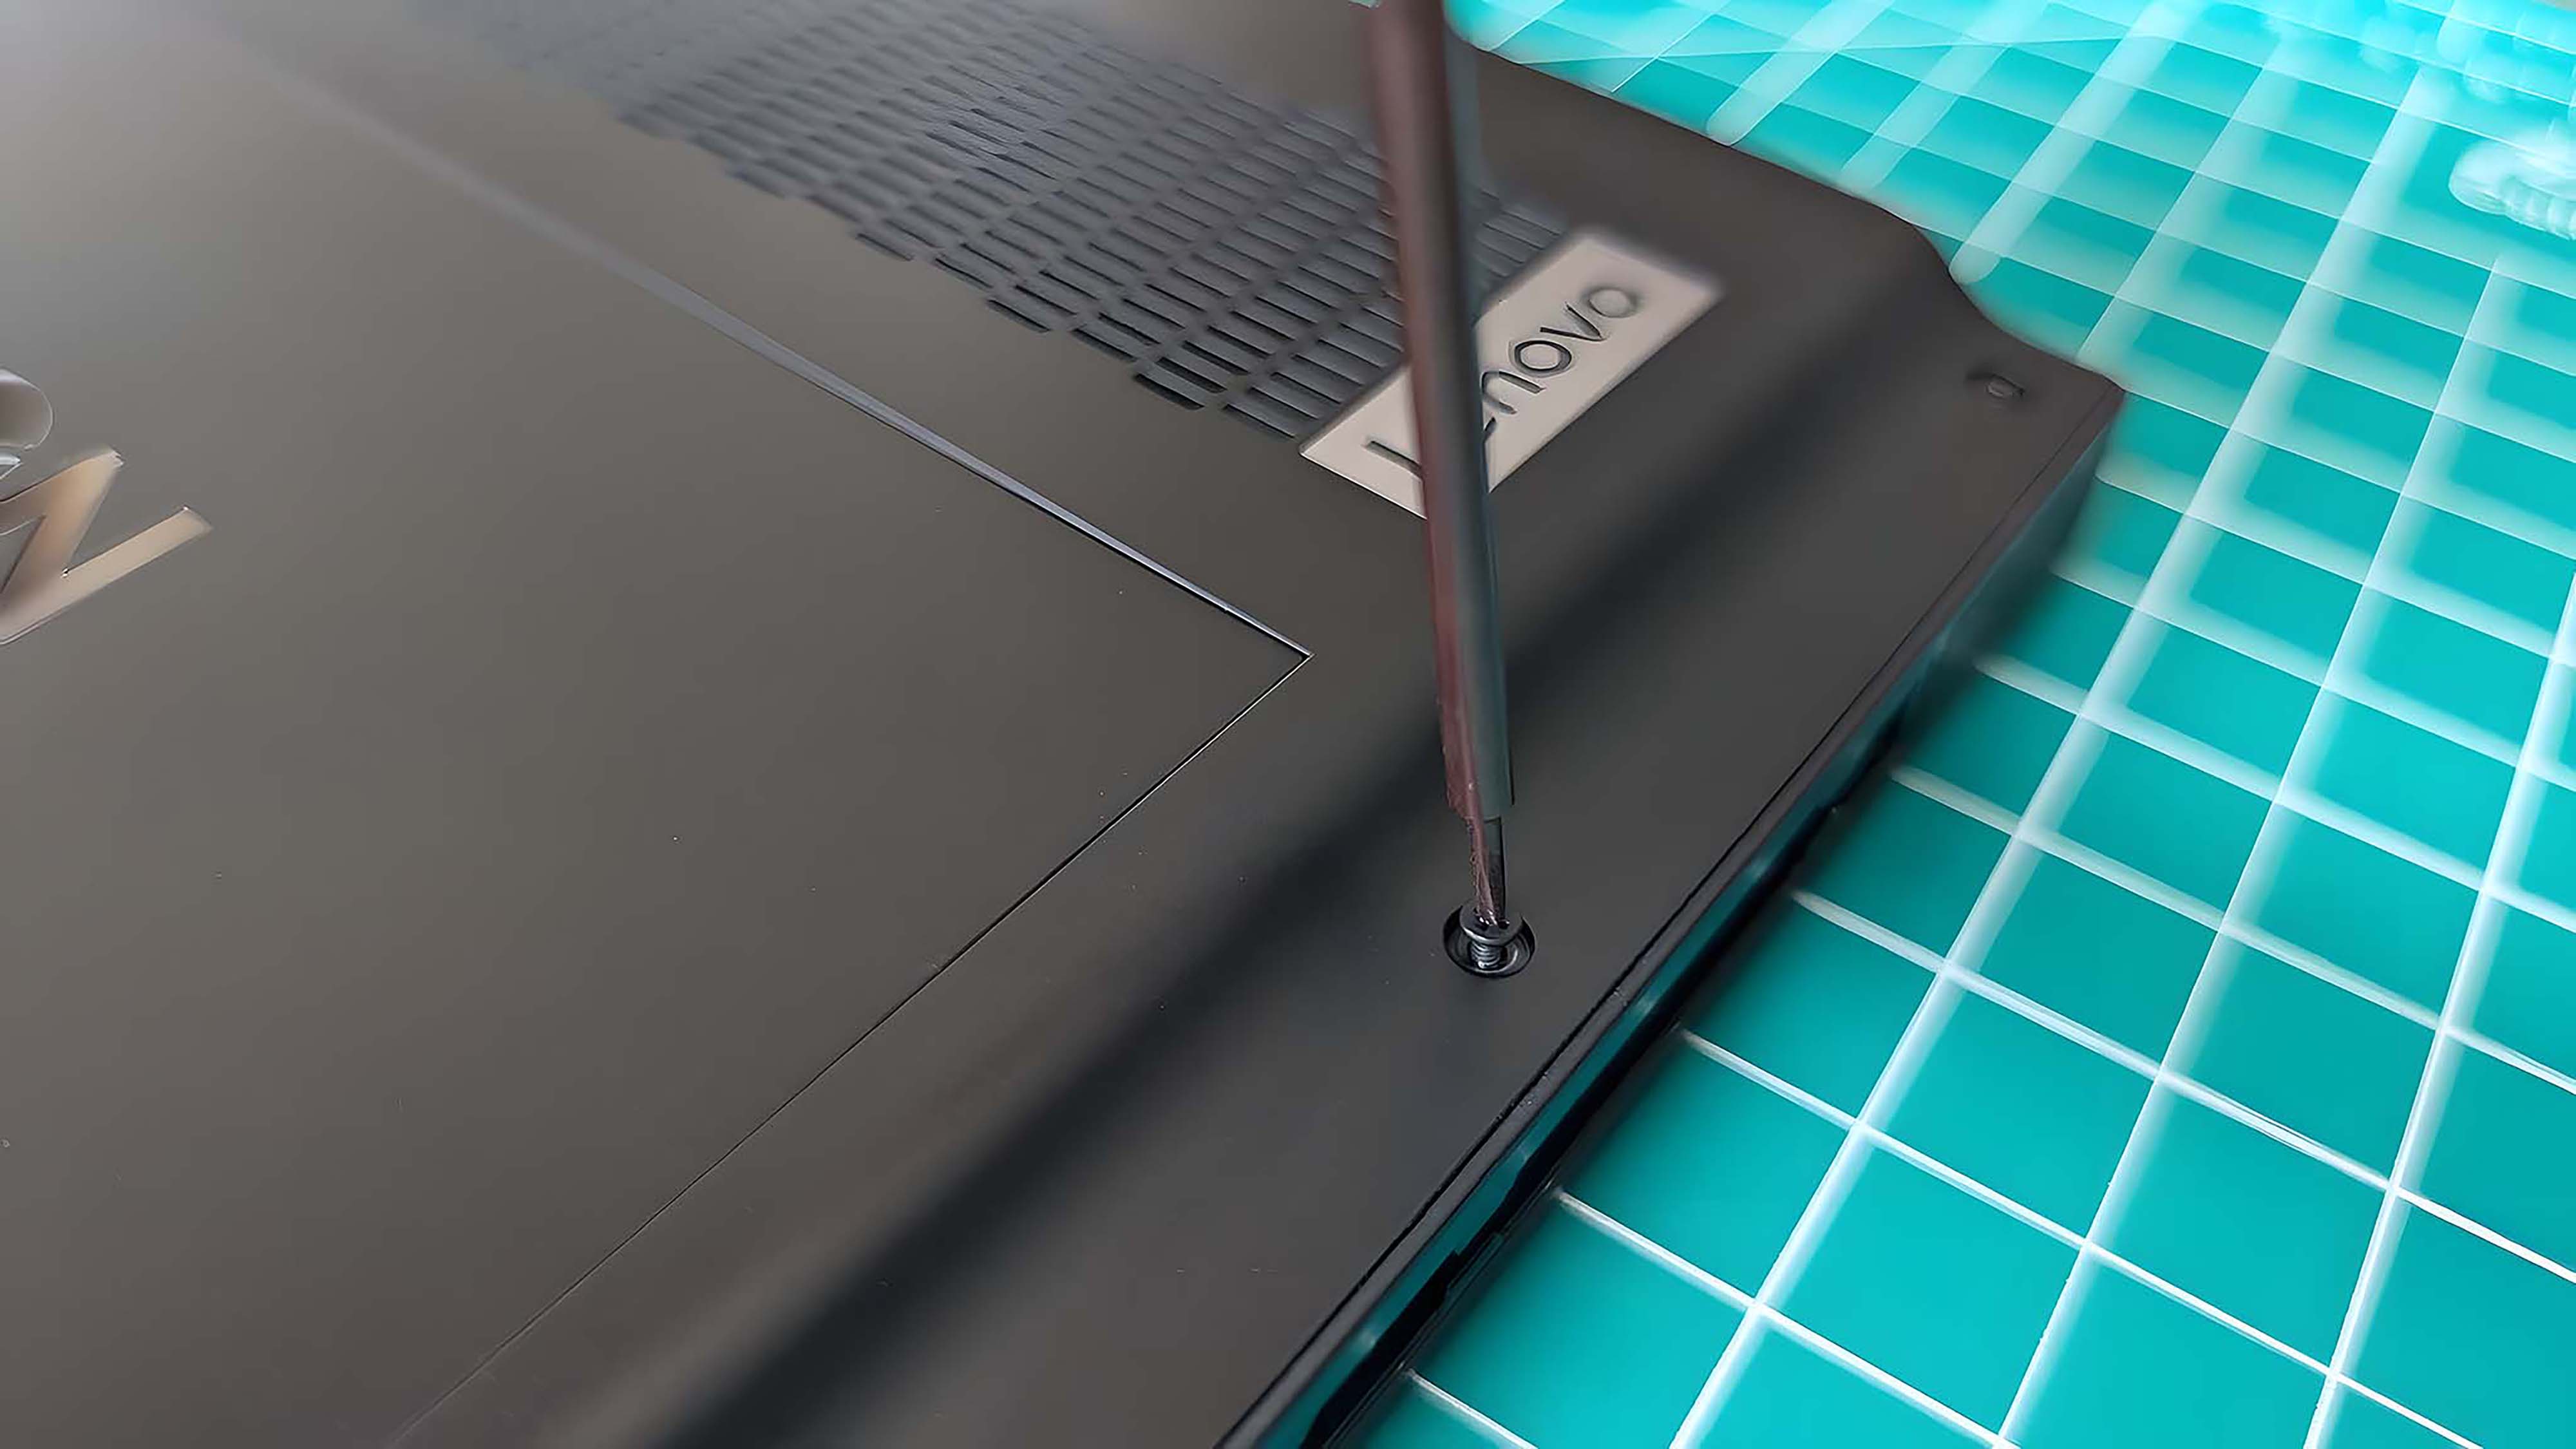
- Use a PH00 screwdriver to remove the six screws on the back of the Legion Go. Place the screws somewhere safe.
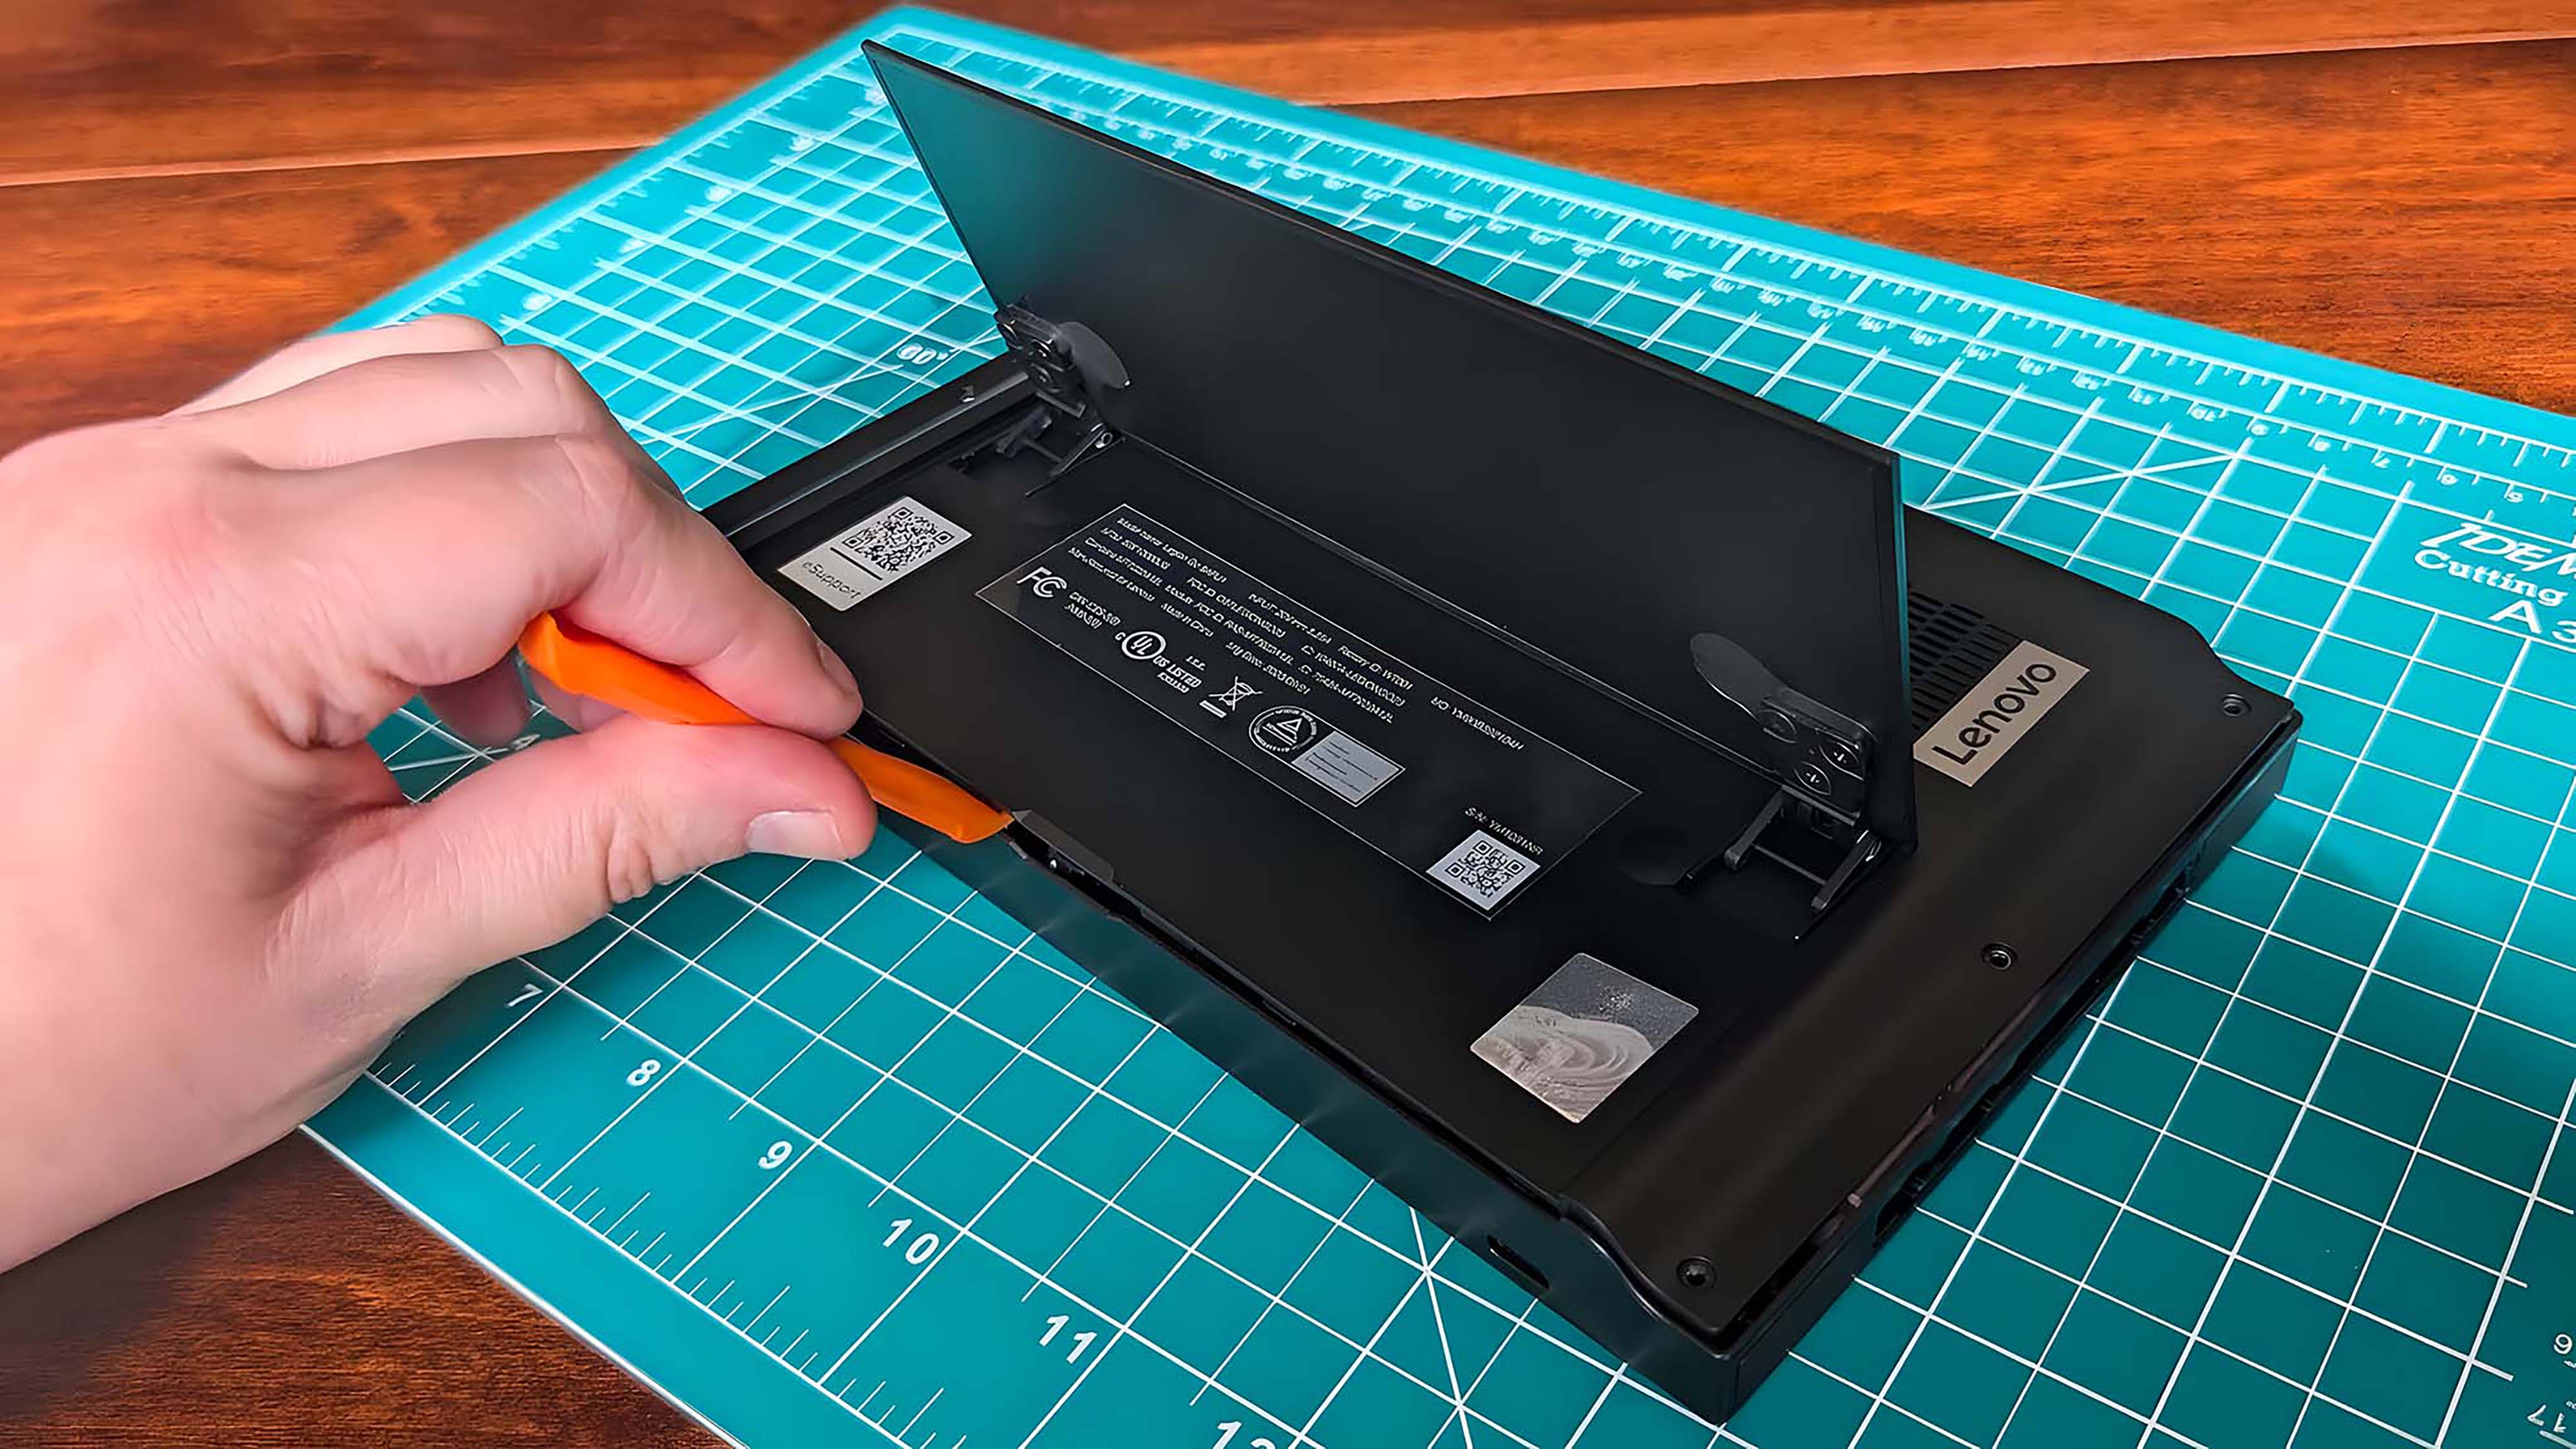
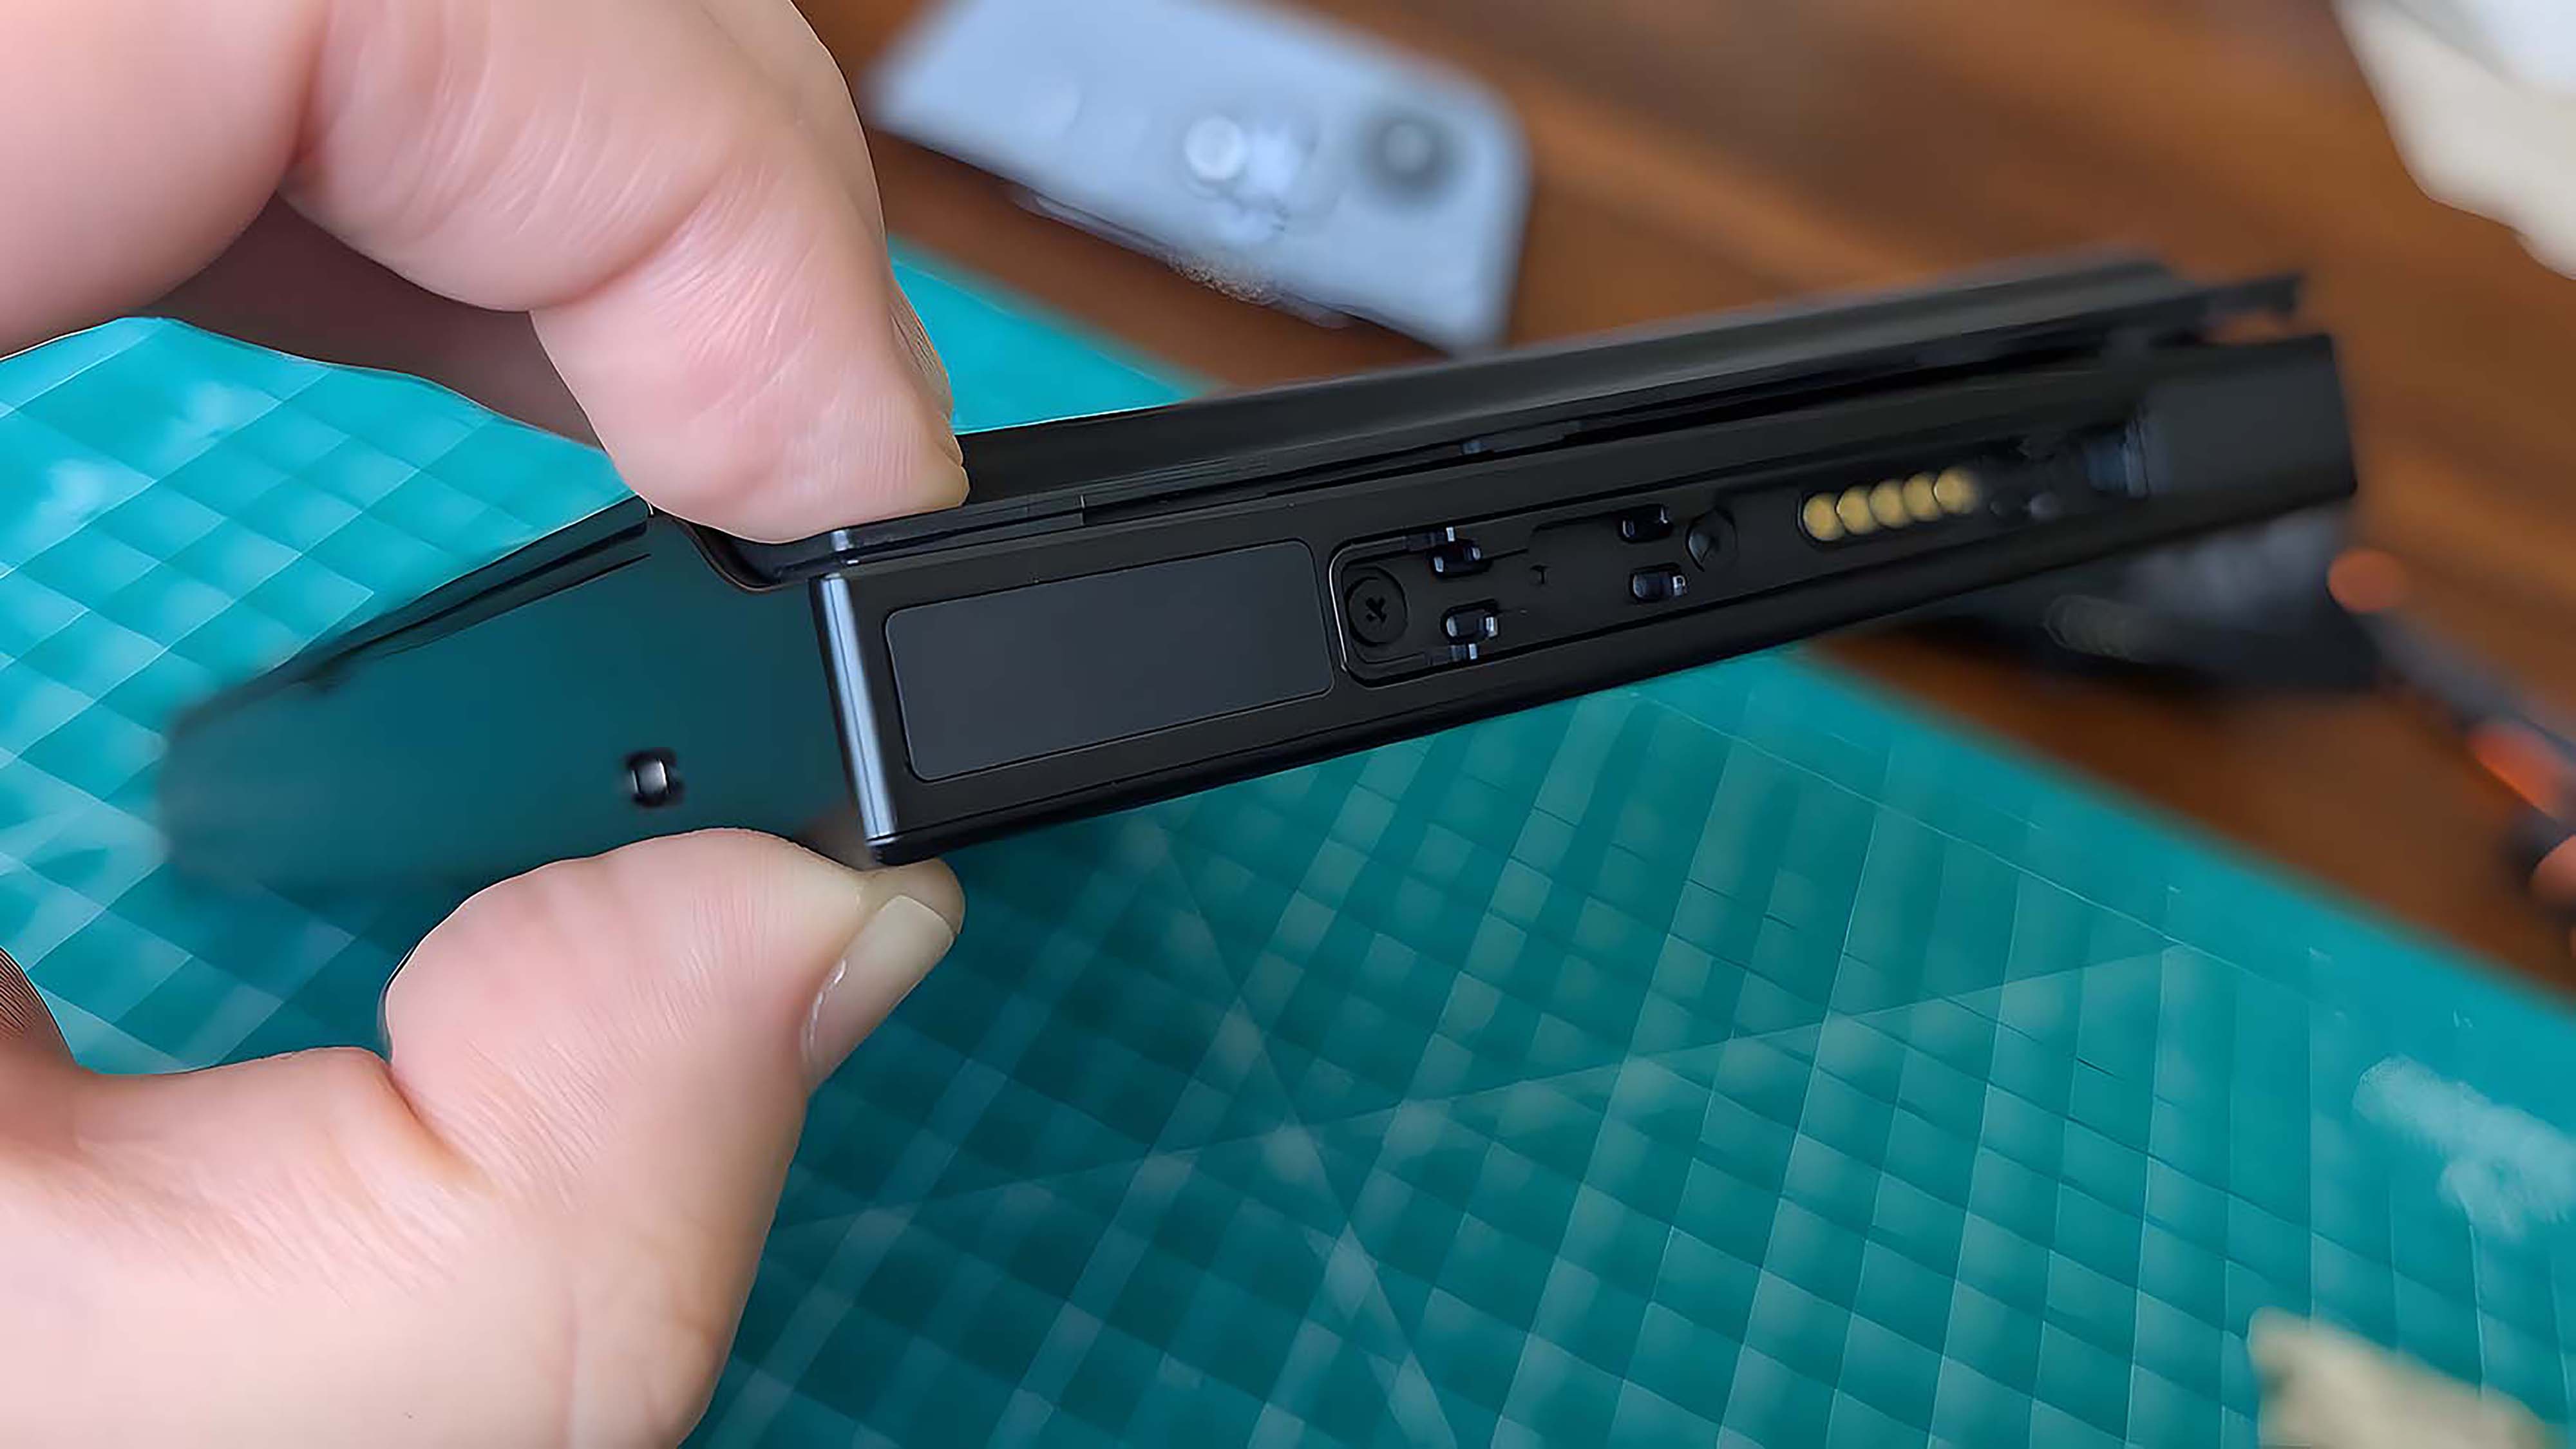
- Raise the kickstand and then use a plastic prying pick to gently lift the back casing off. You'll need to be careful while doing this so as not to damage anything.
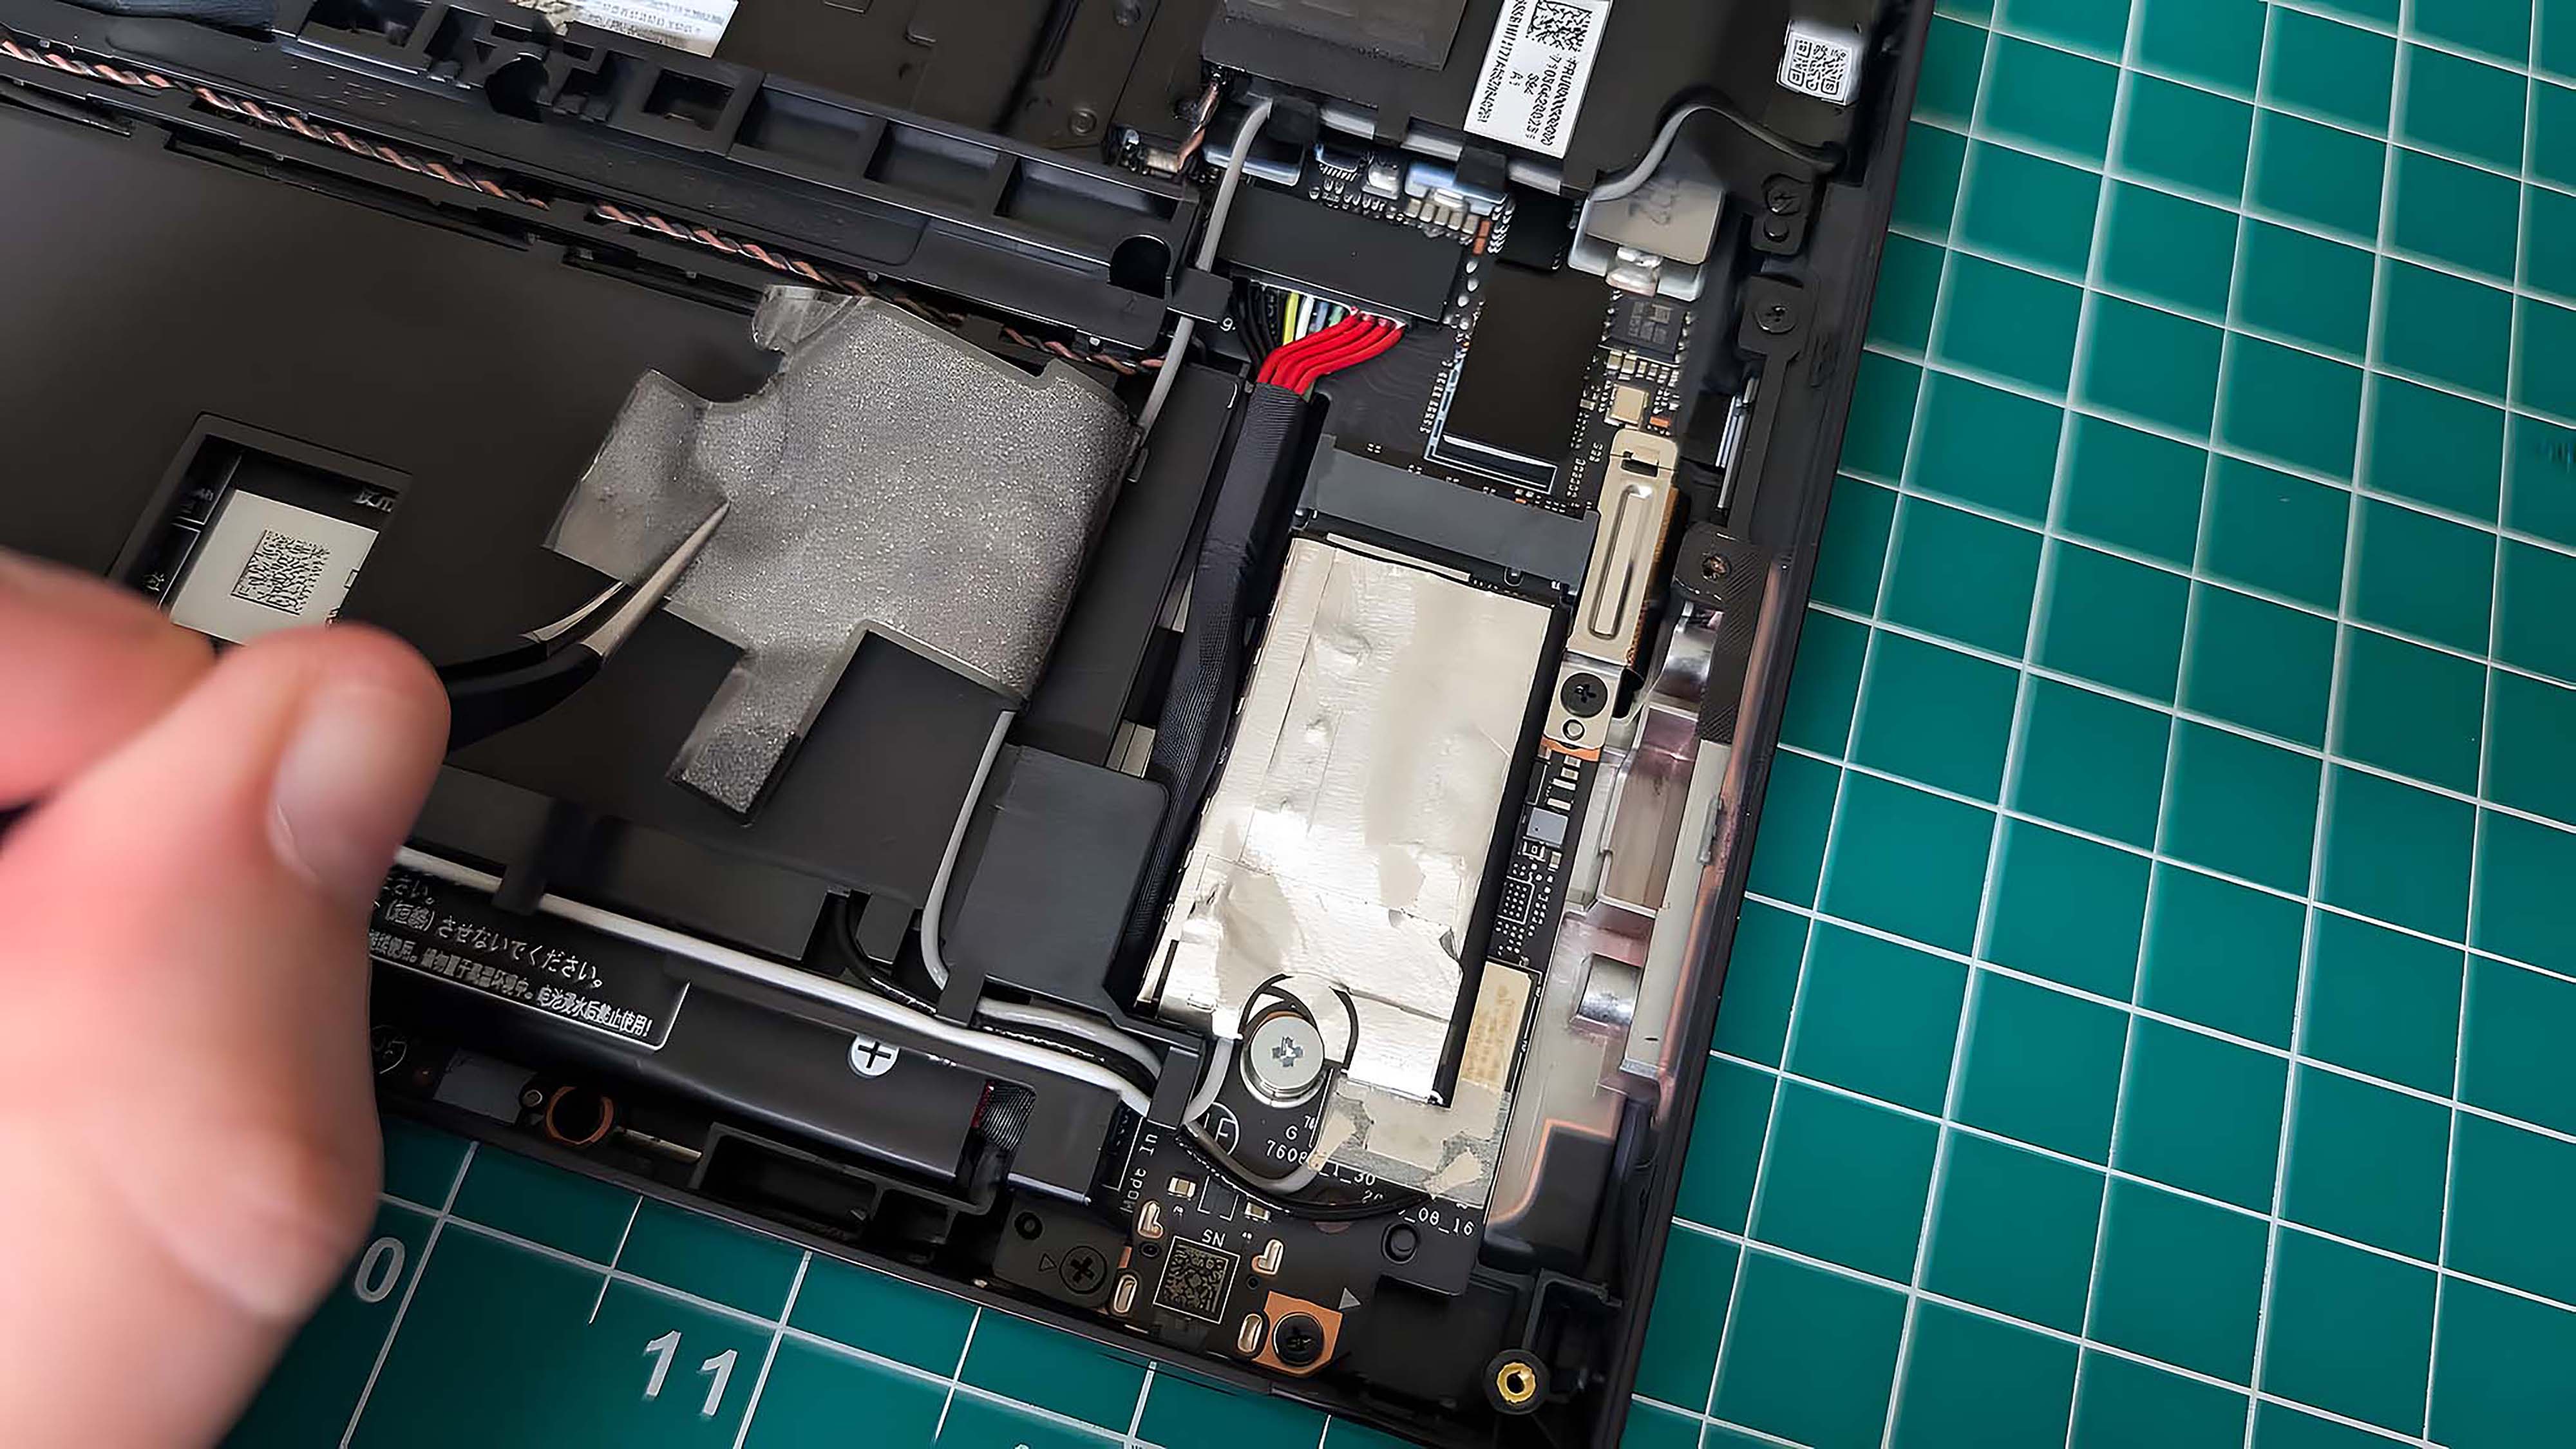
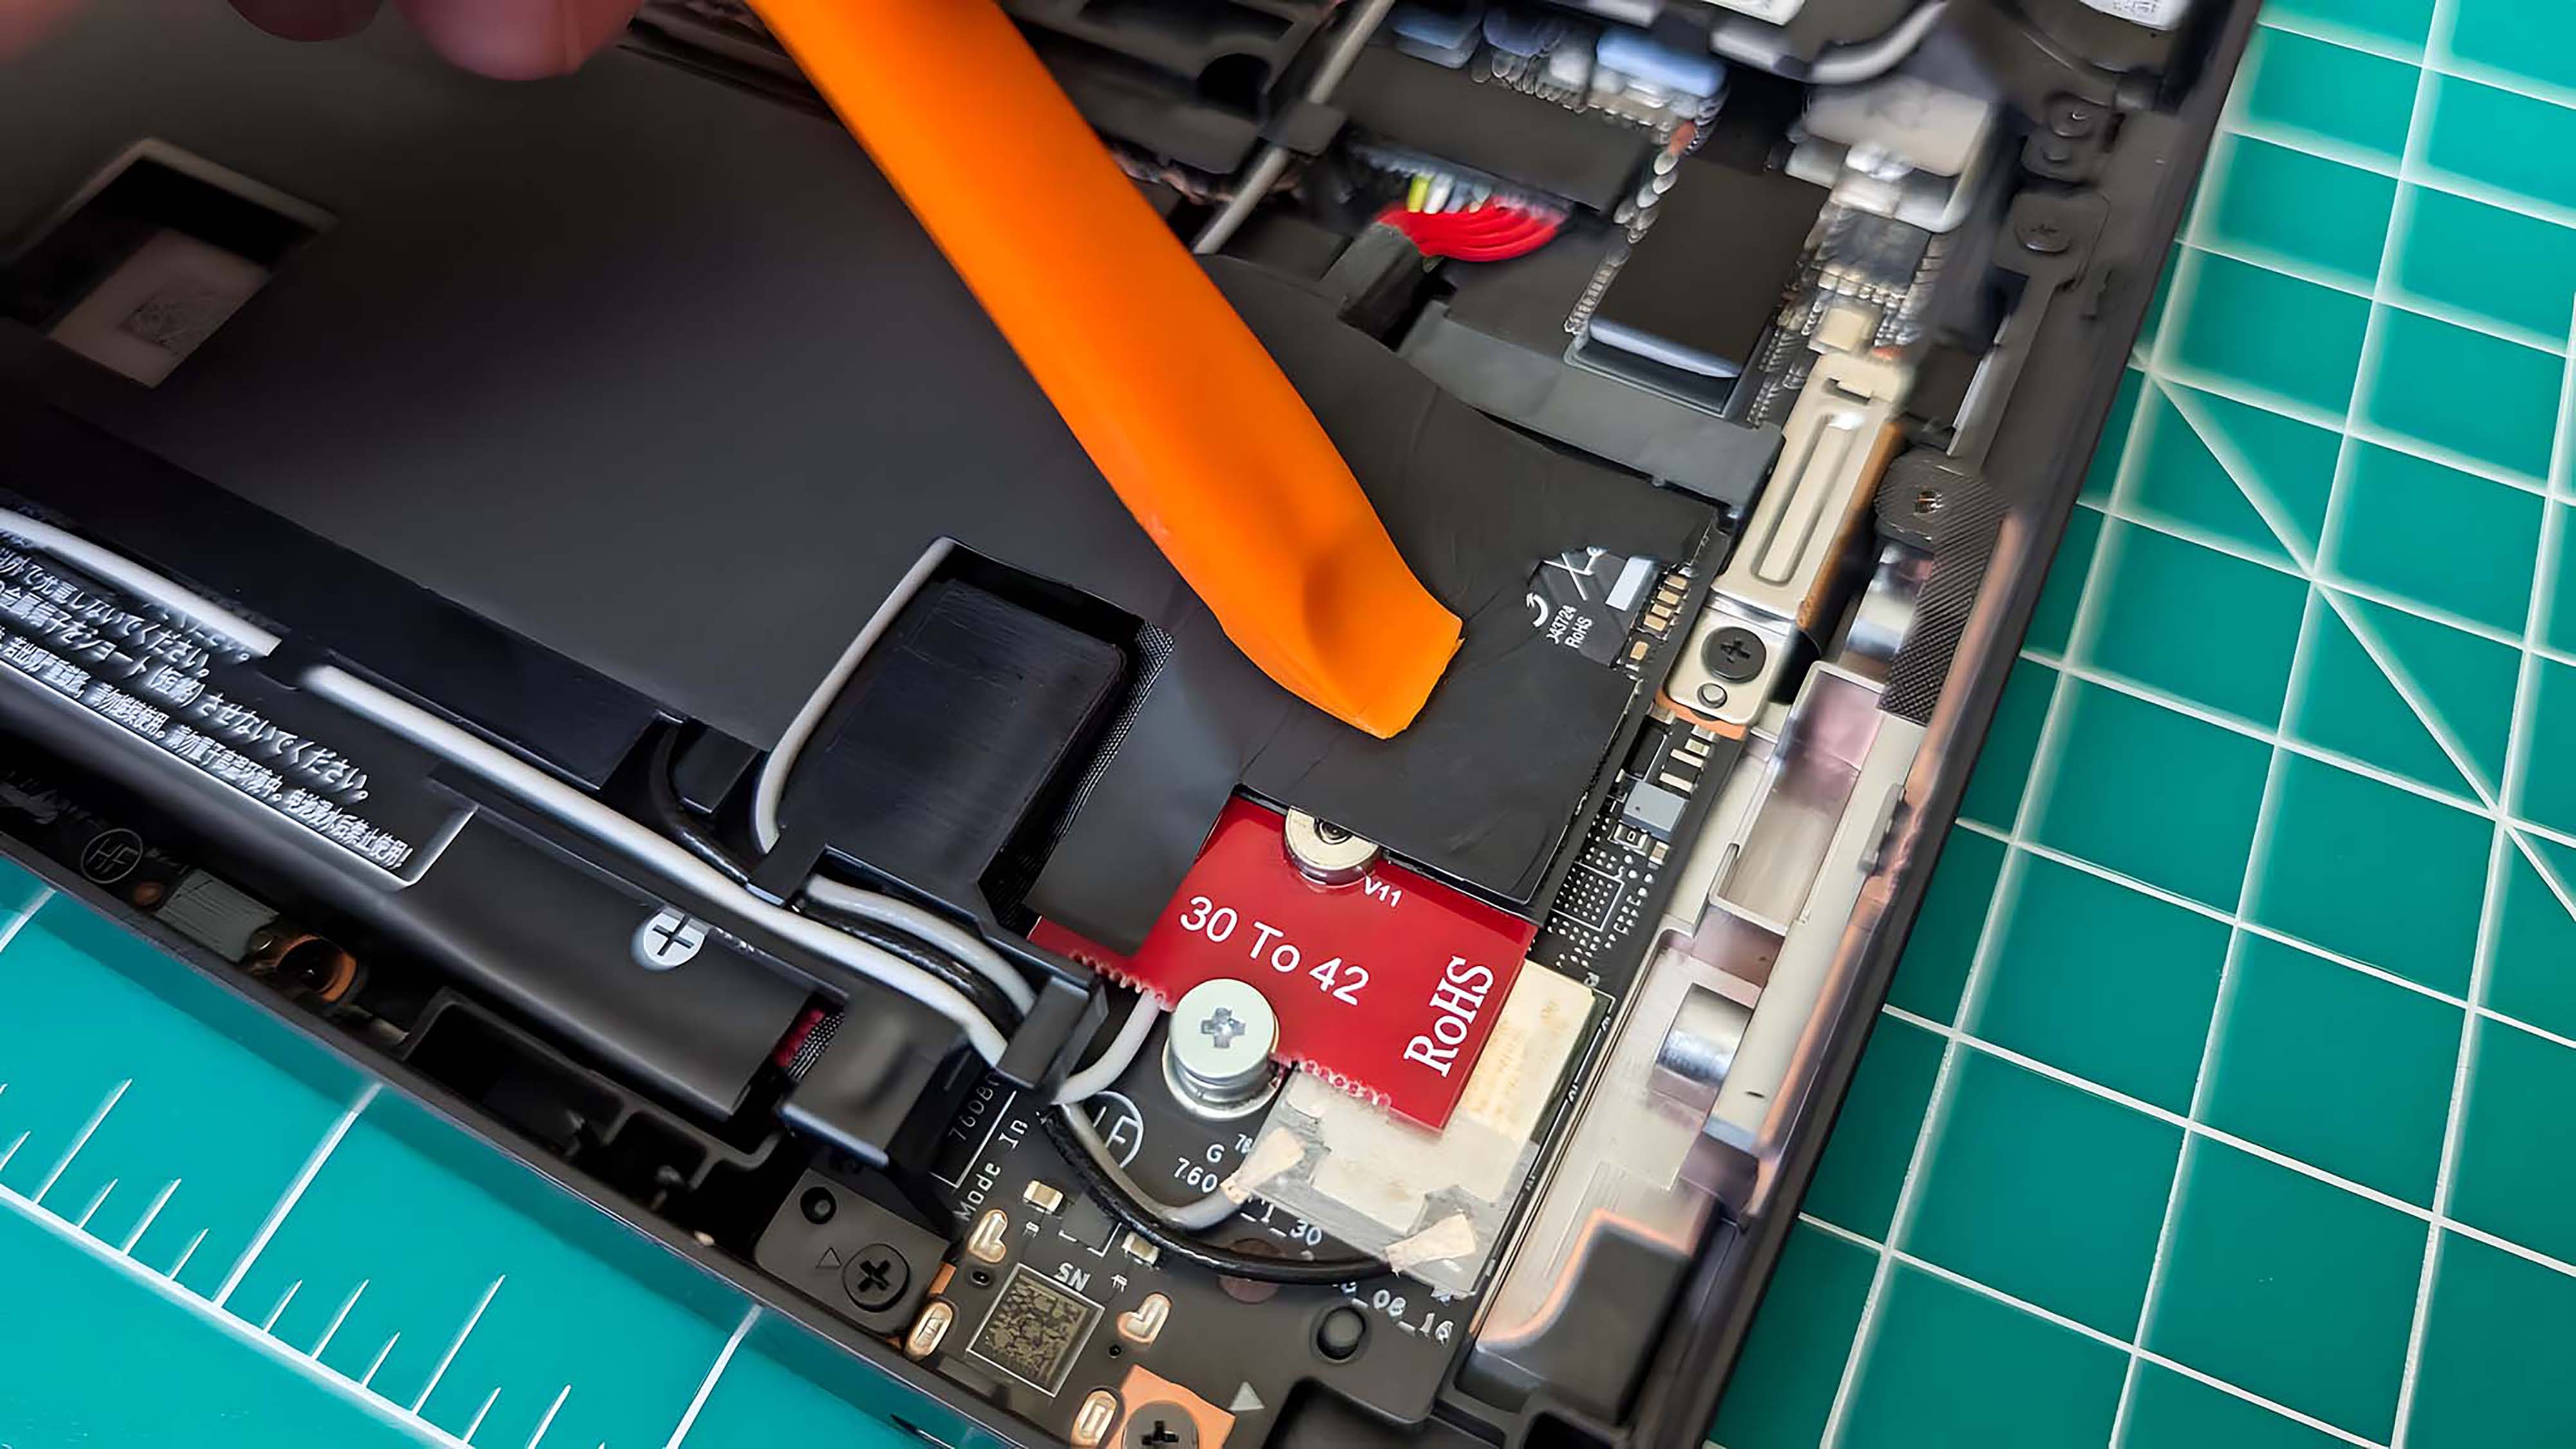
- Place the back casing somewhere clean and safe. Then, carefully peel the black sticker off the SSD and battery cable.
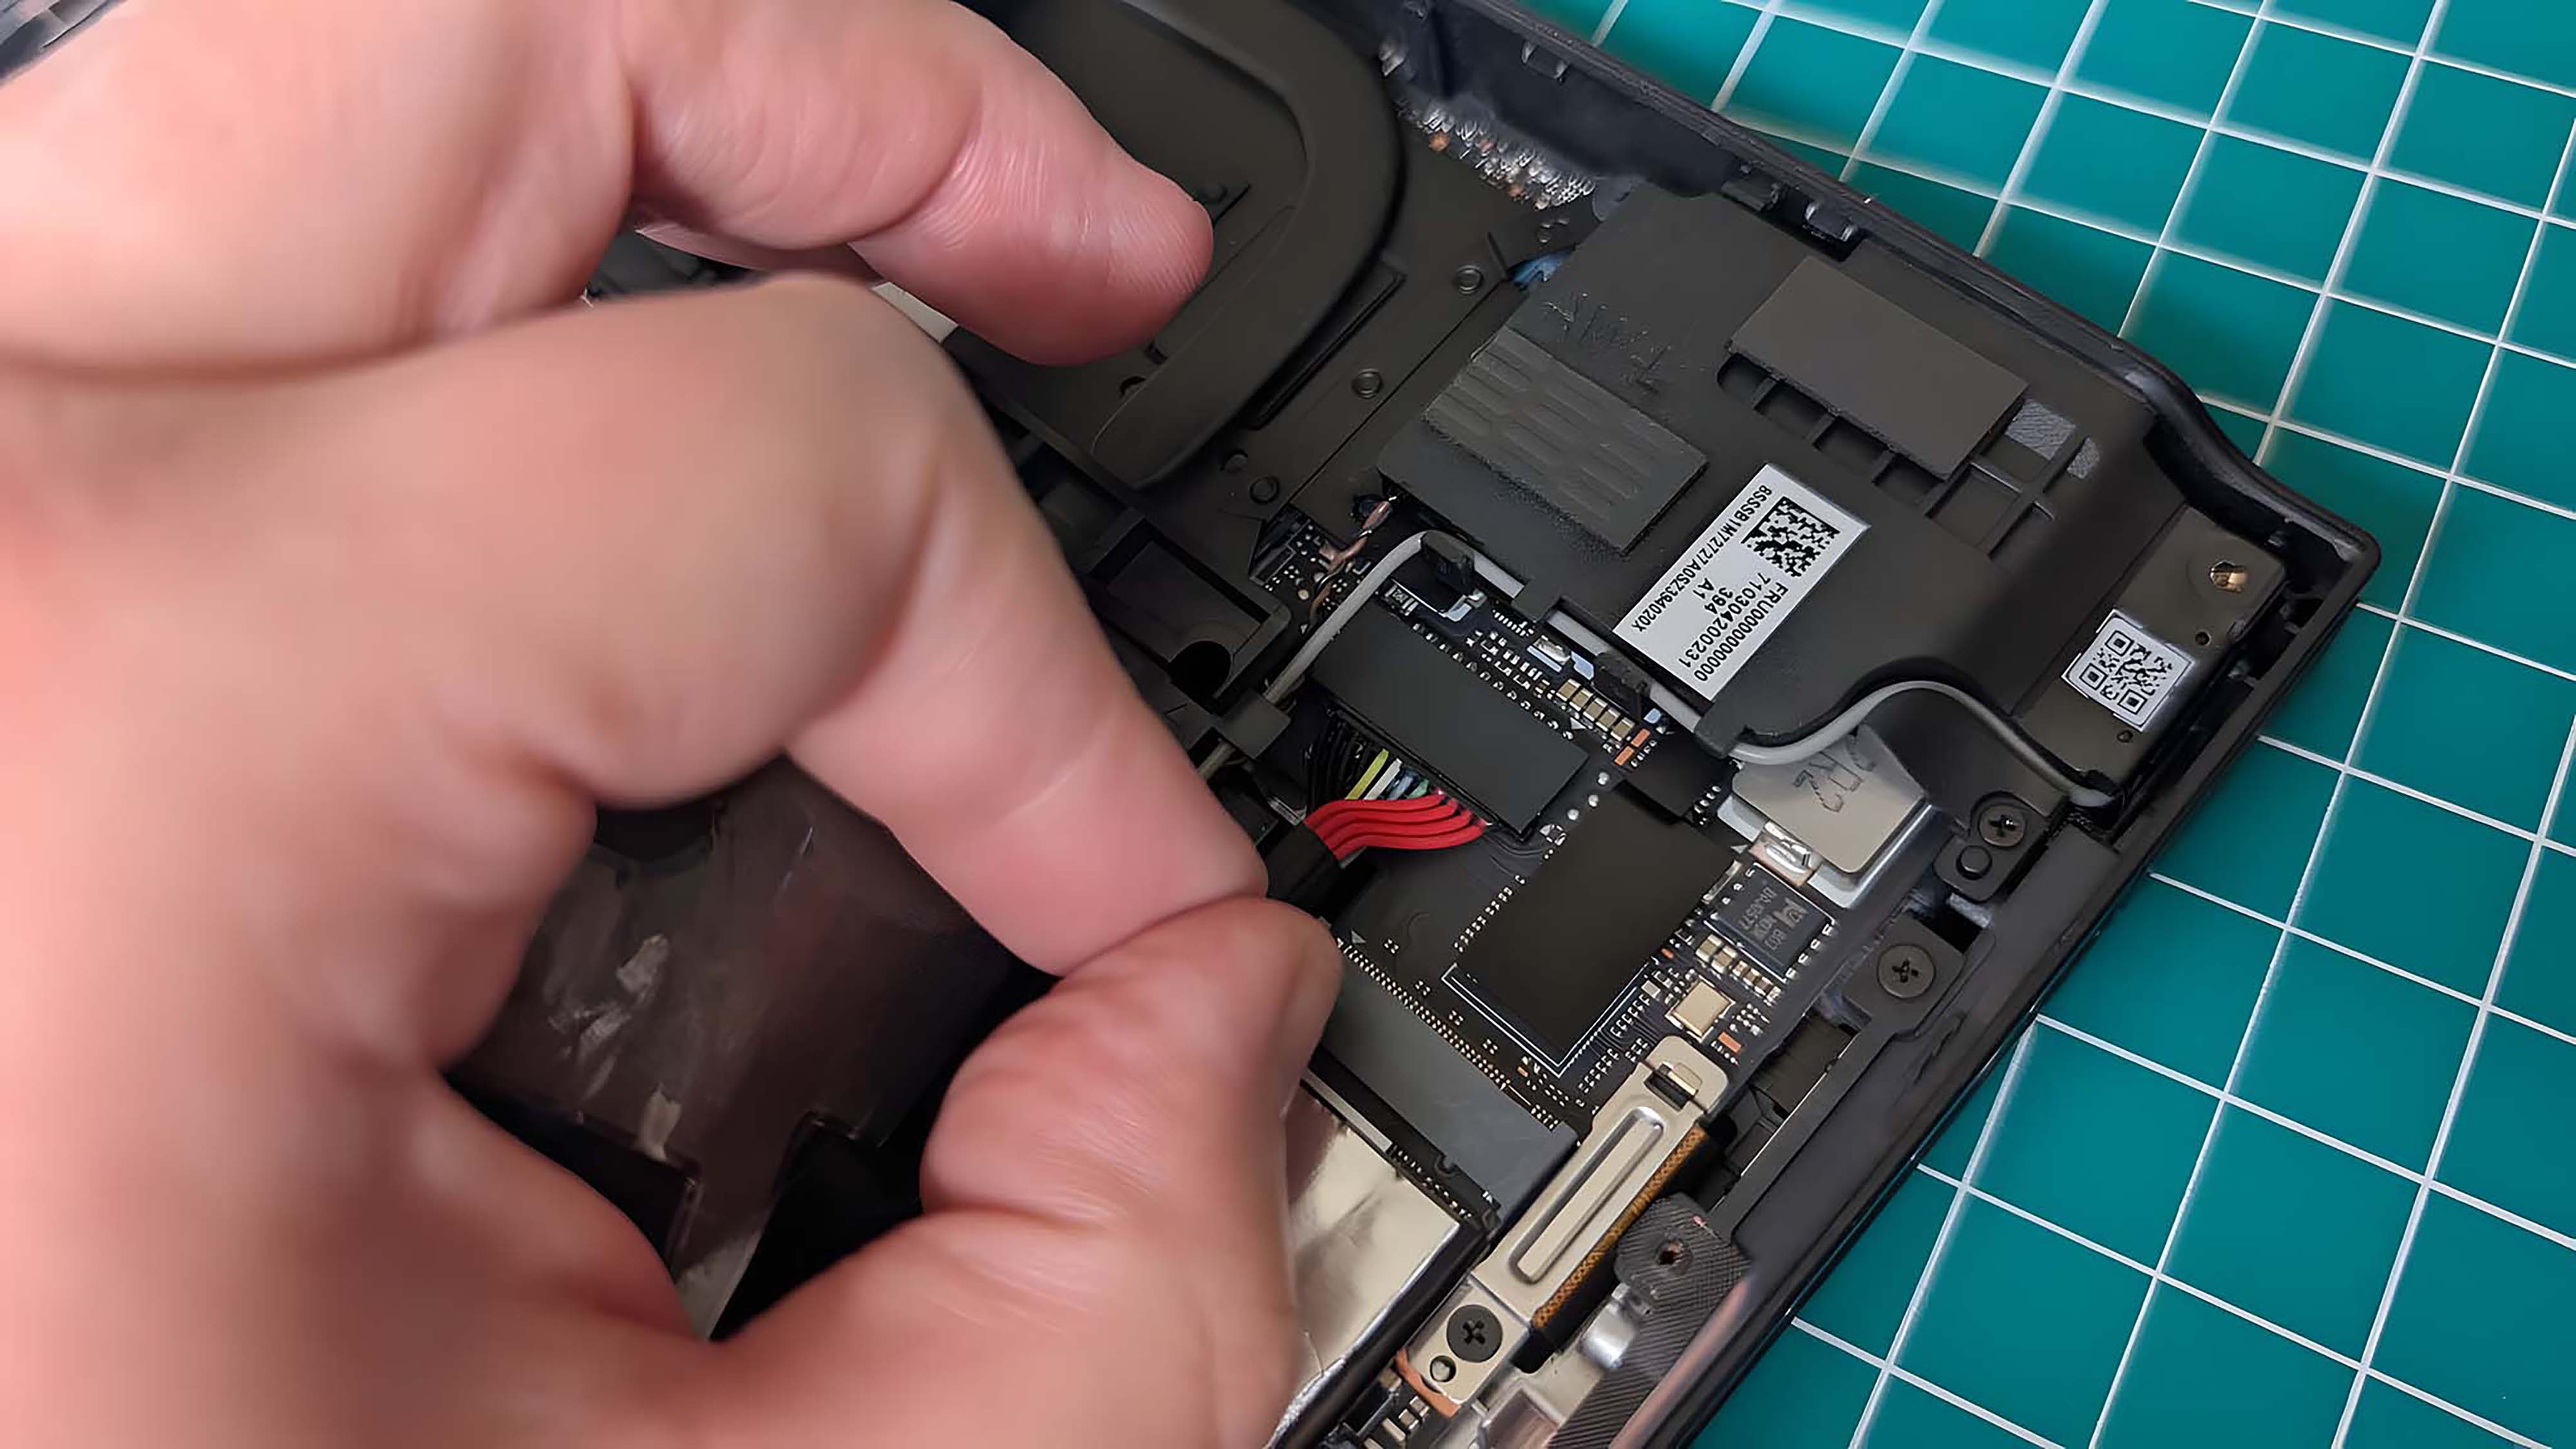
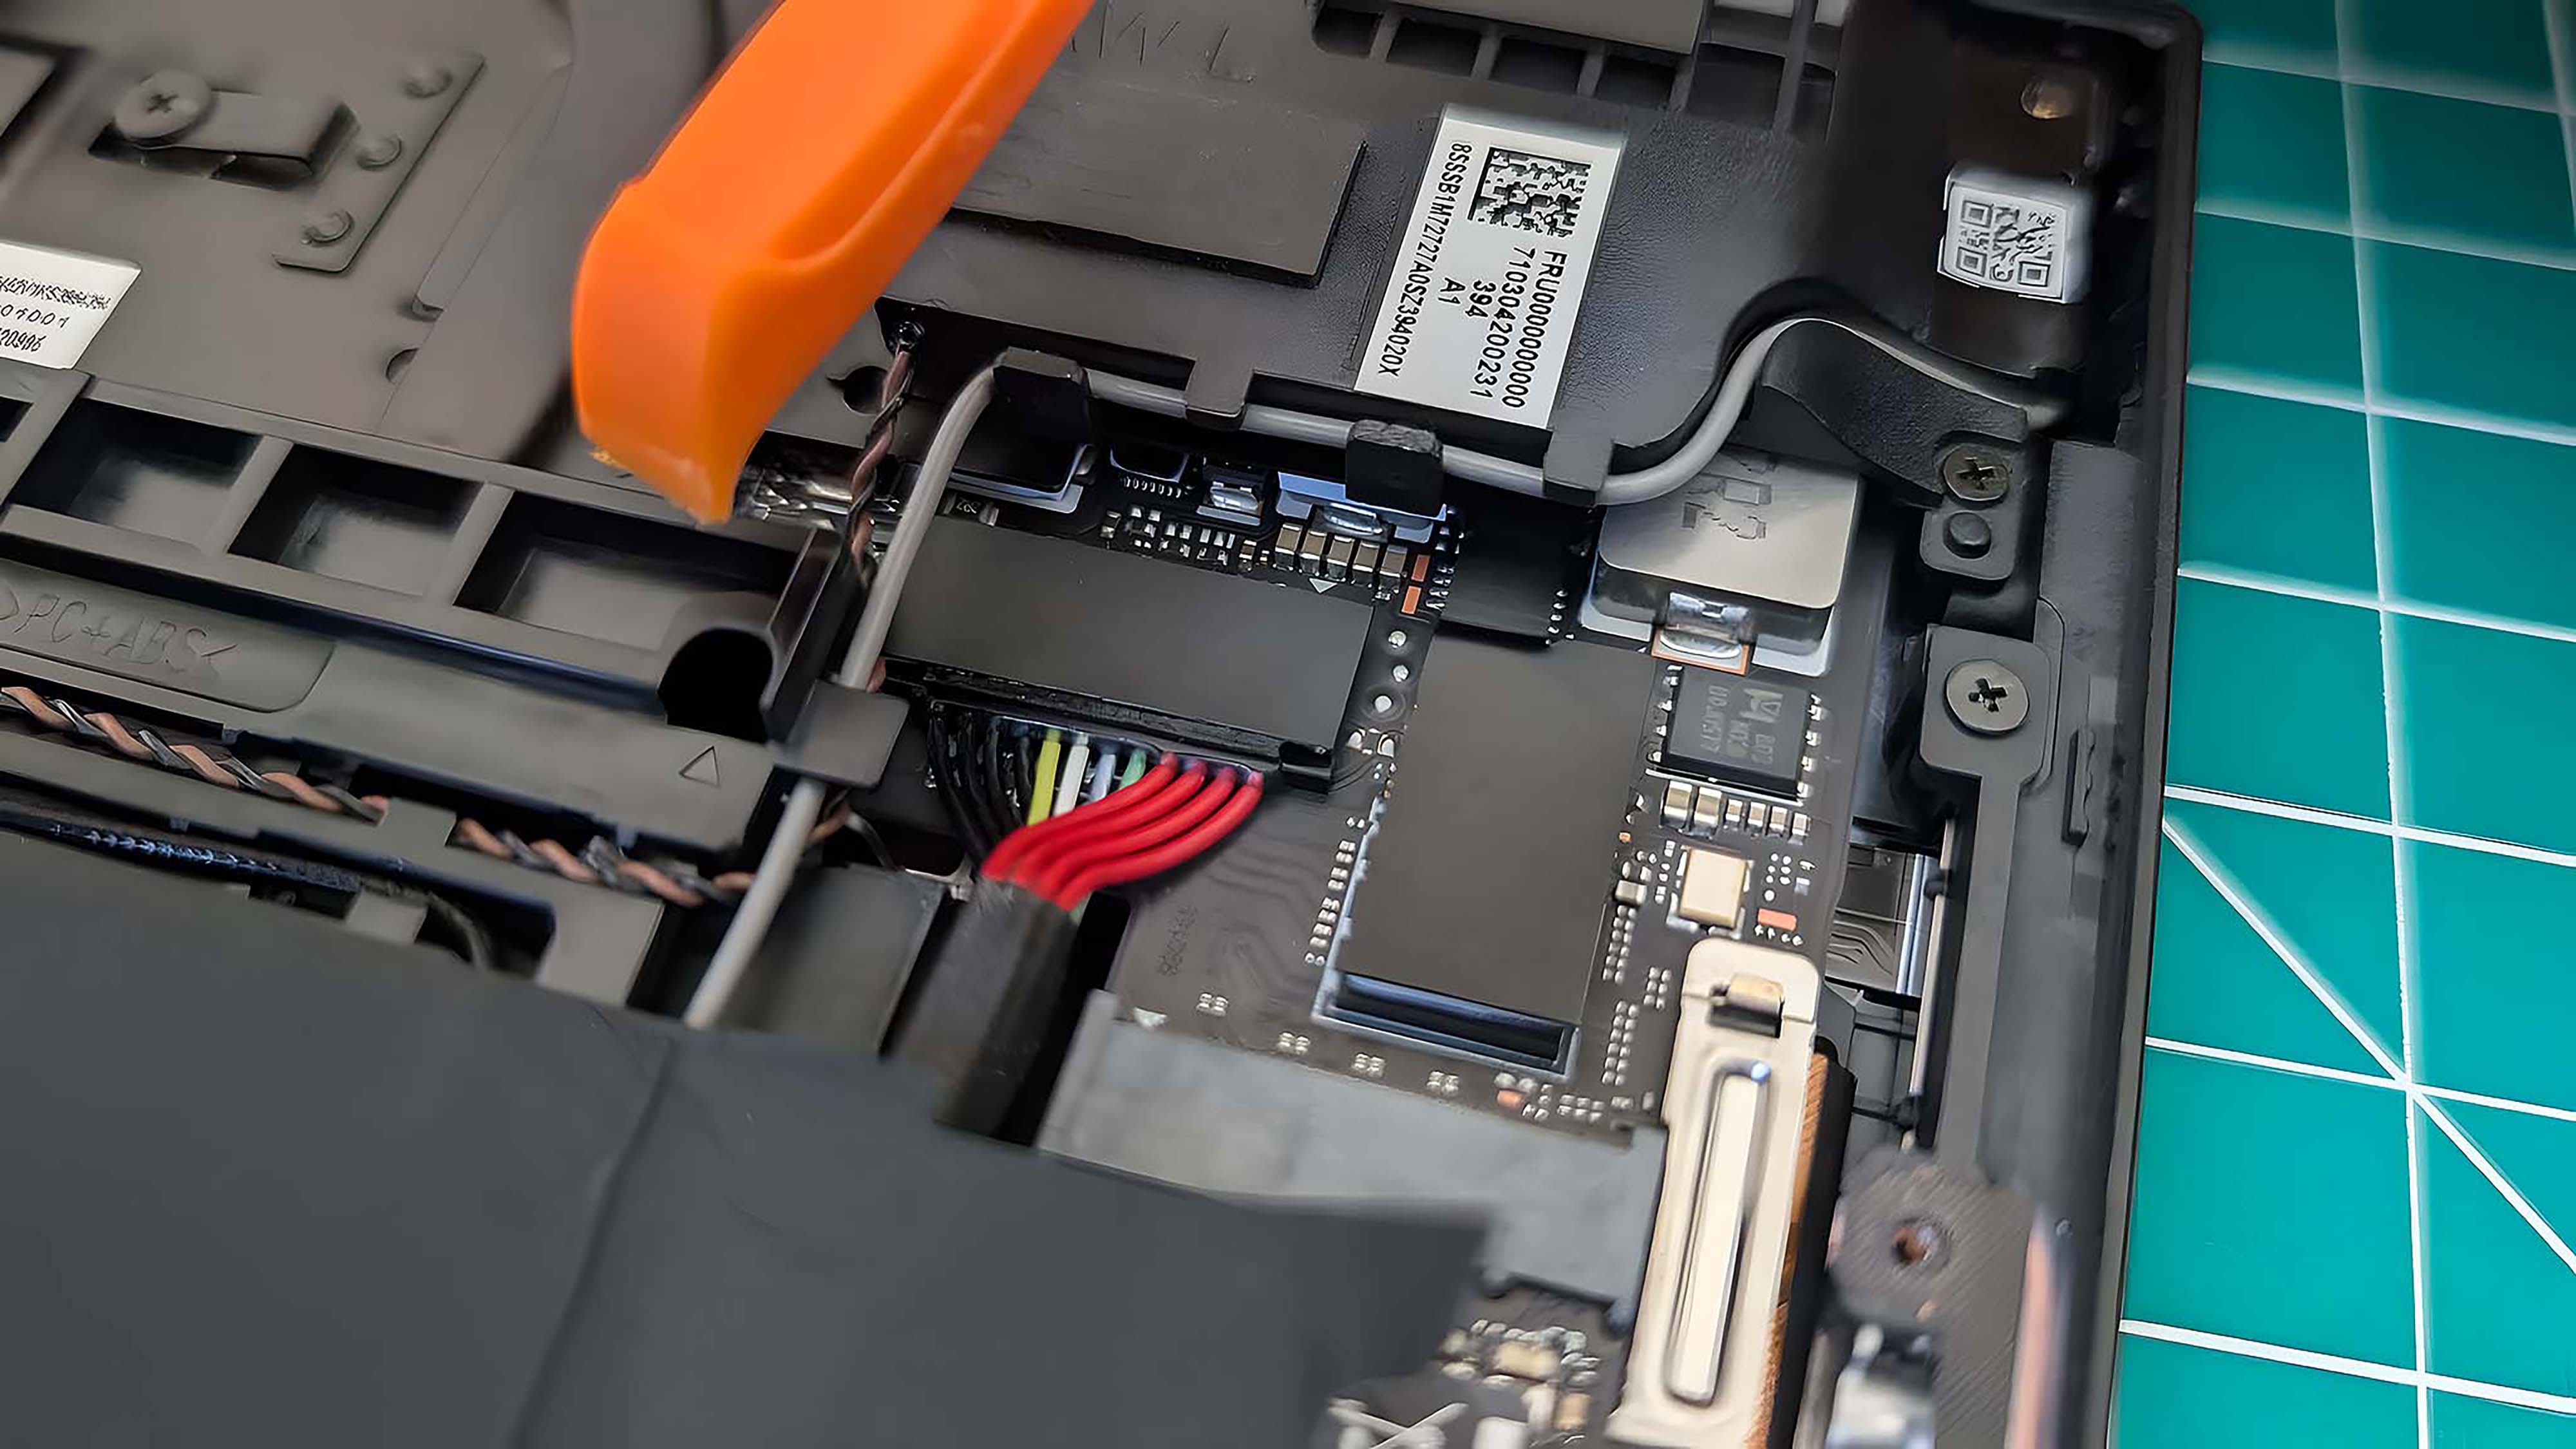
- Gently grab the battery cables and unplug them.
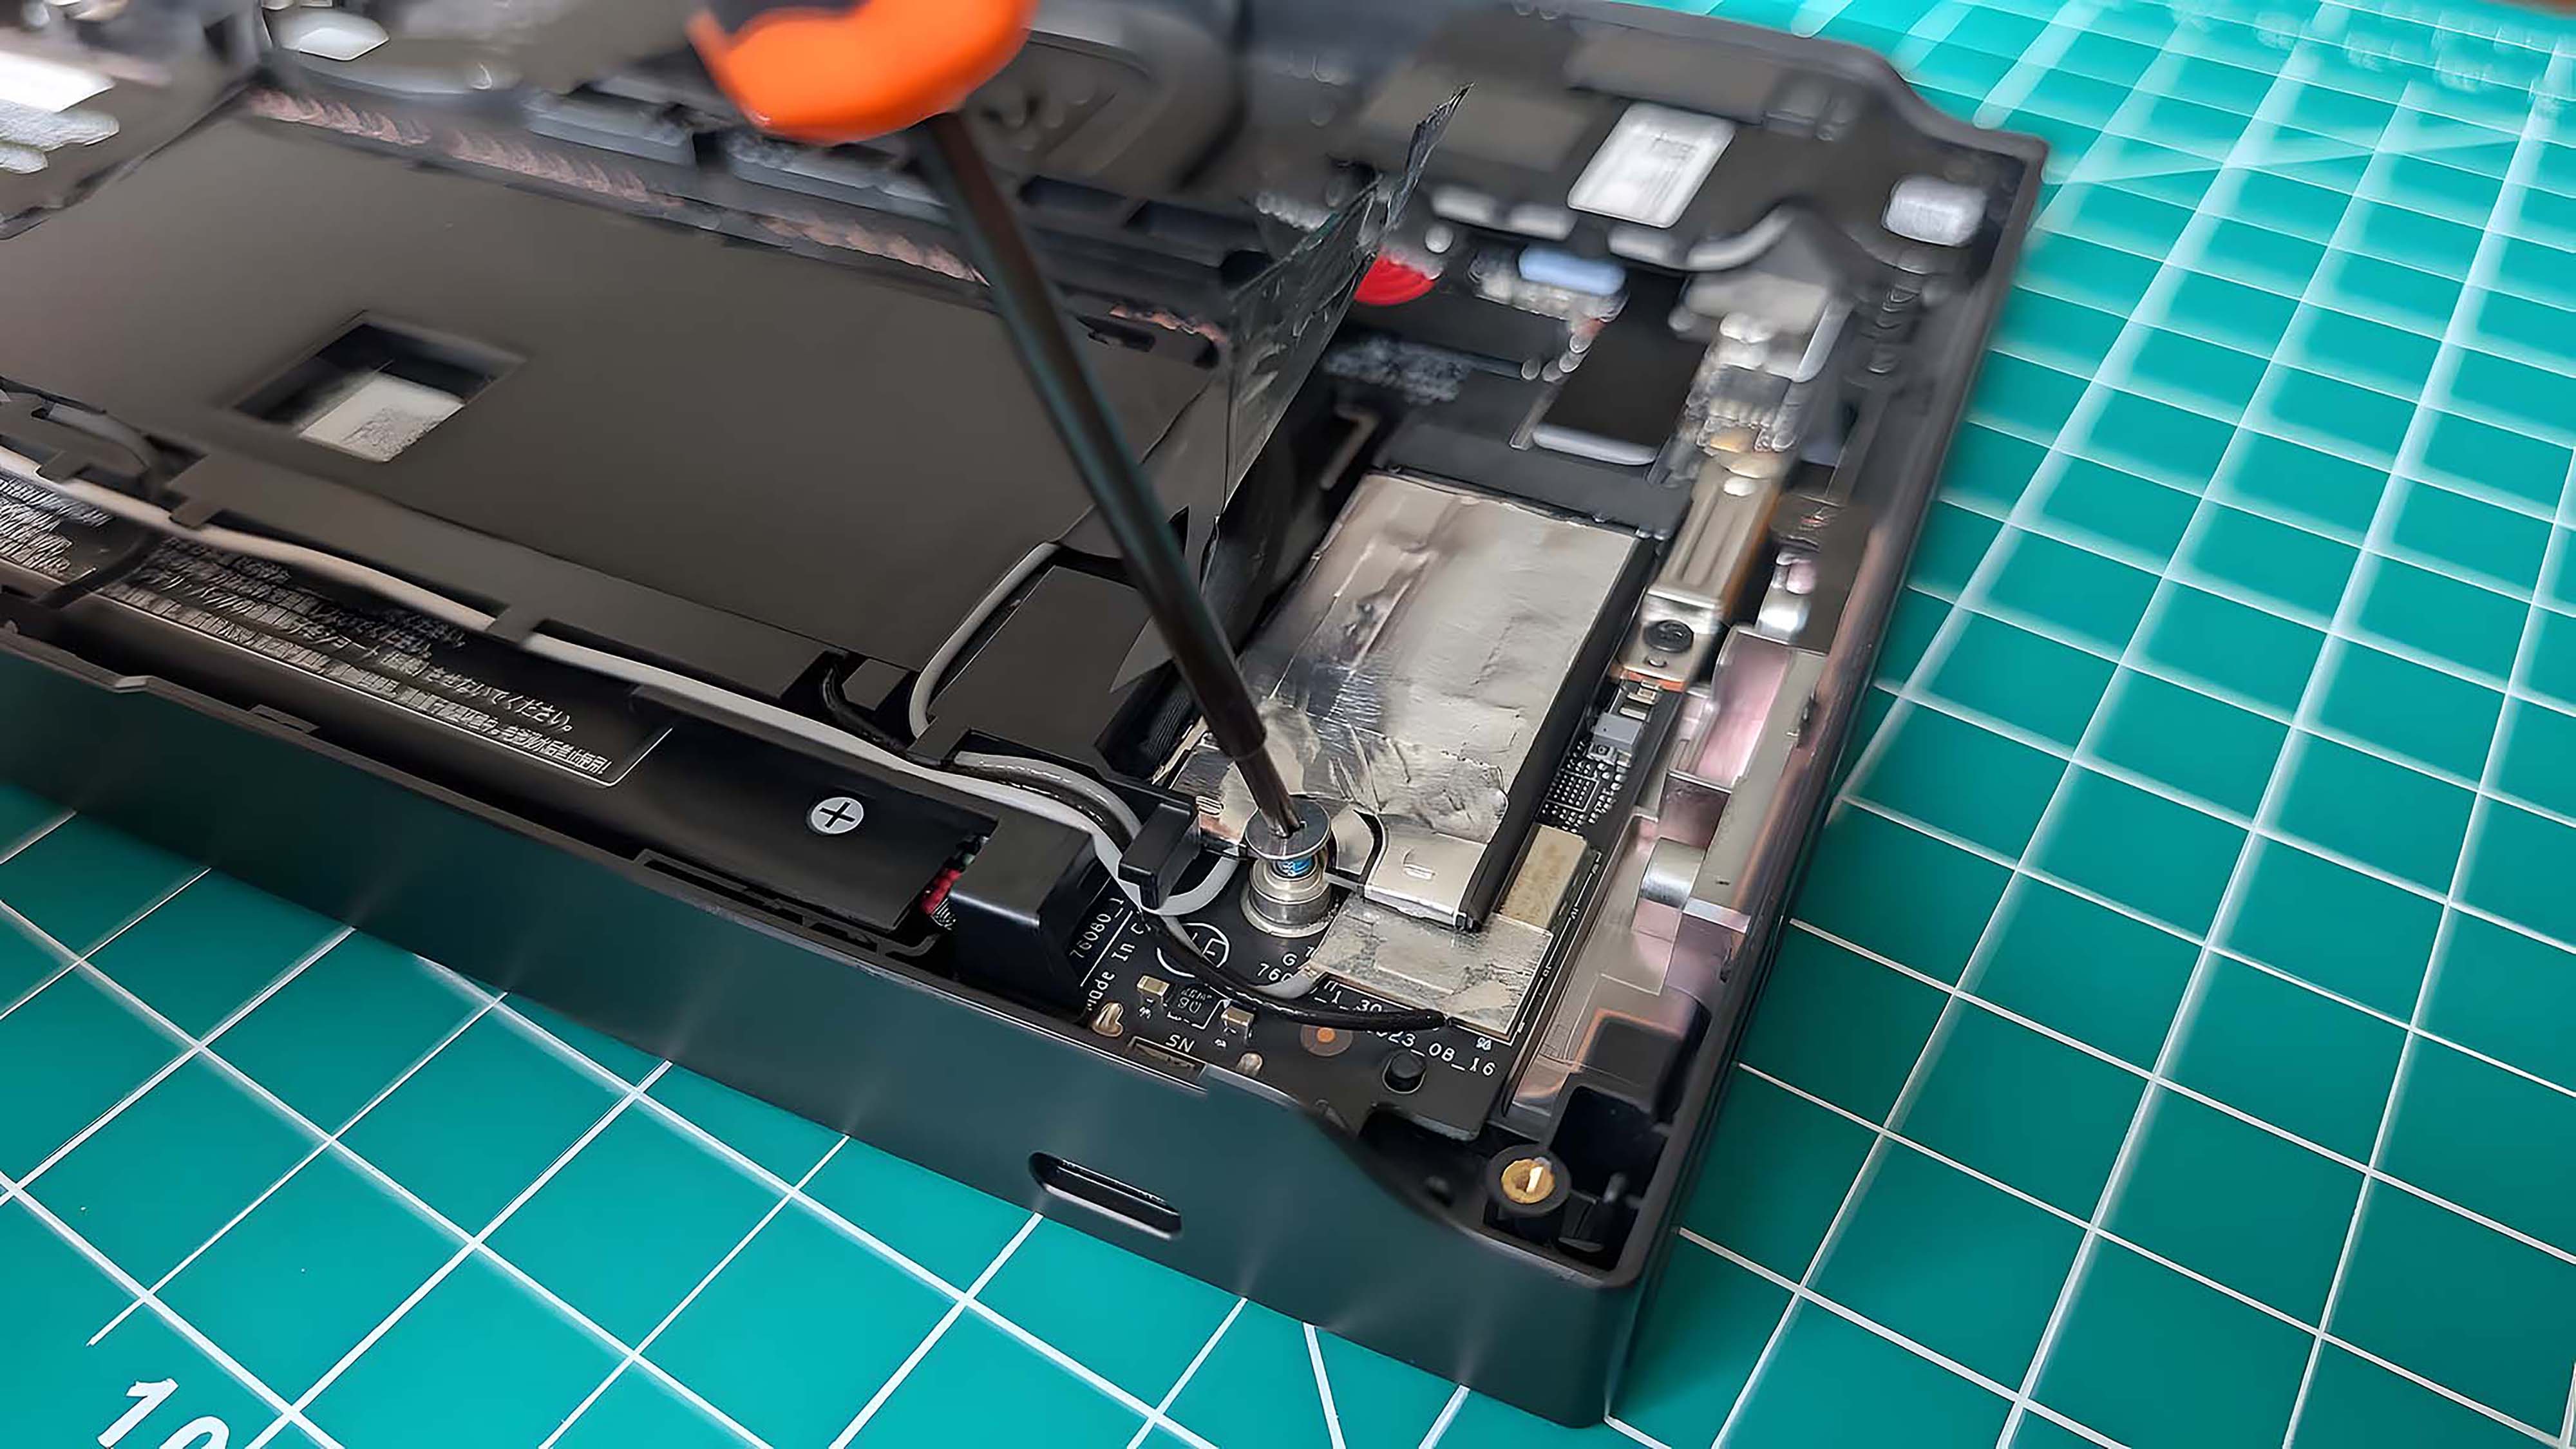
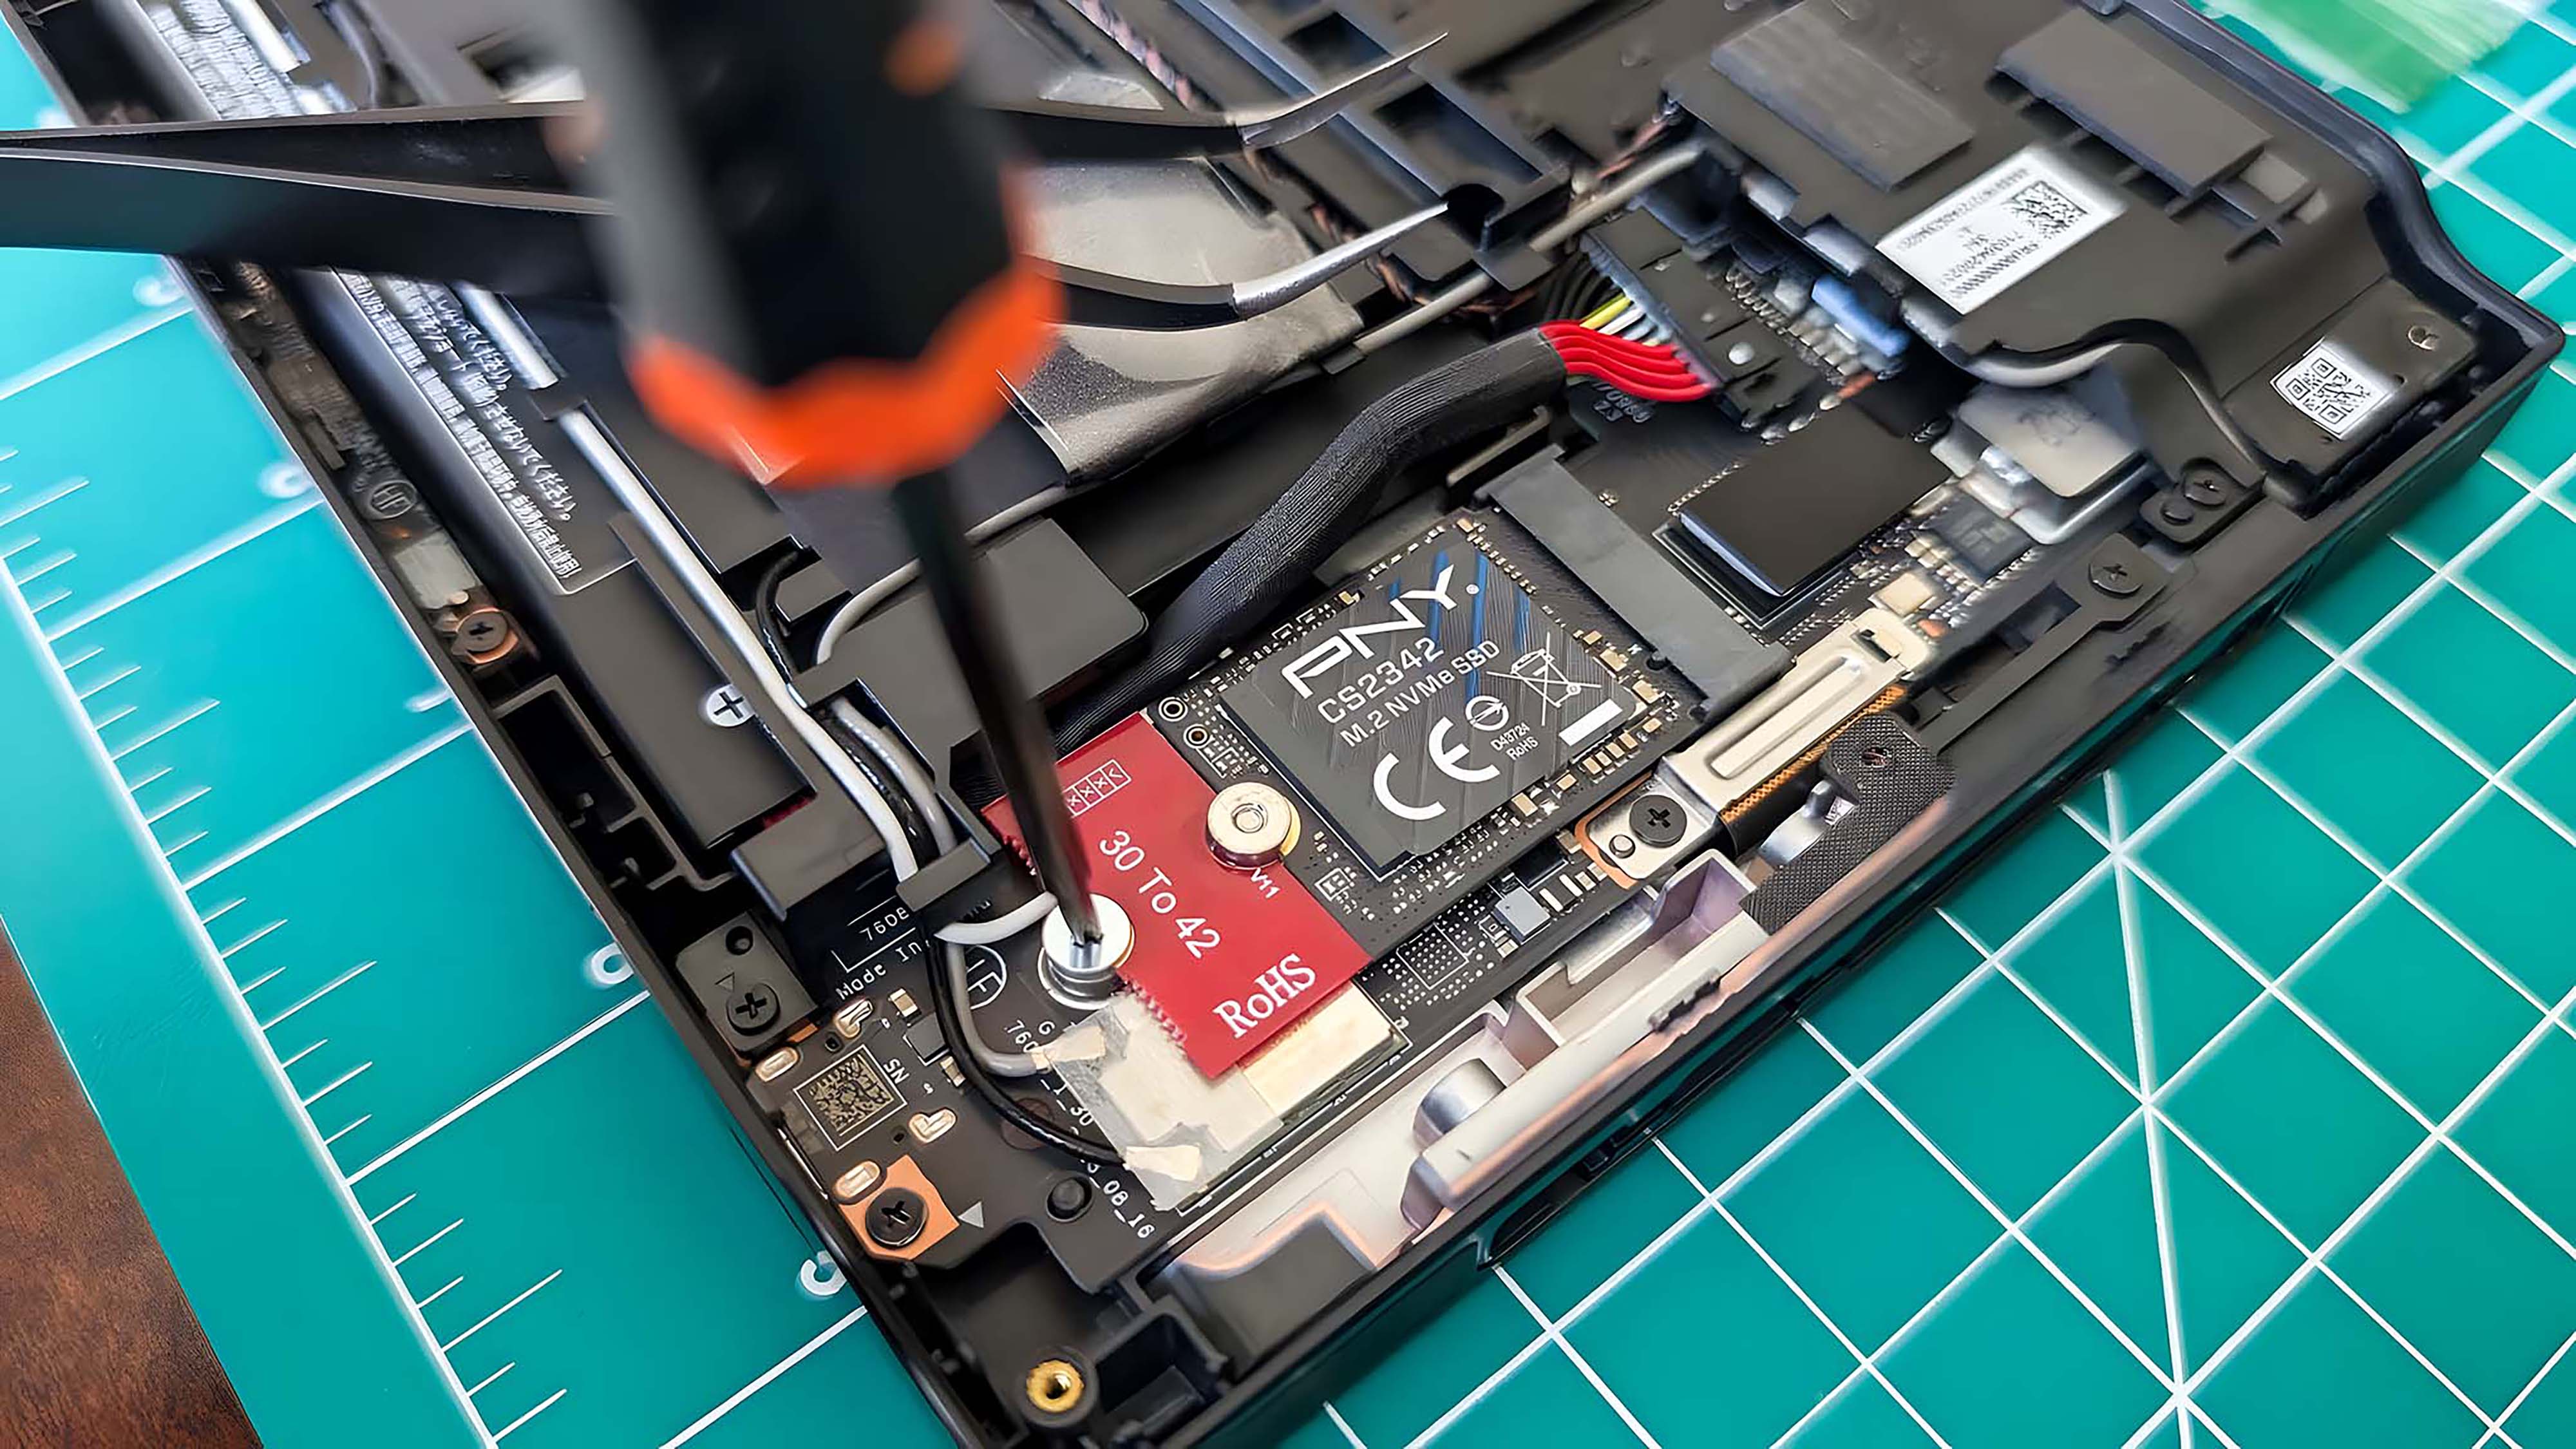
- Use a PH1 screwdriver to unscrew the SSD. Place the screw somewhere safe.
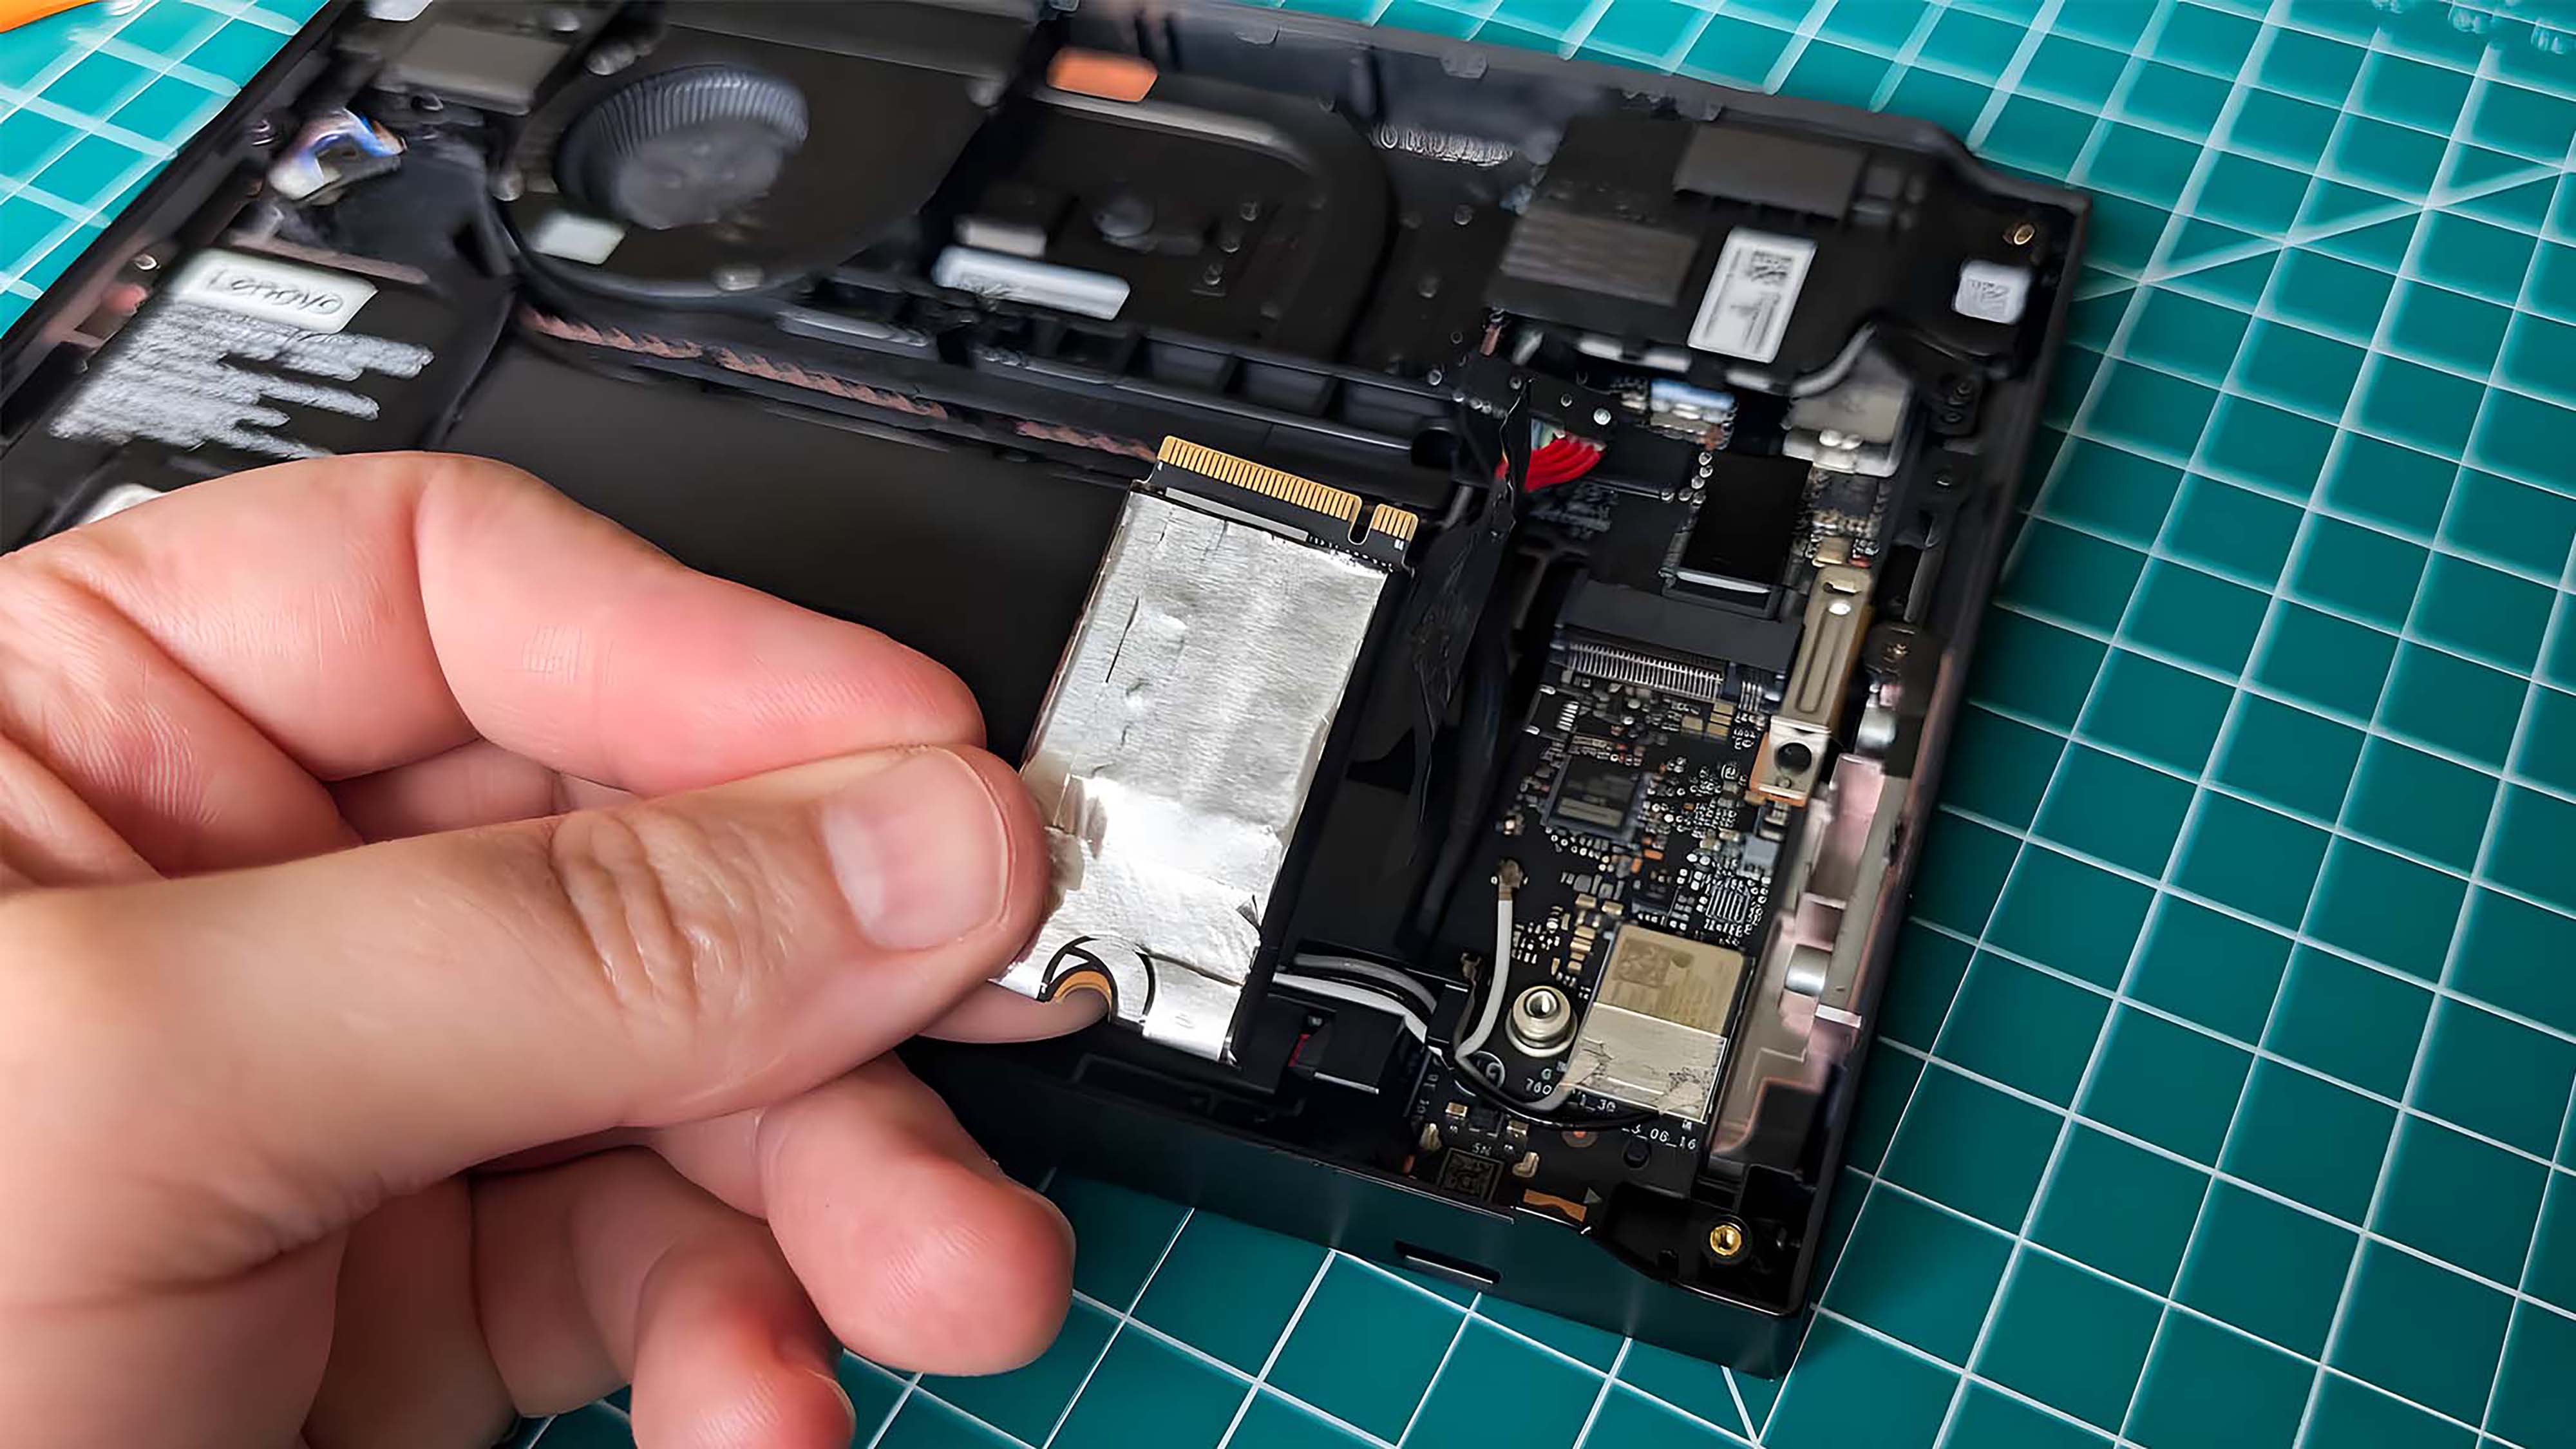
- Remove the original SSD by pulling upward and straight back from the connection area.
- If you're using a 2230 M.2 SSD like the PNY, take a moment to slide the SSD into the extender adapter and then tighten the screw to secure the extender adapter to the SSD (if you haven't done this already).
- Slide the new SSD in place and secure it with the PH1 screw.
- Plug the battery cable back in.
- Put the black sticker back in place over the battery cable and SSD.
- Gently press the Legion Go's back cover back into place and pinch the plastic back together.
- Screw the six PH0 back screws back into the casing.
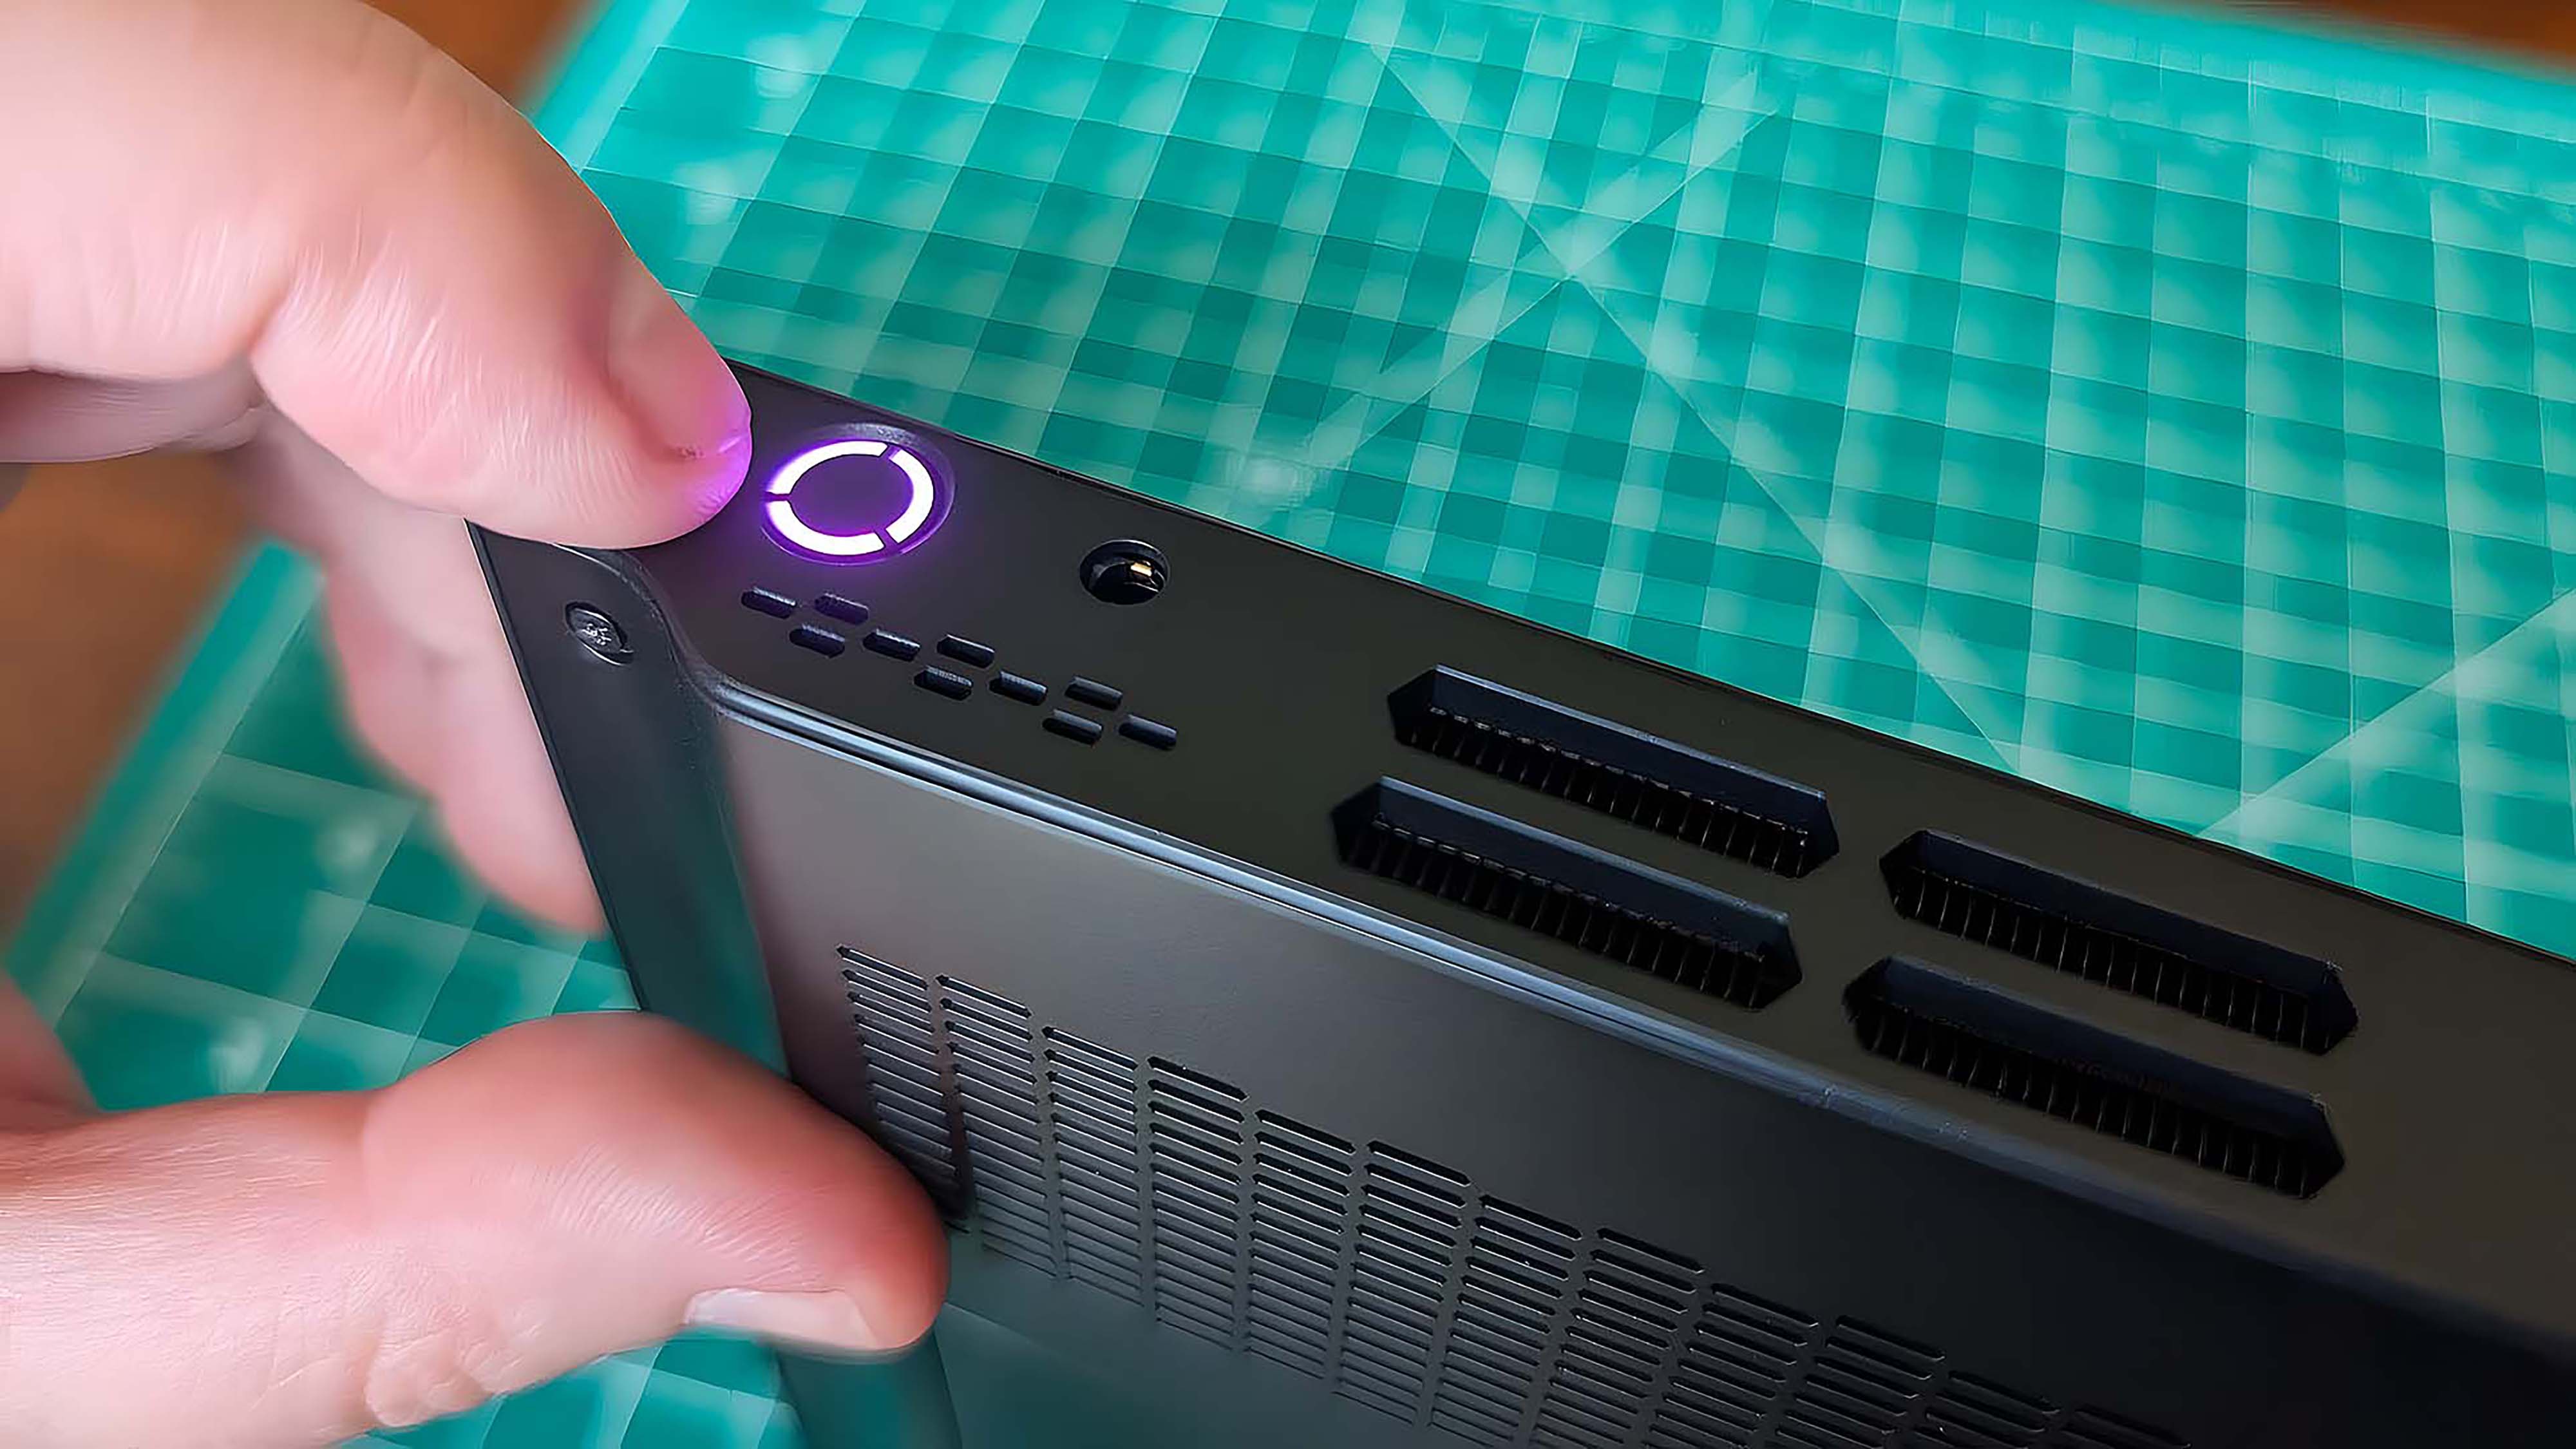
- When it's all back together, press the power button.
- Allow the Legion Go to boot up. Since you've just unplugged the battery and replaced the SSD, the Legion Go will take a few minutes longer to boot up than usual.
With all of those steps completed, you now have the new SSD installed with your old data on it. You should be good to use the Legion Go like usual.
Legion Go SSD FAQ
What are the transfer speeds of the original Legion Go SSD?
In my own testing, the original Legion Go SSD reached a read speed of 5,016 MB/s and a write speed of 1,620 MB/s. These are decent results, but there are far faster M.2 NVMe SSDs for Legion Go out there.
Is a faster SSD better for gaming?
Yes. The faster the SSD, the more quickly your system can access and write data. In other words, an SSD with faster read and write speeds can lead to faster load times and faster saving times.
What is an image backup?
You can think of an image backup sort of like taking a picture. The backup makes a copy of everything on the system at the point that the image is taken.
What is a partition?
A partition is a section of a solid-state drive (SSD). Having partitions allows the device to better organize and access data. It also makes it easier for the SSD to treat each section differently.

Self-professed gaming geek Rebecca Spear is one of Windows Central's editors and reviewers with a focus on gaming handhelds, mini PCs, PC gaming, and laptops. When she isn't checking out the latest games on Xbox Game Pass, PC, ROG Ally, or Steam Deck; she can be found digital drawing with a Wacom tablet. She's written thousands of articles with everything from editorials, reviews, previews, features, previews, and hardware reviews over the last few years. If you need information about anything gaming-related, her articles can help you out. She also loves testing game accessories and any new tech on the market. You can follow her @rrspear on X (formerly Twitter).
You must confirm your public display name before commenting
Please logout and then login again, you will then be prompted to enter your display name.
