How to use Twitch Emotes

Twitch emotes can be fun. Spamming custom emotes not available elsewhere is a time-honored tradition and just plain fun. If you're an aspiring creator, however, you might not be sure of exactly how to get custom emotes up and running on your channel.
How to use Twitch emotes
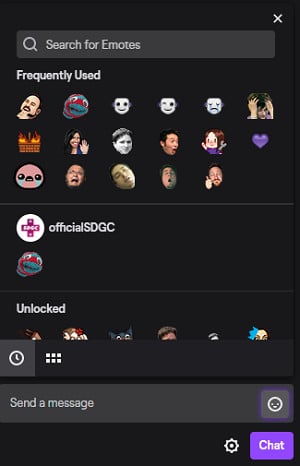
Using an emote on Twitch is quite simple. Once you subscribe to a channel, you can use that channel's emotes anywhere else on Twitch.
- Click on the smiley emoticon in the Chat window.
- Select the emote you want to use.Source: Windows Central
- Send your message with the emote in Chat.
Subscribing to a channel allows you to then use that channel's emotes; however, if you've got a channel of your own and you're interested in learning how to upload some custom emotes, it's a bit more of an involved process.
How to make your own Twitch emotes
First, you need to make sure that your emote design doesn't breach the Twitch Code of Conduct. There's a lengthy list of what isn't eligible, including hateful or obscene content, as well as the fact that you can't take someone else's design or use their likeness.
- Choose your image. It needs to be a transparent png.
- If you already have the three images that meet Twitch requirements, skip all the way down to step 9.
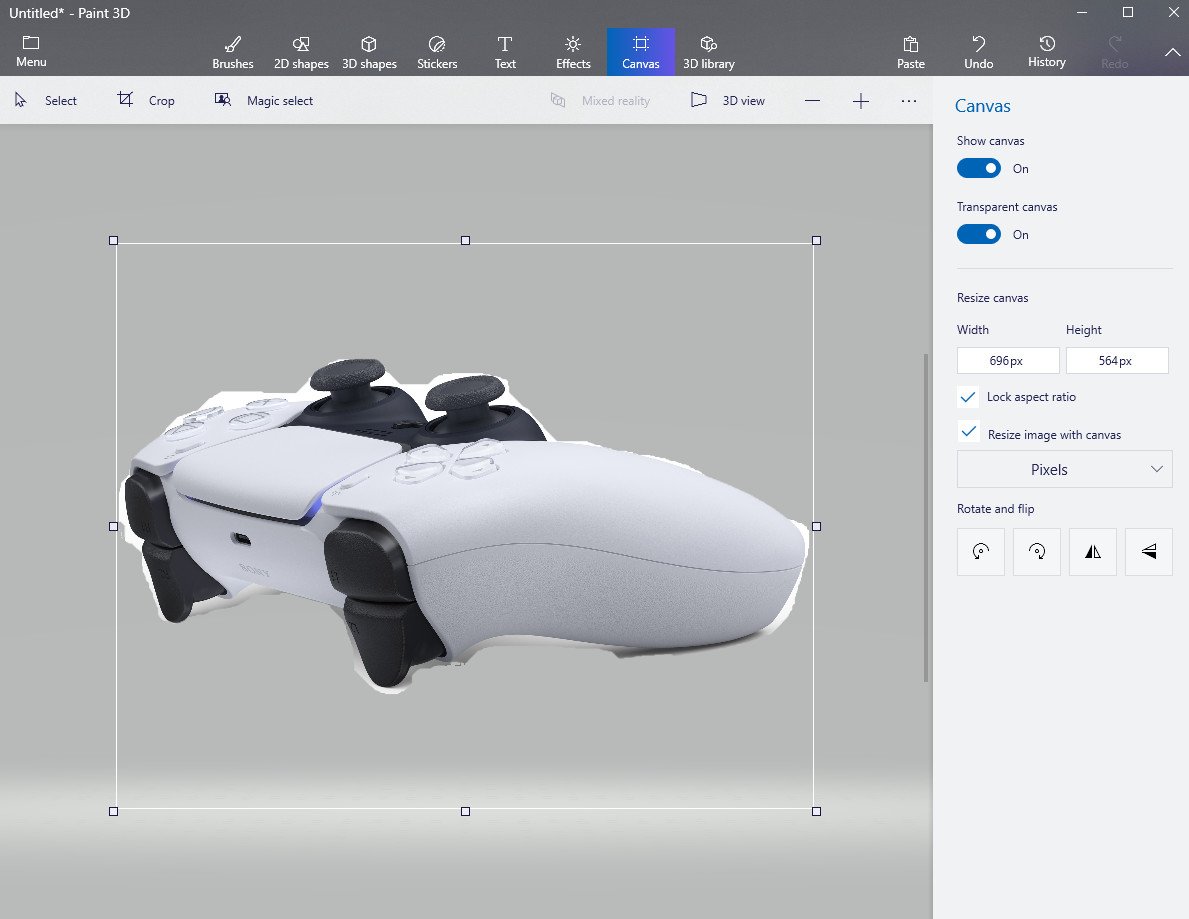
- If you are making these images for the first time, begin by choosing the image you want to use. I'll be using the PS5 DualSense controller as an example. Don't actually use that.
- You can use whatever image customizing software you want, but I'll be using Paint 3D.
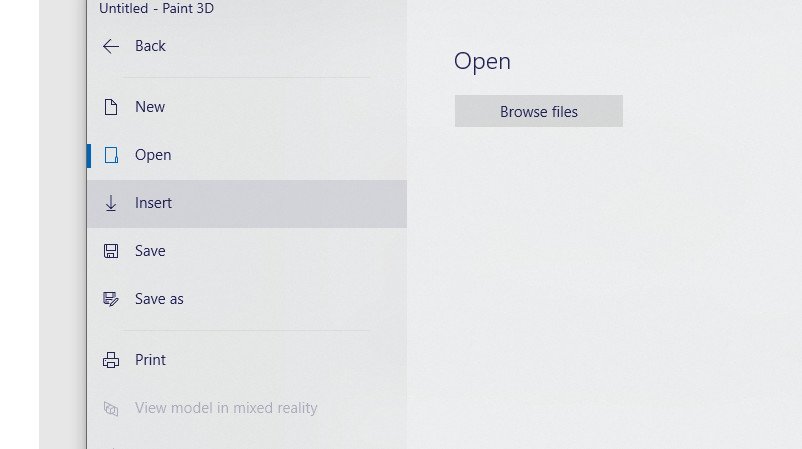
- Insert your image on to the blank canvas.
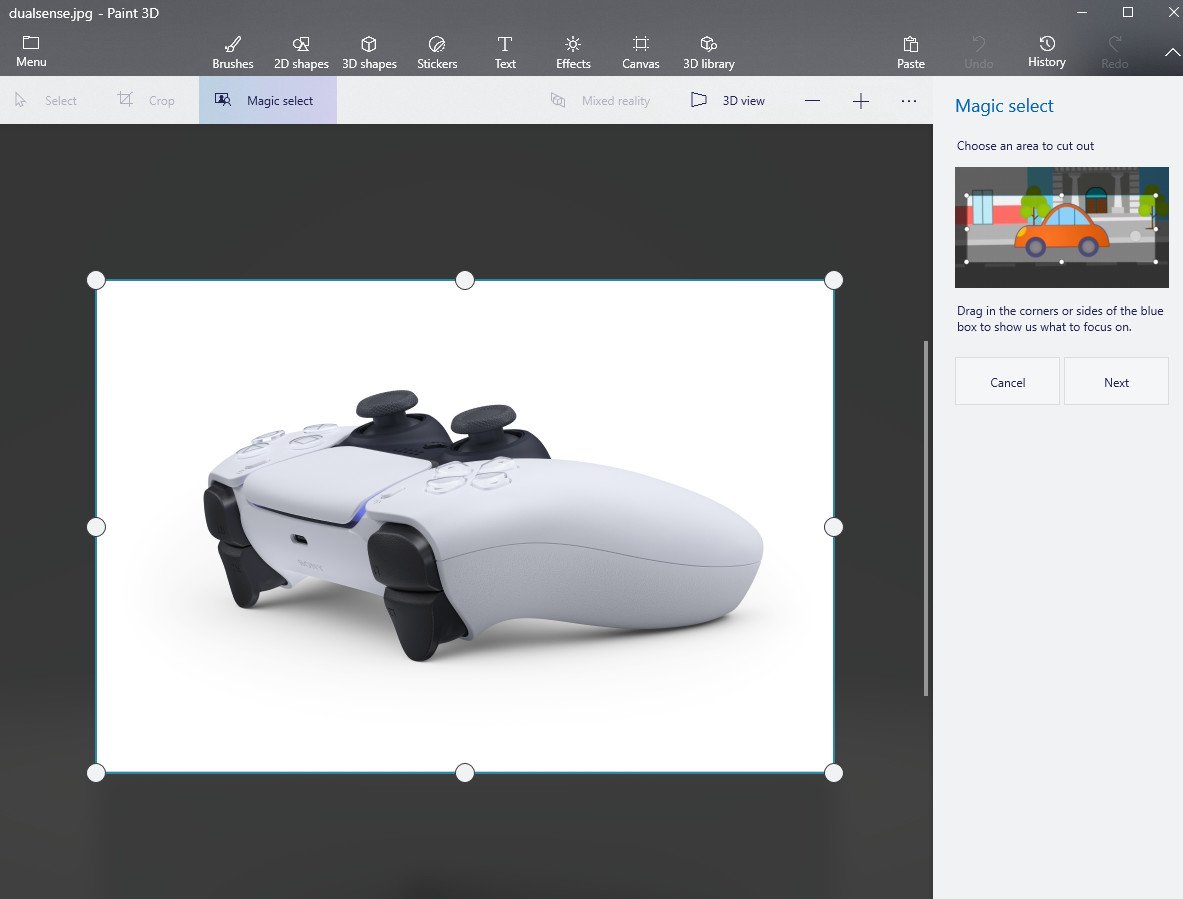
- Now click Magic Select.
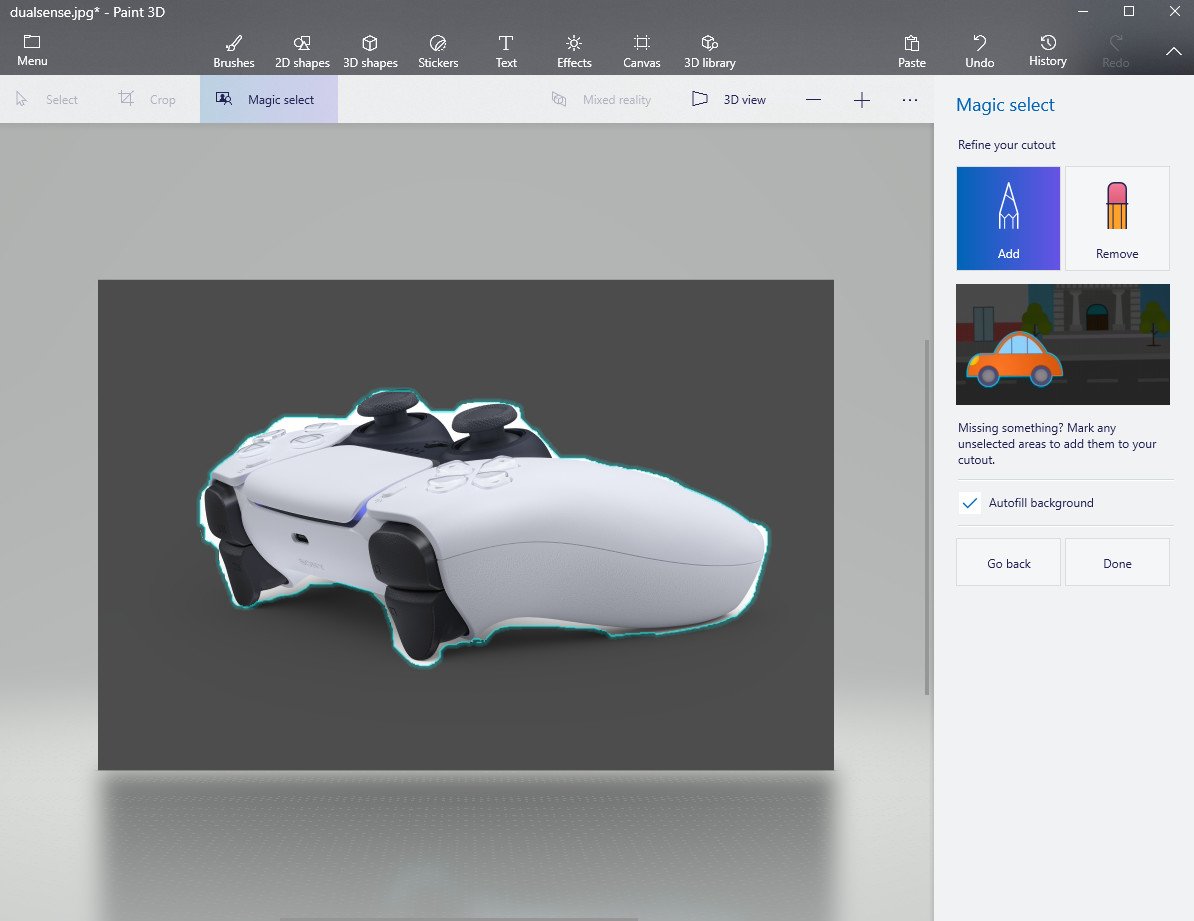
- Carefully outline the image to cut away everything you don't want in the emote.
- To make it easier to see your emotes in dark mode, you can include a 1-pixel off-white outline, if you so choose. This is recommended but not required.Source: Windows Central
- Now, click Make Sticker and confirm the image as a sticker.
- Click Menu.
- Open a New project.
- Now, click Canvas.
- Turn on Transparent canvas.
- Insert your sticker. Make sure to expand it, so it fills the available canvas.
- Resize the image.
- You'll need the image in three different sizes: 28px x 28px, 56px x 56px, and 112px x 112px.
- Each time you resize the image, save it as a png.
- Now, you're all set to upload your emote. Go to your Twitch Dashboard.
- Go to the Affiliate/Partner Settings tab.
- Click Emotes, and upload your emote in the sizes specified for each tier.
- Click Save Changes.
Just like that, you're all set to enjoy your new custom emotes. If you're exploring streaming and you're interested in learning how to stream games like Resident Evil 3 on Twitch, you can check out our guide here.
Our top picks
While they aren't necessary to enjoy Twitch, a subscription to Twitch Prime allows you to enjoy one free subscription to a channel. As a result, you won't need to fork out the cash for that subscription every month!

Elevate your viewing experience
Twitch Prime is included with Amazon Prime and gives you access to special packs of skins and currency across different games like League of Legends, Apex Legends, and Fortnite. You'll also get a free subscription to any Twitch channel of your choosing.
Other helpful items to enhance your streaming experience
If you want to stream yourself playing games on Twitch, there are a few other helpful pieces of equipment that you should consider getting.
All the latest news, reviews, and guides for Windows and Xbox diehards.
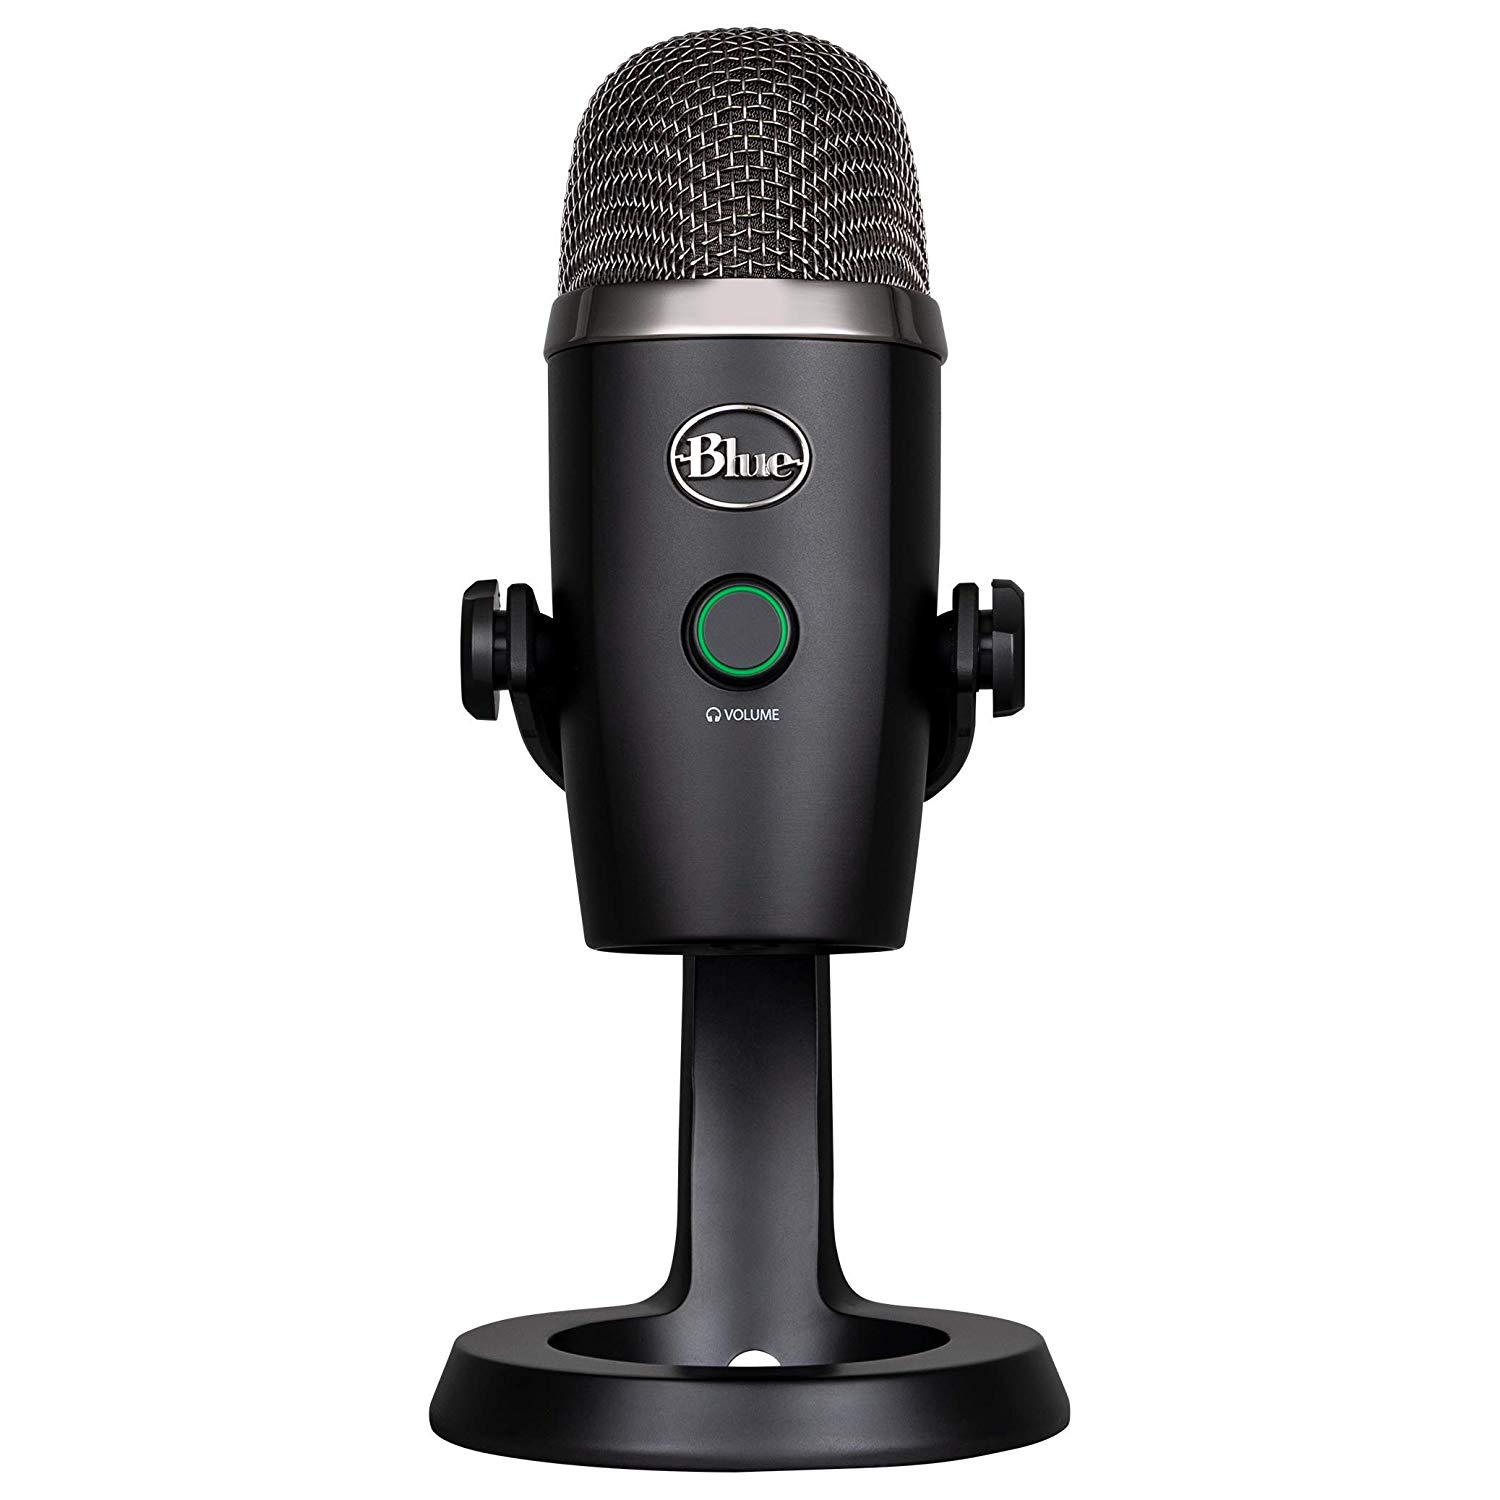
Yeti Nano ($100 at Best Buy)
This microphone will help you sound your best when recording yourself or while live streaming. It's relatively small and doesn't take up a lot of room on your desk or table.
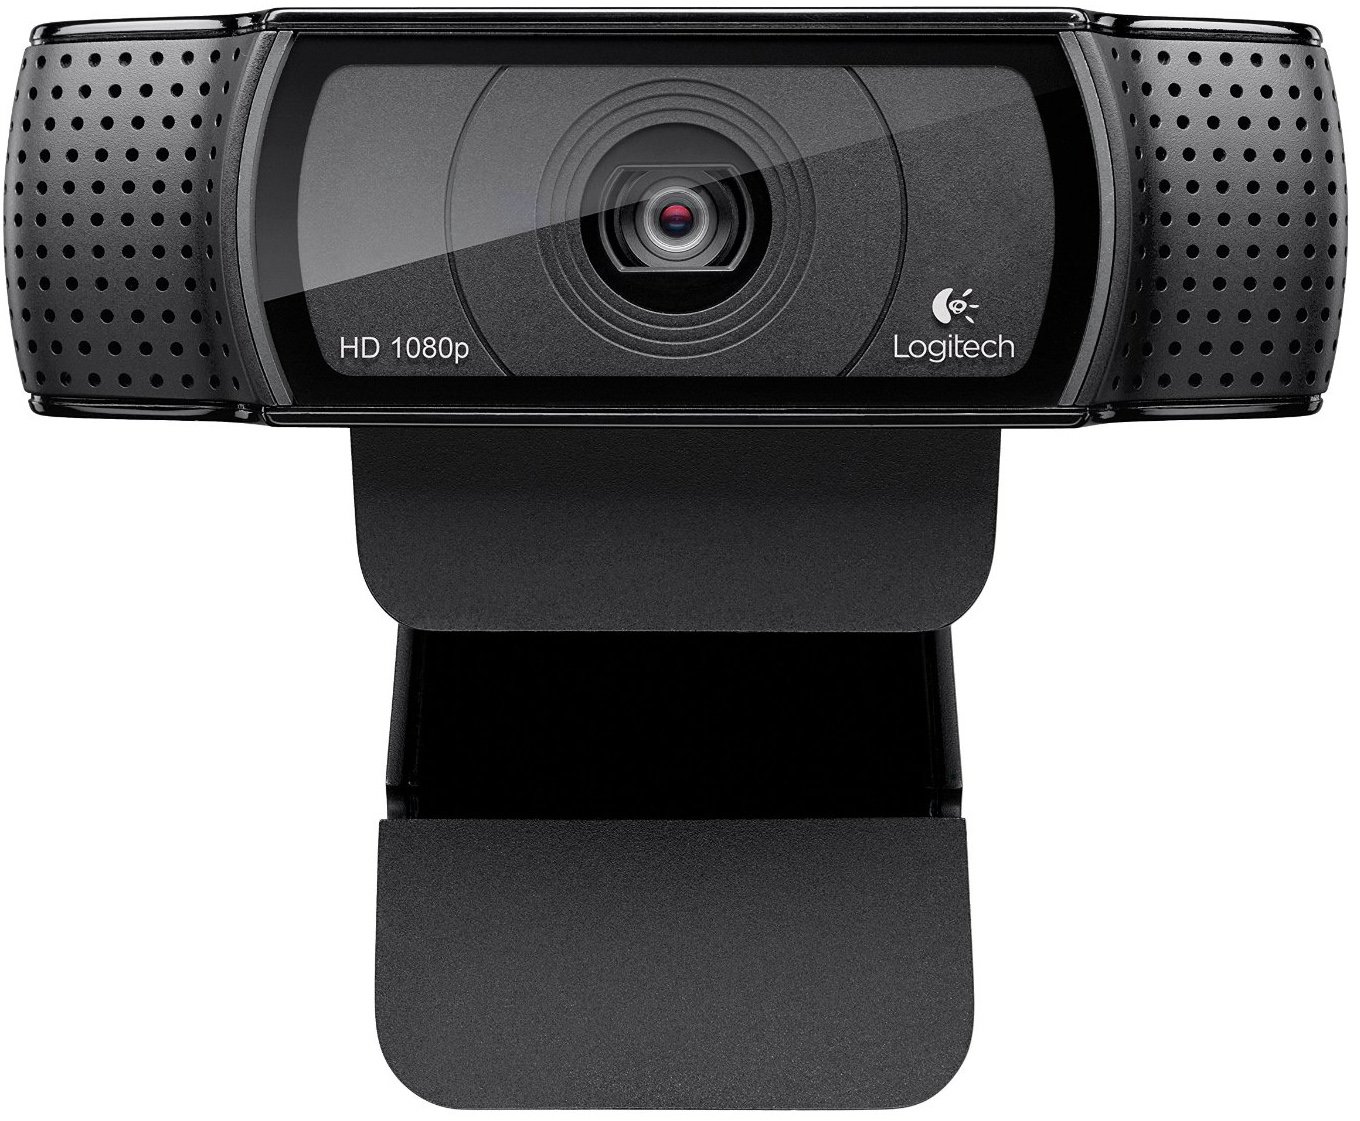
Logitech C920 HD Pro Webcam ($90 at Adorama)
This webcam supports Full HD 1080p video and produces bright images. It's an excellent option for anyone looking to stream content on YouTube, Twitch, or Mixer.
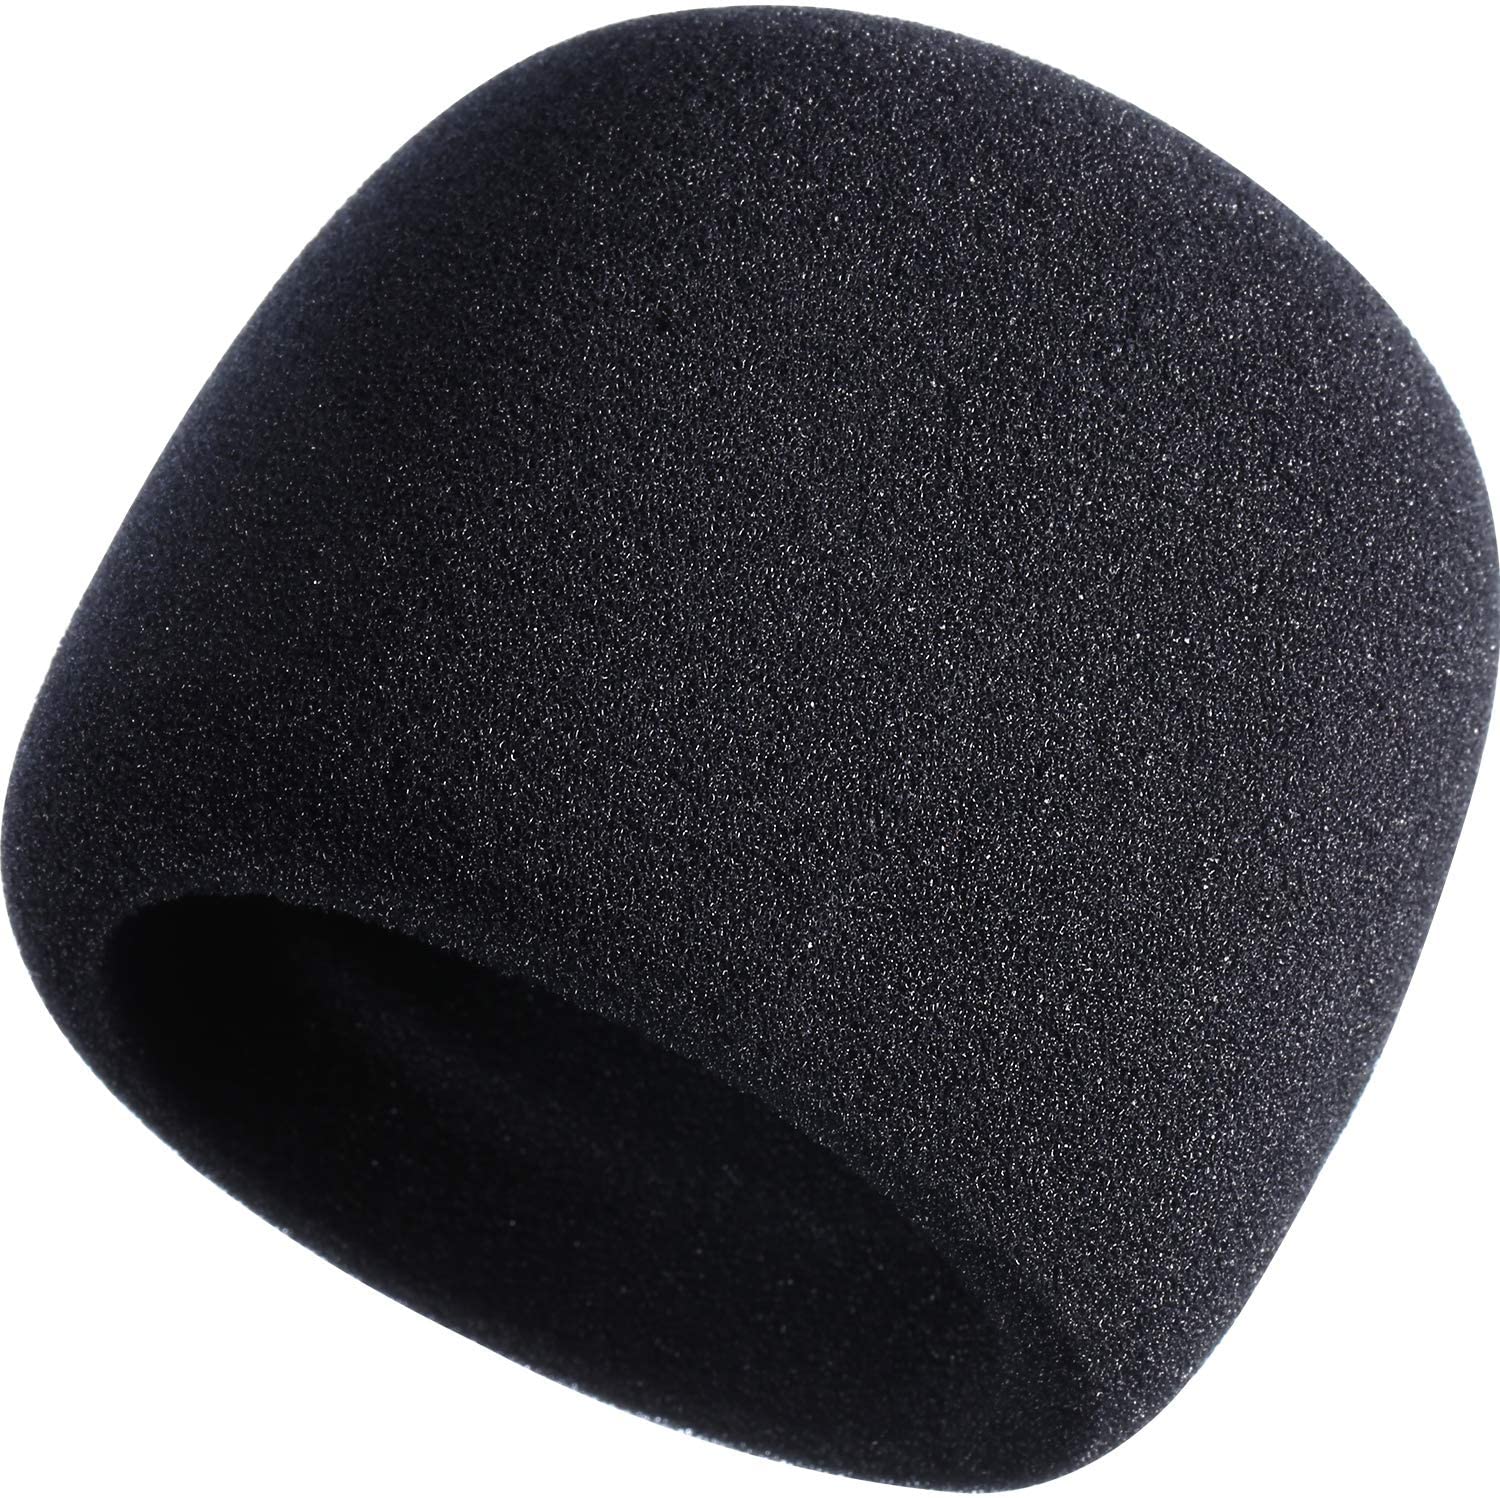
Foam mic cover ($8 at Amazon)
Place this over your microphone to prevent spit, wind, or hissing from making its way onto your recordings. It easily fits into place and doesn't cost much either.
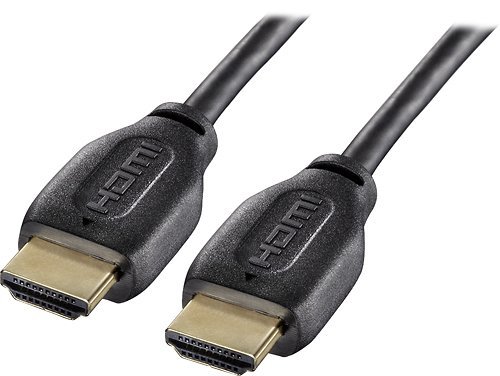
HDMI cables ($7 at Best Buy)
You're gonna need an extra set of HDMI cables to connect your capture card to a monitor or TV. These ones are inexpensive, six-feet long, and will get the job done.

Samuel Tolbert is a freelance writer covering gaming news, previews, reviews, interviews and different aspects of the gaming industry, specifically focusing on Xbox and PC gaming on Windows Central. You can find him on Bluesky @samueltolbert.bsky.social.
