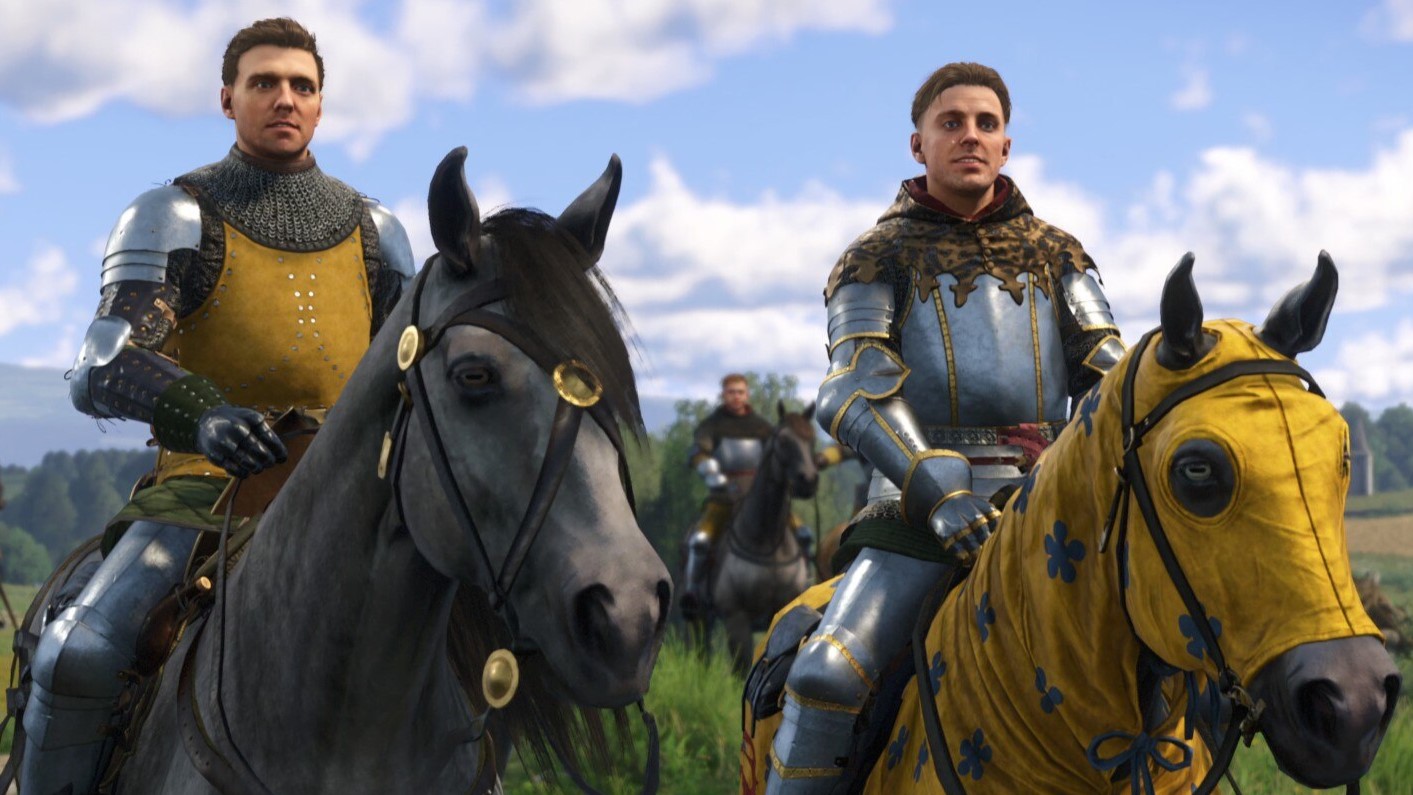
Destiny 2 King's Fall Raid guide: Full walkthrough and tips to beat all encounters
Smash Destiny 2’s new raid, King’s Fall, with this guide and tips.

All the latest news, reviews, and guides for Windows and Xbox diehards.
You are now subscribed
Your newsletter sign-up was successful
As The Witch Queen’s midpoint passes and fall approaches, it’s time for a new Destiny 2 season and a raid to match. Like the Vault of Glass release in Beyond Light, Bungie has revamped a previous Destiny hit — this time, King's Fall is back.
While longtime Destiny players may be familiar with past mechanics, a lot has changed, and our King's Fall guide has you covered step by step. Here's how to make quick work of Oryx and complete Destiny 2's latest challenge.
Getting started: Best King's Fall classes / subclasses

Every Guardian can provide pivotal support in King’s Fall, but some classes and subclasses provide a notable edge.
In our first King's Fall walkthrough, we used damage and survivability supers besides the first encounter. Warlocks would either use the Solar subclass with a Well of Radiance or the Arc subclass with Chaos Reach. Titan could use their Void subclass with the Ward of Dawn or Arc subclass with Thundercrash. Hunters used Golden Gun for Precision DPS on the Solar subclass and Deadfall Tether with the Void subclass.
You can check our Destiny 2 build guide for some added recommendations based on hundreds of hours of play.
Getting started: Best King's Fall weapons and gear
As Destiny 2’s arsenal of weapons continues to grow, more and more options become viable over time, but some still shine above others, especially in King’s Fall. While experiences may differ, we believe the following were integral to clear various encounters in the raid.
- Izanagi’s Burden: There are many mid-range bosses in King’s Fall with sizable crit spots, making Izanagi’s Burden the perfect option. You will need to remain stationary at positions where short-range weapons are a liability, so the tried and tested Izzy proves effective as it always does.
- Lament: The Lament is the perfect weapon for the first and second encounters. It melts through the Solar-shielded Wizards and Taken Knights in Totems at blinding speeds and offers an extensive amount of damage per second when dealing with the Warpriest in the second encounter.
- Divinity: While there are some generous crit spots in King’s Fall, like Golgoroth’s, it never hurts to crank up the damage with a Divinity and add some easier-to-hit crit spots on the fourth encounter. Divinity does Arc damage too, which can come in handy in tighter situations where you need to pop some Arc shields or tackle larger enemies as a team.
- Sleeper Simulant: Like Izanagi’s Burden, Sleeper Simulant is excellent for mid to long-range damage. While it might not have the same combo of Izzy and Paly, it still does a respectable amount of damage and can offer an alternative for those who’ve not yet perfected the use of Honed Edge.
- Arbalest: Arbalest is another clutch Linear Fusion Rifle to have in your back pocket, especially when it comes to Golgoroth. It can deal enough damage to grab Golgoroth’s Gaze with a single shot and is very proficient in destroying the sacks on the ceiling. There are bonus points if you pair it with the new Taipan-4FR Linear Fusion Rifle that can be acquired through the new questline.
On top of that, the raid has both Solar and Arc shields and Unstoppable Champions in the first encounter. So make sure you bring a collection of Pulse Rifles for the Unstoppable Champions and your preference of Arc or Solar weapons to complement that. I opted to use Ogma PR6, Syncopation-53, and Insidious for mid- to long-range Pulse Rifles; Deliver and Cartesian Coordinate for high-damage Fusion Rifles; and Palmyra-b, Stormchaser or The Swarm (Adept) on the heavy slot, depending on my chosen exotic for the encounter.
All the latest news, reviews, and guides for Windows and Xbox diehards.
Getting started: King's Fall raid mechanics
Before entering King’s Fall, it’s essential to understand the core mechanics of the raid. As far as consistent mechanics go, King’s Fall only has three mechanics that appear in more than one encounter.
- Brand Claimer: As the title suggests, Brand Claimers will retrieve special buffs from players or enemies. Through King’s Fall, there will be numerous ways to obtain the Brand Claimer buff, such as killing Taken Knights or collecting orbs of energy.
- Brands: Brands appear throughout King’s Fall either on enemies or on players. These brands are required to give auras of protection, allow you to damage bosses, or hold plates throughout the raid.
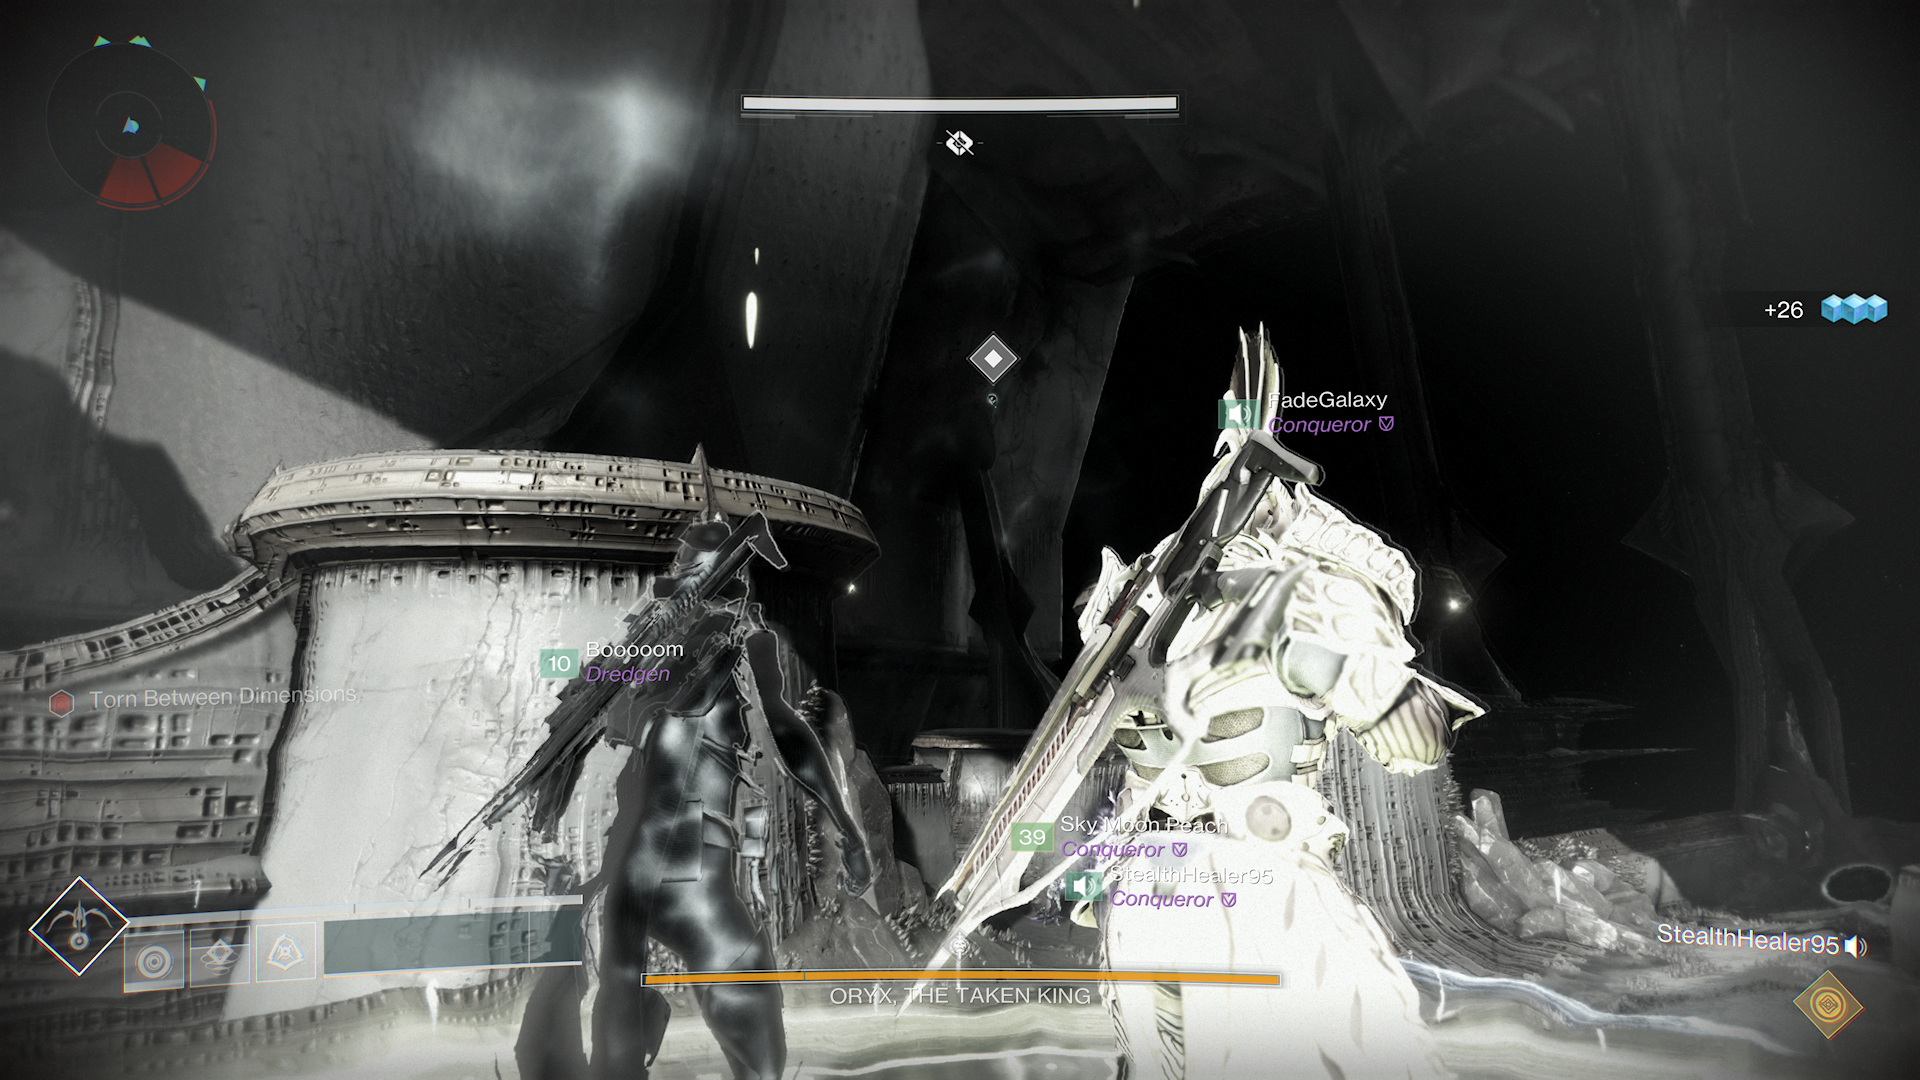
- Torn Between Dimensions: This is a random state applied to your character in the fourth and fifth encounters. Players who are Torn Between Dimensions can jump on hidden platforms triggered by other players standing on plates.
Starting King's Fall: Clearing the Court of Oryx and navigating the space dock
Before entering the first encounter, there’s some work to get started with King’s Fall. Upon loading in, you will be placed in the Court of Oryx, which is the raid's starting area.
Your fire team should split into three groups at this point, two players will enter the room on the left, two players will enter the room on the right, and the final two players will remain in the center. The role of the players on either side is to enter the two rooms and collect one half of a relic and bring it back to the main room.
The main room will have a hallway of statues that will progressively light up. The players holding each relic half must deposit at the glowing relic simultaneously and repeat the process for each statue in the hall. After a player picks up the relic, they will have limited time to return to the hall and deposit it.
While the players run to each side to find their relics, the team must kill the enemies that spawn in the center and destroy the Taken Blights that block the doors, releasing the group to enter their rooms on each side.
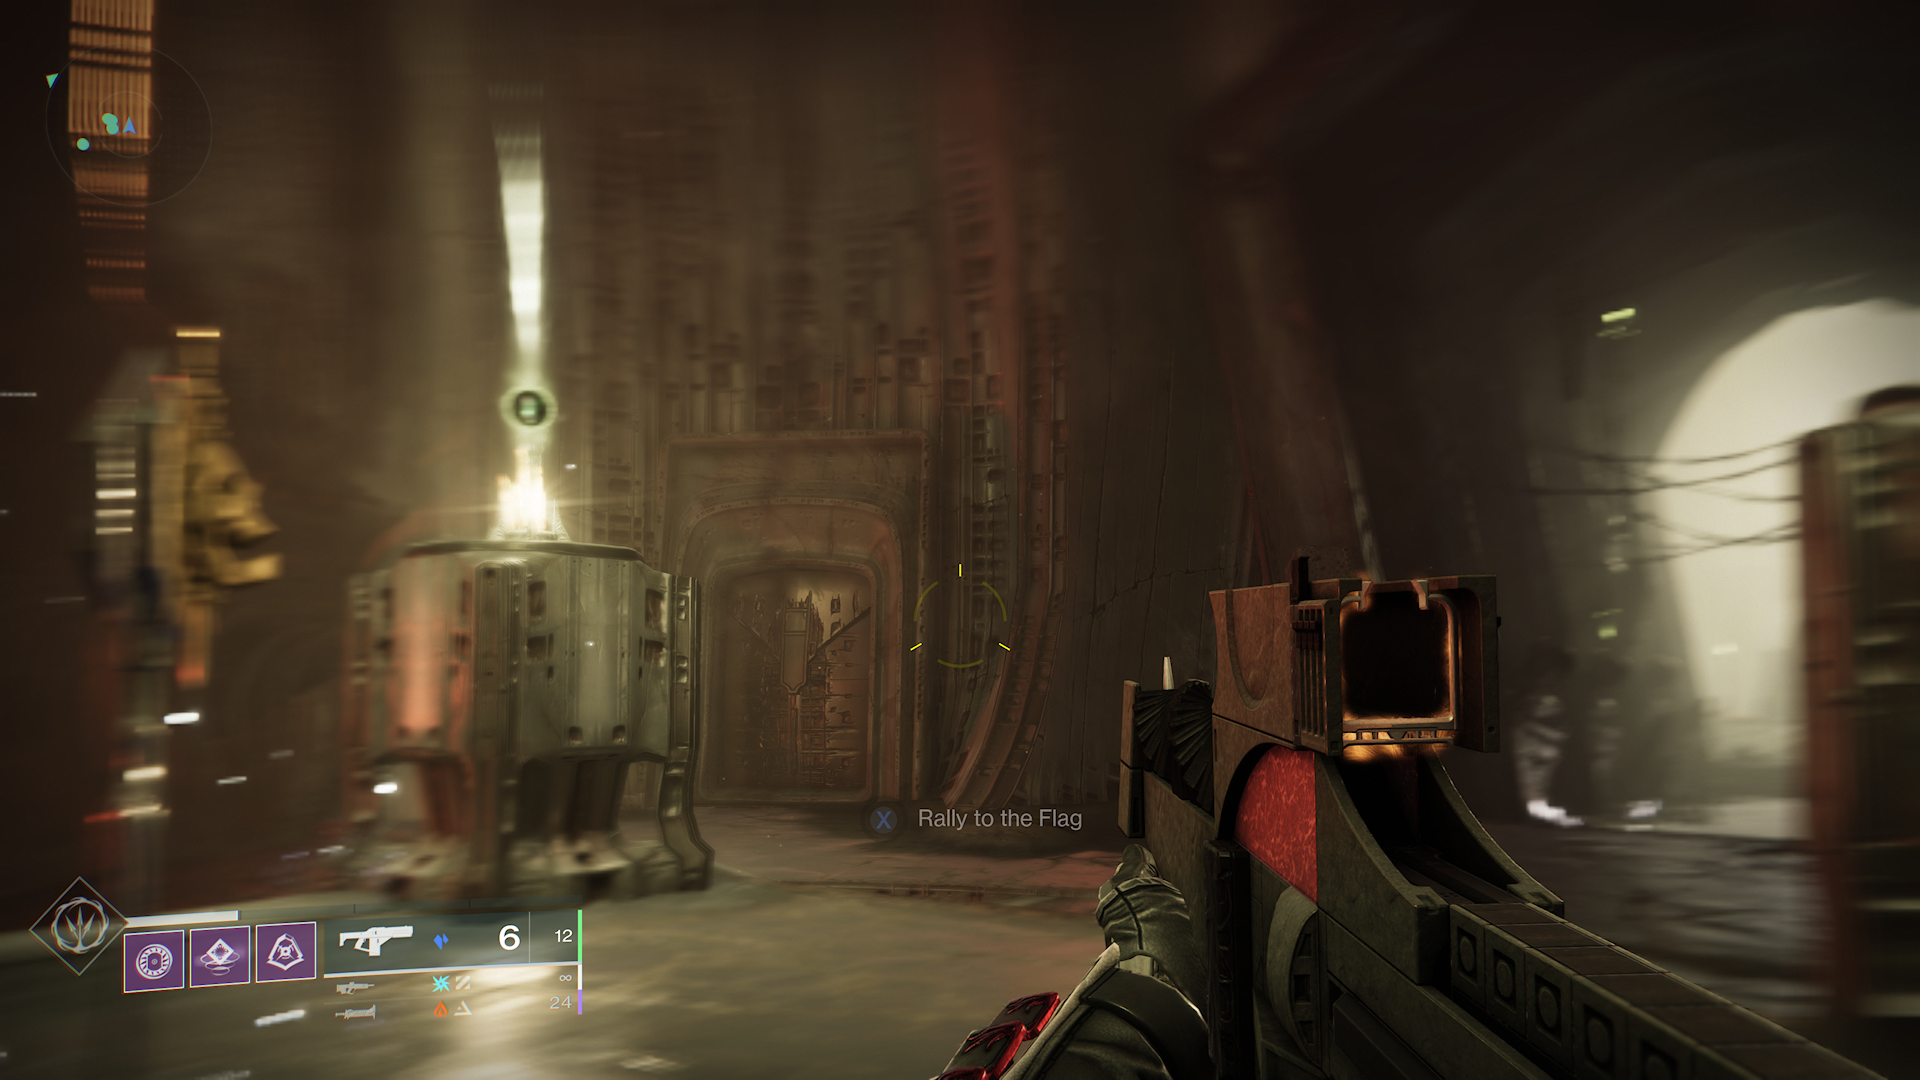
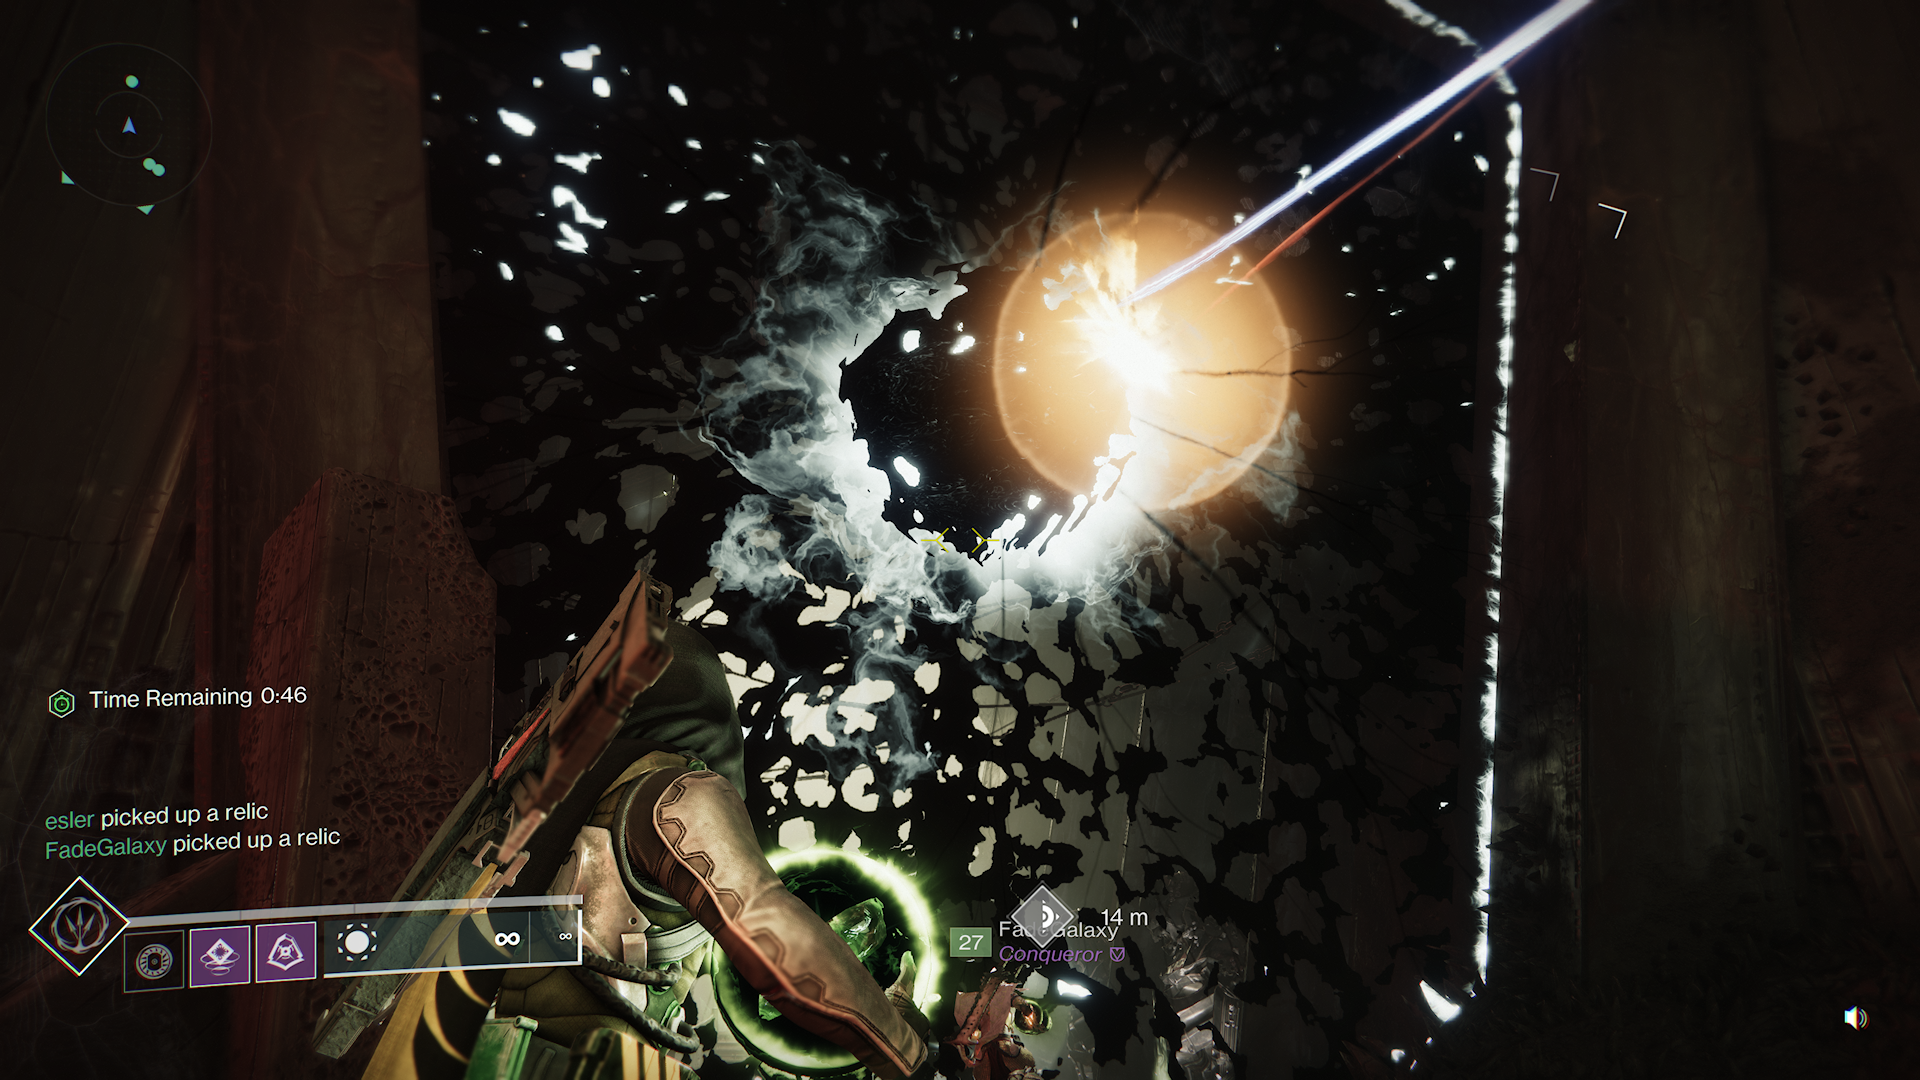
After enough deposits are made, the miasma covering the floor at the back of the Court of Oryx will clear, and a series of enemies will spawn. Kill all of these enemies and enter the portal.
Following the Court of Oryx, you will arrive at an area called The Crux, with swinging pendulums to jump across. This section was slightly more challenging in Destiny 1 as you had to time your jumps, but now it’s a cakewalk.
Next follows Portico, where players must jump across the ships to reach the opposite end of the room. While jumping across, ships will dissolve, making quick reactions essential. You will find a tower in the middle with a final ship that will take players towards the door. On each side of the back of this tower, there will be two plates. A player must stand on each plate and remain on them to open the rear gate. However, instead of going through, the remaining four players should jump enter a hole in the wall to the gate's left. The two players standing on the plates will also open a door. This is where the first secret chest is found in King’s Fall.
Players should loot this chest and jump down to the platform on the opposite side of the door. There should be a group of enemies and two additional plates. These plates act similarly to those on the opposite side of the gate. Two more players should stand on these plates and allow the players left to travel across.
Encounter #1: Totems (Basilica)
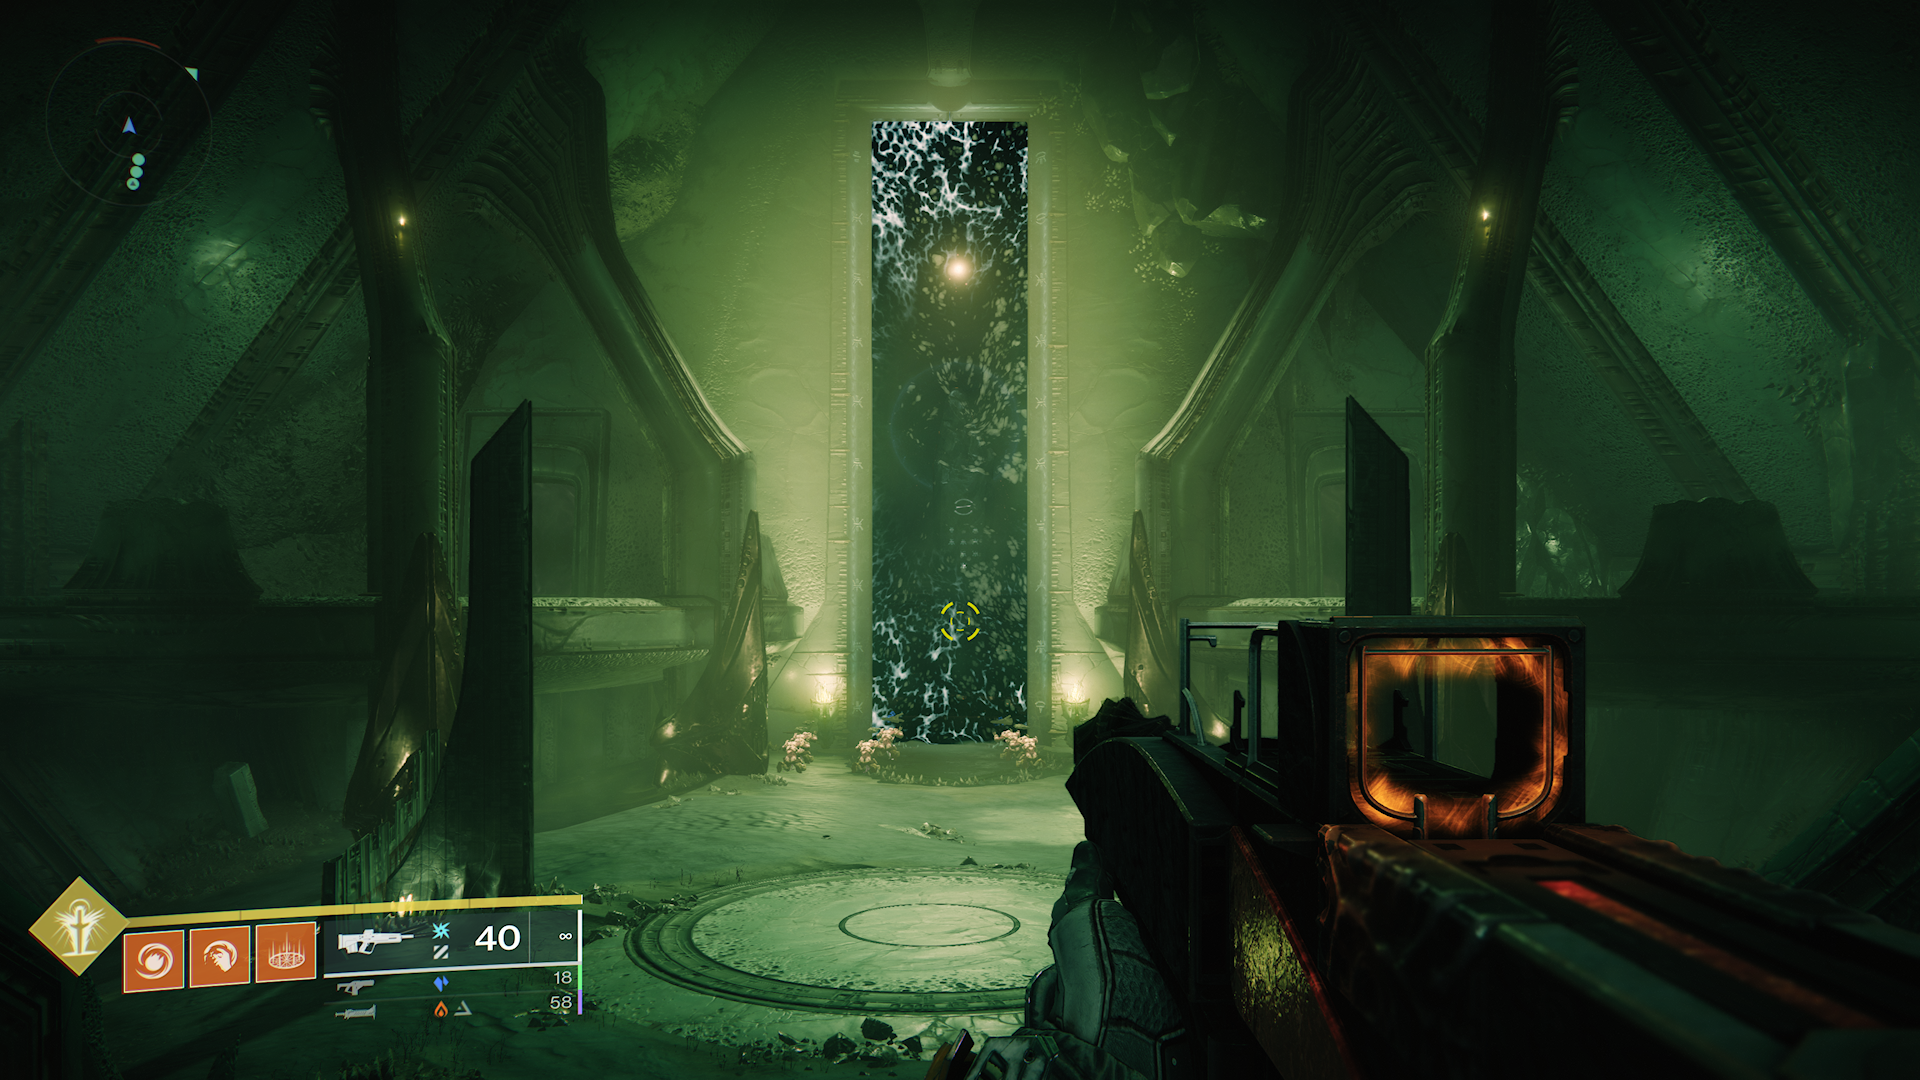
The first encounter in King’s Fall is the Totems encounter in Basilica. For this encounter, you will want to split your team into two to cover each side of the room. Each team will run a relay race, so you will also need to give each person a number from one to three.
To start the encounter, the player designated as number one will need to pick up a small orb on their chosen side of the room. Picking up this orb will start the encounter and give you a Brand that will last 30 seconds. While you have a Brand, each kill will grant you stacks of a buff called Deathsinger’s Power. These players must then run towards the Totem of Annihilation at the back of their respective rooms. If there is no player beneath these totems for a period, your whole team will wipe.
While the first members of each relay team are at the Totem of Annihilation, the member designated as Two should stay in the center. A Hive Wizard will spawn on the ledges of each side of the starting room, and killing this Wizard will spawn a Taken Knight called Blightguard. Killing this Knight will drop an orb that gives the player a Brand Claimer buff. The second player should then take this orb and relieve the player before them under the Totem of Annihilation of their Brand.
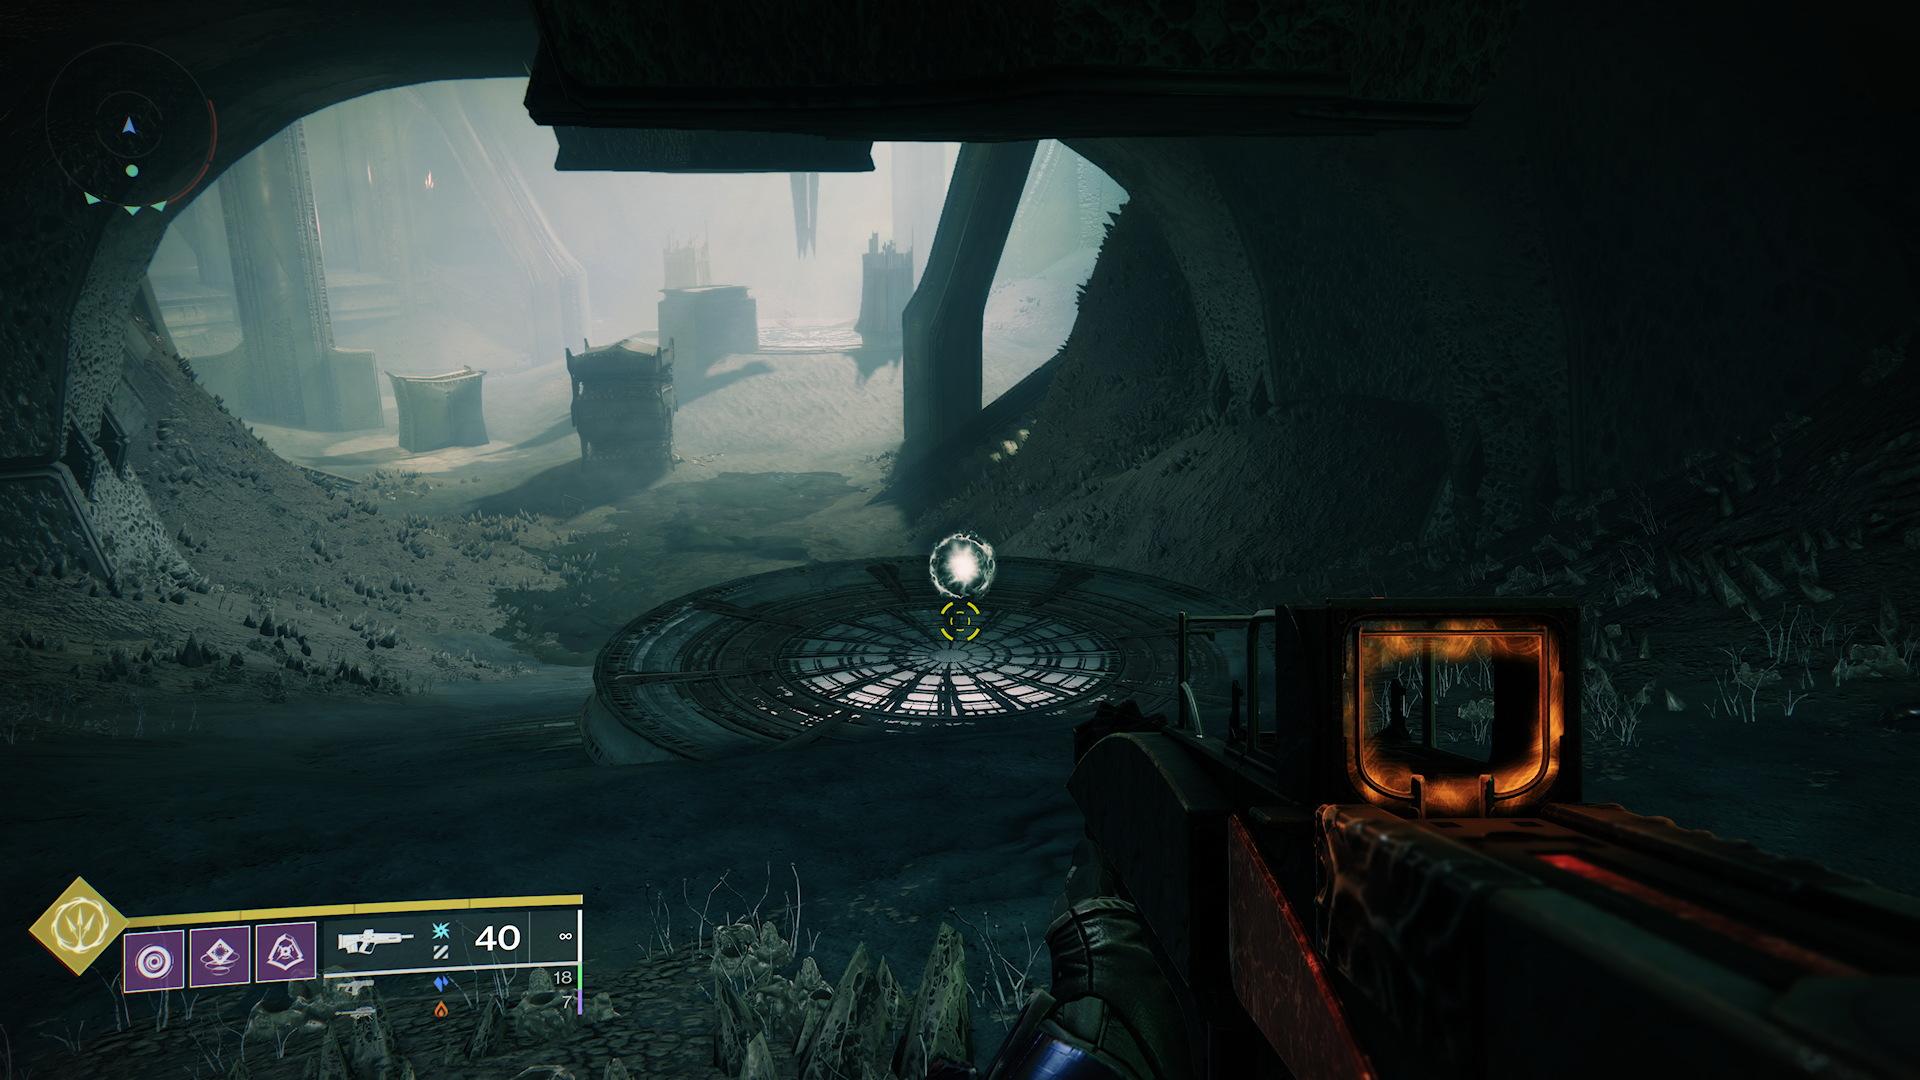
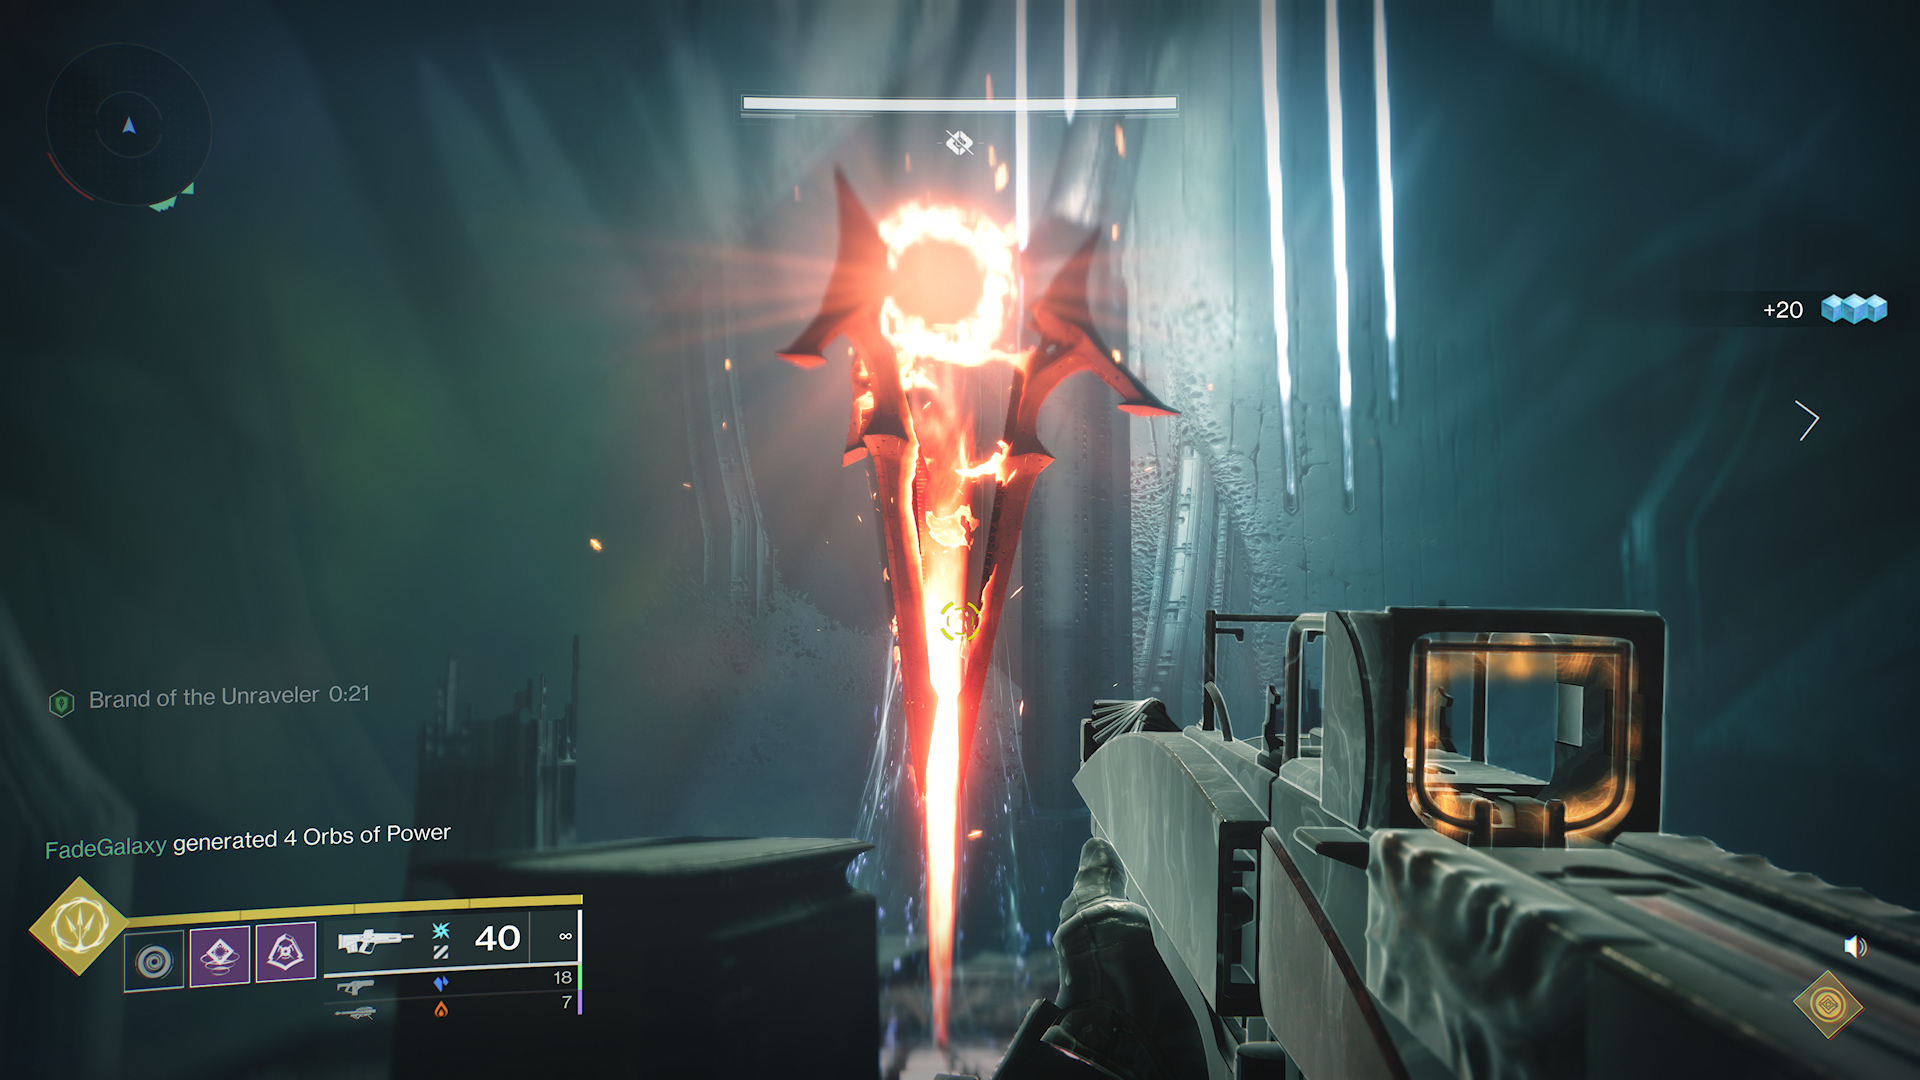
The first player relieved of their Brand should return to the starting room and deposit their Deathsinger’s Power stacks by standing on the glowing green platform at the center of the room. During this time, the third player should repeat the process of killing the Hive Wizard, followed by the Taken Knight, and then use the Brand Claimer buff to take the Brand from the second player. The second player then runs to the starting room and deposits their stacks, just as the first player did, at the center of the room while the first player transitions to killing their Hive Wizard and Taken Knight before heading to the totem of Annihilation to claim the Brand once more.
You will need to repeat this process on each side simultaneously until the encounter ends. As you progress, the glyphs on each side of the door will light up, eventually unlocking the door. The enemies spawning behind the gate will continue to escalate throughout, and at two points, an Unstoppable Champion will spawn in the center room in front of the plate. Successfully depositing enough stacks will open the gate and lead directly into the second encounter.
Encounter #2: Warpriest
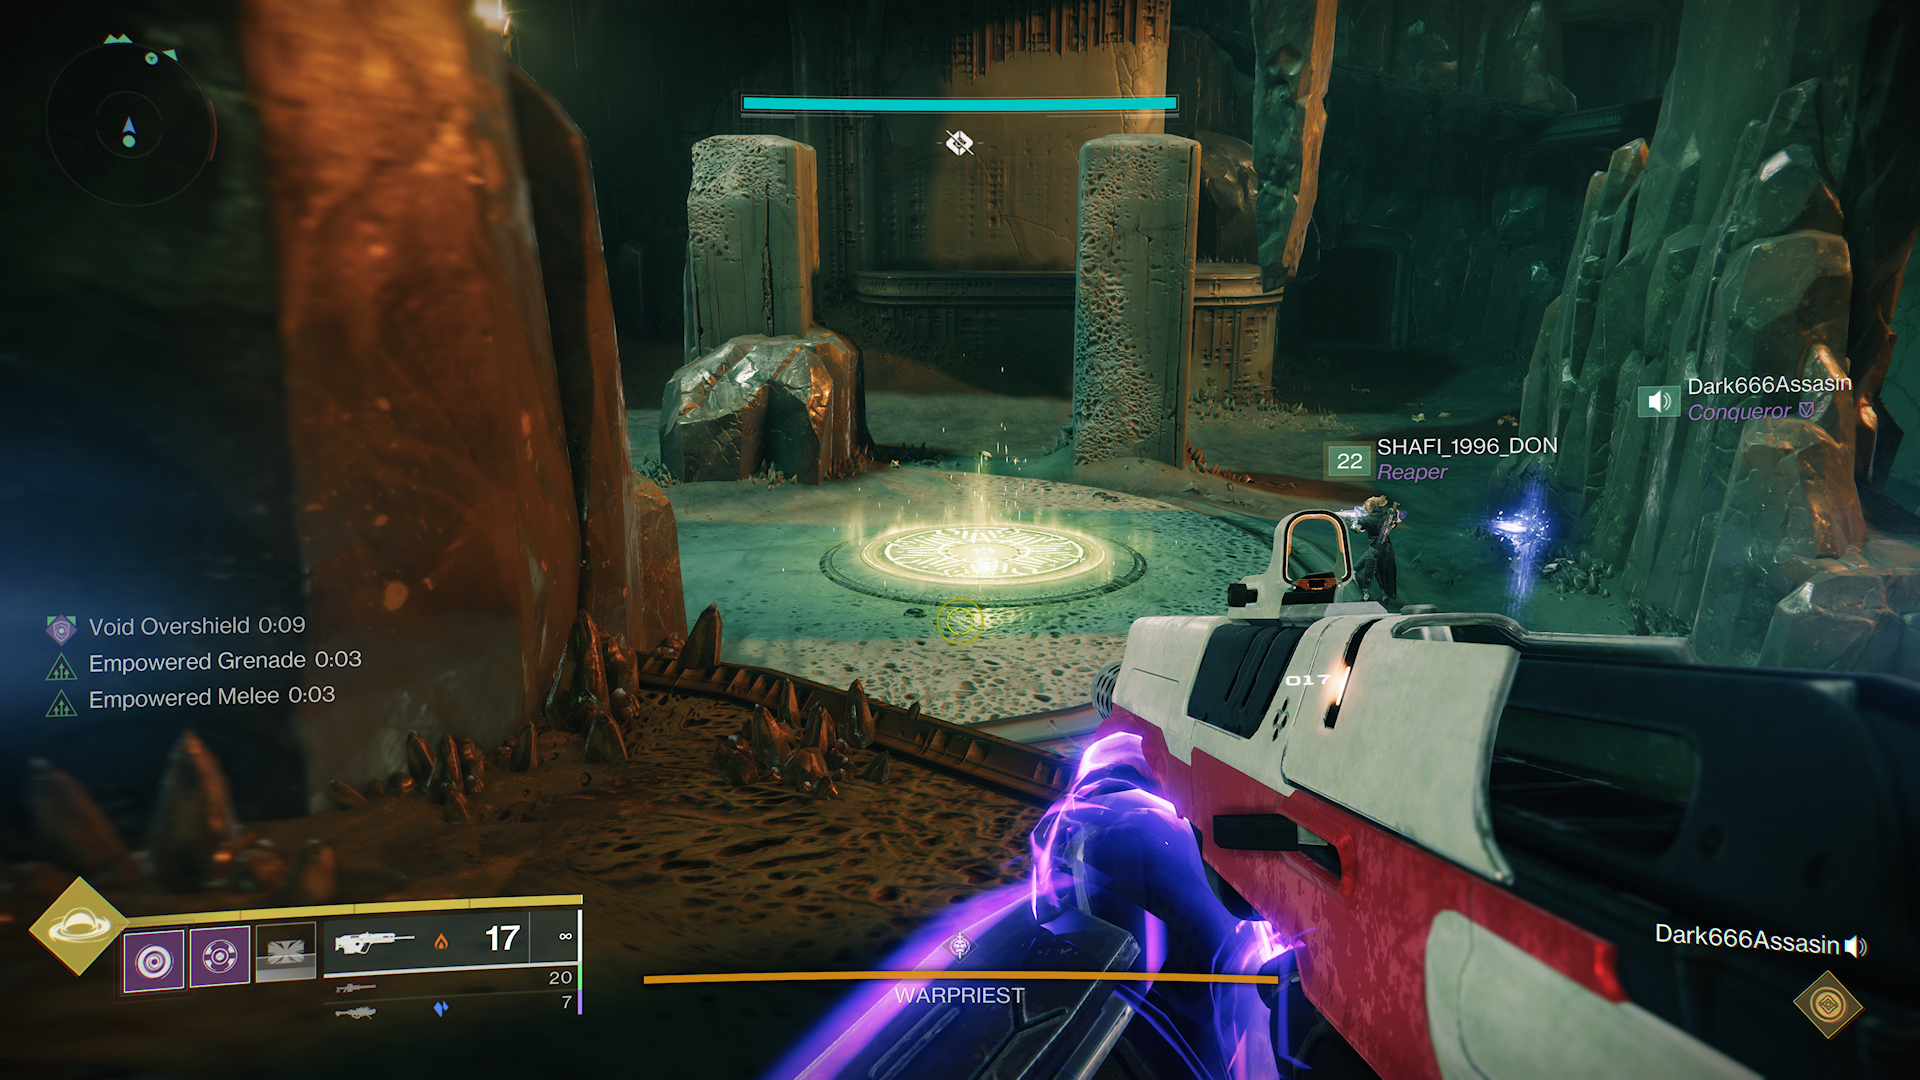
Immediately after completing the first encounter, the door at the back will open and reveal the Warpriest. For this encounter, you will want to split your team into three. Each group of two will protect a plate in front of a large tablet at the center, left, and right of the room. Within each team, one player should be designated with standing on the plate when called and the other in charge of clearing enemies and finding the Taken Knight that spawns during Warpriest’s damage phase.
To start the encounter, all three players must stand on the plate on their respective sides. Waves of enemies will begin to spawn, including solar-shielded Hive Wizards, until the named Hive Knights spawn. Killing these enemies will start the Glyph Sequence.
When the Glyph Sequence starts, the plate at the central tablet glows. The player in the middle should step on this plate. When standing on the plate, there will be a large rock on the back of the left, right, or center tablet that will glow. The player standing in the middle must communicate which tablet is glowing as this is the first in the sequence; if they cannot see that the back of the left or right has a glowing back, then the first plate will be the middle plate. The player in the center must step off the plate, and the first plate should step on and communicate the next plate in the sequence for the next player to stand on. When a player stands on the third and final plate in the series, they will receive a timed Brand, and an aura will emanate that allows players to damage the Warpriest. Where players opt to deal damage is a personal preference based on their chosen strategy. Our team found the most success using the Lament and jumping to the Warpriest’s feet, but others may prefer to deal damage from behind the tablet where the aura activated.
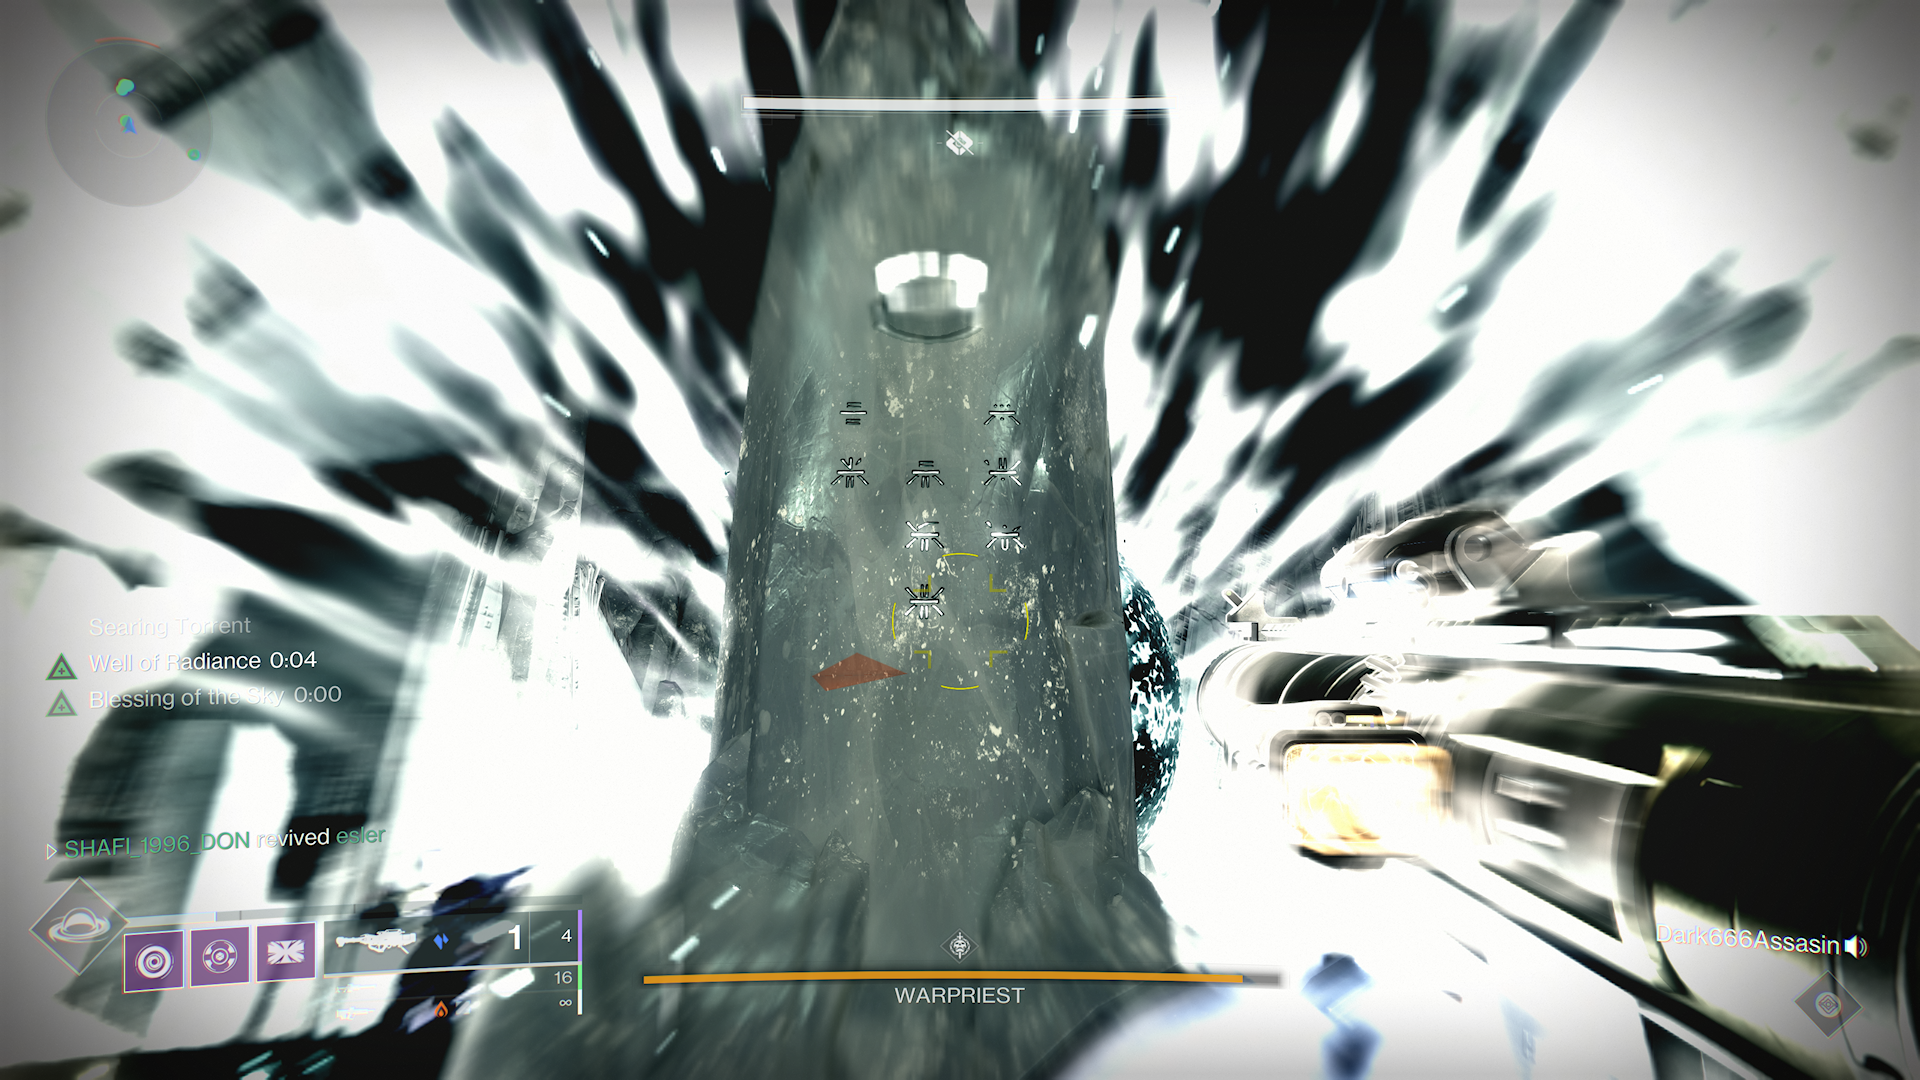
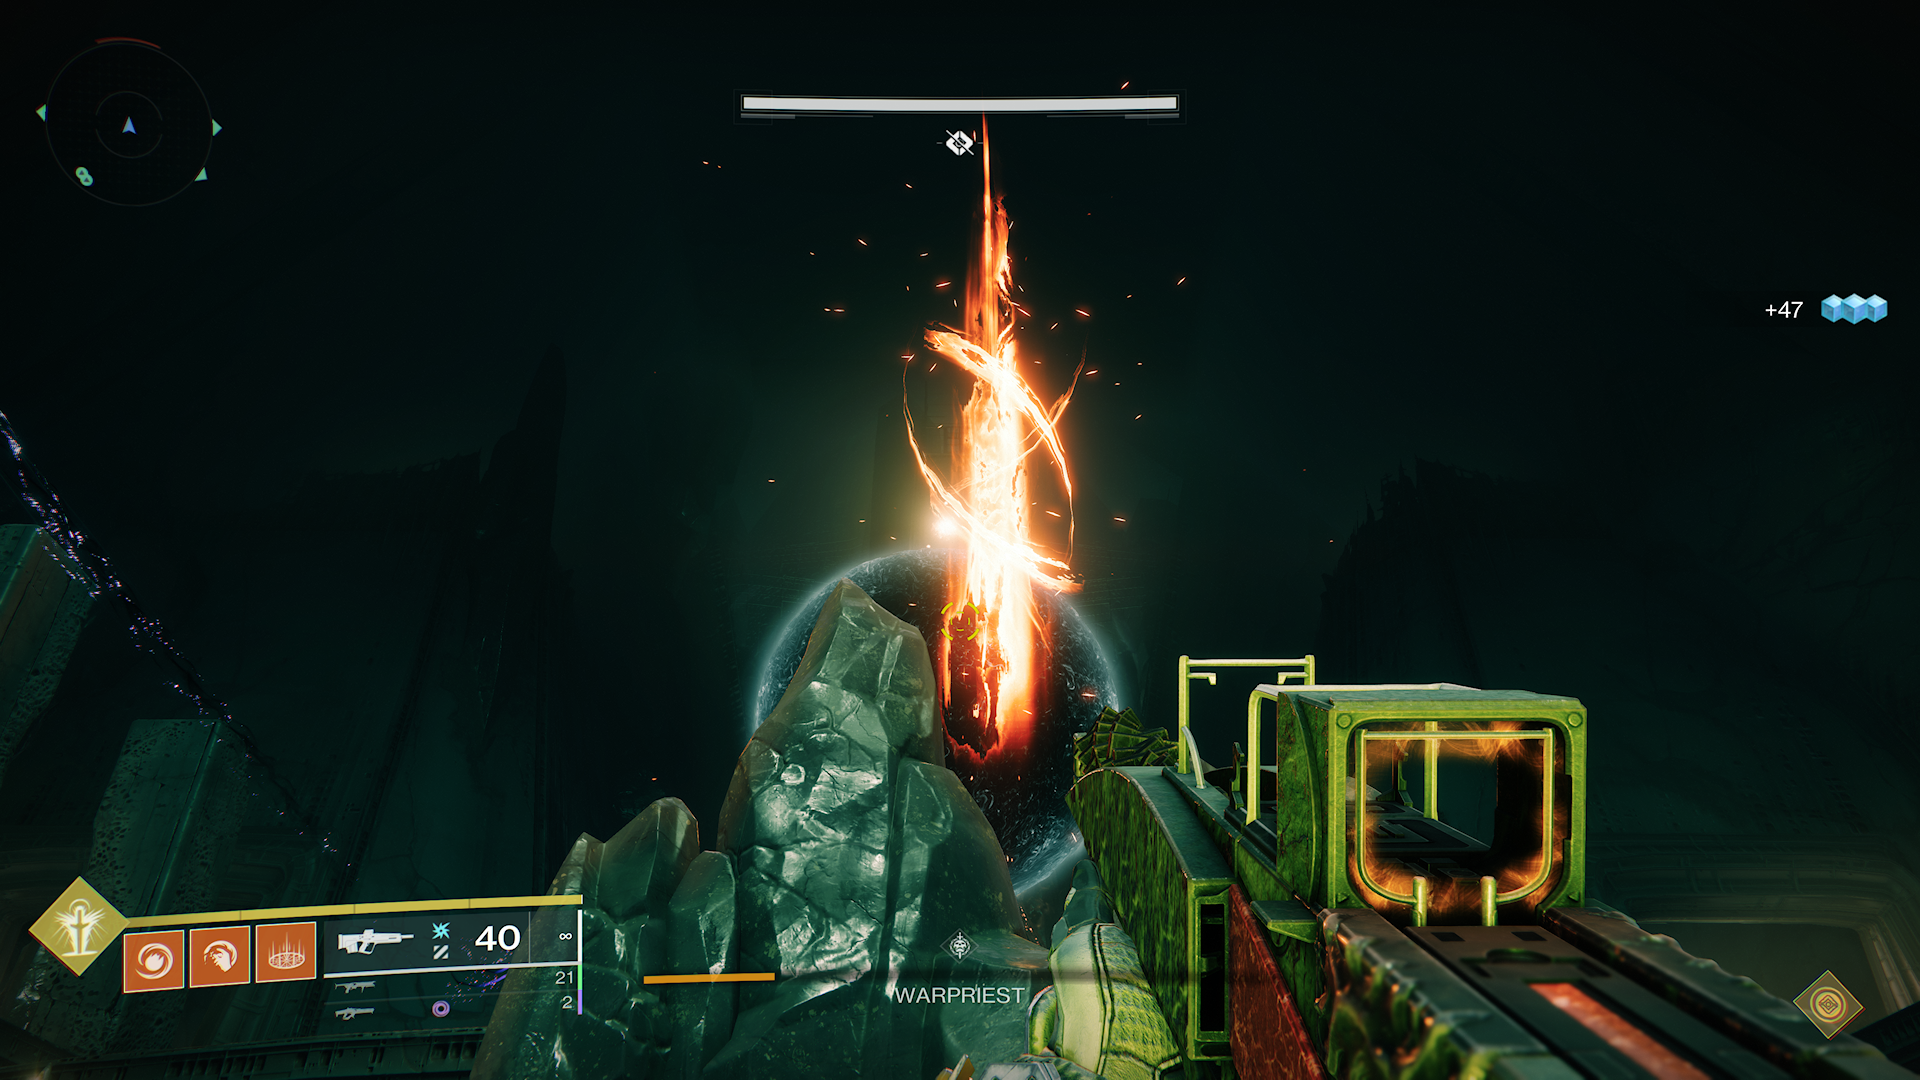
During this damage phase, the timer of the Brand will count down. To extend this timer, there should be two designated players who comb the arena looking for two Taken Knights that drop the Brand Claimer buff. After a Knight is killed, the Brand Claimer should make their way to the aura as the Brand Holder counts down the timer and retrieves the Brand from them before the timer ends. This process is repeated for the second player to claim the Brand as the final Knight is killed.
After the Brand has been claimed a second time, this marks the final extension of the damage phase. When the timer reaches zero, the Warpriest will summon a blinding white light called Searing Torrent. During Searing Torrent, players must hide behind one of the three tablets throughout the arena. If a player is behind a tablet, it will destroy it, so the team must coordinate a single tablet to hide behind for each damage phase.
Following this initial damage phase, the Glyph sequence will start again after killing a series of enemies. Even though a tablet may be destroyed, it will still be part of the Glyph Sequence, but it will be indicated by a red flame floating in the air. You can utilize four damage phases to kill the Warpriest, so long as you coordinate where to hide during each damage phase. It should be noted that, during the Glyph Sequence, incorrectly inputting the sequence twice in succession will wipe your team, so be sure not to accidentally run over your plate or the plate of others during any of the phases. After defeating the Warpriest, you will move onto another traversal section.
Traversal through Golgoroth’s Cellar
After the Warpriest falls, you must proceed through Golgoroth’s Cellar. Golgoroth’s Cellar is a literal maze full of all types of Thrall. There are holes in the floor — so watch your step — plus the second secret chest of King’s Fall. To open the chest, you must find five plates within Golgoroth’s Maze and activate them in order.
The embedded map created by Blake Robinson from Destiny 1’s King’s Fall raid is what my fire team used during the weekend of release. Nothing has changed in the layout, but the numbered plates were not the same series as shown in the image. We also designated the plate without a number the number five. To open the door to the secret chest, you need to step on these plates in order, in our case: 2, 5, 3, 1, 4. If a plate is stepped on out of sequence, it will glow red, and you'll need to start the series again.
Encounter #3: Golgoroth
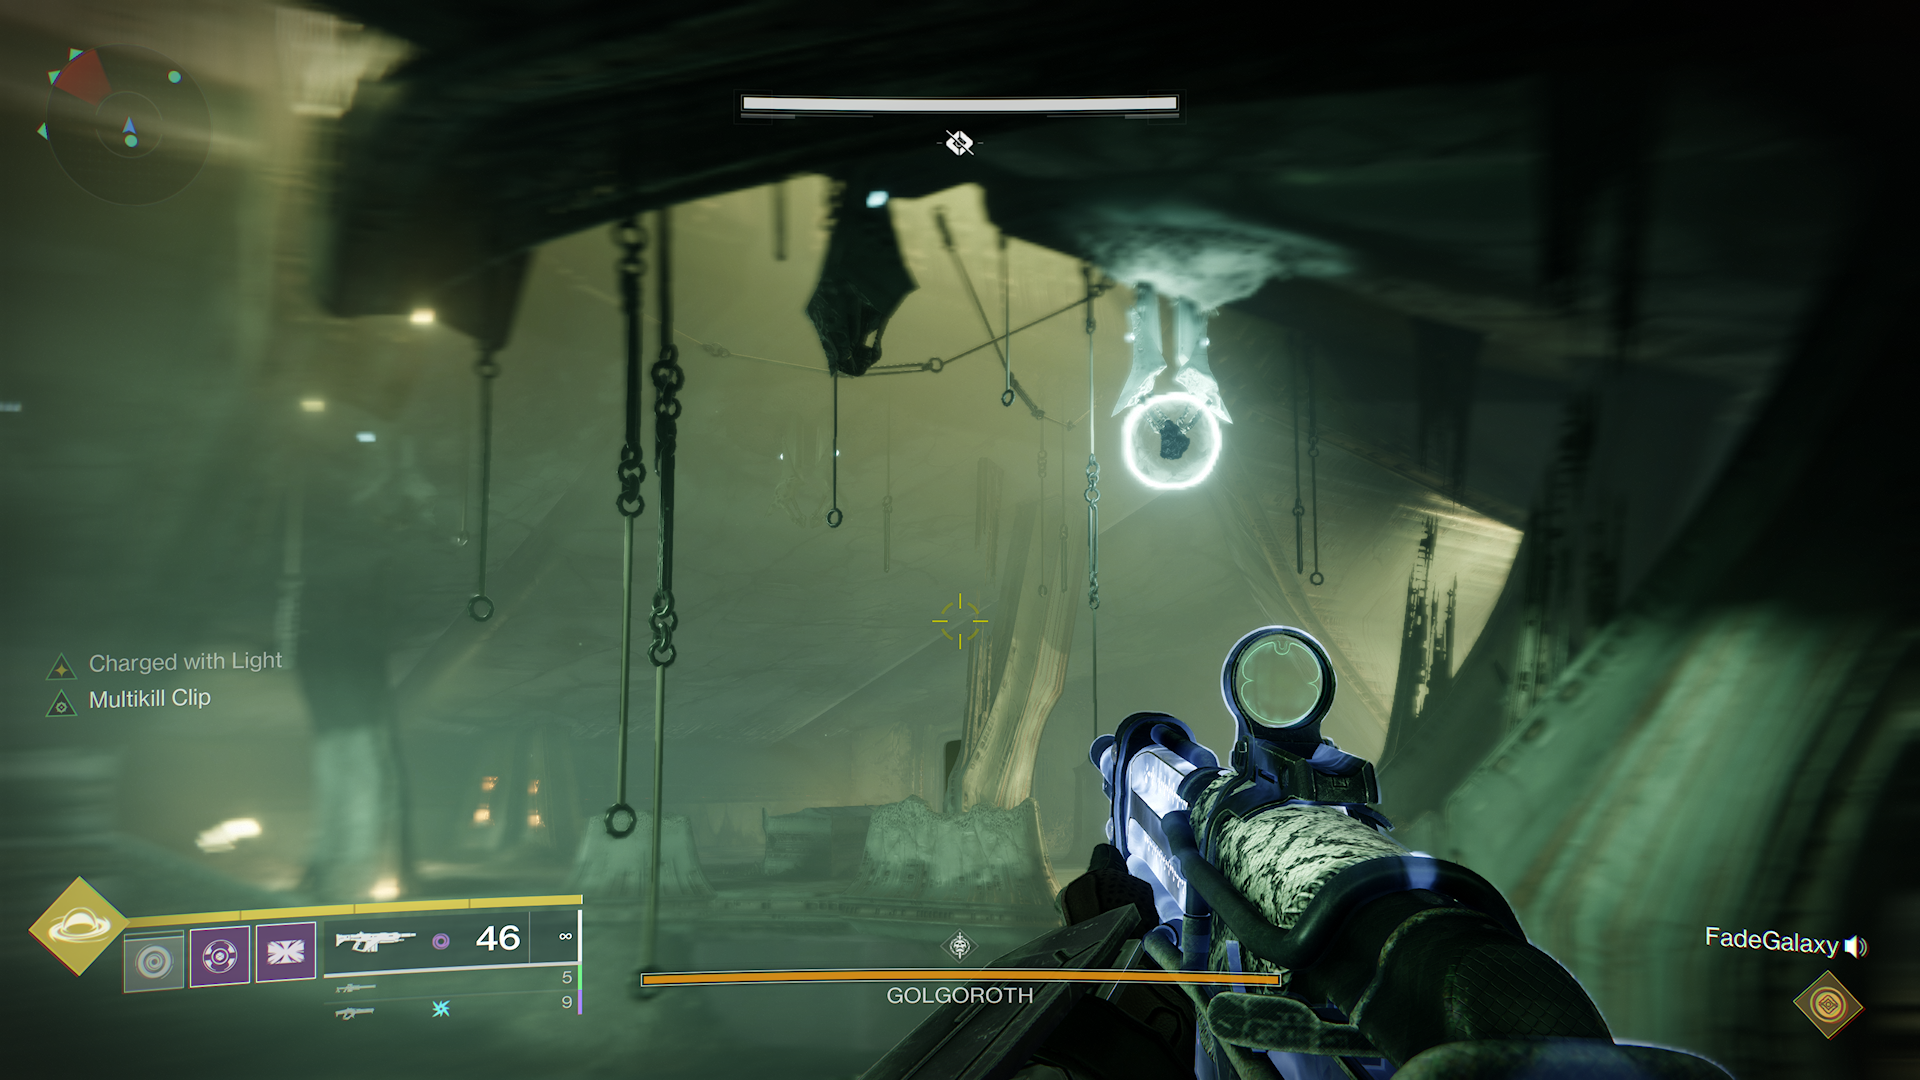
Now that you’ve escaped Golgoroth's Cellar, it’s time to fight the Ogre itself. For Golgoroth, you will want to designate two players to draw Golgoroth’s Gaze and four players for the damage team.
Before you start the encounter, a white droplet hangs from the ceiling. This droplet is known as a Poison Sac, and these are integral to this encounter. Poison Sacs have a surprising amount of health; if continuous and substantial damage is not dealt to them, they will regenerate it, too. You can spawn more of these Poison Sacs throughout the encounter by destroying Blistered Wizards.
To start the encounter, you will need to destroy the first Poison Sac, which will spawn Golgoroth. Upon spawn, enemies will populate the arena, and defeating enough will introduce two Hive Wizards and the initial Poison Sac. The team responsible for drawing Golgoroth’s Gaze should kill the Wizards while the damage team destroys the first Poison Sac.
As the droplet hits the ground, a small pool of miasma will lie atop the floor. Standing in this puddle will allow players to damage Golgoroth’s chest after Golgoroth’s Gaze has been drawn. Golgoroth’s Gaze will be drawn by one of the members of the Gaze team. The player will obtain Golgoroth’s Gaze by shooting the exposed yellow area on Golgoroth’s back.
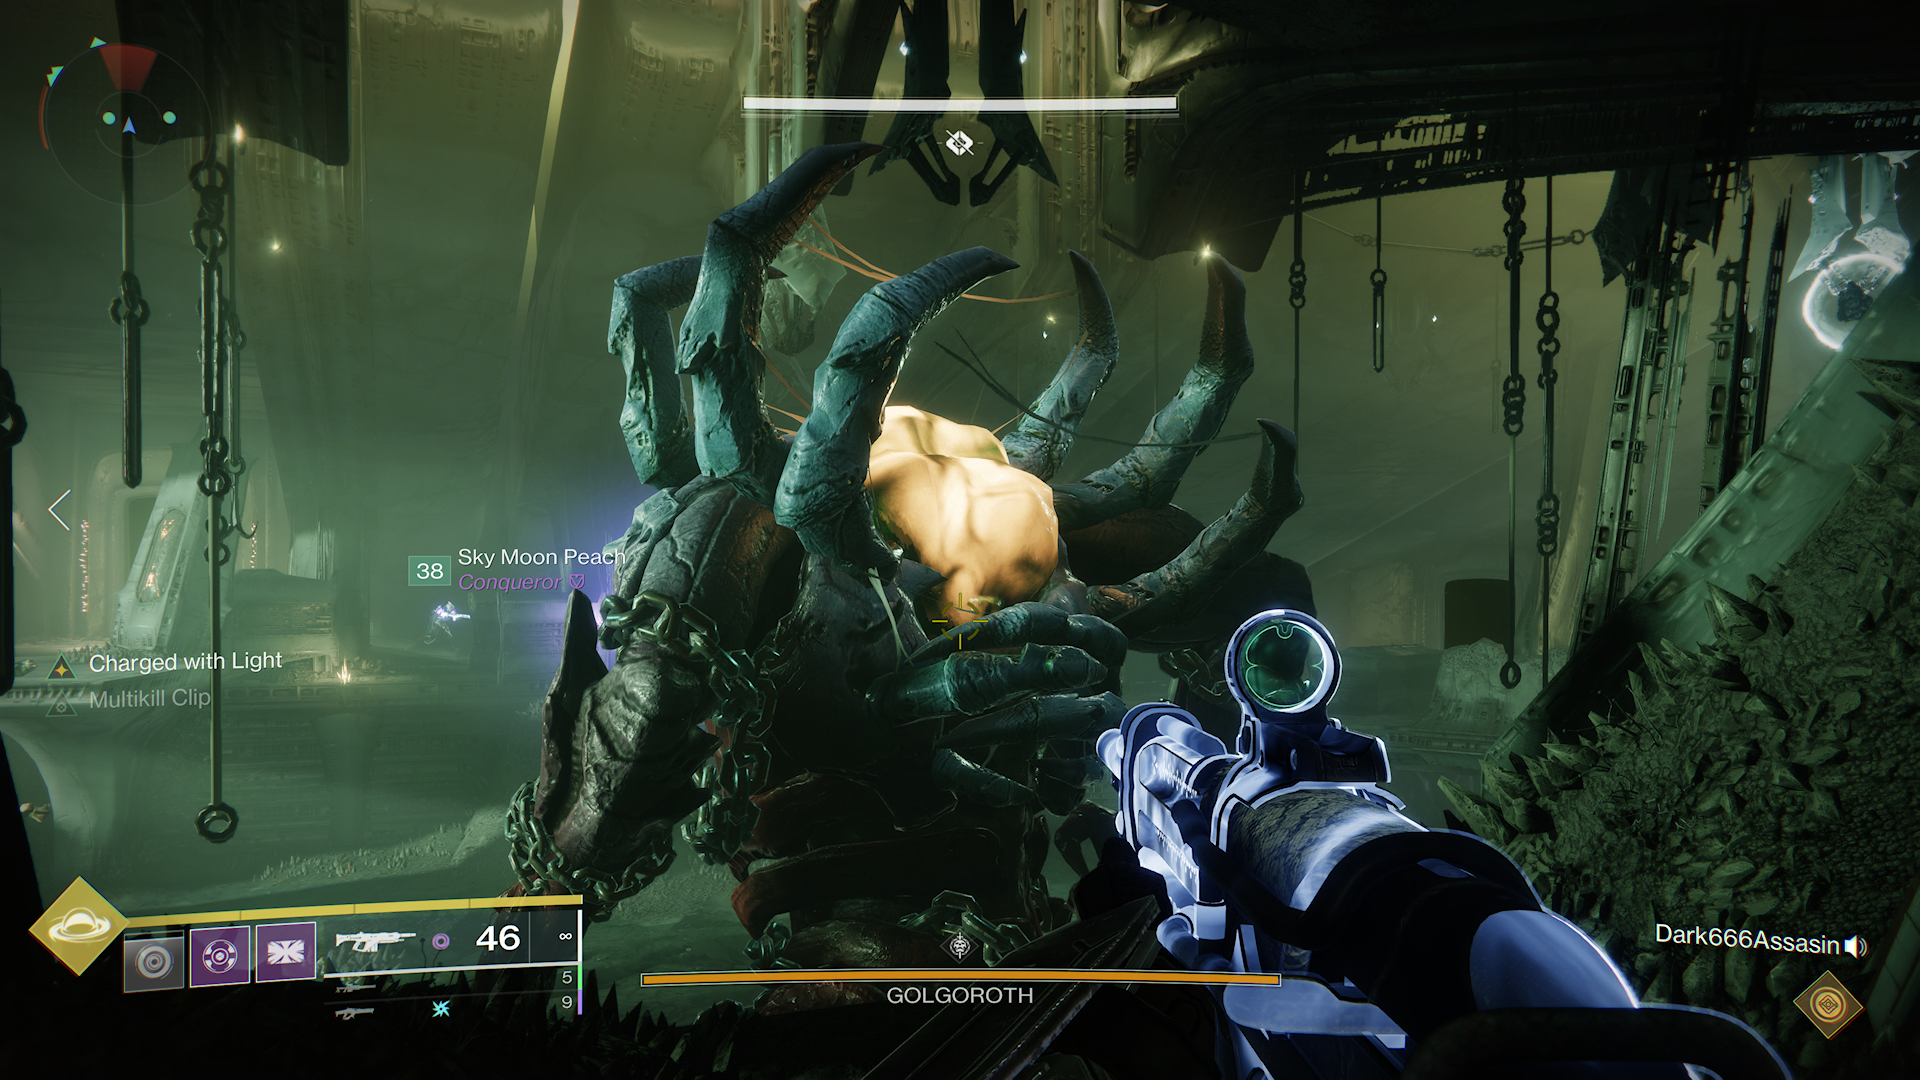
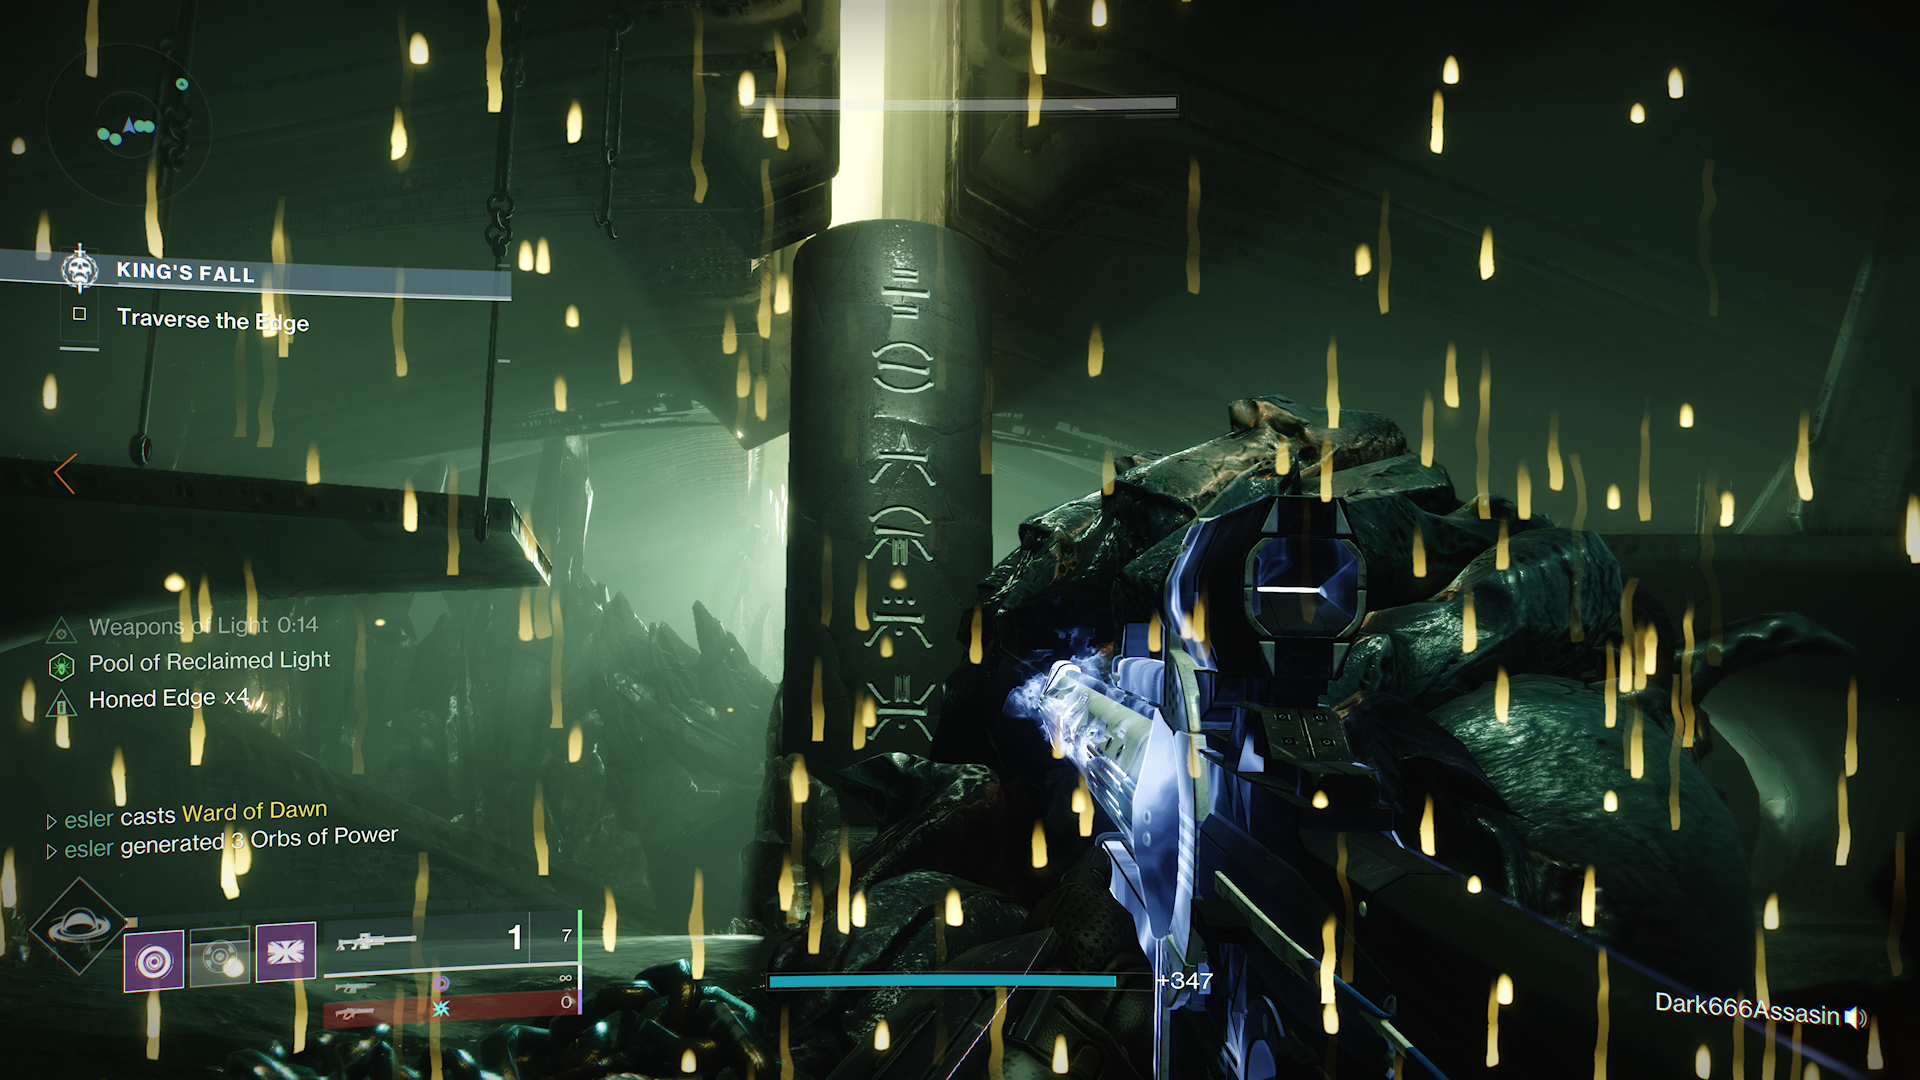
During damaging the open chest cavity, a member of the Damage team will be infected with Unstable Light. It means that the player will explode and do massive damage to anything in their immediate vicinity. If you are infected with Unstable Light, it’s best to run to Golgoroth’s feet and deal damage.
While the player maintains Golgoroth’s Gaze, they must run toward the damage team to see Golgoroth’s open chest cavity. As you hold Golgoroth’s Gaze, Golgoroth will fire axiom darts at you that inflict Ogre’s Venom, which damages you over time. You can shoot the darts out of the air to prevent the venom from being applied. Golgoroth’s Gaze is timed, so this player must also communicate with the other half of the Gaze team to ensure that they draw Golgoroth’s Gaze before it runs out. If Golgoroth’s Gaze runs out, the damage phase will end.
As this is all happening, more Poison Sacs will spawn, six in total, at various points of the arena. These Poison Sacs must be destroyed to continue damaging Golgoroth, and failure will light up one of the glyphs on the Totem of Ruin in the middle of the arena. In total, your team can miss six Poison Sacs before the totem destroys your whole team.
If you successfully destroy all the Poison Sacs and maintain Golgoroth’s Gaze throughout the entire damage phase and do not kill Golgoroth, you will repeat the process. It results in an additional damage phase by killing all the enemies, the Blistered Wizards, and finally, the set of Poison Sacs that follow.
After Golgoroth falls, you’ll be granted a brief moment to gather yourself before another set of jumping puzzles.
Traversal through Transept
This is the third and final area that you could consider a jumping puzzle in King’s Fall and the location of the last secret chest.
You will need to continue behind the Totem of Ruin and head through the hole in the wall. Follow a short series of tunnels until you reach a chasm. When you arrive here, you want to run left and avoid the large rods that fire through the wall. You will reach a point where you can stand on a platform to spawn more across the gap. Look to your right to see some ledges on a structure supporting the wall.
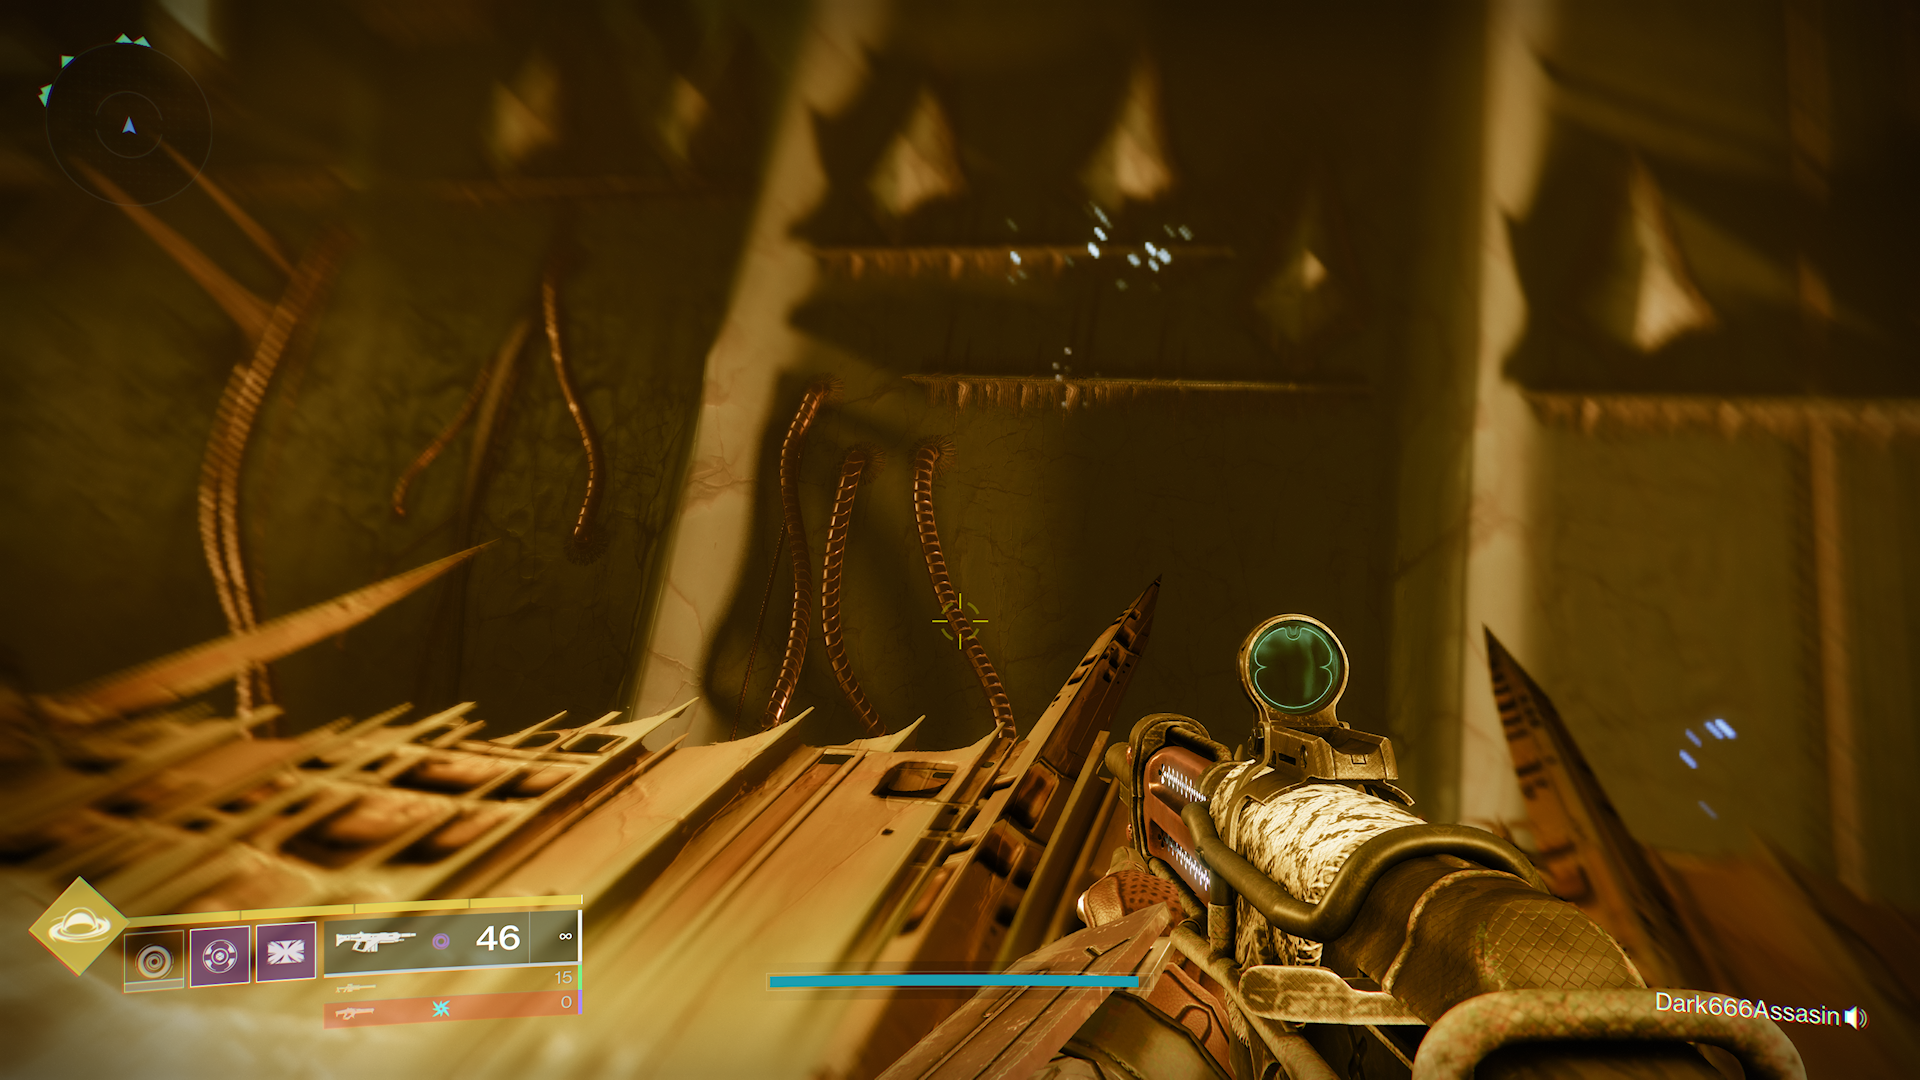
Jump across these ledges and pull out your ghost to reveal a series of hidden platforms. You will eventually see a hole in the wall. If you jump in this hole and make your way around the central column, you will find the final hidden chest in King’s Fall.
After you obtain the chest, you will need to jump back across. You can skip the chasm entirely and jump to the upper levels if you have enough mobility. If not, you will need to go to the bottom floor and use the plates, leaving one member of your fire team on each plate to keep up the platforms.
At the top of the ledges, there will be a door that needs the full fireteam present to open. Once everyone is gathered, go inside and scale the tower in the middle to reach the subsequent encounter.
Encounter #4: Deathsingers, Daughters of Oryx
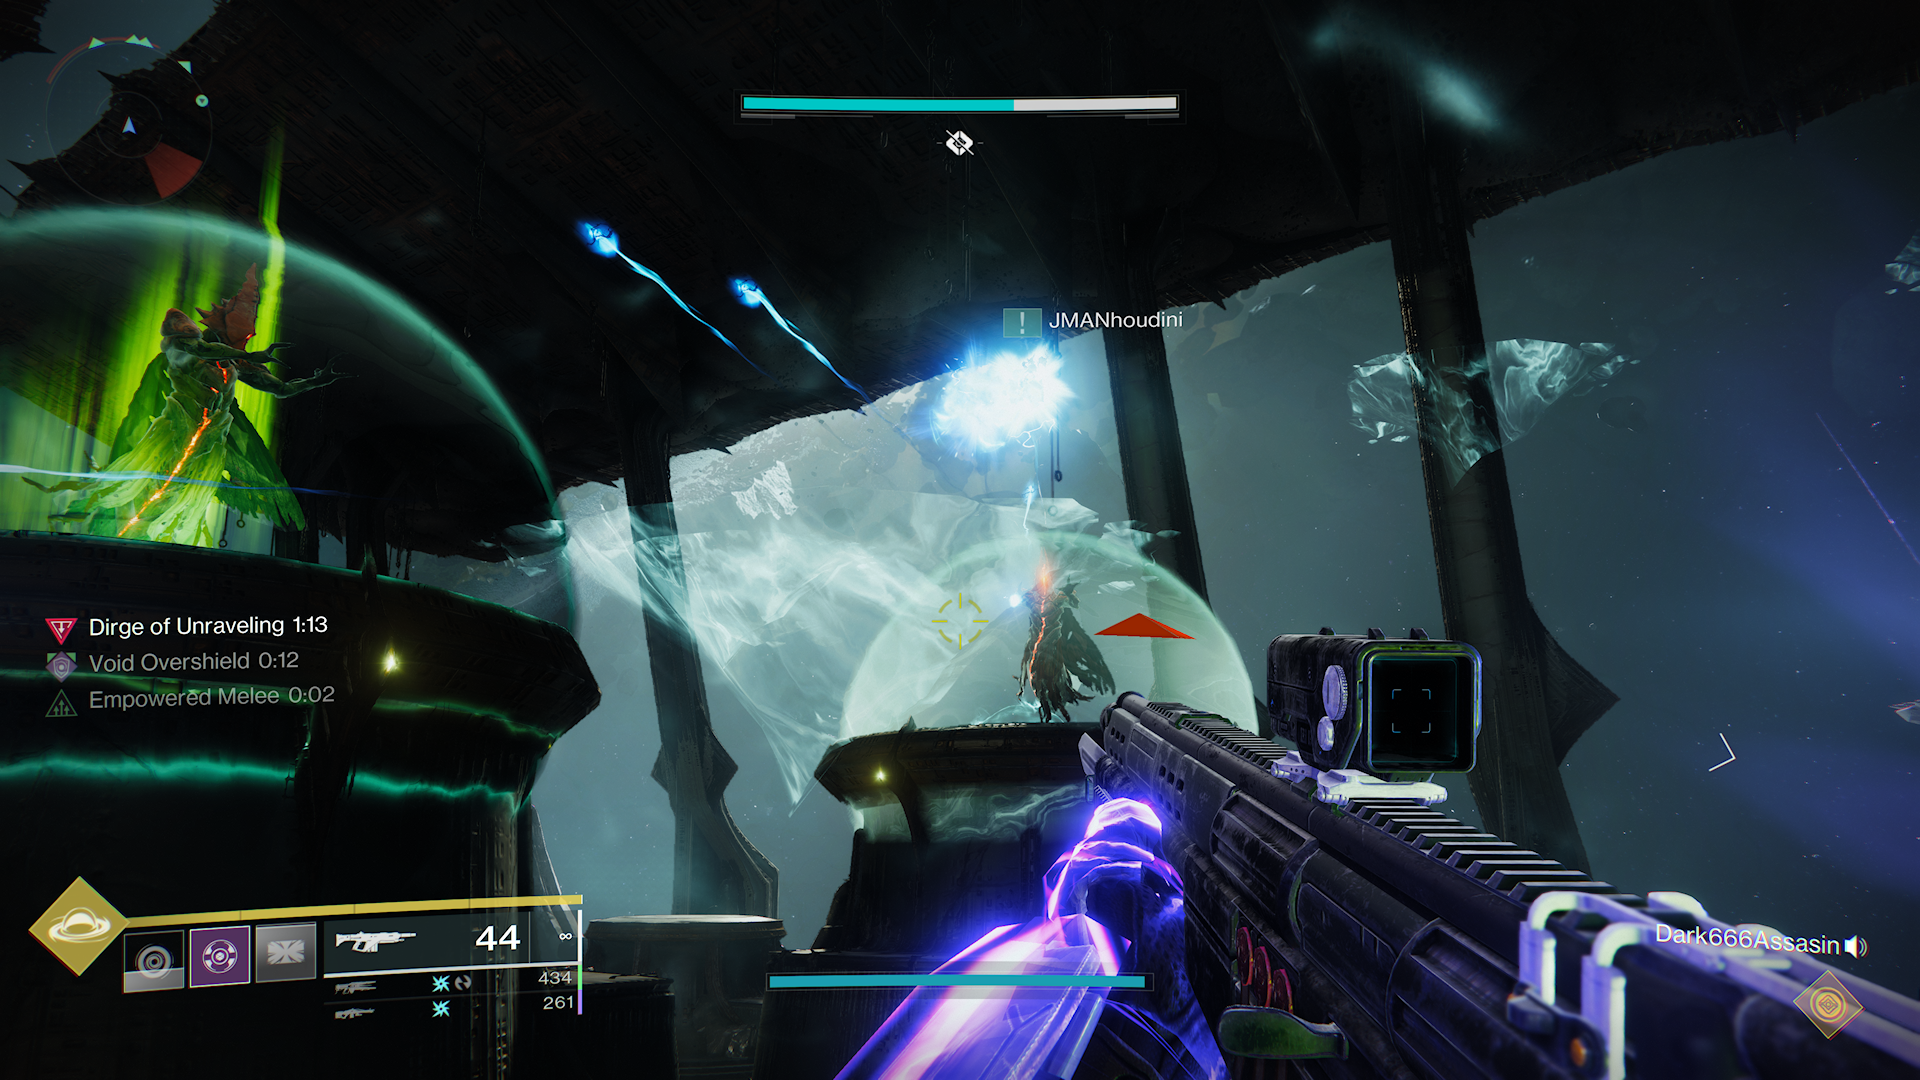
The fourth encounter, Daughters of Oryx, takes place in the final area of King’s Fall. Before you start, you should assign four members to your fireteam plates. Within the arena, there are four plates, so our preference was to name them Left 1 / 2 and Right 1 / 2. A player would stand at these plates throughout the encounter unless it was a damage phase or they were randomly selected to receive the Torn Between Dimensions buff.
There will be a singular Knight on one of the elevated platforms on the left or right, and killing them will start the encounter. This triggers a two-minute timer; either the Hymn of Weaving or Dirge of Unravelling. When the timer reaches zero, the Daughters will sing and perform an entire team wipe. The player with this plate must stand on the glowing green plate to activate hidden platforms throughout the arena. As the Knight is killed, a player will be randomly chosen as Torn Between Dimensions.
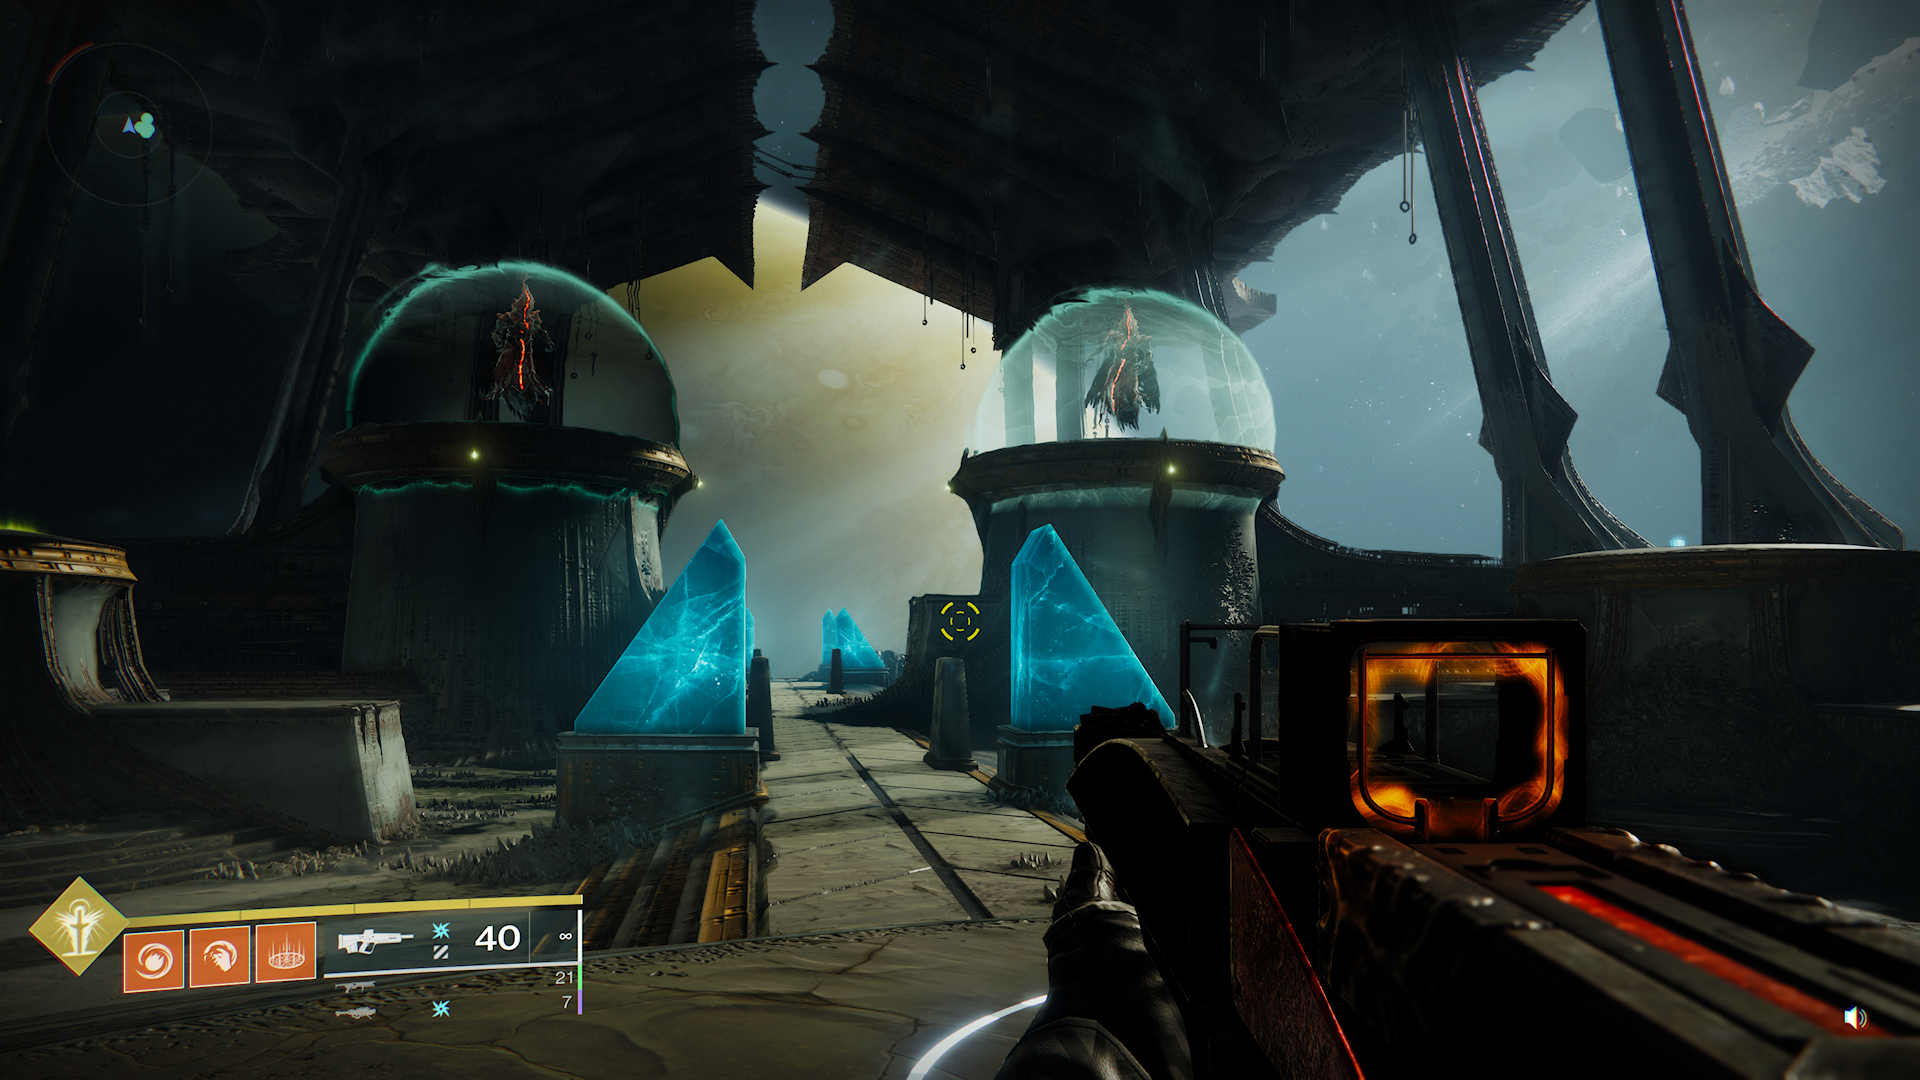
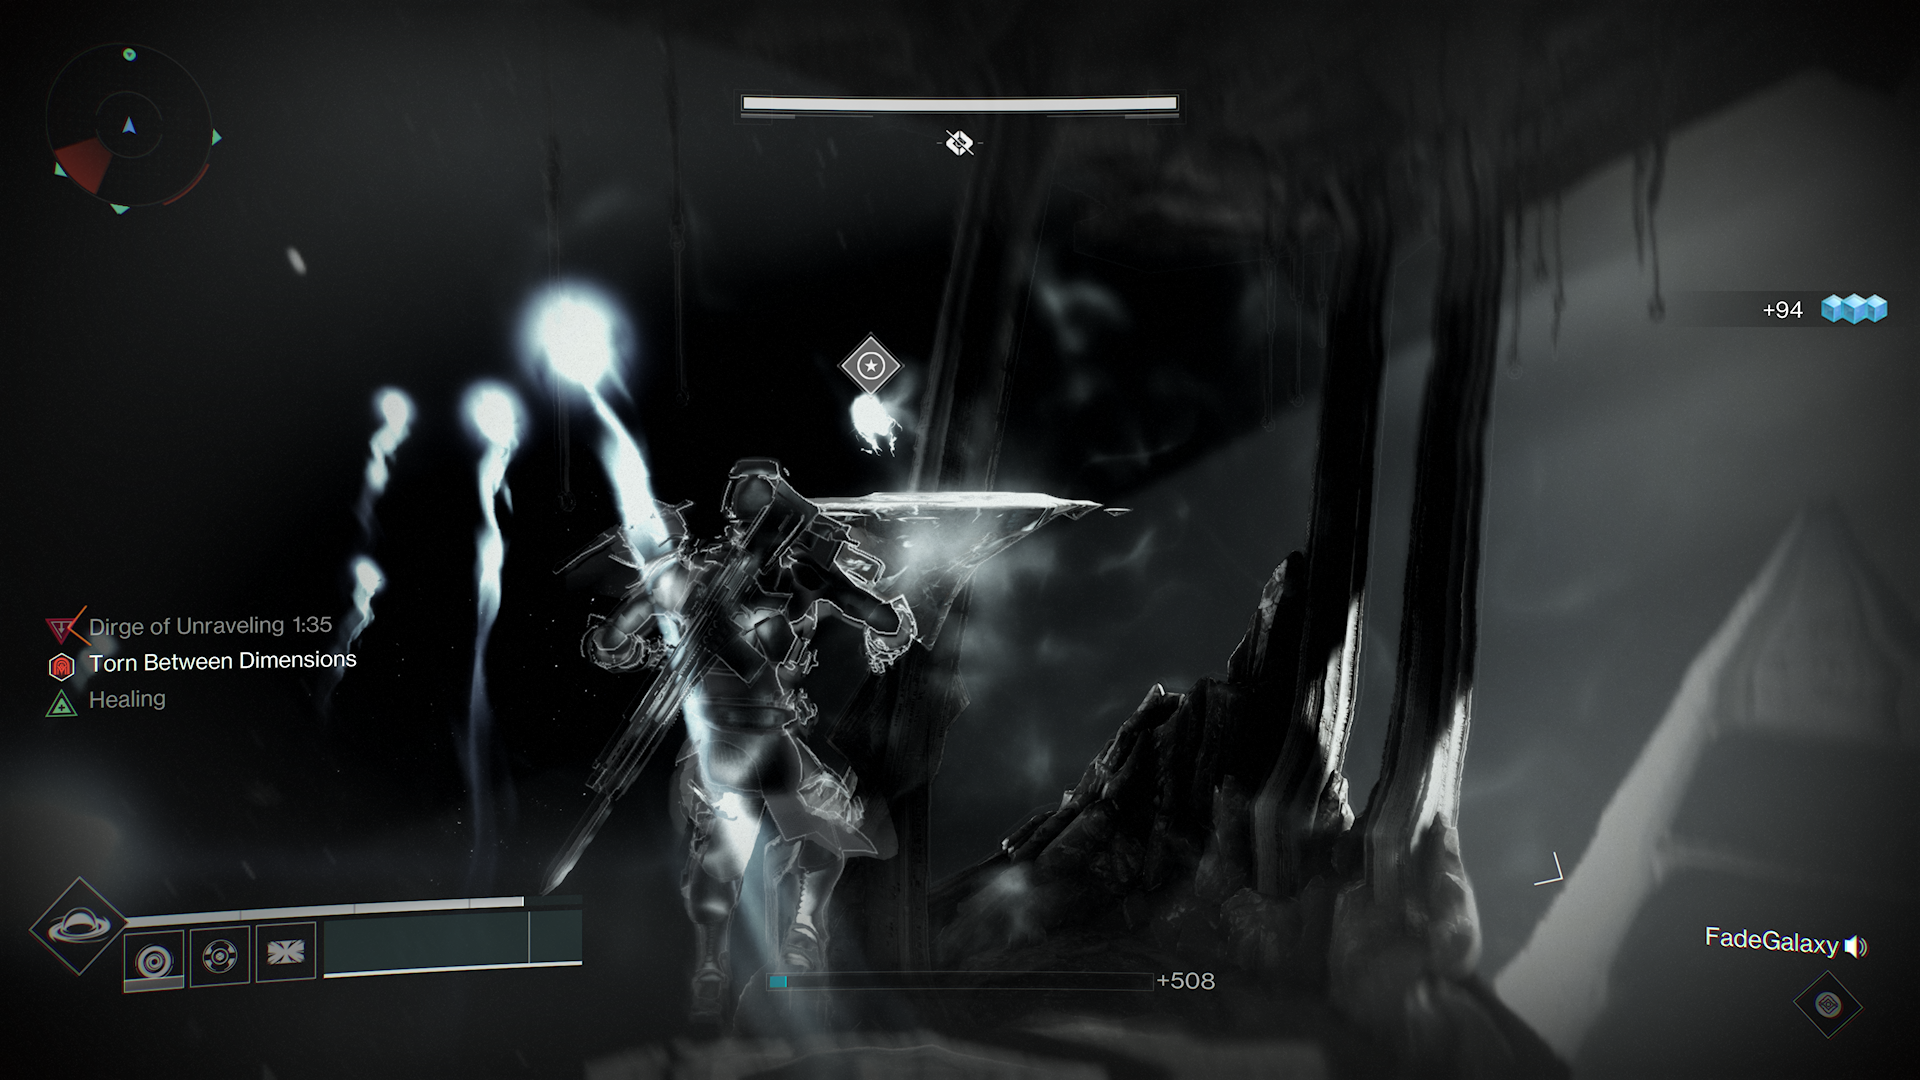
The player Torn Between Dimensions must run to the first plate and look above the remaining ones to see where the orb is floating. This plate must then be called out, and a player must stand on that plate to materialize the platforms fully for the player Torn Between Dimensions. The Torn player must then jump up the platforms and pick up the orb. All players must then jump off their platforms and repeat the process two extra times.
For the third time, the player Torn Between Worlds can pick up the orb and receive the Brand Claimer buff. They must then head to whatever of the two Daughters is shooting at the team and steal its Brand. Stealing this Brand will give an aura of invincibility against the Daughters’ wipe mechanic that ends, so players must stand in this aura and deal damage to the Daughter without a protective shield. Our team used a combination of Hotheads and Gjallahorns for the damage phase and stood on the small box next to the Deathsinger to fire the rockets.
After the damage phase ends, the shield will return to the Daughter if it wasn’t killed, and the Daughter will sing and perform its wipe mechanic. You mustn’t leave the aura of protection while the Daughter Sings after a damage phase, or you will die. If you kill one of the Daughters, you must kill the second Daughter in the next damage phase. When you successfully kill both Daughters, the encounter will conclude, and you will move on the final challenge.
Encounter #5: Defeat Oryx
Now that you’ve cleared the fourth encounter, you will have entered the final encounter of King’s Fall. It’s time to kill Oryx.
The Torn Between Worlds and platform mechanics are the same as the previous encounter, but you no longer need to kill a Knight on each plate to activate the platform. Instead, at the beginning of every cycle, Oryx slams the plate with his fist. After that, the first platform will glow green from the offset to indicate it is the first plate.
While the players are navigating the plates, Light Eater Ogres will spawn at all four platforms. Killing these Light Eater Ogres will spawn a Taken Blight where they die. Do not step in this Blight as it is required for a damage plate. As the Light Eater Ogres die, Light Eater Knights will spawn and try to consume these Taken Blights. You must kill the Light Eater Knights to prevent this.
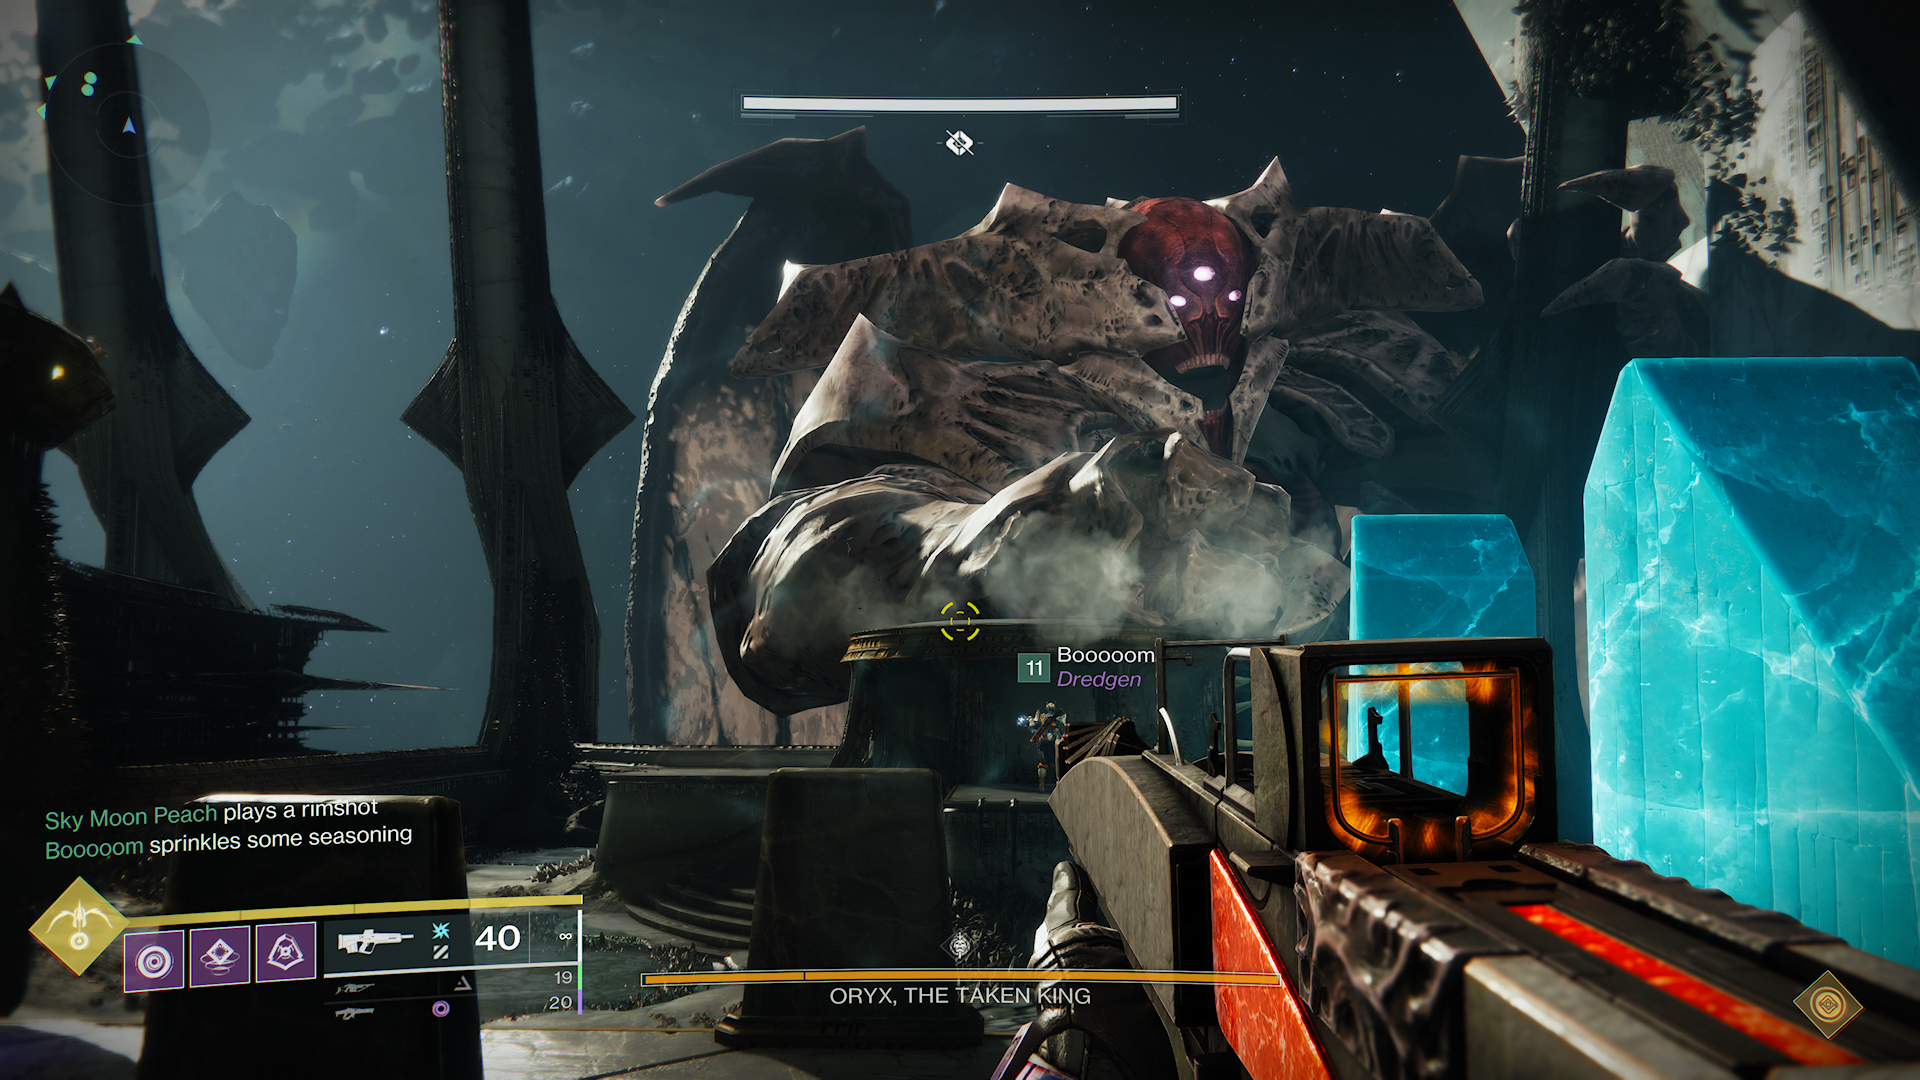
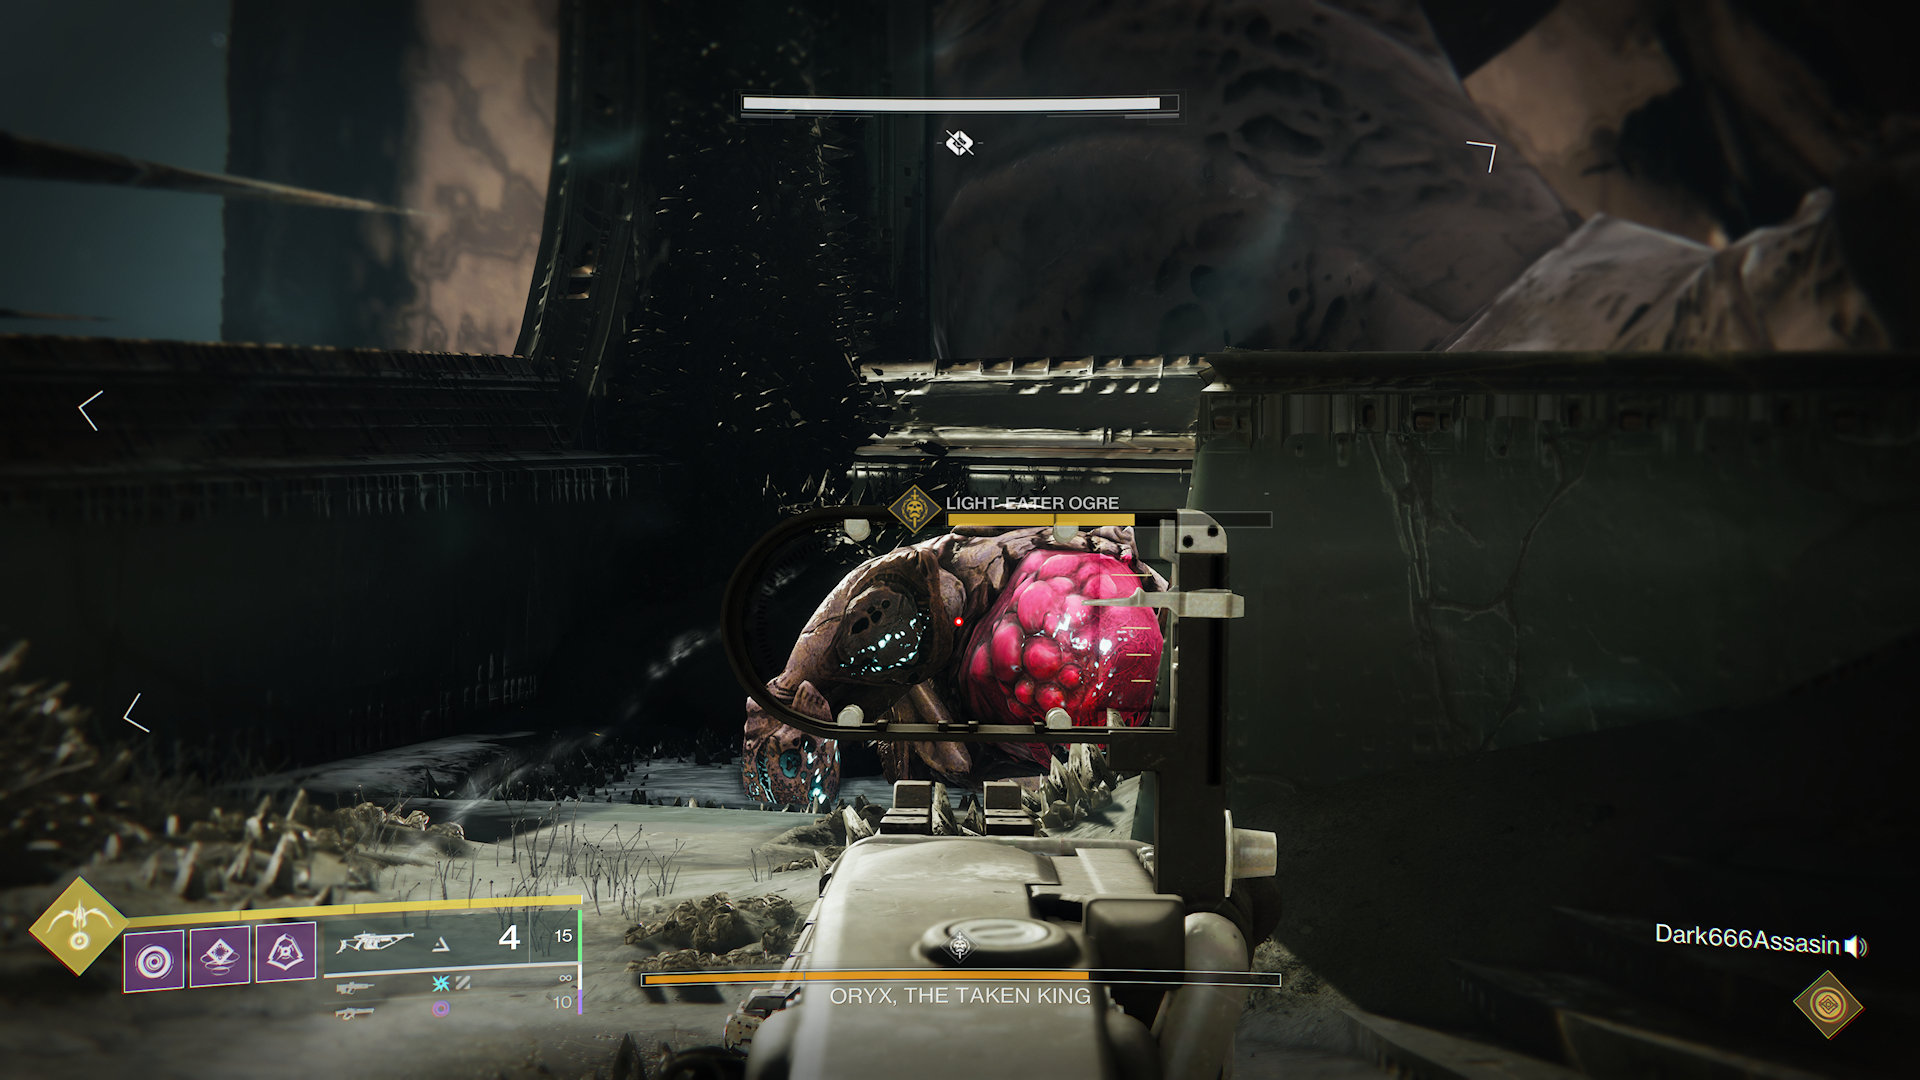
After the third platform run starts, a Knight called the Vessel of Oryx spawns in the arena. As the third orb in the sky is collected, the Brand Claimer buff will be awarded to that player. This player must use the Brand Claimer to steal the Brand from the Knight that just spawned. This player will now have a Brand that grants immunity to all of those in its aura.
As the Brand is claimed from the Knight, Oryx will call upon the Darkness. From here, four players should jump into each of the Taken Blights that the Light Eater Ogres spawned. This will extend Oryx’s damage phase. After the Blights have been activated, the players should return to the player who claimed the Brand from the Knight, or they die from the detonation of the Taken Blight or Oryx’s attack.
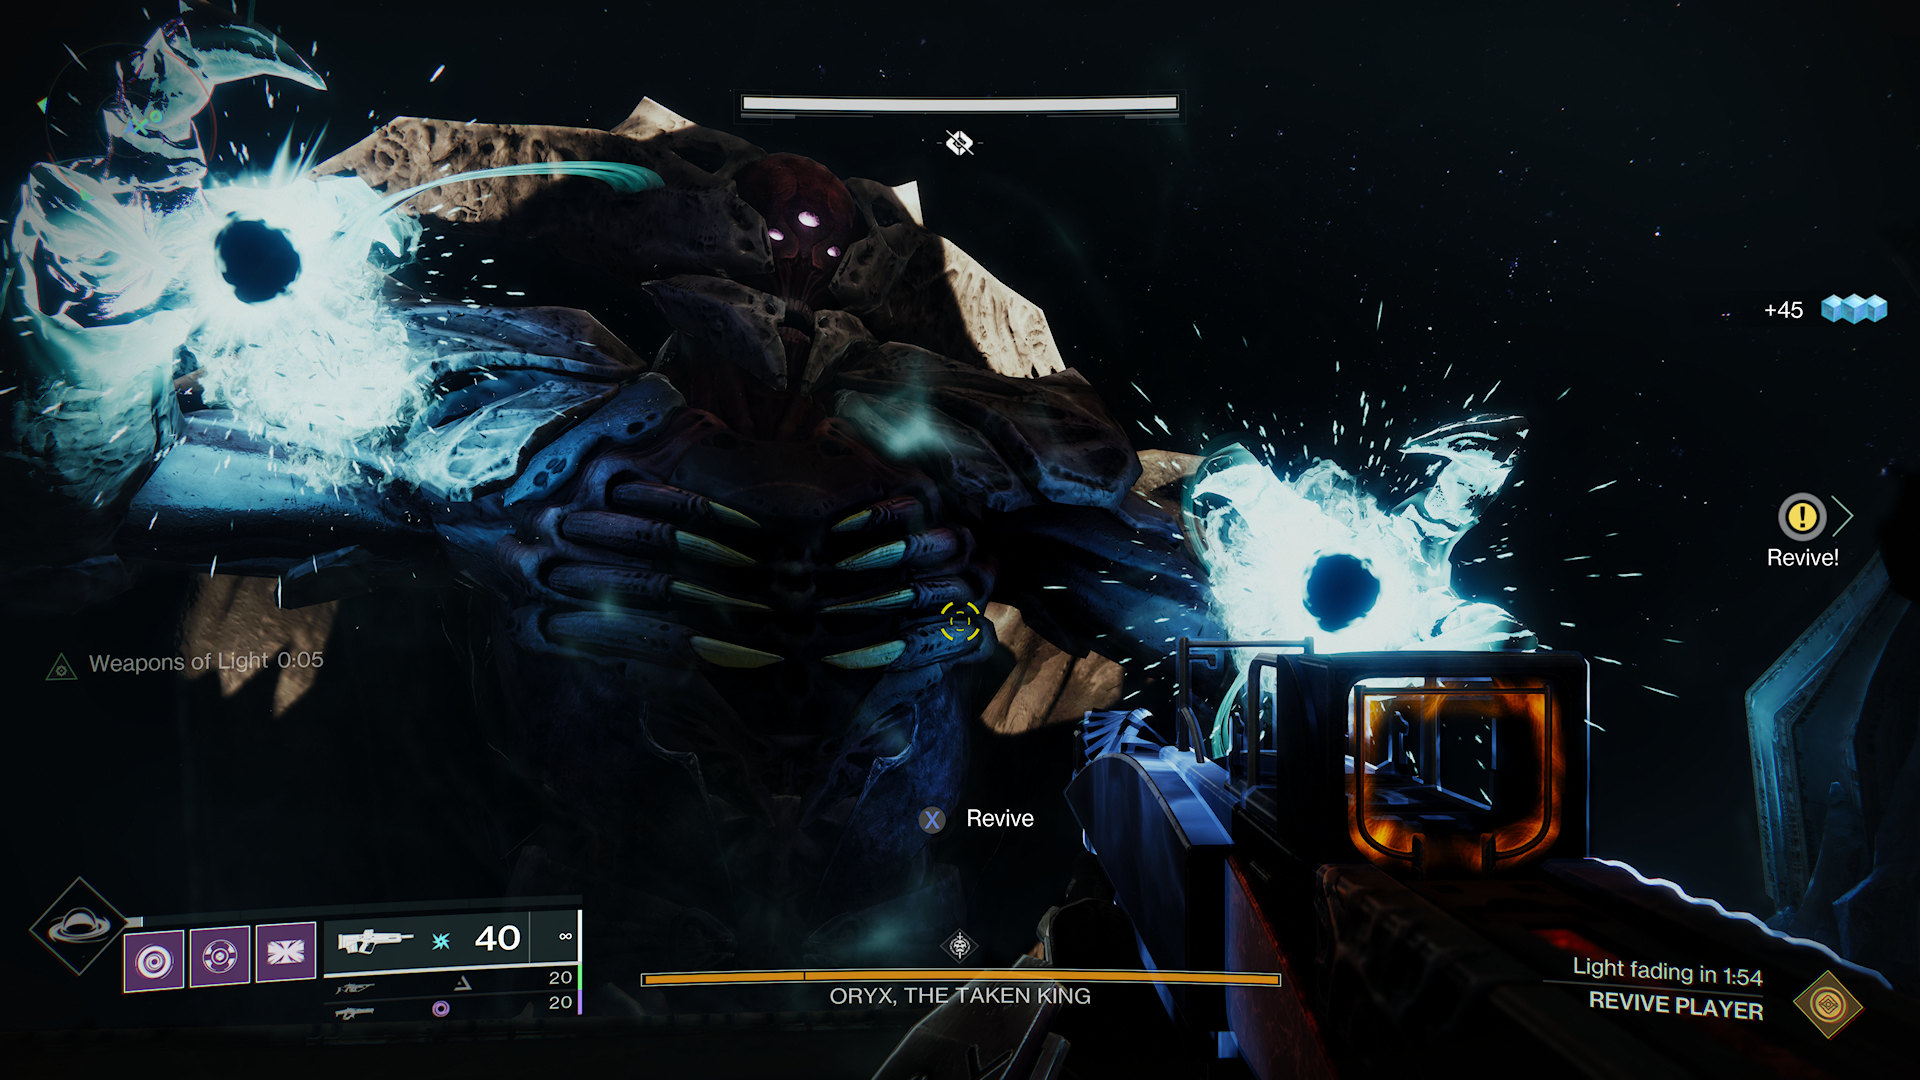
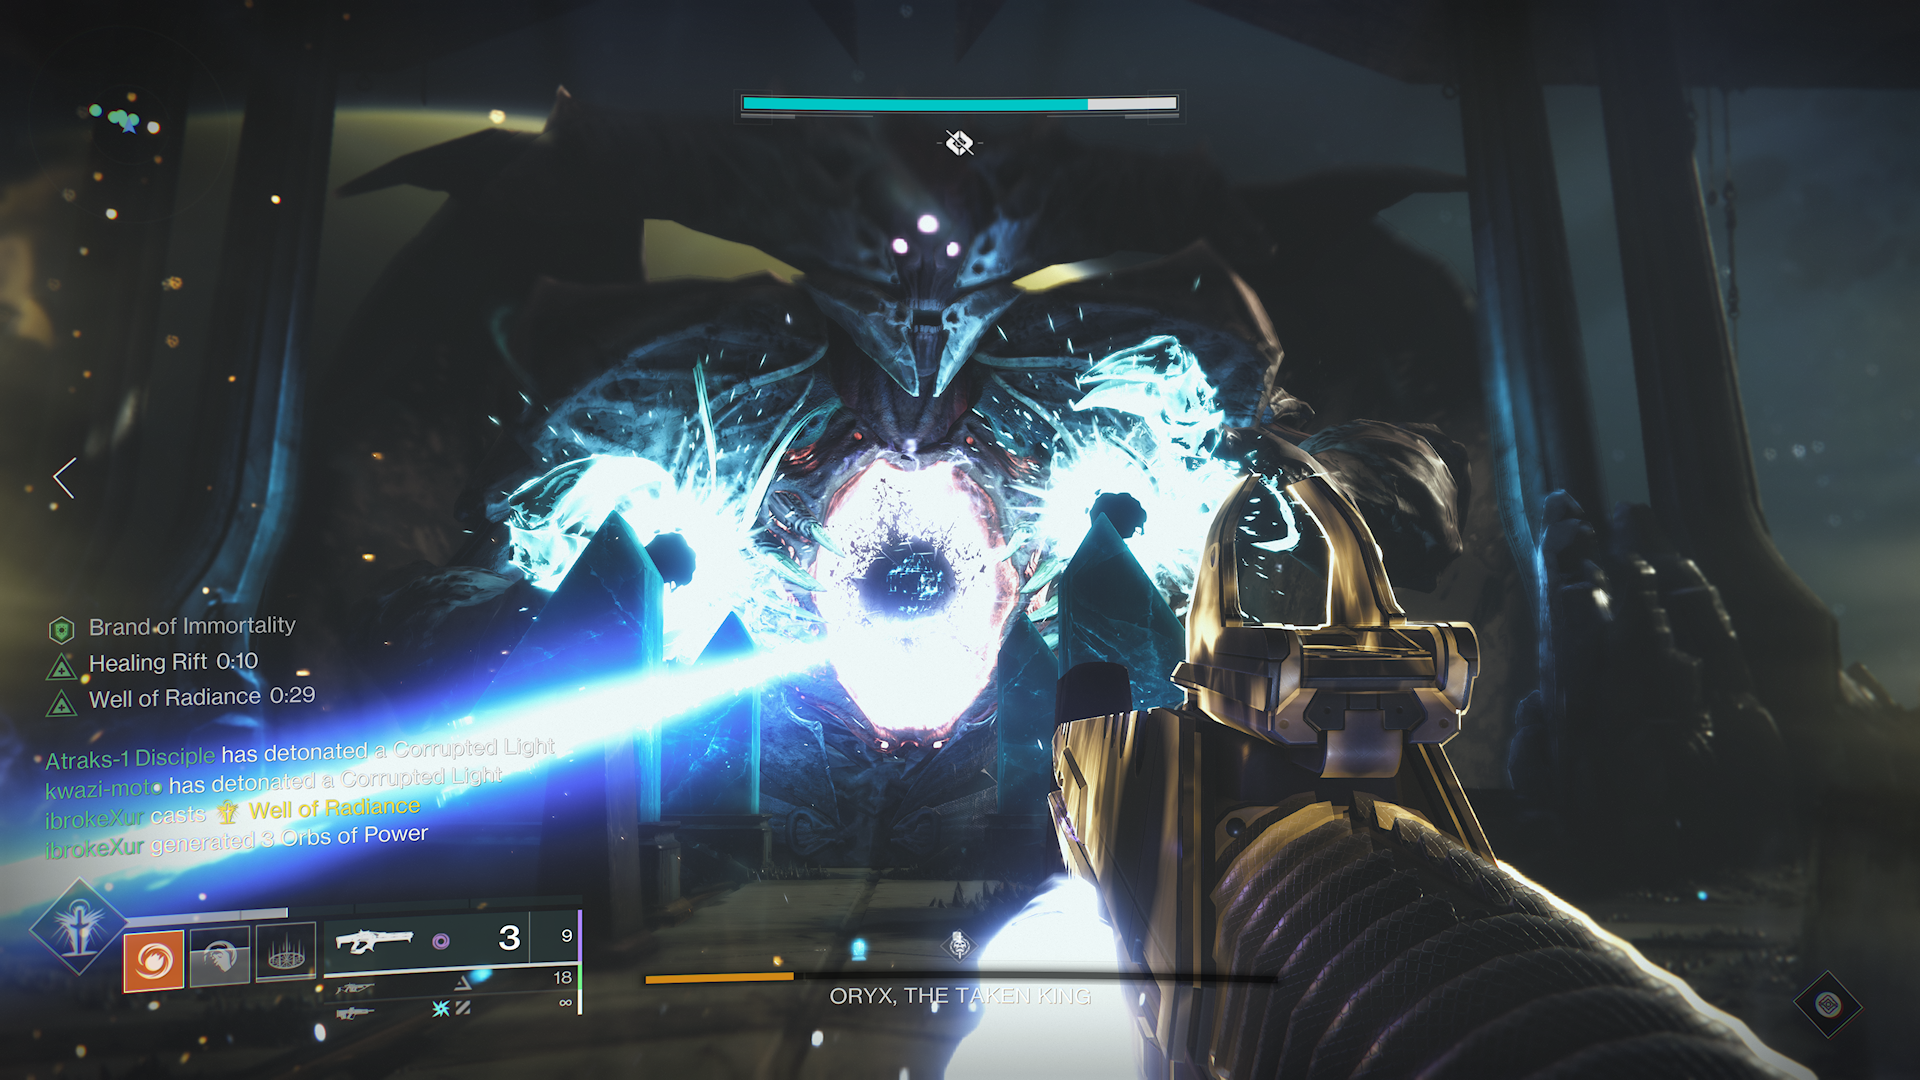
After Oryx attacks, his chest will open and reveal a weak spot. Players should shoot this spot to damage him. After this damage phase, if Oryx doesn’t transition to his final stand, Oryx will perform one of two attacks.
The first attack will summon bombs at the location of every player, which must be avoided. The second attack draws players into a misted room wherein a shadow of Oryx will try and attack them. Over time more players will be drawn to this room until the shadow is killed.
If Oryx does transition to his last stand, Oryx will move to the back of the room, and two more Light Eating Ogres will spawn on the left and right of the back half of the room. You must kill these two Ogres, consume the blights when Oryx calls upon the Darkness, and return to the player who will still have the aura of invincibility. Oryx will open his chest again, and you need to deal the remainder of damage here.
If you followed this guide down to the details, you just killed Oryx. His corpse will float into space now, and you’ll hopefully pick up a Grasp of Malice for your troubles. Check out our Destiny 2 King's Falls weapons guide for the full rundown of rewards and what to expect.

Ryan is a Former Contributor for Windows Central, covering Destiny 2 and other gaming hits.
