How to use an astronomy table in Hogwarts Legacy
There are 15 astronomy table puzzles to complete.
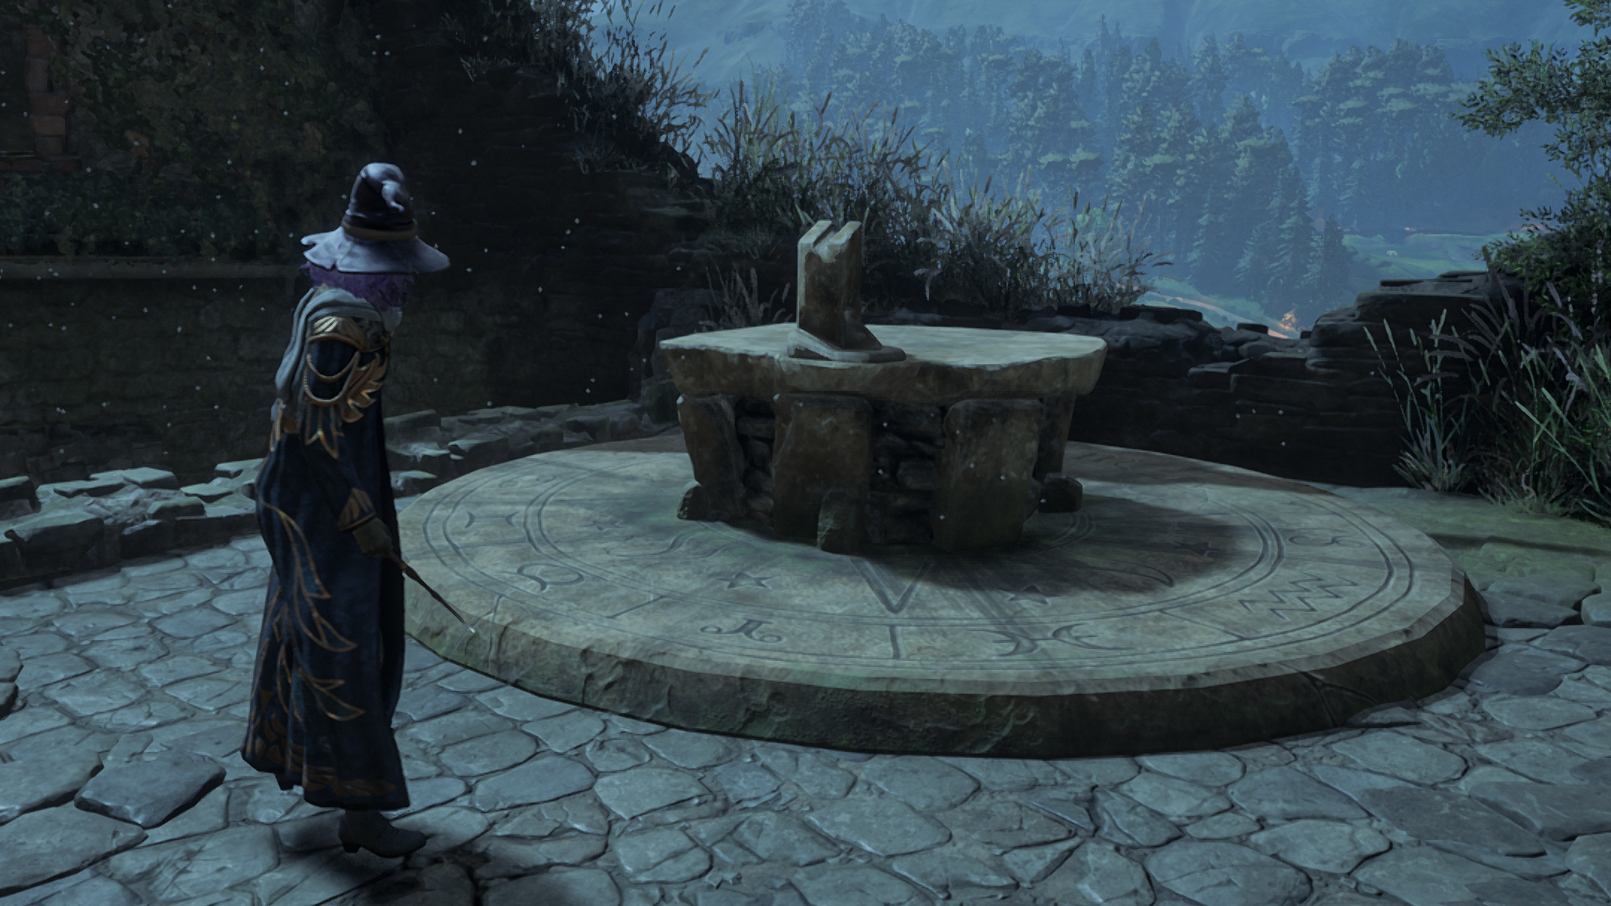
As you fly about the World Map in Hogwarts Legacy, you will come upon dozens of different puzzles and dungeons. One of the most common puzzles is astronomy tables, which have you align the shape of a constellation with the actual stars in the sky. They're pretty easy to solve and can give you a good chunk of experience points each time you complete one. However, you must first unlock astronomy tables before you can participate in these puzzles.
In this guide, I'll go over how to unlock astronomy tables and then explain how to solve Hogwarts Legacy's astronomy table puzzles.
Hogwarts Legacy: How to unlock astronomy tables
You will not be able to engage with the astronomy tables until you have completed the Astronomy Class main quest. This unlocks fairly early on in your Hogwarts Legacy playthrough. It's the many fun sidequests and puzzles like the astronomy tables that help make this one of the best PC games and best Xbox games out there.
Hogwarts Legacy: How to use astronomy tables
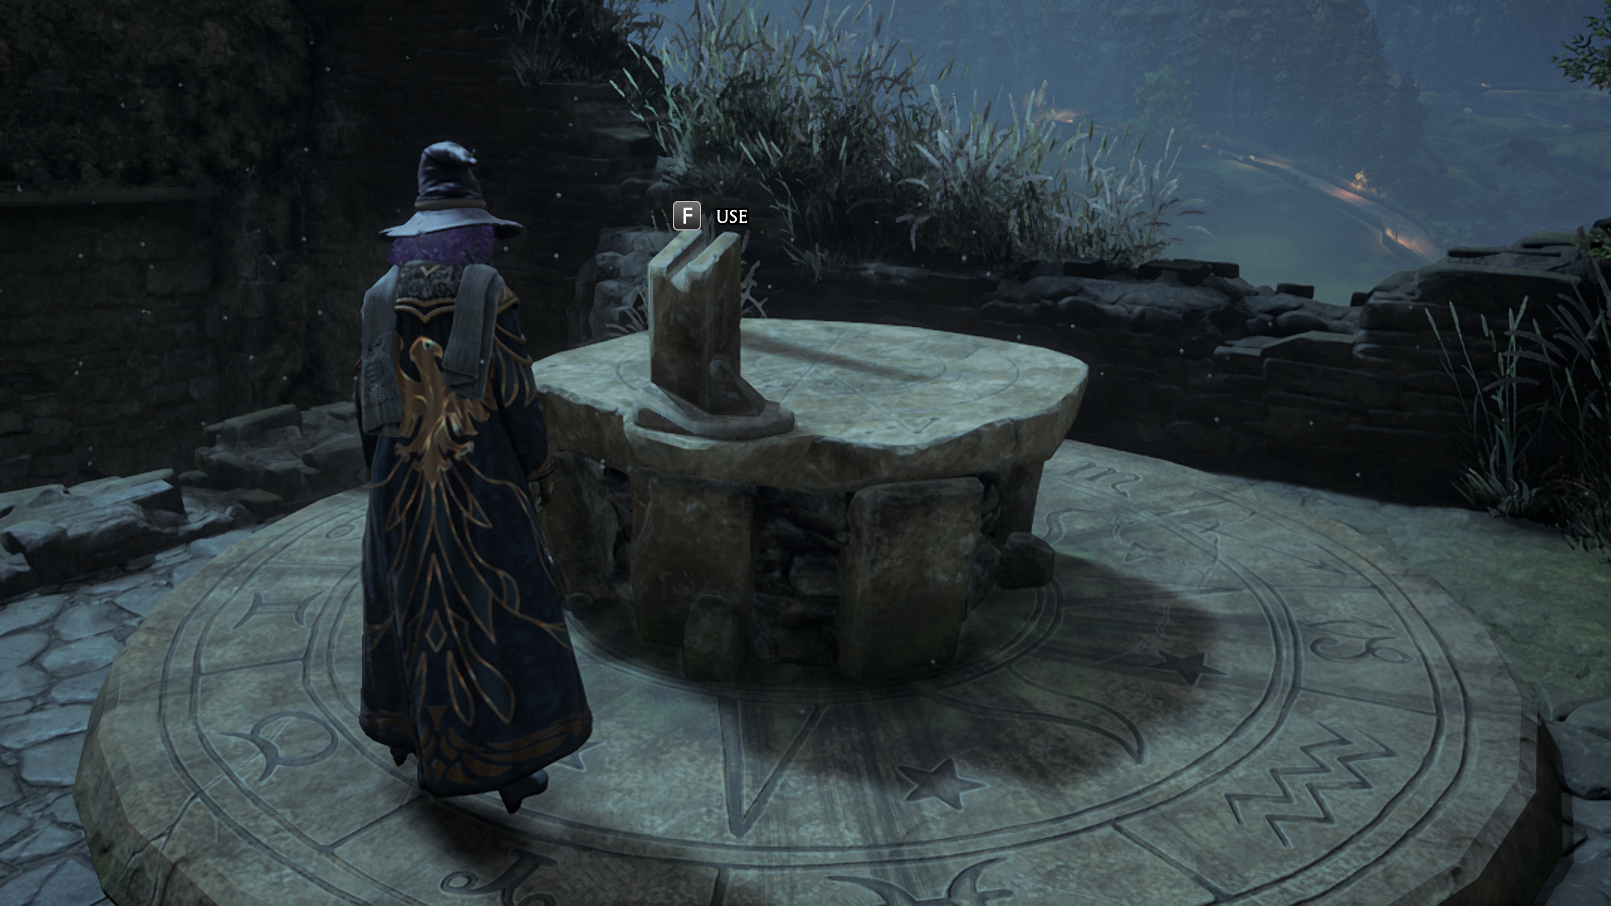
In order to use an astronomy table, it must be nighttime. If it is currently day or that murky time between day and night then the astronomy table won't let you interact with it. To change this, go to the world map and press the Wait button (F on PC, Right stick on Xbox) and then confirm to make the time of day change.
Note: Once you solve an astronomy table puzzle, you will not be able to interact with the table anymore and the Moon icon will be removed from the map. However, it will still glow if you cast Revelio.
When it is nighttime, go up and interact with the astronomy table (F on Windows).
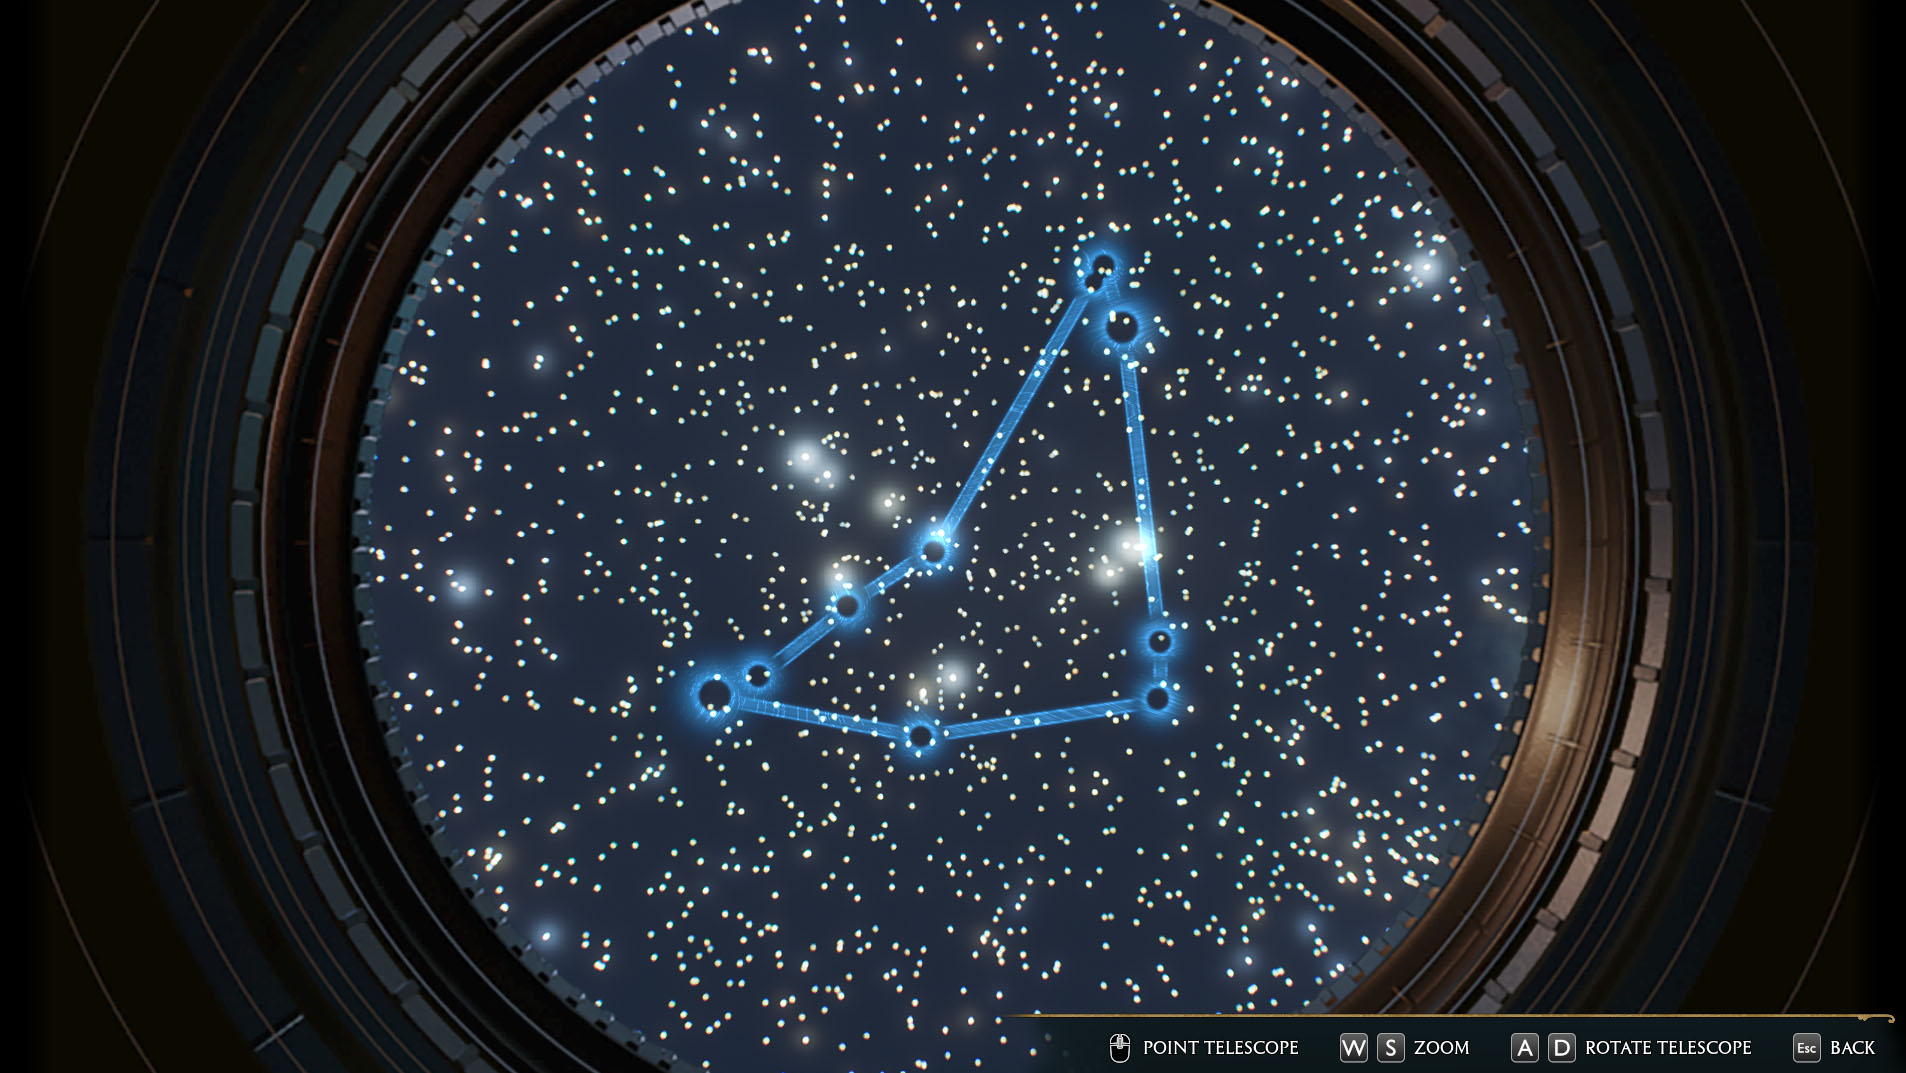
Look at the bottom right of the screen and you'll see you can both zoom in and out as well as rotate the constellation left or right. Additionally, some astronomy tables require you to adjust the telescope aim slightly (using your mouse or joystick) to get the constellation right. The goal is to move the telescope around until the blue constellation outline matches up with the bright stars behind it.
All the latest news, reviews, and guides for Windows and Xbox diehards.
If it seems like you've got the constellation lined up correctly, but it isn't activating then tweak the zoom, rotation, or viewing angle just slightly until the puzzle is solved.
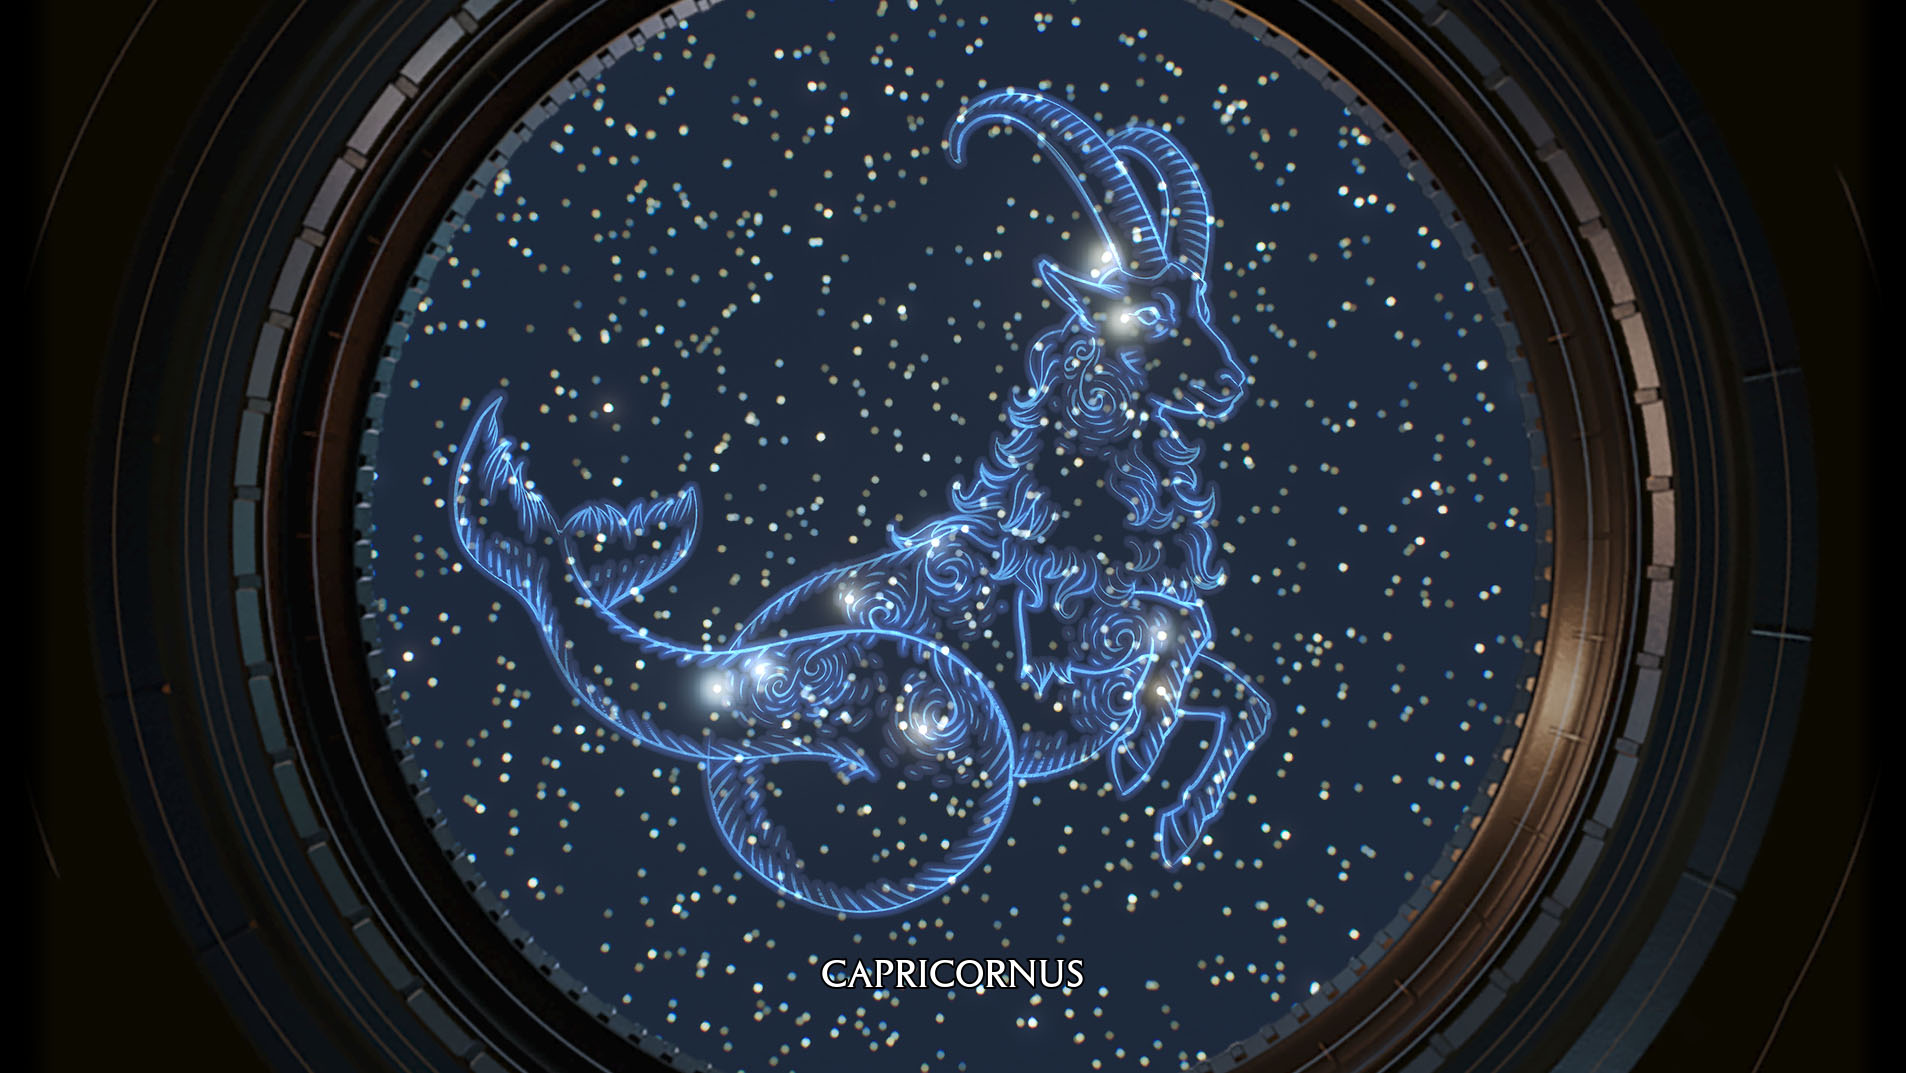
Once everything lines up correctly, a drawing will appear and you'll be able to see what the constellation is intended to represent. Now you can move on to another astronomy table.
Hogwarts Legacy: All 15 Astronomy table locations and solutions
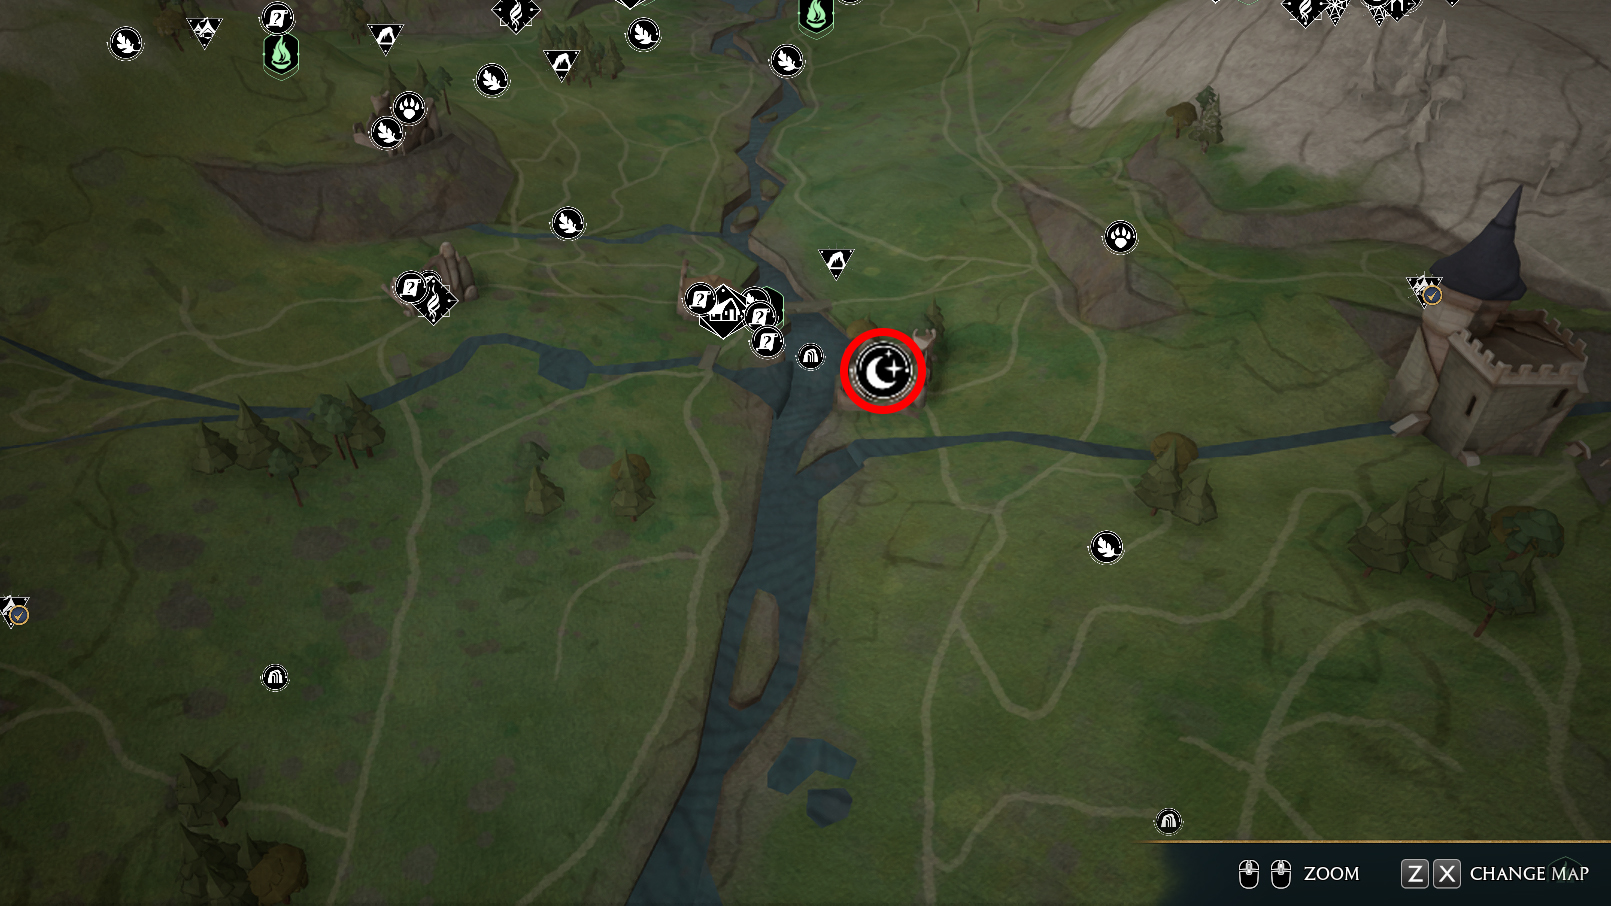
There are a grand total of 15 astronomy tables dotting the Hogwarts Legacy World Map. Once you've unlocked astronomy tables, you can open your World Map and find them marked with a crescent moon symbol. Just head to these locations and you'll be able to gather some easy experience points upon completing them.
Tip: If you're having a hard time locating the astronomy table, use Revelio and if you're close enough it will glow blue.
- Astronomy Table 1 (Centaurus): Go to World Map → North Ford Bog → San Bakar's Tower Floo Flame. Fly to the north of the large tower and you'll find the astronomy table near a tree. To solve it: zoom out and rotate to the left.
- Astronomy Table 2 (Draco): Go to World Map → Forbidden Forest → West Forbidden Forest Floo Flame. Fly southeast over the bandit camp and you'll get to a small clearing with a large rock formation at its center. The astronomy table is on top of the rock. To solve it: Zoom out all the way and rotate left.
- Astronomy Table 3 (Leo): Go to World Map → Hogsmeade Valley → Upper Hogsfield Floo Flame. Head west and you'll find the astronomy table on the small hill near some trees right next to the little village you just left. To solve it: Zoom in a bit and rotate left.
- Astronomy Table 4 (Scorpius): Go to World Map → South Hogwarts Region → Forbidden Forest Floo Flame. Head west over the bridge and then fly on top of the hill on the left side of the path to find this astronomy table. To solve it: Zoom out all the way and rotate right.
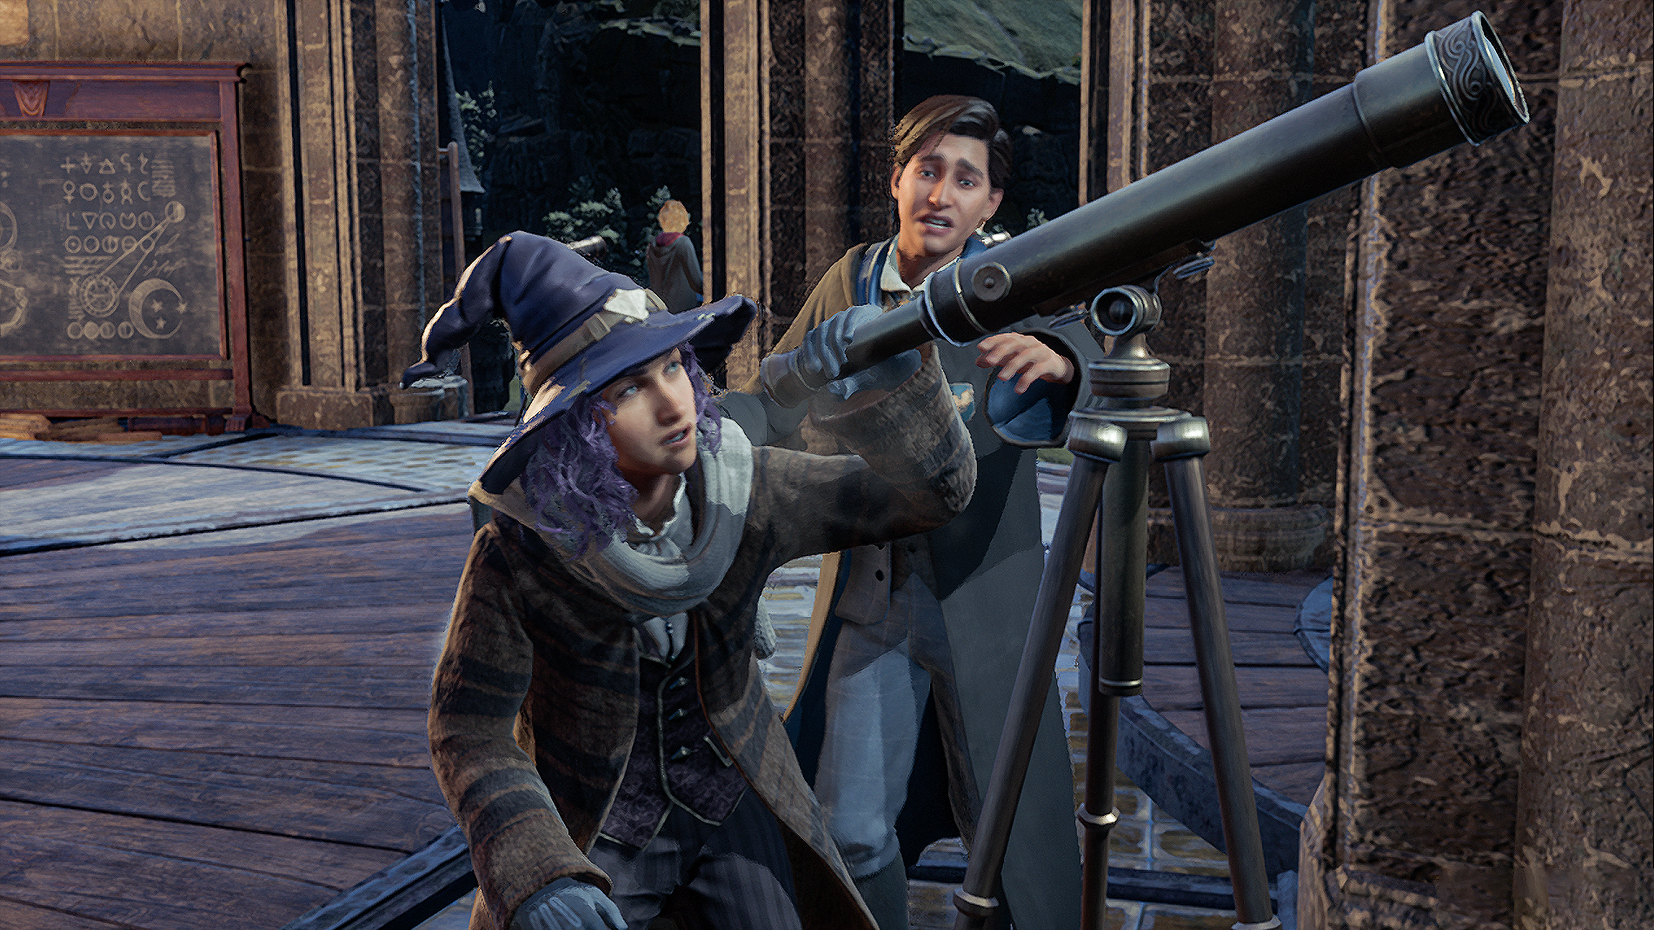
- Astronomy Table 5 (Lyra): This astronomy table is completed during the initial astronomy table tutorial with Amit Thakkar at the end of your Astronomy Class main quest. To solve it: Zoom in, rotate slightly right, and very slightly adjust the telescope angle.
- Astronomy Table 6 (Phoenix): Go to Hogwarts Map → Hogwarts North Entrance Floo Flame. Fly west and drop down on the lower battlements that are in front of the greenhouses to find this astronomy table. To solve it: Zoom out a bit and rotate right.
- Astronomy Table 7 (Capricornus): Go to World Map → Hogwarts Valley → Keenbridge Floo Flame. Fly over the river to the ruins at the east. The astronomy table is on the top floor. To solve it: Zoom in a bit and rotate right.
- Astronomy Table 8 (Corvus): Go to World Map → Hogwarts Valley → Brocburrow Floo Flame. Fly onto a hill just slightly southwest of Brocburrow to find this astronomy table. To solve it: Zoom out and rotate right, then adjust the telescope slightly.
- Astronomy Table 9 (Lacerta): Go to World Map → Feldcroft → North Feldcroft Floo Flame. Move west past the large bandit camp and you'll find the astronomy table near the edge of the cliff. To solve it: Zoom in a bit and adjust the telescope to the right slightly.
- Astronomy Table 10 (Horologium): Go to World Map → Feldcroft → South Feldcroft Floo Flame. From the house with the Floo Flame inside of it, fly northwest over the landing platform and to the cliff beyond to find the astronomy table. To solve it: Zoom in a bit, rotate left, and adjust the telescope downward.
- Astronomy Table 11 (Hydra): Go to World Map → Poidsear Coast → South Poidsear Coast Floo Flame. Exit the house and fly to the ruins to the south. on a lower cliff just beyond these ruins you'll find the astronomy table. To solve it: Zoom out all the way, rotate left slightly, and then adjust the telescope just a bit.
- Astronomy Table 12 (Canis Major): Go to World Map → Marunweem Lake → Coastal Mine Floo flame. Fly south over a mining camp and then a bandit camp and head to the cliffs. The astronomy table is on a higher cliff to the right of a Thestral Den. To solve it: Zoom in a bit and rotate right.
- Astronomy Table 13 (Lupus): Go to World Map → Clagmar Coast → Clagmar Castle Floo Flame. Walk south along the backside of the Clagmar Castle ruins and you'll eventually see three large stones on the distant cliffs to the left. Fly to these and you'll find the astronomy table. To solve it: Zoom in and then rotate right.
- Astronomy Table 14 (Sagittarius): Go to World Map → Clagmar Coast → Clagmar Castle Floo Flame. This is the closest floo flame to this astronomy table, but it will still take a bit of flying. Leave the Clagmar Coast and head to the southern tip of Manor Cape where large Henrietta's Hideaway ruins are (from The Hippogriff Marks the Spot quest). The astronomy table is on the top floor which you can fly down onto from an open roof. To solve it: Zoom out and rotate right.
- Astronomy Table 15 (Cetus): Go to World Map → Cragcroftshire → Cragcroft Floo Flame. Fly south from the floo flame as if you're headed to Clagmar Castle. You'll see a large stone pillar rising out of the water with a landing platform on it. The astronomy table is on a nearby cliff of this stone pillar. To solve it: Zoom out and rotate left, then adjust the telescope slightly.
Hogwarts Legacy: Astronomy table rewards
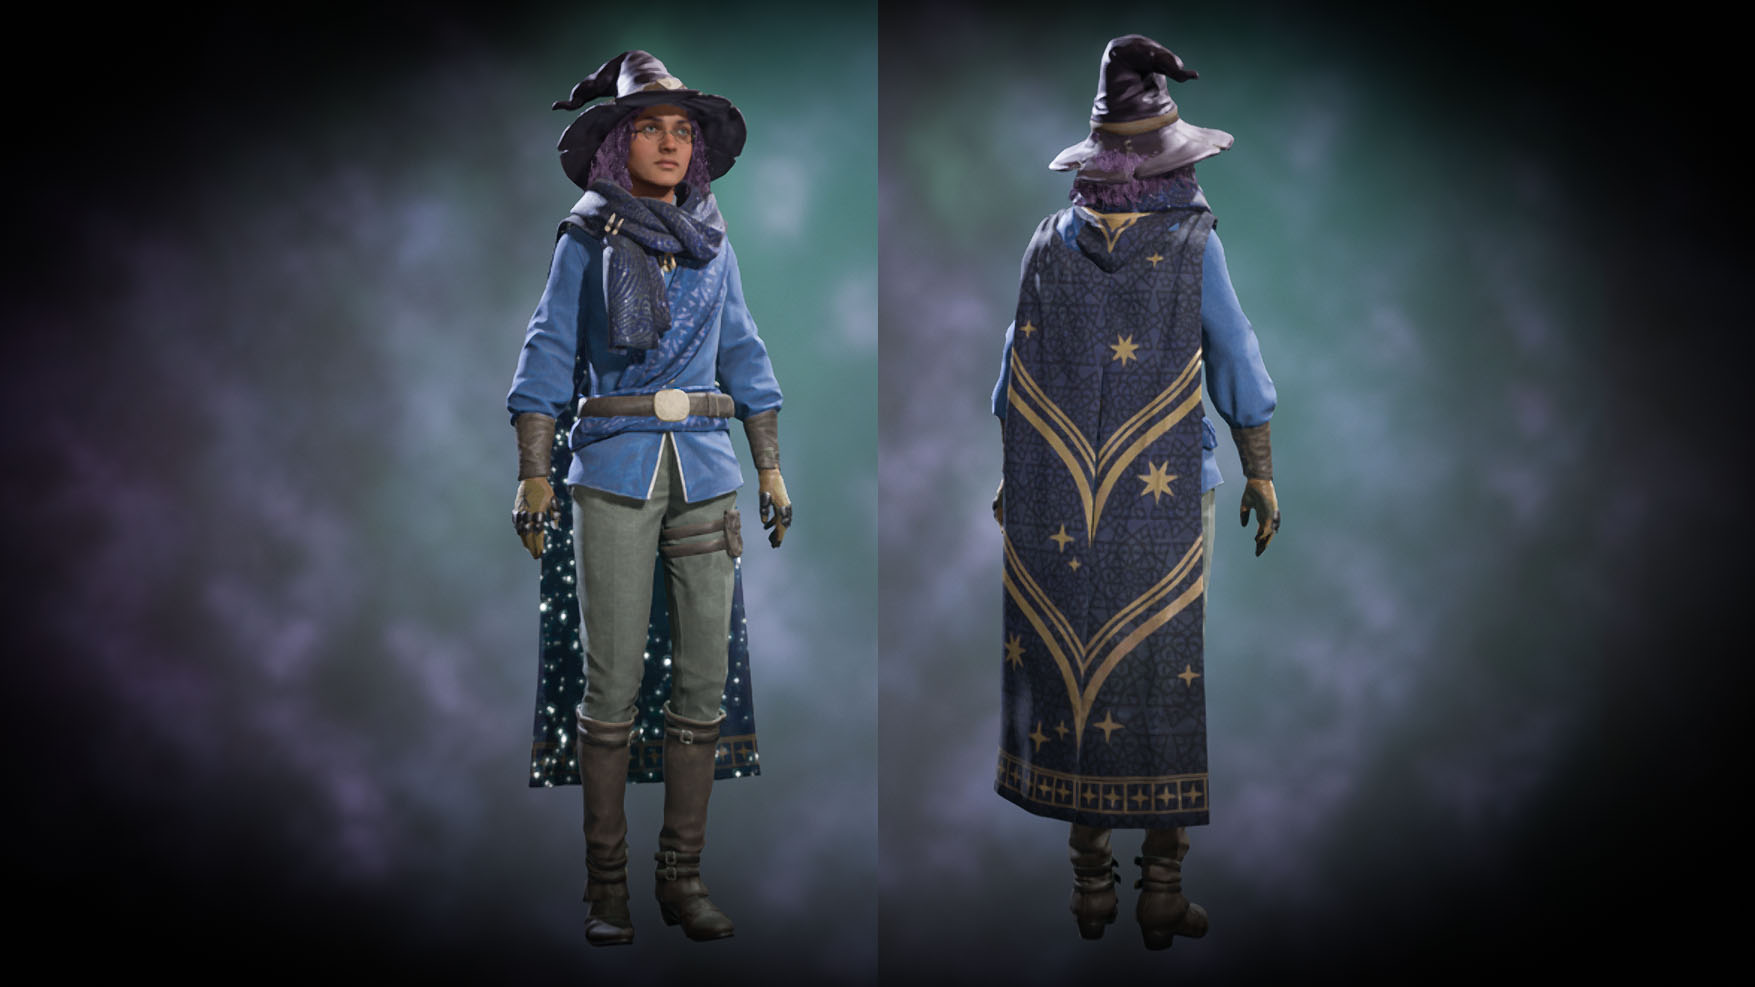
Each time you complete an increment of five astronomy tables you unlock some Starry-Eyed cosmetics. To get your Astronomy table rewards go to Menu → Challenges → Exploration and scroll down to Find Astronomy Tables. You'll need to click on each reward to redeem them before they show up in the change appearance menu. Here are all of the astronomy table rewards you can unlock:
- Starry-Eyed Seer's Scarf — Unlocks at 5 completed astronomy tables
- Starry-Eyed Seer's Ensemble — Unlocks at 10 completed astronomy tables
- Starry-Eyed Seer's Cape — Unlocks at 15 completed astronomy tables
Written in the stars
These puzzles can either be really easy for you or really difficult depending on how things go. Some constellations have far more stars in them than others making it a bit harder to know what orientation they should have. However, if you take some time to zoom in or out, rotate right or left, and adjust the angle of the telescope using your mouse or joystick you'll get these astronomy table puzzles solved in no time

Self-professed gaming geek Rebecca Spear is one of Windows Central's editors and reviewers with a focus on gaming handhelds, mini PCs, PC gaming, and laptops. When she isn't checking out the latest games on Xbox Game Pass, PC, ROG Ally, or Steam Deck; she can be found digital drawing with a Wacom tablet. She's written thousands of articles with everything from editorials, reviews, previews, features, previews, and hardware reviews over the last few years. If you need information about anything gaming-related, her articles can help you out. She also loves testing game accessories and any new tech on the market. You can follow her @rrspear on X (formerly Twitter).

 Windows Central Insider


