Remnant 2: How to complete the Nameless Nest and defeat Mother Mind
Hello Mother
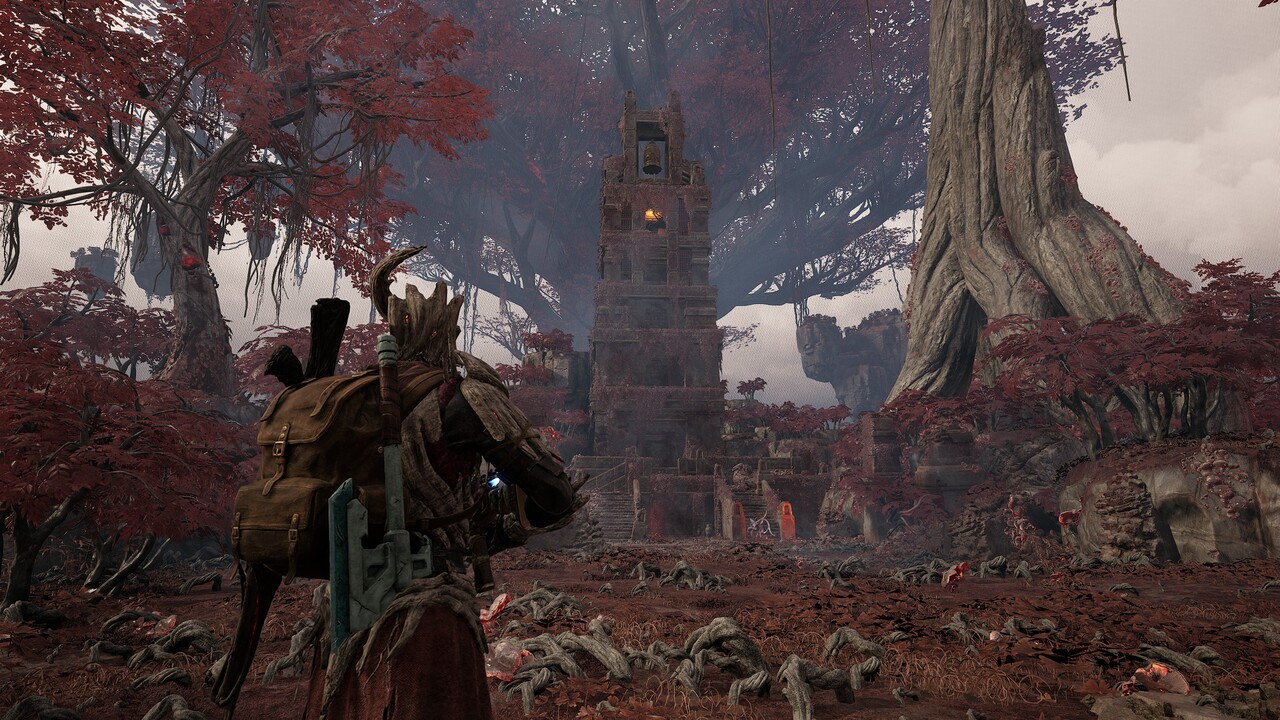
Remnant 2 is Gunfire games take of the Souls genre. Where once sword and magic dominated in a fantasy realm, Remnant 2's version features guns, lasers and Star Gate portal worlds. Fight through expansive, procedurally driven worlds in solo, and in coop.
Follow our guides on how best to tackle these dungeons, enemies and various bosses. We'll help you get the most out of your experience. It should be easy since we already went through all the pain and suffering for you!
Enemies
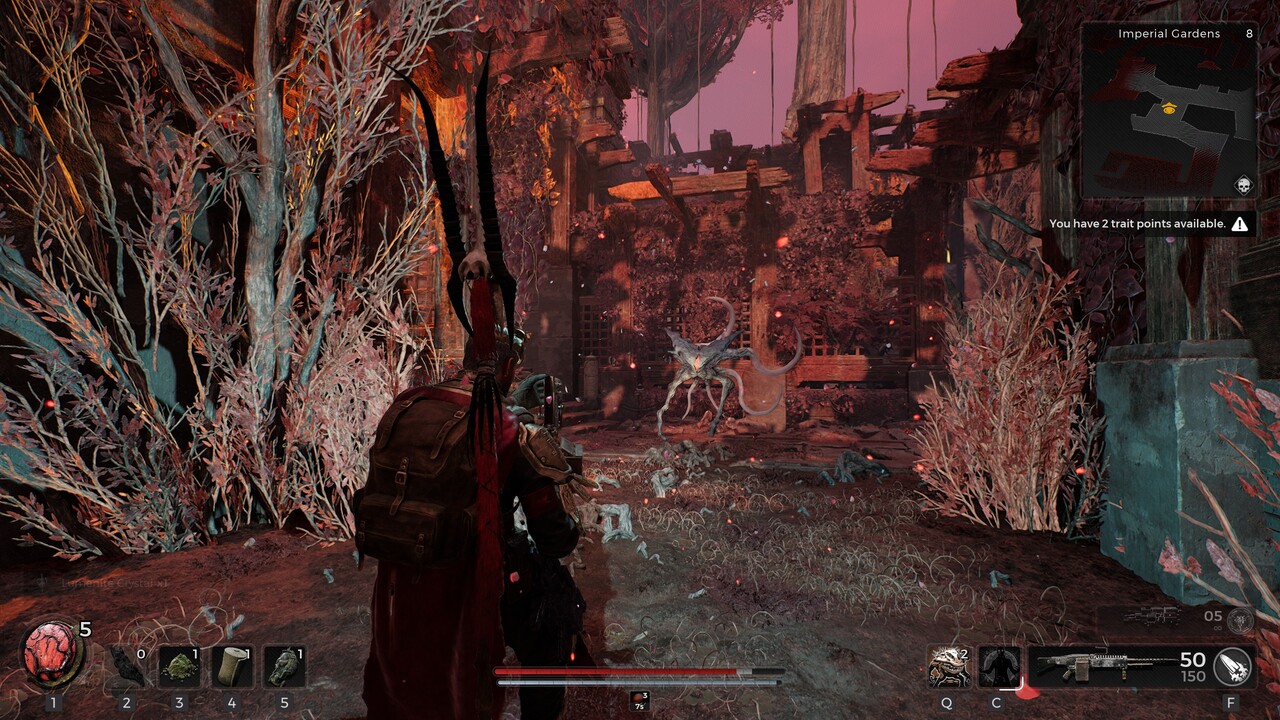
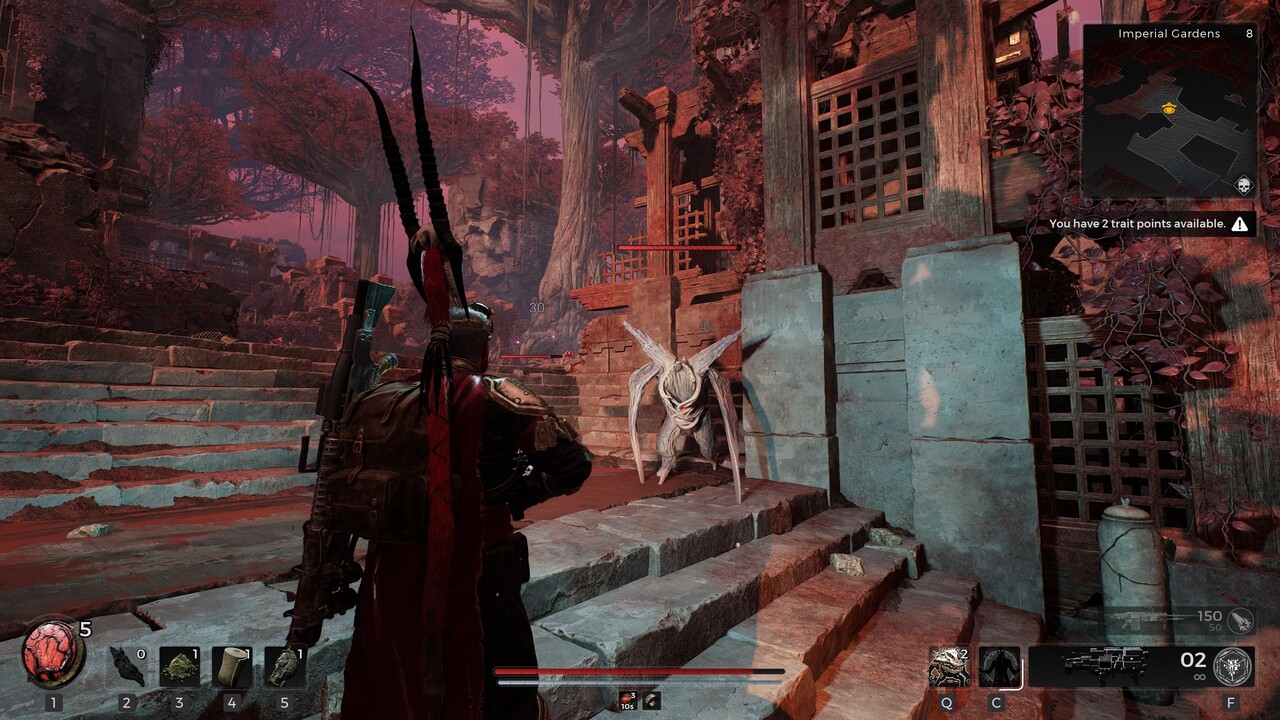
- Root Flyers: As the name implies, these guys float around. They also shoot annoying energy balls at the player that deal a decent amount of damage but are easy to avoid. Sidestep around these guys and take these suckers out!
- Root Slasher: These guys come at you first as a hulking giant slasher. Dropping them is step one, killing their flying form is step two. If left alive, they bury themselves and emerge once more in their hulk form.
Puzzle Guide: Nameless Tower
Coming into the Nameless Nest, you'll first find a checkpoint. Walk by it, making sure to activate it. Continue forward, and you'll come across a rather large tower standing tall amongst the landscapes near it. Take note of the staircases leading up as well.
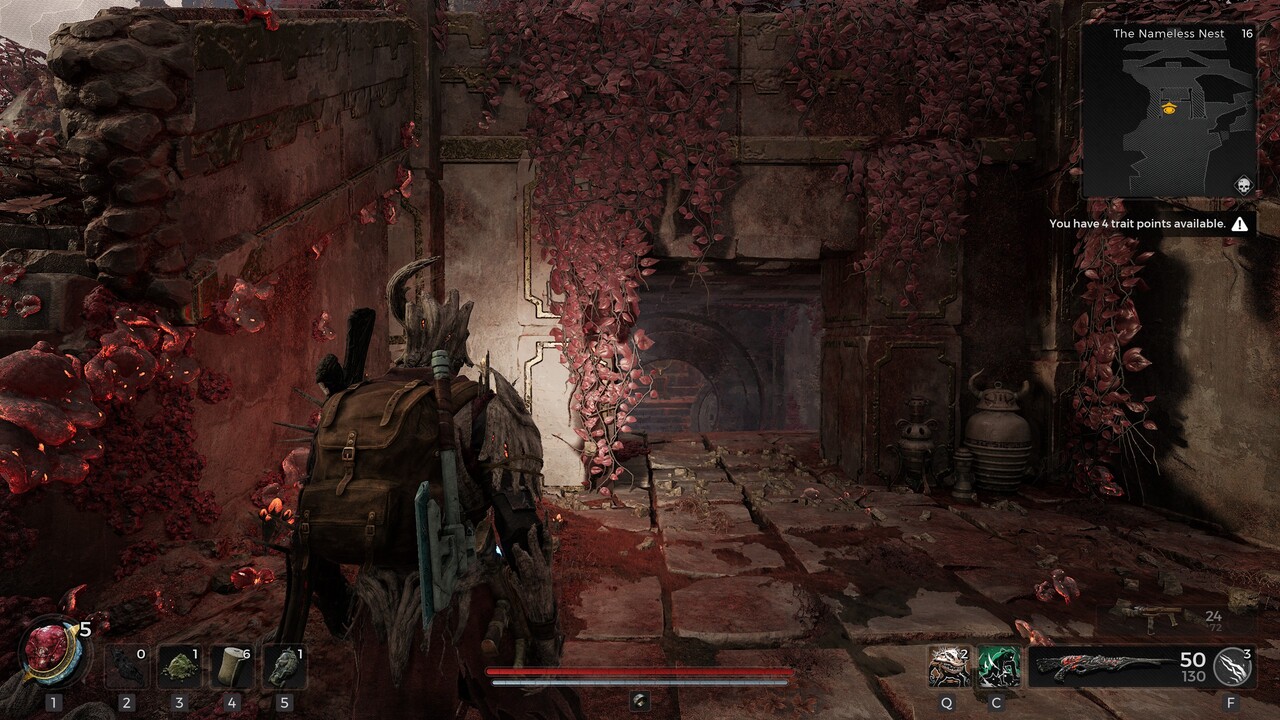
At the first staircase, there's a lower wall. Approach it, and you'll discover it's an illusionary wall. Inside is a dial, one of which you may have seen in places such as The Lament or Imperial Garden. Next, we'll need to find those symbols.
Carry on up the staircase and approach the tower. In the middle, there will be an elevator; let's take it up top. Don't worry; rolling won't cause you to fall off. Trust me, I tried.
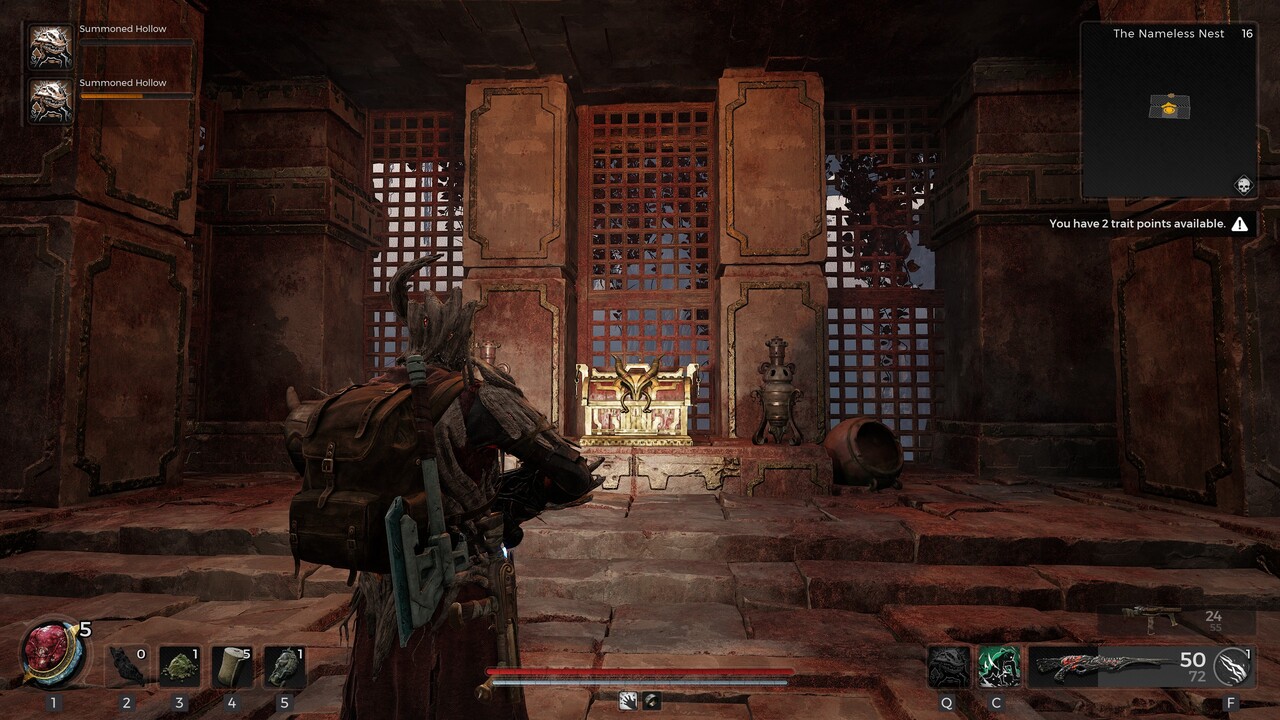
Once you reach the canopy, you'll see a chest before you. Go ahead and open it; inside is some scrap, upgrade materials, and the Slayer's Crest. The ring boosts melee damage by 25% when attacking enemies from behind. Although, I can't think of many opportunities I've had to do so.
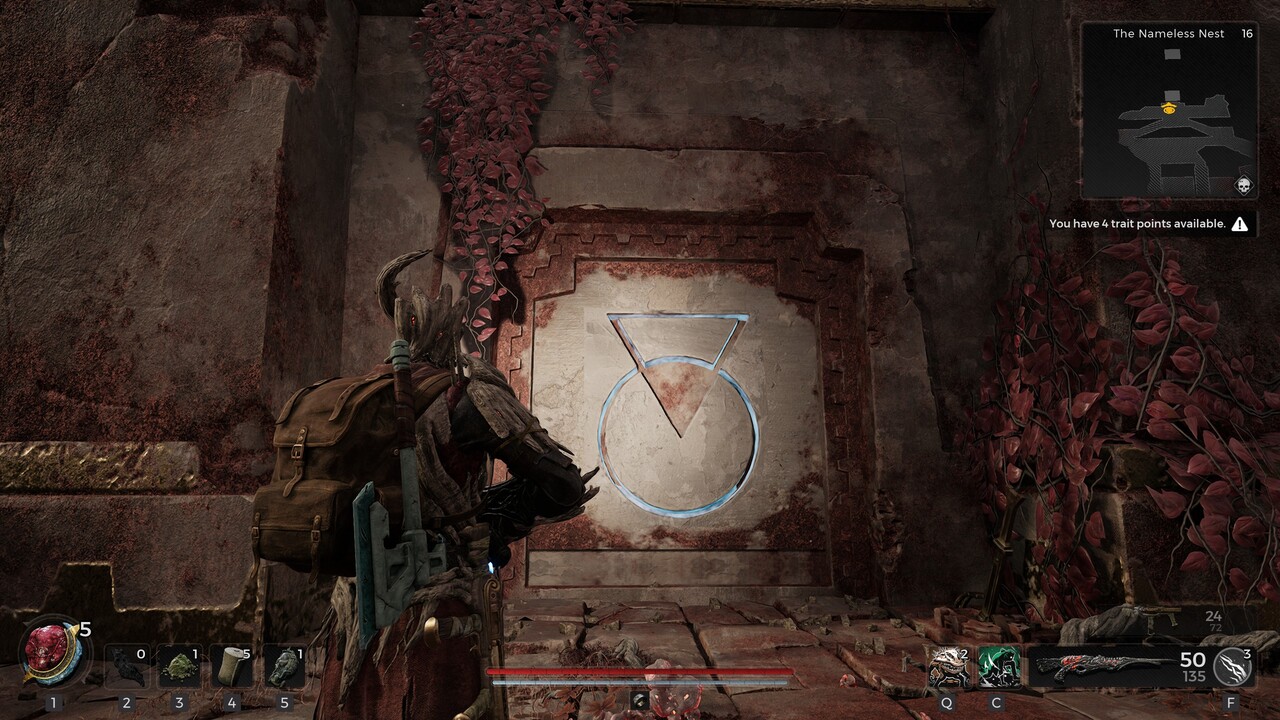
Now, let us head back down. Once at the bottom, activate the elevator again, but jump off before it goes up. The old Dark Souls trick. As the elevator ascends, you'll notice familiar symbols rising that match the dial in the illusionary room at the bottom of the staircase. Please take note of the characters, as you'll need to remember which ones and the order in which they're shown. While I'm not entirely sure, these symbols are most likely refreshed on every rerolled world like other puzzles.
All the latest news, reviews, and guides for Windows and Xbox diehards.
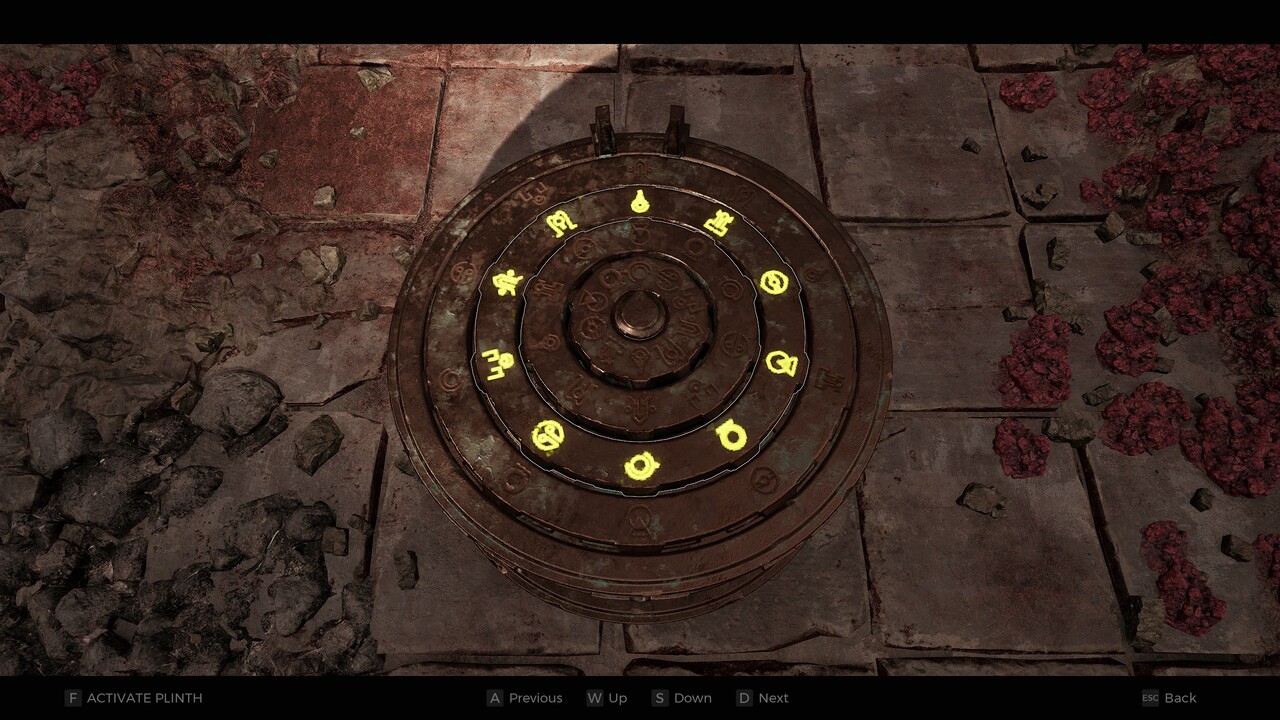
Enter the illusionary room again and interact with the dial. The symbol at the bottom of the elevator will correspond to the same symbol on the innermost ring of the dial. And likewise, the symbol at the top of the elevator must match that of the symbol on the outermost ring of the dial.
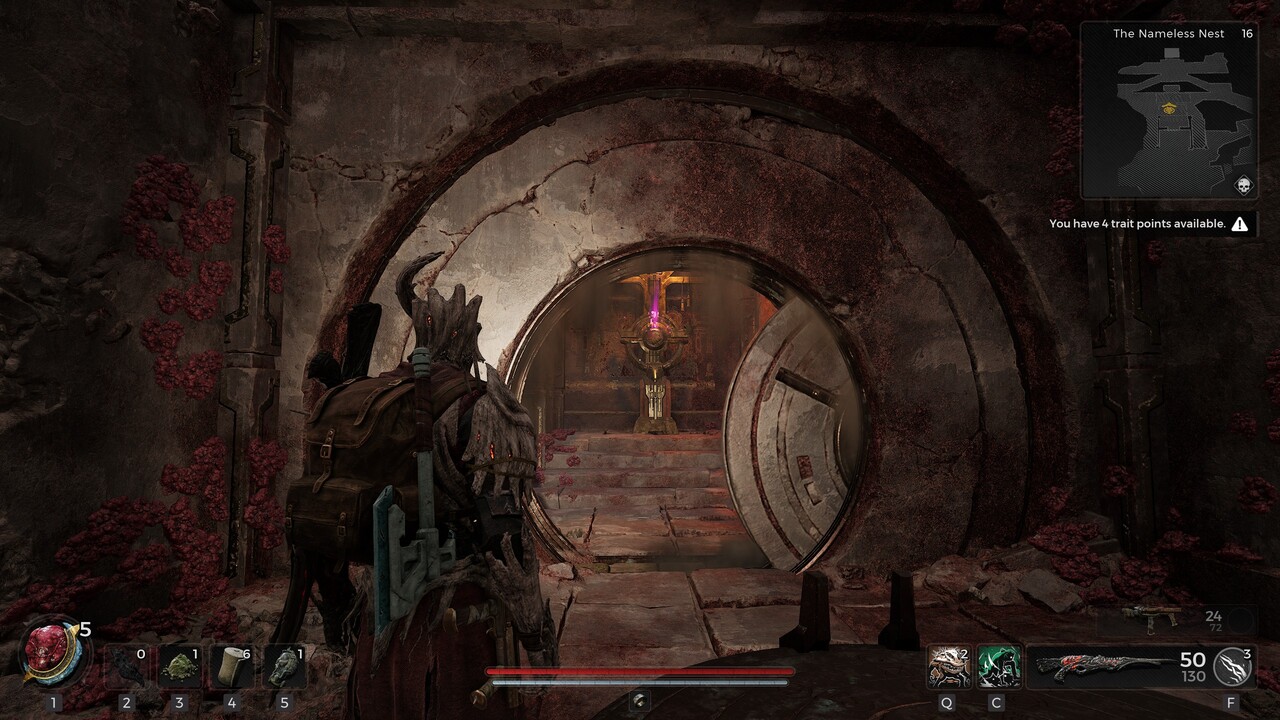
Once they're appropriately lined, dial it in. A door before you will unlock, allowing you to grab the Blooming Heart. My favorite relic as of late. On use, the Blooming Heart heals the user for 35% of the caster's max health over 5 seconds. It spawns 3 healing orbs, which grant 35% of the caster's max health over 5 seconds. These orbs last for 20 seconds. Recasting removes previous orbs. A someone who's mainly playing solo, this effectively grants me 140% healing for 20 seconds. When I do play coop, this gives easy team heals for my partners.
The rest of the area is a straight path, with Root Flyers attacking you from everywhere and giving a sneak peek at what's ahead. Along the way, you might come across another boss, The Wealk Stalker and The Gnarled Archer.
Boss Guide: The Weald Stalker and The Gnarled Archer
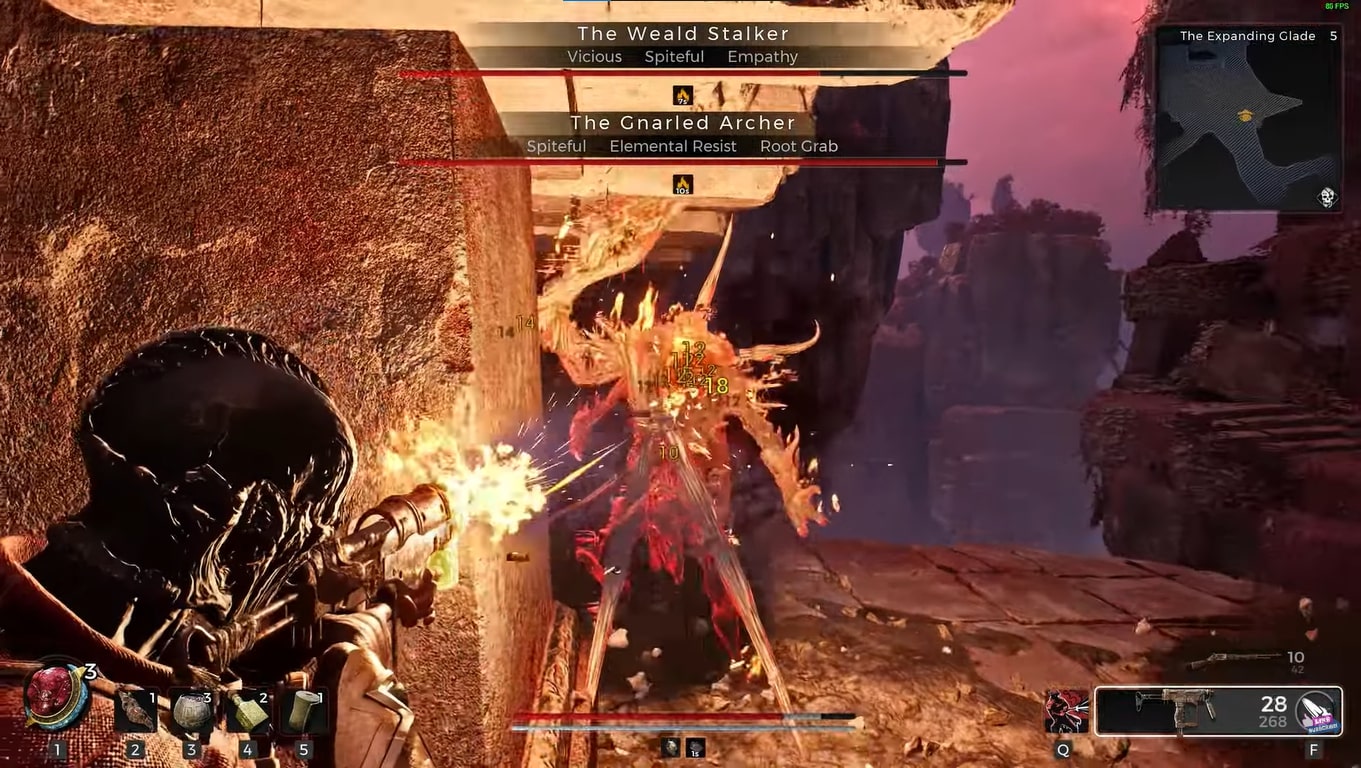
You'll potentially come across this boss after dropping down a few stone ledges into what appears to be a small underground lair. It's only a chance you'll see them here, as they can also spawn in the Imperial Garden, Forgotten Field, or the Expanding Glade.
Attacks
- Lightning Strike: The Gnarled Archer shoots an empowered version of the Root Slayer archer attack. Coming from above, this hit as an electrical discharge, stunning the player and dealing a considerable amount of damage. If you see the cloud forming above you, roll away. Shotting him in the head during his attacks will cause him to become stunned.
- Gunfire: The Weald Stalker will take shots at the player using an empowered rifle. Hitting his head repeatedly, just like the archer, will cause him to stun lock and cancel his attack.
- Summon Enemies: They'll spawn Root Sniper and Root Warts during the fight. Having a coop partner or Handler archetype to pull aggro makes this incredibly easy. If not, focus these foes to down quickly.
Dodge these attacks and focus-fire one of the targets down. Personally, I found the archer to be far more annoying overall. So, dealing with him first felt best. Once he was out of the way, I could more easily deal with the sniper. Once the sniper is down, the loot is yours.
They'll drop Corrupted Lumenite Crystals, scrap, upgrade materials, and the Bandit mutator. On hit, the mutator grants a 10% chance to return spent ammo directly into the magazine of this weapon.
Boss Guide: Mother Mind
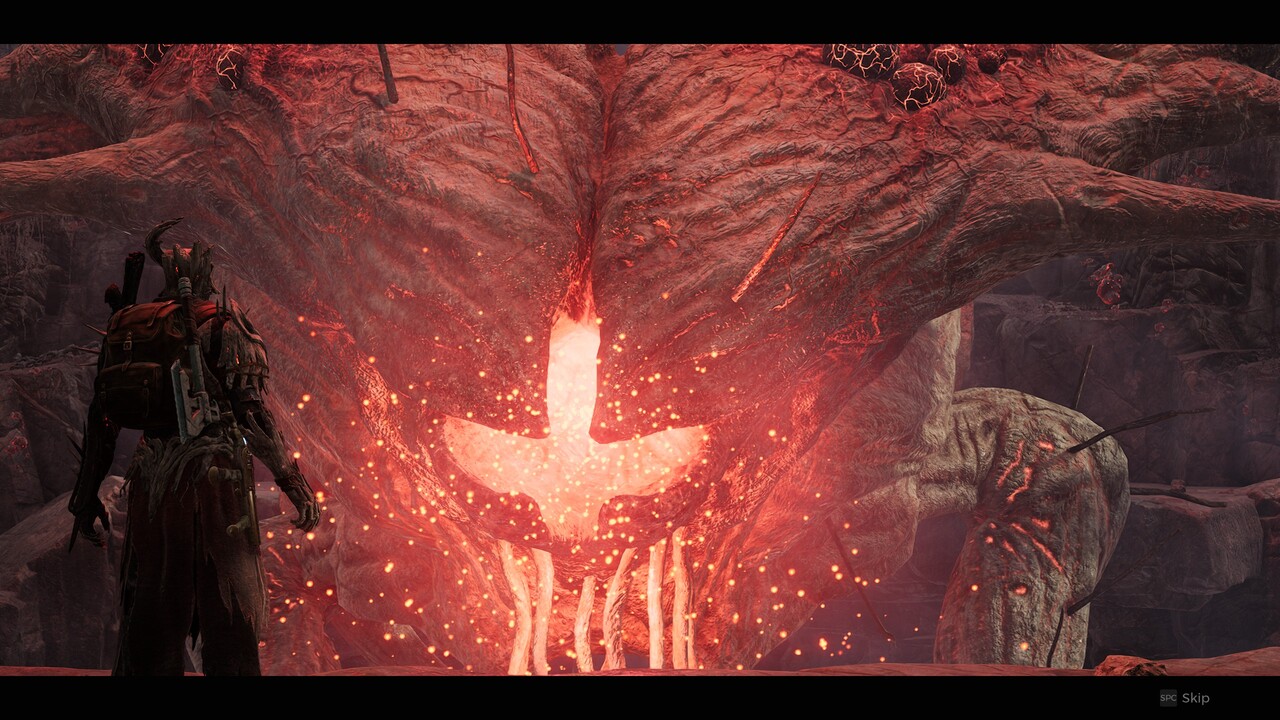
Toward the end of the dungeon, you'll encounter a grey boss wall next to a checkpoint. Go ahead and gear up and get ready for the fight ahead. You'll be greeted with a cutscene upon entering the arena.
Attacks
- Summon Flyers: Mother Mind will occasionally summon flyers to fight the player. When she does, focus on these extras as they deal considerable damage over time if ignored.
- Blood Pool Splash: The boss will occasionally drop large pools of blood on top of the player. It's best to avoid these
- Slash N' Hack: Mother Mind attacks with her arms. She'll generally do two full melee attacks before changing tactics. Delay your roll a small bit to avoid the slash, then get ready to roll a second time on the follow-up attack. You can also avoid the spinning slash attack by sticking to the back wall of the arena.
- Floor Drop: The cliff on which you reside on will need to be abandoned when rocks start to fall. After dealing around 33% damage, she'll go up in the air before slamming down on the rock ledge. This will cause the entire thing to crumble, and if you're standing on it, you'll fall as well. This attack instantly kills.
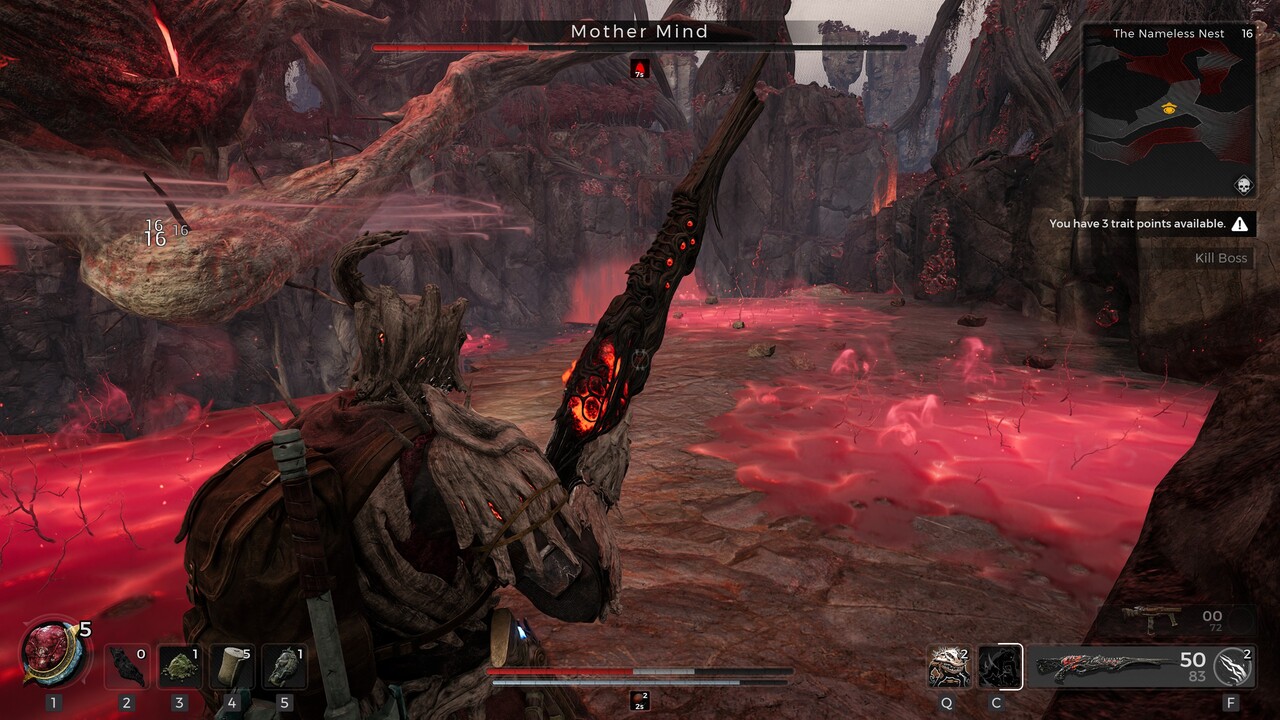
Once down, Mother Mind will drop a Lumenite Crystal, Tome of Knowledge, scrap, as well as the Cordyceps Gland. Turn this into McCabe, and she'll give you the Tremor weapon mod. Once equipped this mod fires a projectile that cracks the ground and spawns shockwaves that deal 75 damage within 9m for 6 seconds. The shockwaves inflict 3 stacks of impact.

Michael has been gaming since he was five when his mother first bought a Super Nintendo from Blockbuster. Having written for a now-defunct website in the past, he's joined Windows Central as a contributor to spreading his 30+ years of love for gaming with everyone he can. His favorites include Red Dead Redemption, all the way to the controversial Dark Souls 2.

 Windows Central Insider


