How to change and customize Windows 10 sleep settings
By default, Windows 10 puts your display to sleep in less than half an hour after you leave it untouched, and a PC will typically hibernate after a few hours. Here's how to configure and customize those settings.

All the latest news, reviews, and guides for Windows and Xbox diehards.
You are now subscribed
Your newsletter sign-up was successful
For a desktop PC, the sleep settings are less of an issue because you're not restricted by a battery. Notebooks and mobile devices are different, requiring conservative sleep settings to get as much juice from the battery as possible. You don't want your laptop draining power when you're not using it, so here's how you can easily configure sleep settings in Windows 10.
Changing sleep times in Windows 10
You can modify your Windows sleep settings with the following steps:
- Open up search by hitting the Windows Key + Q shortcut.
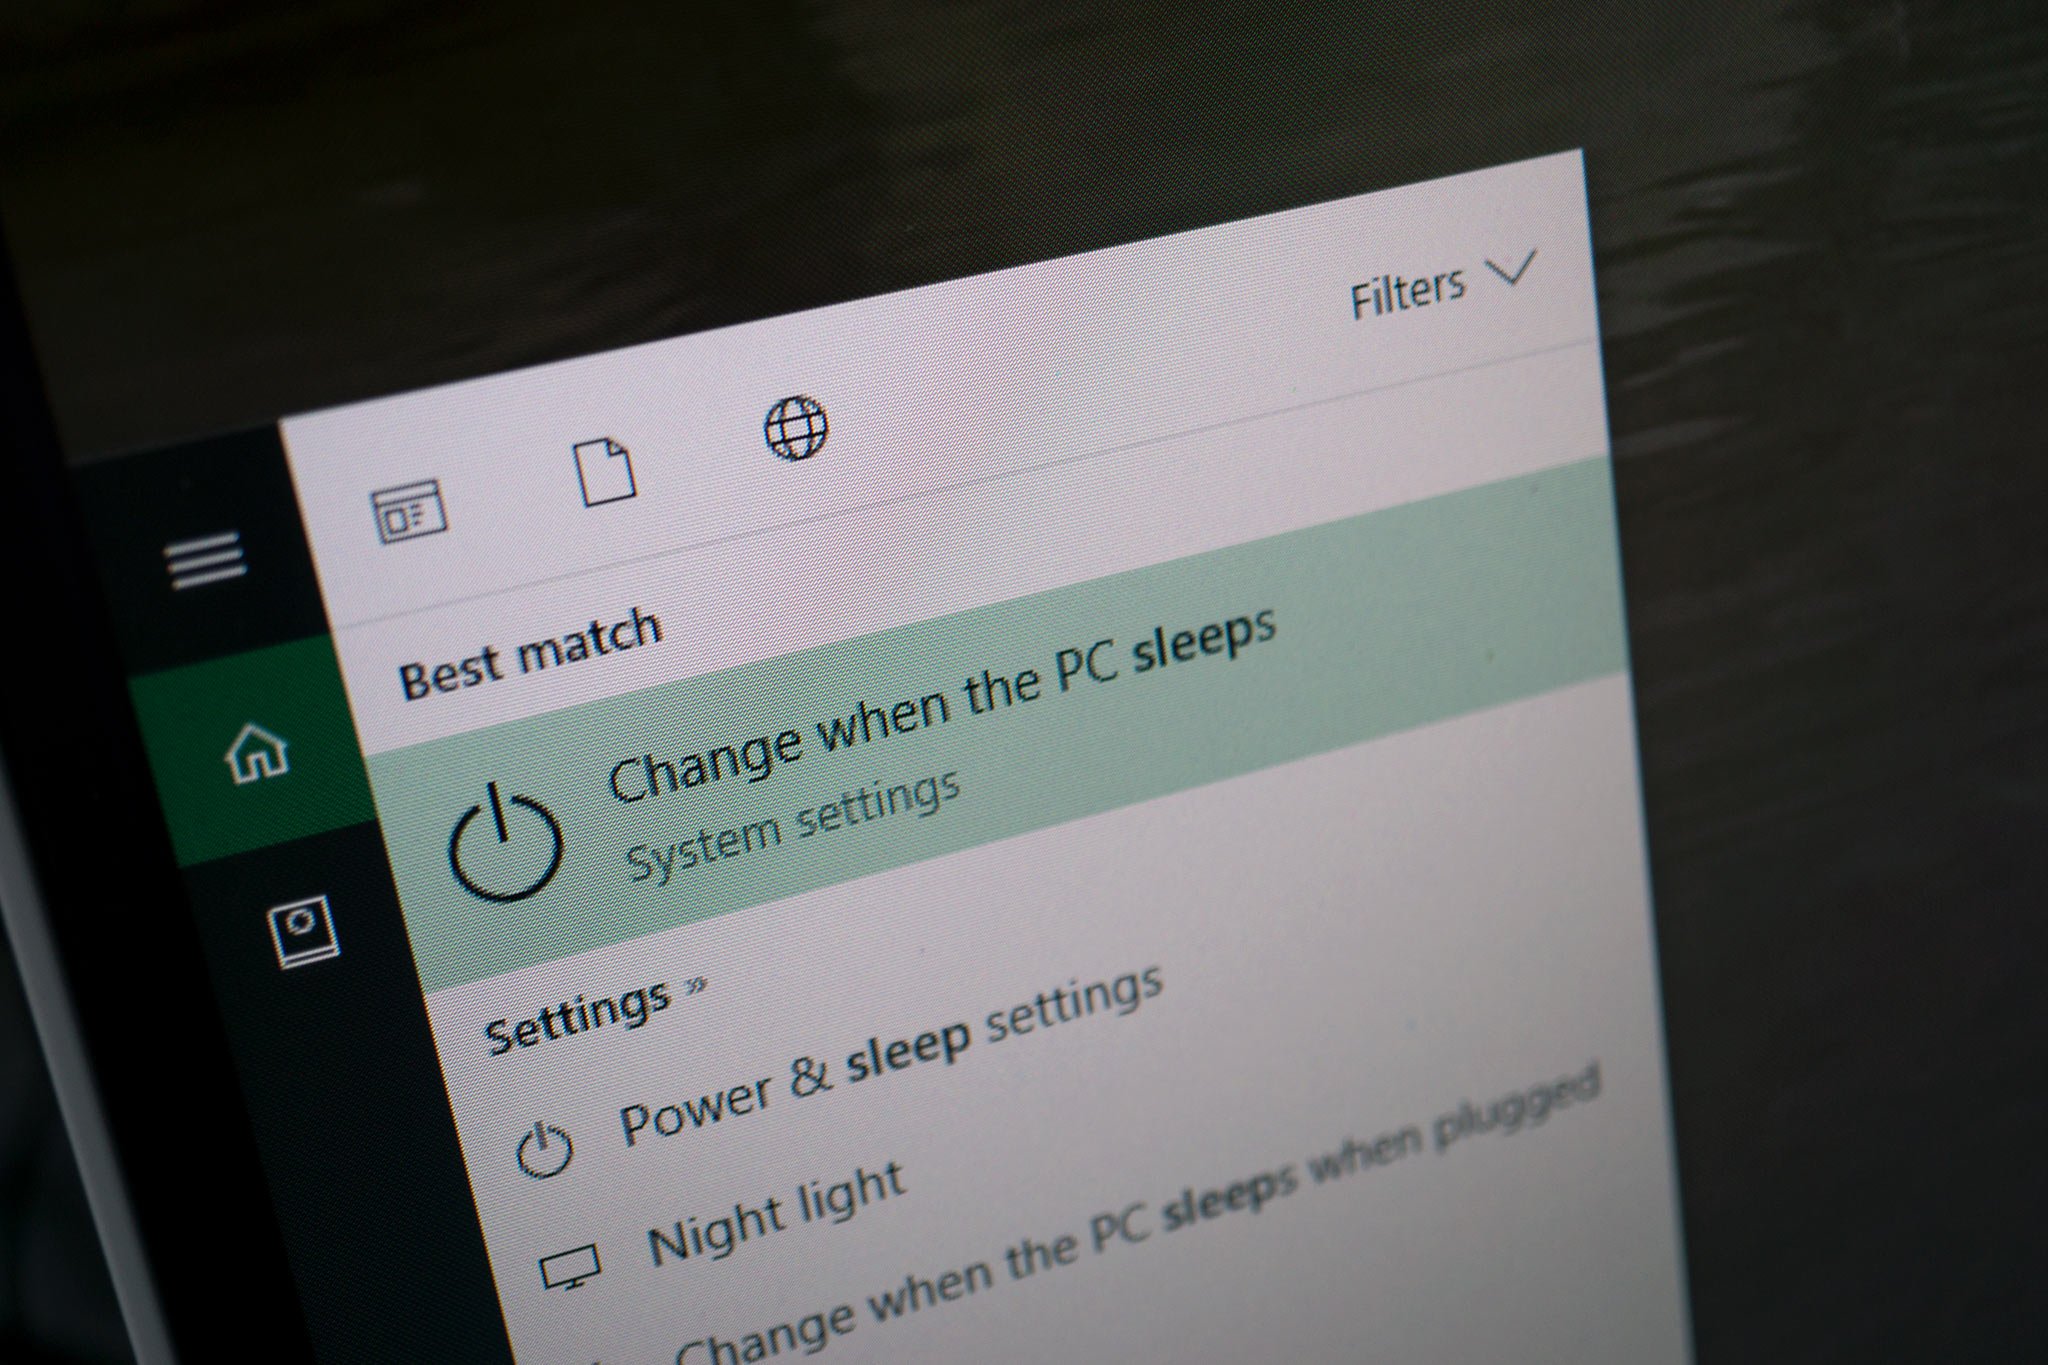
- Type "sleep" and select "Choose when the PC sleeps".

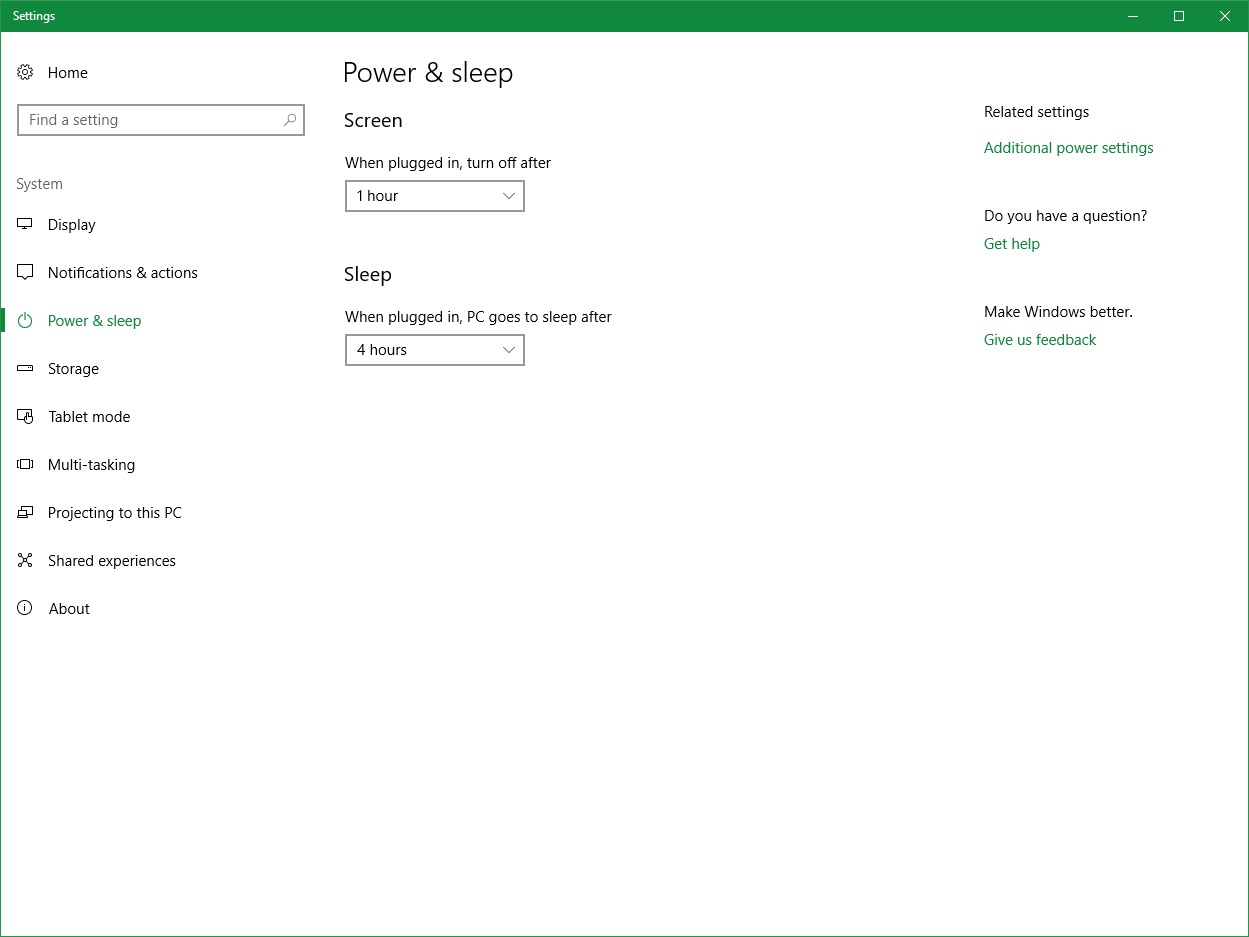
- You should see two options:
- Screen: Configure when the screen goes to sleep.
- Sleep: Configure when the PC will hibernate.
- Set the time for both using the drop-down menus.
If you're using a laptop, there are actually four options that fall into two categories: one for when you're on battery and the other for when you're plugged in. The former will see Windows 10 act accordingly when the PC is draining the battery, while the latter will affect times when you're plugged into an outlet. These should be altered so you can get the most out of the available power.
More Windows 10 resources
For more helpful articles, coverage, and answers to common questions about Windows 10, visit the following resources:
- Hibernate, sleep, or shut down: What's the best for your PC?
- Windows 10 on Windows Central – All you need to know
- Windows 10 help, tips, and tricks
- Windows 10 forums on Windows Central
All the latest news, reviews, and guides for Windows and Xbox diehards.

Rich Edmonds was formerly a Senior Editor of PC hardware at Windows Central, covering everything related to PC components and NAS. He's been involved in technology for more than a decade and knows a thing or two about the magic inside a PC chassis. You can follow him on Twitter at @RichEdmonds.
