


Beginner's Tips Series!
Previously, we took a look at different methods of creating screenshots on the Surface Pro 3 and other Windows 8 devices, some of which automatically saved to a subfolder in the Pictures directory called Screenshots. This folder gets created the first time you use the Home (Windows) button + Down Volume to make a screen grab and becomes the default folder going forward.
You may decide that for ease of use or organizational purposes that you want to change the default folder where these files are saved. If that is the case, fear not, you can easily change it. Furthermore, this procedure is not limited to your Screenshots folder. It will work with just about any of your default folders, like Desktop, Documents, Downloads, Music, Pictures, and Videos. However, for the sake of continuity, we will stick with the Screenshots folder. Here's all you have to do:
- Highlight your current Screenshots folder by clicking it, then click the Properties button on the Home tab. You can also simply right-click the Screenshots folder and select Properties.

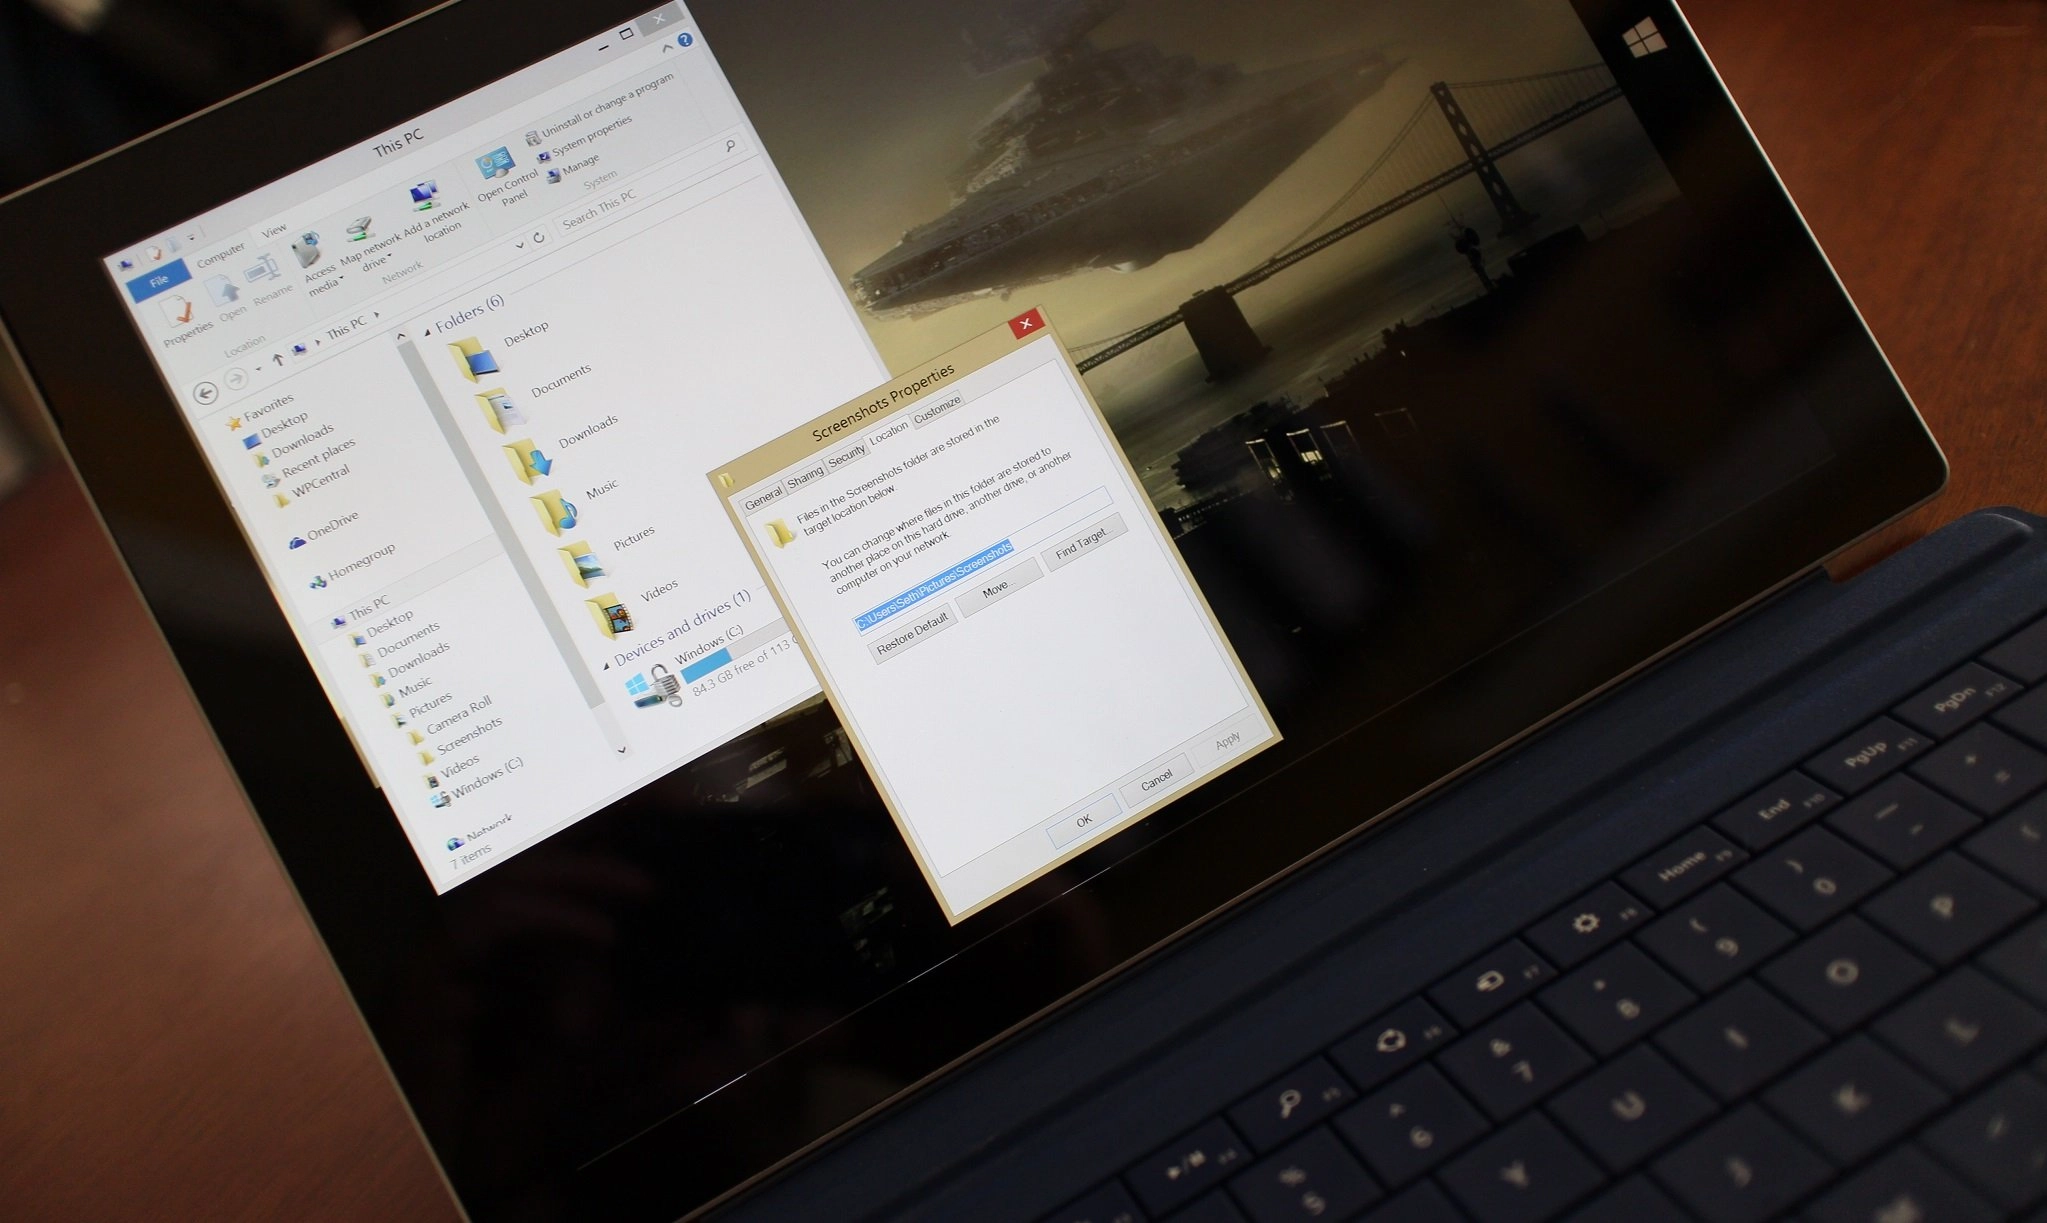
- When the Properties box pops up, go to the Location tab and click on the Move button.

- You will be prompted to select the now location in which you would like to store your screenshots

- You will then be prompted to move any existing screenshots to the new location.

And just like that, your files will be whisked away to the new location. Any future screenshots you take will also be saved there by default.
This is a quick and easy way to keep your data organized, or compartmentalized on a separate storage device, such as a secondary hard drive or MicroSD card. We will explore the latter in the near future. Stay tuned!

