


Whether you buy one of today's best laptops or desktop PCs, or if you build your own, at some point you're going to need to do a BIOS (also referred to as UEFI) update. One of the more common reasons, for PC builders at least, will be when a new CPU generation releases, such as Intel 14th Gen. The socket on the CPU may be the same but you'll almost always need a new BIOS to support it.
In most cases, it's wise to leave your BIOS untouched, as a botched update can potentially render your PC useless. The old adage "If it ain't broke, don't fix it" usually suffices. However, crucial fixes may emerge, so acquainting yourself with the BIOS update process is advisable.
The BIOS is detached from Windows, and so in a lot of cases updating it requires going in and updating directly. It might sound scary if you're not a seasoned PC builder, and unfortunately, there is no single solution that covers every desktop, laptop, or motherboard. Here's what you need to know to get your BIOS update applied successfully.

How to check your BIOS version

If you're running the latest version you won't have to apply any updates, so it's a good idea to know what you're running before you start. This bit can be done from Windows, so you don't need to reboot into the BIOS.
- Hit the Windows and R keys together.
- Type msinfo32 and press enter.
- Locate the entry marked BIOS version/date.
- Note down this information and close the window.
That's all you need to do for now. If you know your motherboard manufacturer and model or you have a pre-built desktop PC from a company like Dell or Lenovo, or a laptop, you can skip to the next section. If you don't know your motherboard details, you'll need those before going to the next stage as well.

- Hit the Windows and R keys together.
- Type cmd and press enter.
- Enter the command
wmic baseboard get product,Manufacturer,version,serialnumberand press enter. - Note down the details and close the window.
This command will provide you all the key information about your motherboard in order to download the correct BIOS.
How to download and update your BIOS
This is where the exact science stops and you'll have to venture out on your own. Each different PC, laptop, and motherboard model has its own BIOS, and you will have to go and find it. The place to go is the support site for your relevant manufacturer. Here, you can use the information gained above to compare the latest version and the version you have installed to see if there's a newer one.
Sometimes you'll get lucky and there will be a Windows application you can download that will apply the update for you. But in others, especially if you have a custom-built PC, you may have to apply it manually from a USB flash drive. The good news is that no manufacturer will expect you to figure it out for yourself. Accompanying any download will be comprehensive instructions on how to apply the updates.
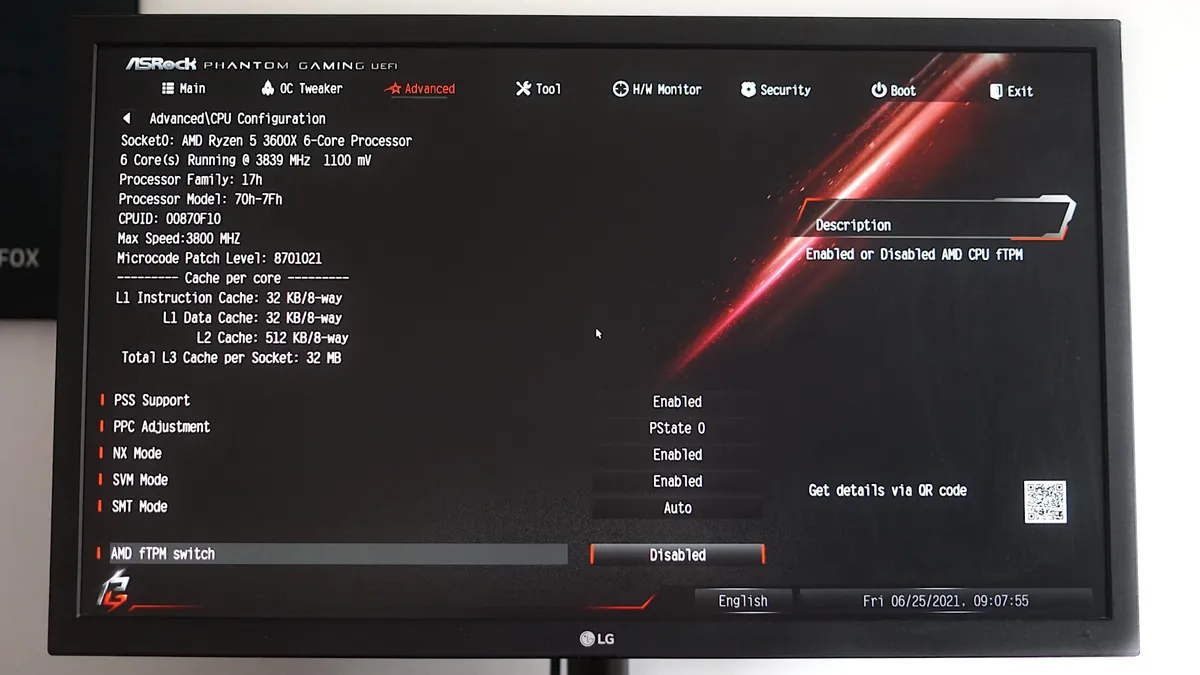
Using an ASRock motherboard I have as an example, not only will the support site show the correct BIOS update for your motherboard, but it also offers step-by-step instructions on using its Instant Flash feature to apply it. It's worth keeping the instructions open on a second device while you work. Essentially the process involves downloading the BIOS update, extracting the file to a USB stick, booting into BIOS, and using the flashing tool to apply. It knows what to look for, and where, so you don't have to do much else.
It is a fairly technical process and while it might look scary, it really isn't. If you're not familiar with the process just take your time, read the specific instructions provided by your hardware manufacturer, and you'll be fine. It's unlikely to be a regular process you'll need to complete, at least.

