


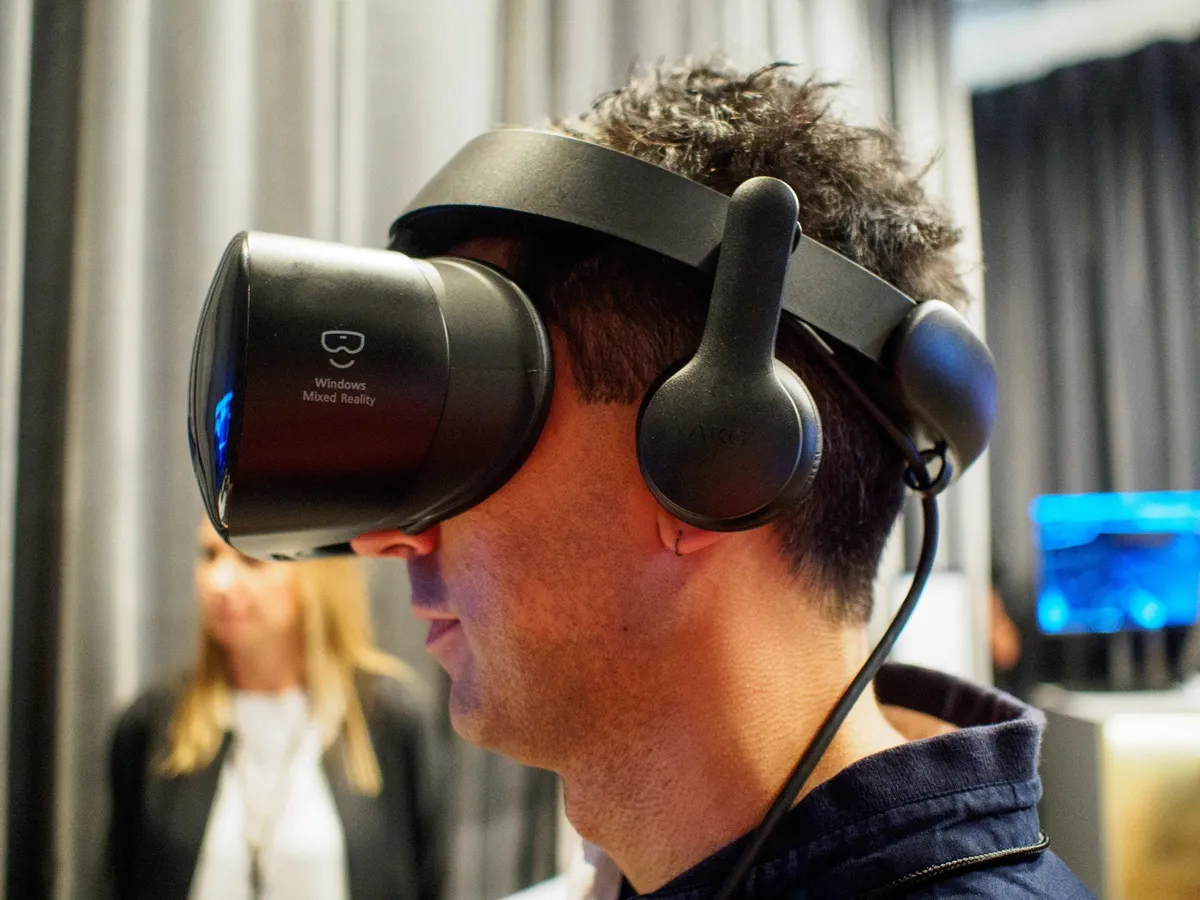
SteamVR integration with Windows Mixed Reality (WMR) has brought us an enormous library of content, but it's also brought us access to some advanced settings. Supersampling, a software solution that increases the resolution of the picture you're seeing in your head-mounted display (HMD), can be tweaked from within SteamVR. Let's take a look at how it works and why you might want to use it.
See Windows Mixed Reality at Microsoft Store
What is supersampling and why use it with Windows Mixed Reality?
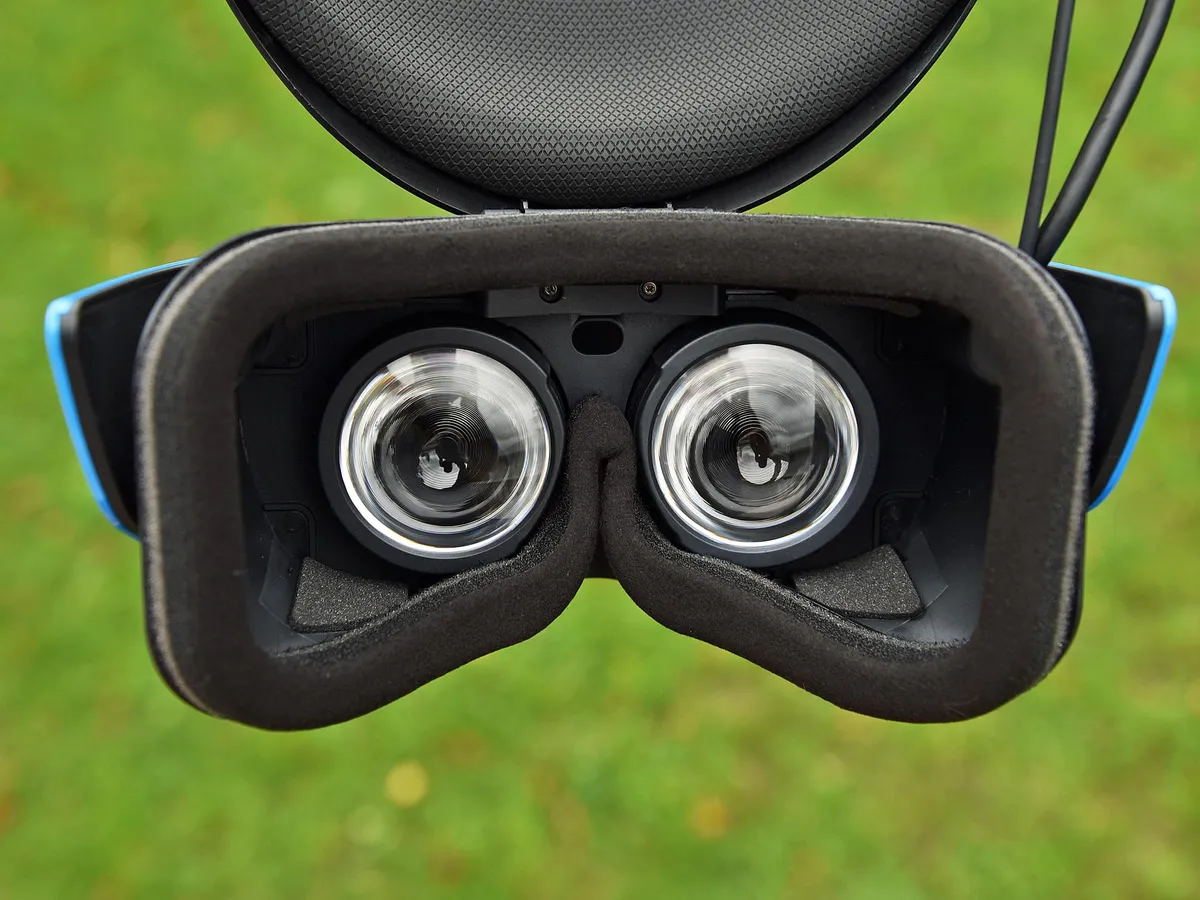
Supersampling, to keep it simple, is when your graphics card (GPU) draws visuals at a higher resolution than it recognizes your HMD is using. The result is an image that's more dense than usual, usually resulting in a noticeably sharper image that's especially useful for reading text or for seeing other fine details.

Supersampling doesn't need to be used for every VR experience you come across in WMR, and you'll likely notice only a small difference (if any at all) when enjoying something that's primarily animated or cartoon-y.
If you're accessing SteamVR through WMR and you notice that the picture isn't quite up to snuff, you can turn up the supersampling to get a better picture. Keep in mind that your PC must have the power to output that higher resolution. If not, the entire experience will only degrade.
How to use supersampling with Windows Mixed Reality
Thanks to SteamVR integration with WMR, supersampling settings are readily available to be tweaked. Here are the steps required assuming you've already done a primary setup of Windows Mixed Reality and have installed the SteamVR toolkit.
- Launch SteamVR from your Start menu, desktop, or taskbar. The WMR Portal will launch simultaneously.
- Click the dropdown arrow next to SteamVR.

- Click Settings.
- Click Developer.

- Click the checkbox next to Enable Advanced Supersample Filtering so that a checkmark appears. It should be checked by default.
- Click and drag the slider on the Supersampling bar to raise or lower the value. You'll notice that the exact values listed below will change as you move the slider.

Keep than changes small and test things out as you go. If performance suffers, lower the supersampling value.
What about the Samsung Odyssey?
The Samsung Odyssey HMD has a higher resolution (1,440 x 1,600 per eye) right out of the box compared to the other WMR headsets (1,440 x 1,440 per eye) and especially compared to the HTC Vive (1,080 x 1,200 per eye).
While you can still easily change supersampling values with the Odyssey using the steps above, keep in mind that the supersampling value must be set higher in order to achieve the same result as you'd find with the lower-res headsets.
For your eyes, the difference in the Odyssey's picture might not be a lot even when pushing the supersampling value up to 2.5 or even 3, but your GPU will still feel the effects of that value as it would with any headset. If you start to smell burning plastic, I'd suggest you turn it down and enjoy as is.
More resources
Take a look at some other articles to help get acquainted with Windows Mixed Reality.

