


With Windows Phone 8 devices, we have two heavy weights with respect to cameras; the Nokia Lumia 920 and HTC 8X. While the Nokia Lumia 920's camera seems to have taken center stage these days, the HTC 8X's camera is not a slouch. The 8X's camera is a very capable camera within it's own right but the settings can be a little confusing. Just as we did with the Lumia 920 Photo Guide, we wanted to walk you through the 8X's settings.
The general principles are the same but HTC's camera menu is slightly different that what we see with the Nokia Windows Phones. Hopefully in clarifying some of these settings, you can tweak things accordingly to get the most out of your HTC Windows Phone photography.
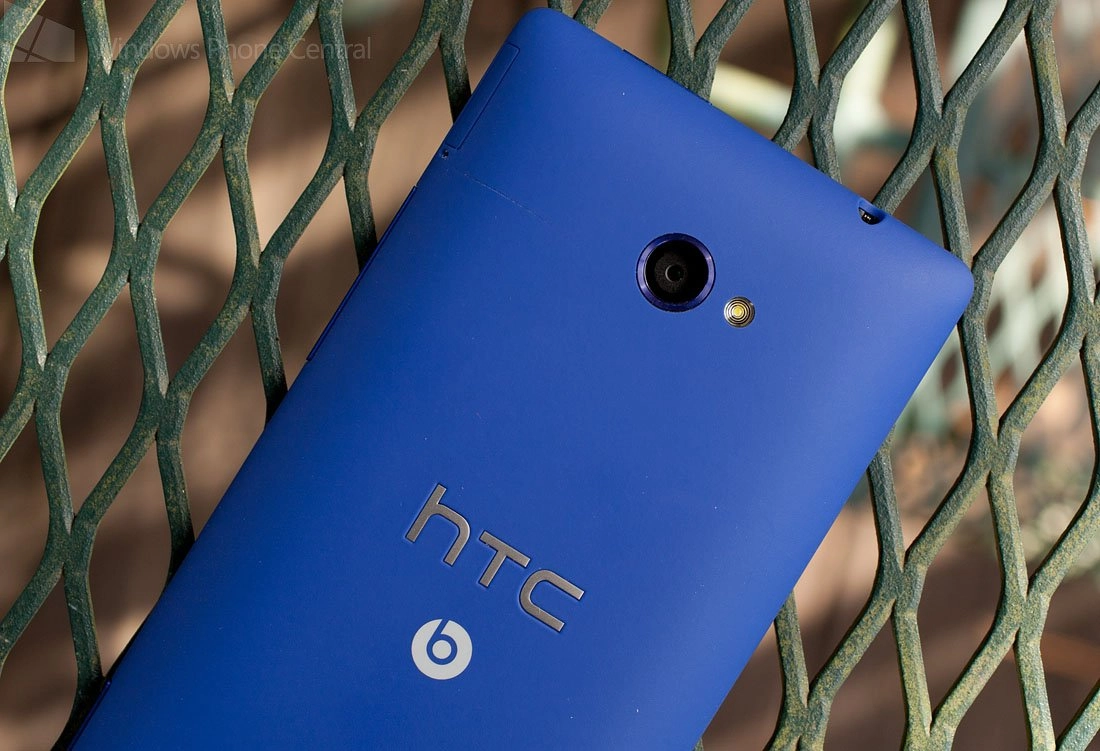
Hardware
The HTC 8X is fitted with an eight megapixel BSI sensor and a 28mm lens. The aperture is fixed at f2.0 which is a fairly wide opening to allow for more light to reach the sensor. Combined with the BSI sensor, which is designed to allow more light to reach the sensor, the 8X does an admirable job of low light photography. Design wise, the only thing separating the 8X with the Lumia 920 is the optical stabilization we see on the Nokia.


HTC 8X Night Sample
While the larger aperture and BSI sensor helps the HTC 8X with low light photography, without a stabilization feature you can get slight blurring from camera motion. When you shoot in low light conditions, the camera uses a slower shutter speed to allow for adequate light to reach the sensor. When shooting at 1/5th of a second, the slightest movement can cause blur in your images. In these cases you can try to steady the camera by hand or invest in a tripod that will help steady the 8X.
Speaking of the shutter.... The shutter on the 8X is not mechanical but instead electrical. The camera lacks moving parts like you would see on a stand-alone camera. To perform the shutter operation, the sensor is powered up for a specific time that, coupled with the f2.0 aperture, will achieve proper exposure. The brighter the lighting conditions, the quicker the shutter time. The lower the light.... the slower the shutter time.
To take a photo, as with most Windows Phones, you have to ways to activate the shutter. First up is the shutter button. Pressing it half way down will achieve proper focus from the center of the screen and the light metering system will figure out what proper exposure is. The second way is to tap the screen in the area you want to focus in on. Once you tap the screen, the camera will focus in on that spot, the metering system will figure out proper exposure and the photo is captured.

With the larger aperture on the 8X, the lens's depth of field is a little on the shallow side. Depth of field is basically how deep the camera focus reaches within the photo. Shallow depth of field has your subject in focus but what is behind them is slightly out of focus. You can use this to tap the screen on subjects in the foreground or background to have either nicely out of focus which pulls viewer's attention to the in focus subject.

In using the 8X for a while now, I've found two oddities with the autofocus system. First, the tiniest of smudges will give the autofocus system fits and can produce a glare to your photos. Secondly, at times the 8X struggles to focus on objects at close distances. Not sure why but in these cases, I have the 8X focus on an object in the distance then return to the closer subject and things come into focus nicely.
Once the 8X captures the image, it all heads over to an independent imaging processor that applies adjustments and saves it all in .JPG format. The dedicated imaging processor saves a bit of time in between shots. Other Windows Phones share the main processor between the camera and everything else. The difference with the 8X's processing speed won't set any land speed records but is noticeable.
While the internal processing is decent with the 8X's camera, there's always times where you need to tweak things based on the lighting present or your subject. You can always take advantage of post processing software such as Thumba or HTC's Photo Enhancer or you can adjust accordingly with the 8X's camera settings.
Settings
HTC offers a little more control over the 8X's camera than what we see with the Nokia Lumia 920. HTC also uses a slightly different terminology. The concept is universal but, for example, instead of Exposure Value and number values... HTC refers to it as Exposure and uses descriptive terms (e.g. Lowest, Normal, Highest). One setting that is missing from previous HTC cameras is a scene mode. I'm going to assume that the 8X uses more or less an auto scene mode to switch between close-up shots, sports, and night shots.

HTC 8X Close-up Samples
Oh.. quick note on changing the settings on your Windows Phone camera. Temporary changes don't require you to hit the save button before exiting the settings menu. If you want to permanently save any changes you make, just tap the save button in the settings menu. If you only want to temporarily change the settings, go ahead and make the adjustments and the changes stay in place as long as you stay in the camera app. Once you leave, the saved settings are defaulted to the next time you open the camera.
Effects

The HTC 8X has an effects setting that allows you to apply filters to images as you capture them. The effects are previewed on screen to give you a feel for things. The effects are Grayscale (black and white), Negative (looks like an old film negative), Sepia (gives images that antique feel) and Solarize (high saturation and contrast).

HTC 8X Camera Effects (clockwise from upper left): Grayscale, Negative, Solarized and Sepia
You can't stack effects or apply effects to photos already captured through the camera app. You can apply similar effects filters through HTC's Photo Enhancer app to existing photos though. One last note on the effects filters is that the camera will not save a raw copy (effect free) of the image to the phone. This would be a nice feature to allow you to have a copy of the picture that is un-effected. As is, you'll need to shoot to pictures of your subject. One with the effects and one without.
Resolution

Image resolution is basically the size of the image. The larger the image, the better the resolution for publishing and the larger the file size. The 8X maxes out resolution at 8MP (3264x2448 pixels) and bottoms out at VGA resolution (640x480). The default resolution is 6MP (3264x1836) which also utilizes the 16:9 aspect ratio that matches the screen size of the 8X.
The downside to the 16:9 aspect ratio is that is slightly stretches the native aspect ratio of the image sensor (4:3)and can cause slight image softness. Not enough to ruin a photo but sometimes noticeable. To match the image sensor's ratio better, use the 8MP resolution.
I would highly recommend saving your resolution to 8MP to make use of the matching aspect ratio and the larger images the 8MP produces. The 8MP also gives you a little wiggle room if you need to crop the image a little while maintaining a larger image.
White Balance

White Balance is the process of removing unrealistic color casts or balance so colors can be rendered properly in the photograph. Imbalances can be caused by different lighting that can cause warm or cooler tones or by dominant colors within the picture itself.

HTC 8X White Balance Settings (clockwise from the left): Cloudy, Daylight, Incandescent, Florescent
The default white balance setting on the 8X is on auto where the camera chooses the best setting. But alas, you can take the helm and do things manually here as well. You can choose the following lighting conditions; Cloudy, Daylight, Fluorescent, and Incandescent lighting.

Color Temperatures: Cooler (left) and Warmer (right)
Each camera seems to handle white balance a little differently than the next. While the 8X handles indoor lighting conditions better, outdoors the balance is a little on the cooler side. If you get a slightly warmer or cooler color balance to your photos, you can use post-processing software to adjust the color balance.
Exposure, Contrast, Saturation and Sharpness

While HTC's internal processing will apply exposure, contrast and saturation adjustments to your photos, if the need arises you can tweak how these adjustments are applied. The adjustments are increased or decreased in descriptive terms such as Higher, Lower, Highest, and Lowest.

HTC 8X Exposure Settings (left to right): Lowest, Normal, Highest
Exposure: While the HTC 8X's camera will determine proper exposure based off the light metering, you can adjust this setting by increasing or decreasing exposure. Just choose the lower end of the setting to under expose or darken the image and the higher end to over expose of lighten the image.

HTC 8X Contrast Extremes: Lowest (left) and Highest (right)
Contrast: Contrast is the difference in luminance and/or color that makes an object in an image distinguishable. Contrast is determined by the difference in the color and brightness of the object and other objects within the same field of view. It can give the subject of an image a little pop, making it stand out from other elements in the picture. Contrast can also flatten a subject, blending it in with the rest of the photo.
The 8X default contrast setting is a happy medium. If you want more contrast in a photo, choose the higher end of the settings. Need less, go with the lower end of the scale.

HTC 8X Saturation Settings (left to right): Lowest, Normal, Highest
Saturation: Saturation is basically the intensity of the colors of a photos. The more saturation, the more vibrant the colors can be. The opposite end of the spectrum would be zero saturation which would be essentially a black and white photo.
The 8X's default saturation setting strives to achieve natural colors with images. If you're in the mood to have blinding colors, tweak the setting to the high end of the scale. More subdued colors, take things to the low end of the scale.

HTC 8X Sharpness Extremes: Lowest (left) and Highest (right)
Sharpness: While the 8X's lens will achieve proper focus and capture a sharp image, there is an anti-aliasing filter in place in front of the sensor. It's a clear filter that slightly softens the image and the internal software is designed to compensate for that softness. But sometimes the internal processing might not get things just right. Or you may just want a softer or sharper image.
To fine tune the sharpness or find a desired level, set the sharpness setting on the high end of the scale to sharpen things up. To soften your photos, ease the settings towards the low end of the scale.
ISO

ISO is basically the light sensitivity setting for the sensor. On a bright, sunny day you won't need the sensor to be as sensitive so you would use a lower ISO setting. Darker lighting, a higher ISO would be called for.

8X ISO Samples: ISO 100 (left) and ISO 800 (right)
The 8X's default ISO setting is Auto and the camera will choose the best ISO level based on a handful of variables. However, you can override the Auto and set the ISO level manually. The ISO levels available on the 8X includes 100, 200, 400, and 800.
One thing to keep in mind with using a higher ISO level you increase the digital noise or grain in the photo. Technically speaking, when we use a higher ISO, we are amplifying the signal we receive from the light photons on the sensor. As we amplify the signal, we also amplify the background electrical noise that is present in any electrical system. All of which causes the grainy appearance in some photos.

ISO Noise on the 8X: ISO 200 (left) and ISO 800 (right)
The noise is more prevalent in low light photos because the sensor struggles to capture light from the darker areas of the photo. To help combat the noise, HTC does a decent nice job of applying noise reduction to their internal image processing.
Face Detection

By default, Face Detection on the 8X is on. Face Detection detects faces in your photo and focuses in on the faces. Even if you tap to focus, the Face Detection feature will try to keep all the faces it detects in focus as best as possible. If you're trying to have one person out of focus and the other in focus, you might want to disable this feature.
Video Settings

The video settings on the HTC 8X are just about the same as the photo settings. You have settings for Effects, White Balance, Contrast, Saturation and Sharpness. These all function just as they do when capturing still images.
The video settings also includes a resolution setting that allows you to choose between 1080P, 720P, VGA and QVGA resolutions.

The HTC 8X is a very capable camera. It performs nicely in low light situations and in tweaking the settings you can help the camera adjust to other lighting situations. The Effects settings allow you to add a unique touch to your photos.
Even if the 8X's pictures needs a little fine tuning once captured, HTC's Photo Enhancer has an auto adjust feature (along with more creative filters) and the Edit feature in your Pictures Hub can also help with the minor adjustments. If you want to stray from the native editing apps on the 8X, there's Thumba Photo Editor, .....
All in all, the 8X's camera is a nice camera. Hopefully laying out the 8X's settings will offer a little insight into things and help make the most of your Windows Phone photography.

