Minecraft Dungeons: How to unlock the secret cow level and find all runes
Moooooooo.
All the latest news, reviews, and guides for Windows and Xbox diehards.
You are now subscribed
Your newsletter sign-up was successful
Previously, we broke down where to find all the secret level locations in Minecraft Dungeons, but there was one bonus endgame stage from our list we didn't fully cover that offers an easter egg hardcore Diablo fans will definitely get a kick out of. In this guide, we'll be showing you to unlock the secret cow level by collecting all nine hidden runes in Minecraft Dungeons.
Minecraft Dungeons
Main
- Unlock all Minecraft Dungeons levels
- All Minecraft Dungeons Unique Gear
- All Minecraft Dungeons Weapons
- All Minecraft Dungeons Armor
- All Minecraft Dungeons Enemies
- Best Minecraft Dungeons Builds
Before you start collecting, find the Rune Chapel
Before you can begin gathering the game's hidden collectible runes, you must complete story mode. Once you've unlocked Adventure difficulty you'll have the opportunity to access the rune chapel from your camp.
In the back corner behind the garden, you'll notice some newly added springboards.
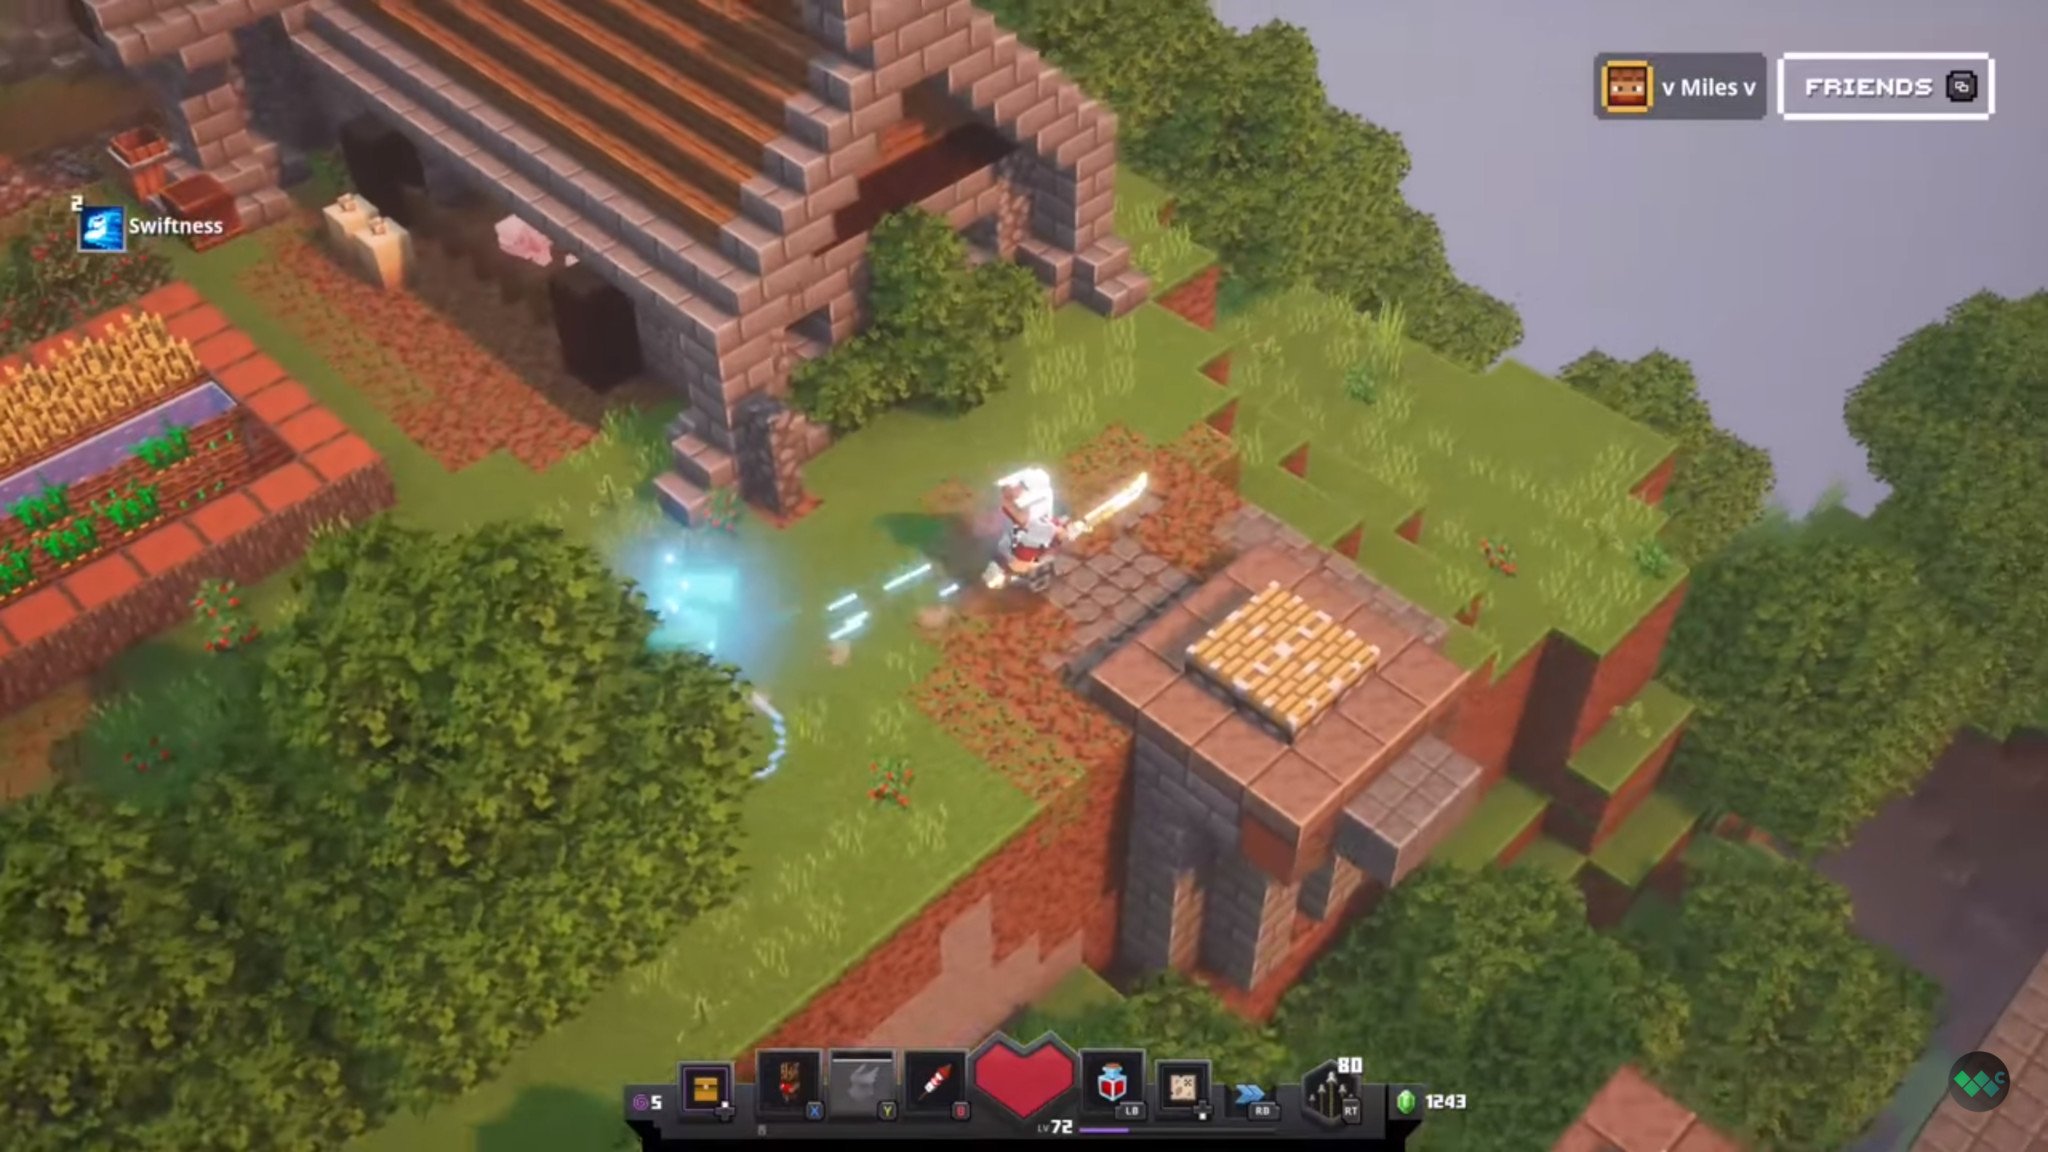
These will launch you behind the building with the drawbridge in your camp. Take a slightly covered path around the building to lower the drawbridge and enter the rune chapel.
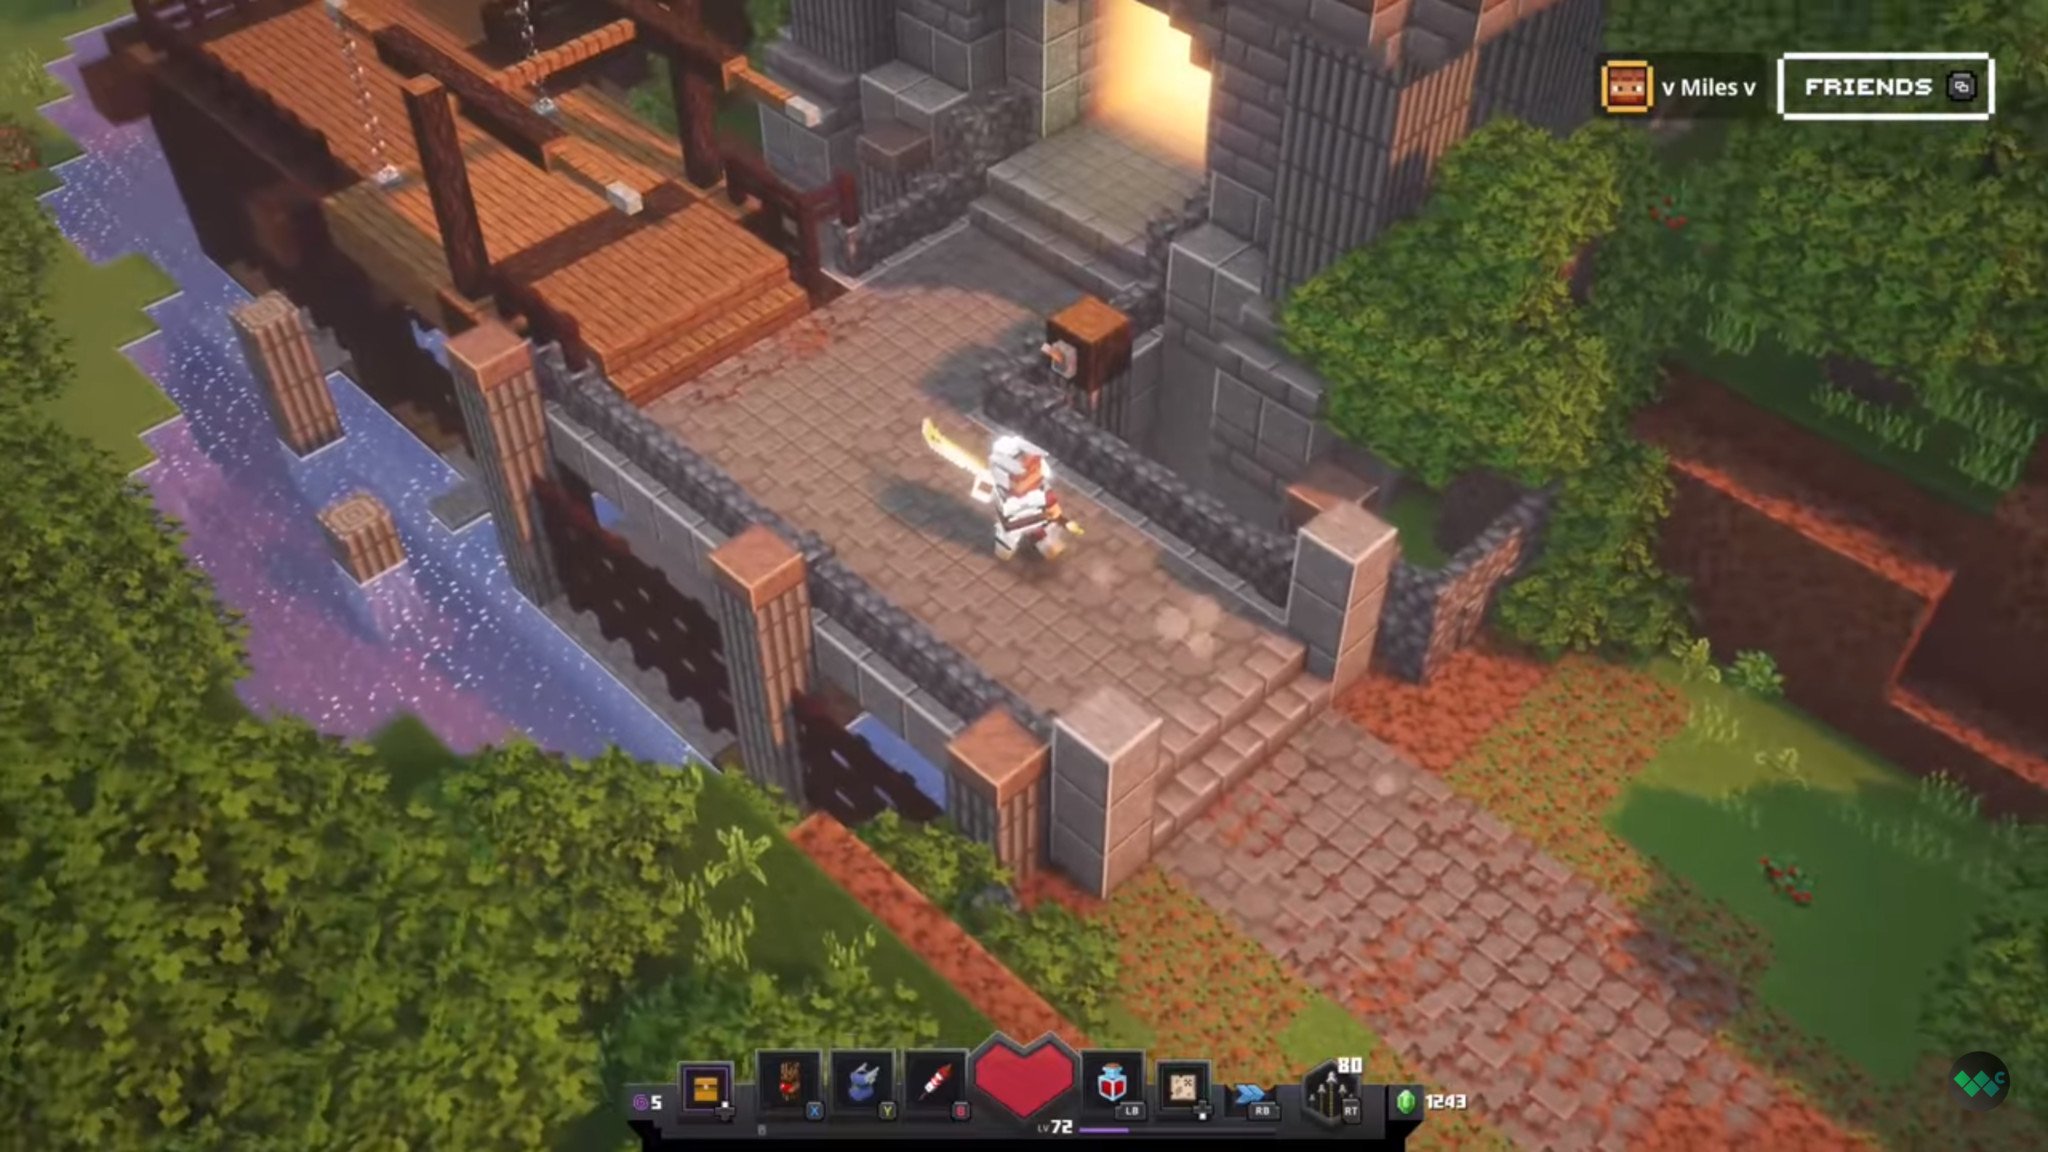
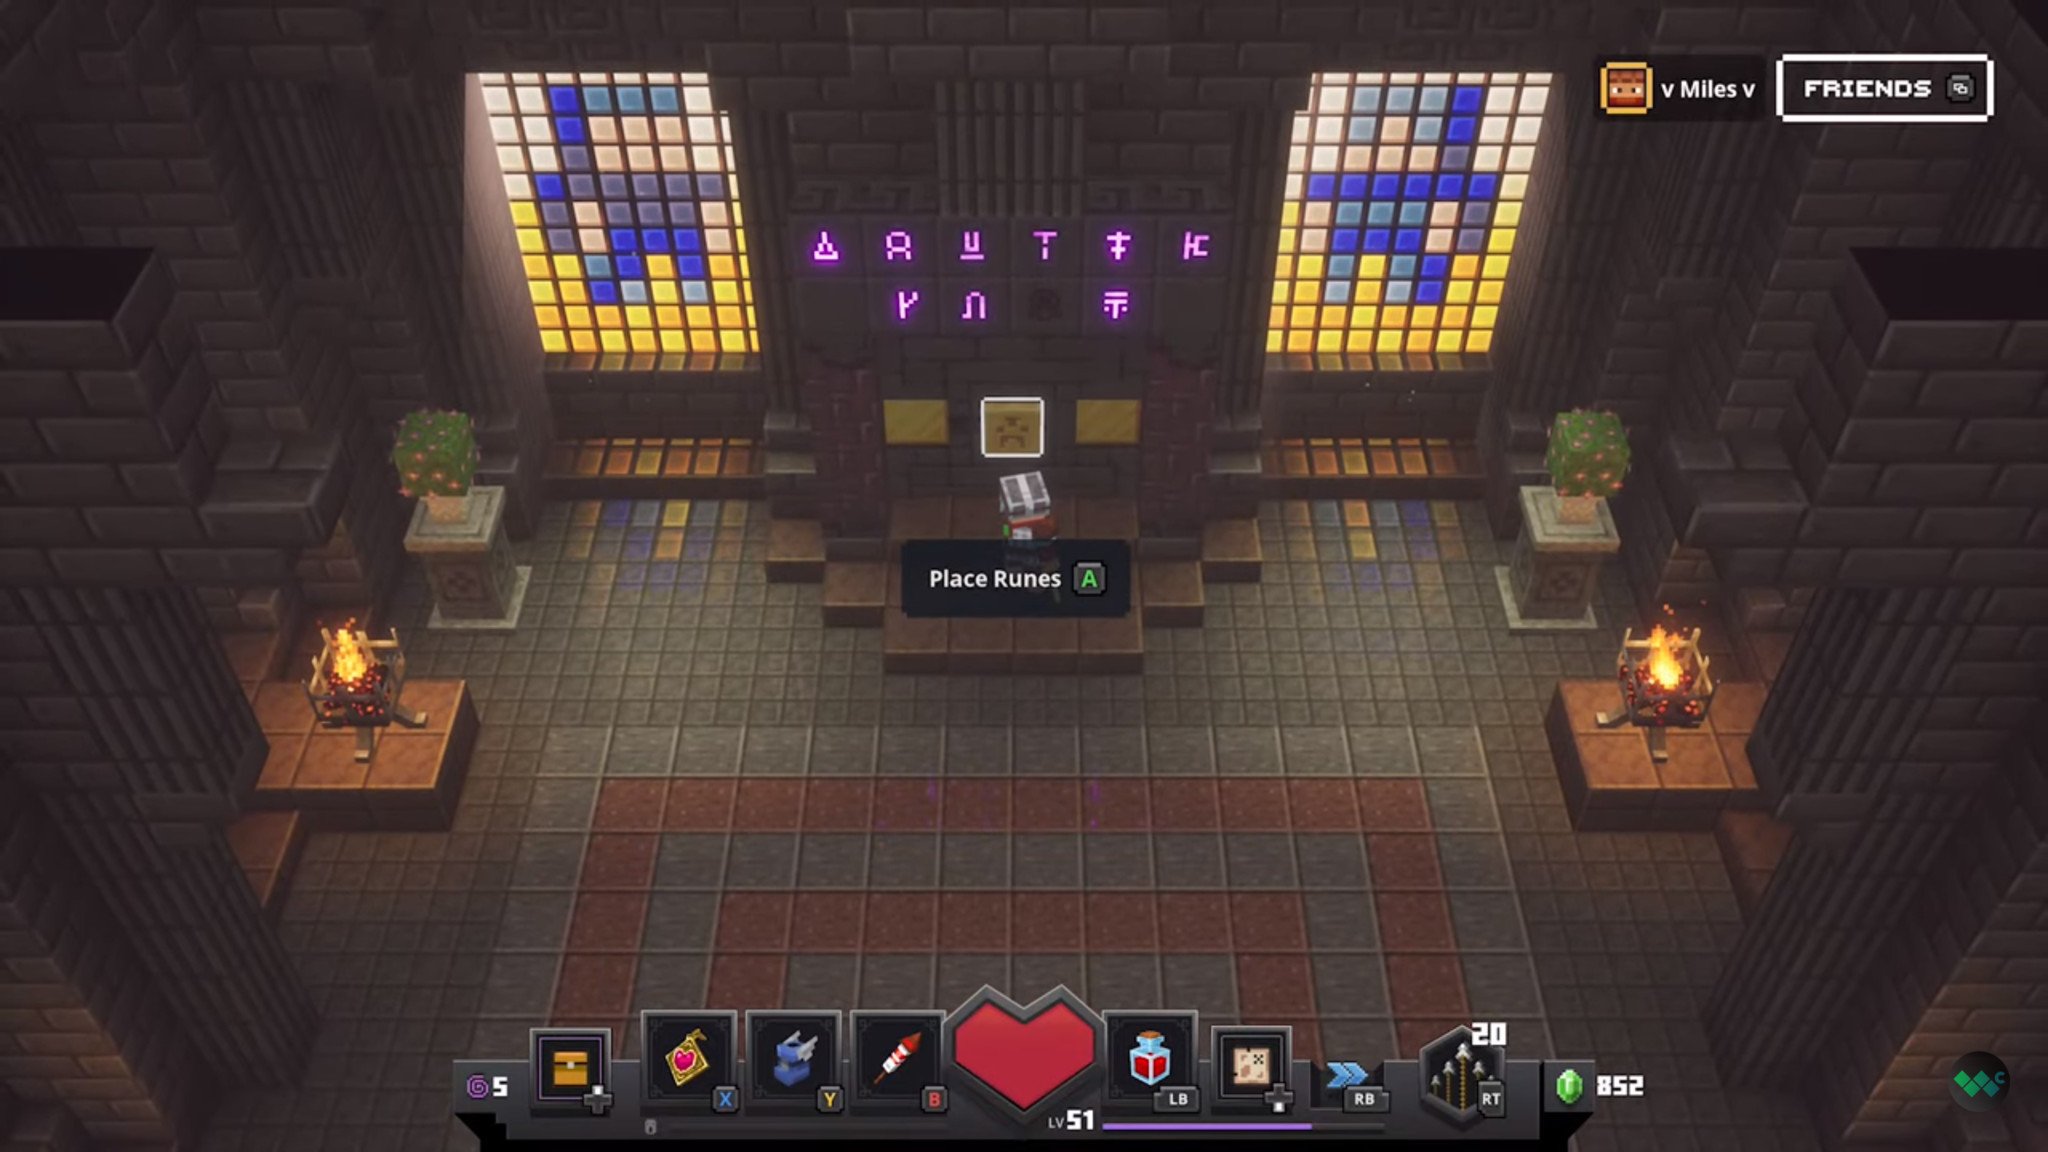
In the Rune Chapel, you'll find the Rune Shrine located at the back of the building. This device will track your rune progress as you collect them.
Rune Location #1 - Creeper Woods
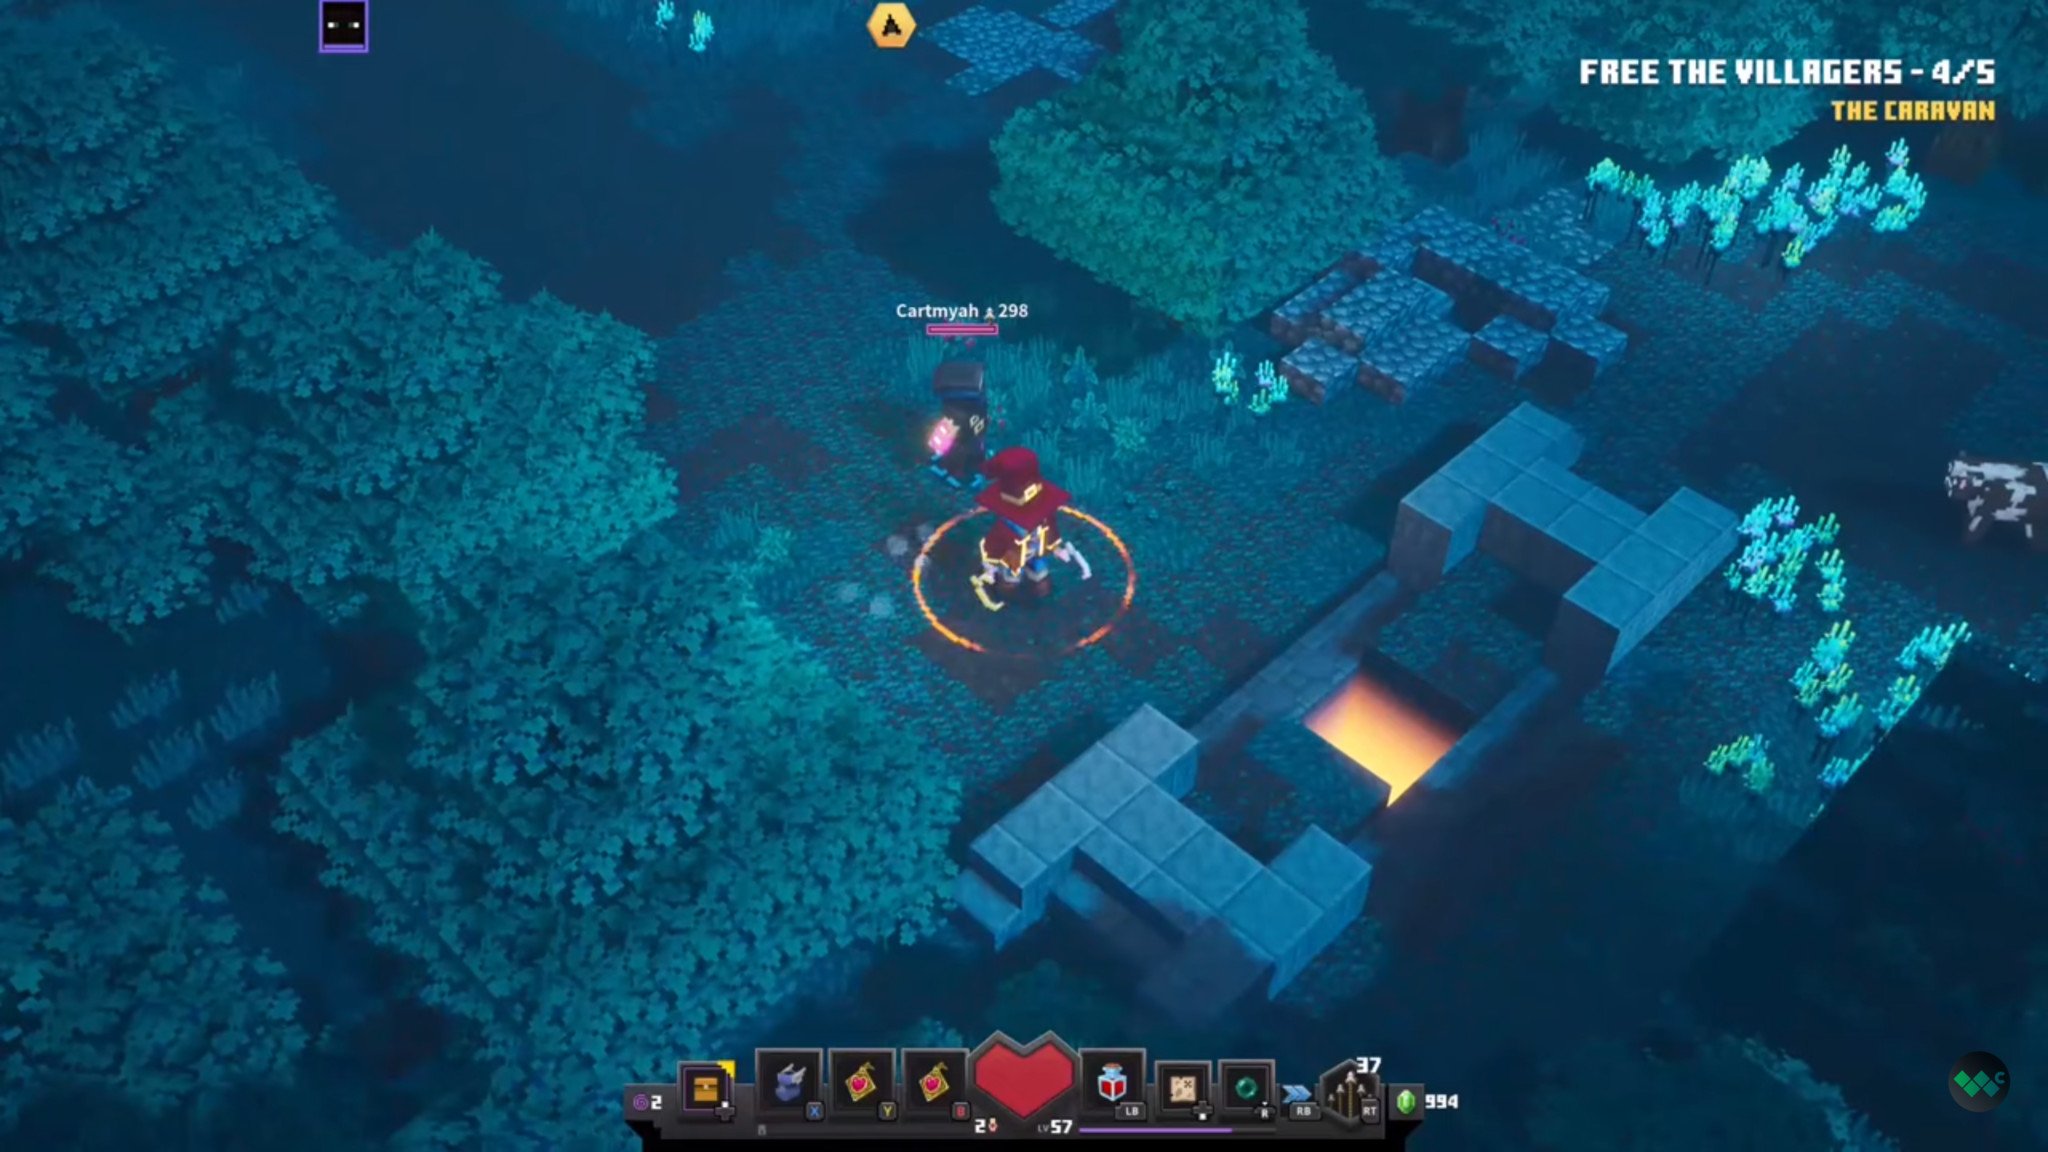
The rune location for Creeper Woods can be found towards the end of the stage. In the area where you're tasked with rescuing all the villagers, you'll want to take a hard left and look for a large stone structure on the ground.
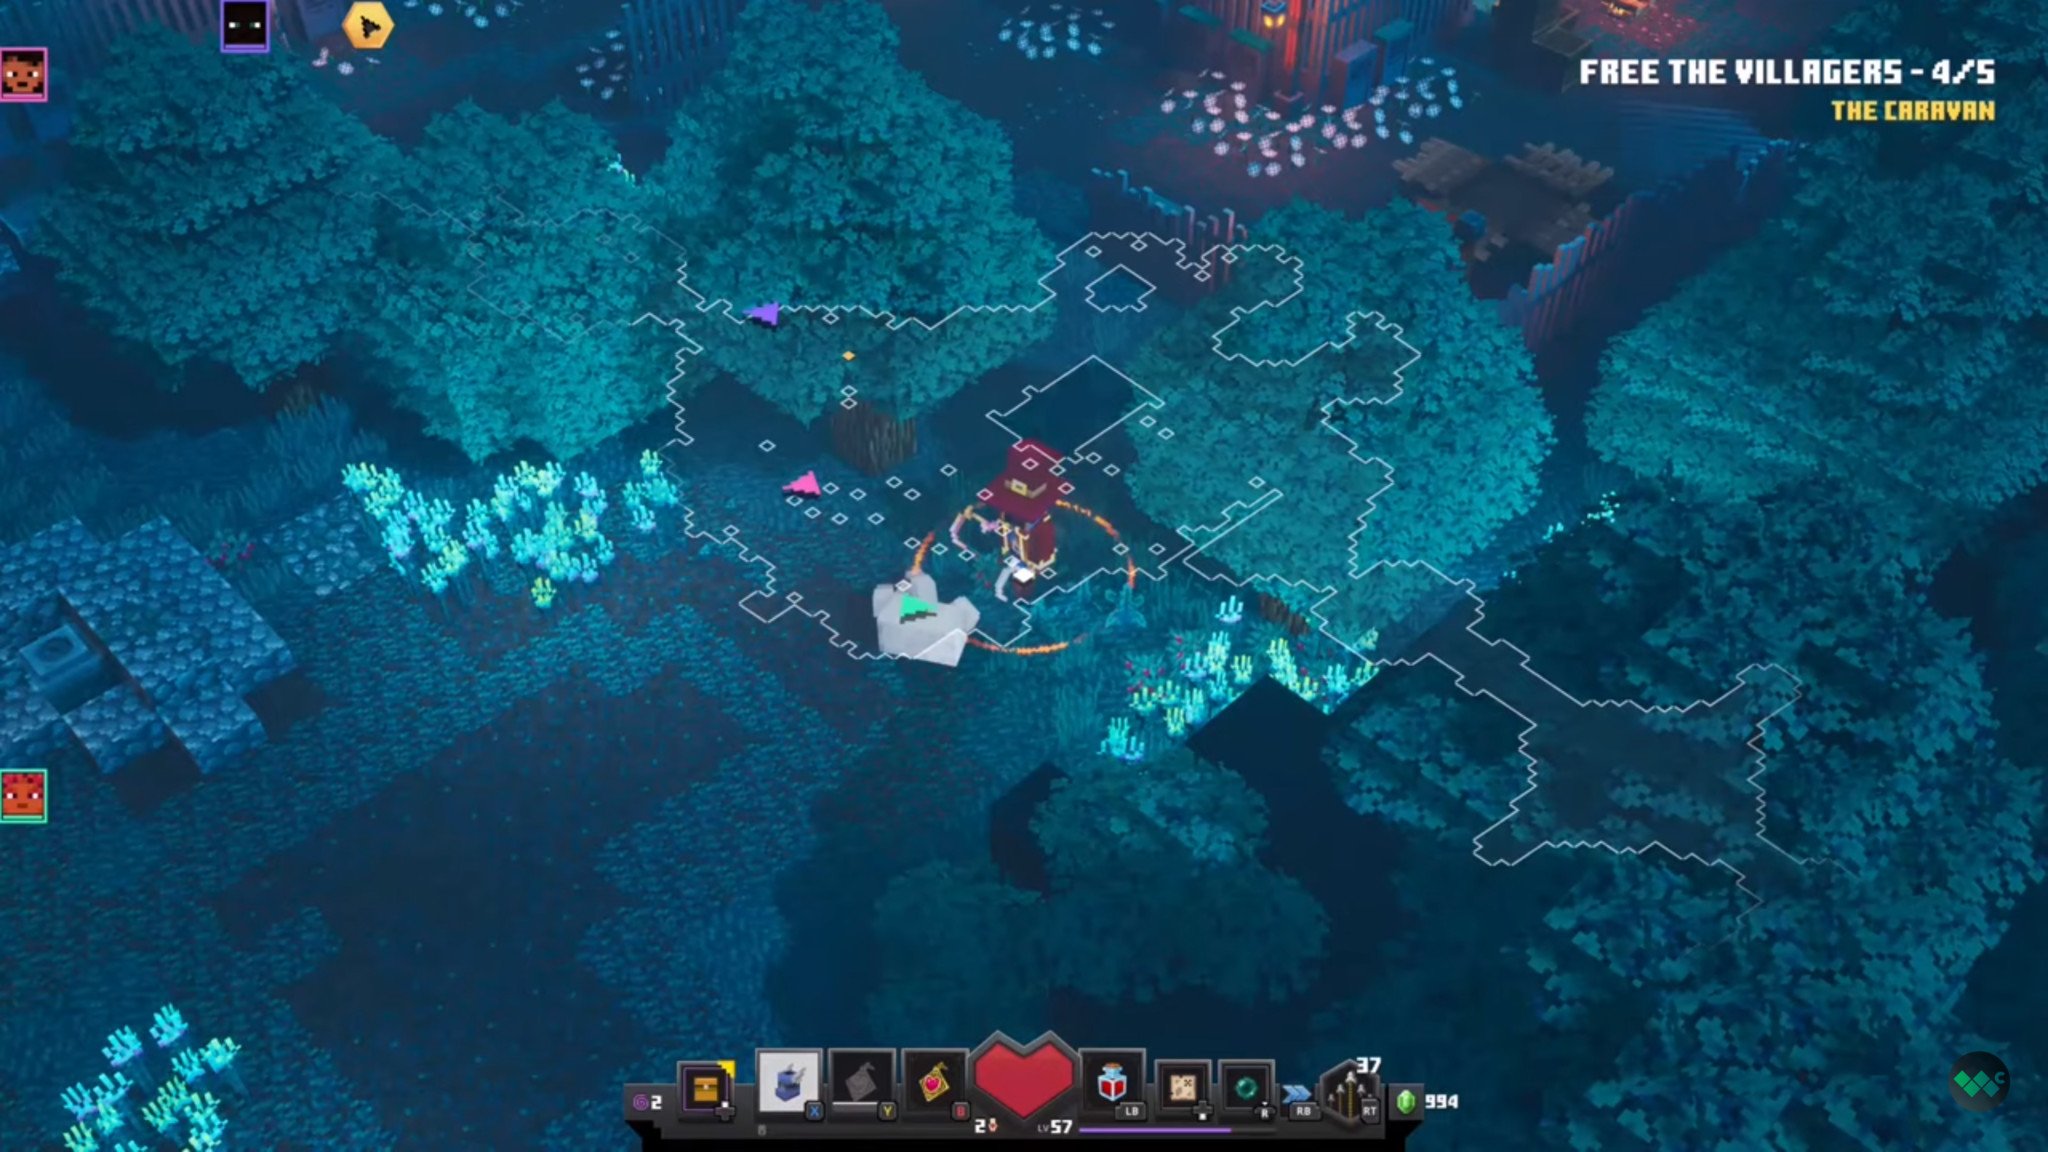
Activating this device and pressing a nearby switch creates an opening in the ground that will lead you to the rune location.
All the latest news, reviews, and guides for Windows and Xbox diehards.
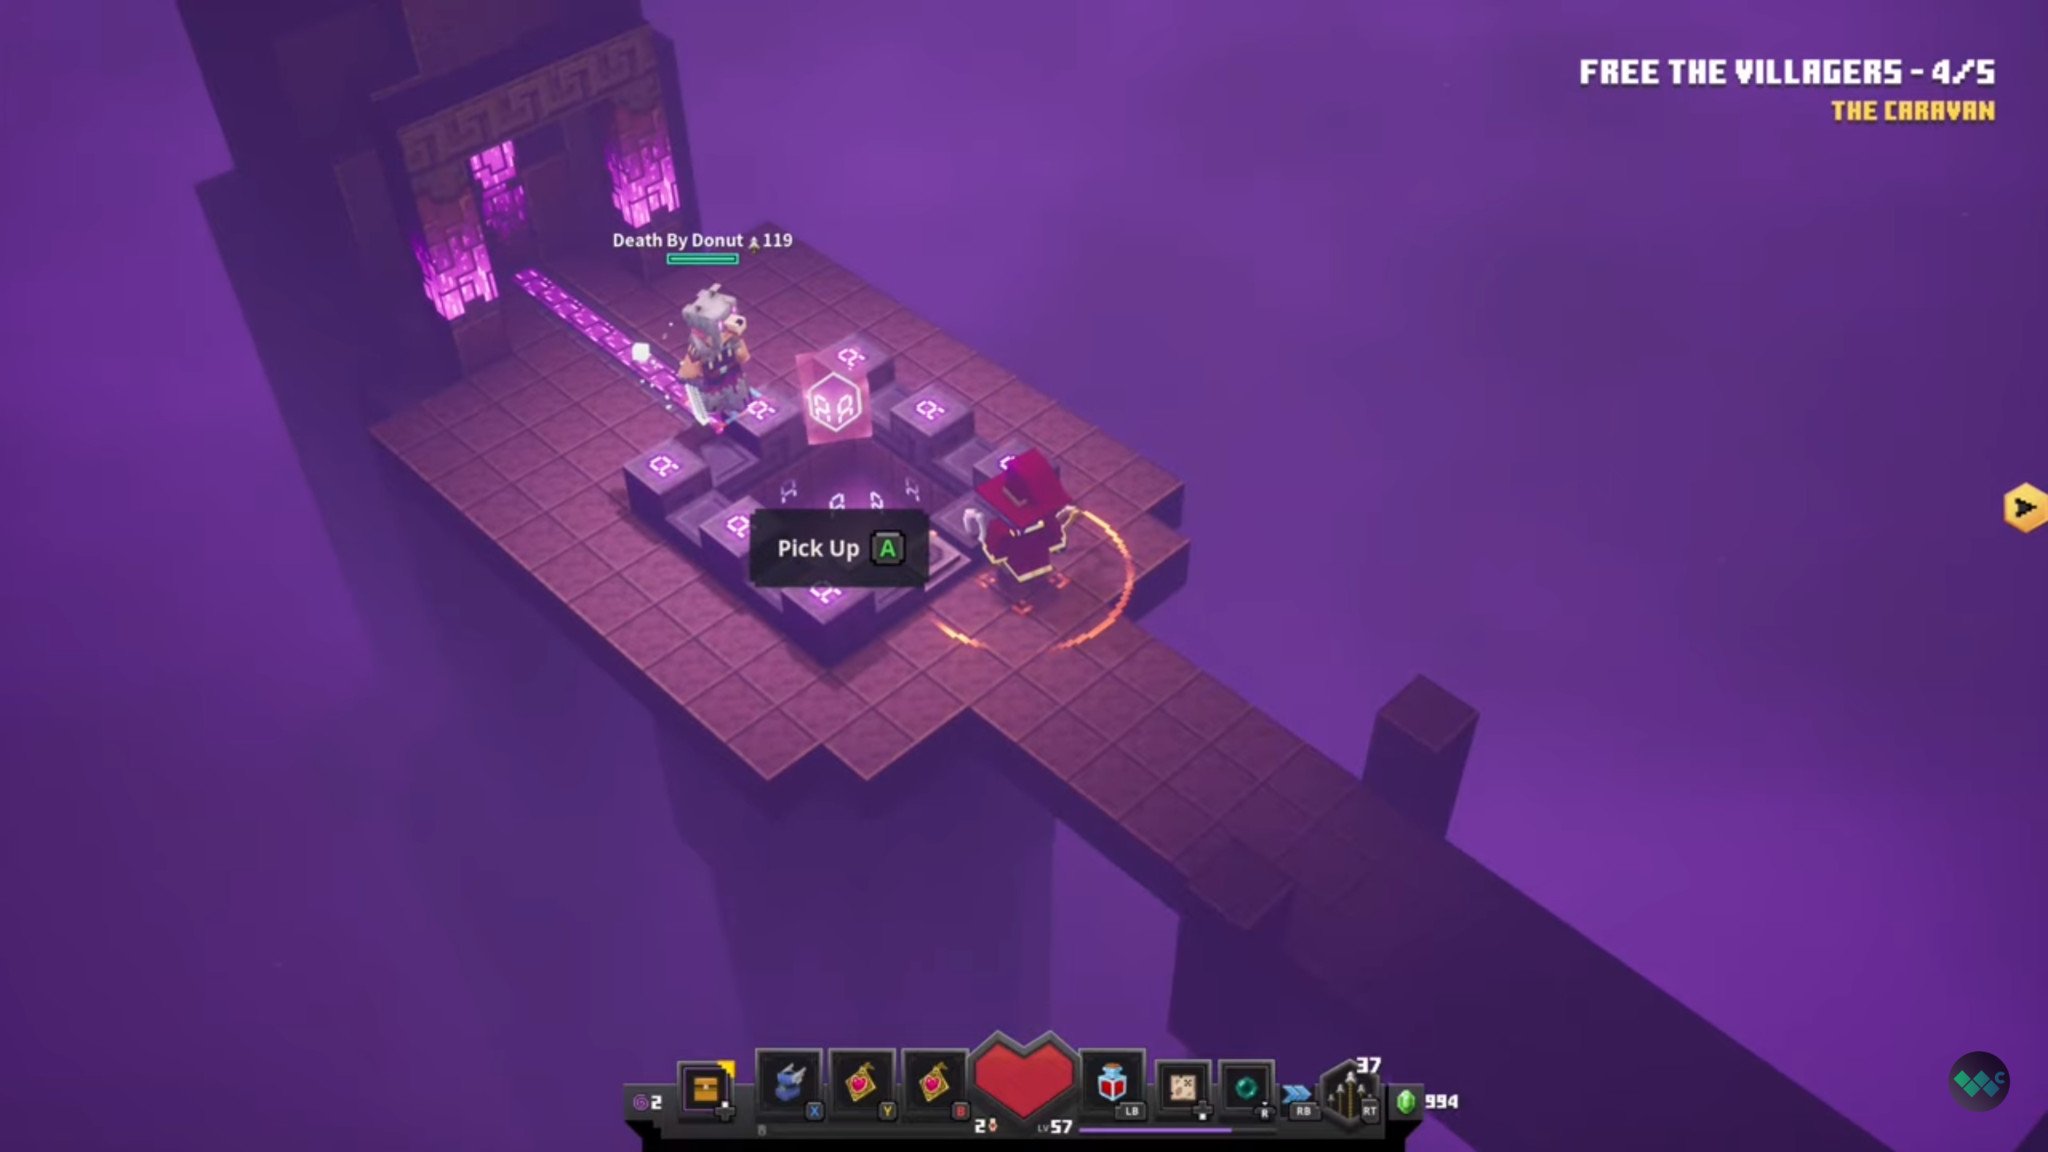
For each of these runes, you'll want to press the switch on the rune altar to trigger the spawning sequence.
Rune Location #2 - Soggy Swamp
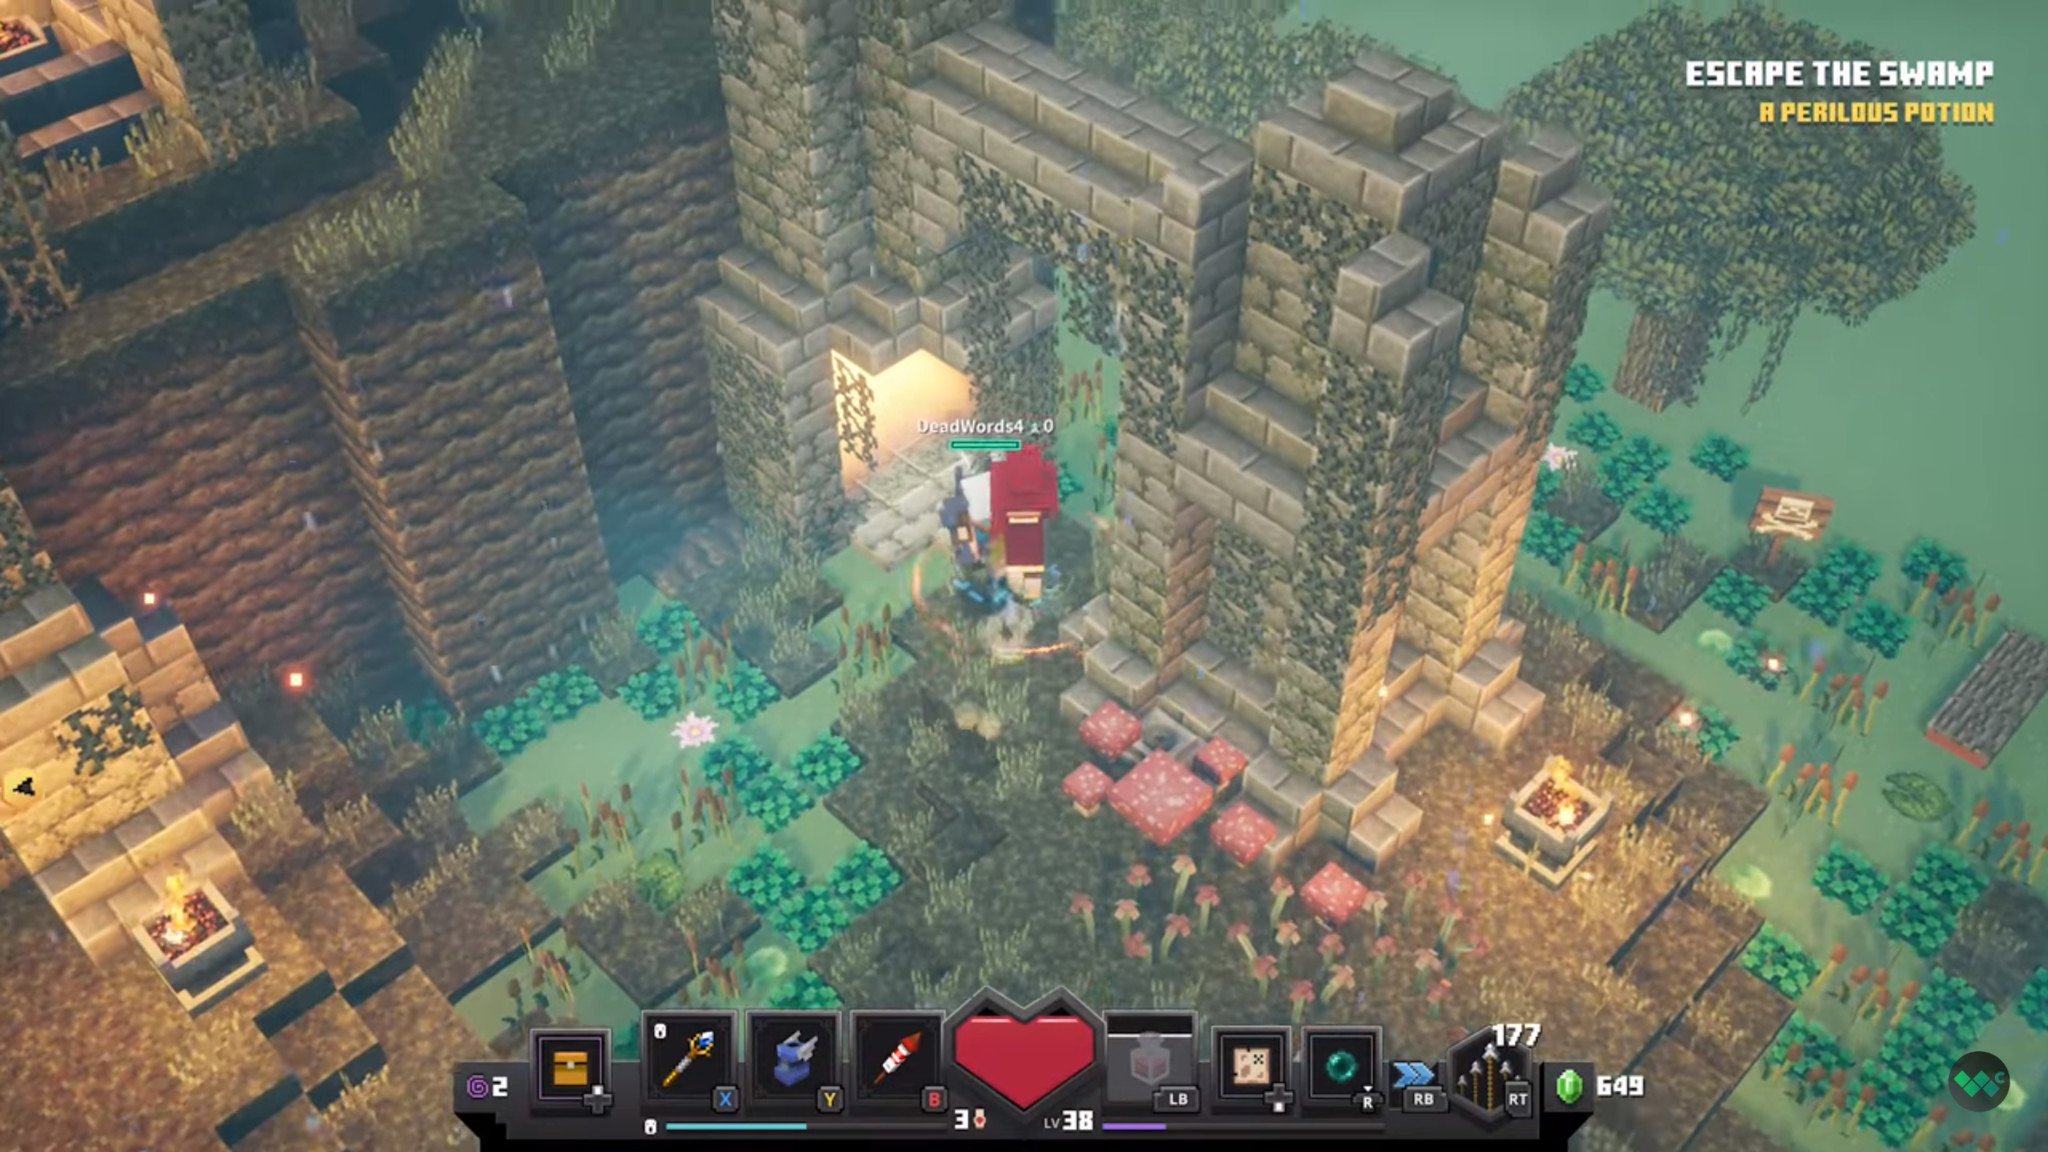
The rune location for Soggy Swamp can be found at the very end of the stage right before the exit.
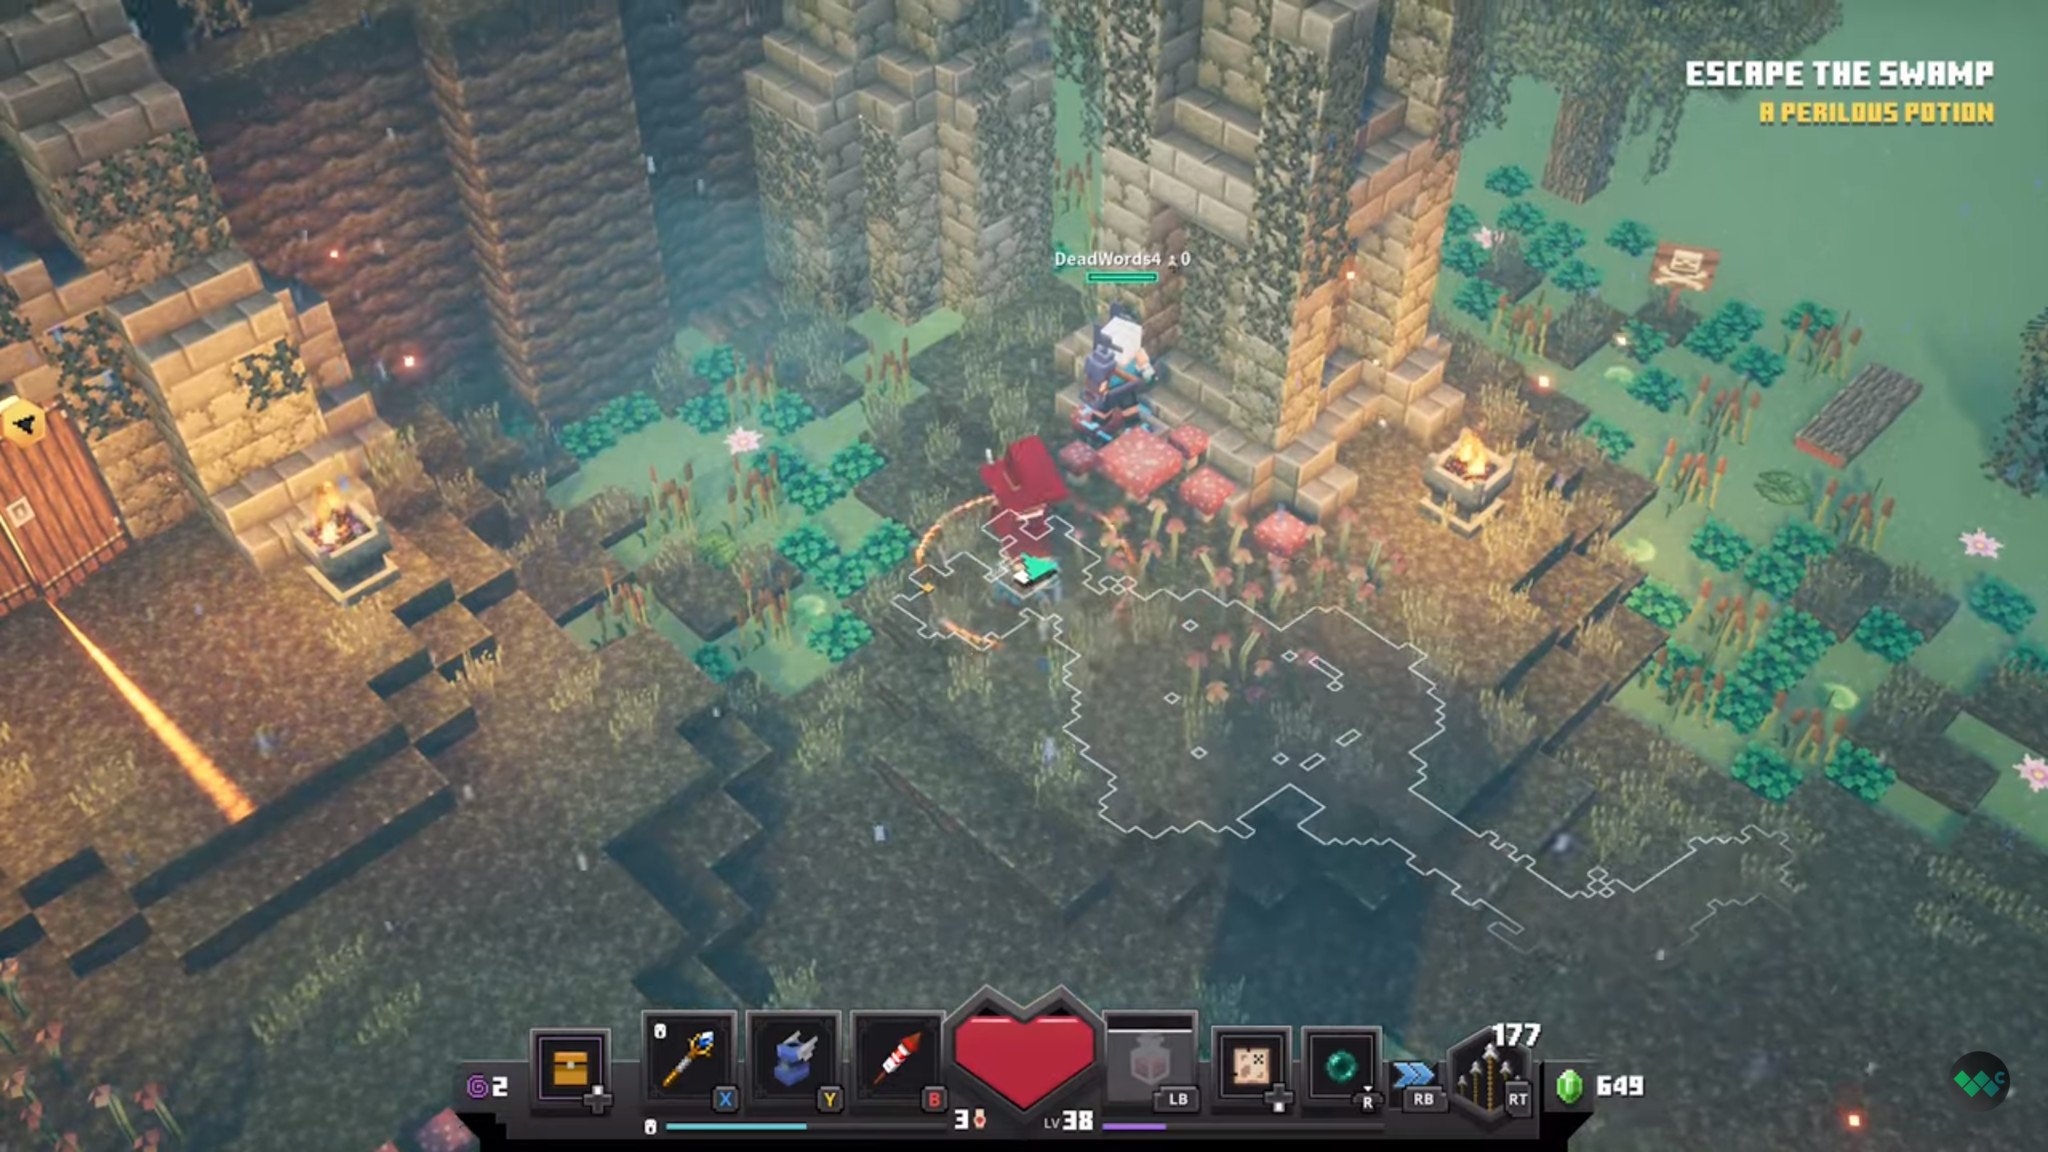
Off to the right of the main path, you'll notice a stone pillar. Hidden behind some mushrooms is a switch that reveals a hidden doorway. Enter this room to collect the next rune.
Rune Location #3 - Pumpkin Pastures
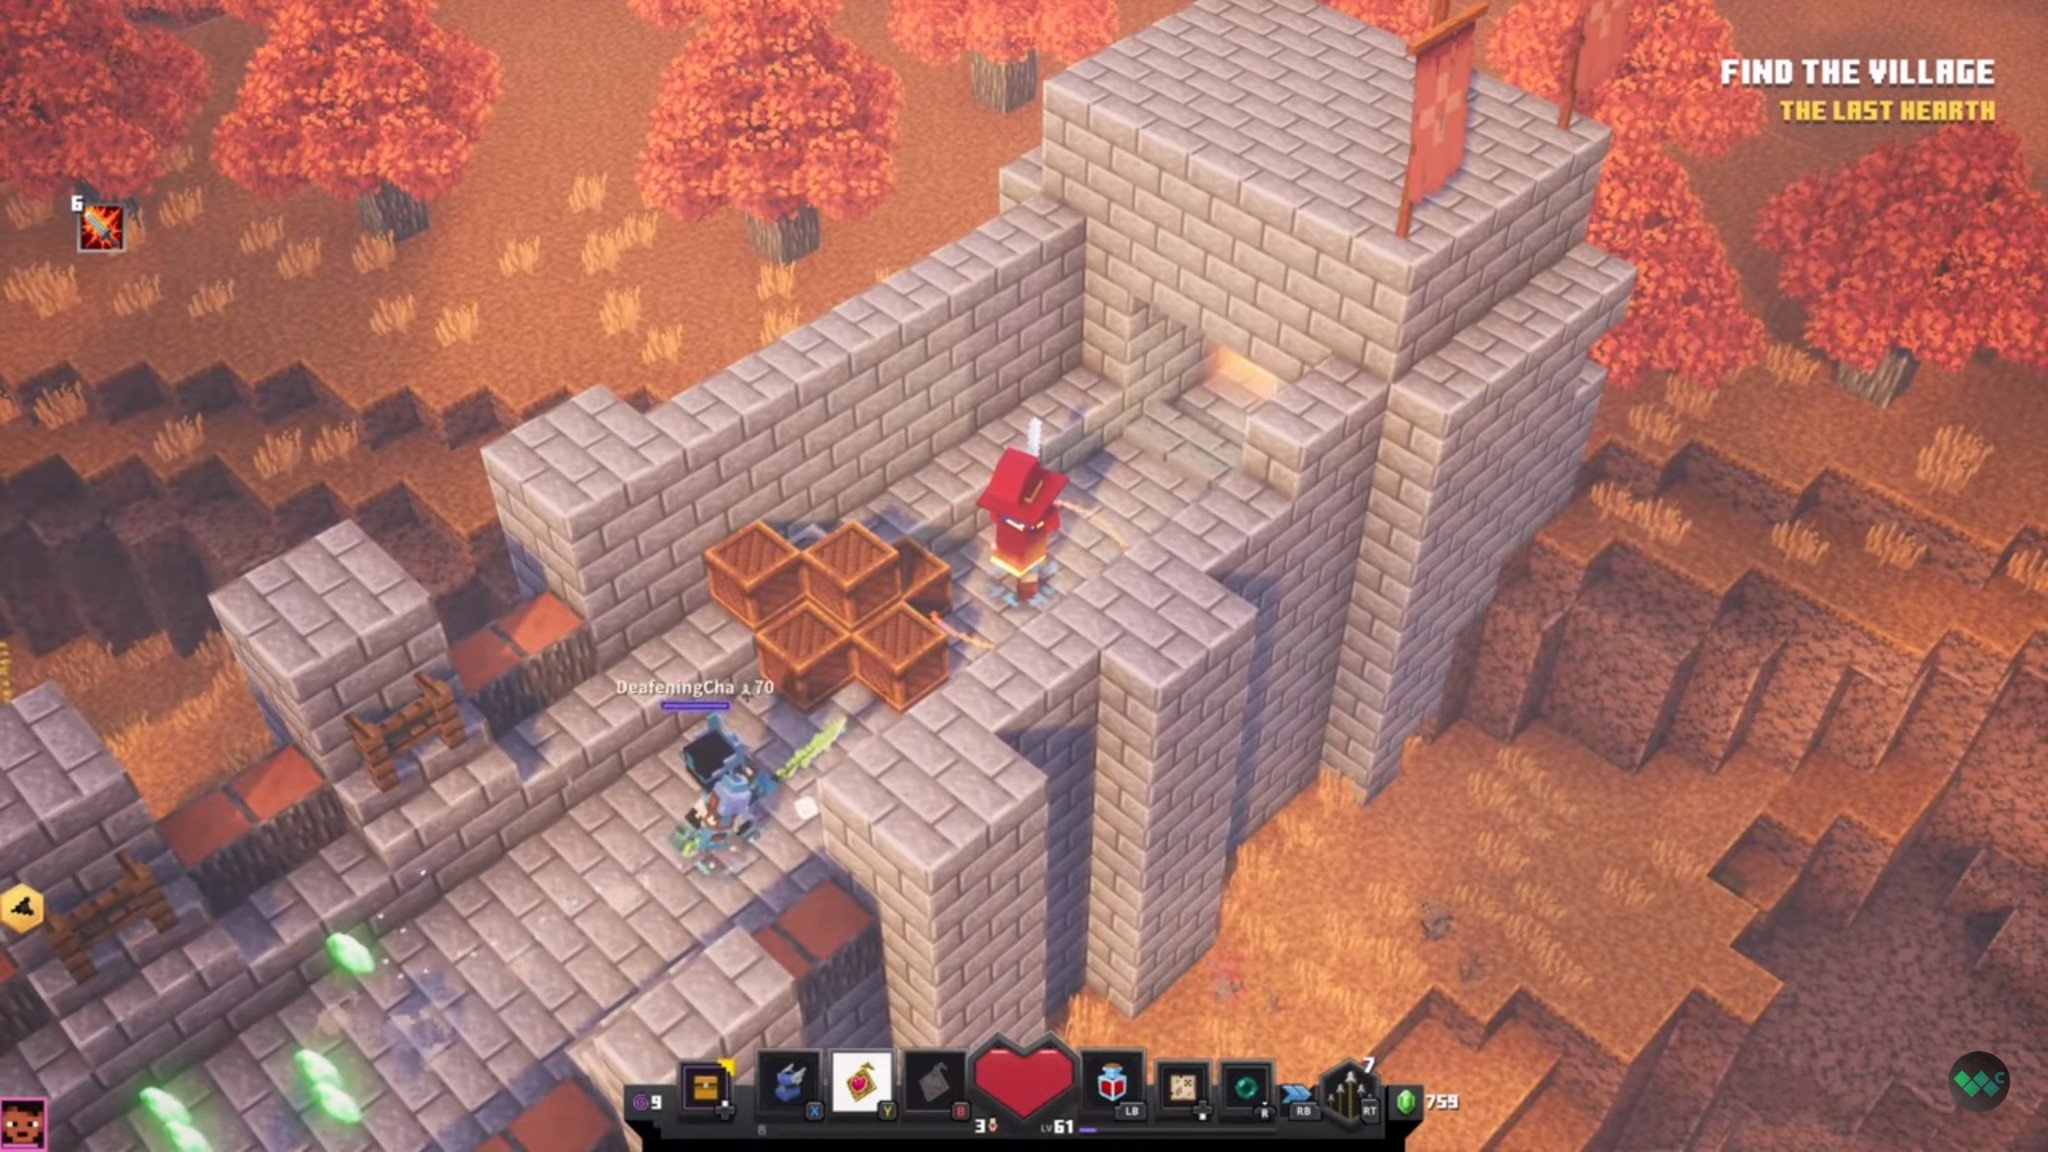
To find the rune location for Pumpkin Pastures, you'll need to keep your eyes peeled for a massive stone wall as you enter the more developed area of the village.
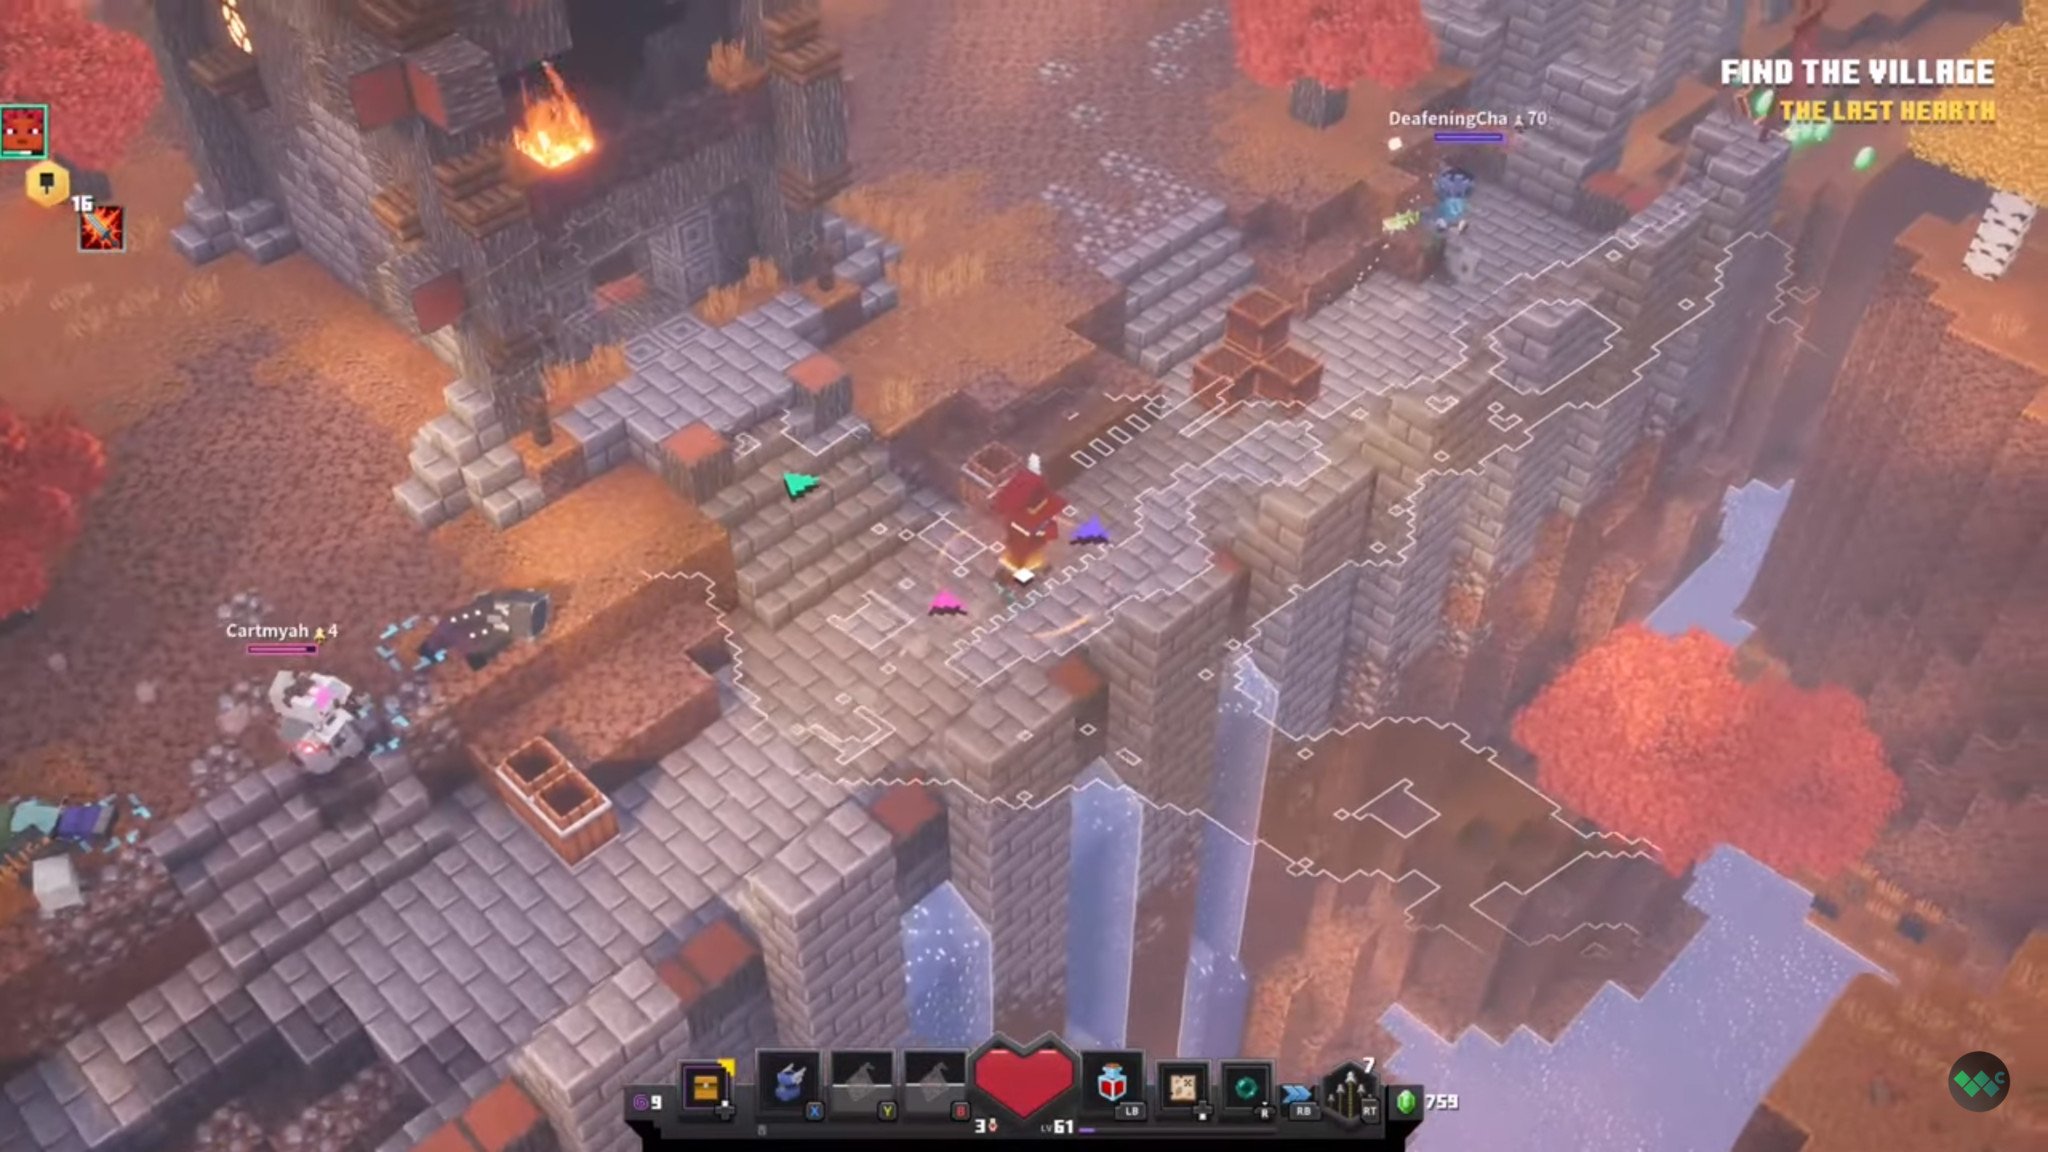
Make your way to the top of this wall and follow the path until you find a a stack of crates. Behind these crates is a switch that will open the entrance to the rune shrine for this stage. Grab this rune and move on to the next location.
Rune Location #4 - Redstone Mines
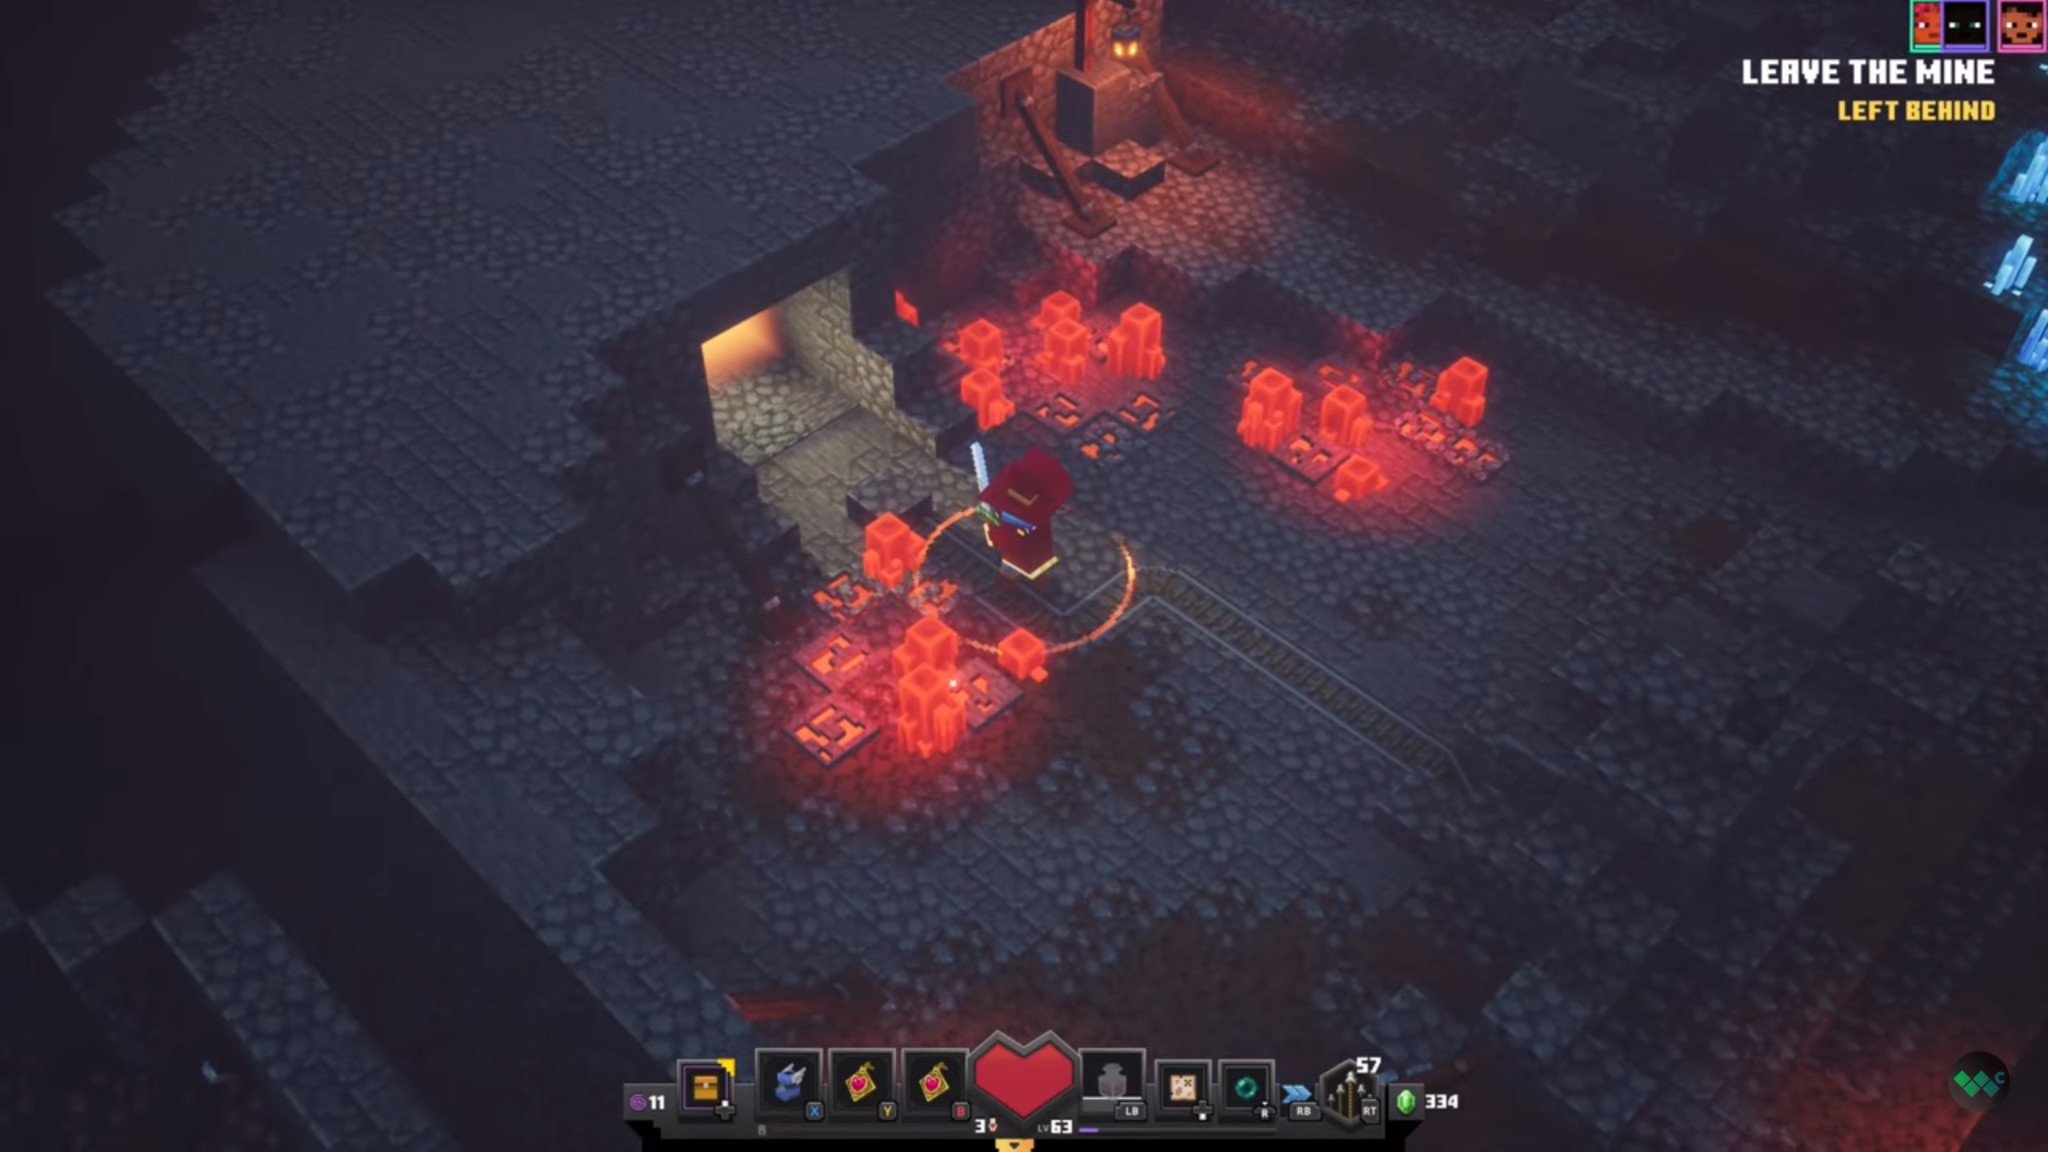
The rune location for Redstone Mines can be pretty easy to miss if you're not sure where to look. During the second 'rescue the villagers' sequence, you'll want to take an optional path to left.
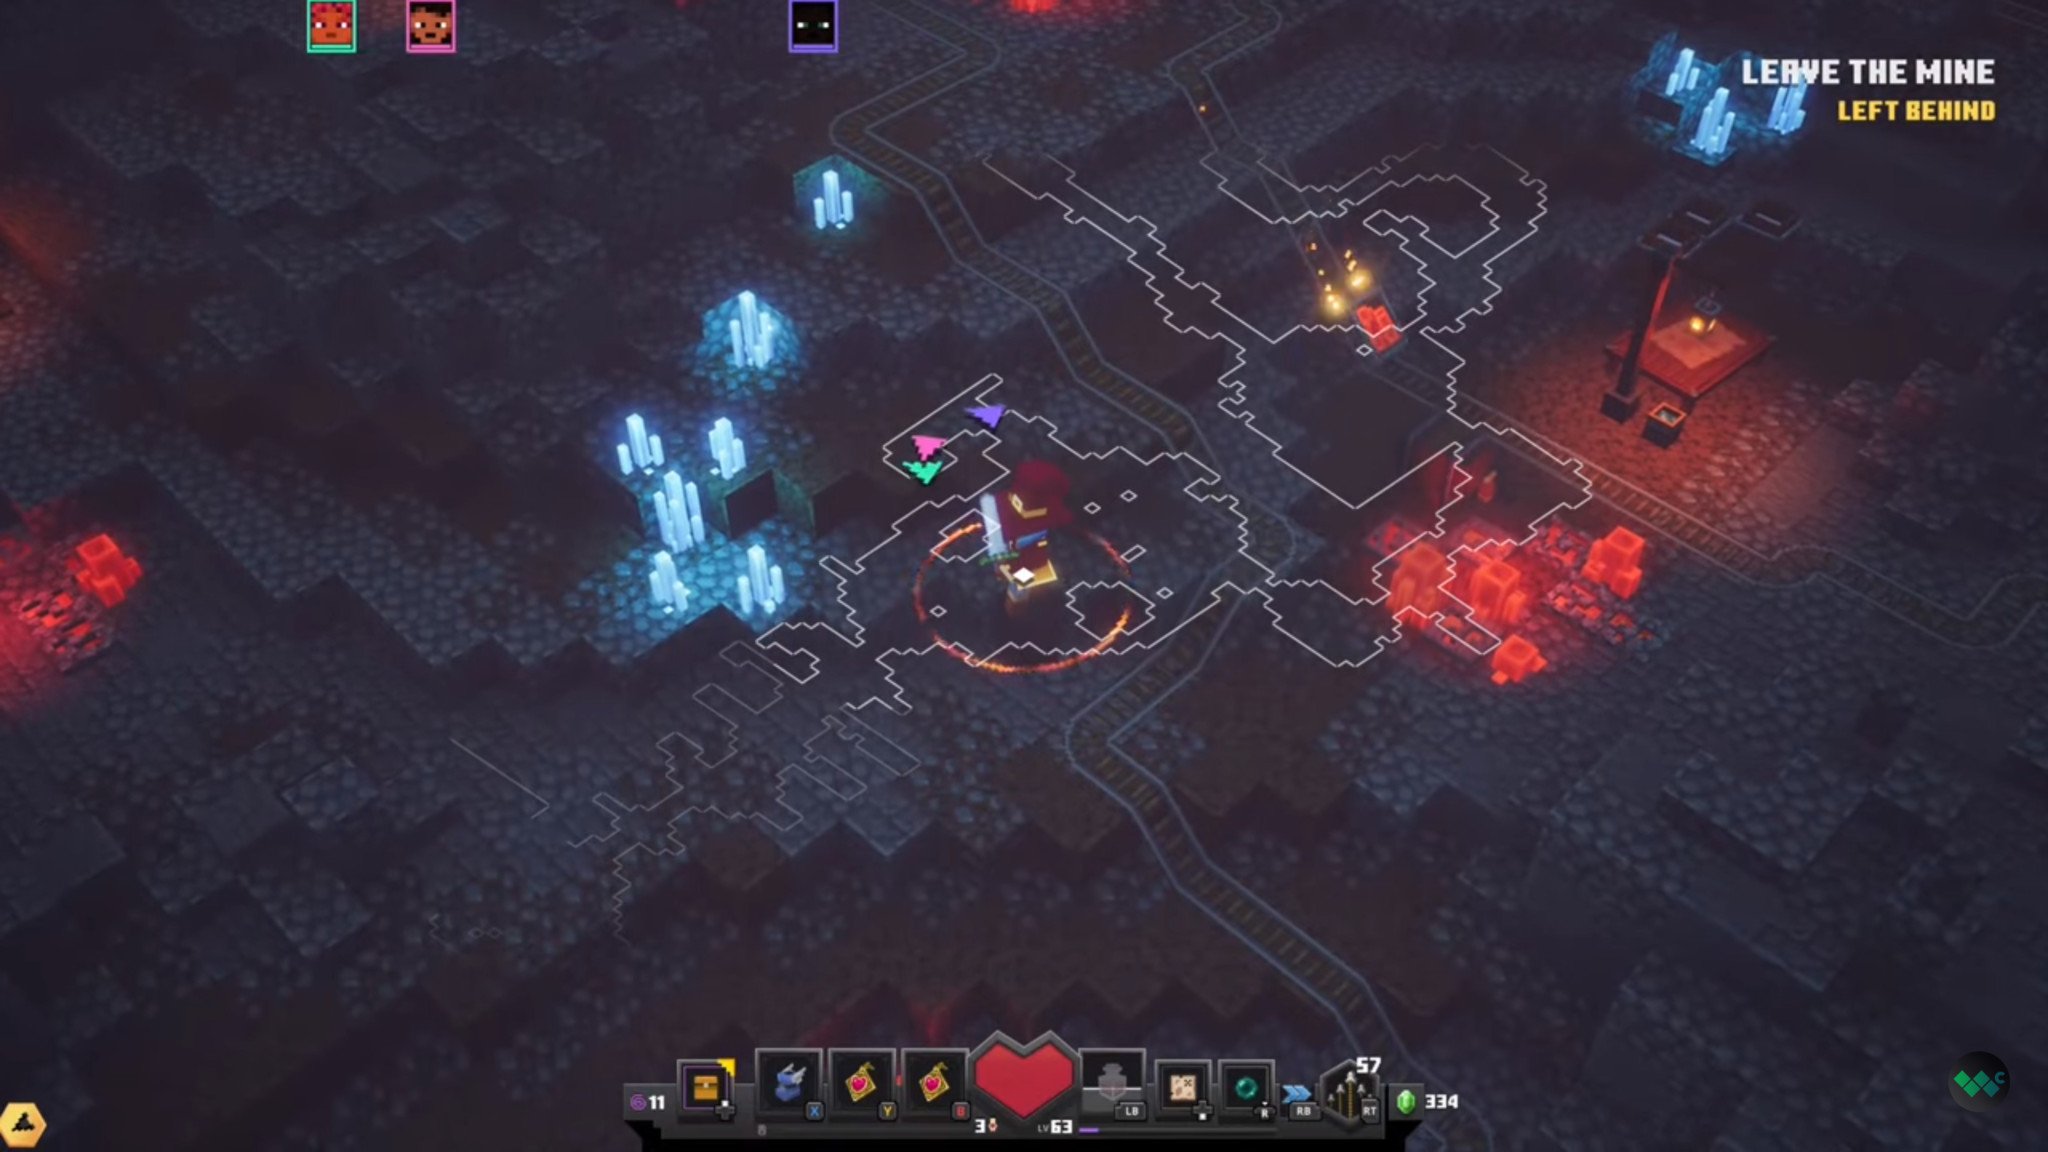
Hug the wall until you find a switch that reveals a pretty inconspicuous doorway. Enter this room and grab your fourth rune!
Rune Location #5 - Fiery Forge
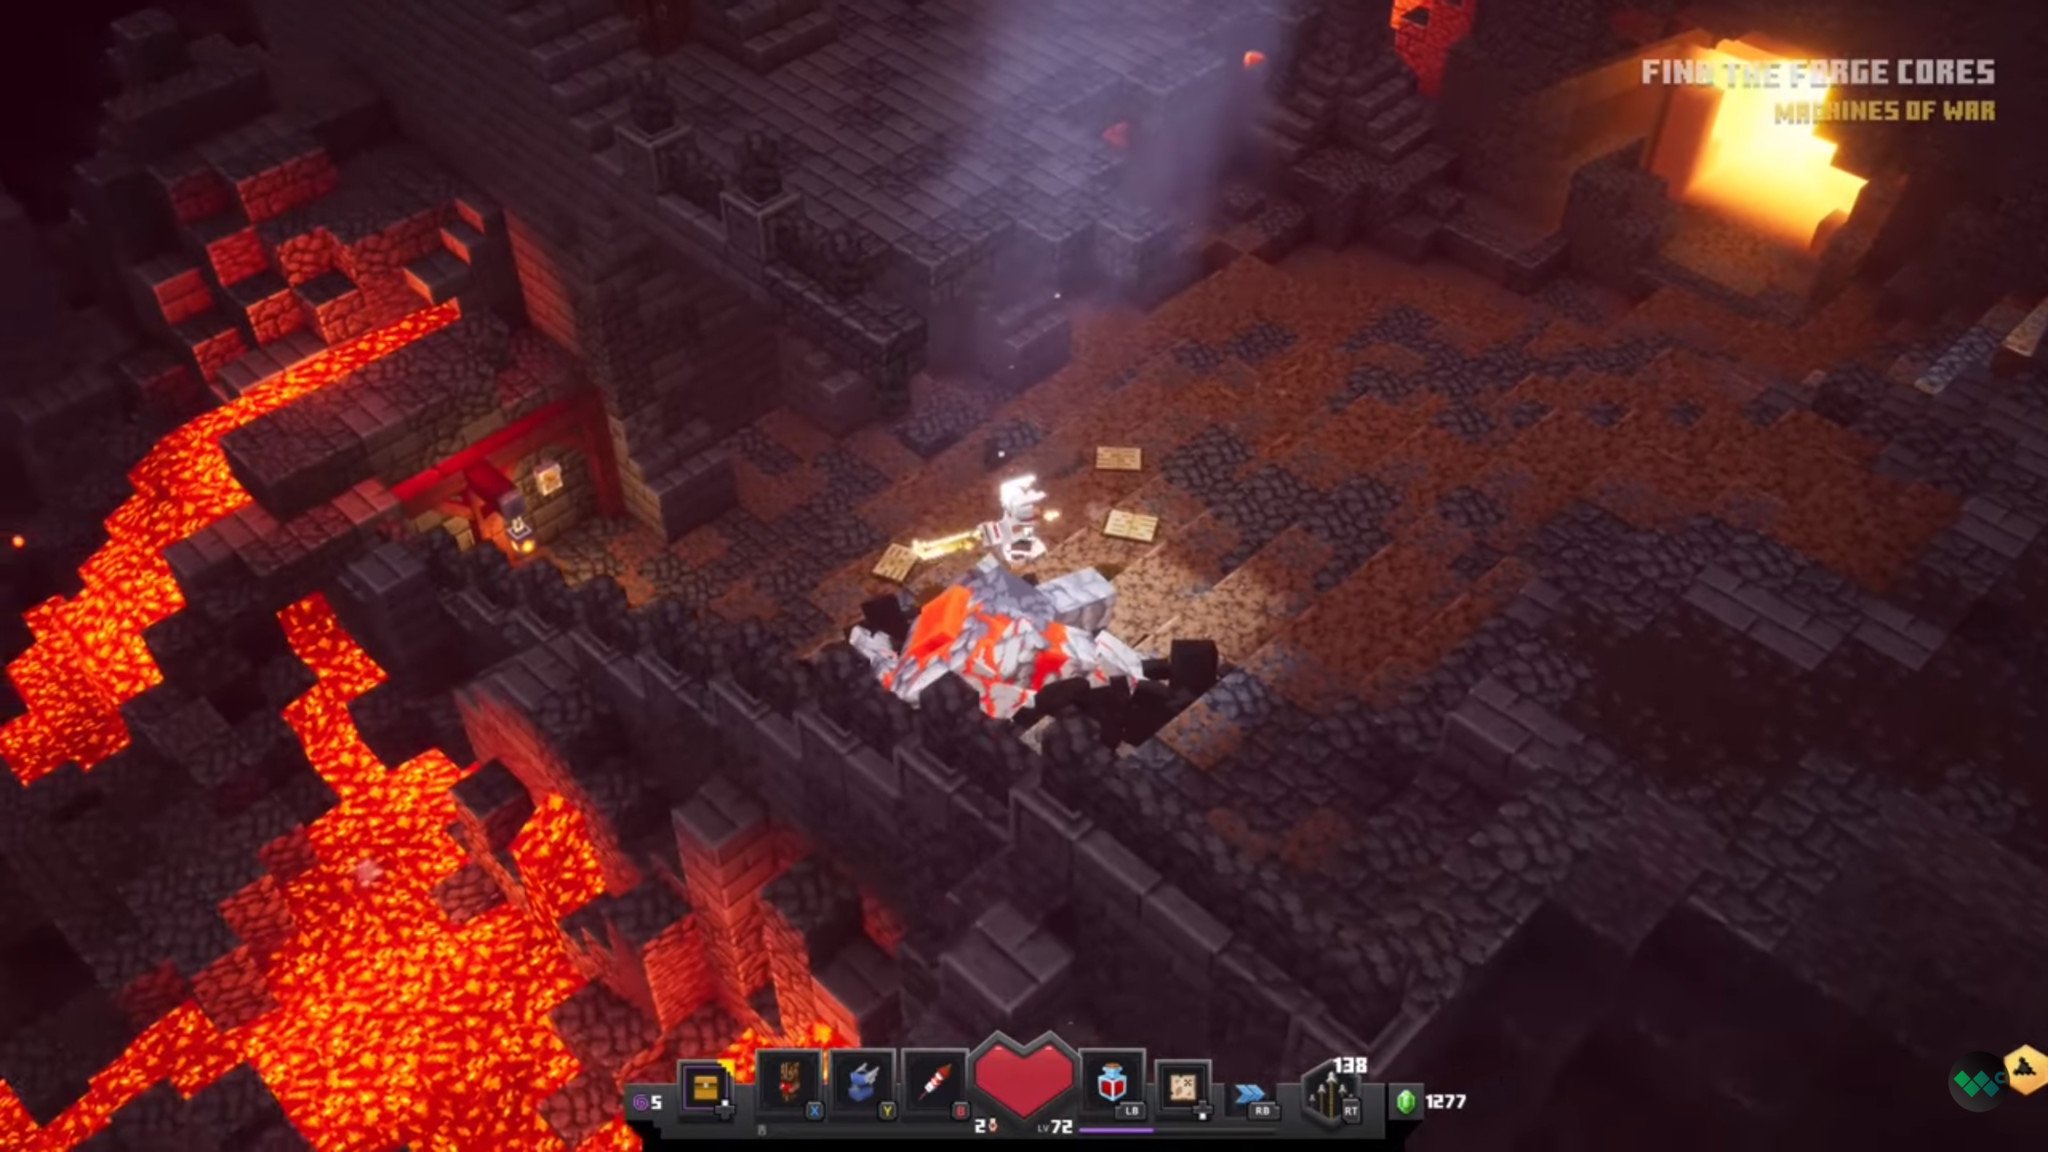
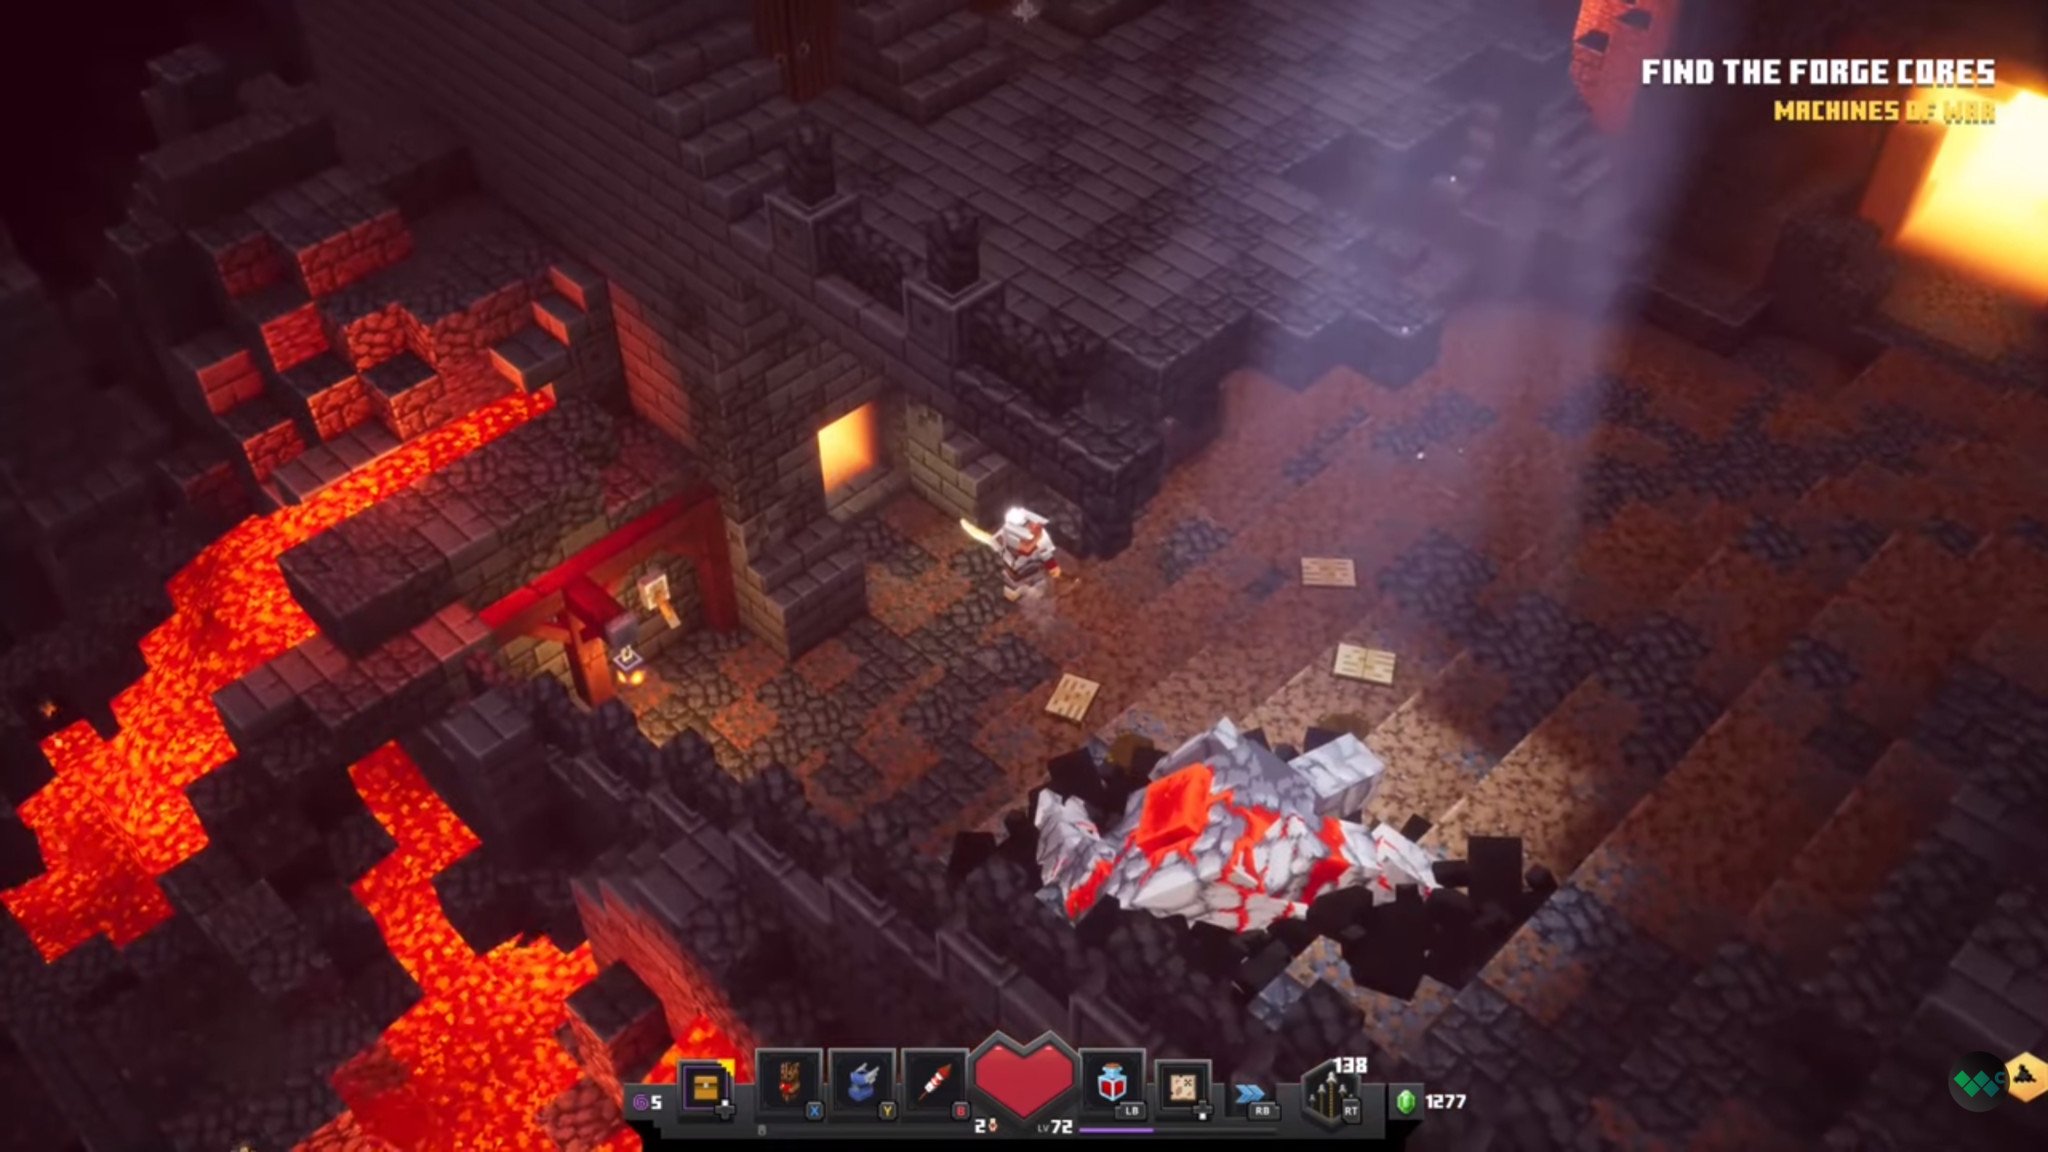
The rune for Fiery Forge can be obtained very close to the start of the stage. Look for a fallen redstone golem covered by rays of light.
Head down the steps from this corpse to find a hidden switch on the wall. Activating this switch will open the entrance tothe rune shrine. Make your way inside and collect the fifth rune.
Rune Location #6 - Cacti Canyon
The rune location for Cacti Canyon can be found next to the room with the first key golem.

Just outside of the key golem room is a very well-hidden switch behind a tree.
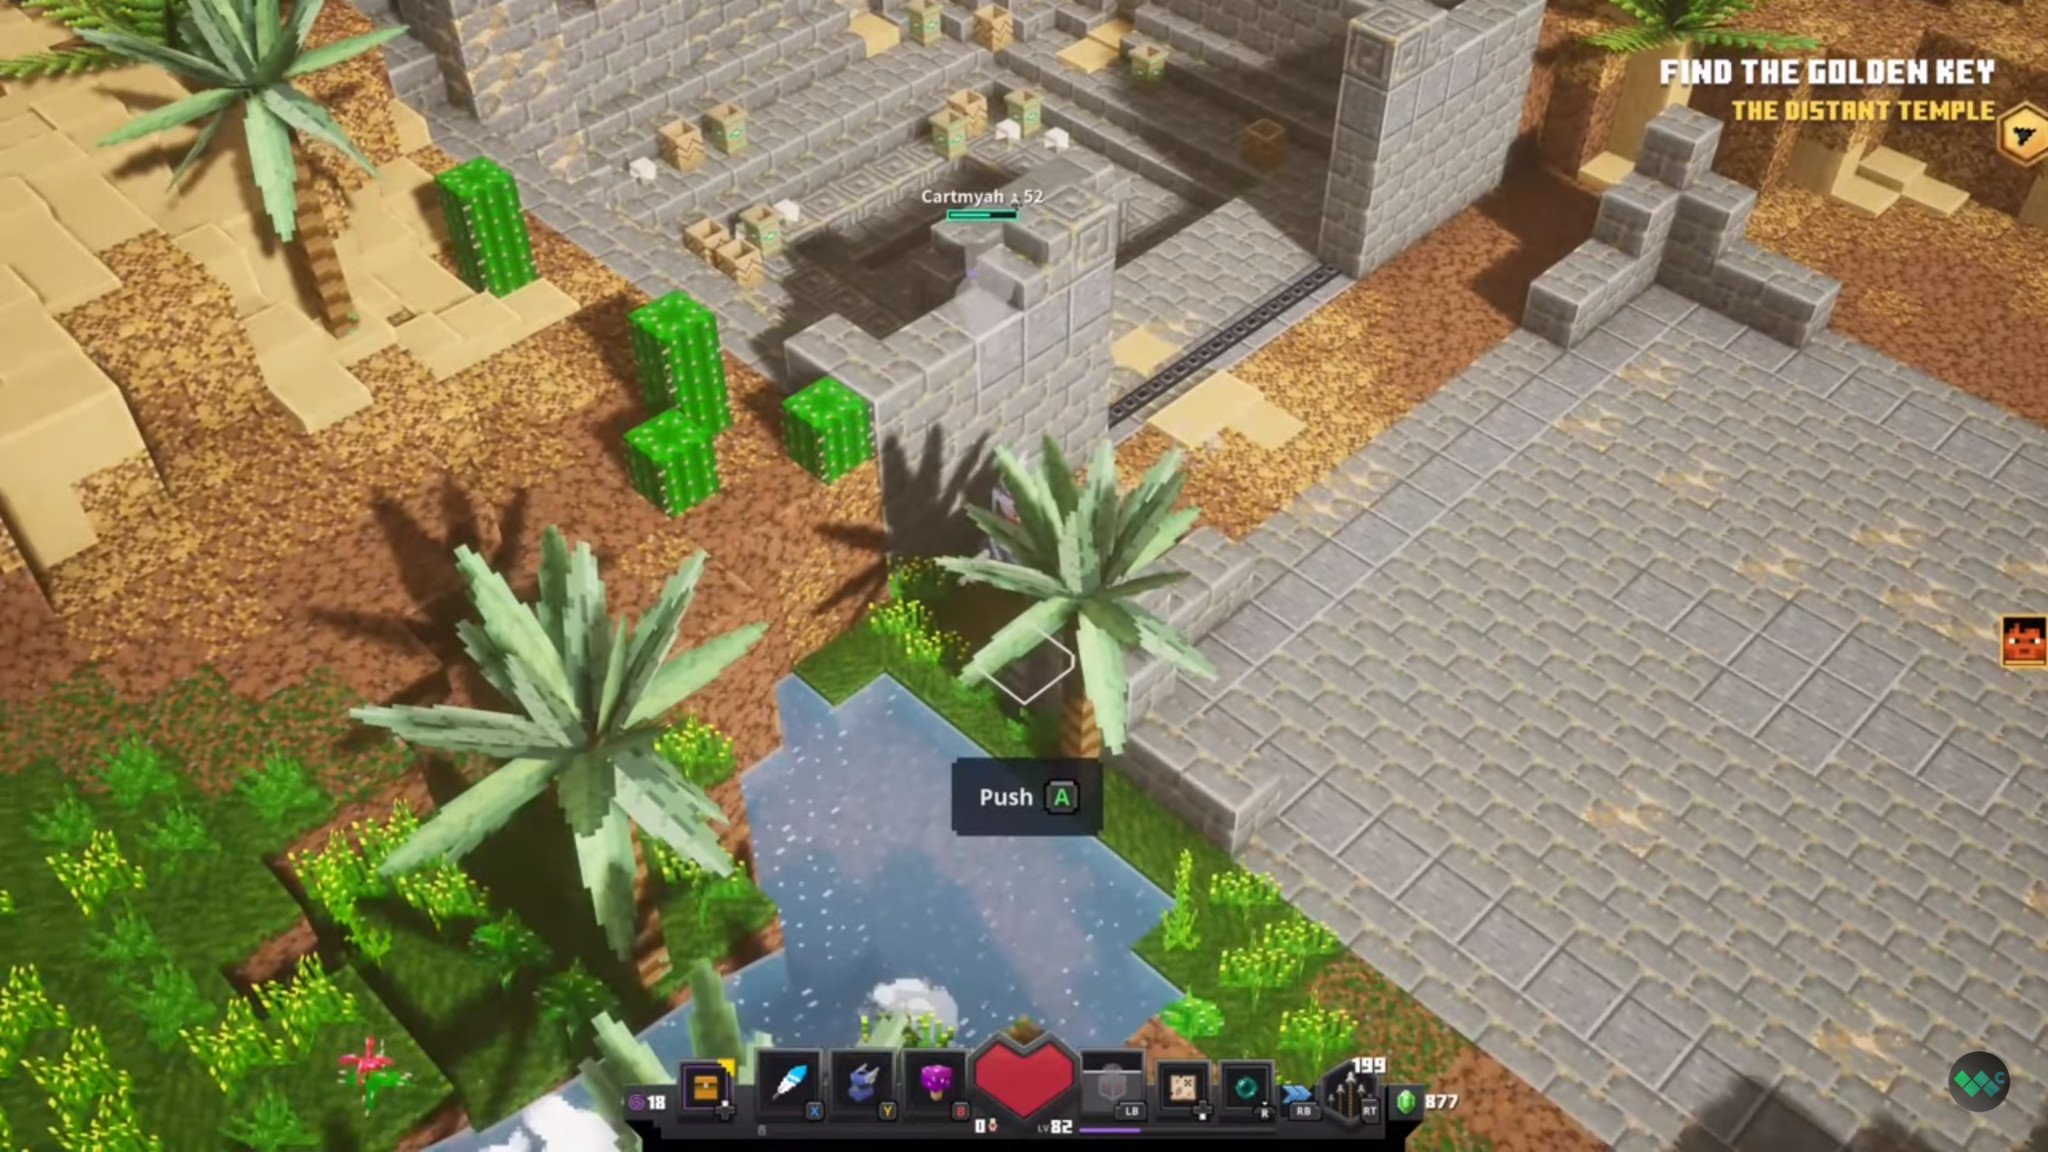
After pressing this switch make your way to back of the key golem room to find the entrance. Another rune down and only three more to go!
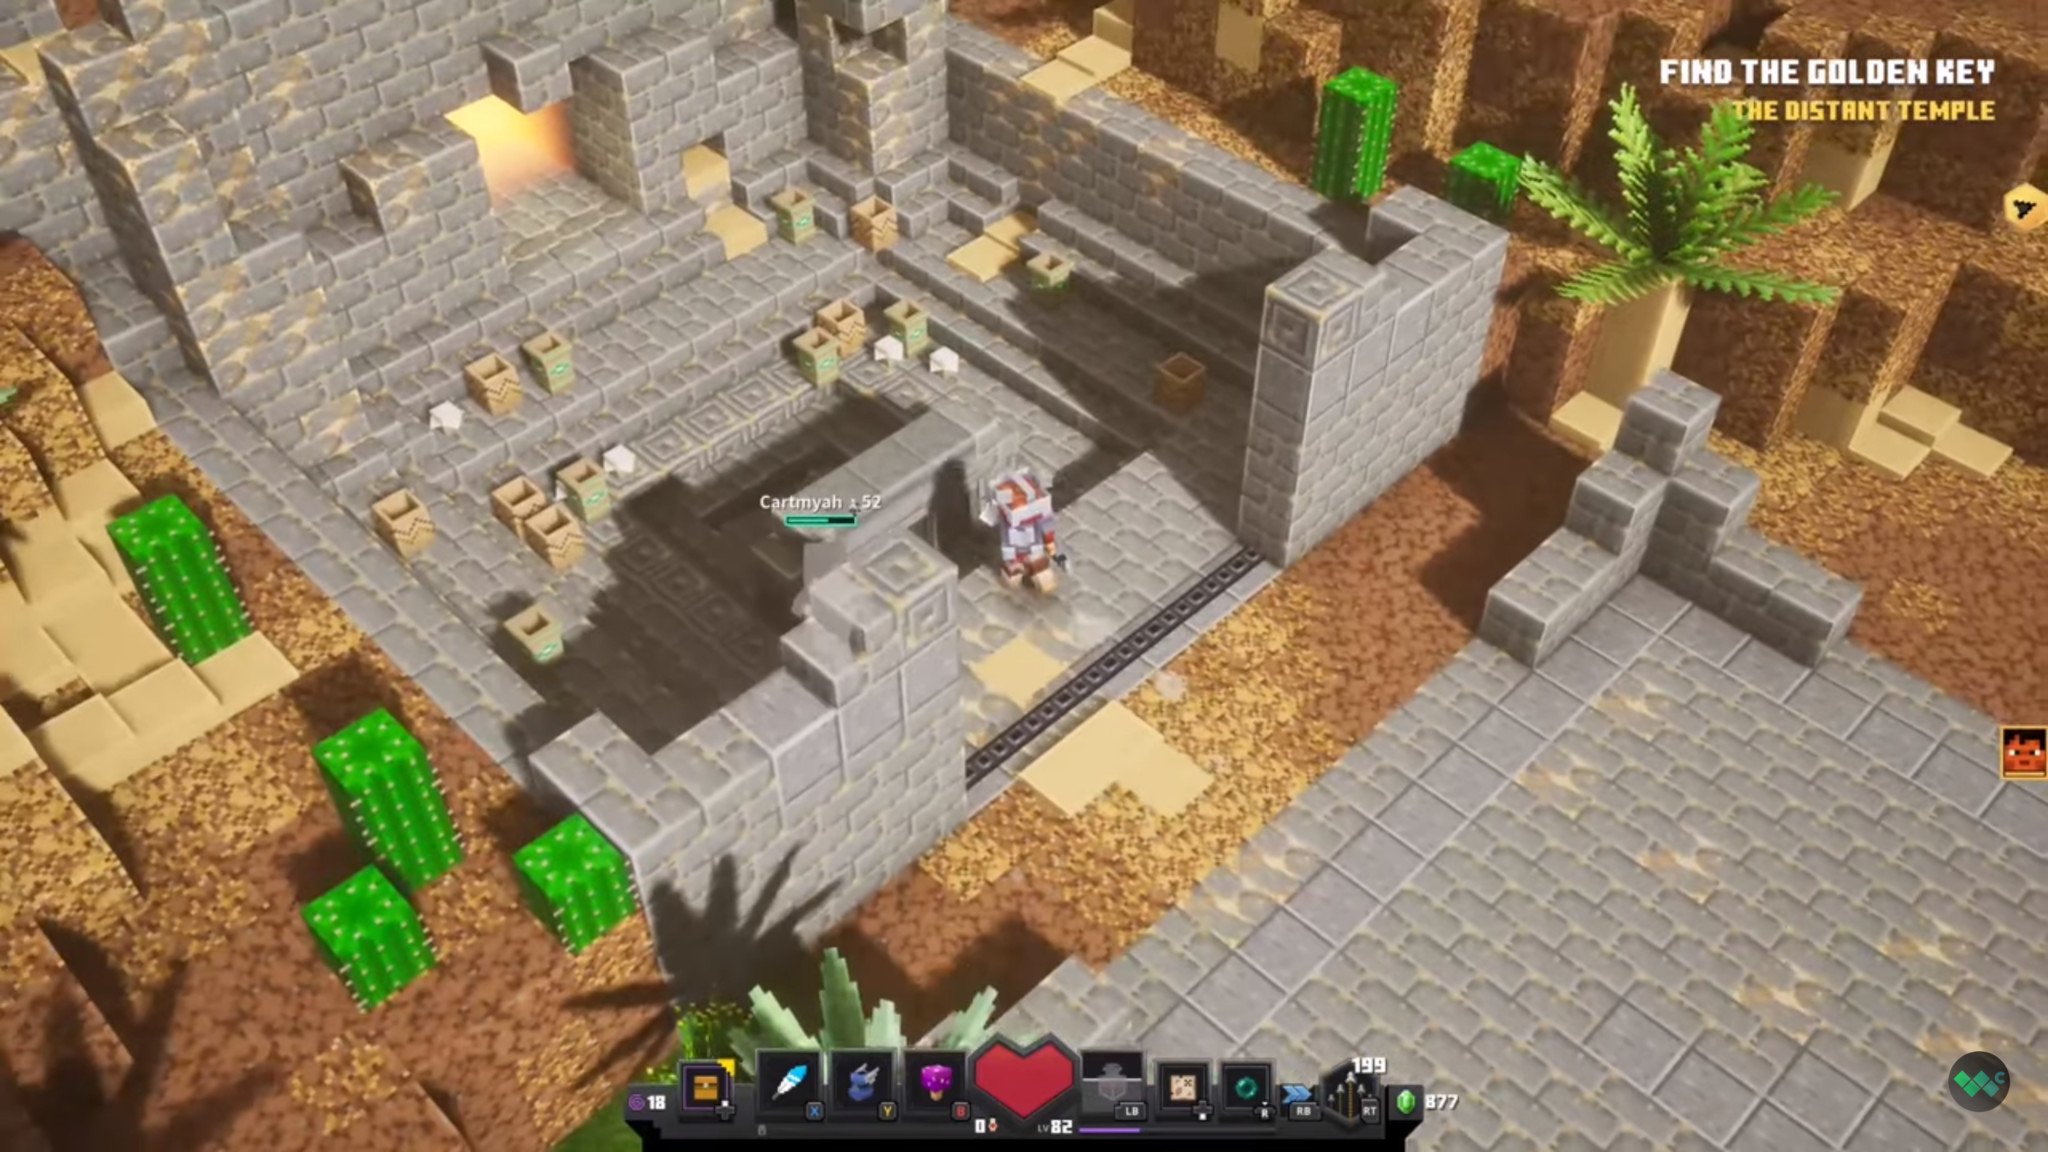
Rune Location #7 - Desert Temple
To find the rune location for Desert Temple, you'll also need to focus on a section with a key golem in the southeast. Once you've exited the key room head north and look for a large bush next to a tree.
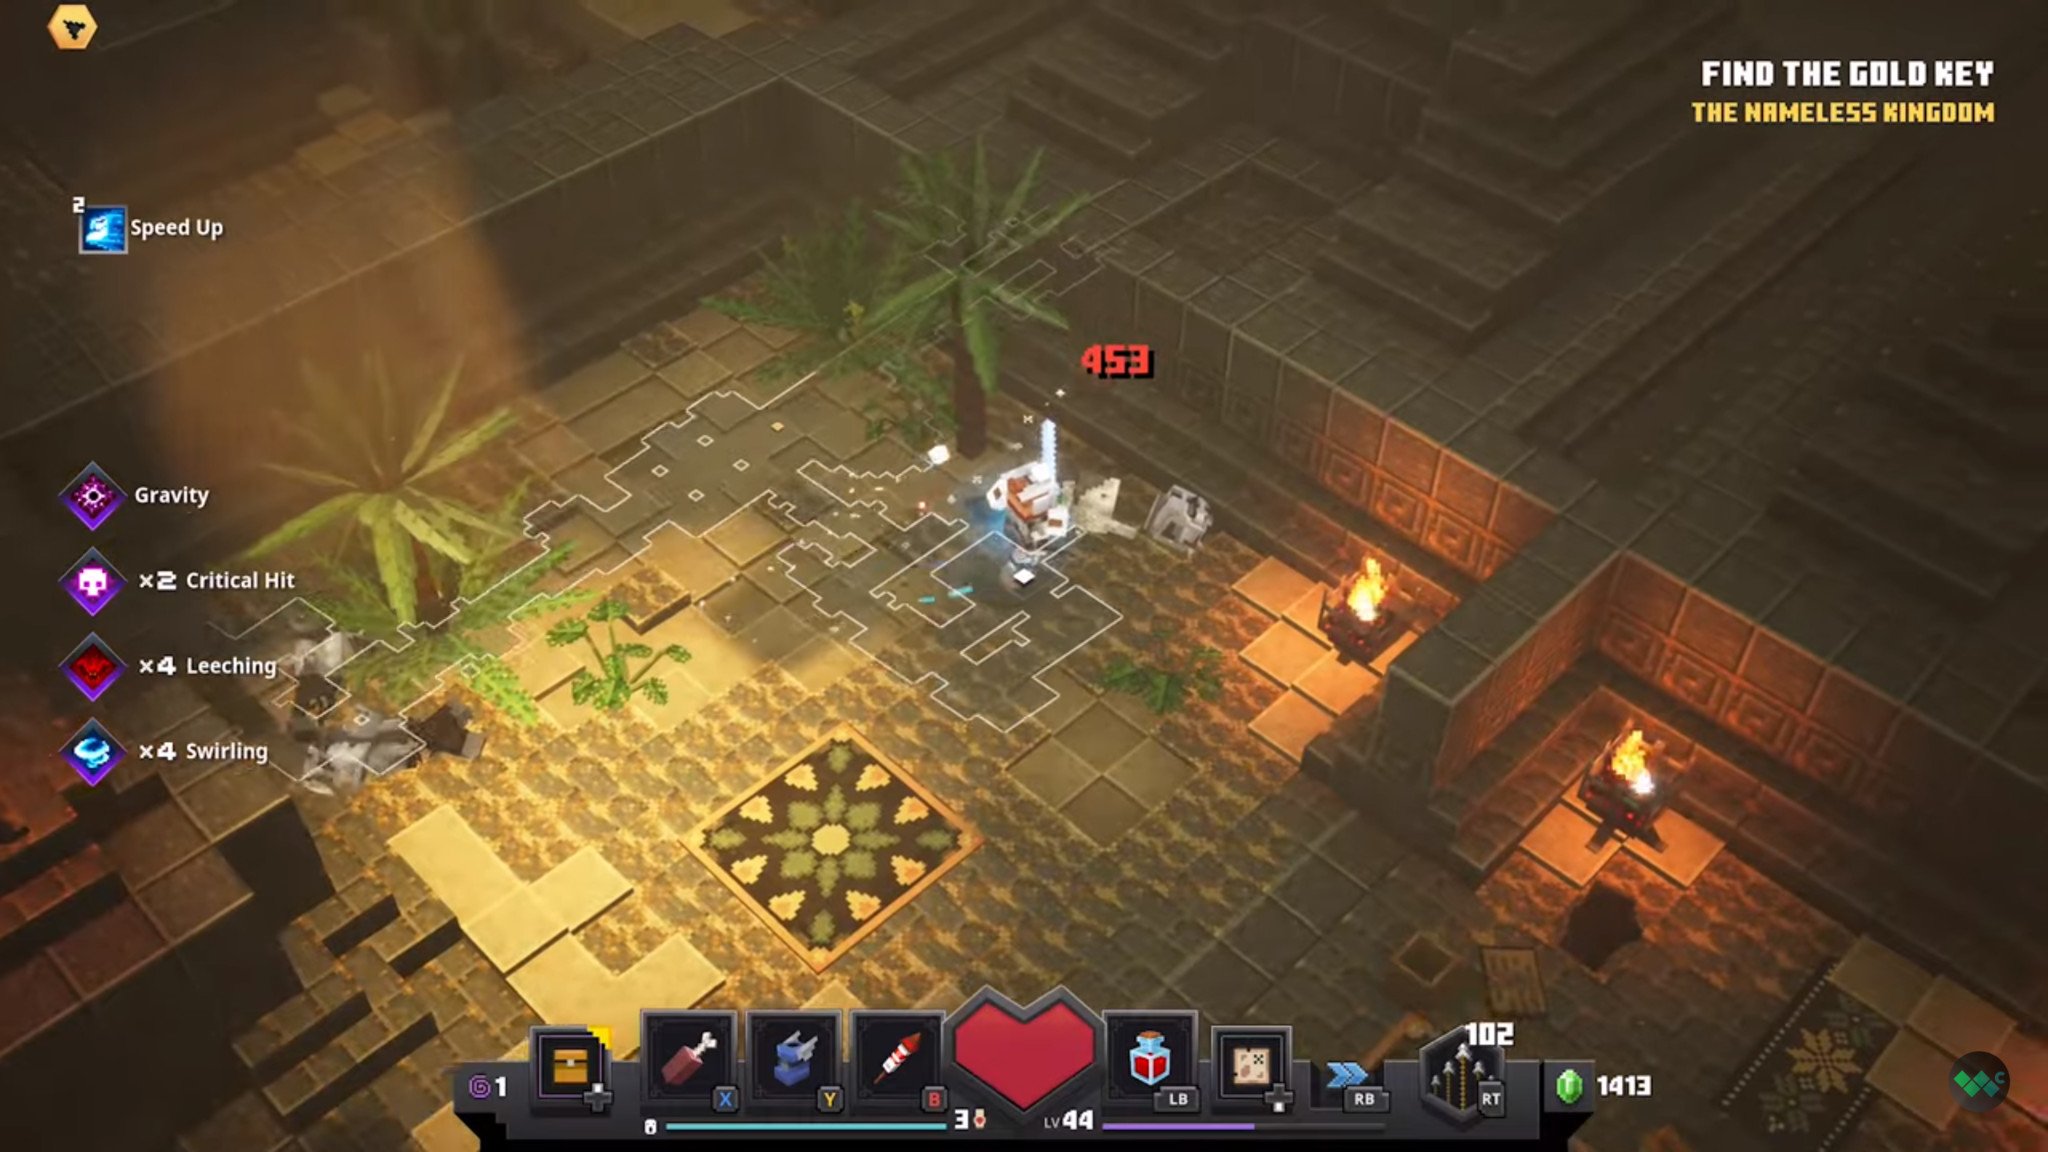
The switch for this rune location is hidden here. Flip the switch and enter the shrine to collect your seventh rune.
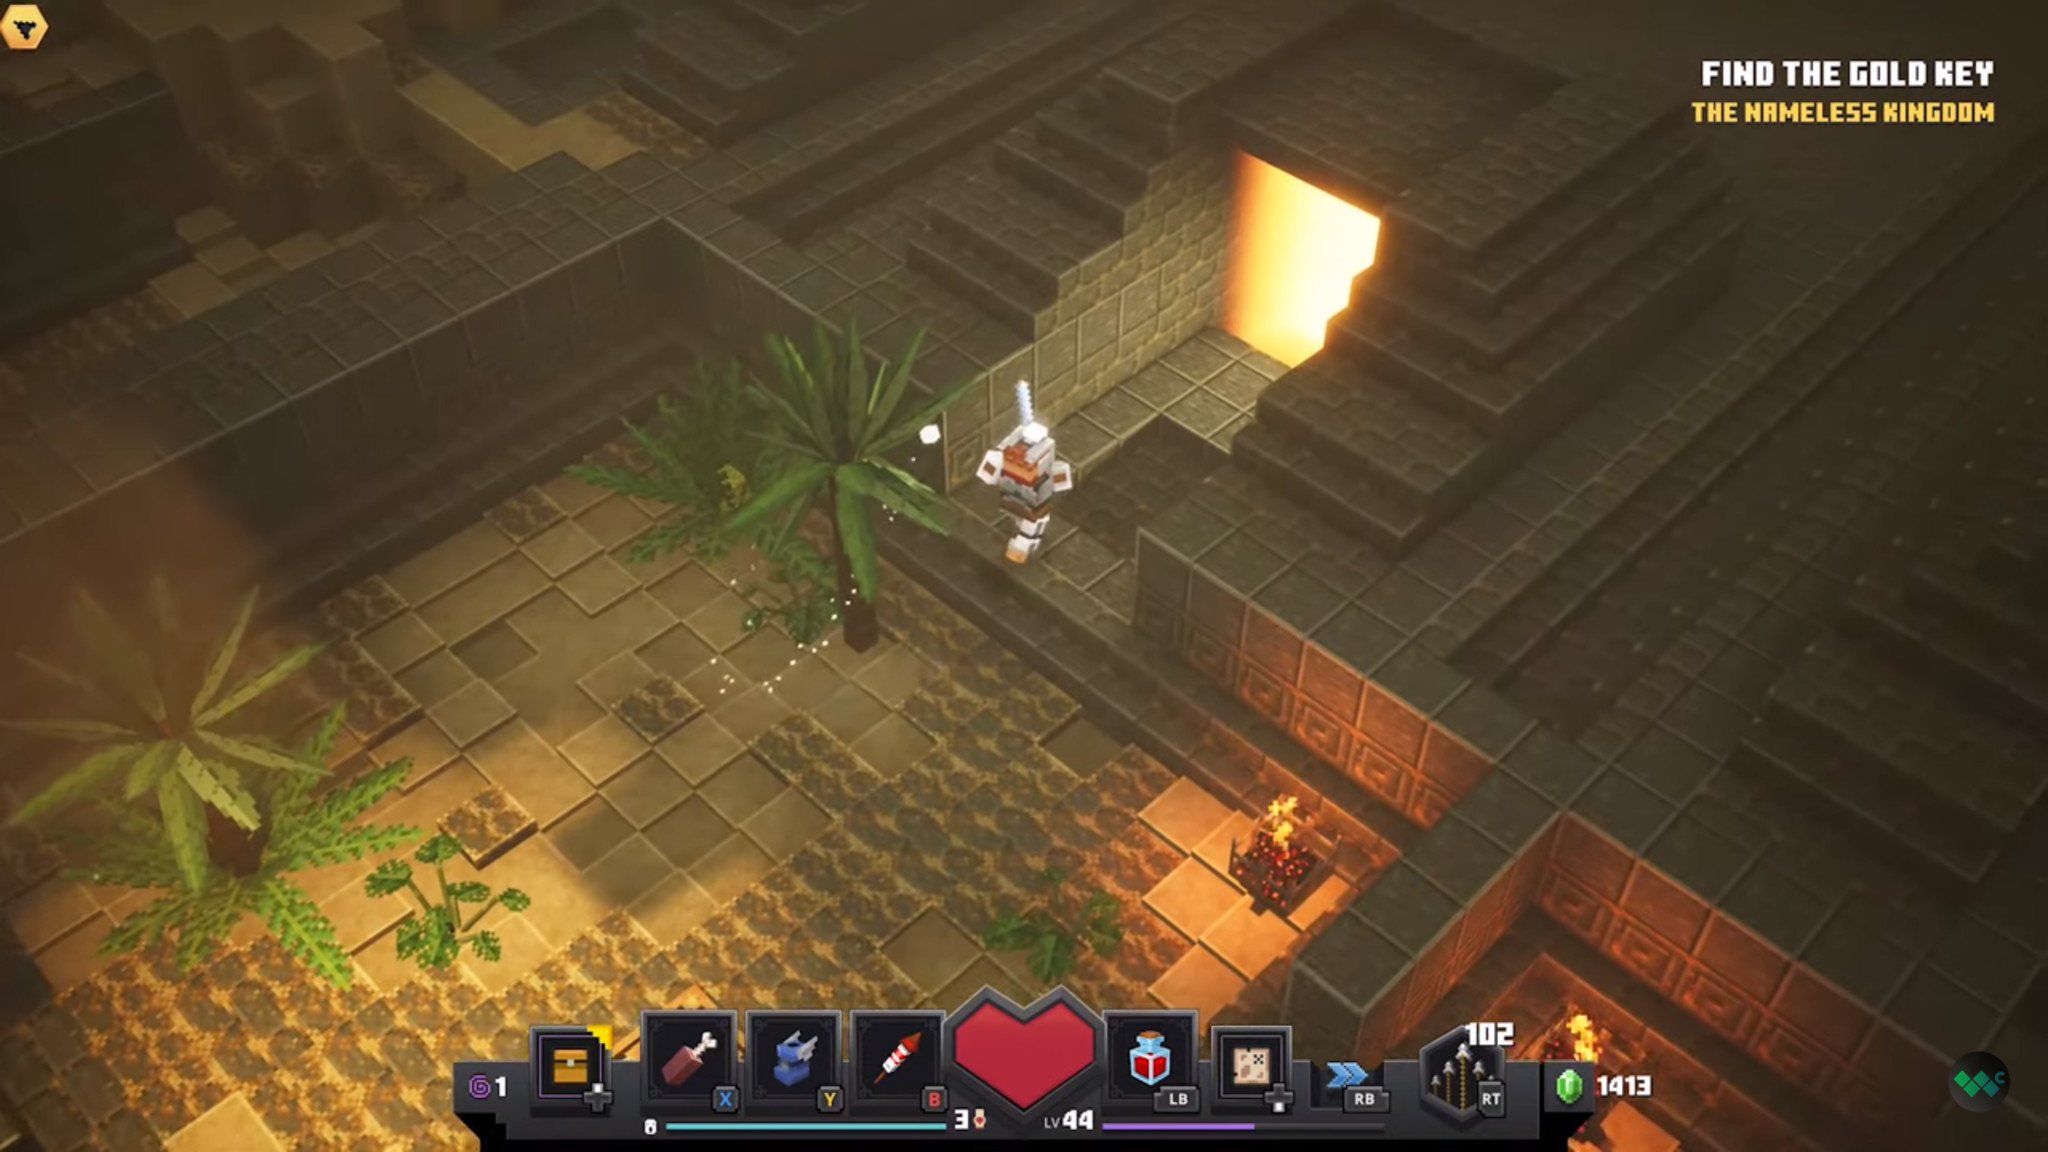
Rune Location #8 - Highblock Halls
The rune location for Highblock Halls is another one that's easy to miss because of the chaos of this area. In the massive open courtyard where the entrance to the well is, hug the right side of the castle walls and look for an unlit torch.
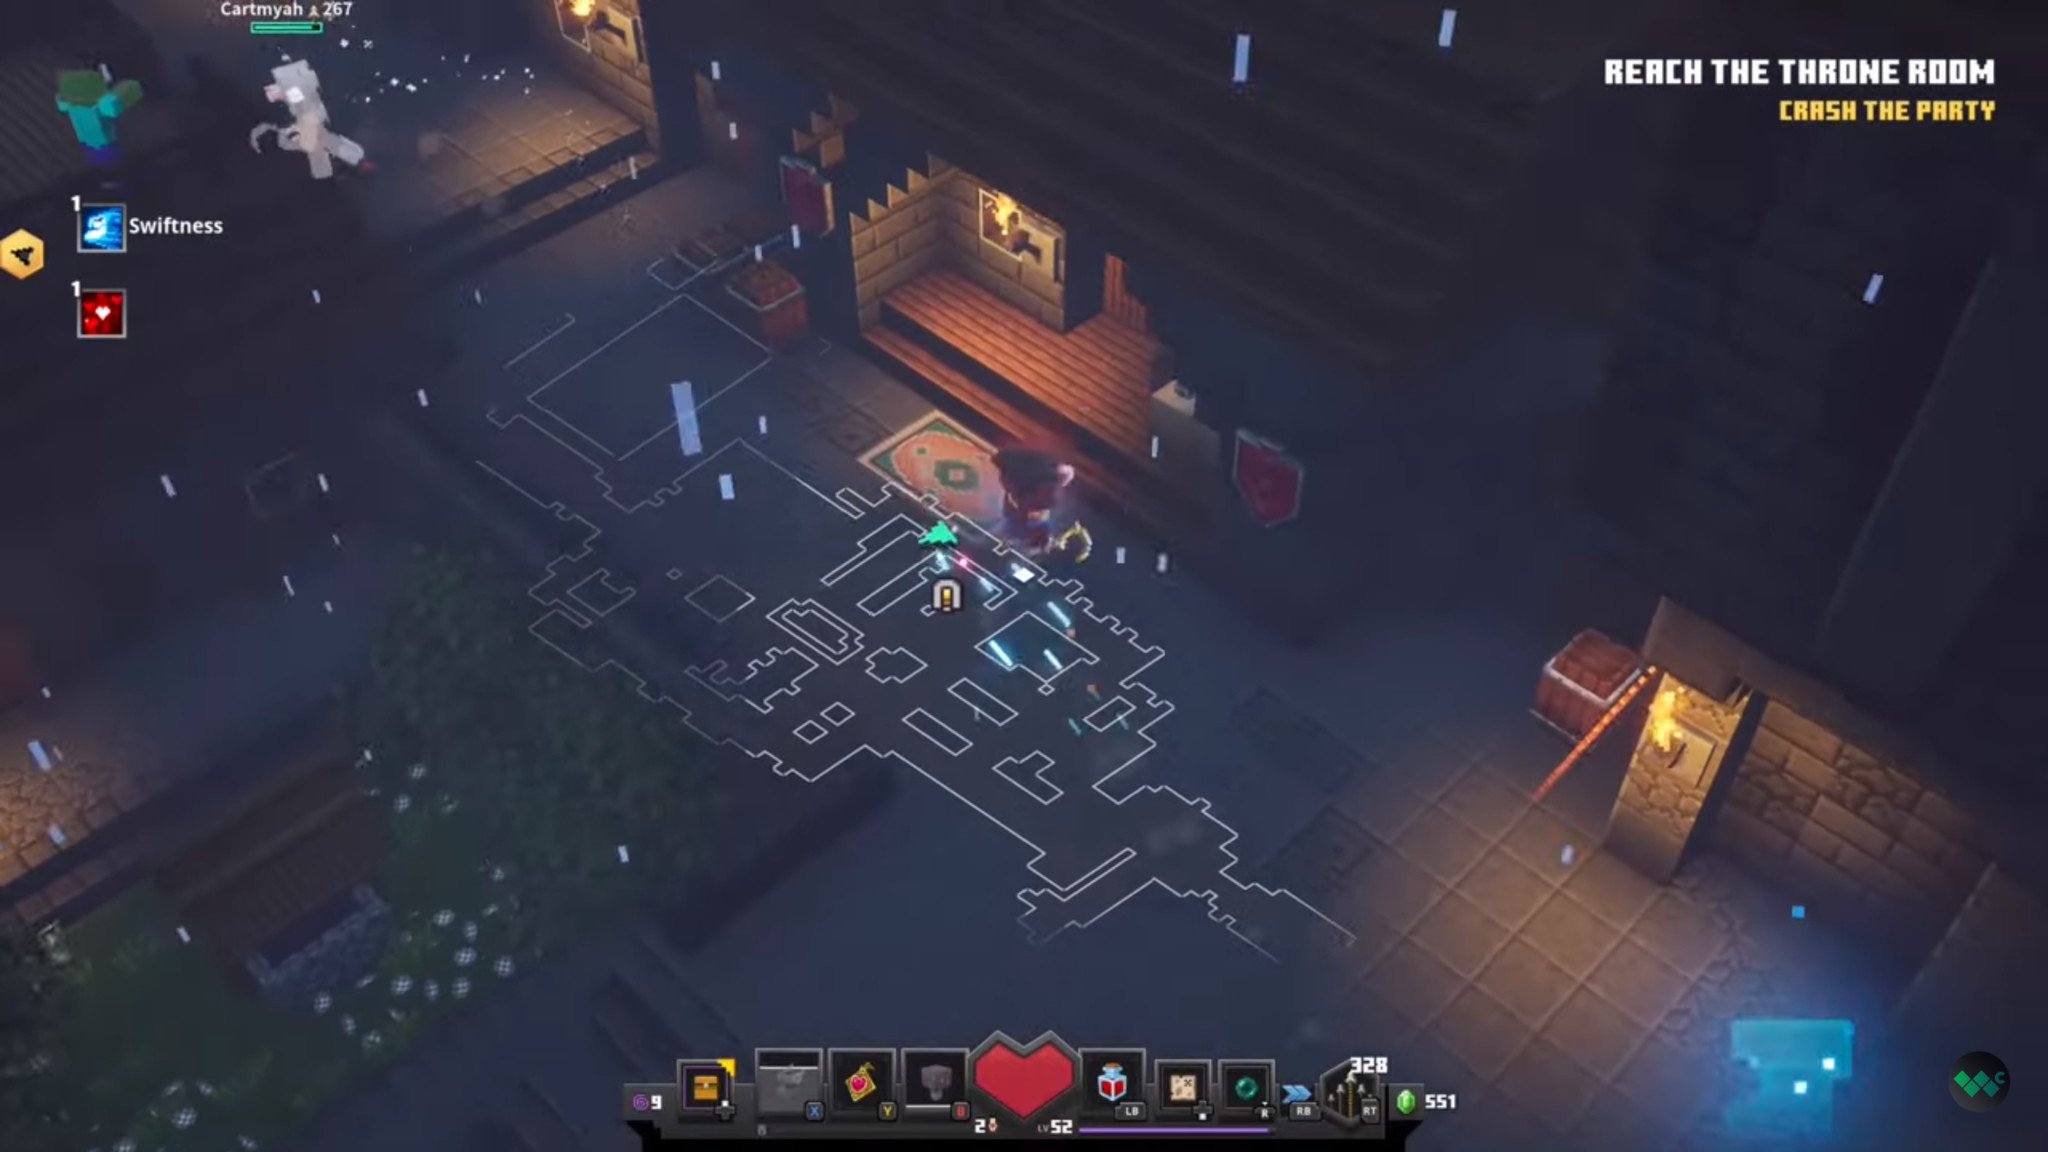
Activating this torch will reveal the entrance to the rune shrine. Just one more rune to go!
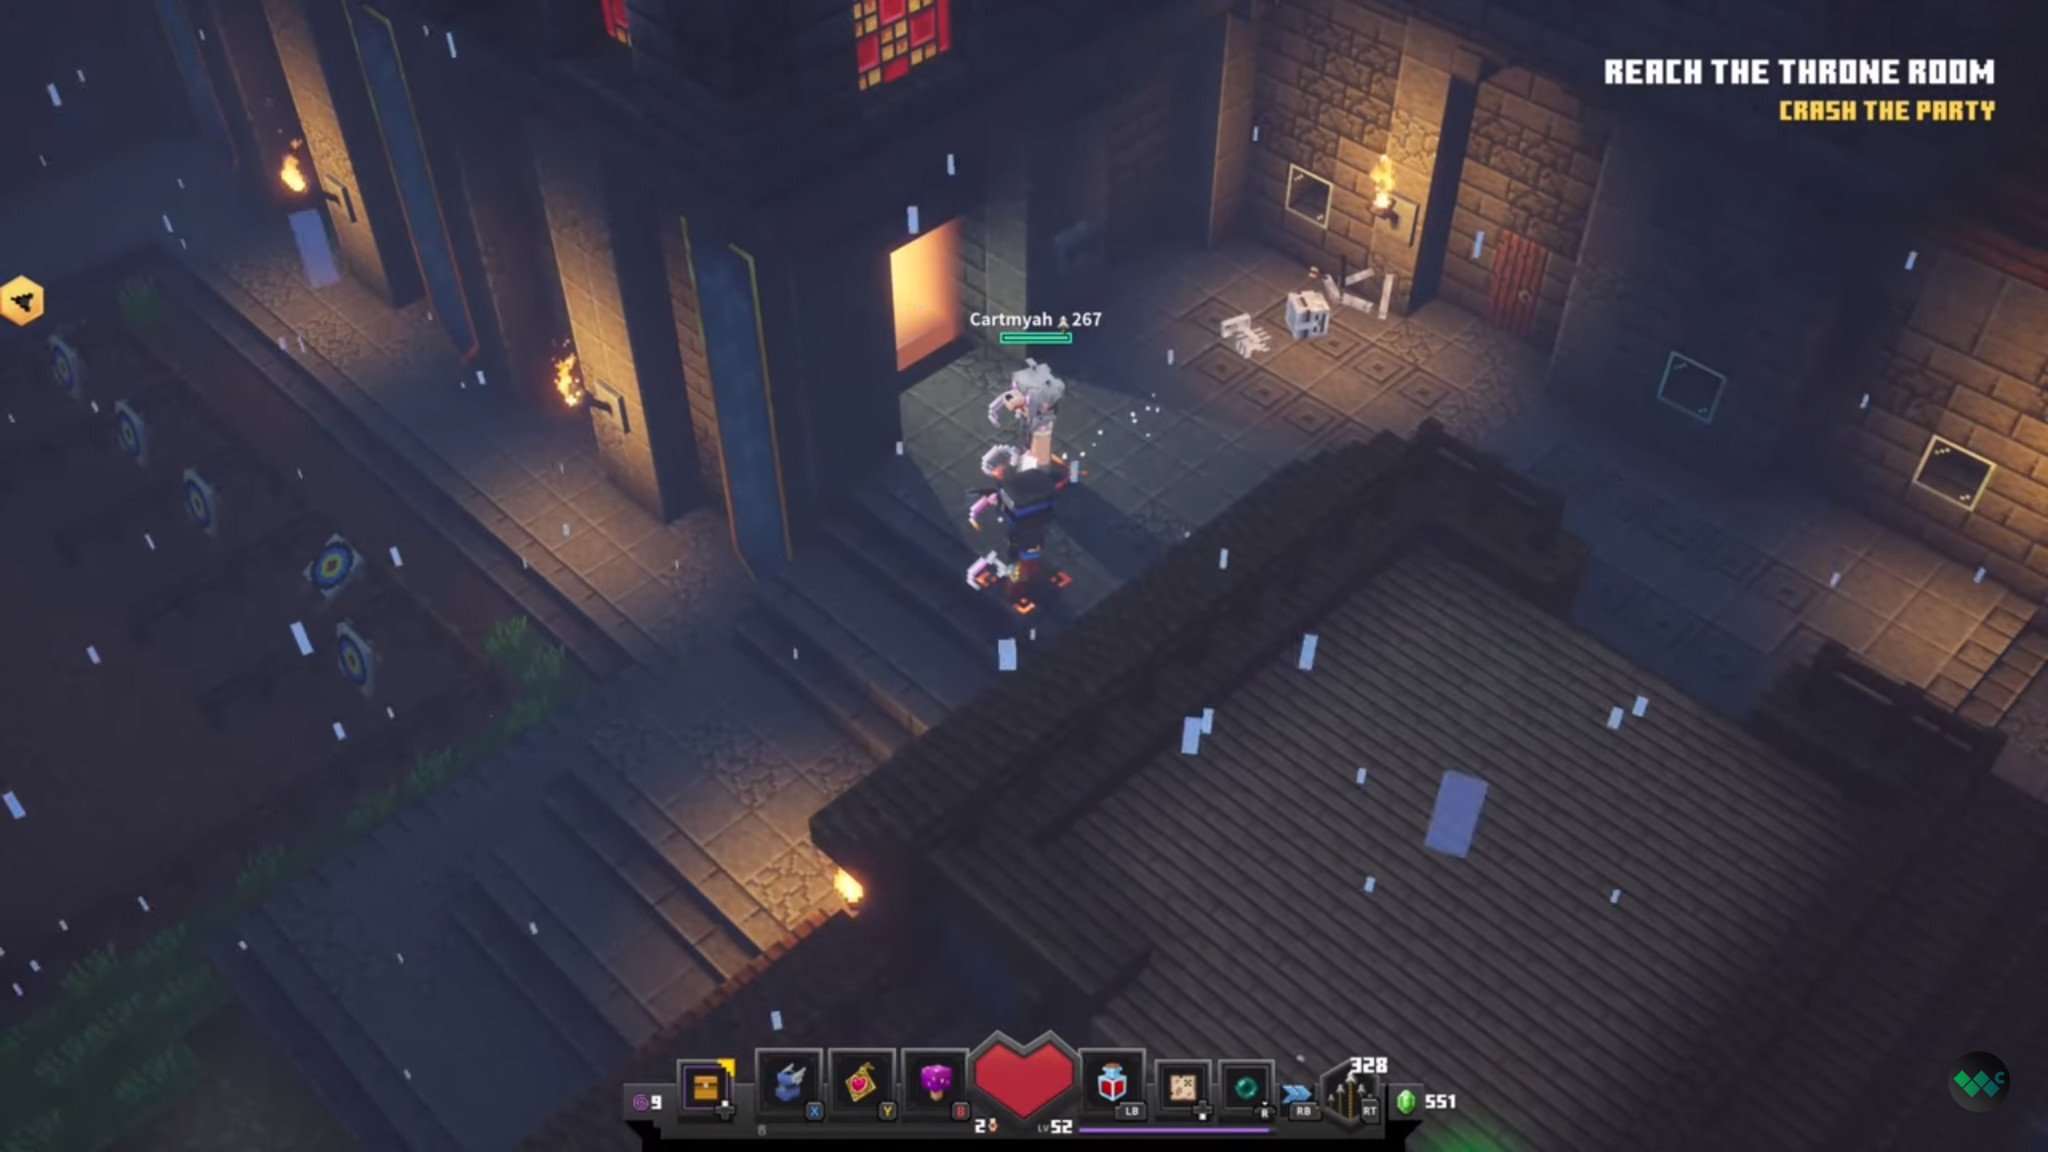
Rune Location #9 - Obsidian Pinnacle
The rune location for Obsidian Pinnacle is located towards the end of the stage in the large library room. After defeating a horde of enemies, make your way to the massive bookshelf against the northernmost wall.
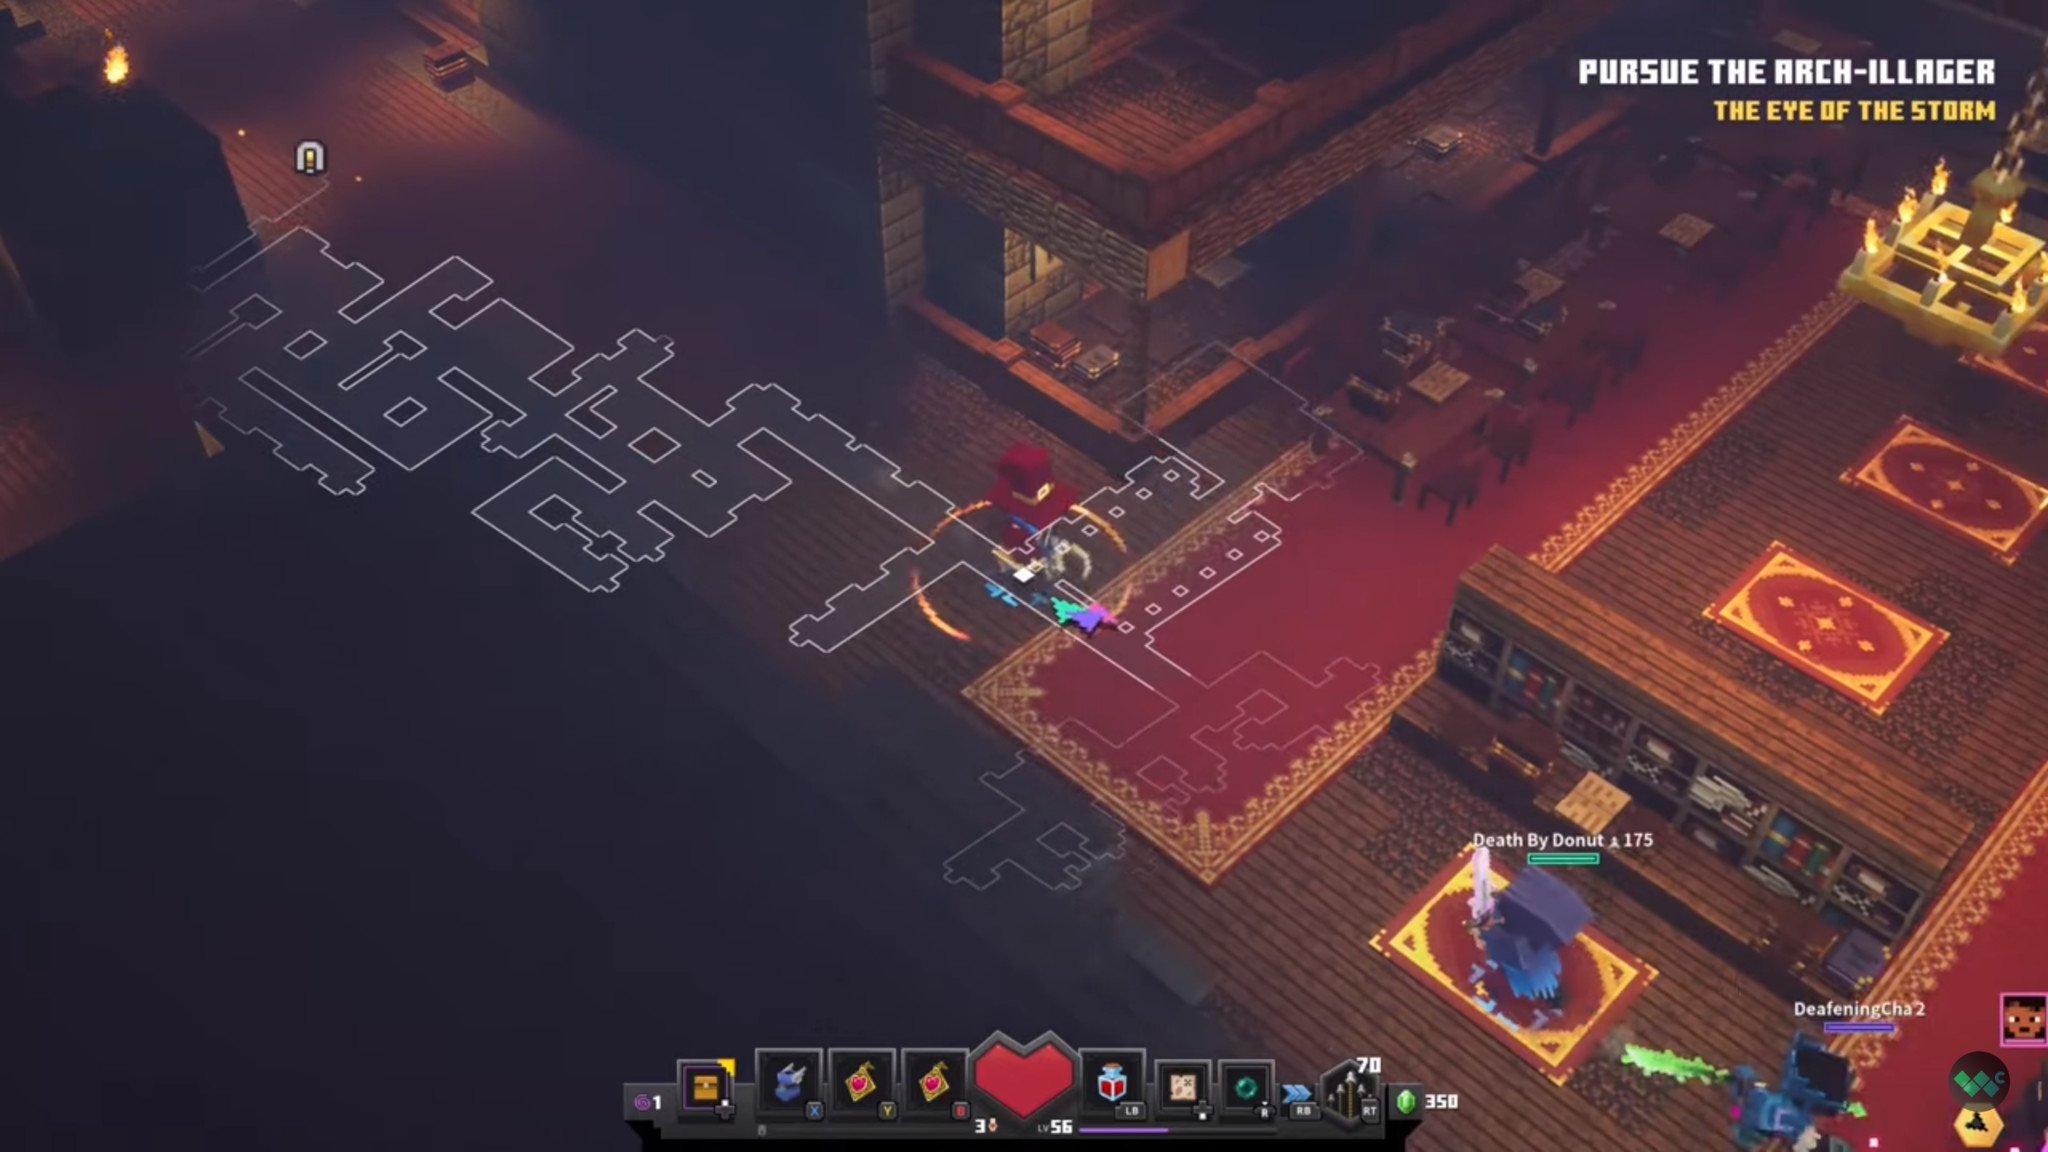
Find the hidden switch amongst the books to reveal the final rune location. Collect this relic and give yourself a firm pat on the back. That was the final rune!
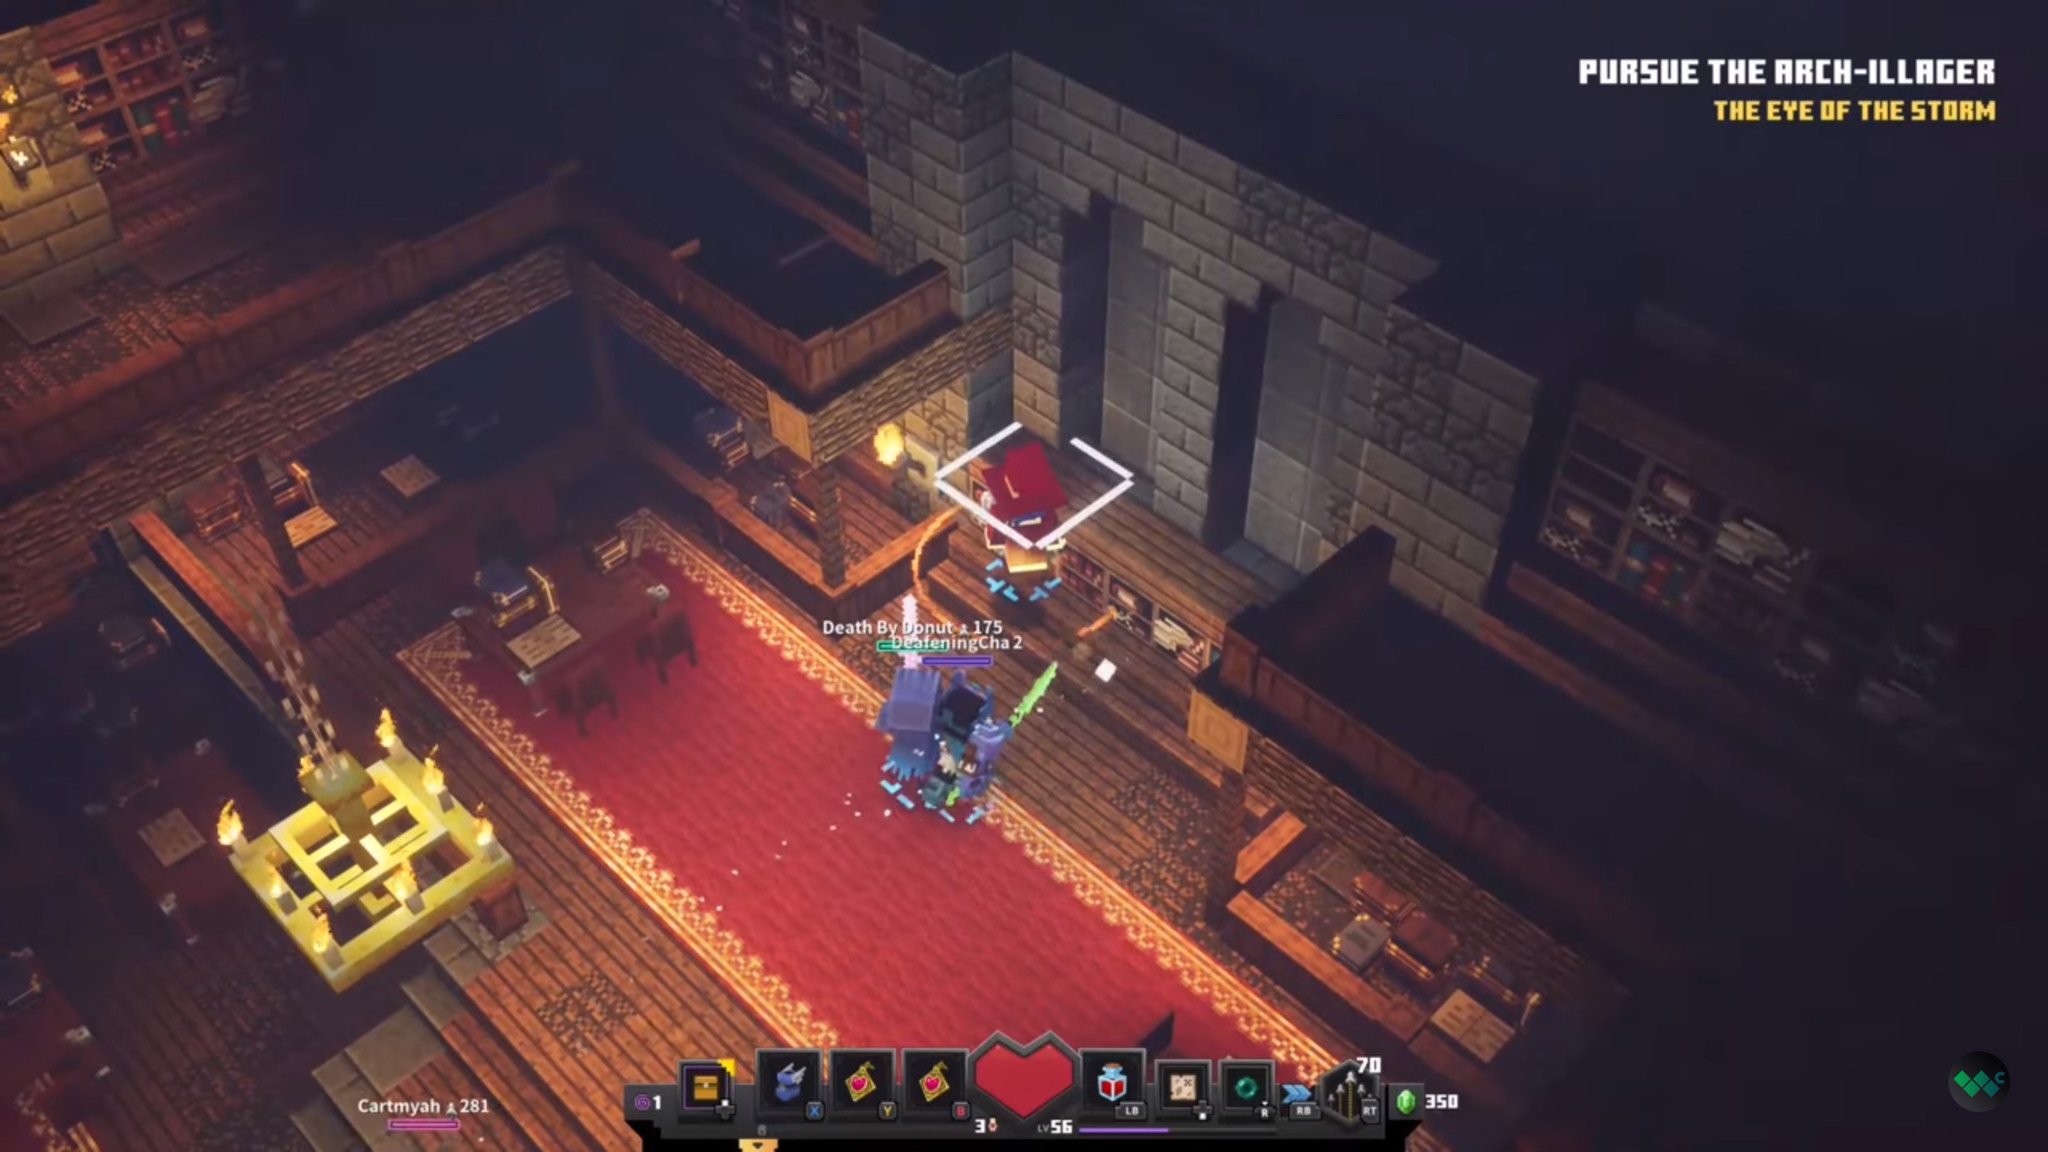
Time to unlock the secret level!
Once you've collected all nine runes, head back to camp and make your way to rune chapel. Placing all the runes on the shrine reveals a hidden room with two obsidian chests and a scroll for a new location.
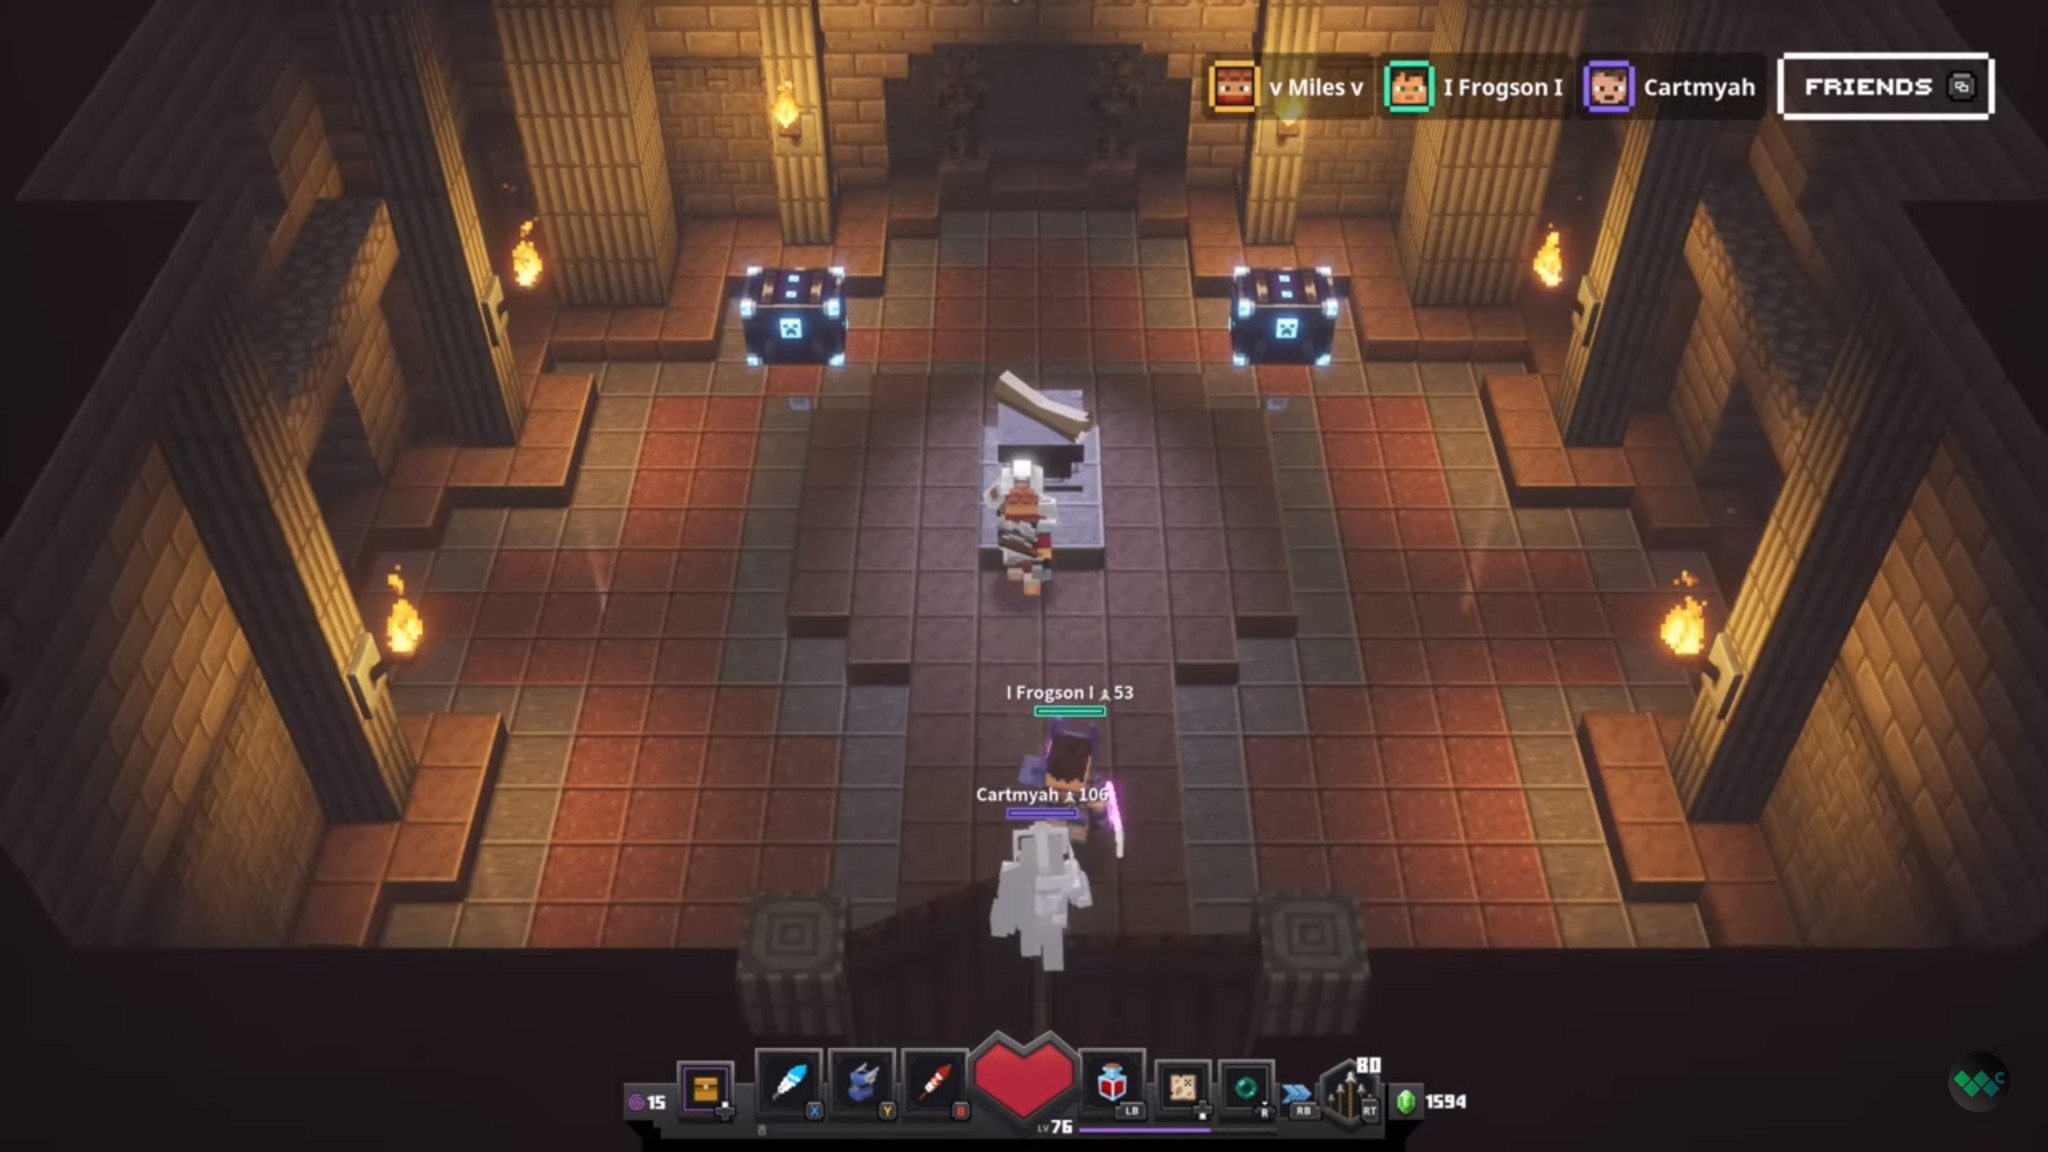
This location will now appear on the world map as ??? above the camp. This is the game's homage to Diablo 2's infamous cow level.
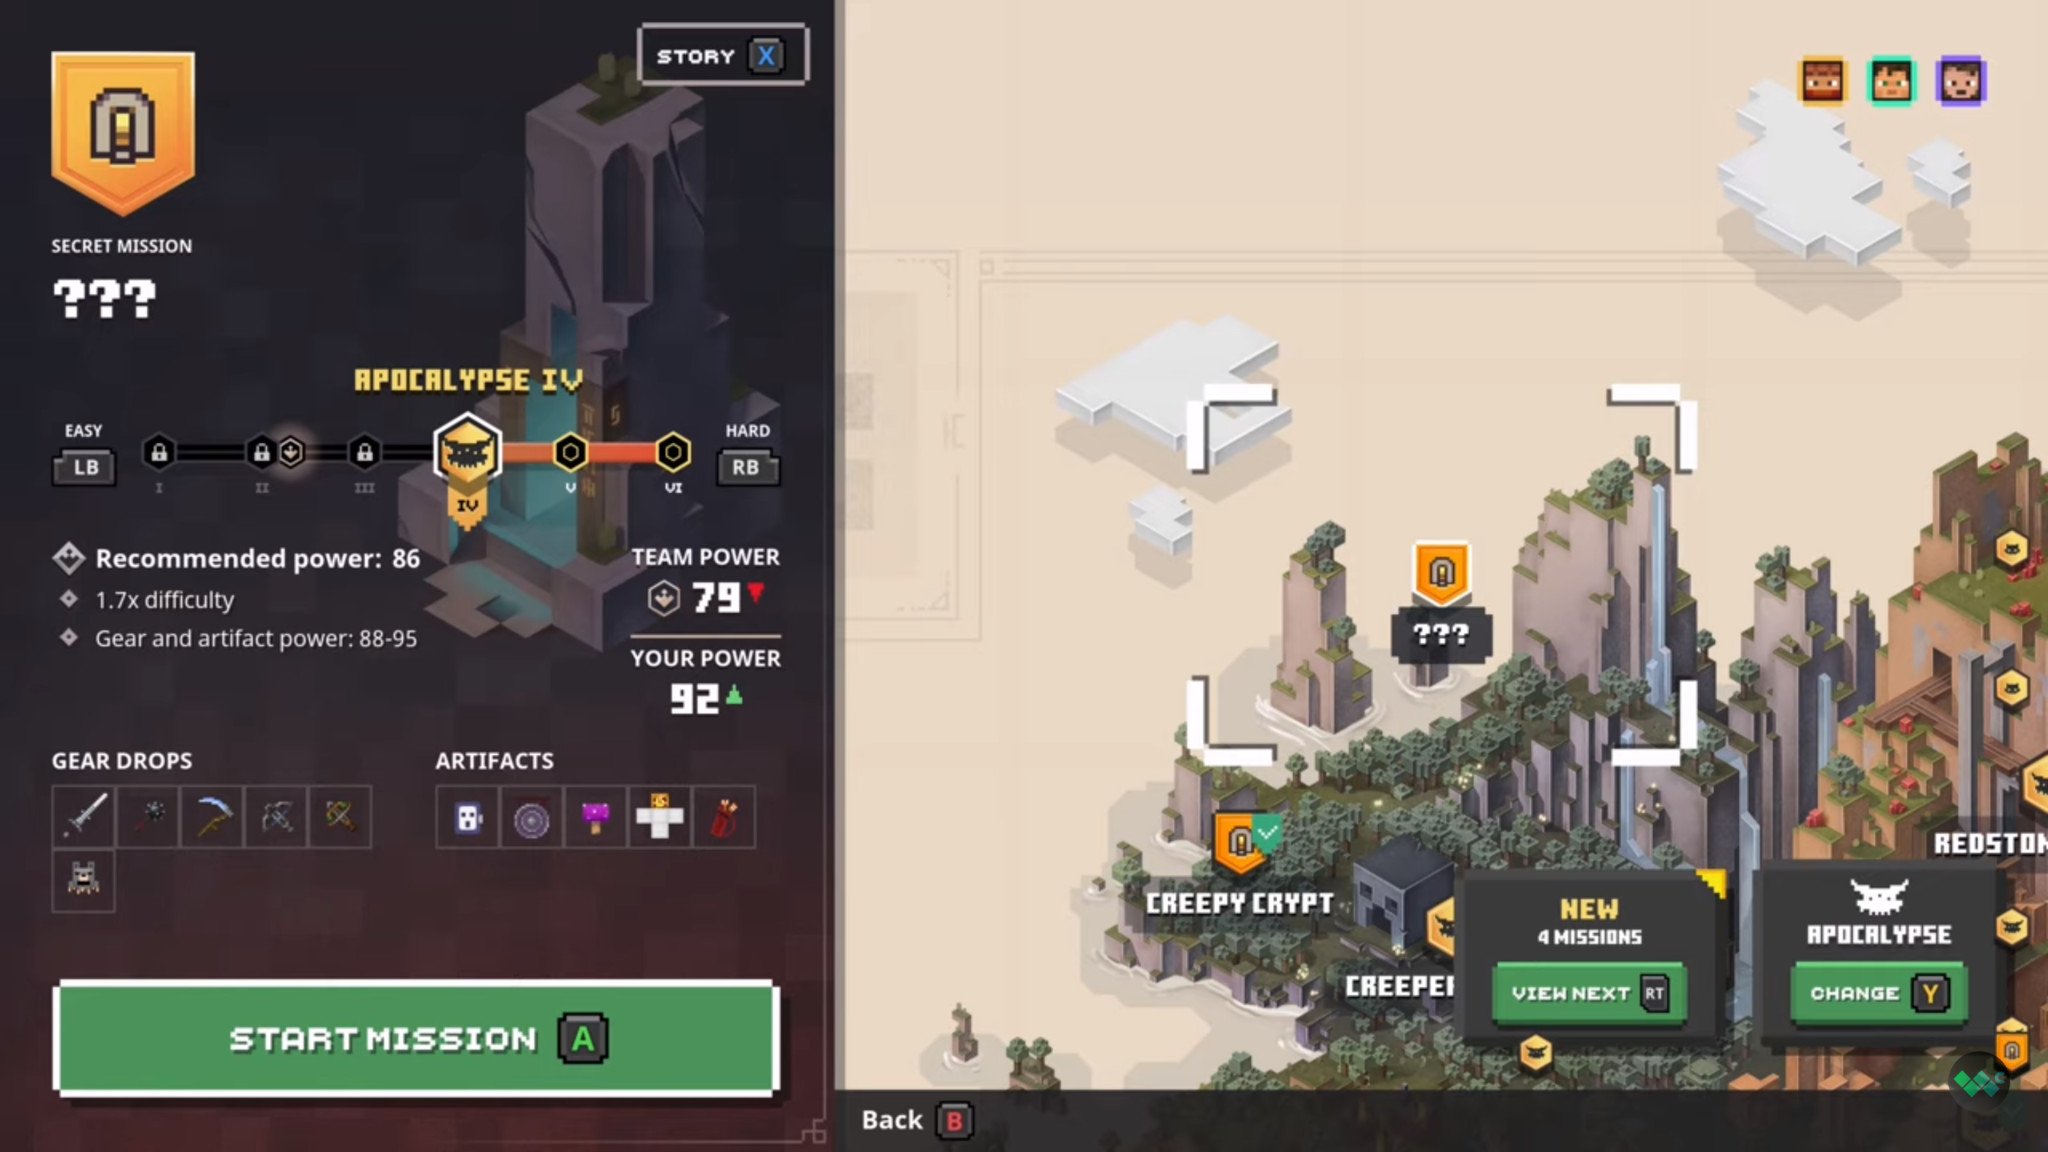
??? - The Cow Level
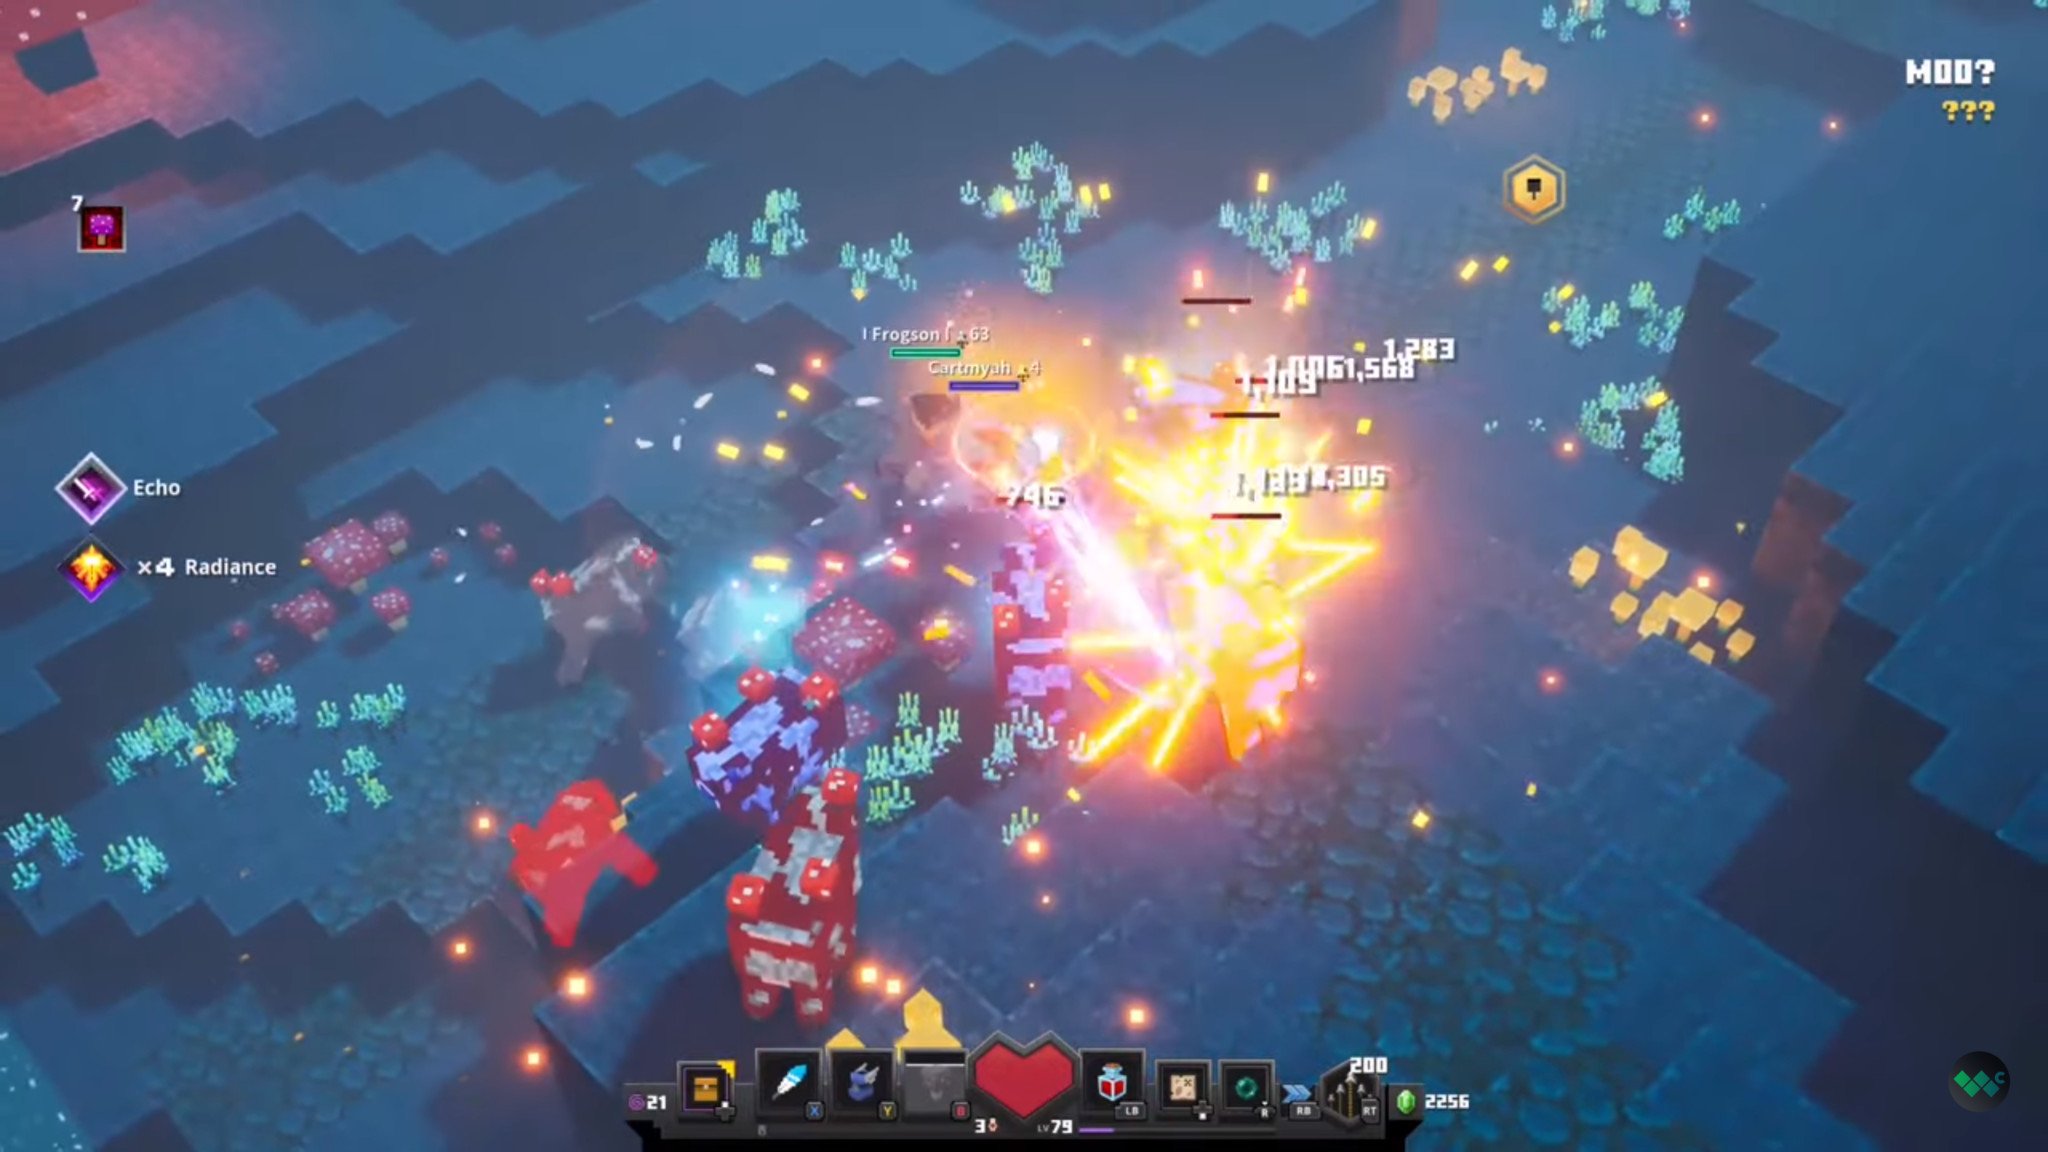
This stage is the ultimate endgame experience. With loads of tough Mooshroom enemies and a gigantic new boss mob, this a great bonus for players who've mastered the core content of Minecraft Dungeons and want something to tide them over until the first round of DLC drops.
Share your thoughts!
What are your thoughts on the secret cow level? Hopefully, this guide helps you track down all the rune locations in Minecraft Dungeons!
Minecraft Dungeons
Main

Miles Dompier is a Former Freelance Video Producer for Windows Central, focusing on video content for Windows Central Gaming. In addition to writing or producing news, reviews, and gaming guides, Miles delivers fun, community-focused videos for the Windows Central Gaming YouTube channel. Miles also hosts Xbox Chaturdays every Saturday, which serves as the Windows Central Gaming weekly podcast.

