


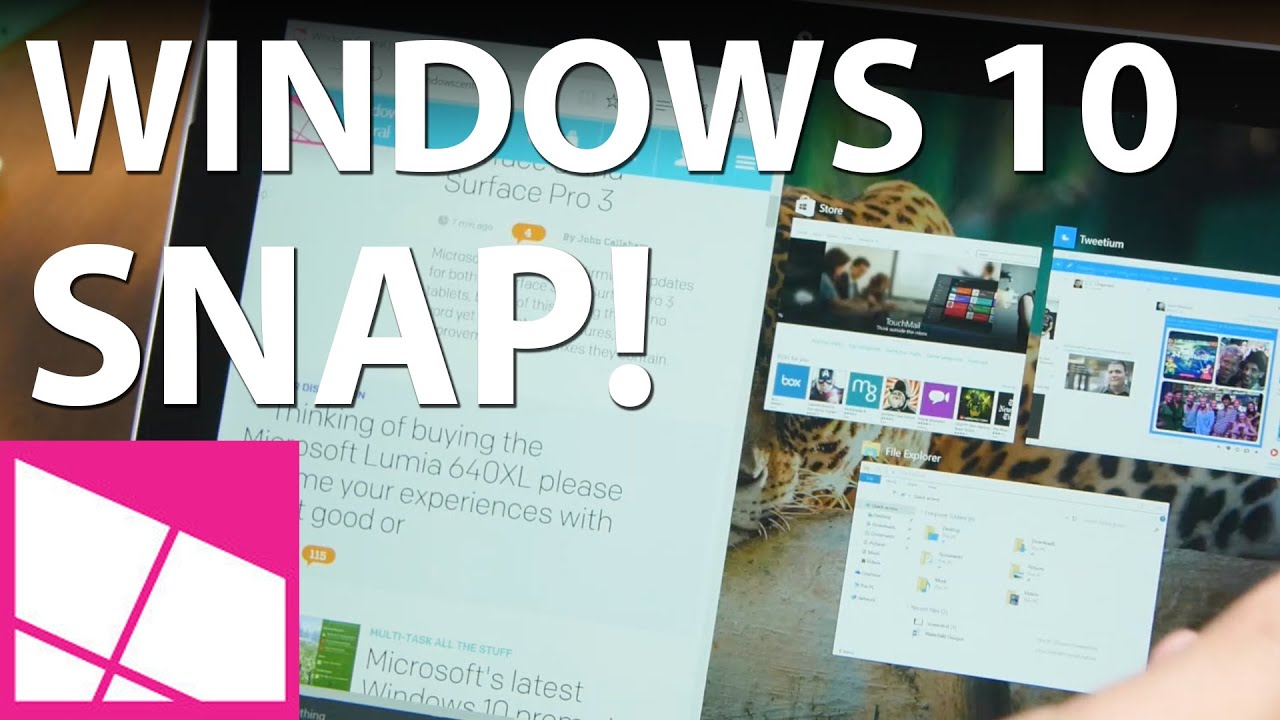
On Windows 10, Snap assist helps you organize the space on your screen more efficiently, improving productivity. Using this feature, you can quickly snap windows to the sides or corners perfectly using the mouse, keyboard, and touch without the need to resize and position them manually.
Snap assist was first introduced in Windows 7, but it included limited functionality. On Windows 10, you can now take full advantage of the screen, snap up to four windows per monitor, and you can decide which features to use.
In this Windows 10 guide, we'll walk you through the steps to get started with Snap assist and the instructions to manage its settings.

How to get started with Snap assist on Windows 10
Snap assist comes enabled by default on every installation, and it's straightforward to use.
Snapping two windows
To snap two windows side-by-side, follow these steps:
- Click the title bar of a window.
- Drag the window to the left or right edge of the screen.

- Select the thumbnail of the second window that you want to run side-by-side.

If you don't see the window thumbnail in the list, open the window manually, and drag it to the opposite edge of the screen.
Alternatively, you can also use the Windows key + left arrow keyboard shortcut to snap a window to the left, or Windows key + right arrow keyboard shortcut to snap a window to the right.
Snapping three windows
To snap three windows, do the following:
- Click the title bar of a window.
- Drag the window to the left or right edge of the screen.
- Click the title bar of a second window.
- Drag the window to the top corner.

- Click the** title bar** of a third window.
- Drag the window to the bottom corner.

Snapping four windows
To snap up to four windows, do the following:
- Click the title bar of a window.
- Drag the window to any of the four corners of the screen.

- Repeat the steps and snap three additional windows to the remaining available corners.

Also, you can use keyboard shortcuts to snap windows into the corners. For instance, if you want to snap a window in the top-left corner, use the Windows key + left arrow + top arrow.
On Windows 10, Snap assist not only works with keyboard and mouse, but you can also snap windows using touch gestures by tapping and dragging a window to the left and right edges or corners of the screen.
How to manage Snap assist settings on Windows 10
While Snap assist takes out a lot of the pressure of additional steps to use your display real estate more efficiently, you can use the Settings app to disable those options that you don't use.
- Open Settings.
- Click on System.
- Click on Multitasking.

In the Multitasking page, you'll find several options you can turn on or off, including:
- Arrange windows automatically by dragging them to the side to the sides or corners of the screen — Disables Snap assist on Windows 10.
- When I snap a window, automatically size it to fill available space — Prevents the second window from using the remaining screen real estate.
- When I snap a window, show what I can snap next to it — Turn off the list of available open windows sitting in the taskbar that you can snap next.
- When I resize a snapped window, simultaneously resize any adjacent snapped window — Disabling this option you'll need to resize snapped windows manually.
Do you snap windows using this feature? Tell us in the comments.
More Windows 10 resources
For more helpful articles, coverage, and answers to common questions about Windows 10, visit the following resources:
- Windows 10 on Windows Central – All you need to know
- Windows 10 help, tips, and tricks
- Windows 10 forums on Windows Central

