Destiny 2 Vault of Glass raid guide: How to beat every encounter
Destiny's original raid returns. Here's how you and your fireteam can beat it.
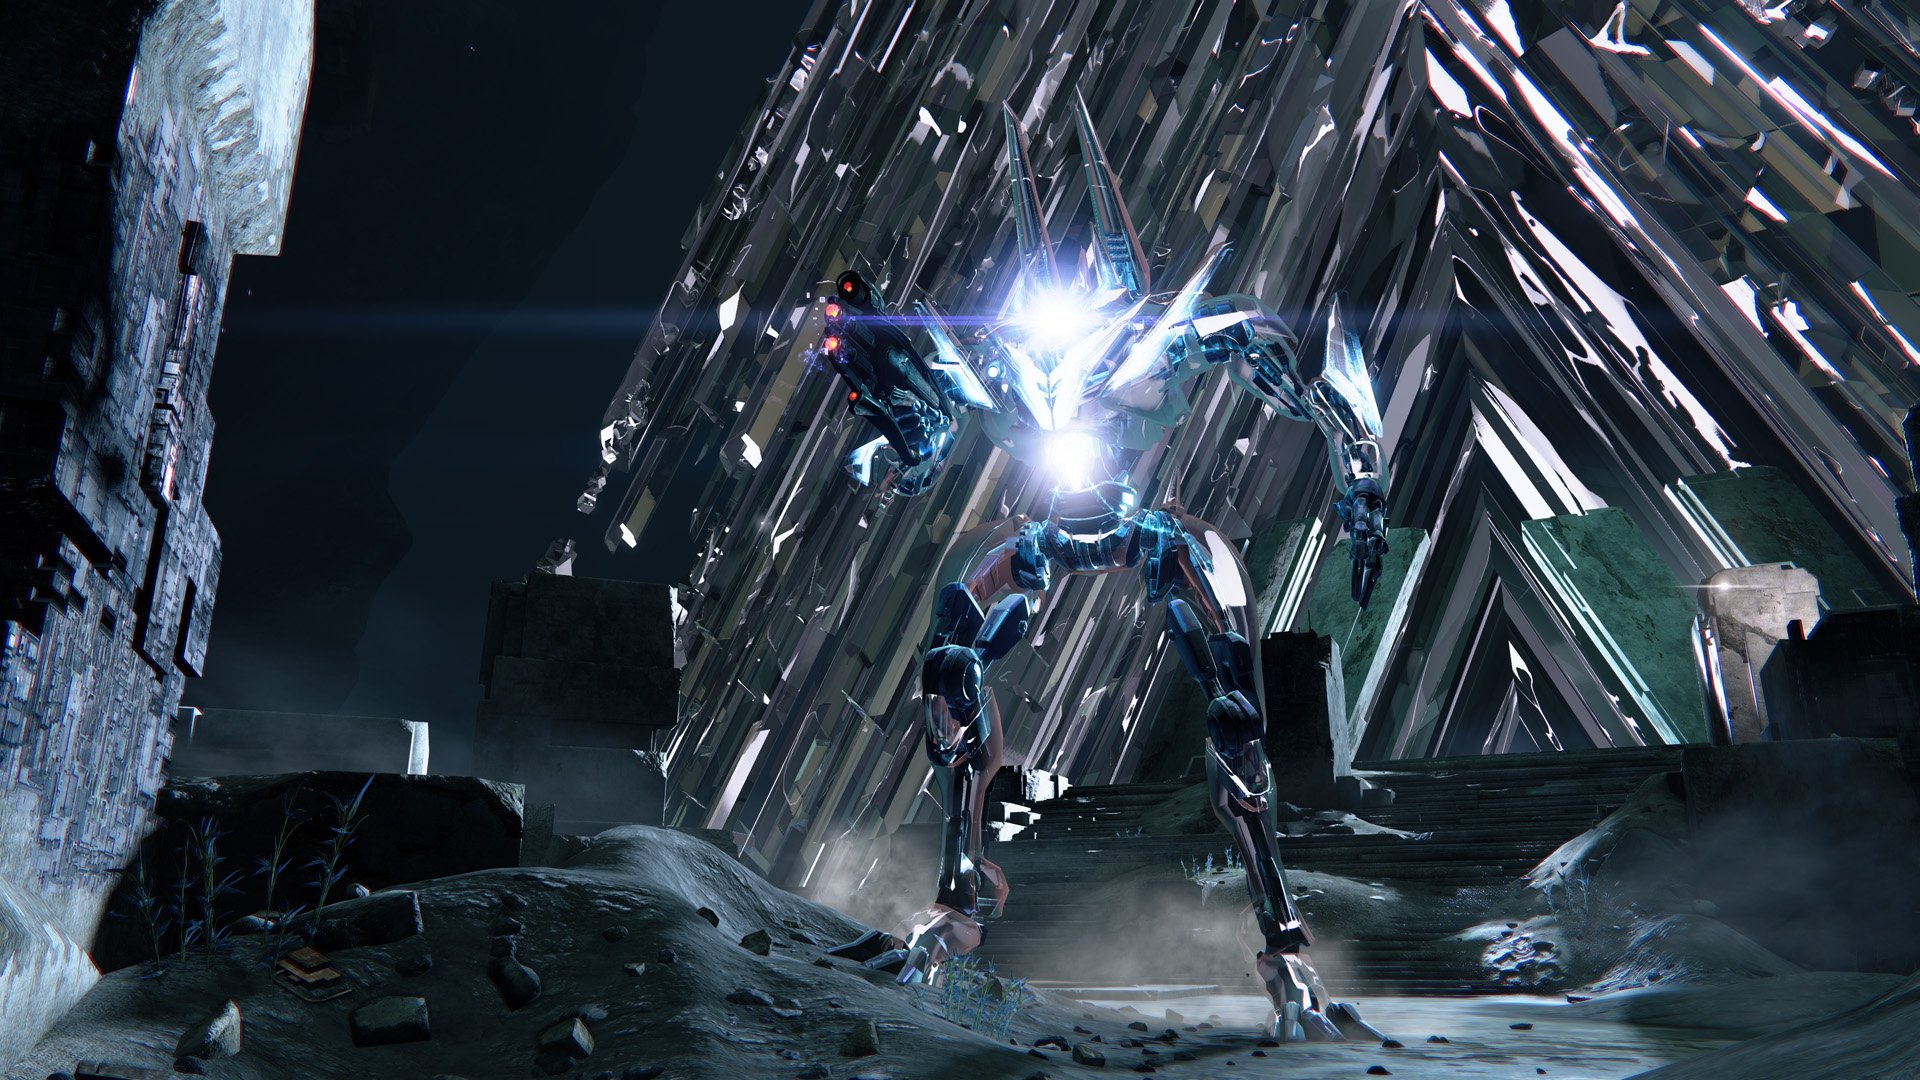
The Vault of Glass raid was one of the best (and most impactful) activities in the original Destiny since it introduced the community to the potential of blending MMO-style raid design with first-person shooter mechanics. Seven years later, the releases of each new Destiny raid have become internet-dominating events, with countless fans either tuning in to watch World's First raid races or participating in raids themselves. To celebrate, Bungie has brought the Vault of Glass raid into Destiny 2 for all players, modernizing it with some tweaks to the raid's mechanics and combat as well as some updates to the Vault of Glass raid weapons, perks, and mods to make them more desirable in modern Destiny.
Raids like the Vault of Glass are tough and require strong combat skills, excellent team coordination, and a focused mind. Fear not, though, because we're here to help aspiring Guardians understand what they'll need to do (and what their ideal loadouts are) to successfully beat the raid and take down its final boss: Atheon, Time's Conflux.

Europa awaits
Beyond Light is the next big expansion for Destiny 2, introducing a new element for Guardians to wield, a new area on the Jupiter moon Europa, a new story, and plenty of loot to go around. You don't need it to play the Vault of Glass, but it's an excellent expansion regardless.
Destiny 2 Vault of Glass: Loadout recommendations
In the Vault of Glass, you'll be fighting plenty of ads, some of which are a bit tanky. Therefore, you'll want well-rolled primary weapons that come with great PvE perks like ones that boost your reload speed, damage, and ability regen. You'll also need to take down two bosses, and since the DPS phase windows for them aren't huge, you need strong special and heavy weapons that can do a lot of damage quickly. Here's a full breakdown of what weapons we recommend you keep in your inventory.
Article continues belowPrimary weapons
- Auto rifles and pulse rifles are perfect for the first four encounters, as well as the final two encounters.
- SMGs can be good choices in the second, third, fourth, and sixth encounters as well.
- One or two players should consider using a scout rifle in the second, third, fourth, and final encounter due to a handful of long-range enemies.
- Hand cannons can be used in all encounters effectively but aren't your best options.
Special weapons
- Special grenade launchers with Blinding Grenades are extremely helpful for ad clear.
- Shotguns and fusion rifles are also effective for quickly clearing stronger ads such as Minotaurs.
- Slug shotguns are effective for DPS in the Templar fight (provided your Well of Radiance Warlock is using Lunafaction Boots for extra range).
- Sniper rifles are good against Hobgoblins in the third encounter.
- Divinity is good for Atheon if your team wants to make his crit spot easier to hit.
Heavy weapons
- Anarchy is the best heavy weapon for this raid. It's fantastic for ad clear and boss damage.
- Deathbringer is also a viable DPS option for both Templar and Atheon, as are rocket launchers with good boss damage perks.
- Heavy grenade launchers can work for boss damage as well.
- In the third encounter, a linear fusion rifle can be useful against faraway Hobgoblins.
- Xenophage is fantastic for destroying Oracles in the third, fourth, and final encounter.
Armor and weapon mods
- Use Charged with Light builds with Protective Light for excellent damage reduction, ensuring that you're very hard to kill.
- Use the ammo finder and reserves mods that correspond to your heavy weapon type.
- Encounters two and six have Overload Champions, so Overload mods are important.
- Make sure you put a boss spec on weapons in boss encounters. Use minor or major spec during the other encounters.
- If playing during Season of the Splicer, use the Breach and Clear mod to make your grenade launcher grenades debuff enemies (including bosses) and make them take 30% more damage from your team.
Best subclasses
In addition to having the right gear, you're also going to want to make sure you and your teammates are using the right subclass during each encounter. Here's what's optimal:
- For Titans, top-tree Sentinel is excellent across the board since the Ward of Dawn Super provides the Weapons of Light buff, blinds enemies that walk into the bubble, and can be used to create emergency safe spots if ads are overwhelming the team. Alternatively, Titans can do huge damage against Templar and Atheon with Thundercrash and the Cuirass of the Fallen Star Exotic chest armor.
- Warlocks should use Well of Radiance in all encounters to boost the team's survivability and damage, especially while fighting bosses. If there are multiple Warlocks in the fireteam, they should use Chaos Reach with Geomag Stabilizers for big boss damage. Nova Bomb is also effective, albeit less so than Chaos Reach.
- Hunters should use Arcstrider or top-tree Nightstalker for ad control in the non-boss encounters. Golden Gun with Celestial Nighthawk or Star-Eater Scales is an excellent choice for boss damage.
Destiny 2 Vault of Glass Encounter Guide: Opening the Vault
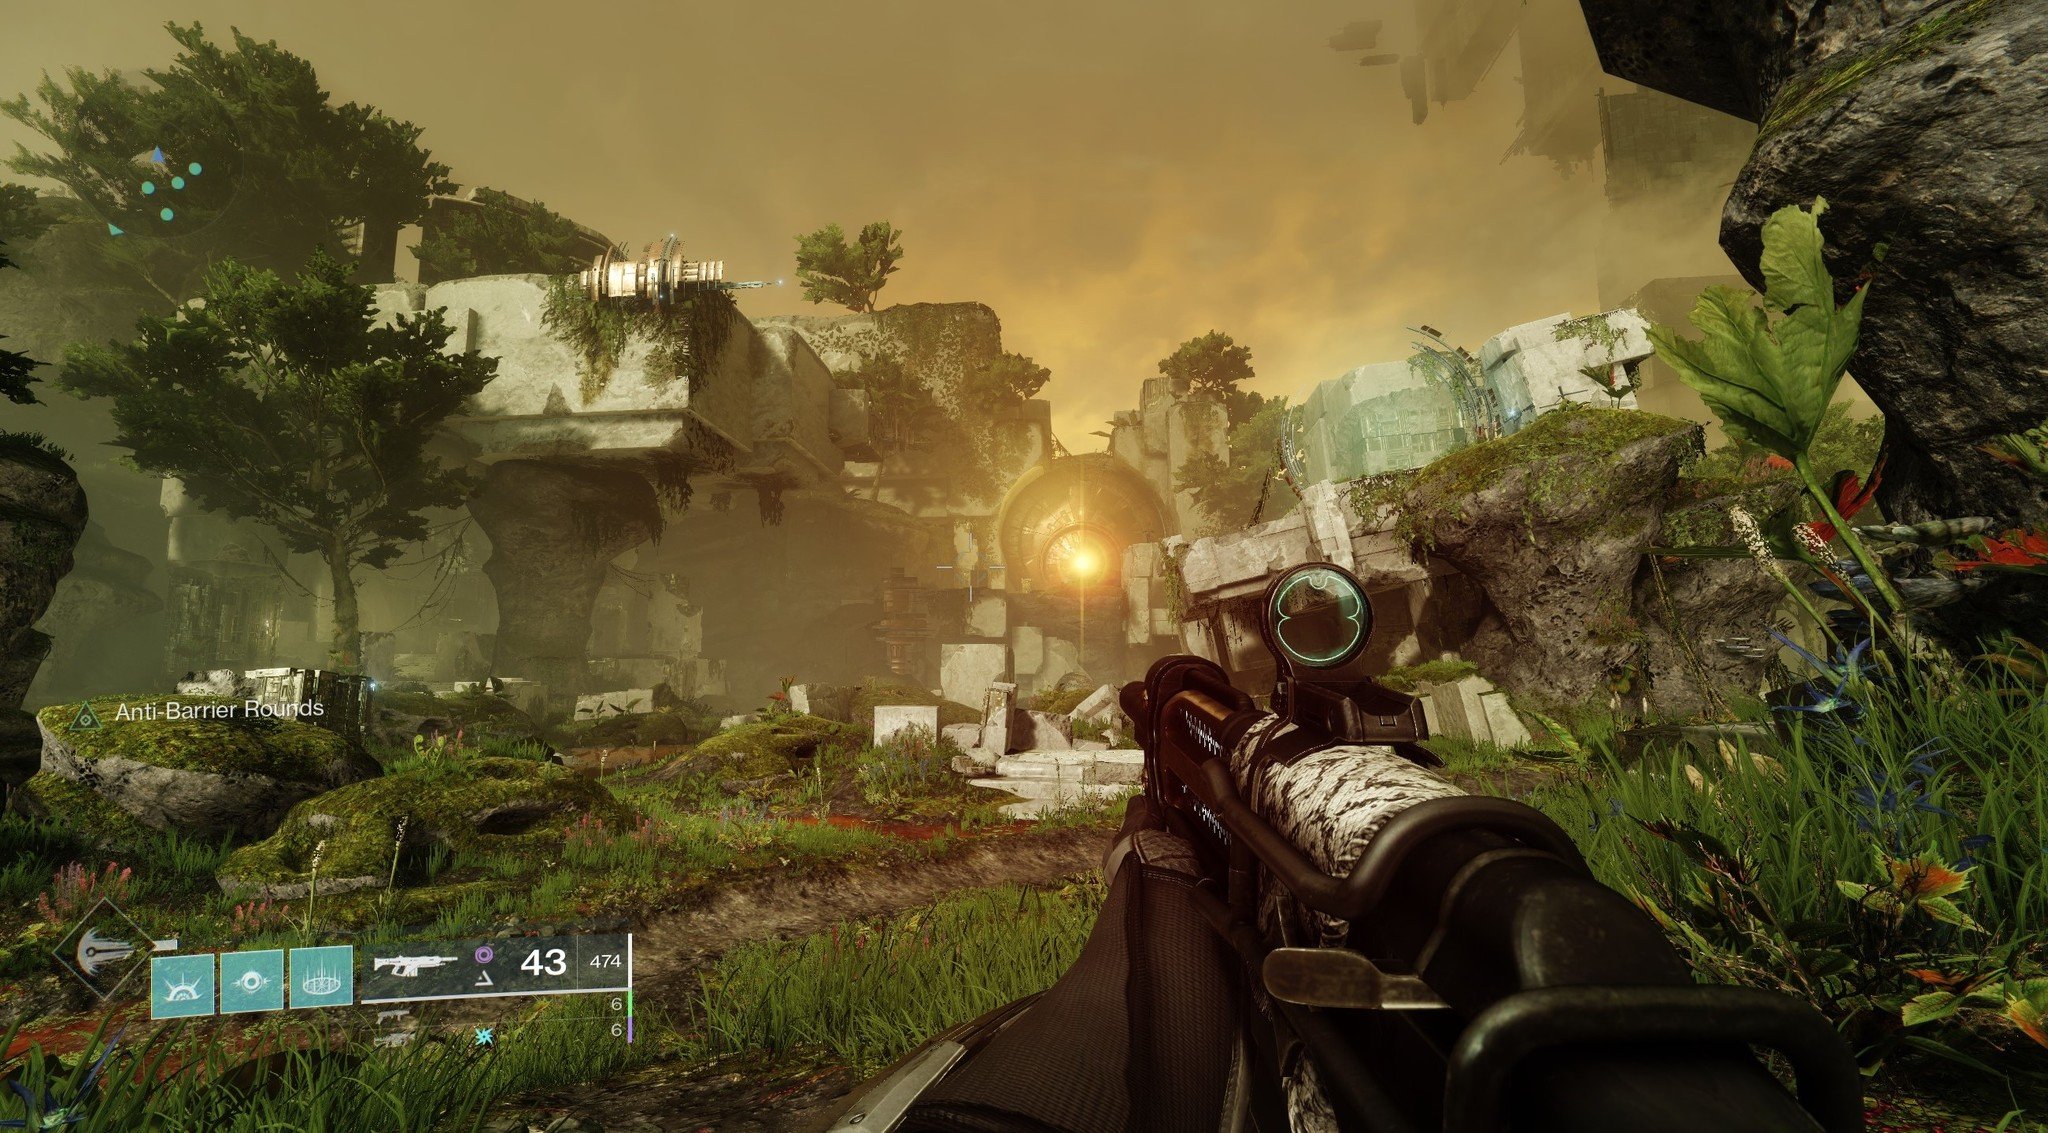
When your fireteam loads into the Vault of Glass, you'll find yourselves in front of the entrance to the Vault. There's one issue, though: it's closed off. Therefore, your team needs to open it while fighting off the Vex that try to stop you.
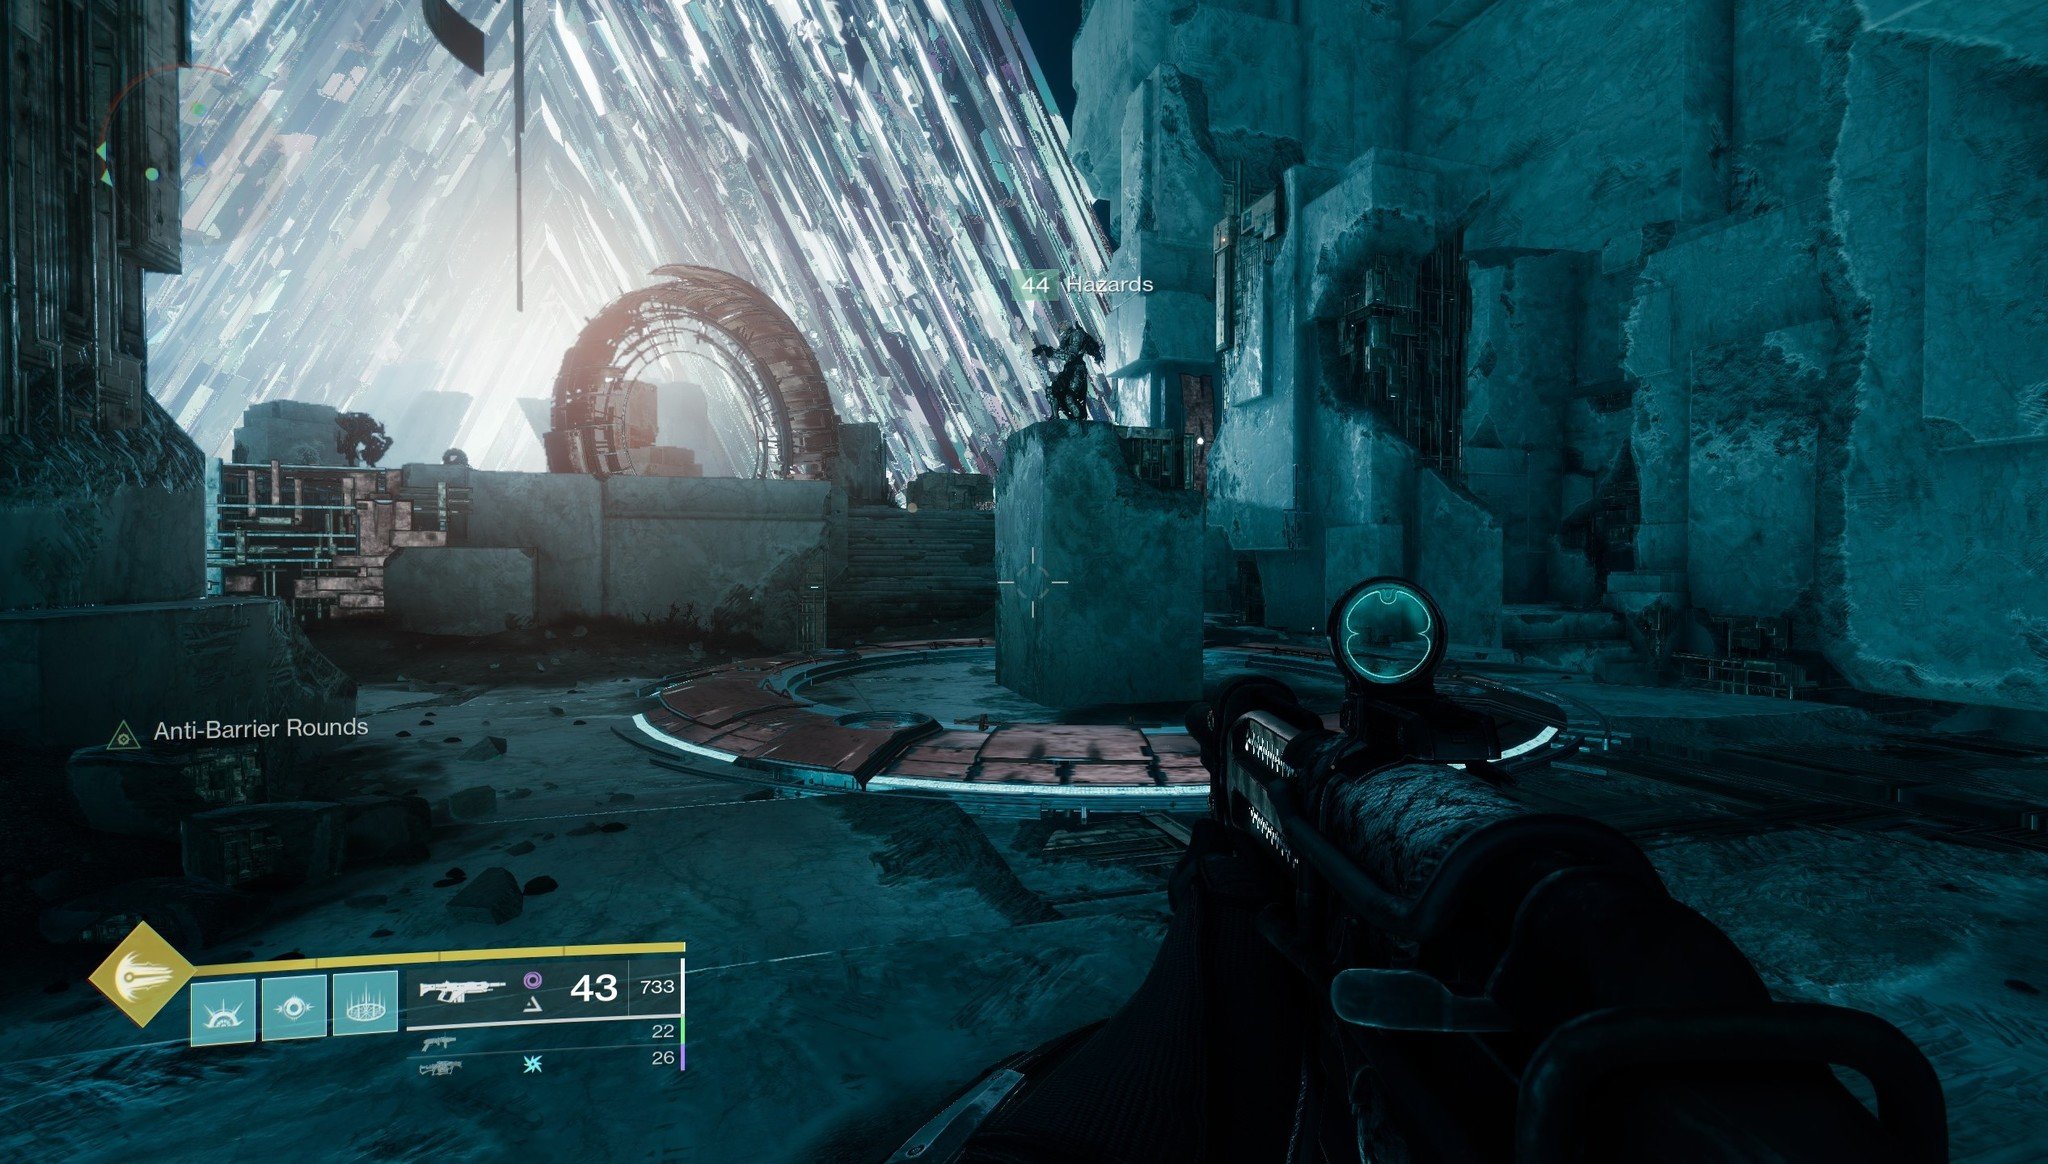
- Split your team into three teams of two. Have one group go to the left side of the area, one to the middle, and one to the right.
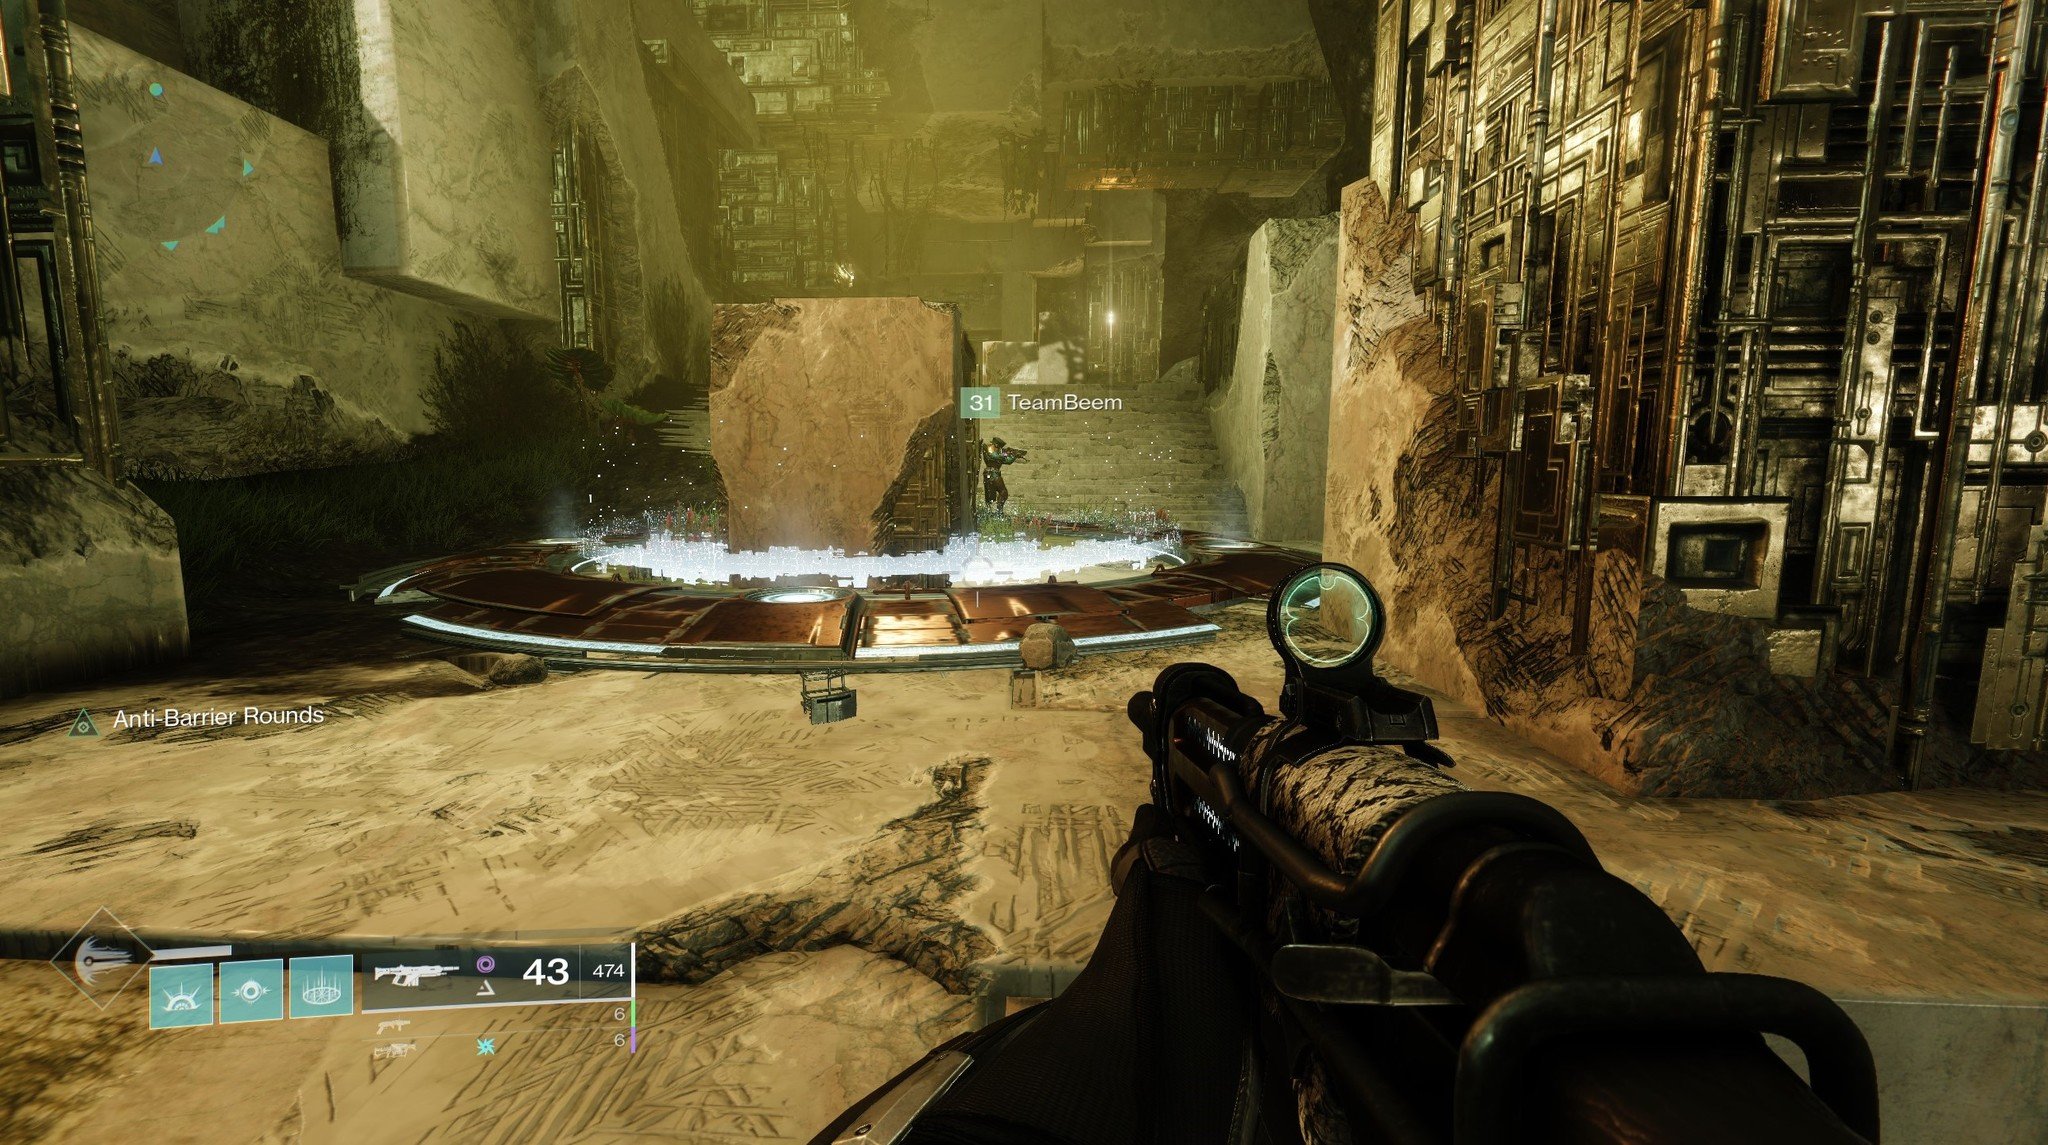
- Have each group look around until they find the plate that's near their position (see the below image). Each team will need to stand on these plates continuously until a spire that opens the Vault of Glass is built.
- Once everyone steps on the plates, Vex will start spawning to try and stop you. At first you'll only have to deal with standard Goblins, but eventually, Minotaurs and Cyclopes will appear as well.
- Guardians can die in one shot from a Cyclops. Therefore, it's important for the team to kill these gun platforms as soon as they spawn.
Once players stand on the plates for long enough, the door to the Vault of Glass will open.
Destiny 2 Vault of Glass Encounter Guide: Defending the Confluxes
Once you've entered the Vault and have traversed its platforms, you'll eventually reach the boss arena where you fight the Templar. However, it's not time for that boss battle just yet — you'll need to complete two other encounters first. The first involves defending the confluxes, and the second is destroying the Templar's Oracles. Let's go over defending the confluxes first.
All the latest news, reviews, and guides for Windows and Xbox diehards.
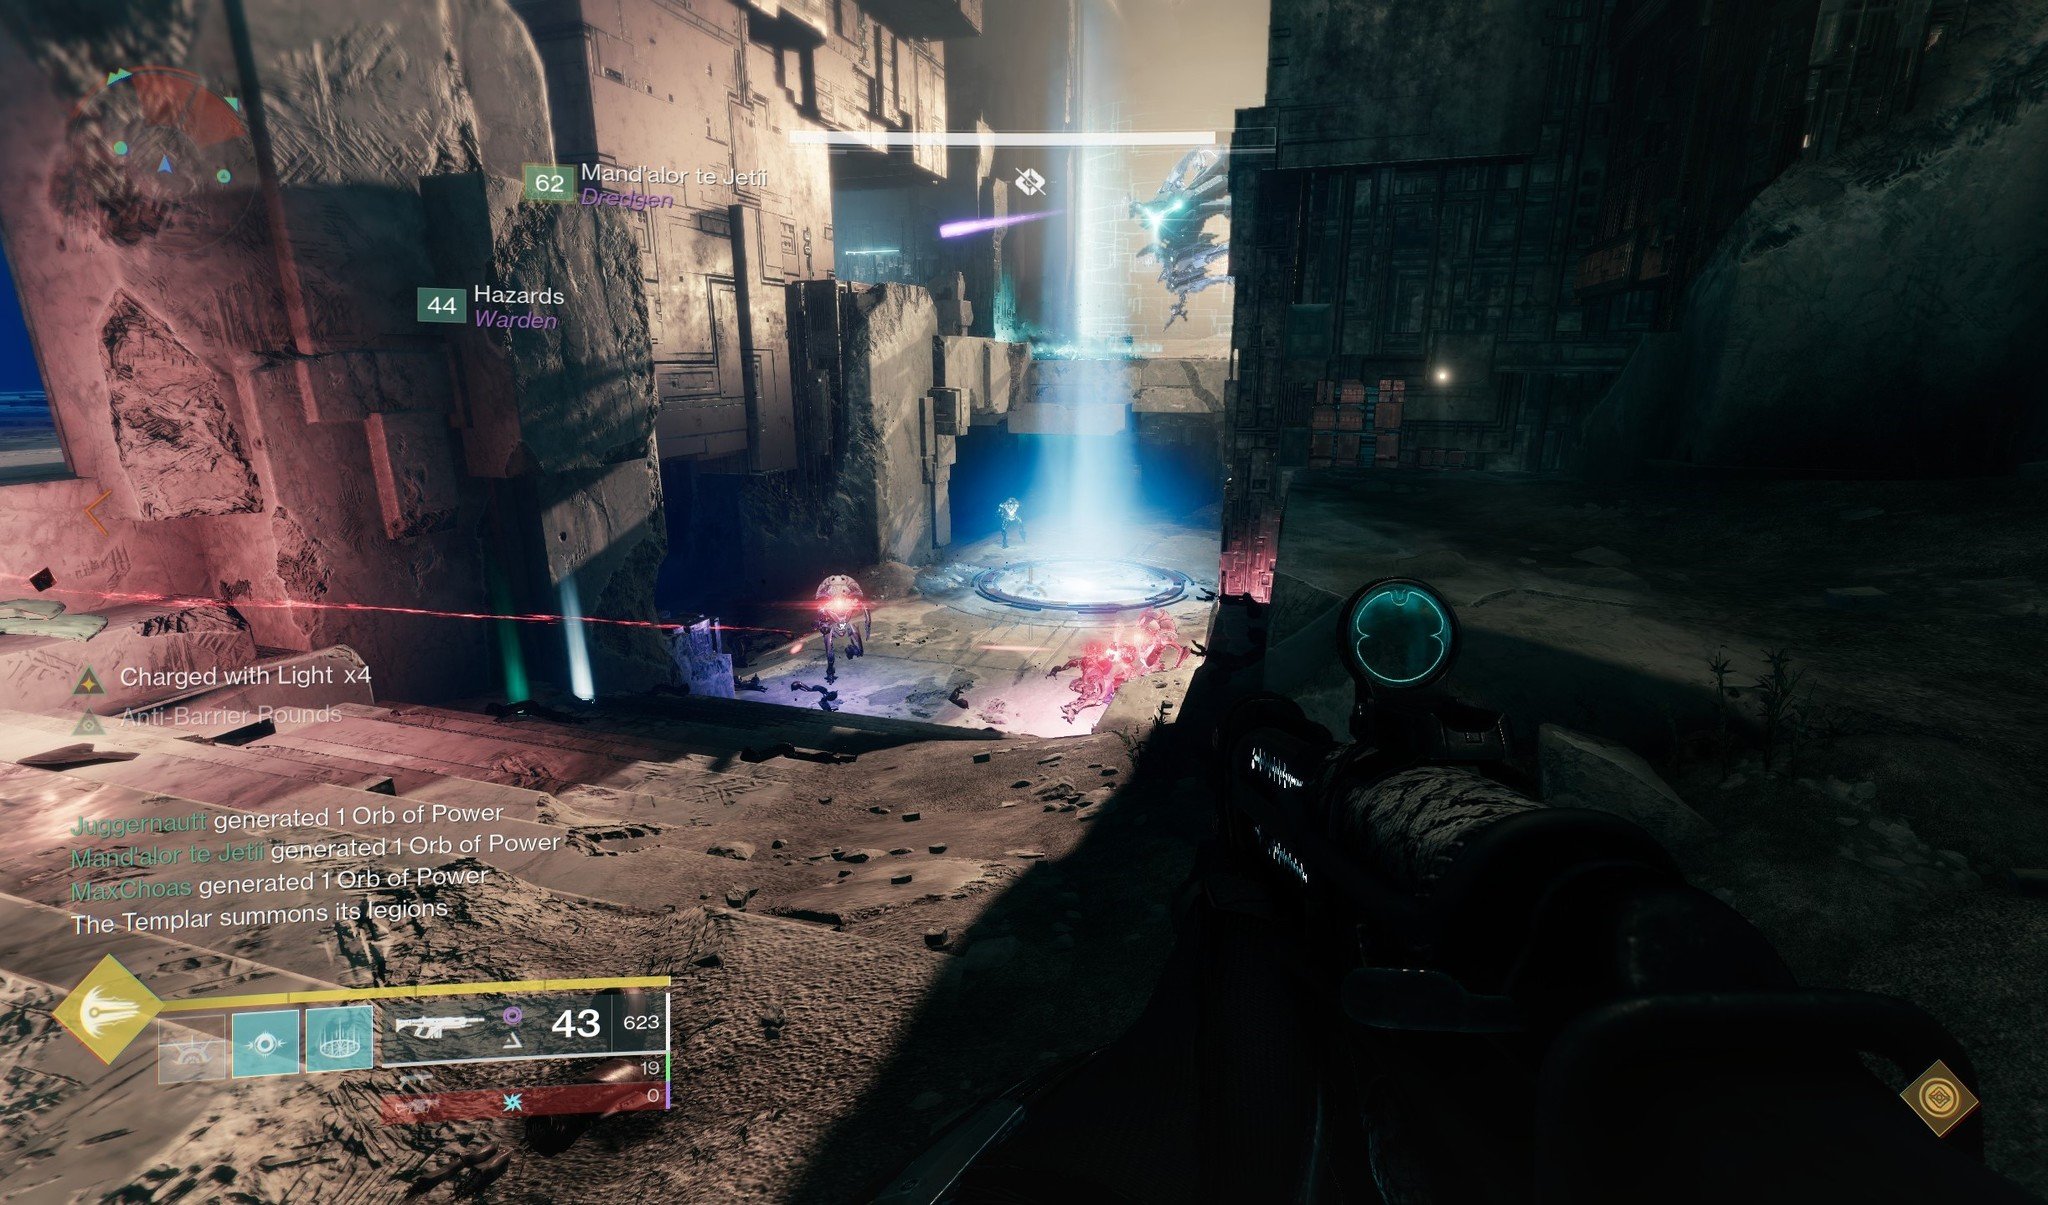
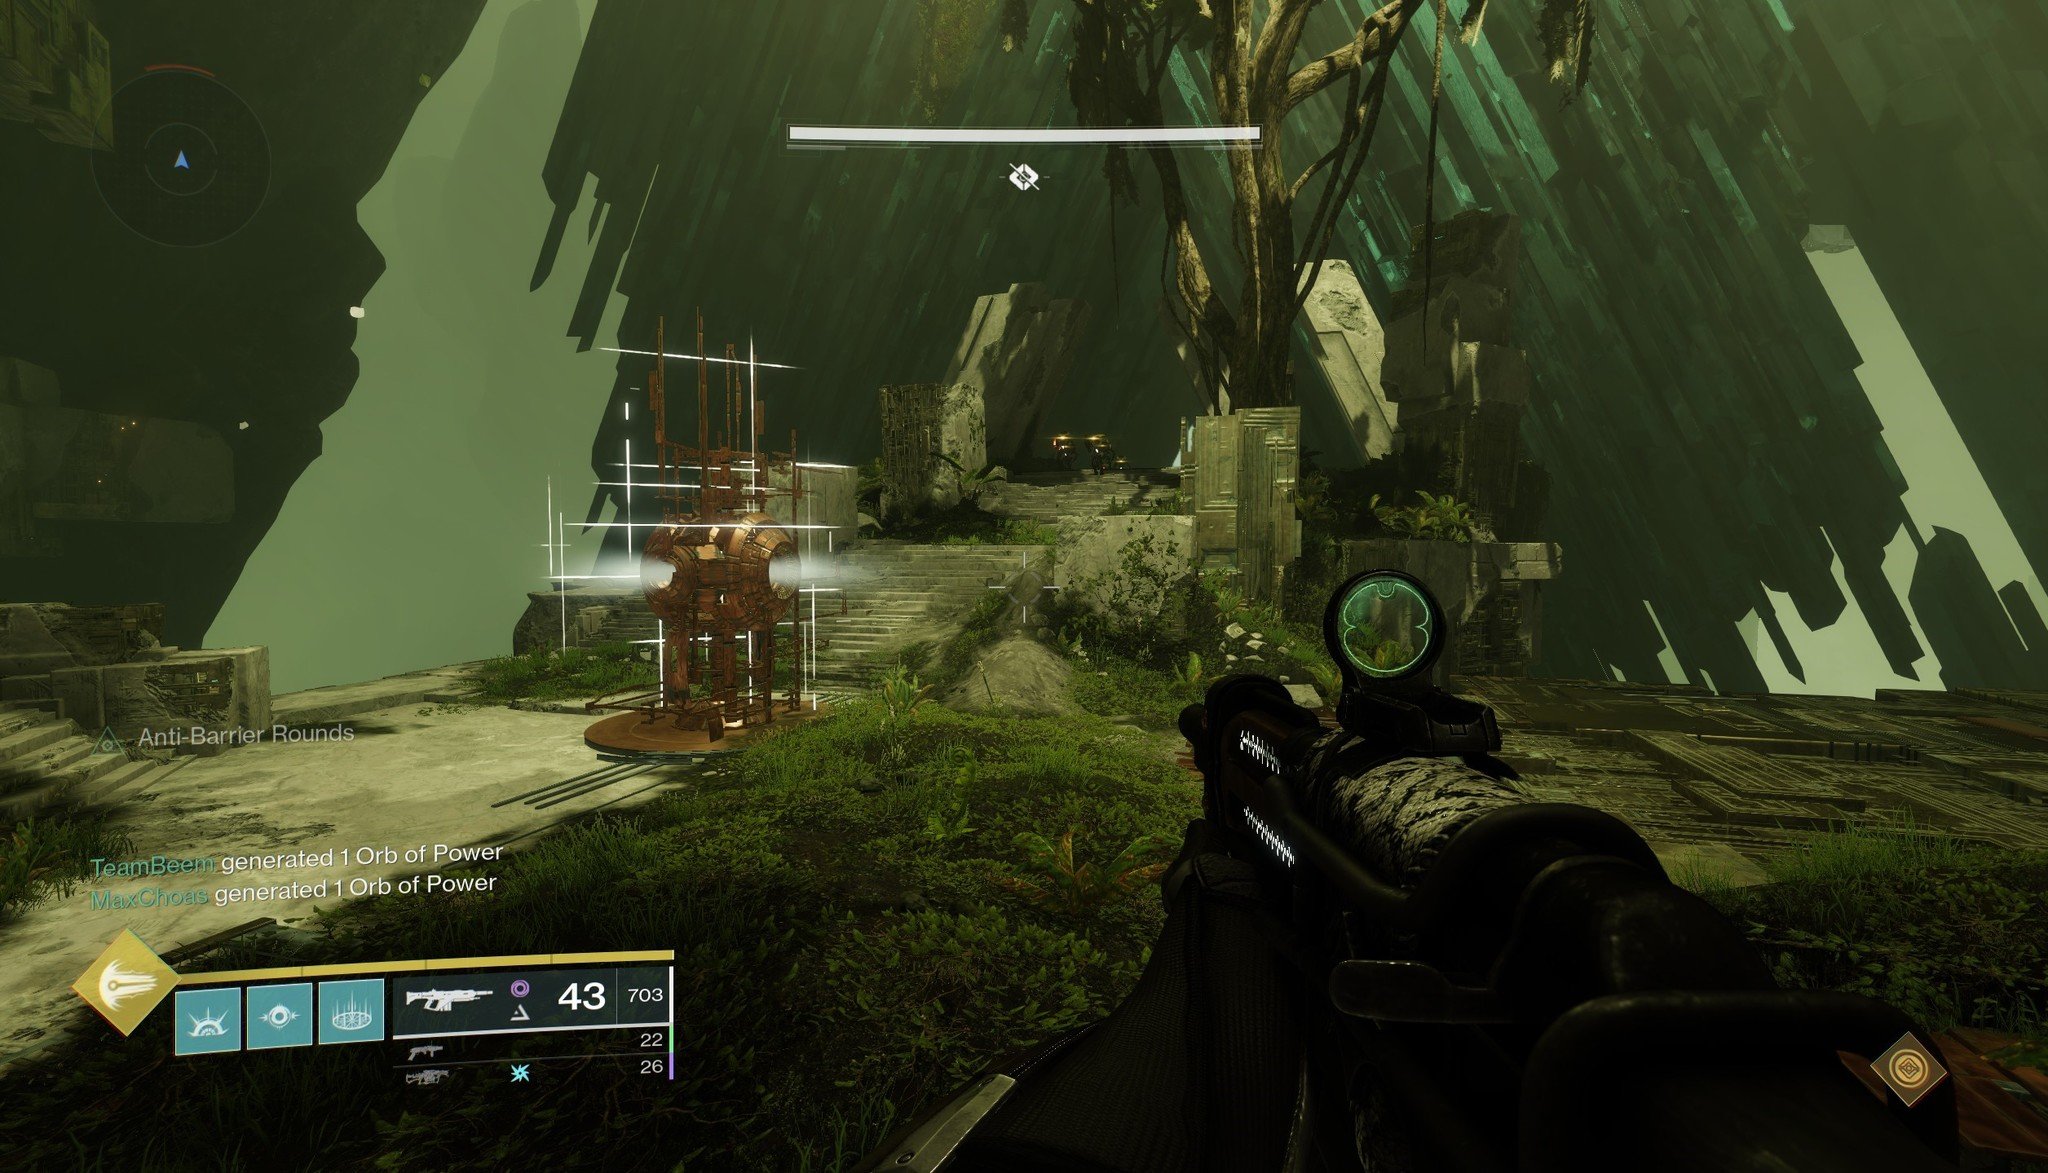
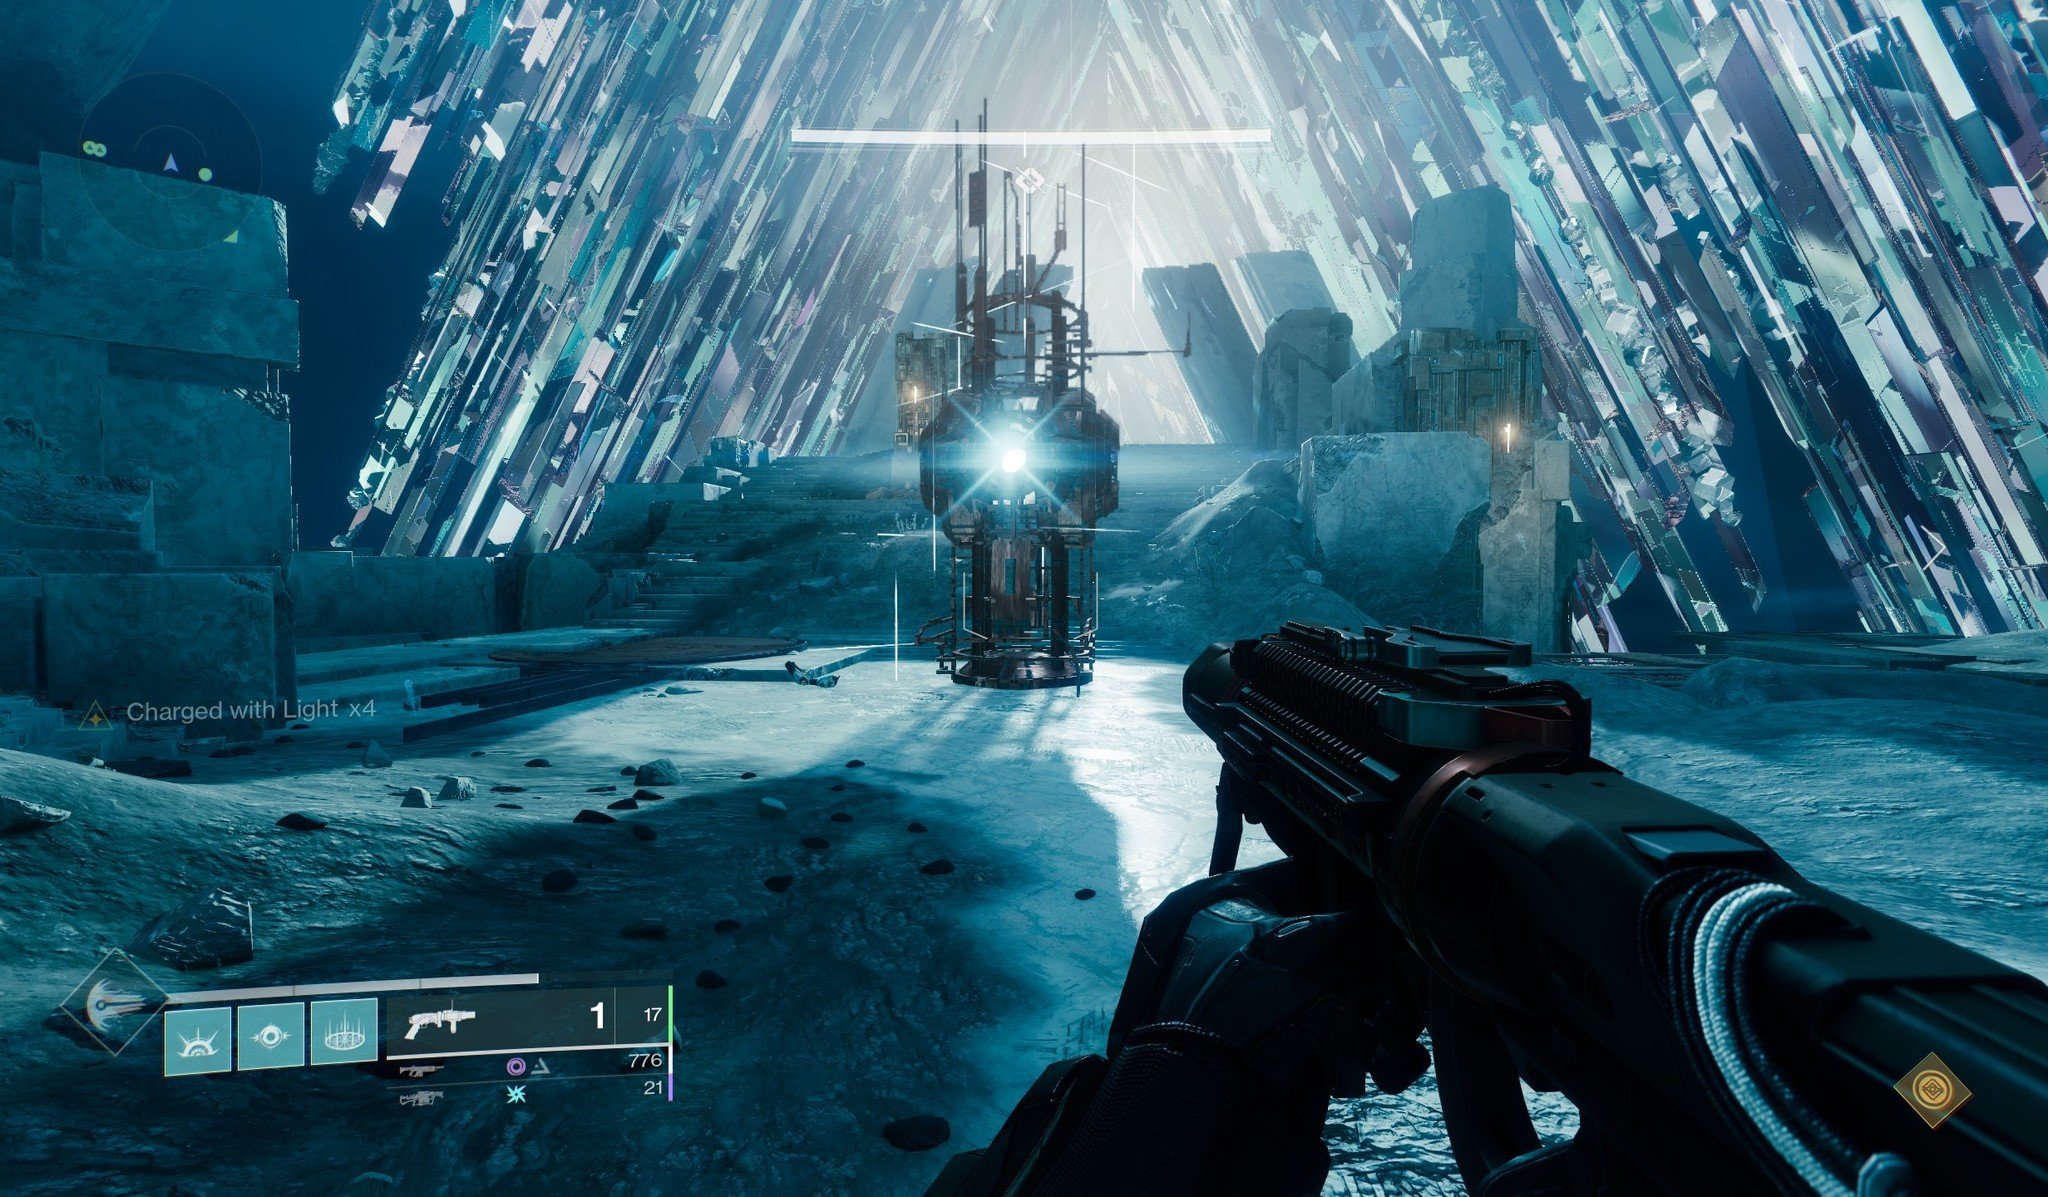
- When you arrive to the Templar's boss arena, split your fireteam into three teams of two. Have one team go to the left side, one team go to the middle, and one team go to the right.
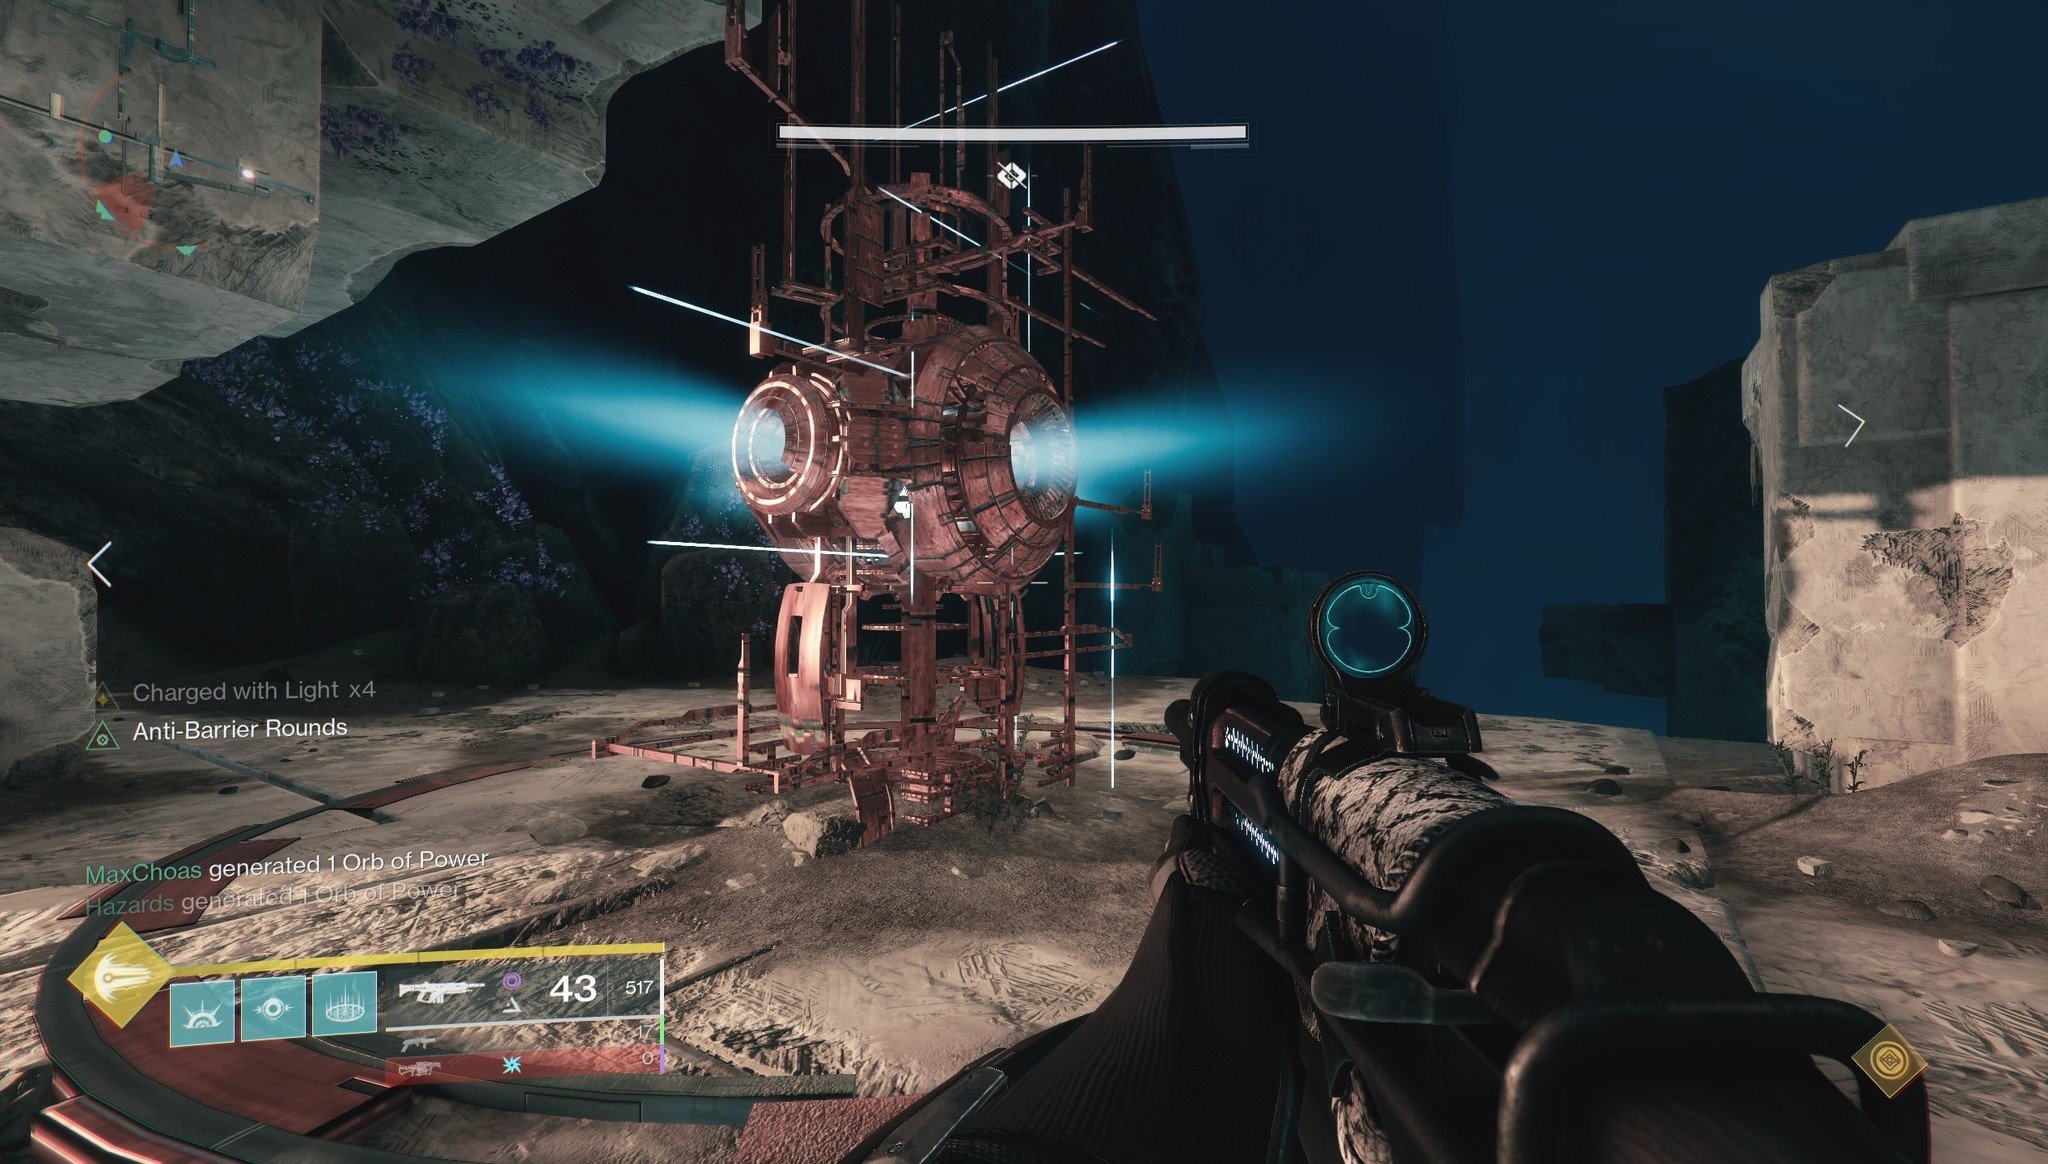
- There will be a conflux (see the above image) in the middle of the arena that legions of Vex will try to sacrifice themselves on. Make sure to destroy all Vex quickly so that this does not happen.
- Eventually, a Wyvern will spawn and will make a beeline for the conflux. Kill it as fast as you can, as it does heavy damage to Guardians and can be hard to stop if it makes it to the conflux.
- Keep an eye out for Vex called Fanatics, which drop a pool of blue energy when killed. Stepping in this pool gives players the Mark of Negation debuff.
- Occasionally, the Templar boss in the back of the room will charge up a burst of energy that kills players marked with Mark of Negation. Therefore, it's important to avoid stepping in pools created by the Fanatic Vex.
- If you do get Marked for Negation, step into the pool of light in the middle of the arena (pictured below) to cleanse yourself.
This process will continue until the original conflux disappears and two more spawn in — one on the left and one on the right. These need to be defended like the first conflux. However, the Vex's spawn points don't change, so keep your fireteam spread out so that you can kill ads right when they spawn in. Eventually, the original middle conflux will spawn back in, making it so that your team has to defend all three. Note that one Wyvern will spawn per active conflux.
After you successfully prevent Vex from sacrificing themselves on the confluxes for a few minutes, you will successfully complete this encounter.
Destiny 2 Vault of Glass Encounter Guide: Destroying the Oracles
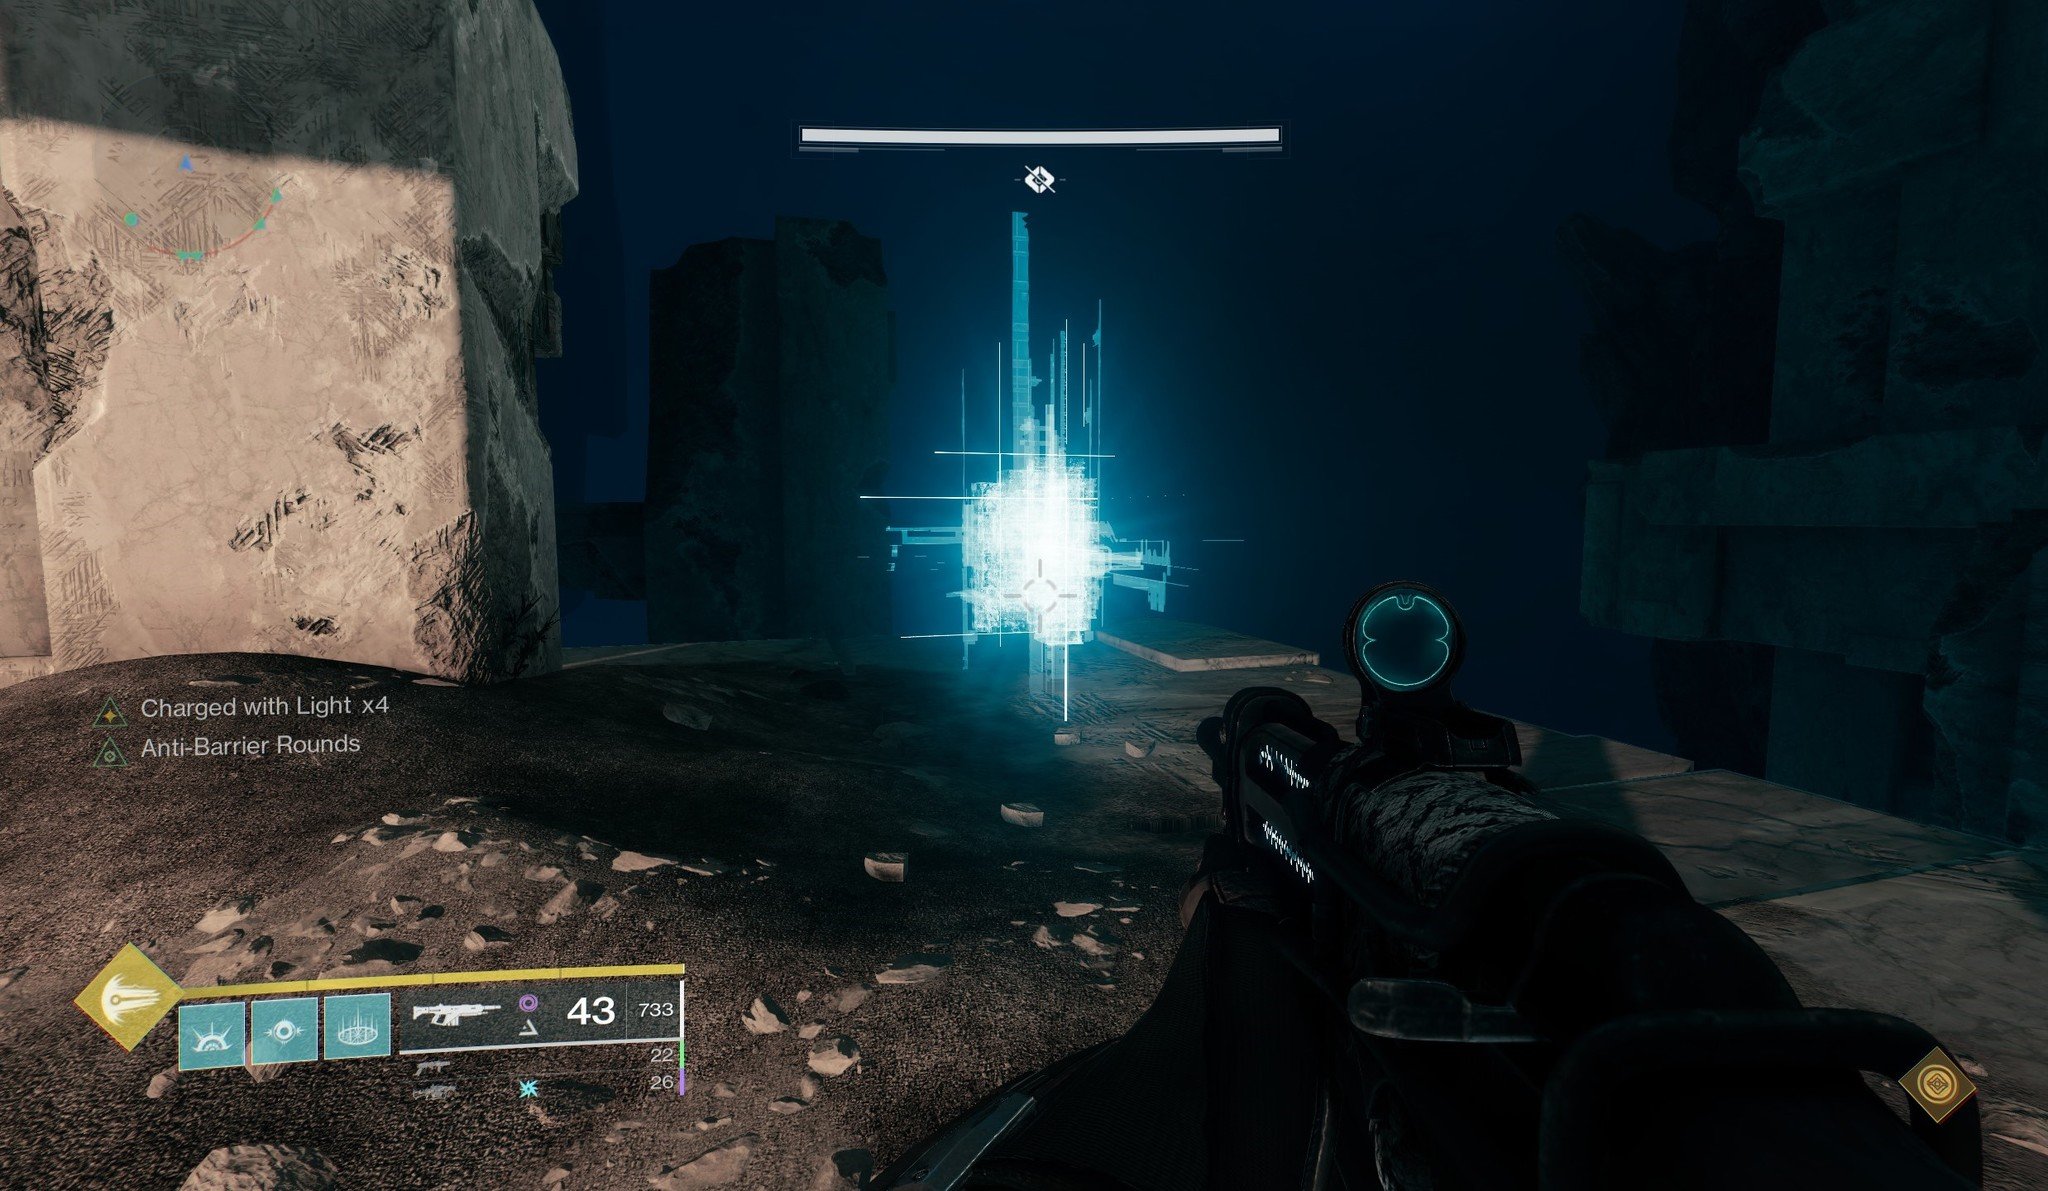
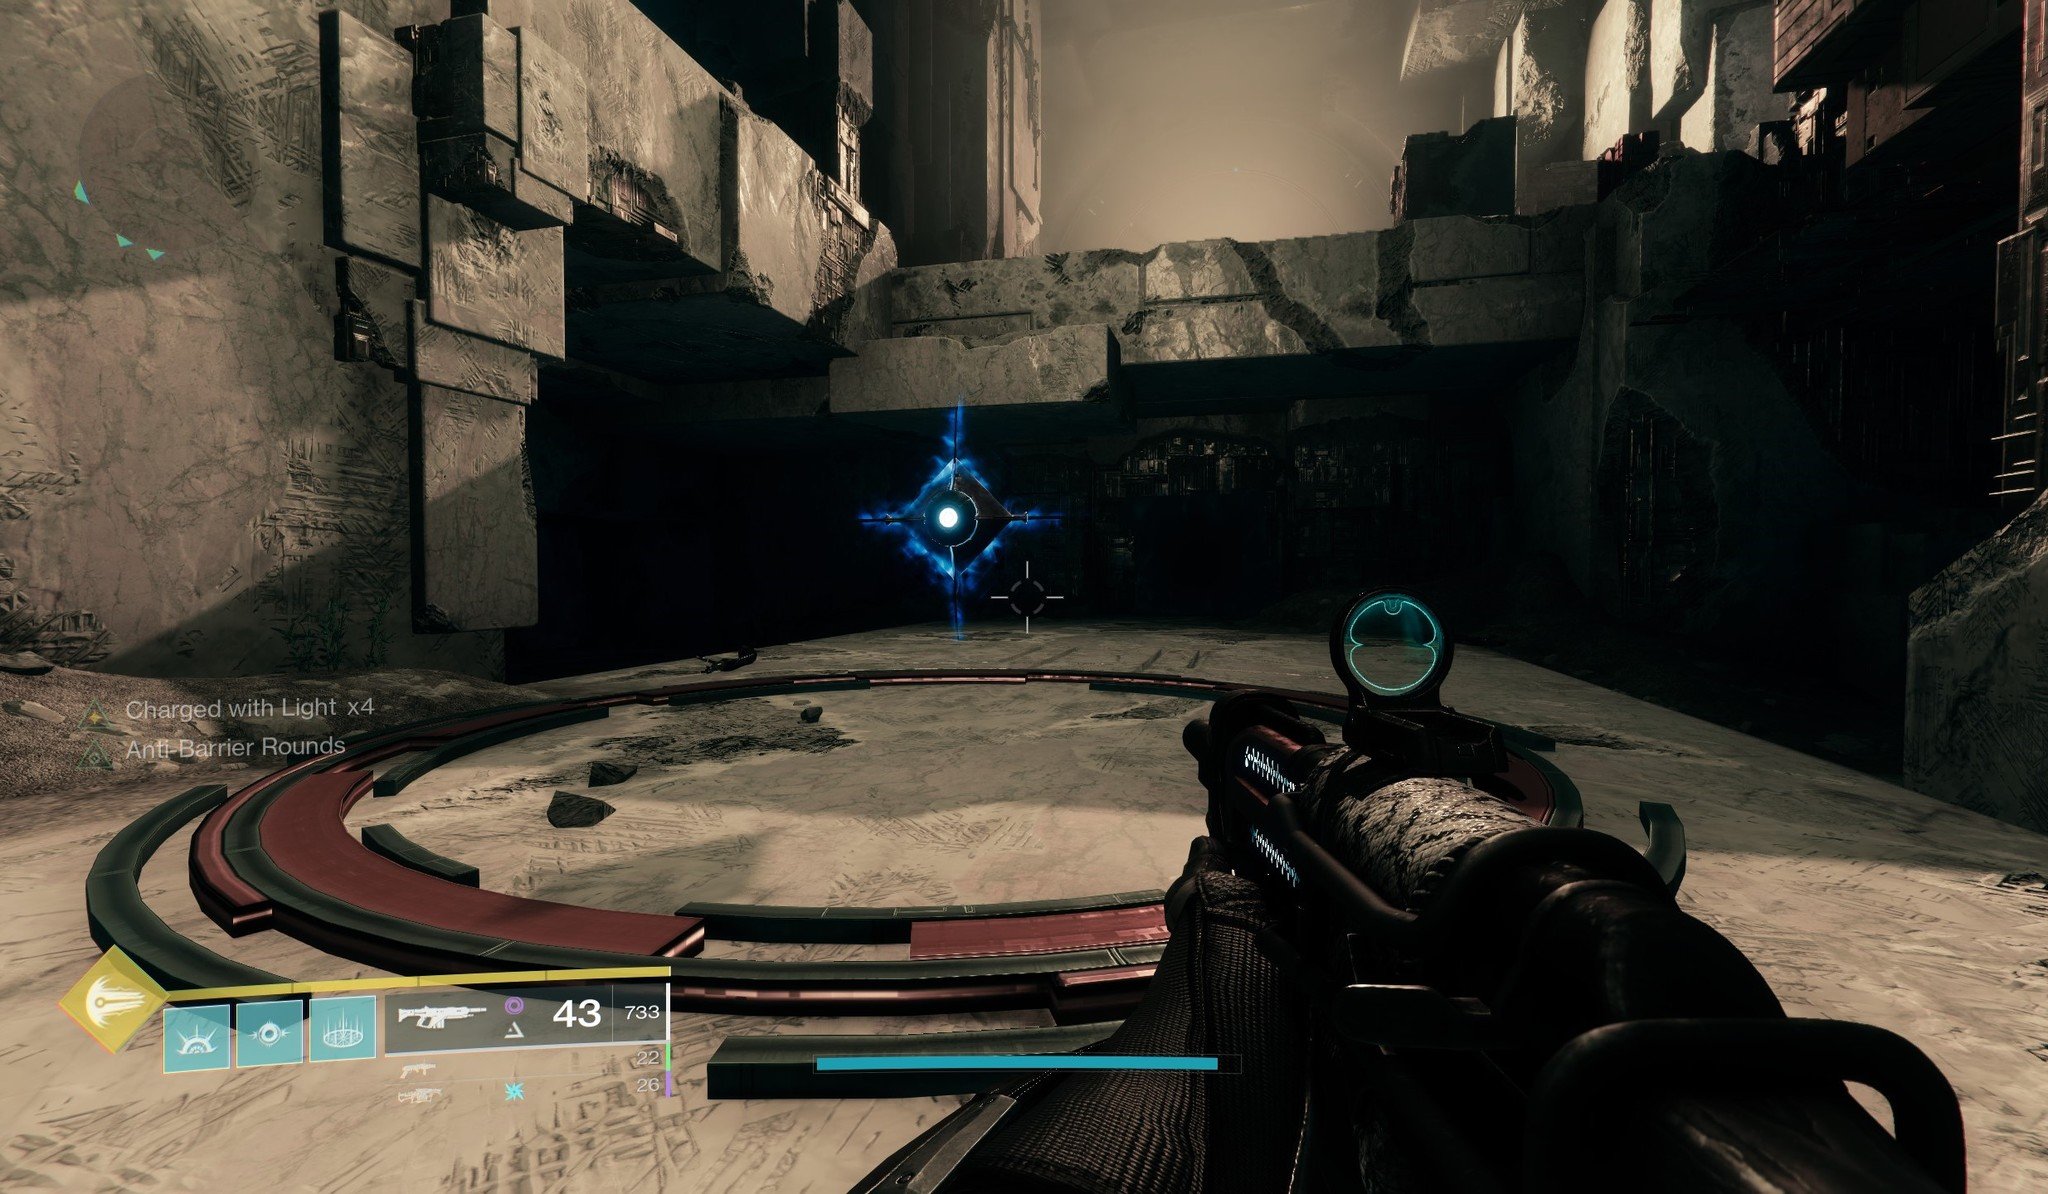
Now that you've defended the confluxes, you'll need to destroy the Templar's Oracles, which are bright blue objects that appear in the arena alongside a musical cue (see above).
- Spread your team out around the arena, and designate two players to clear ads. The other four players will be watching for and destroying Oracles.
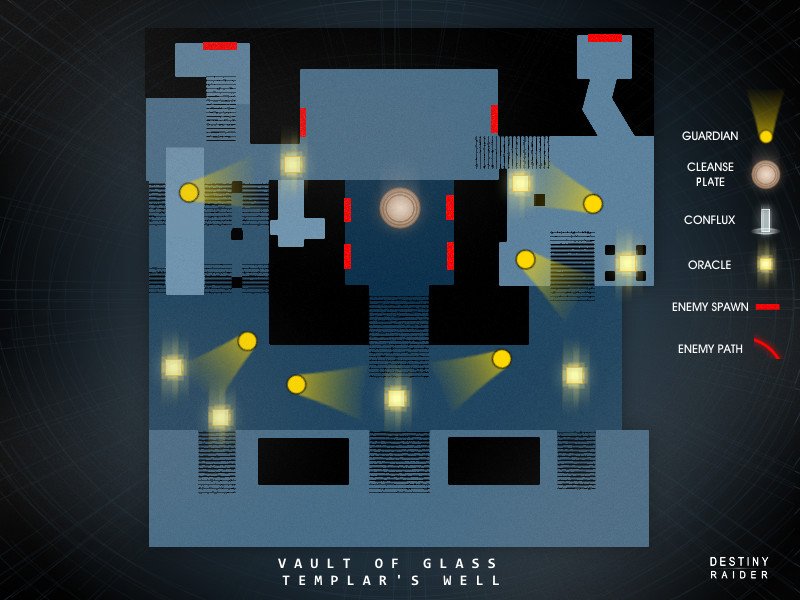
- Once the encounter starts, "previews" of the Oracles will appear in one of seven locations and play a musical note. These previews will show twice. Use the map below, so you know where to look for the Oracles.
- Call out any Oracle previews you see with your teammates to figure out what order you need to destroy them in (I recommend using callouts such as L1, L2, L3, R1, R2, R3, and middle for easy communication).
- Once all of the Oracles appear fully, destroy them in order.
- If your team got the order wrong, everyone will be Marked for Negation. This also happens if you take too long when destroying them. You can save yourselves by jumping into the cleansing pool of light all at the same time before the Templar wipes you.
This continues five times, but each wave of Oracles has one more in it than the previous wave. The first wave of Oracles only has three to keep track of, but by the end of the encounter, you'll need to destroy seven Oracles in the right order. Therefore, make sure that your communication is clear and that everyone assigned to the Oracles is in a good position to see Oracle previews and then destroy them when they appear fully.
Throughout the encounter, hordes of Vex will be spawning in to try and distract the team (including deadly Hobgoblin snipers located on perches in the distance). The two ad clearing players should be killing these Vex as fast as they can so the Oracle team can focus on the Oracles. If you're able to destroy all five of the Oracle waves, you'll complete this encounter.
Destiny 2 Vault of Glass Boss Guide: The Templar
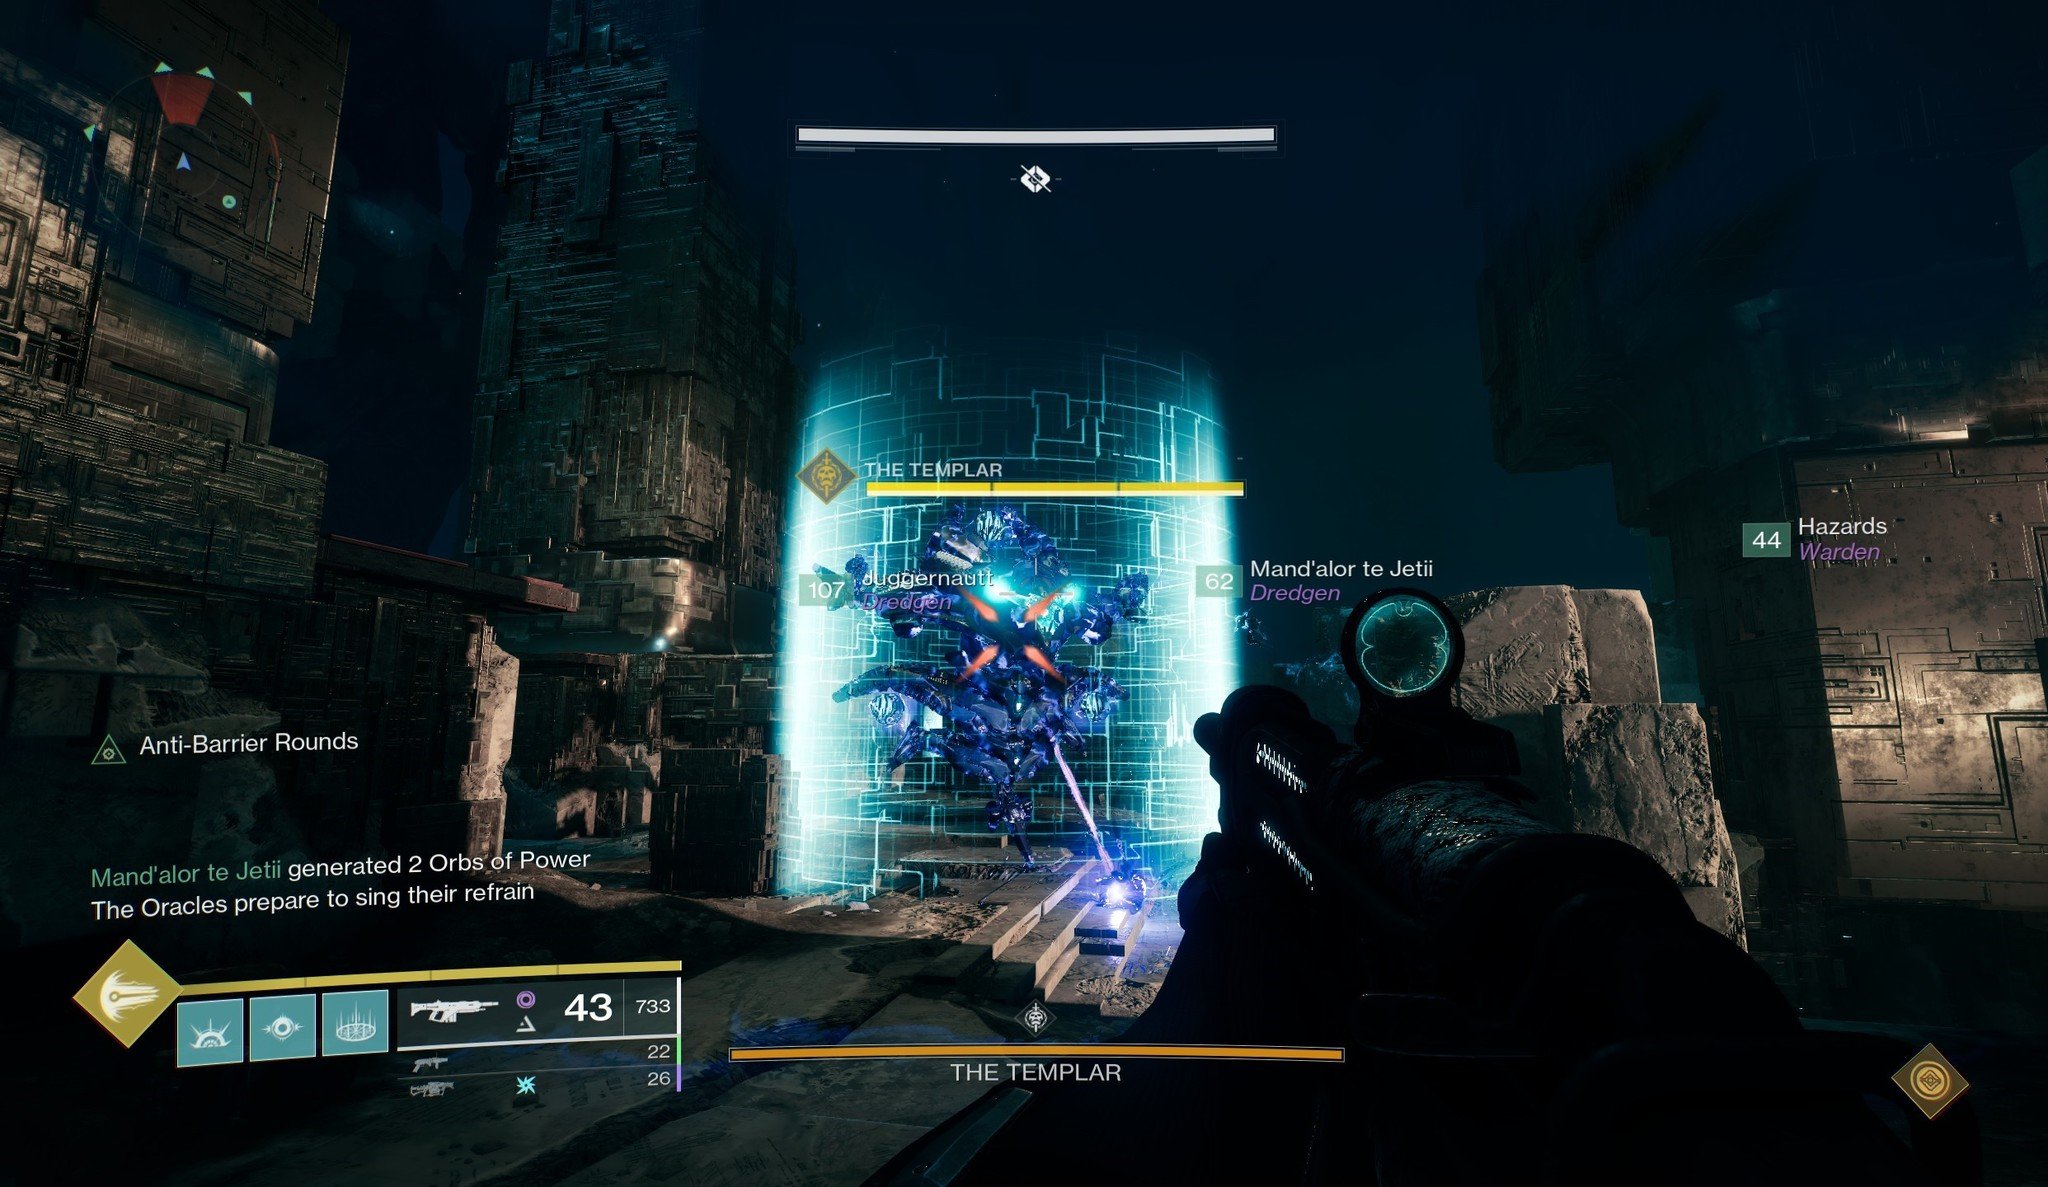
It's finally time for the first boss of the Vault of Glass: The Templar. This unique Hydra can be difficult for inexperienced raiders to take down, but once you know what you need to do, the fight isn't actually that bad at all. Here's how to take the Templar down.
- In the area where the cleansing pool of light was in previous encounters, players will be able to spot an object that can be picked up. This is called the Relic (see below), and picking it up starts the encounter.
- The Relic holder is capable of killing ads with the Relics melee bash attacks (use it like a sword) and when your super ability is fully charged, you can use your super to shoot a blast at knocks out the Templar's shield and start the DPS phase. You can also press the guard button to shield yourself and allies from damage with the Relic.
- When the encounter starts, three Oracles will spawn like they did in the previous encounter. Destroy them in the right order just like before to avoid the team being marked with Marked for Negation.
- Once all the Oracles are destroyed, the Relic holder should have their super. They should use it to knock out the Templar's shield and begin DPS.
- At the start of DPS, one player will be given an Imminent Detain debuff with a short timer. When this timer runs out, a Vex bubble appears around this player, preventing them from doing damage. Anyone in the bubble is stuck, but players outside of it can free them by shooting the bubble. Notably, being stuck in the bubble for 15 seconds results in death.
- Once the detained player is freed, the team should focus on damaging Templar. After several seconds, Templar will teleport to a new spot in the arena and regain his shield. Rinse and repeat until Templar is defeated.
It's worth noting that Templar's teleport can be interrupted by standing in the circle of light that indicates where he's going to teleport. This allows your team to continue doing damage, but new Oracles will spawn in *, and* continuous waves of Minotaurs will appear as long as you keep delaying the teleportation. Templar will also continue to detain players. Therefore, only extend your DPS phases if your team is prepared to juggle the teleport blocking, Oracles, and detainments at the same time.
If you do everything right, you'll take down the Templar boss. Now it's time to enter the Gorgon maze and make your way to Atheon, Time's Conflux.
Destiny 2 Vault of Glass Encounter Guide: Gorgon's Labyrinth
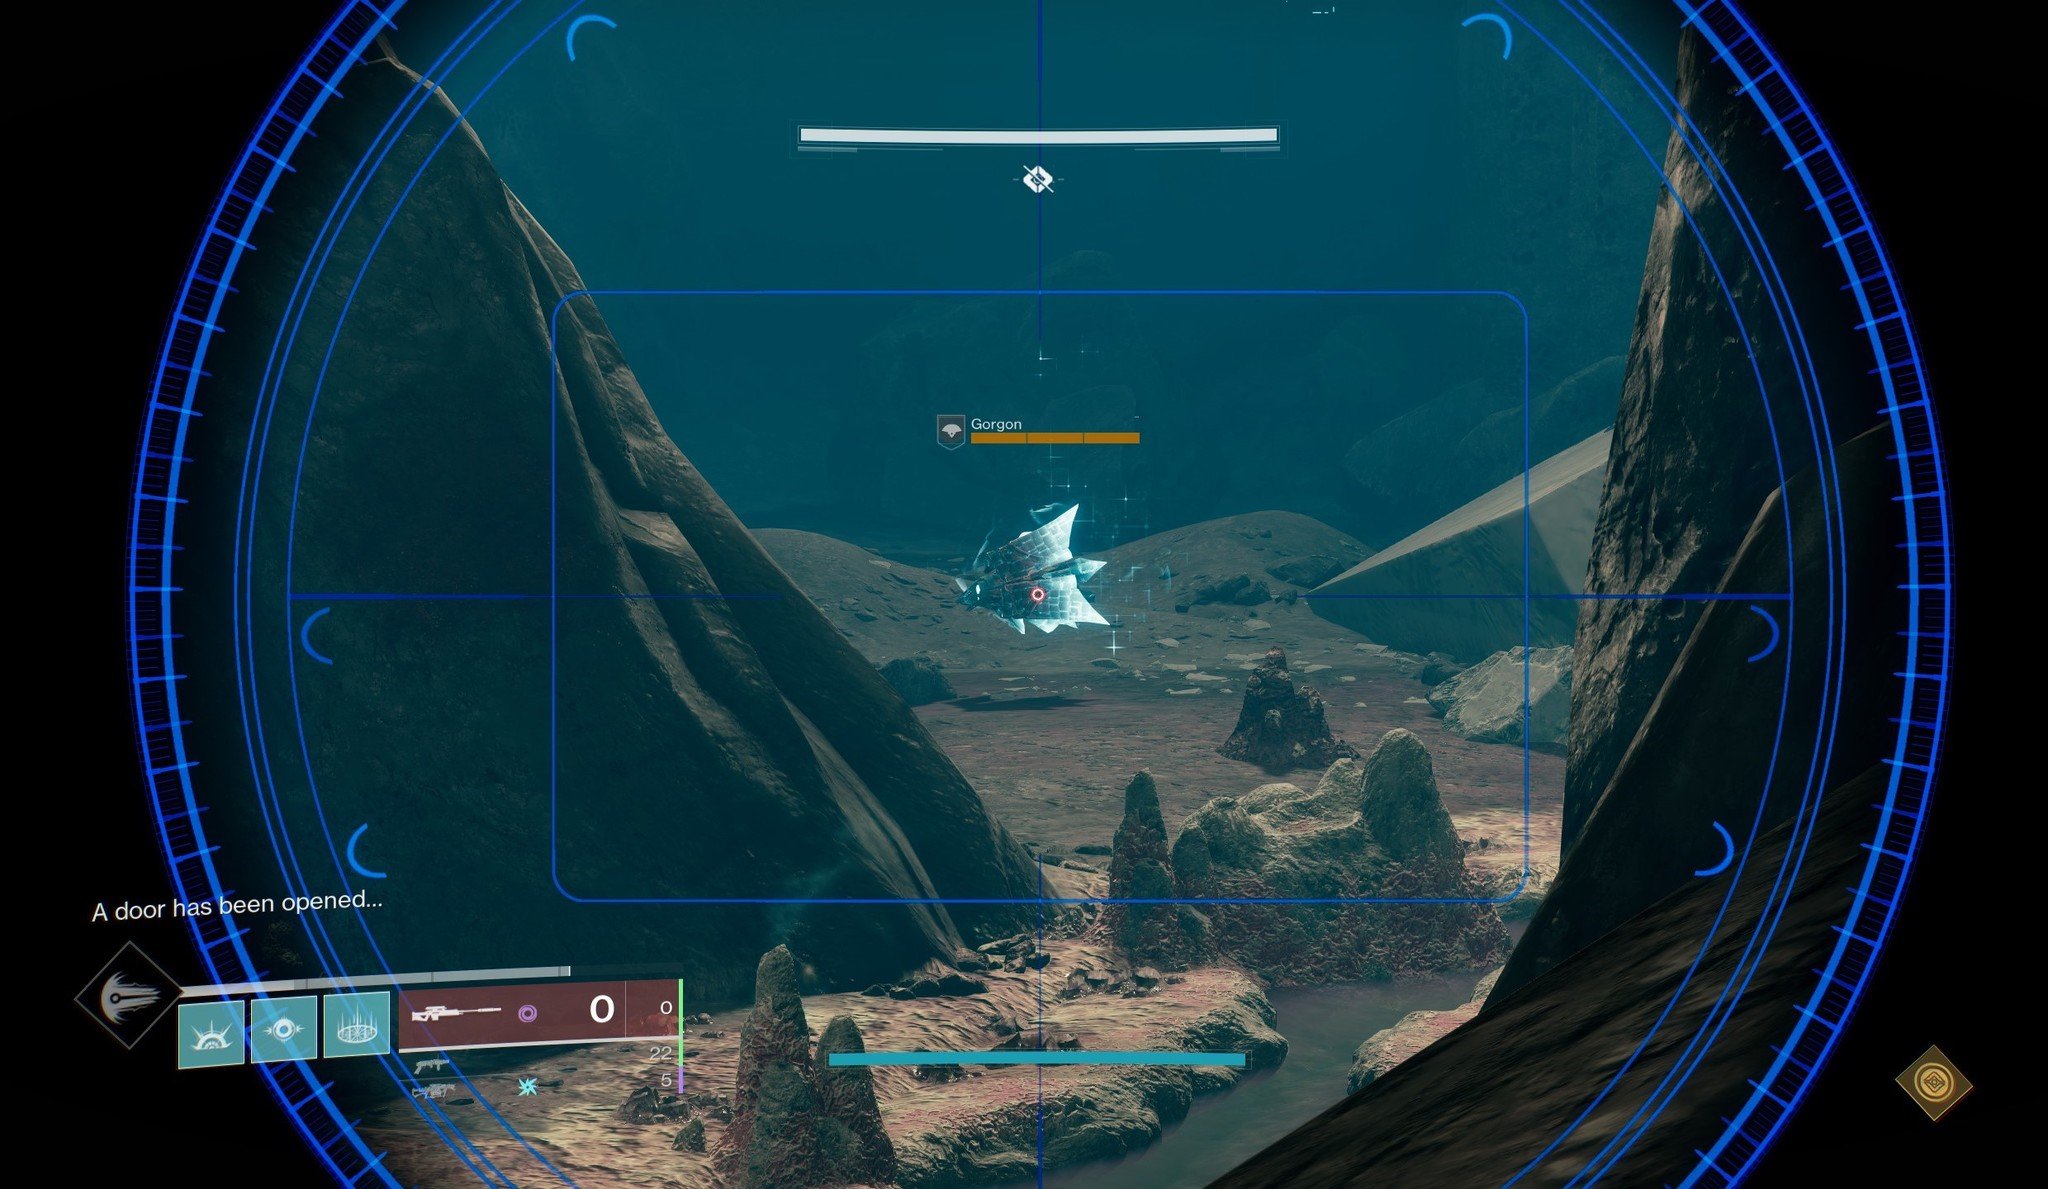
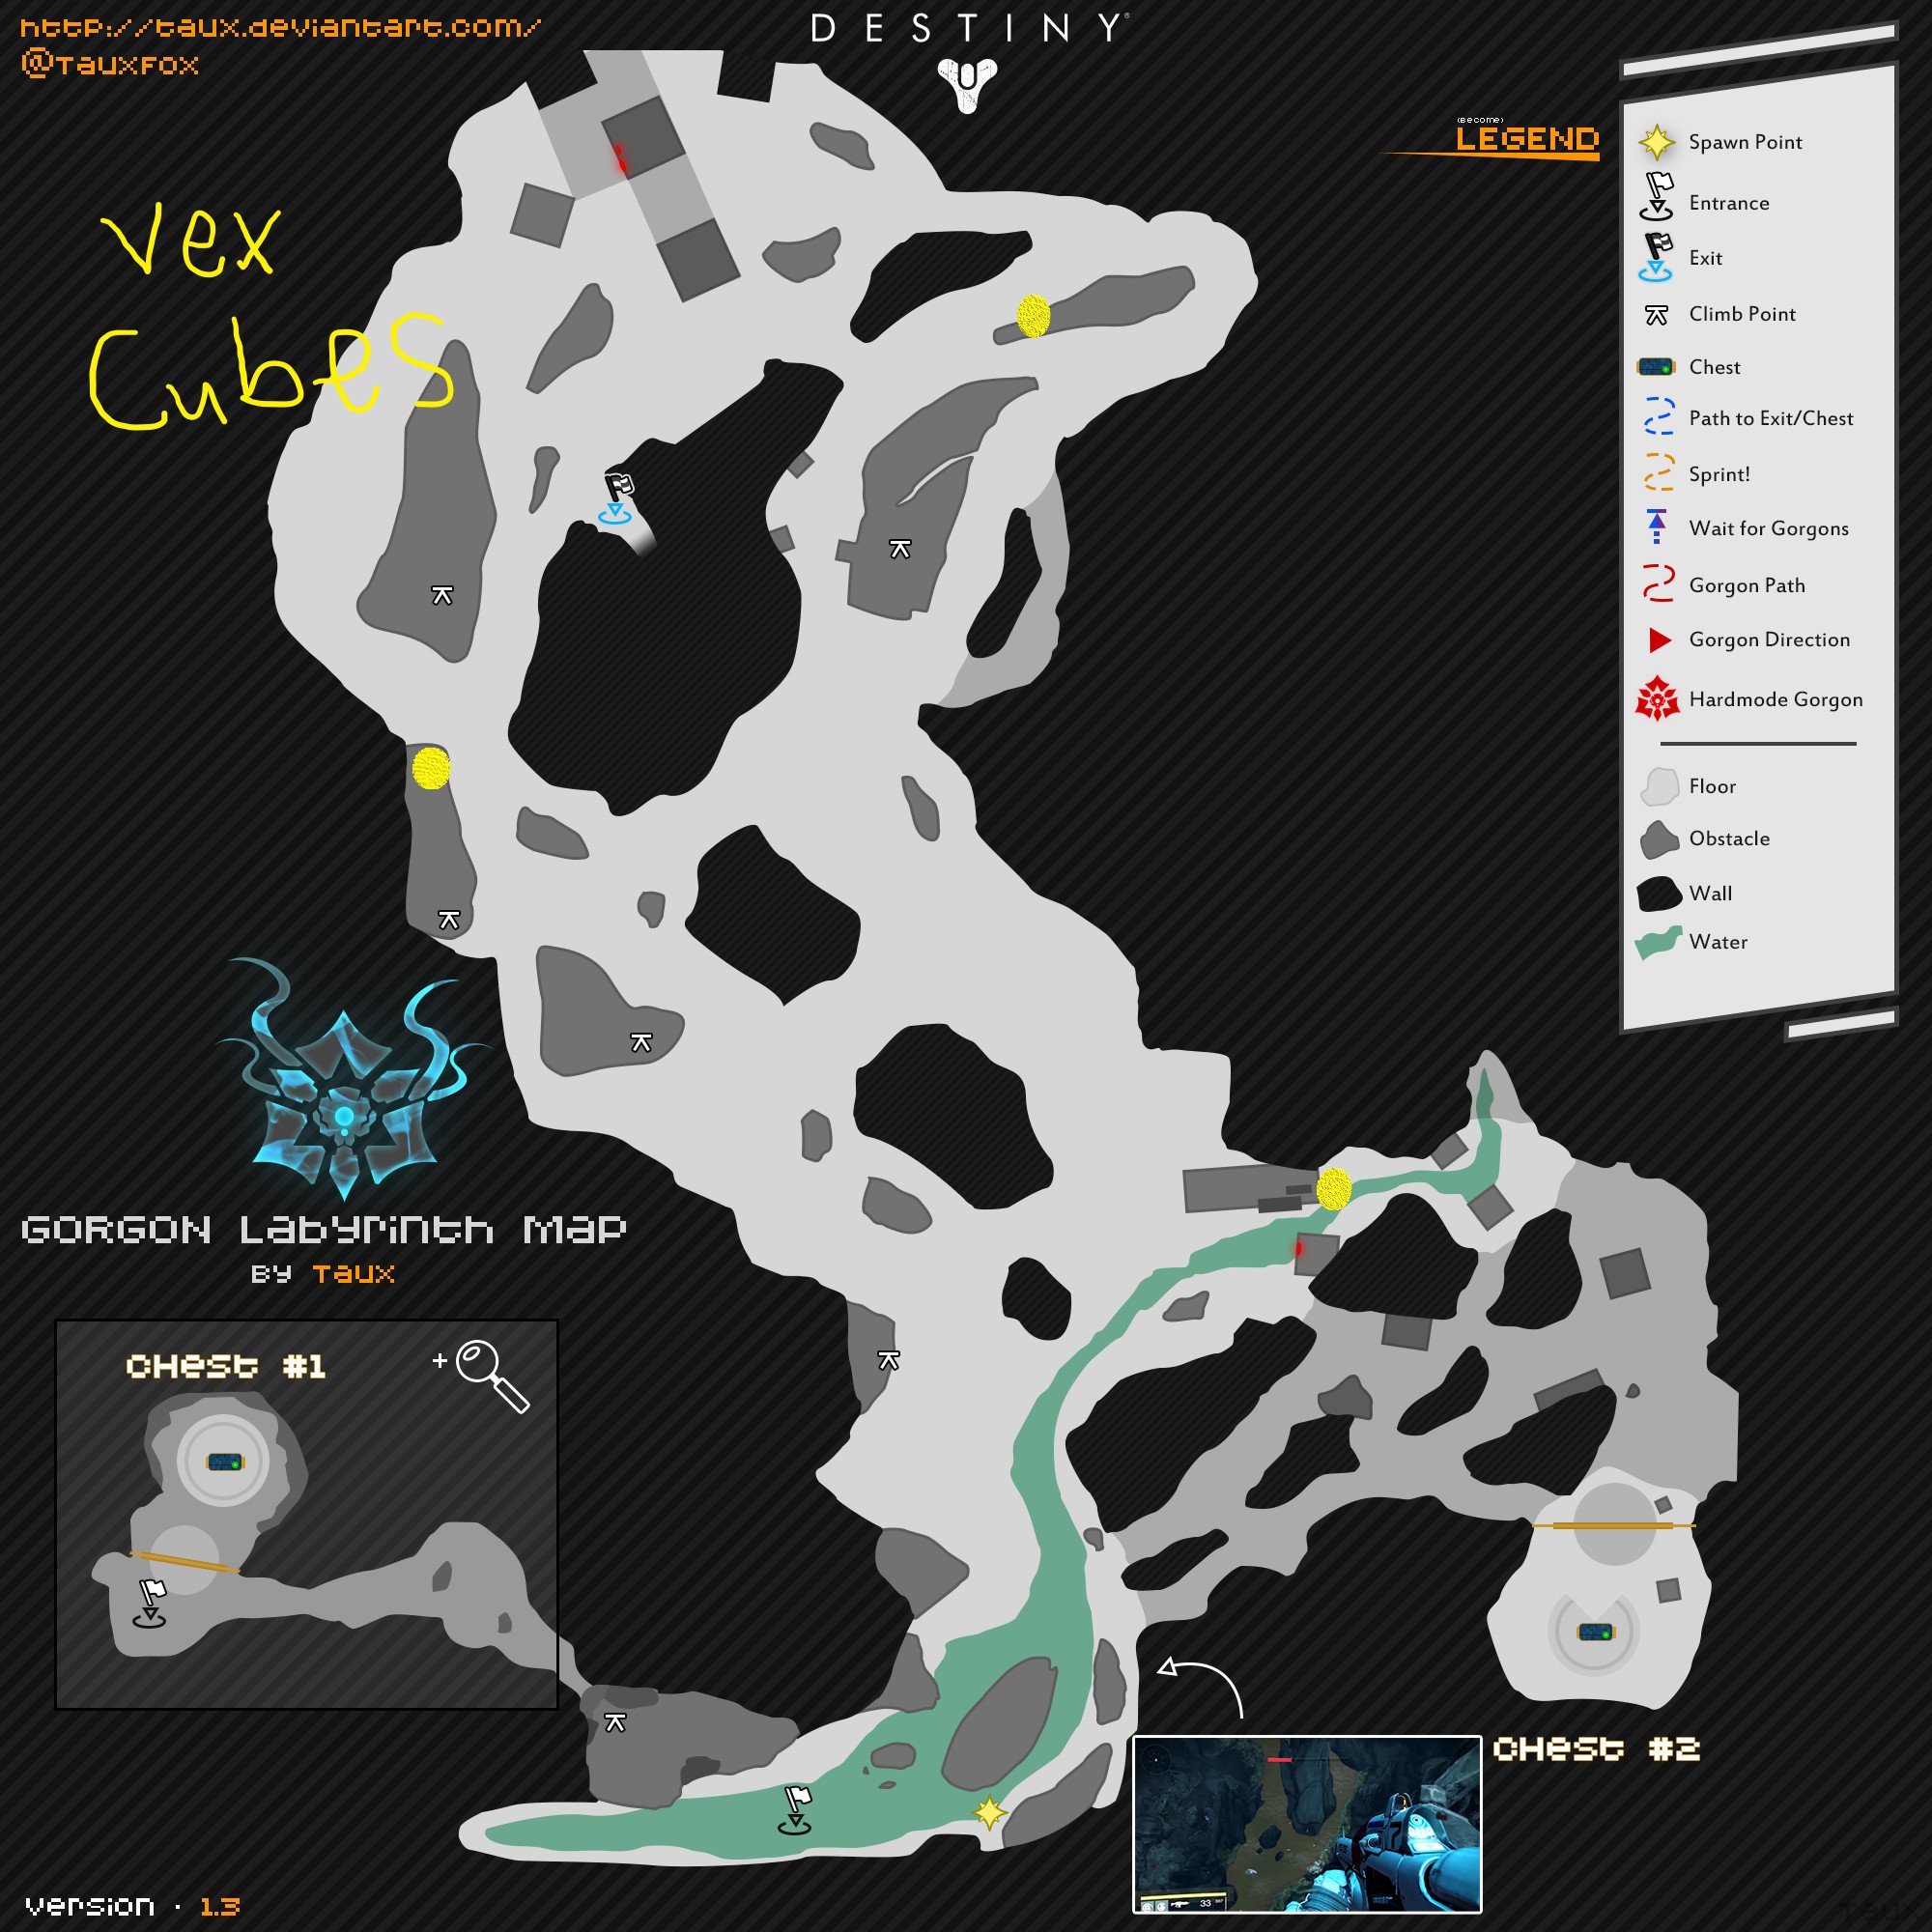
To reach Atheon, you'll need to make your way through the Gorgon Labyrinth. Follow the map below to find your way to the maze's exit, but watch out for the Gorgons, which are glowing Vex Harpies that will wipe your fireteam in several seconds if they detect you.
Notably, the Gorgons can be killed if your whole fireteam uses supers and heavy ammo on them. However, the danger of this is that other Gorgons may hear you, and you won't have enough damage to destroy multiple Gorgons in a short amount of time. Therefore, it's better to avoid them entirely. Here are some tips on getting past them without being detected:
- Crouch walk as much as possible. This is the quietest and safest way to move through the maze.
- Never double jump near Gorgons. The Gorgons will be able to hear your double jump abilities and find you if they're close, so stick to single jumps.
- Avoid shooting weapons. Don't mess around and shoot your friends; Gorgons will almost certainly hear you.
- Use Nightstalker Hunter cloaking. Nightstalker Hunters can cloak themselves and their teammates with smoke bombs, which can significantly help your fireteam avoid detection. Save invisibility for when there are lots of Gorgons near your position.
If you make it to the end of the maze without being spotted, you're in the clear. Now it's time to go to Atheon's arena.
Destiny 2 Vault of Glass Encounter Guide: The Gatekeepers
Once you make your way to Atheon's final boss arena, you'll find one more obstacle between you and the final boss of the Vault of Glass: The Gatekeepers. These Hydras prevent you from using the portals you'll need for killing Atheon in the final boss fight, so it's time to take them down.
- On the left and right side of the arena, players will be able to spot a Vex plate and portal (see above). Assign one player to each plate, and have two players stay in the middle of the arena. Finally, assign a player to each portal. Have everyone kill the Gatekeeper Hydra in the center of the area.
- This makes it so that the plate players can hold open the portals by stepping on their plates. Vex will spawn in and try to overwhelm the plate players, so they (along with the middle players) need to defend their plates. The portal players should go inside of the portals. Note that the right portal leads to an arena on Venus, while the left one leads to one on Mars. I recommend using Venus and Mars as callouts.
- Once inside the portals, players should notice a Vex conflux (see below). Like in the second encounter, these confluxes need to be defended from Vex that try to sacrifice themselves.
- Back in the final boss room, a Relic will spawn in the middle of the area. One of the two players in the middle should pick it up and wait.
- Eventually, a Praetorian Minotaur with an invincible shield will spawn in either the Venus or Mars arenas. The portal players need to call out where this Minotaur is so the Relic holder can go break its shield.
- Using the portal gives players a 45-second debuff that prevents them from using it again while it's active. Therefore, once the shielded Minotaur is dead, the Relic holder needs to give the Relic to their teammate and start defending the conflux while their teammate takes the Relic back into the boss room.
- The second Relic holder then gives the Relic to the second player in the middle of the boss room and becomes a helper for the plate players. The third Relic holder then listens for the next callout from the portal players and the cycle repeats for a couple of minutes until a conflux spawns in the middle of the boss room (pictured below).
- All players should immediately come back to the boss room and defend the newly-spawned conflux. The shielded Praetorians will continue to spawn, but the person holding the Relic doesn't need to worry about trading it with other players anymore since nobody is using portals for the remainder of the encounter.
- Focus on defending the conflux from the Vex as usual. After a minute or two, the encounter will end.
Something important to note is that Gatekeeper Hydras will occasionally respawn in the boss arena during the encounter. These Vex forcibly close the portals while alive, often interrupting your team's flow if you don't take care of them quickly. Therefore, the players in the boss arena should use supers and heavy weapons to take them down fast.
Now that you've overcome the Gatekeepers and have control over the portals, it's time to face Atheon, Time's Conflux.
Destiny 2 Vault of Glass Boss Guide: Atheon, Time's Conflux
After prevailing against everything the Vex have thrown at you in the Vault of Glass, only one foe remains — Atheon, Time's Conflux. Here's how you can defeat the Vault of Glass' final boss and claim the Vex Mythoclast Exotic fusion rifle (if you have good RNG, that is).
- At the start of the encounter, Atheon will walk through the massive triangular door in the back of the arena and begin to attack you while spawning Harpies. Kill the Harpies, but don't bother shooting Atheon as he's invincible for now.
- After a minute or so, Atheon will teleport three random players to the Venus or Mars arena from the last encounter. The players that got teleported should call out which arena Atheon teleported them to so the remaining three players can open up the portal that leads to where they are by standing on the corresponding plate. Remember: Venus is right, while Mars is left.
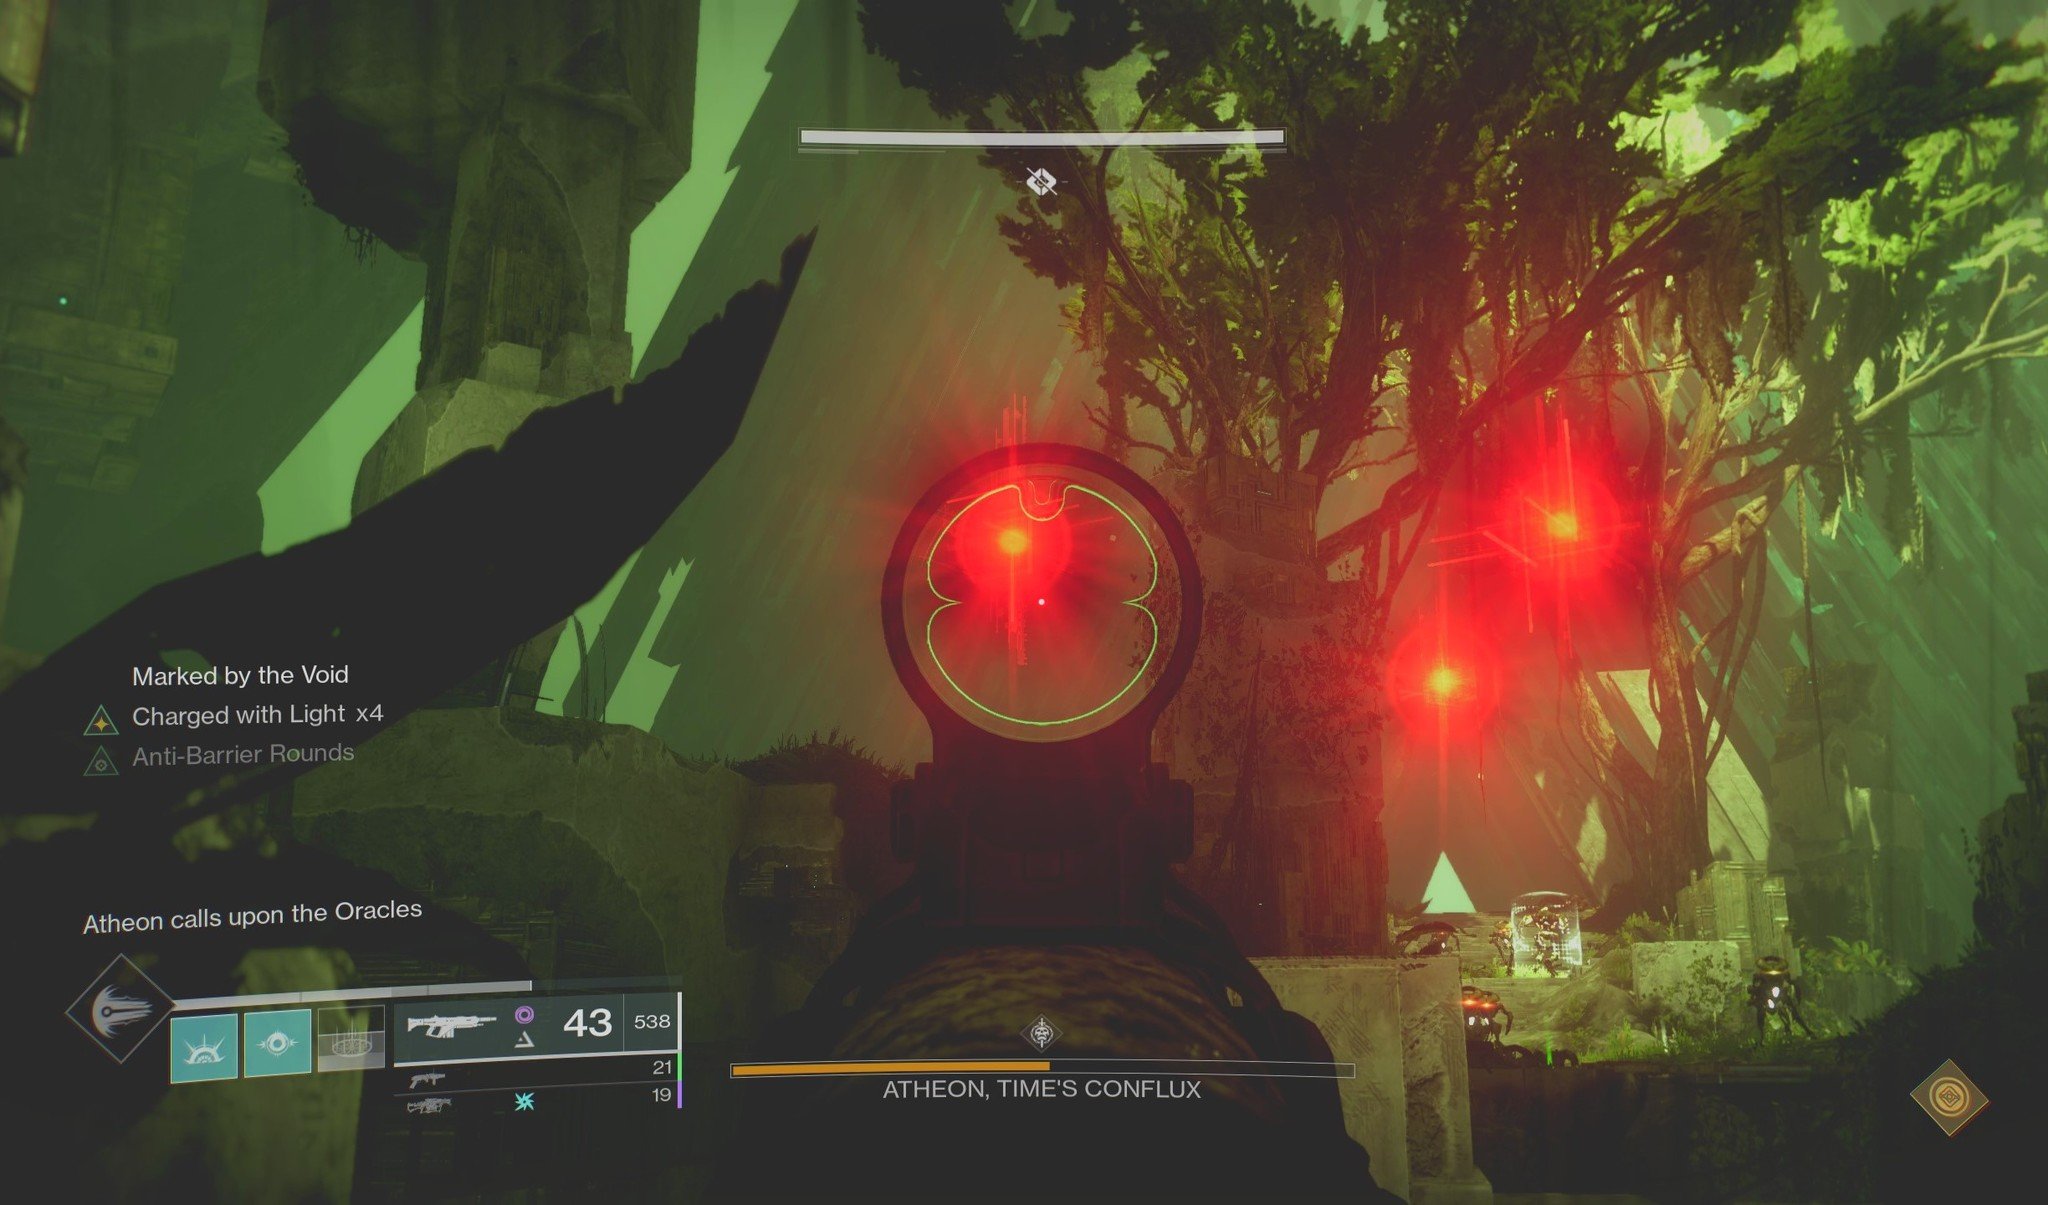
- In the boss arena, three Oracles (colored red this time) will preview in the air near Atheon. The players holding open the portal need to take note of what order they appear in and call this information out to the teleported players. Like in the second encounter, these previews will show twice. My team's callouts are left, middle, right, back left, back middle, and back right.
- The players who got teleported should notice a Relic on the floor in their arena. Have one player pick it up and have the whole team move to the back of the area.
- The teleported players should note the presence of a debuff that slowly blinds them. This debuff can be removed by the Relic holder, who can guard to cleanse everyone.
- Once the two previews of Atheon's Oracles finish, they will appear in the room where the teleported players are. The players who got teleported should destroy the Oracles in the order called out by the team in the boss arena. This needs to be done three times. If the teleported players shoot the wrong Oracle or don't destroy them fast enough, the team will wipe.
- Once all of the Oracles are destroyed, a text notification will state, "Guardians make their own fate," indicating the start of the DPS phase. All players should come back to the boss room through the open portal and go to the small rock island in the middle of the boss arena.
- During the DPS phase, a 25-second buff called Time's Vengeance gives players improved super regeneration. Therefore, you should use boss damage supers like Chaos Reach and Thundercrash at this time since you can often get two of them off before the DPS phase ends. Wells of Radiance, Wards of Dawn, and debuffs like Divinity or Breach and Clear grenades should also be used at this time. If you're using DPS supers, I recommend tagging Atheon with the Anarchy grenade launcher before doing so to boost your damage even further. The DPS phase ends when Time's Vengeance runs out.
- Just like Templar, Atheon will detain a player during the DPS phase. Players should keep an eye out for the warning debuff and jump away from the team, as in this encounter, the entire team can be detained and killed if debuffed player is close to them when they get detained. A player or two should focus on freeing their detained teammate so they can return to the center for DPS.
- The Relic holder should guard to protect the team from Atheon's damage, which will also cleanse players who have remaining binding debuffs from the Venus or Mars arenas. You can (and should) also use the Relic's super attack on Atheon when it's full. It will recharge several times due to the Time's Vengeance buff, so use it liberally. Be aware that the Relic's shield will block explosive attacks, though, so make sure to take it down if your teammates want to use rockets or grenade launchers.
Watch the video below for an example of what the DPS phase looks like:
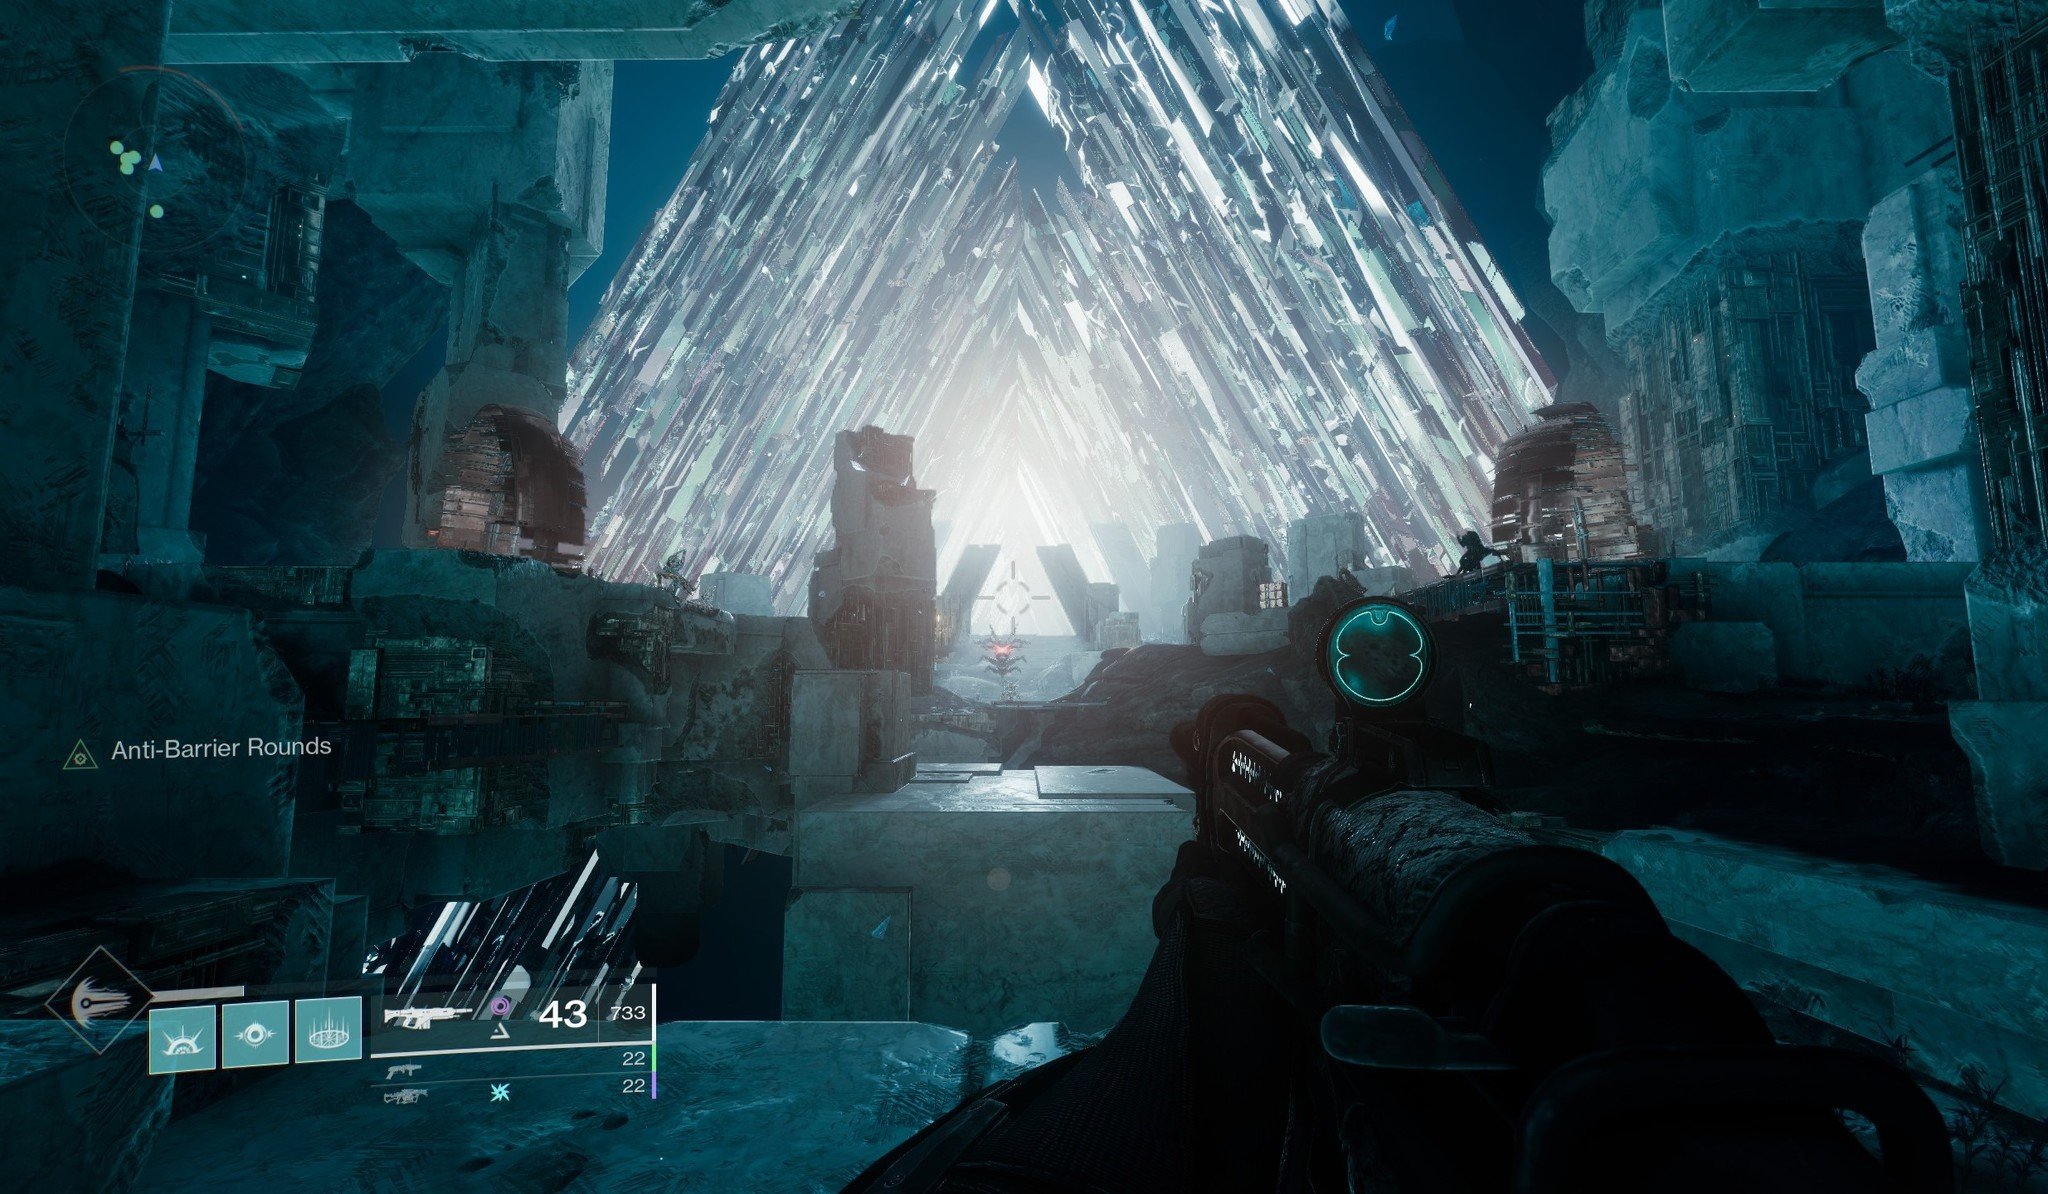
Once the DPS phase ends, everyone should kill any remaining ads and reset, preparing for another encounter cycle. Rinse and repeat until Atheon is dead. Run forward into the triangular glass door to collect your loot. Congratulations — you've completed the Vault of Glass raid!
Any questions?
Do you have any specific questions about the Vault of Glass raid? Let me know, and I'll do my best to help guide you with advice.
Destiny 2: Beyond Light is available on Xbox Series X, Xbox Series S, Xbox One consoles, PS4 and PS5, and Windows 10 PCs. It costs $40, but you can also play it through an Xbox Game Pass subscription. If you've never tried out Destiny 2, you definitely should, as it's easily one of the best Xbox One shooters and also one of the best looter shooters for Xbox.
If you do decide to check the game out, make sure you review my Destiny 2 beginner's guide on how to get into Destiny in 2021 for helpful tips, tricks, and information that will help you get acclimated with its systems. Also, if you're looking to try out Beyond Light's raid, don't miss my Destiny 2 Deep Stone Crypt raid guide on how to beat every boss encounter.

Welcome to Europa, Guardian...
In Beyond Light, players will encounter a dark Fallen faction, travel to new locations, and go beyond the Light to wield the power of the Darkness. You don't need it to play the Vault of Glass, but it's an excellent expansion regardless.

Brendan Lowry is a Windows Central writer and Oakland University graduate with a burning passion for video games, of which he's been an avid fan since childhood. He's been writing for Team WC since the summer of 2017, and you'll find him doing news, editorials, reviews, and general coverage on everything gaming, Xbox, and Windows PC. His favorite game of all time is probably NieR: Automata, though Elden Ring, Fallout: New Vegas, and Team Fortress 2 are in the running, too. When he's not writing or gaming, there's a good chance he's either watching an interesting new movie or TV show or actually going outside for once. Follow him on X (Twitter).

 Windows Central Insider


