


I've always been fascinated with 3D printing but also intimated. It has seemed almost like something out of a sci-fi movie to the average consumer — mostly because that's where many of us have had the most exposure to it. That's why I was so excited to have the chance to check out the Flashforge Adventurer 4.
In recent years, thanks to the cost of these machines coming down, the point of entry has dropped so much that 3D printing is accessible to anyone interested. While the Adventurer 4 isn't necessarily entry-level priced, like something like the excellent Elegoo Neptune 2, it has many features found on much more expensive units at an obtainable cost.
Though the Flashforge Adventurer 4 has all the capabilities to be an excellent printer for printing professionals, educators, and experienced hobbyists, I'm none of those things. This is the first FDM filament printer I've ever used. Coming into this, I had only used an SLA resin printer for about a month, so I am very much a beginner in the 3D printing world. Is the Adventurer 4 a daunting adventure for a beginner or a casual walk in the park? Let's get into it.

Bottom line: The Flashforge Adventurer 4 is a large printer with the build volume to match. Its auto-leveling bed, swappable nozzles, easy-to-use interface, and more make this printer a great device for beginner and seasoned vets of the hobby alike.
Pros
- Excellent build platform system
- Compatible with a wide variety of filaments
- Easy to use right out of the box
- Swappable print nozzles
- The enclosure keeps the print area clean
Cons
- Doesn't autodetect the print nozzle
- The built-in camera isn't great
- FlashPrint software lacks some basic features
Flashforge Adventurer 4: Price and availability

The Flashforge Adventurer 4 is available in one color, black with clear panels, since launch in April 2021. The printer is found at multiple retailers, including Amazon and B&H, for $799, which includes 1kg of PLA filament. Through Flashforge's own web store, the printer is available in the standard $799 configuration as well as the options to get 2kg or 4kg of PLA filament for $829 and $859, respectively.
Flashforge Adventurer 4: What's good

As mentioned previously, before receiving the Flashforge Adventurer 4, I had never used or been directly exposed to 3D printing. From being hesitant to learn the minutia of the technology to deciding which of the excellent 3D printers would be best for me, I never took the leap. But all the promises of what the Adventurer 4 offered eased many of my concerns and only emboldened my mind for what's possible with a 3D printer.
I approached setting up and using the Adventurer 4 as a complete newbie — because that's what I was.
I'll go ahead and preface this review with — if you are looking for all of the nitty-gritty of what goes into 3D printing and the depth of settings that can be tweaked when using a printer, you will likely be disappointed. I was and still am a beginner in this space. So, if you are interested in 3D printing and want to get started, or experienced and want to learn about a new printer — I got you.
Let's get this out of the way first: This printer is not small, so you'll want to ensure you have ample space to set it up. Now, you don't need to dedicate an entire room to it, but it isn't dainty either. But a big printer means big print volume too, and being excited to print something only to find out that you don't have a platform large enough to handle it is a major letdown — there's plenty of room here. While it isn't the seemingly never-ending space provided by the Creality CR 30, you'll likely be very happy with what's available.

In the box, Flashforge ships two flexible build plates, the thing that the printer actually prints onto, which magnetically attach to the auto-leveling platform. Unlike many printers on the market, the Adventurer 4's platform is a solid-state printing area that doesn't require adjustments to ensure quality prints.
Also in the box are some tools for maintaining the machine — making sure screws and components stay tight, a grease packet, a USB flash drive, additional nozzles, leveling card, an extra filament guide tube joint, an unclogging pin too, and the 1kg of PLA filament.
| Specs | Flashforge Adventurer 4 |
|---|---|
| Dimensions | 500mm x 470mm x 550mm (19.7 x 18.5 x 21.3 inches) |
| Build volume | 220mm x 200mm x 250mm (8.67 x 7.87 x 9.84 inches) |
| Weight | 26kg (57.3 pounds) |
| Display | 4.3-inch touchscreen LCD |
| Internal storage | 8GB |
| Printheads | One |
| Travel speed | Up to 150mm/s |
| Max bed temperature | 110C (230F) |
| Max nozzle temperature | 265C (509F) |
| Nozzle diameter | 0.3mm 0.4mm (default) 0.6mm |
| Camera | ✔️ |
| Air filtration | HEPA 13 |
| Noise level | <50dB |
| Filament compatibility | PLA ABS PC PETG PLA-CF PETG-CF |
| Connectivity | Wi-Fi USB Ethernet |
After removing all of the packing materials and the plastic, I set the printer onto my table and powered it on. The first thing I did to the printer was connect it to my local Wi-Fi using the 4.3-inch LCD touchscreen. Tapping in my password was tricky using the tiny on-screen keyboard, but once it was done, the machine checked for any software updates. While the Adventurer 4 did its initialization process, I began installing the FlashPrint software onto my computer.
This software is used to prepare prints for your printer. Once selecting the Flashforge Adventurer 4 as my printer within the software, it scanned my network to find the printer. Once that was done, the software knew what the available build area was and all of the other parameters of the printer.
Getting started with the printer probably could have been smoother had I watched any videos or researched first.
Back to the actual printer and getting it ready to go, I was now ready to load the filament. The PLA filament in the box is a standard 1.75mm material and as such is ready for the pre-installed 0.4mm 240C nozzle. Depending on the material you are using and printing needs, you can easily swap out the nozzle on the Adventurer 4 — but there are a couple of catches to that process I'll go over later.
Loading the filament is a relatively simple process on this printer. Start by pressing the Prepare button on the touchscreen, then filament, and finally load. The Adventurer 4 will then display instructions on the screen for what's to come. But to get the filament ready to load, simply open the side door, hang the filament reel on the peg, gently put the end of the material into the hold indicated by the yellow sticker with an arrow on it.

Once you've gotten to that point, press Next on the screen, and the machine will start feeding the filament into the tube and eventually out of the heated nozzle. Press Complete on the screen, and you're done and ready to print.
Now, should you probably go through the calibration process? Yes. Did I? No. It wasn't because I didn't want to. It was mostly because I didn't know about it since I wanted to start printing as soon as possible. I later calibrated the machine after many successful prints mainly just to experience what it entailed. Thankfully the Adventurer 4 walks through the process on the display pretty well.
The Adventurer 4 has two modes for calibration — normal and expert. I bypassed both and started printing right away.
With a personally uncalibrated machine and the filament loaded in, I was eager and ready to print. In anticipation of the Flashforge printer arriving, I had found a few things I wanted to print first on Thingiverse. Because when I got the Adventurer 4, Squid Games was at peak hype, and I tried to print a replica of the Front Man mask.
I downloaded the file and loaded it into FlashPrint. Once there, I ensured it fit the platform space and auto-added supports. For those unsure, these are bits of material that are printed to openings or overhanging to ensure that they don't collapse during printing. Next, it was on to click the Start Slicing button to finalize the print settings. The program uses preset temperatures, speeds, and other options by choosing the material type. So, I picked PLA and sliced the file.

Once the file finished processing, I clicked on Local Save then Send to Printer. Then all that was left was to select the printer showing on my network and get started. Instantly I could hear the printer fan start and begin heating both the nozzle and the print bed. The temperatures quickly reached the conditions set forth by the file I sent, and then the printing started.
As this was going to be a very long print, over 12 hours, I let this one go overnight. While I knew that I was likely setting unrealistic expectations for a first print with no calibration to the printer, I was going on blind faith. When I checked the print in the morning, I was greeted with a failed spaghetti of a print. I removed the platform, put the second one on the print bed, and picked a new project to print.

After the failed first attempt, Adventurer 4 rattled off multiple projects for me without issue. I printed everything from functional pieces like carabiners and small desk drawers, even a phone case for my Pixel 6 Pro using TPU filament, to fidget spinner and collapsing swords for my kids. All of these were done without any calibration of the machine, just out of the box and go.
I did finally calibrate the machine after somewhere around 100 hours of printing. I did this because not only had I swapped nozzles for the printing of PETG filament that requires a higher print temperature, but I had also begun having some prints with uneven layers. The calibration was a quick and a simple process that got me back to excellent prints in no time.


Perhaps my favorite part about the Flashforge Adventurer 4, aside from the fact that it was pretty much beginner proof, is that it is fully enclosed. This feature means that not only does it help keep any unpleasant smells from the printing process down in conjunction with the HEPA 13 filter, but it also keeps the building area clean.
My 3D printing takes place in my office/storage shed, and it gets dusty very easily, thanks to the fact that I live on the north side of a gravel road. The enclosure on the Adventurer 4 helps keep dust from getting on the build plate, allowing for better prints. Another benefit of the enclosed style this printer sports is that it helps maintain the nozzle's temperatures and print bed much better than an open printer does.
Something else worth noting that has come in handy with this printer is its ability to resume a print should the Adventurer 4 lose power. I live in rural Kansas, and sudden power losses aren't uncommon. I had on more than one occasion a print in process and the power to my home go out. Once restored and I got the printer turned on, it asked whether I wanted to resume. I tapped yes, and it back to it as though nothing had happened.
Flashforge Adventurer 4: What's not good

The Flashforge Adventurer 4 has a lot of fantastic things going for it, especially for beginners. The possibilities are virtually endless for more experienced folks who are great at 3D modeling and tweaking all of the available settings to take full advantage of this printer. However, even for someone like myself who is a novice to this hobby, some areas could be improved.
For instance, while it is great that the printer nozzles can be swapped out for more printing options, the steps to do so are not well explained. Nor does the printer itself describe the full process for doing this. The safest way to change out the print head is to remove the filament from the machine. Then pre-heat the nozzle that's getting removed take it out, use the unclogging tool to clear the nozzle of any remaining filament before it cools.
No tools are technically required to change out nozzles, but the knowledge of how to do it properly isn't provided with the machine.
Clipping in the new nozzle and entering the temperature offset that is noted on the nozzle bag into the Adventurer 4 is easy enough. Just be sure you don't lose the bag. All that's needed next is to load your filament back in. While this isn't a terribly difficult process, it isn't explained and could be made more manageable. Aside from illustrating the initial steps to clear the filament, it would be wonderful if the machine could autodetect the nozzle and make temperature adjustments as needed.
This extra feature would ensure that there's no confusion as to what the size and temperature allowances are for the installed nozzle. When the machine has connectivity and fail-safes for other parts of the printing process — bed and nozzle temperature, improperly loaded filament, etc. — knowing what printer nozzle is in the machine should be one.

Speaking of recognizing things, the Flashforge Adventurer 4 has a built-in camera. On the one hand, it's a fun feature to offer. But on the other, the lighting conditions inside the printing area and the terrible camera itself mean that the images and video captured are basically useless.
Getting photos and videos from the printer can be done a few different ways — manually using a flash drive, through FlashPrint, and the two compatible cloud services — Polar Cloud and FlashCloud. No, this feature isn't a deal-breaker as it doesn't affect the quality of the prints. But, it does limit properly monitoring things remotely using what is built into the Adventurer 4.


Source: Chris Wedel / Windows Central
The other part of using the Flashforge Adventurer 4 is the slicing software for prepping files to print. Don't get me wrong; it does a fine job. FlashPrint is straightforward, clean-looking, and easy to learn — well, aside from understanding some of the more advanced settings. But what I'd love to see are some basic tools available — things like a ruler for measuring parts other than the entire piece or even simple 3D modeling options.
There potentially could be some other downfalls of the printer from a technical standpoint, but as I mentioned at the start of this review — I'm a newbie. I've been able to navigate using it and to produce a wide variety of prints with little to no issues. However, I would like to see the quirks mentioned above addressed.
Flashforge Adventurer 4: Competition

Flashforge makes a lot of different printers and is known for its enclosed printers, like the Adventurer 3 and the Creator Pro 2. But other brands are making good-quality enclosed printers that may be of interest, especially if you are just getting started and would like to save some money. One such printer is the Monoprice MP Voxel.
Firstly, this is quite a bit smaller than the Adventurer 4 and so is the print area that has a flexible and removable build plate. However, it is fully enclosed with Wi-Fi connectivity. It also offers quick-change nozzles that allow you to swap them out to accommodate different filament types. You won't find an auto-leveling bed, though it does have assisted leveling and a built-in camera.
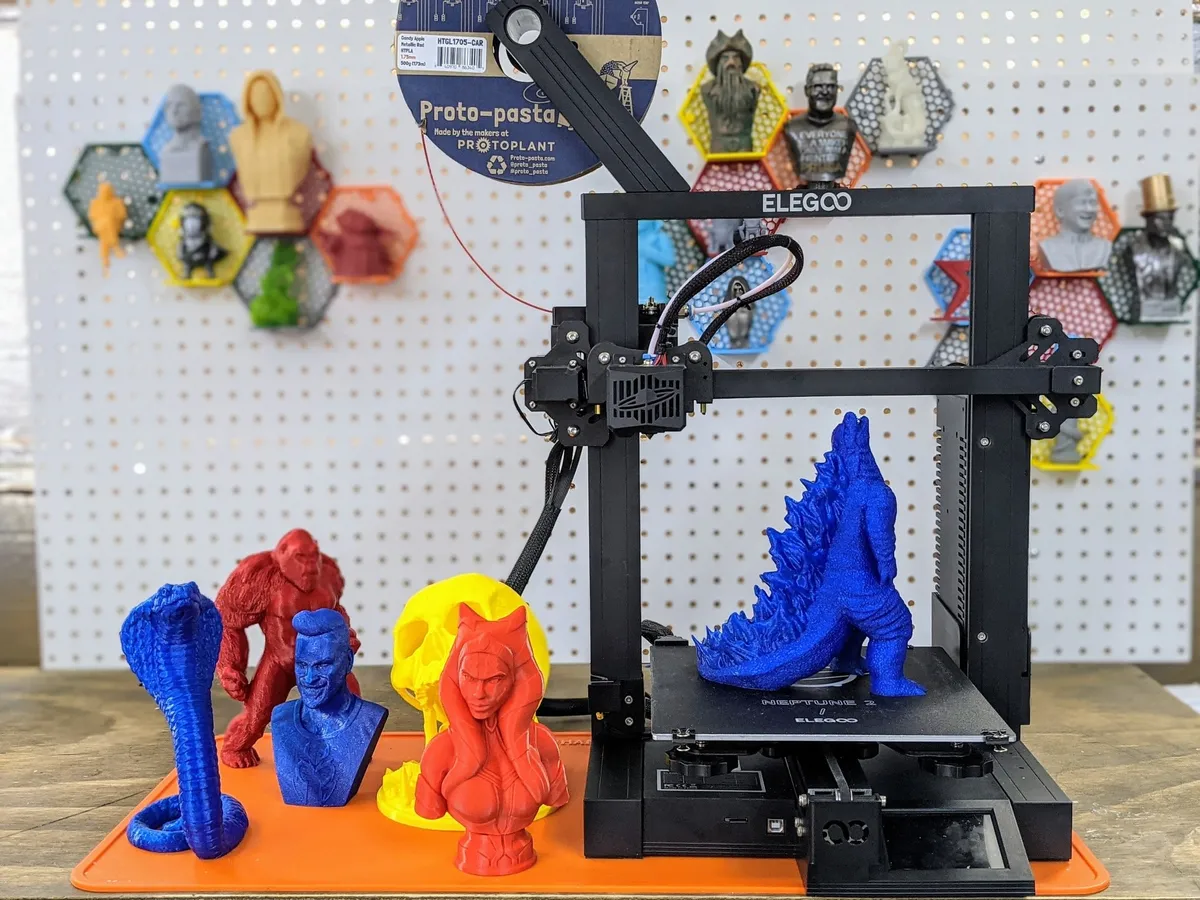
If you are looking for a large print area, great print quality, and saving a lot of money over the Adventurer 4, then the Elegoo Neptune 2 may be for you. It has the same build plate size as the Flashforge option, but it isn't magnetic or auto-leveling. You'll find a heated bed and nozzle temperature options that allow for multiple filament options.
At $250, the print quality is excellent. But at that price, there are concessions like no internet connectivity. So you'll be adding your print files manually via the microSD slot. This also means there's no camera for keeping an eye on your prints. The Neptune 2 offers filament detection and power loss detection to keep its place for resuming the print when power is restored.
Flashforge Adventurer 4: Should you buy it?

You should buy this if ...
- You want a high-quality, fully enclosed printer.
- You want a printer that requires very few adjustments to start printing.
- You want easy-to-use slicing software.
- You want a printer that can handle a wide variety of filament materials.
You shouldn't buy this if ...
- You want a printer that autodetects the nozzle specs
- You want to monitor your prints remotely using the built-in camera clearly.
- You want a printer that can print multiple materials at the same time.
While the Adventurer 4 isn't the cheapest printer on the market, it is a very good choice for beginners. Thanks to the enclosed design of the machine, the printing area stays free of dust, temperatures are better regulated, and fumes are nearly non-existent. The high build quality and self-leveled build platform make this printer ready to go out of the box, aside from potentially needing to calibrate the nozzle.
But if you swap nozzles, you will need to take on a bit of effort since the machine won't autodetect the temperature rating for the new nozzle. While the poor camera quality shouldn't deter someone from picking up the Adventurer 4, it is disappointing that it can't be better utilized for remotely monitoring prints.
Is the Flashforge Adventurer 4 a great printer for the experienced? Yes, but so are many others. What the Adventurer 4 offers straight away is the ability to begin printing with almost no knowledge of the necessities to get started. Now, will the prints that I know how to create and adjust with my limited knowledge using this printer win any awards? No. But could they if I took the time to learn the minutiae of this hobby and the printer? Yes.
I couldn't be happier with this printer. I have had far more successful prints than I have failed. I've fumbled around in the settings after watching some videos online and from reading some tutorials and have managed to mess some things up. But, I was just as quickly able to get the Adventurer 4 back to its initial settings and return to making prints.
This printer has allowed me to confidently enter into the 3D printing hobby. Being able to essentially start printing right out of the box while also expanding my knowledge and print quality. Plus, as time goes on, the printer will only get better in what it can produce as my skills improve.
Bottom line: Whether you are looking to expand your printing capacity or get started in the hobby, the Adventurer 4 is a great place to start, thanks to its excellent build quality and feature set.

