Destiny 2 Root of Nightmares raid guide: How to beat every encounter
Looking to conquer Destiny 2: Lightfall's new raid experience? Here's everything you need to know.
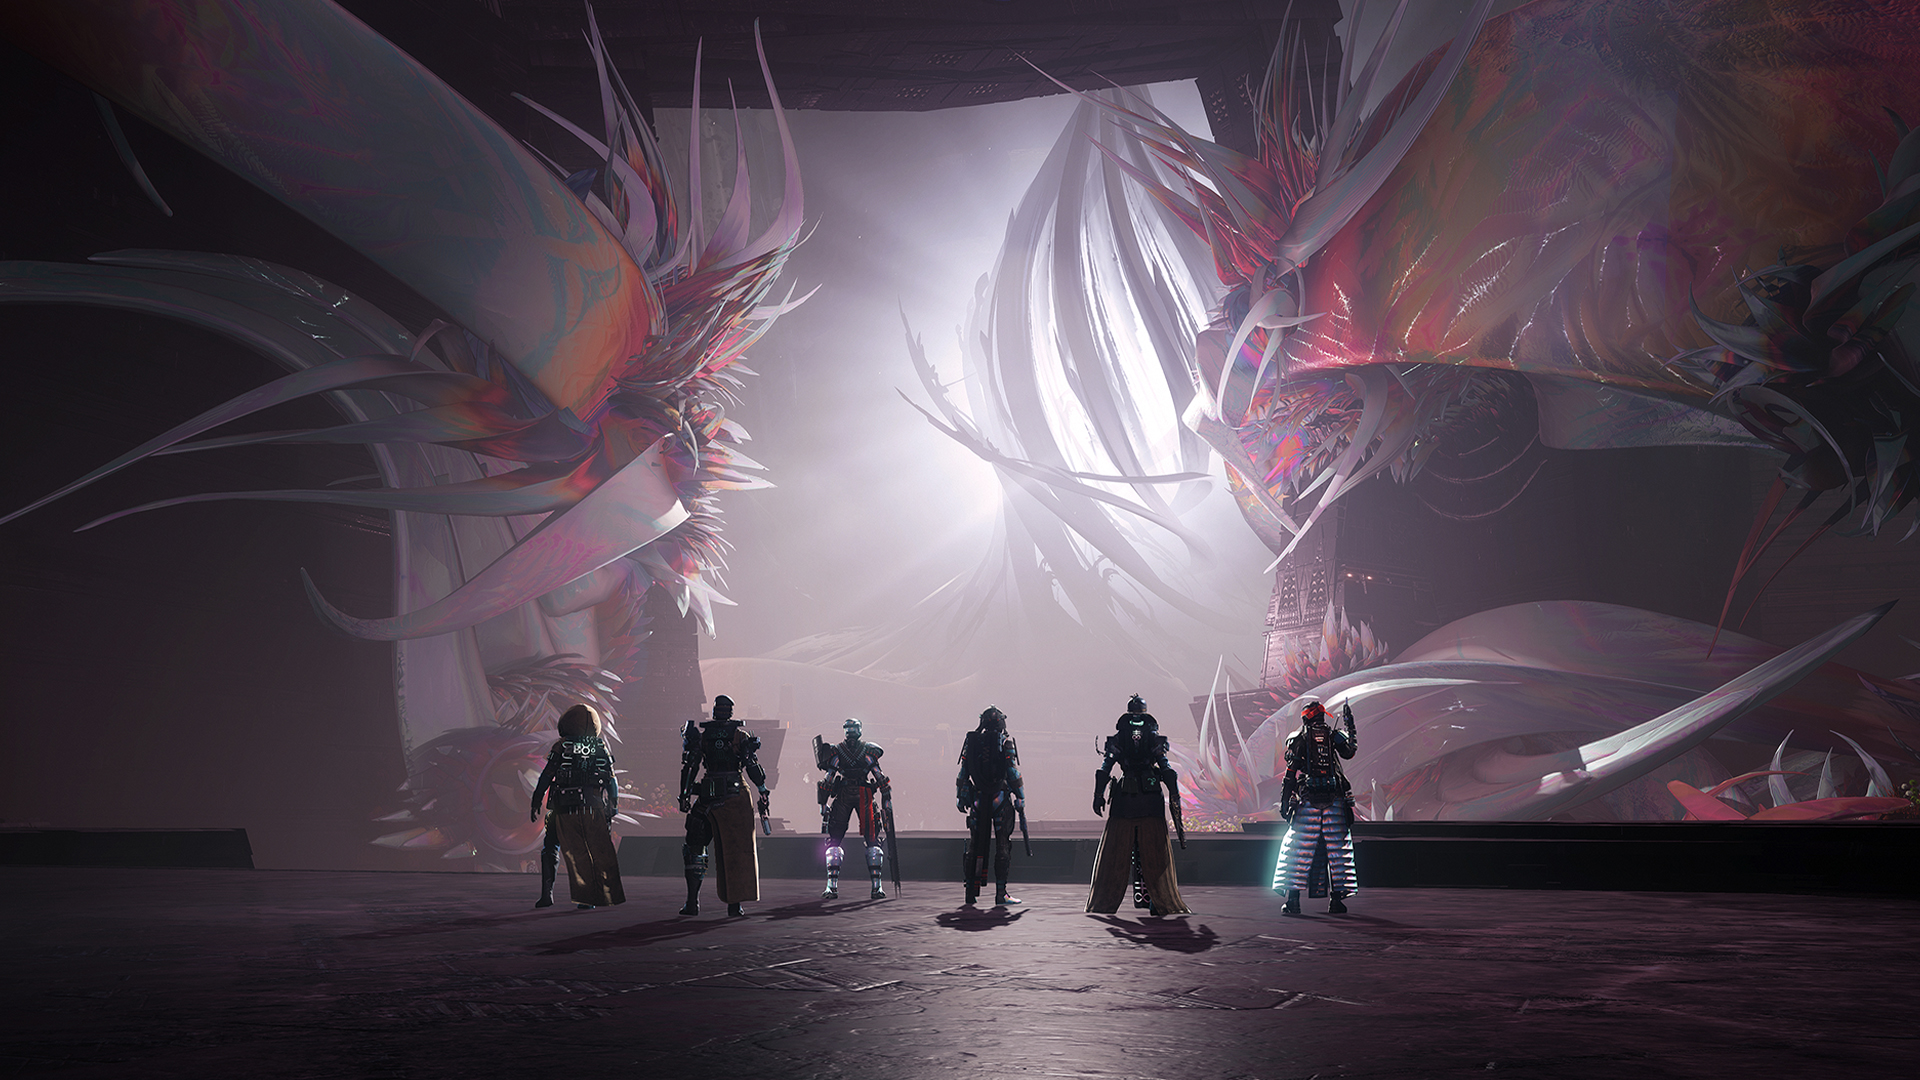
The new premier six-man endgame experience in Destiny 2's latest expansion, Lightfall, is the Root of Nightmares raid. In it, players are tasked with making their way through the Darkness Pyramid ship that the Traveler beamed with Light during the Witness' attack on Earth. To emerge victorious and walk away with a pile of that sweet, sweet raid loot, you must face the various challenges that await within.
While it's not as difficult as some of Destiny's previous raids, completing the Root of Nightmare will nevertheless be a formidable challenge for any Guardian fireteam. If you're looking for help to get you through it, we've got you covered with a complete and in-depth guide to all four of its encounters, along with loadout recommendations for gear, subclasses, and builds.
Root of Nightmares: Loadout recommendations
Before going into the Root of Nightmares, you'll want to make sure that you've got some top-tier gear at the ready, including many of the best Destiny 2 Exotics. Additionally, you'll also want to make sure you're using optimal subclasses for each encounter, as Arc, Solar, Void, Stasis, and Strand all have different strengths and weaknesses.
Below, we've created a list of the best weapons and subclasses to use in each encounter, along with a variety of alternative suggestions that work well too.
Best weapons for Root of Nightmares
- As far as primary weapons go, the Funnelweb, Calus Mini-Tool, and IKELOS_SMG_v1.0.3 SMGs are all phenomenal and will perform well throughout the raid since most combat is at close to medium range.
- Osteo Striga is a potent Exotic SMG for the first and second encounter that will wipe out hordes of ads with its poison.
- In general, your favorite SMGs, Auto Rifles, Pulse Rifles, and Hand Cannons will all be effective.
- A good Scout or Pulse Rifle such as the Trustee, Tarnished Mettle, or Veles-X will perform well in the third and final encounter if you end up on ad clear and want to opt for a ranged approach.
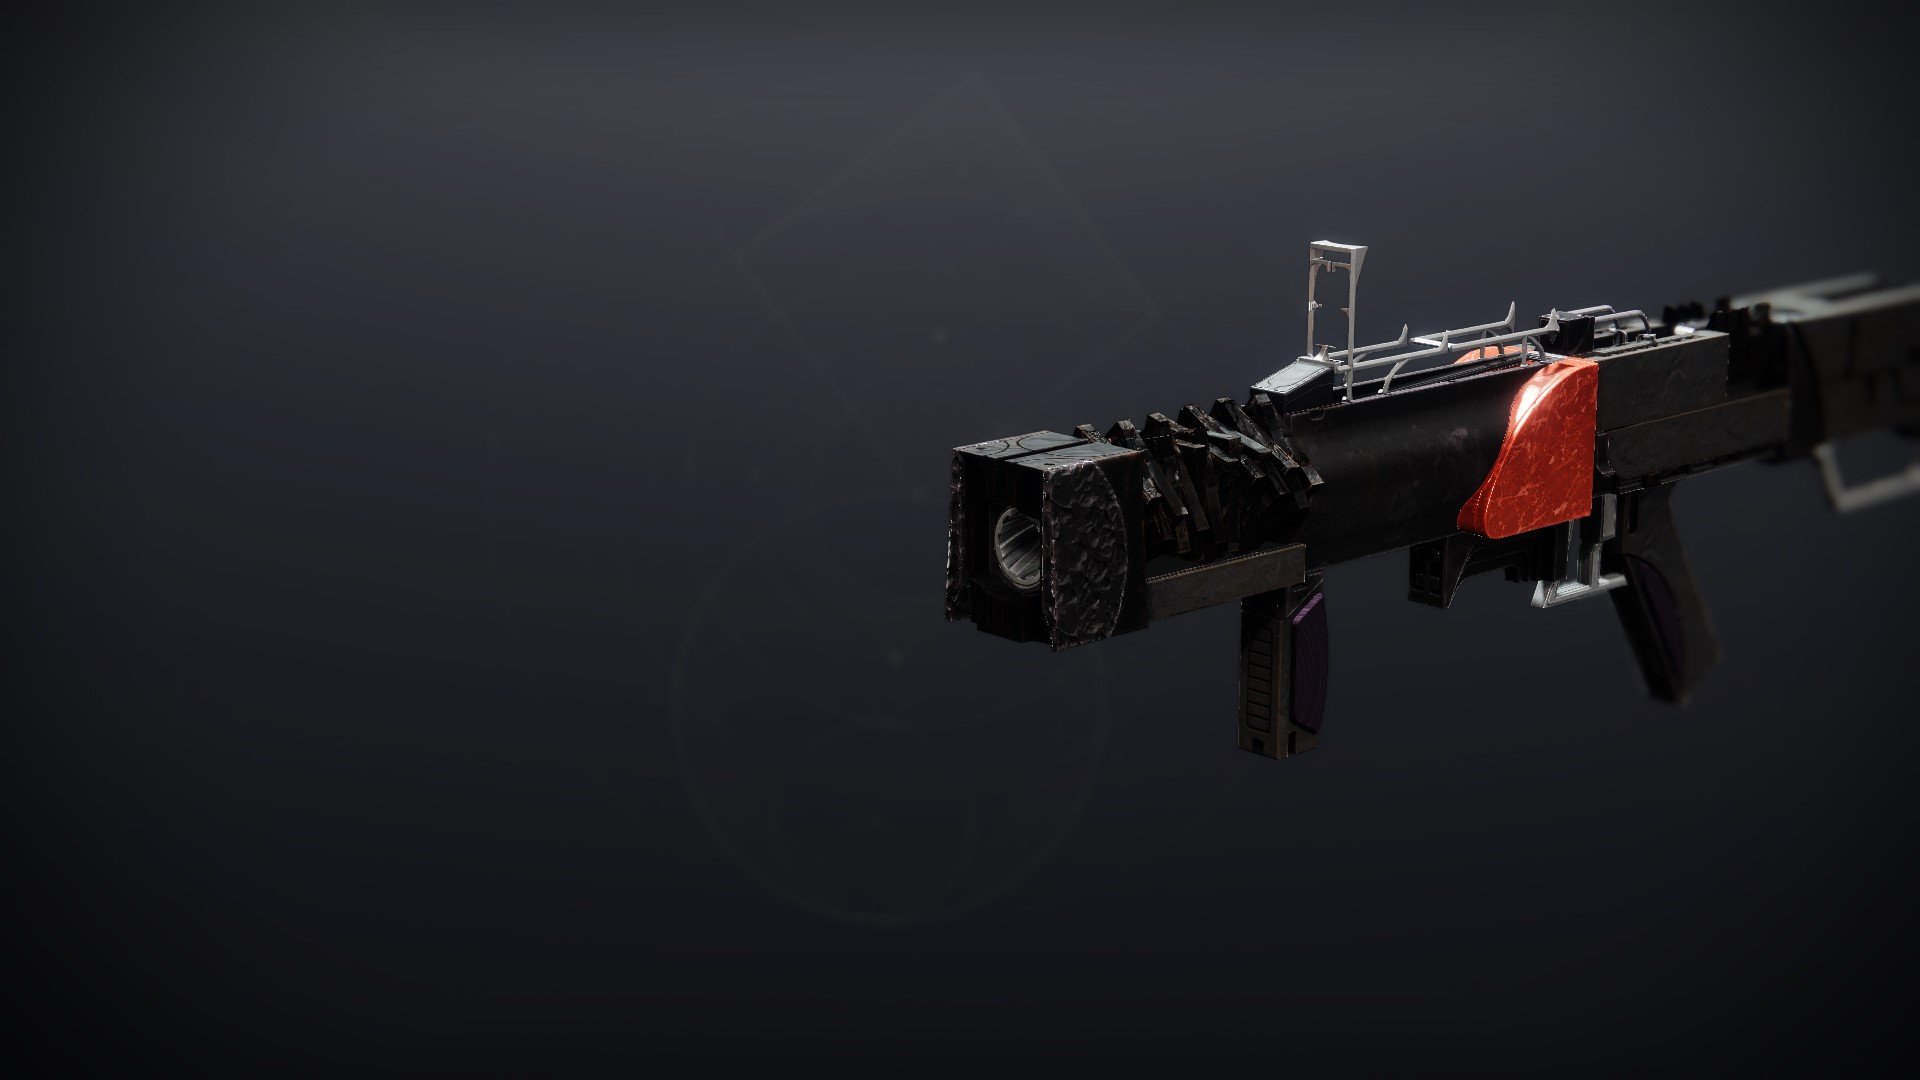
- The best special weapon for Root of Nightmares is the Forbearance wave frame Grenade Launcher from the Vow of the Disciple raid. Its ad clearing capabilities are extremely helpful in every encounter.
- The Exotic Grenade Launcher Witherhoard is an excellent way to deal strong damage-over-time against the bosses, especially if you're a Starfire Protocol Solar Warlock. This is because you can spam lots of Fusion Grenades in your Empowering Rifts and Wells of Radiance thanks to Witherhoard's constant damage ticks.
- Consider using a Sniper Rifle like Succession to shoot the final boss' weak spots in that encounter, as it makes doing so very easy.
- Since it makes a large crit bubble that's easy to shoot, the Exotic Trace Rifle Divinity from Garden of Salvation is a great weapon to use when your team is using Sniper Rifles or Linear Fusion Rifles for damage, but struggling to hit crits.
- The Izanagi's Burden Exotic Sniper Rifle pairs extremely well with Rocket Launchers that have the Auto-Loading Holster perk on them, as you can shoot a rocket, swap to Izanagi's Burden, shoot a x4 Honed Edge shot, reload it, switch back to your rocket, and repeat.
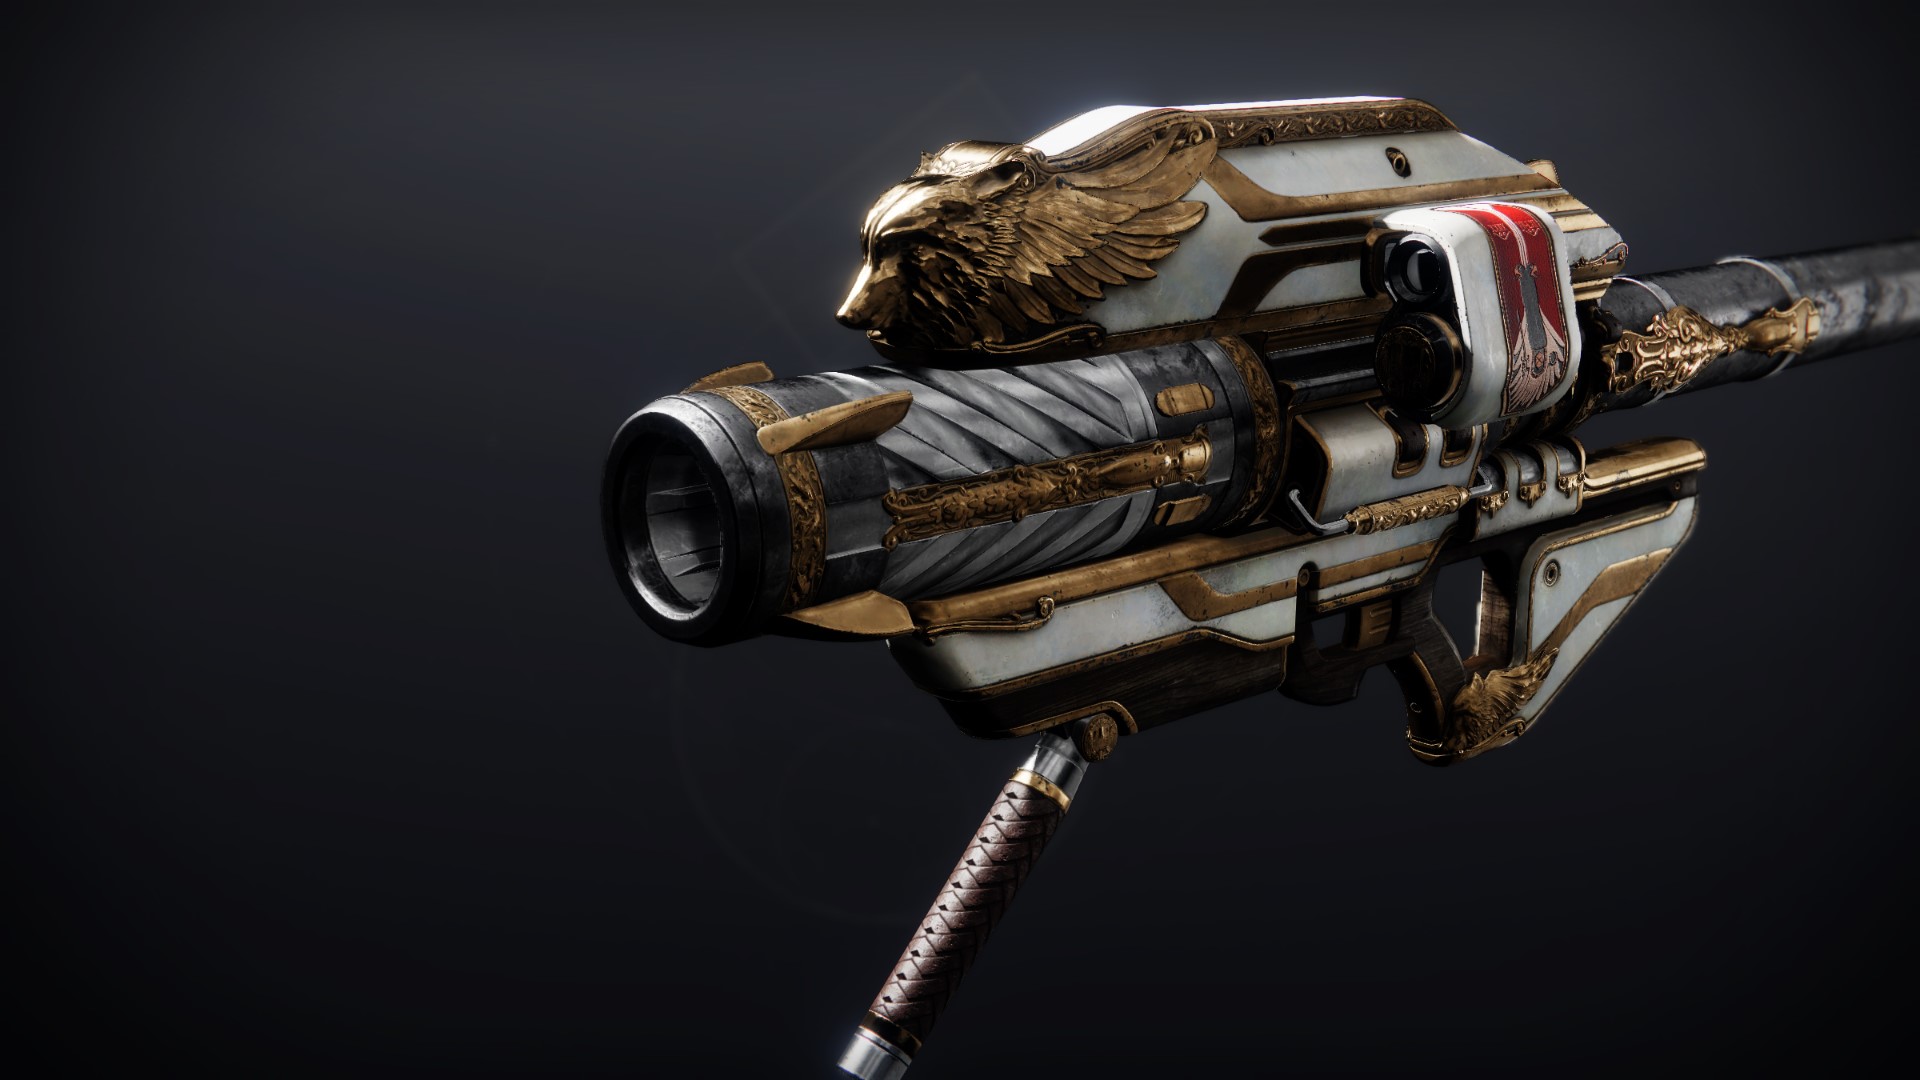
- Rocket Launchers like Blowout and The Hothead do excellent overall damage-per-second in this raid. Remember to pair them with the Exotic Rocket Launcher Gjallarhorn so that everyone using a Legendary Rocket Launcher gets a huge damage buff from its Wolfpack Rounds perk. Bump in the Night with Chill Clip pairs excellently with Gjallarhorn as well, though only one person should use it.
- The Exotic Machine Gun Thunderlord is also a strong damage option in the Root of Nightmares, provided that everyone has the catalyst for it and someone is using Divinity to make crits easy to hit. Additionally, it has excellent ammo economy and slays ads extremely fast, making it a versatile and reliable pick for the full raid.
- In the first and second encounters, any well-rolled Machine Gun will perform well since they're ad clear-focused. The best Machine Guns to use are Commemoration from the Deep Stone Crypt raid and Fixed Odds from the Duality dungeon.
Best subclasses for Root of Nightmares
- Titans can use any subclass for the first two encounters, as all of them have potent ad clear potential. In the third and final encounter, either Void or Arc is recommended, as the former's overshields make surviving against their tough enemies easier (also Ward of Dawn is helpful if you don't have a Well of Radiance Warlock) while the latter gives you access to the powerful Thundercrash boss damage Super.
- Warlocks should use Arc, Void, Stasis, or Strand in the first and second encounter, as all of these subclasses are top-tier for ad clear. In the third and final encounter, they should use Solar for helpful Well of Radiance Supers during boss damage phases.
- Hunters will be most effective with ad clear setups on Arc, Void, or Strand in the first two encounters. In the third and final one, go with Void to give bosses the Weaken debuff with Deadfall/Moebius Quiver tethers or Arc to deal lots of damage to them with Gathering Storm.
While the new Strand subclasses aren't very valuable in the final two encounters, using one of Destiny 2's best Strand builds for the first two is an excellent idea since Strand effects like suspend and unravel are extremely useful when clearing out crowds of enemies.
Destiny 2 Root of Nightmares first encounter: Cataclysm
| Role | Players | Description |
|---|---|---|
| Runner | 1-2 | Get the Field of Light buff by shooting orbs over glowing plates. Take Field of Light to the next plate, indicated by beam of light coming from plate orbs. Shoot black orb on next plate to progress the plate sequences and finish the encounter. |
| Ad Clear | 4-5 | Kill enemies as quickly as possible so that they don't interfere with the runner's job. Melee shielded Psions to spawn Tormentors. Kill Tormentors to extend the Sweeping Terror wipe timer. |
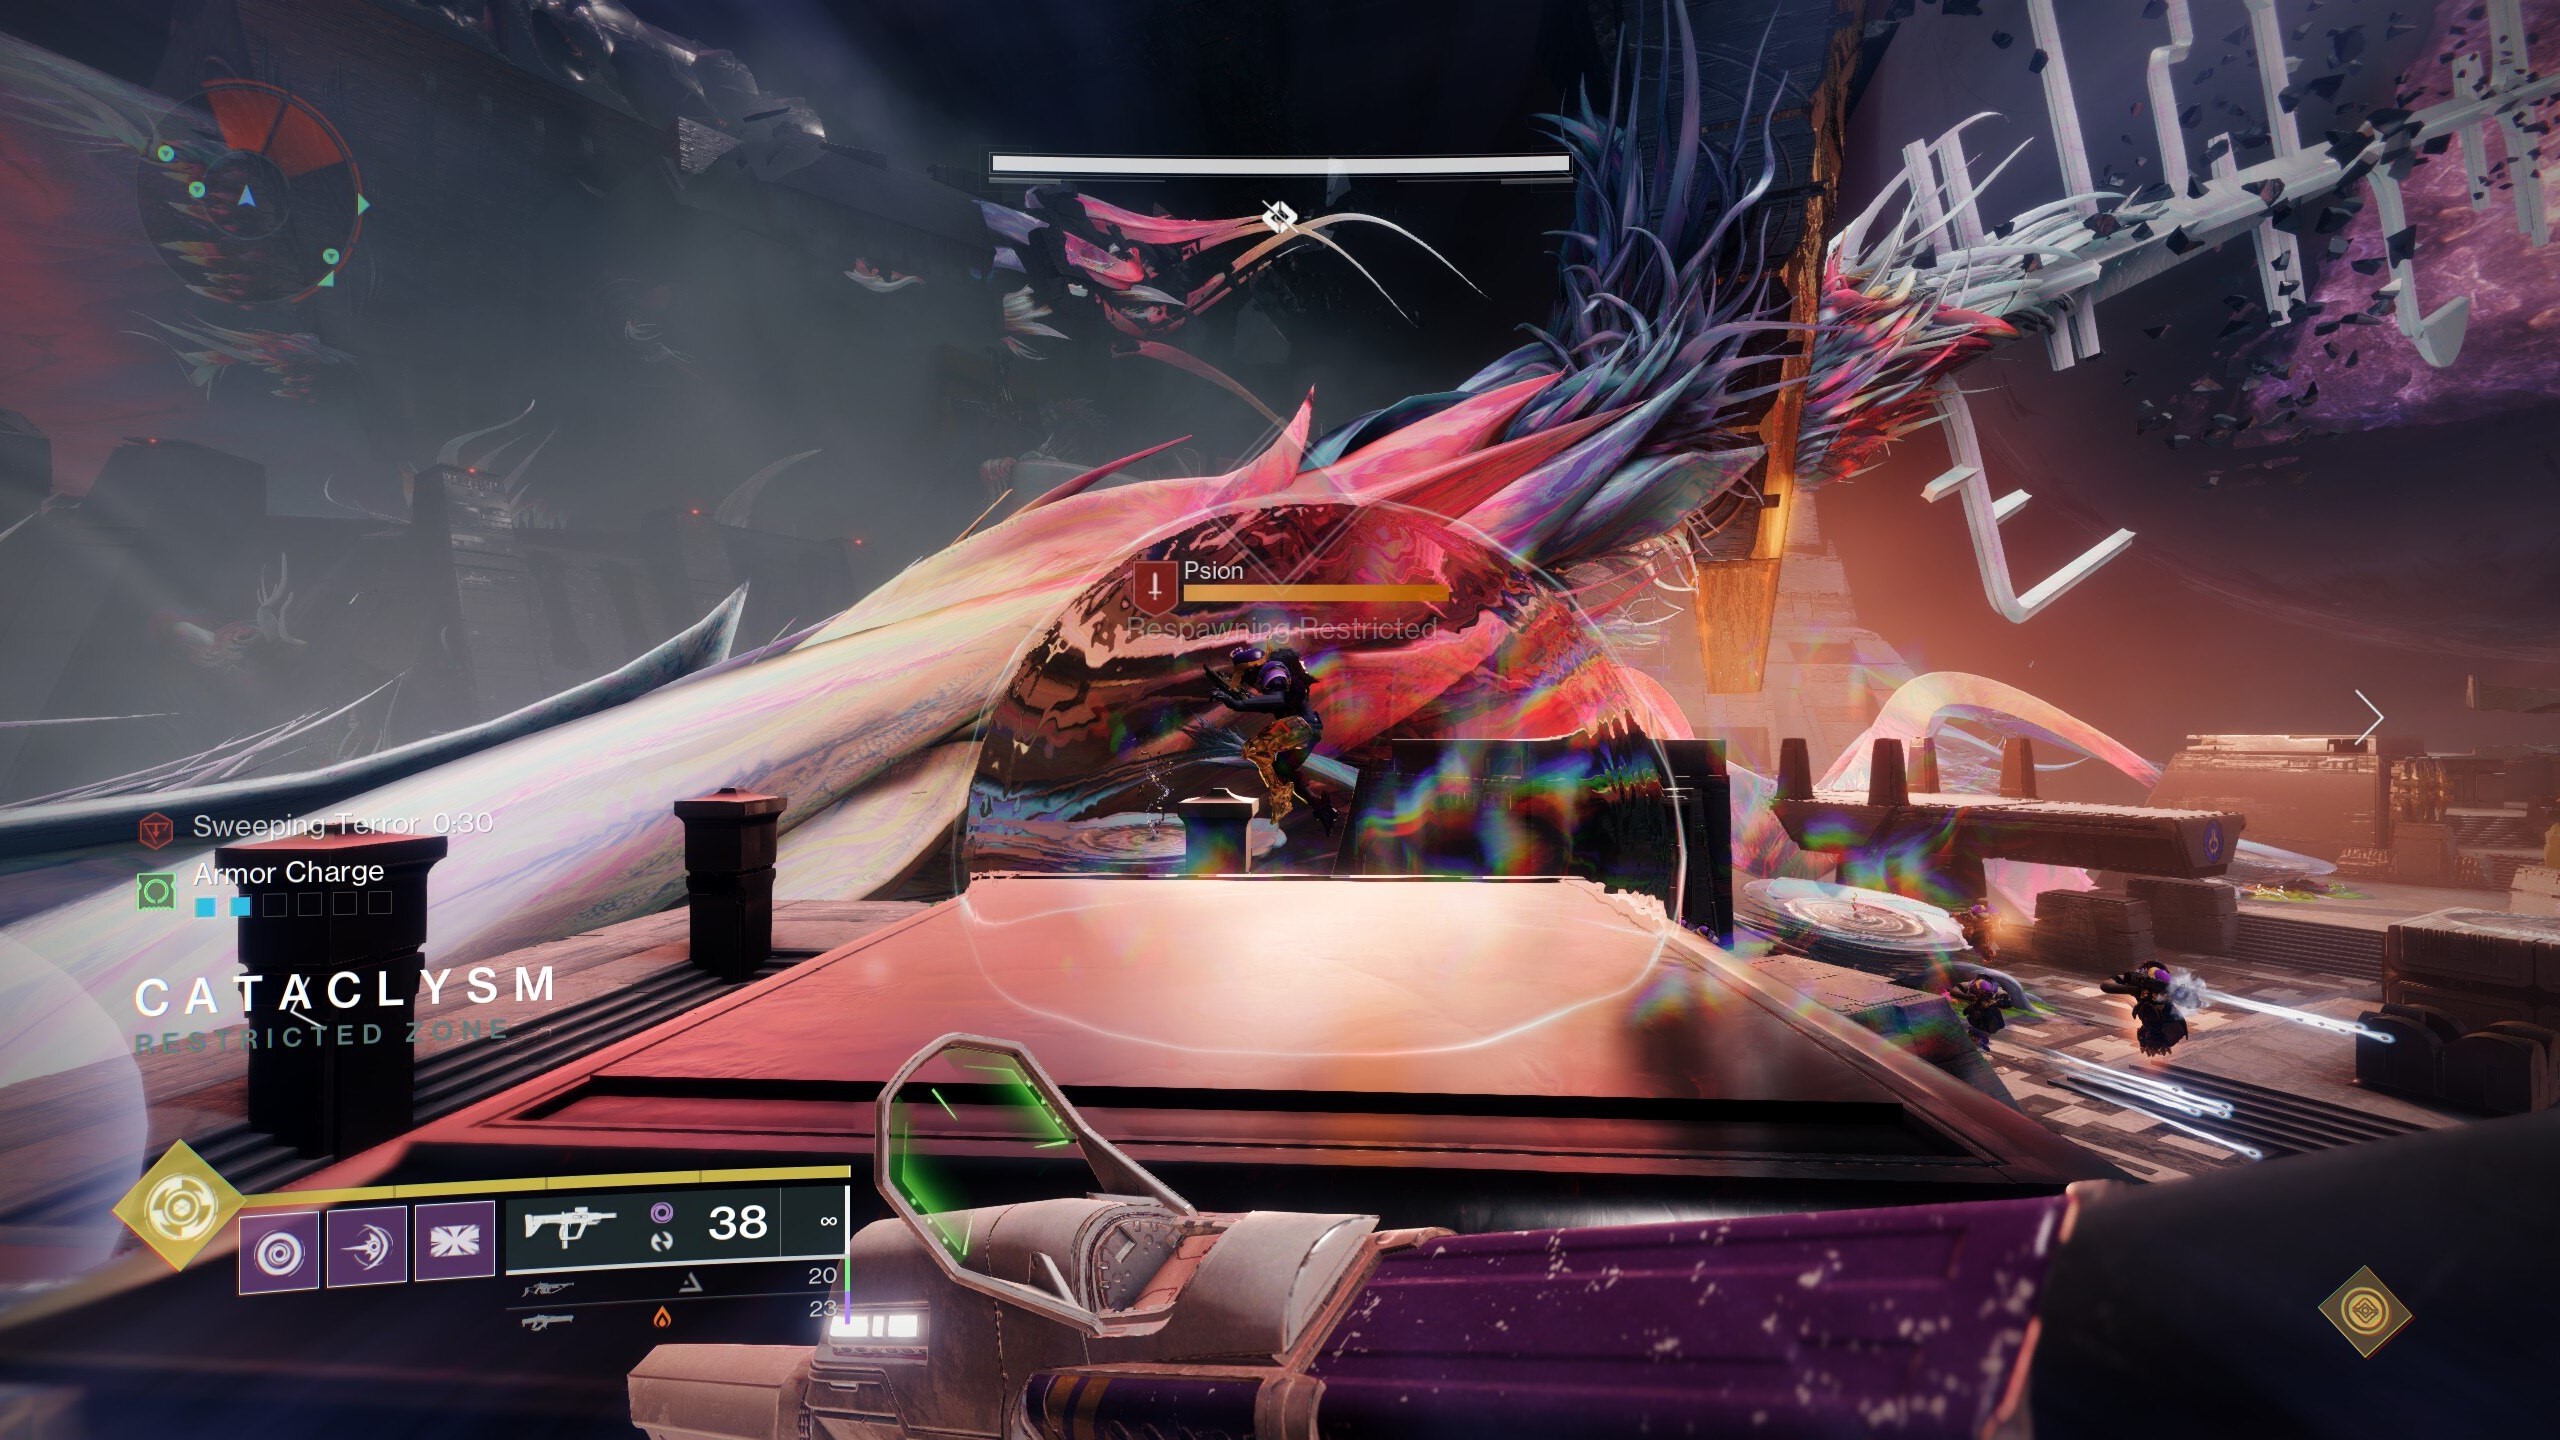
After a short introduction with some light platforming and combat, you'll come across the beginning of the Root of Nightmare raid's first encounter: Cataclysm. In this encounter, your goal is to repeatedly use a buff called Field of Light to activate a chain of plates in the arena ahead of you, while simultaneously killing shielded Psions and Tormentors to prevent your team from dying to the encounter's wipe mechanic, Sweeping Terror.
First, let's go over how your team can obtain and use the Field of Light buff to make progress:
All the latest news, reviews, and guides for Windows and Xbox diehards.
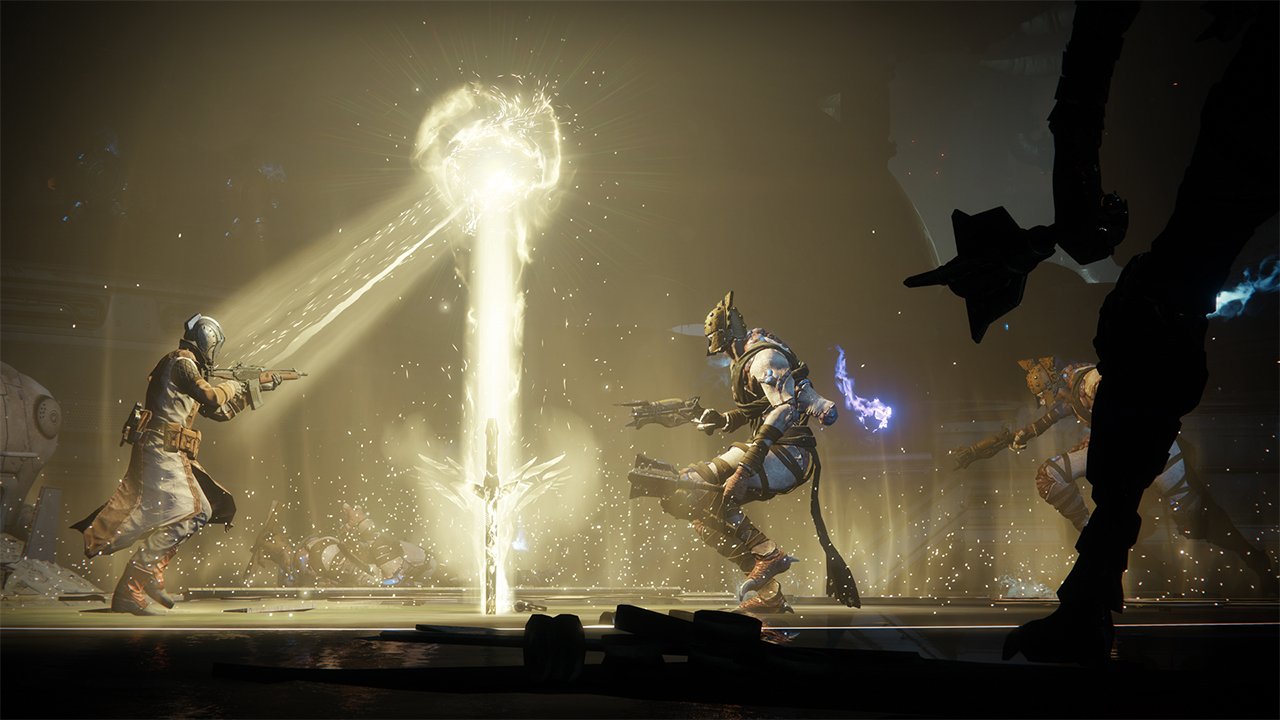
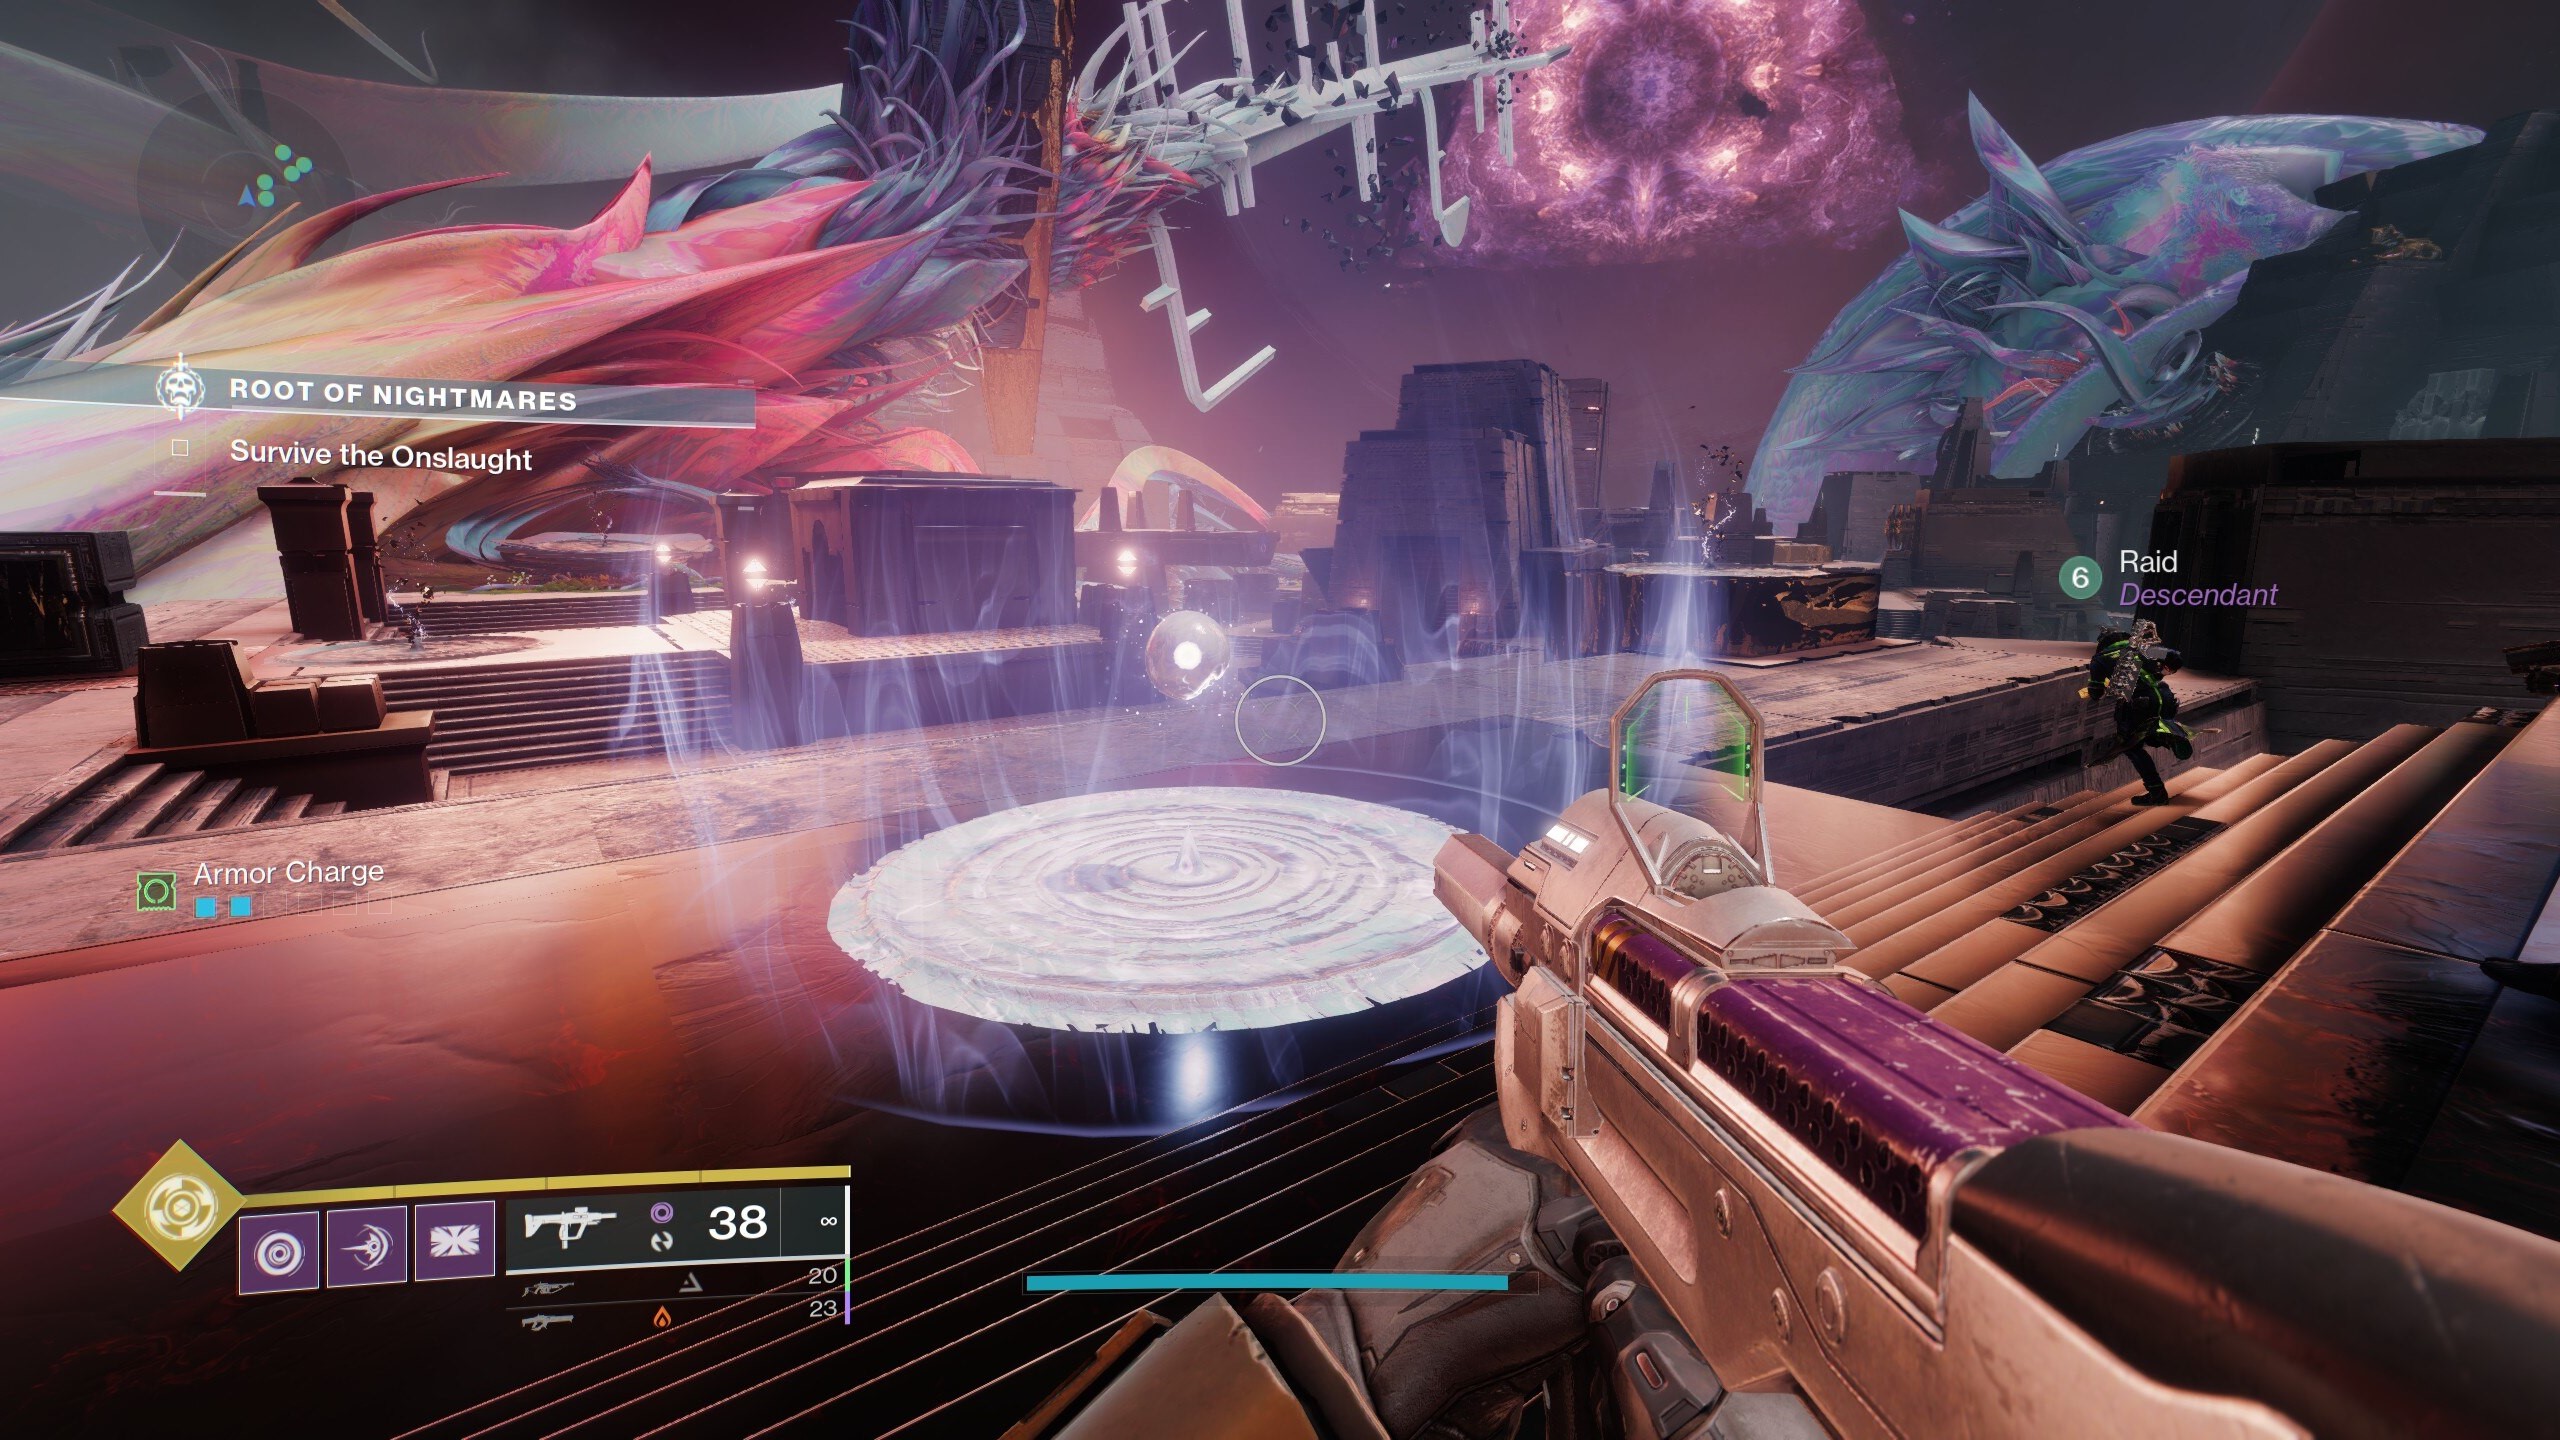
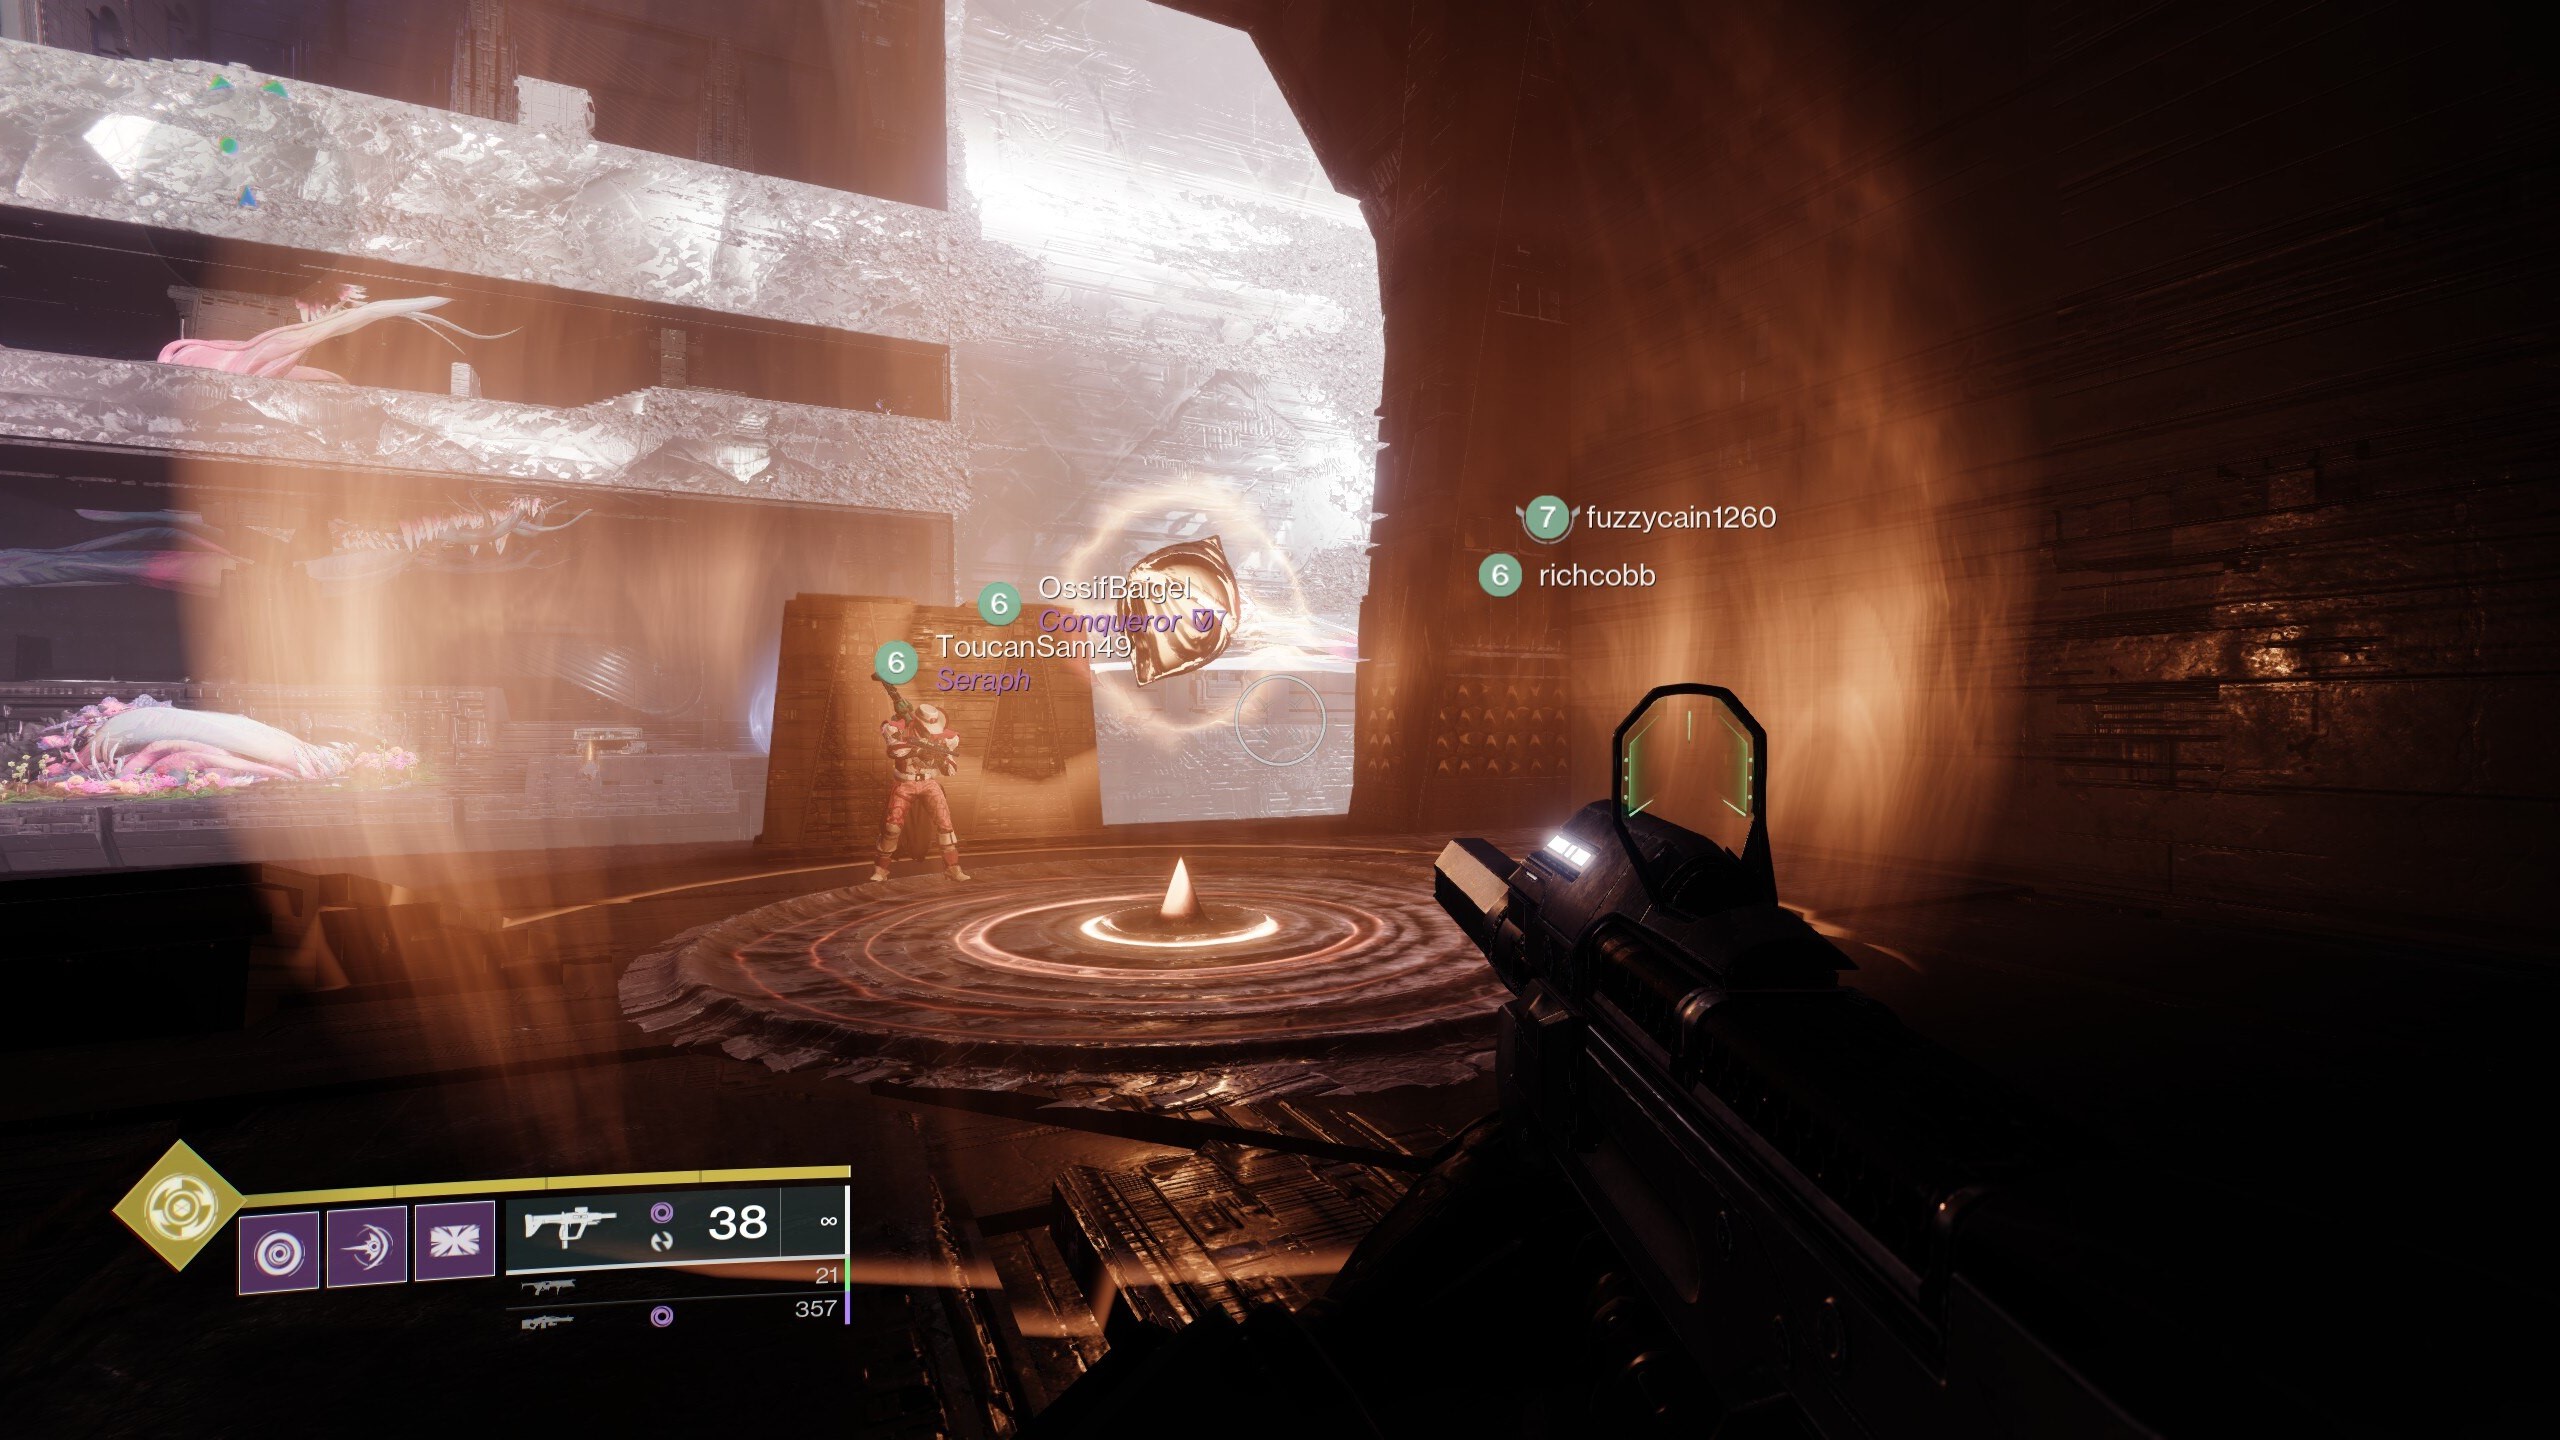
- Assign one player to be the runner for the Field of Light buff. This player needs to stand in glowing plates with a white orb over them (shown above) and shoot the orb to get Field of Light. Then, they need to look at the orb for a line that points where the plate they need to go is.
- The runner then goes in the indicated direction until they find a plate with a small black orb over it. Then, while the Field of Light buff is still active, they shoot the black orb while standing in that plate. The orb will then become a white one like the one on the original plate, and the Field of Light buff will be consumed.
- After completing a plate, the runner needs to look at the newly created orb for a new line that points where the next plate is. Then, they need to go back to the glowing plate to regain the buff and take it to the next plate in the sequence.
- Something important to know is that the plate the runner can get the buff from will always be two behind where you are in the sequence. For example, the runner will need to get the buff from the first plate before they can activate both the second and third ones, but the buff needs to be collected from the second plate to activate the fourth one, the third to activate the fifth one, and so on.
- Chaining continues until a "His hatred halts..." message appears, at which point the encounter's wipe mechanic will stop for several seconds. Then, a new glowing "starting" plate will appear where the runner can get the buff again, and the chaining process begins anew.
- In total, the runner will need to chain four series of plates before the encounter ends.
Notably, this role can be done by two players if you want to go as fast as possible, though you have to be careful about when each player acquires the Field of Light buff. This is because trying to take the buff while someone else already has it will "disrupt" all orbs, temporarily halting your progress. If this happens, you'll have to wait until the orbs rebuild themselves before you can use them again.
Also, even though anyone standing on a glowing plate will get the buff when someone shoots its orb, specific Field of Light buffs can only be used to activate the next plate in the sequence and won't work for plates after that. Therefore, there's no benefit to giving multiple players the buff at once.
While one or two players are taking care of the Field of Light mechanic, everyone else on the team should be protecting them by killing enemies, while also eliminating Psions and Tormentors to delay the Sweeping Terror wipe. Here's a full breakdown of what you need to do:
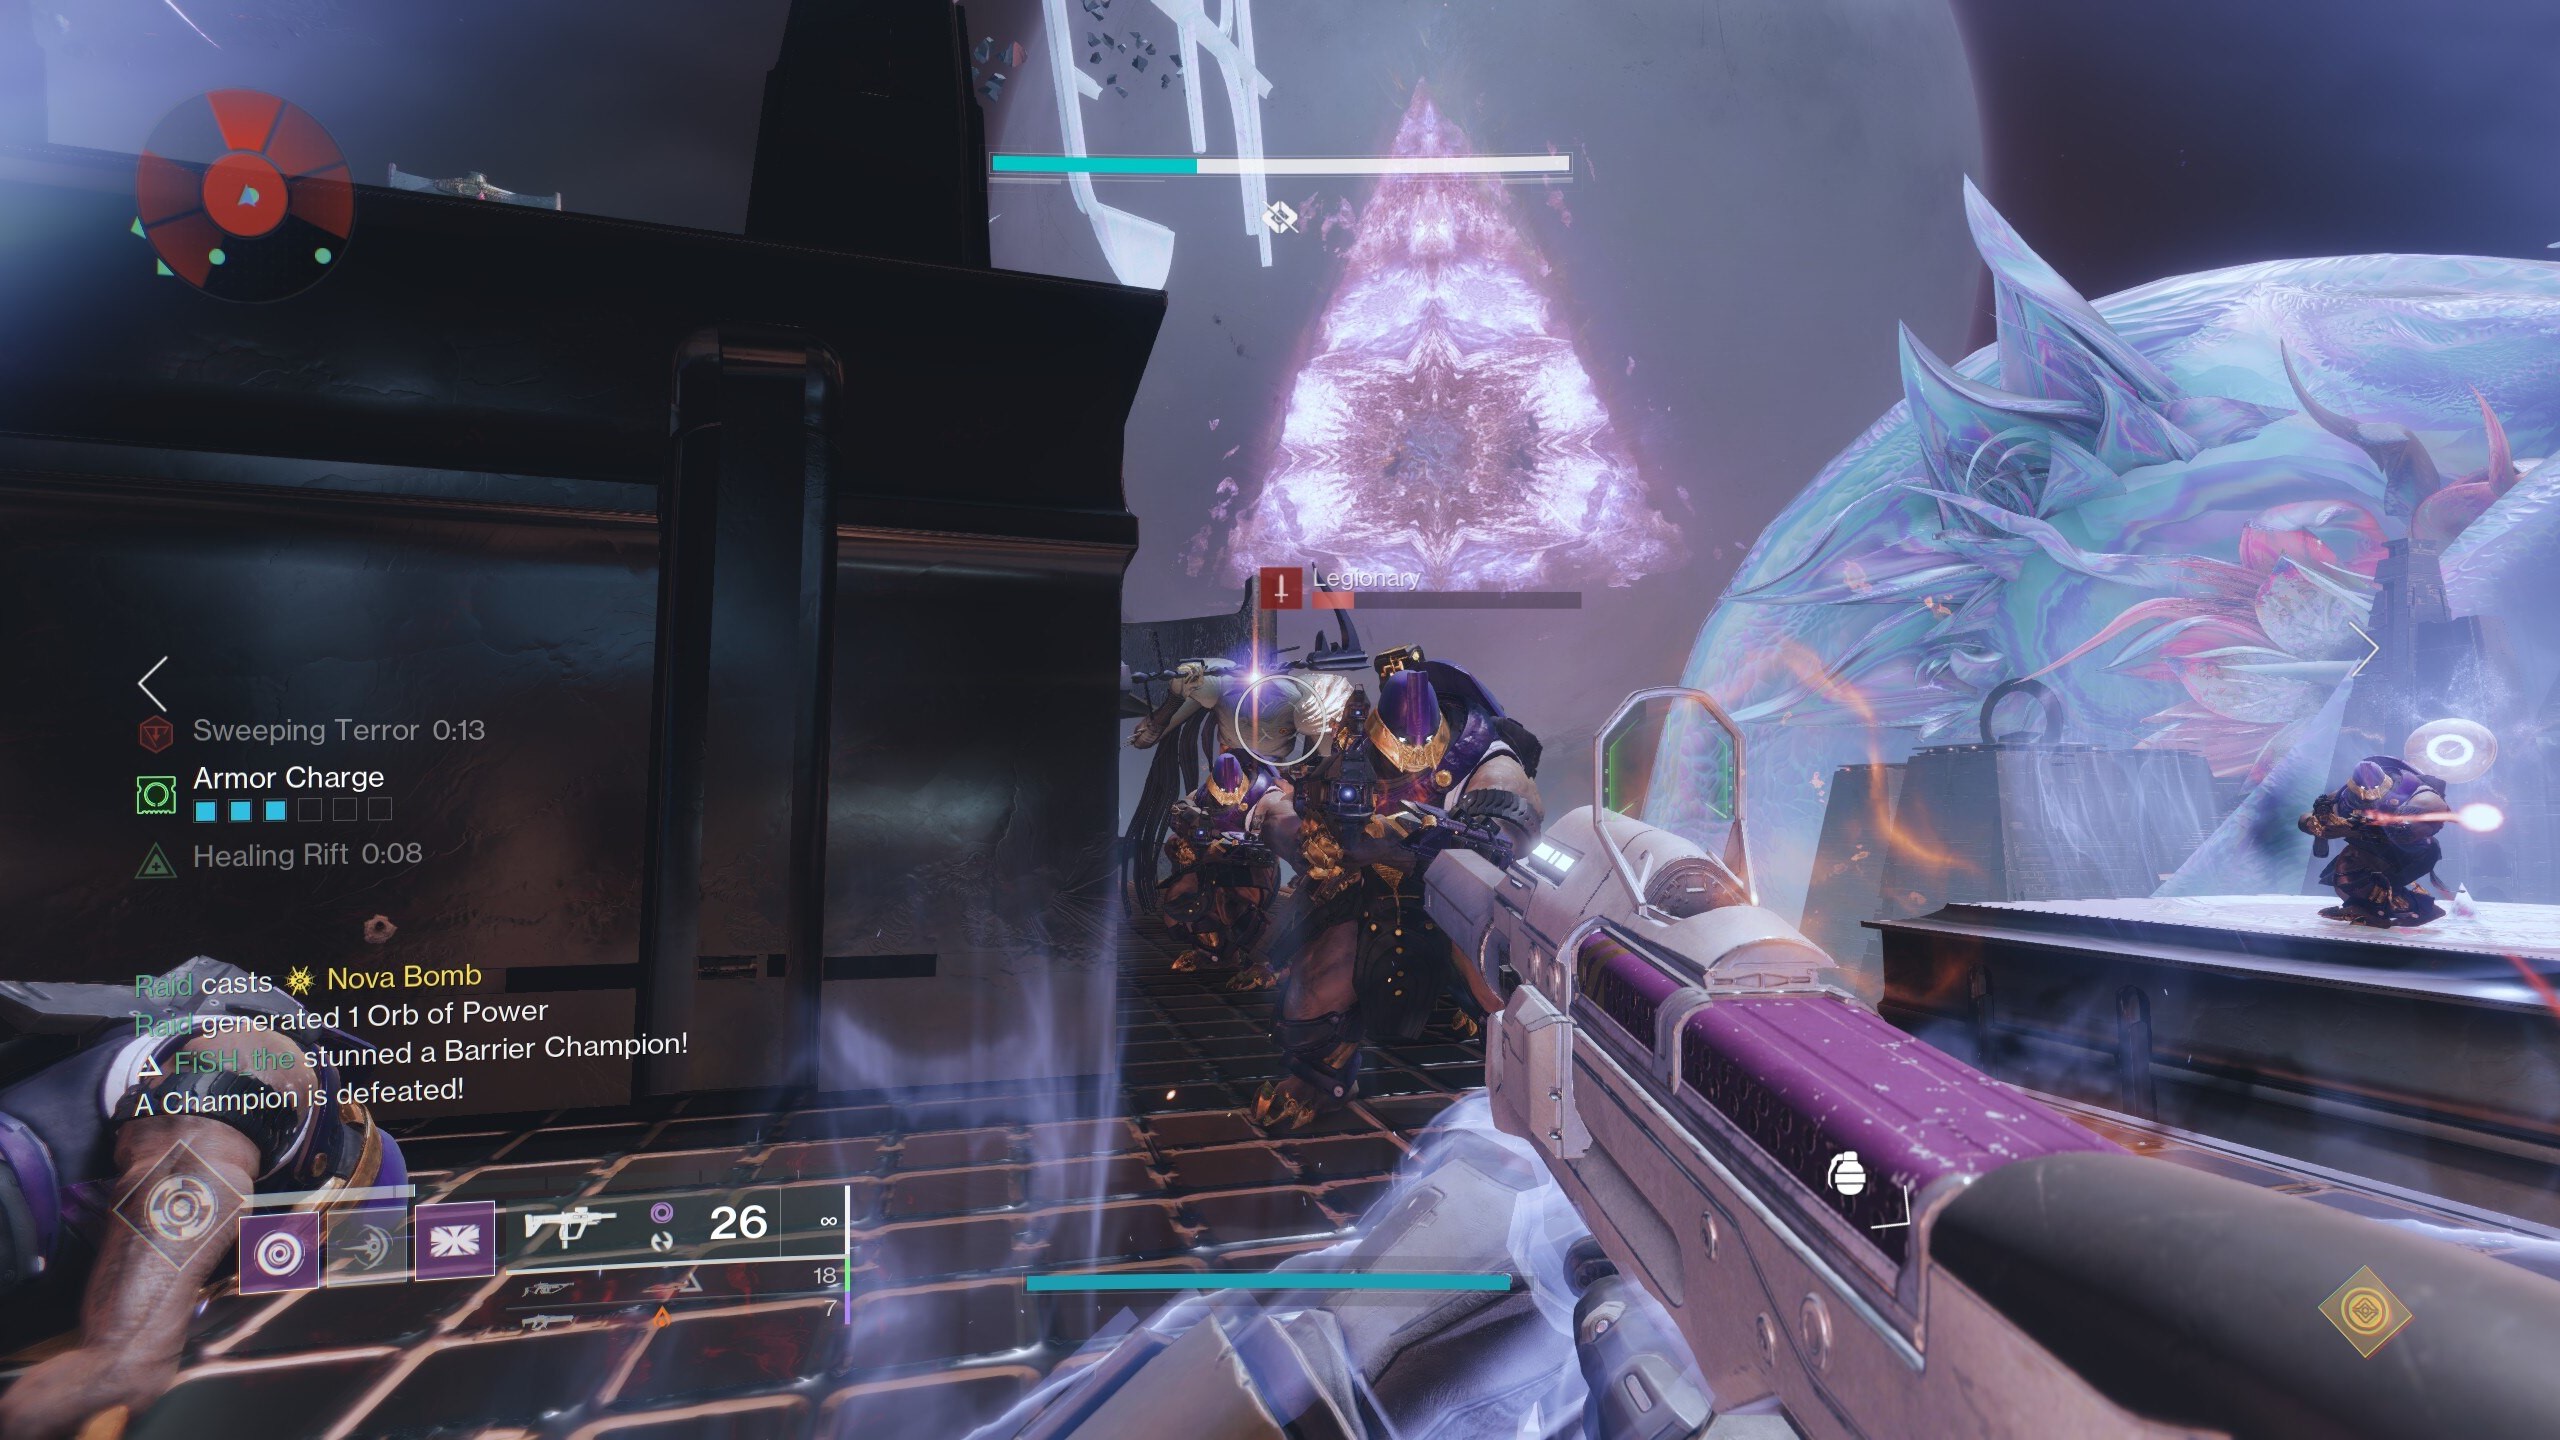
- Have everyone that isn't running activating plates with the Field of Light buff kill as many ads as possible to protect the runners. This includes the occasional Barrier Champion, so have an anti-Barrier weapon or ability at the ready.
- Frequently, you'll see the "An adherent of torment has appeared" message pop up, meaning that two shielded Psions have spawned somewhere nearby. Their shields protect them from all ranged weapons and abilities, so players need to melee them quickly to kill them.
- Killing both Psions spawns a Tormentor nearby. Everyone on the ad clear team should immediately focus on killing this Tormentor, as doing so adds 30 seconds to the Sweeping Terror timer visible on the bottom left of your HUD.
- Repeat this as often and quickly as you can until the buff runner(s) finishes all four plate sequences and the encounter completes.
If it helps, you can have a player or two dedicate their full attention towards punching the shielded Psions so that Tormentors are spawned (and killed) as quickly as possible. However, this isn't necessary, as anyone can kill the Psions.
Once your team has successfully completed all four plate sequences, the encounter will end and you'll get a loot drop. After you collect your piece of gear, it's time to move on to the second encounter.
Destiny 2 Root of Nightmares second encounter: Scission
| Role | Players | Description |
|---|---|---|
| Runner | 2 (1 per side) | Complete Field of Light/Flux of Darkness plate sequences by collecting these buffs and using boopers to cross the chasm between the two sides. |
| Ad Clear | 4 (2 per side) | Kill as many enemies as possible. Stay near or on the glowing buff plates to get buffed when the runner returns for a buff of their own, and use buff to kill shielded Centurions that block progress. |
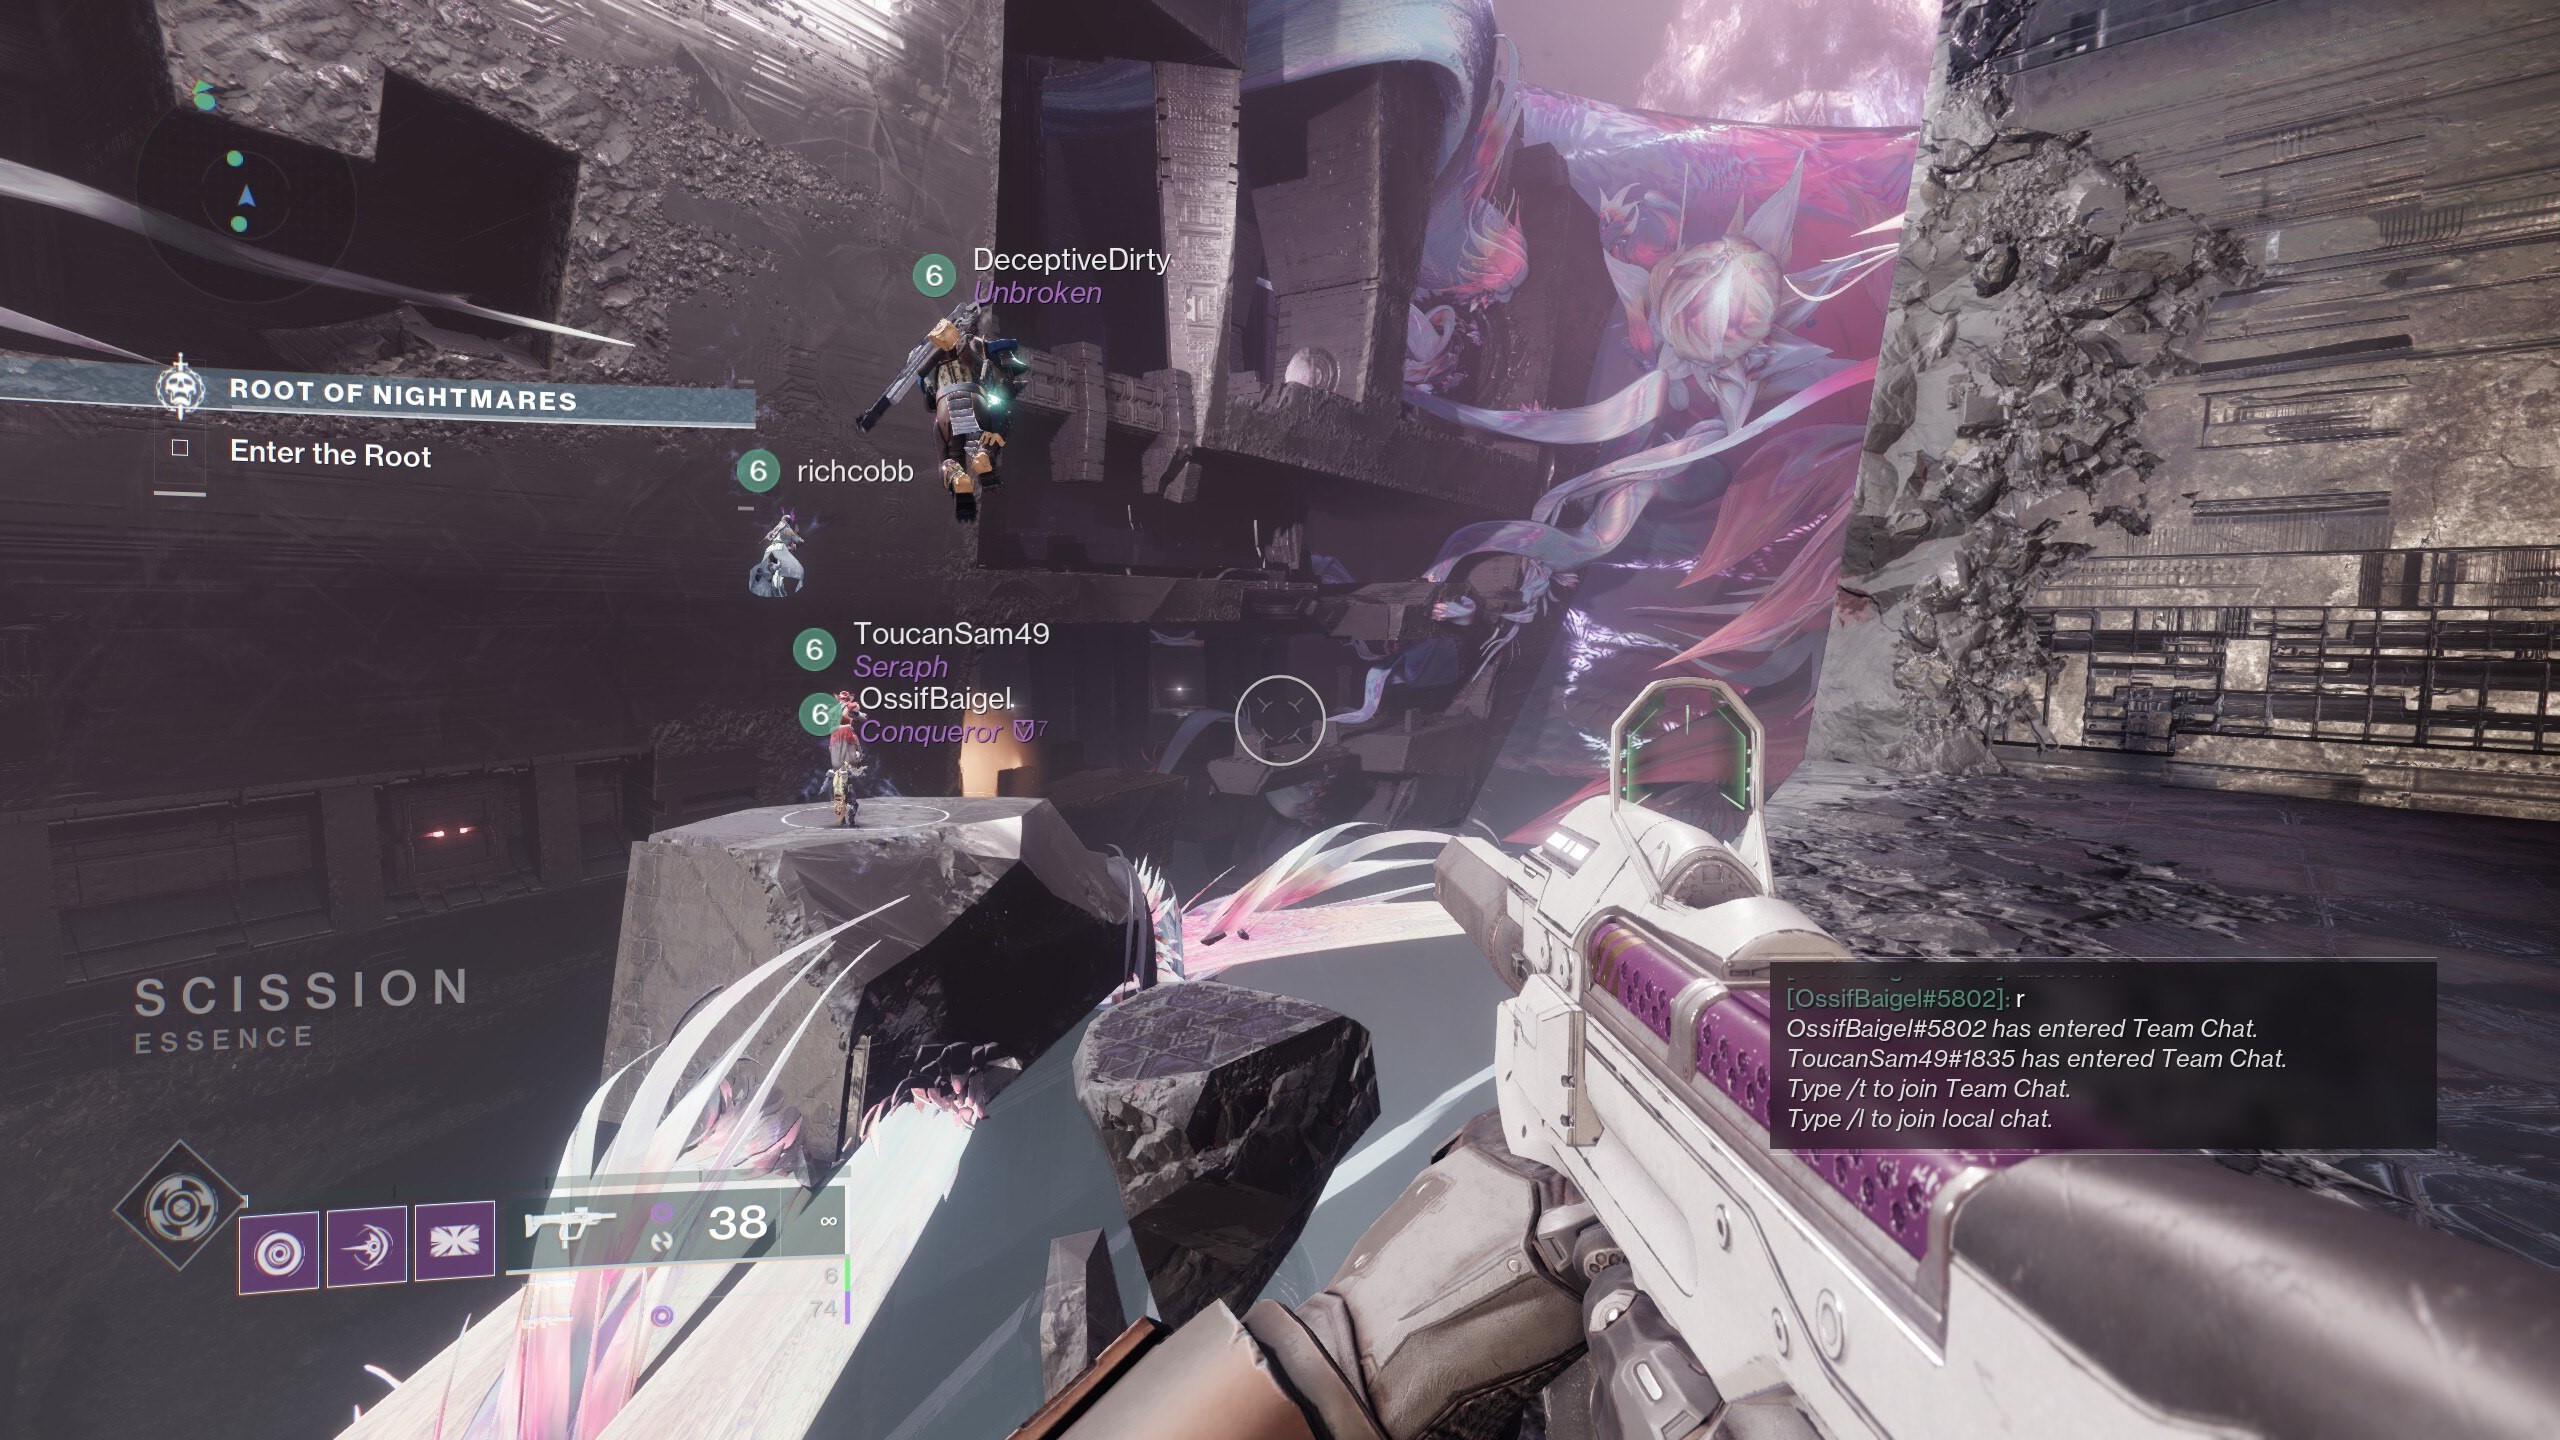
The second encounter, Scission, uses the same Field of Light buff from the first, while also introducing a new (but essentially identical) dark orange one called Flux of Darkness. In this encounter, your team's goal is to use both buffs to complete two plate sequences simultaneously while also using them to kill specific enemies that halt your progress. This needs to happen before the Imminent Expulsion wipe timer runs down and your team is killed.
Here's how running the buffs and completing the plate sequences works:
- Split your team into two groups of three players, and have one group go to one side of the arena and the other go to the other side.
- One player from each group will be a runner for the Field of Light and Flux of Darkness buffs.
- Runners need to get the buff on their side of the arena (Flux of Darkness is on the left, Field of Light is on the right) and use it to activate plates. This process works the same way it did in the first encounter, and the latest plate in the sequence always points to the next one you need to activate.
- Like before, runners will need to return to a glowing plate to regain their buff after every plate activation.
- Also like before, the plate you can get the buff from will always be two behind where you are in the sequence.
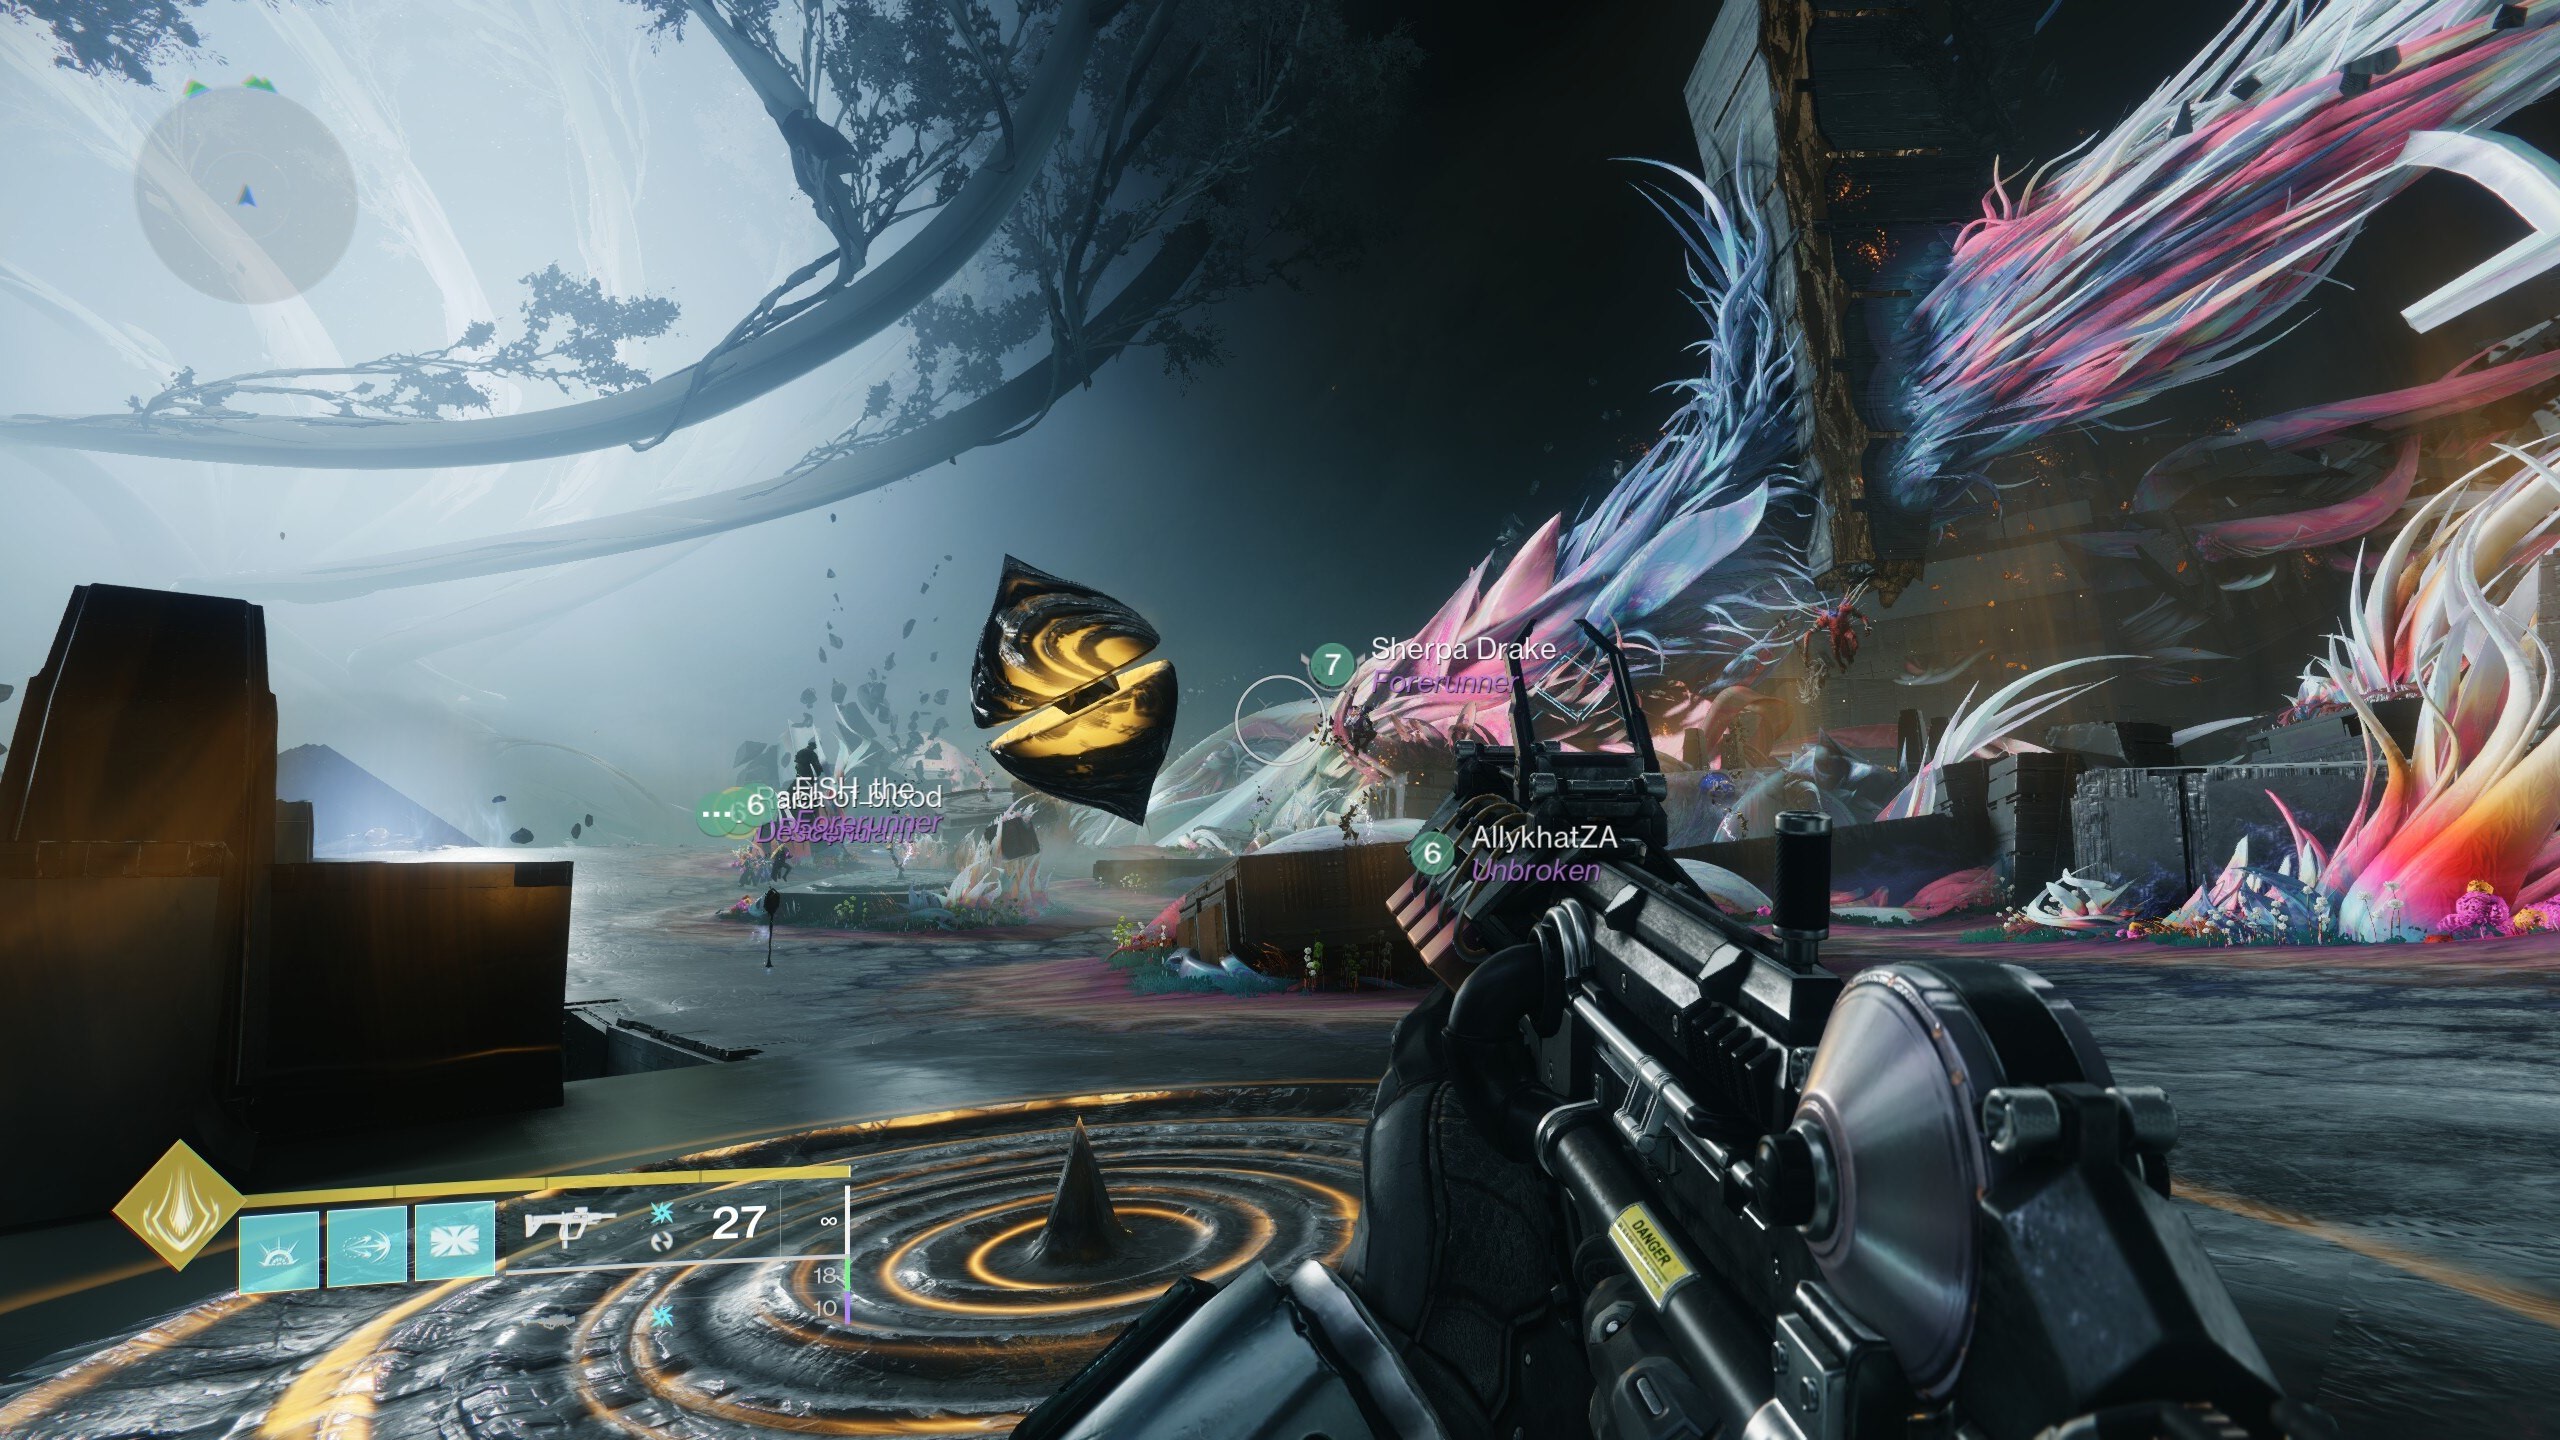
- Since half of the plates in each sequence are on the opposite side of the arena, runners need to stand in front of boopers (pictured above) and shoot the Darkness shard in front of them to launch themselves across the gap between the two sides. There are several boopers on each side, so make sure you use the ones that are closest to the plates you need to visit.
- These boopers can be frustrating to use, as they're inconsistent and will sometimes launch you too high or too low, often resulting in your death. We've found that crouching before activating the booper and/or using your jump ability shortly after being launched can help.
- Note that going fast is crucial, as the Imminent Expulsion wipe timer is only two minutes long and there's no way to extend it. However, once both runners complete a plate sequence, the timer goes away until the team moves up to the next floor (more on how to do that below).
- Each runner needs to finish three plate sequences, one for each floor of the encounter, before it ends. Keep in mind that each floor has its own Imminent Expulsion timer.
While the runners are completing their plate sequences, the two-man ad clear teams on each side need to kill as many enemies as possible while also using the Field of Light and Flux of Darkness buffs to eliminate special shielded foes. Here's how doing their job works:
- Throughout the entire encounter, waves of ads — including the occasional Barrier Champion — will spawn and attack, making it harder for the runners to complete their sequences. Kill them as quickly as possible to keep their routes clear.
- Every time your runner shoots an orb on a glowing plate to get a buff, a shielded Centurion will spawn nearby. These Centurions can only be killed by a player with the Darkness (left) or Light (right) buffs.
- Since getting the buff while your runner has one disrupts the plates and their orbs, you need to get the buff by standing in the glowing plate when your runner comes back to get their buff.
- Since refreshing the buff often is necessary for killing Centurions quickly, ad clearers need to stay on or near the glowing plate so they can easily link up with their runner teammate and everyone can get the buff at once.
- Remember that the plate that's glowing will always be two behind where your runner is in their sequence, so you'll need to move up when the plate that provides the buff changes.
- Killing the Centurions is important because if any are still alive when the runners finish their plates and it's time to move up a floor, you won't be able to..
- Something important to know is that when you see the "Your ascent is blocked by interlopers" message after the runners finish their sequences, a final wave of enemies will spawn that all require a buff to kill. You can't ignore these ads, as they need to be defeated to unlock the final booper on each floor that takes you up a level.
After your team completes three full floors of plate sequences, the encounter will end. The encounter's loot chest spawns at the end of the third floor on the left side, so make sure you grab your hard-earned gear before moving on.
Root of Nightmares 'Cross the Chasm' puzzle
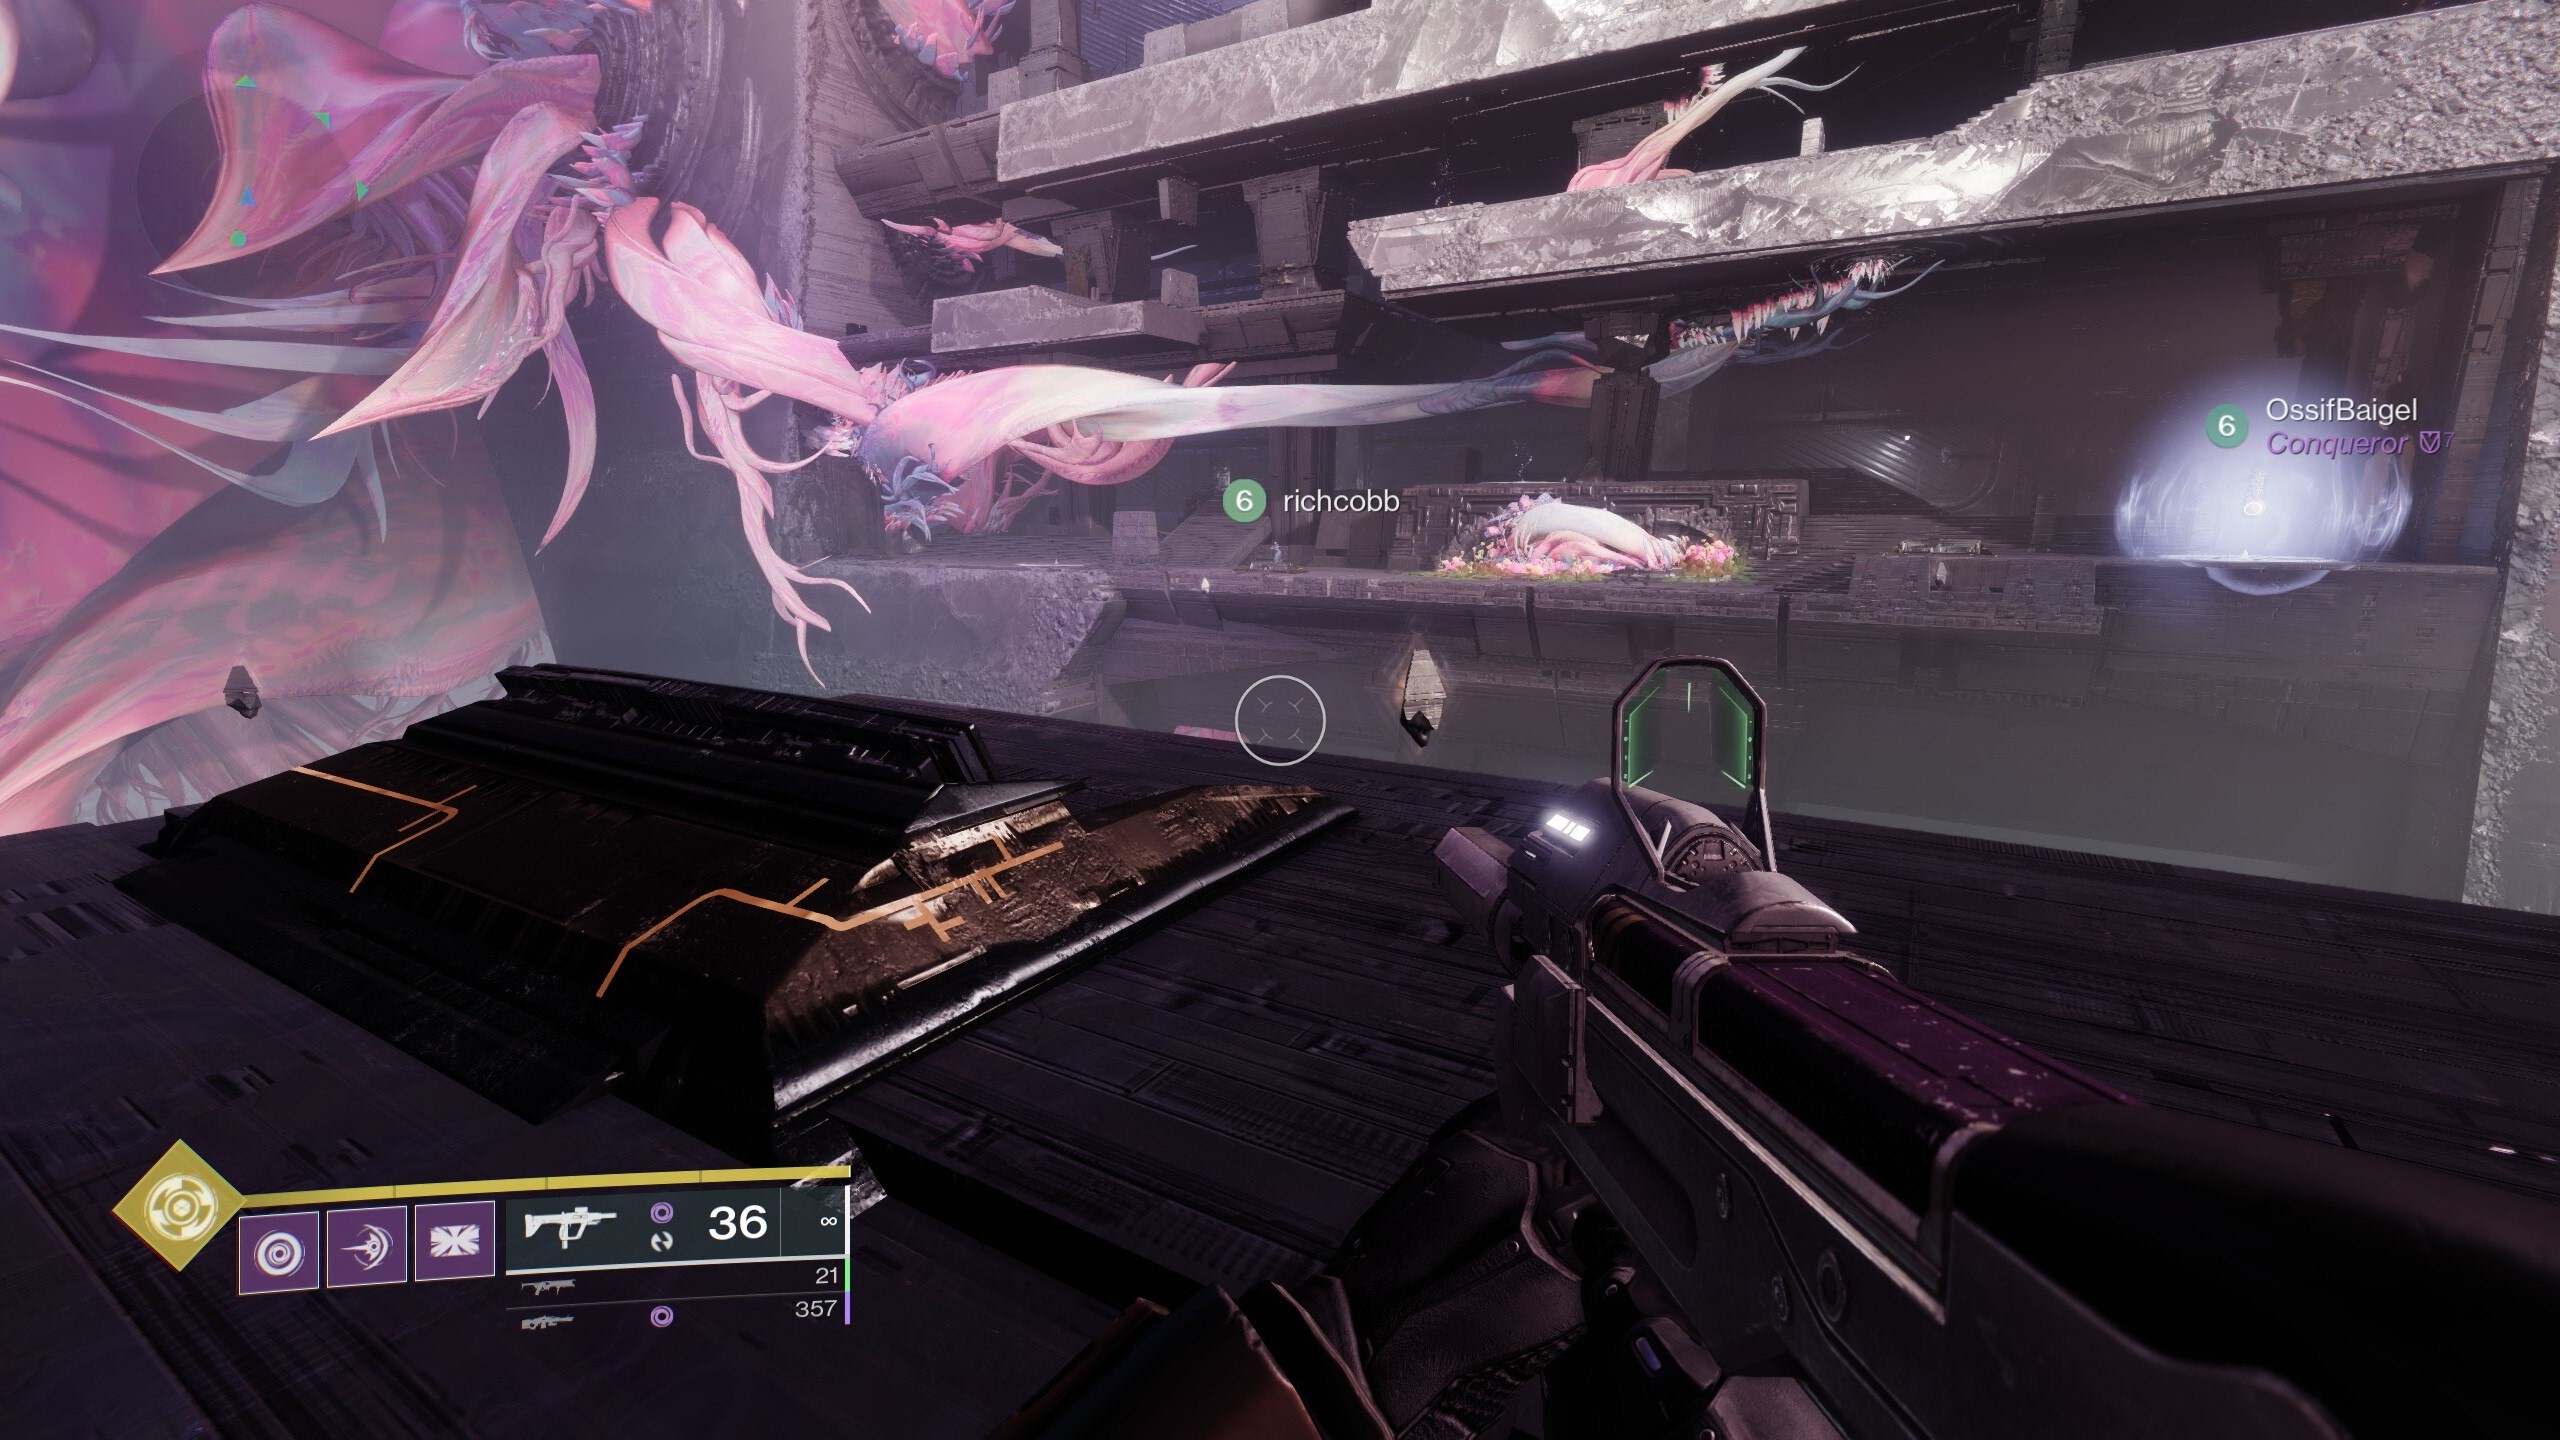
Between the second and third encounter of the Root of Nightmares raid, there's a bit of a tricky platforming section in which you have to make your way forward using boopers from the Scission encounter. However, there's a catch: every thirty seconds or so, a pulse of Darkness energy from a large structure in the distance will ripple throughout the entire area, killing everyone regardless of whether they're sheltered in cover or not. Since this area isn't technically a Darkness Zone, you can freely respawn, but lots of deaths will slow your team down and waste a lot of time.
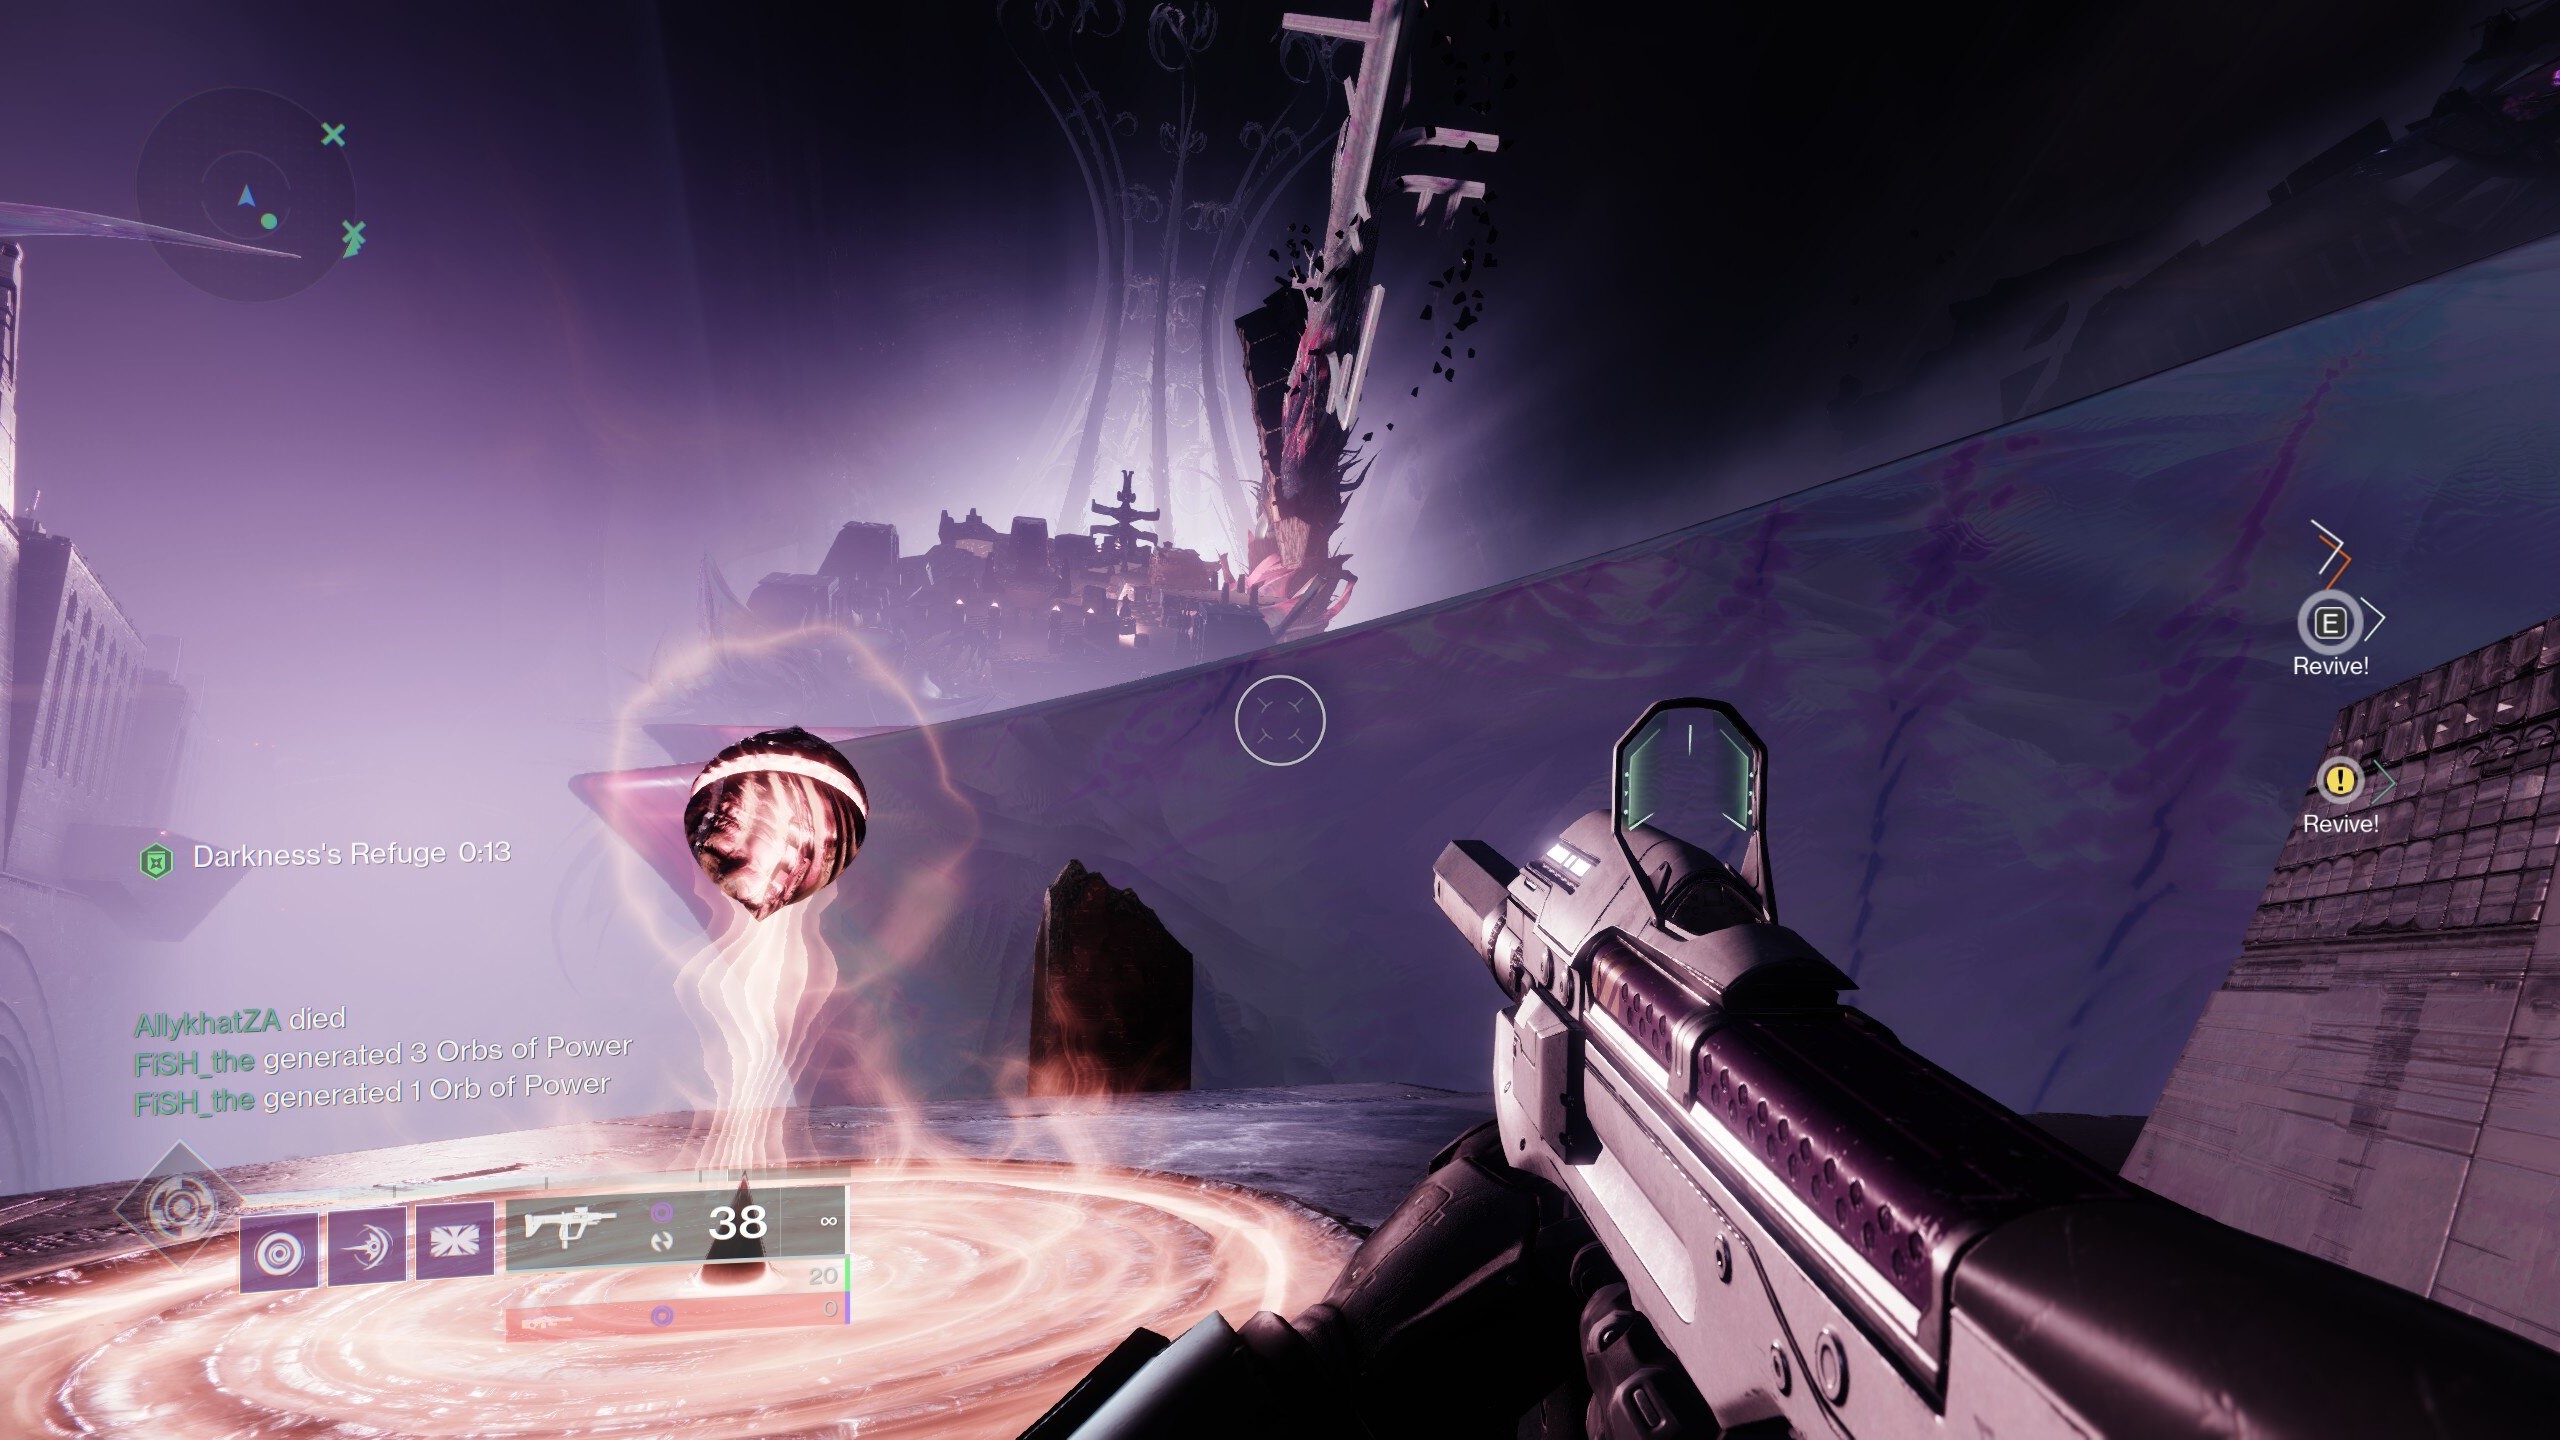
The only way to get to the next encounter without dying is to shoot a Light orb on nearby glowing plates to get the Field of Light buff, then take that buff to a plate with a Darkness orb on it and shoot it. This will create a new buff on the plate called Darkness's Refuge that protects players from the energy ripples. Note that Darkness's Refuge only lasts for 14 seconds, though you can stand on the plate you got it from to constantly refresh the buff timer. You do eventually have to move forward, though, as plates will only provide Darkness's Refuge for about 15 seconds before they needs to be reactivated with Field of Light.
If your team is having a hard time making progress, try and time things so that there's a fresh Darkness's Refuge buff available whenever there's an energy ripple incoming. Then, as soon as the attack ends, move forward and make the next safe zone before another ripple is launched. The sound of a heartbeat signals that another ripple is coming soon, so listen for it.
Destiny 2 Root of Nightmares Macrocosm boss: Zo’Aurc, Explicator of Planets
| Role | Players | Description |
|---|---|---|
| Top Runner | 2 (1 per side) | Kill Terrestrial Lieutenants on the top left/right platform, find odd planet out, and swap it with an out of place planet from the opposite top side. Also take planet "buffs" to center plates to initiate damage. |
| Bottom Runner | 2 (1 per side) | Kill Terrestrial Lieutenants on the bottom left/right platform, find odd planet out, and swap it with an out of place planet from the opposite bottom side. Also take planet "buffs" to center plates to initiate damage. |
| Ad Clear | 2 (preferably 1 per side) | Kill enemies, focus down Centurions when they appear to spawn Terrestrial Lieutenants. |
The third encounter, the boss fight against Zo’Aurc, Explicator of Planets, has unique mechanics that aren't seen in any other part of the raid. When the fight starts, he'll be invincible, and the only way to get to a damage phase is to move the planets floating above the arena to specific locations.
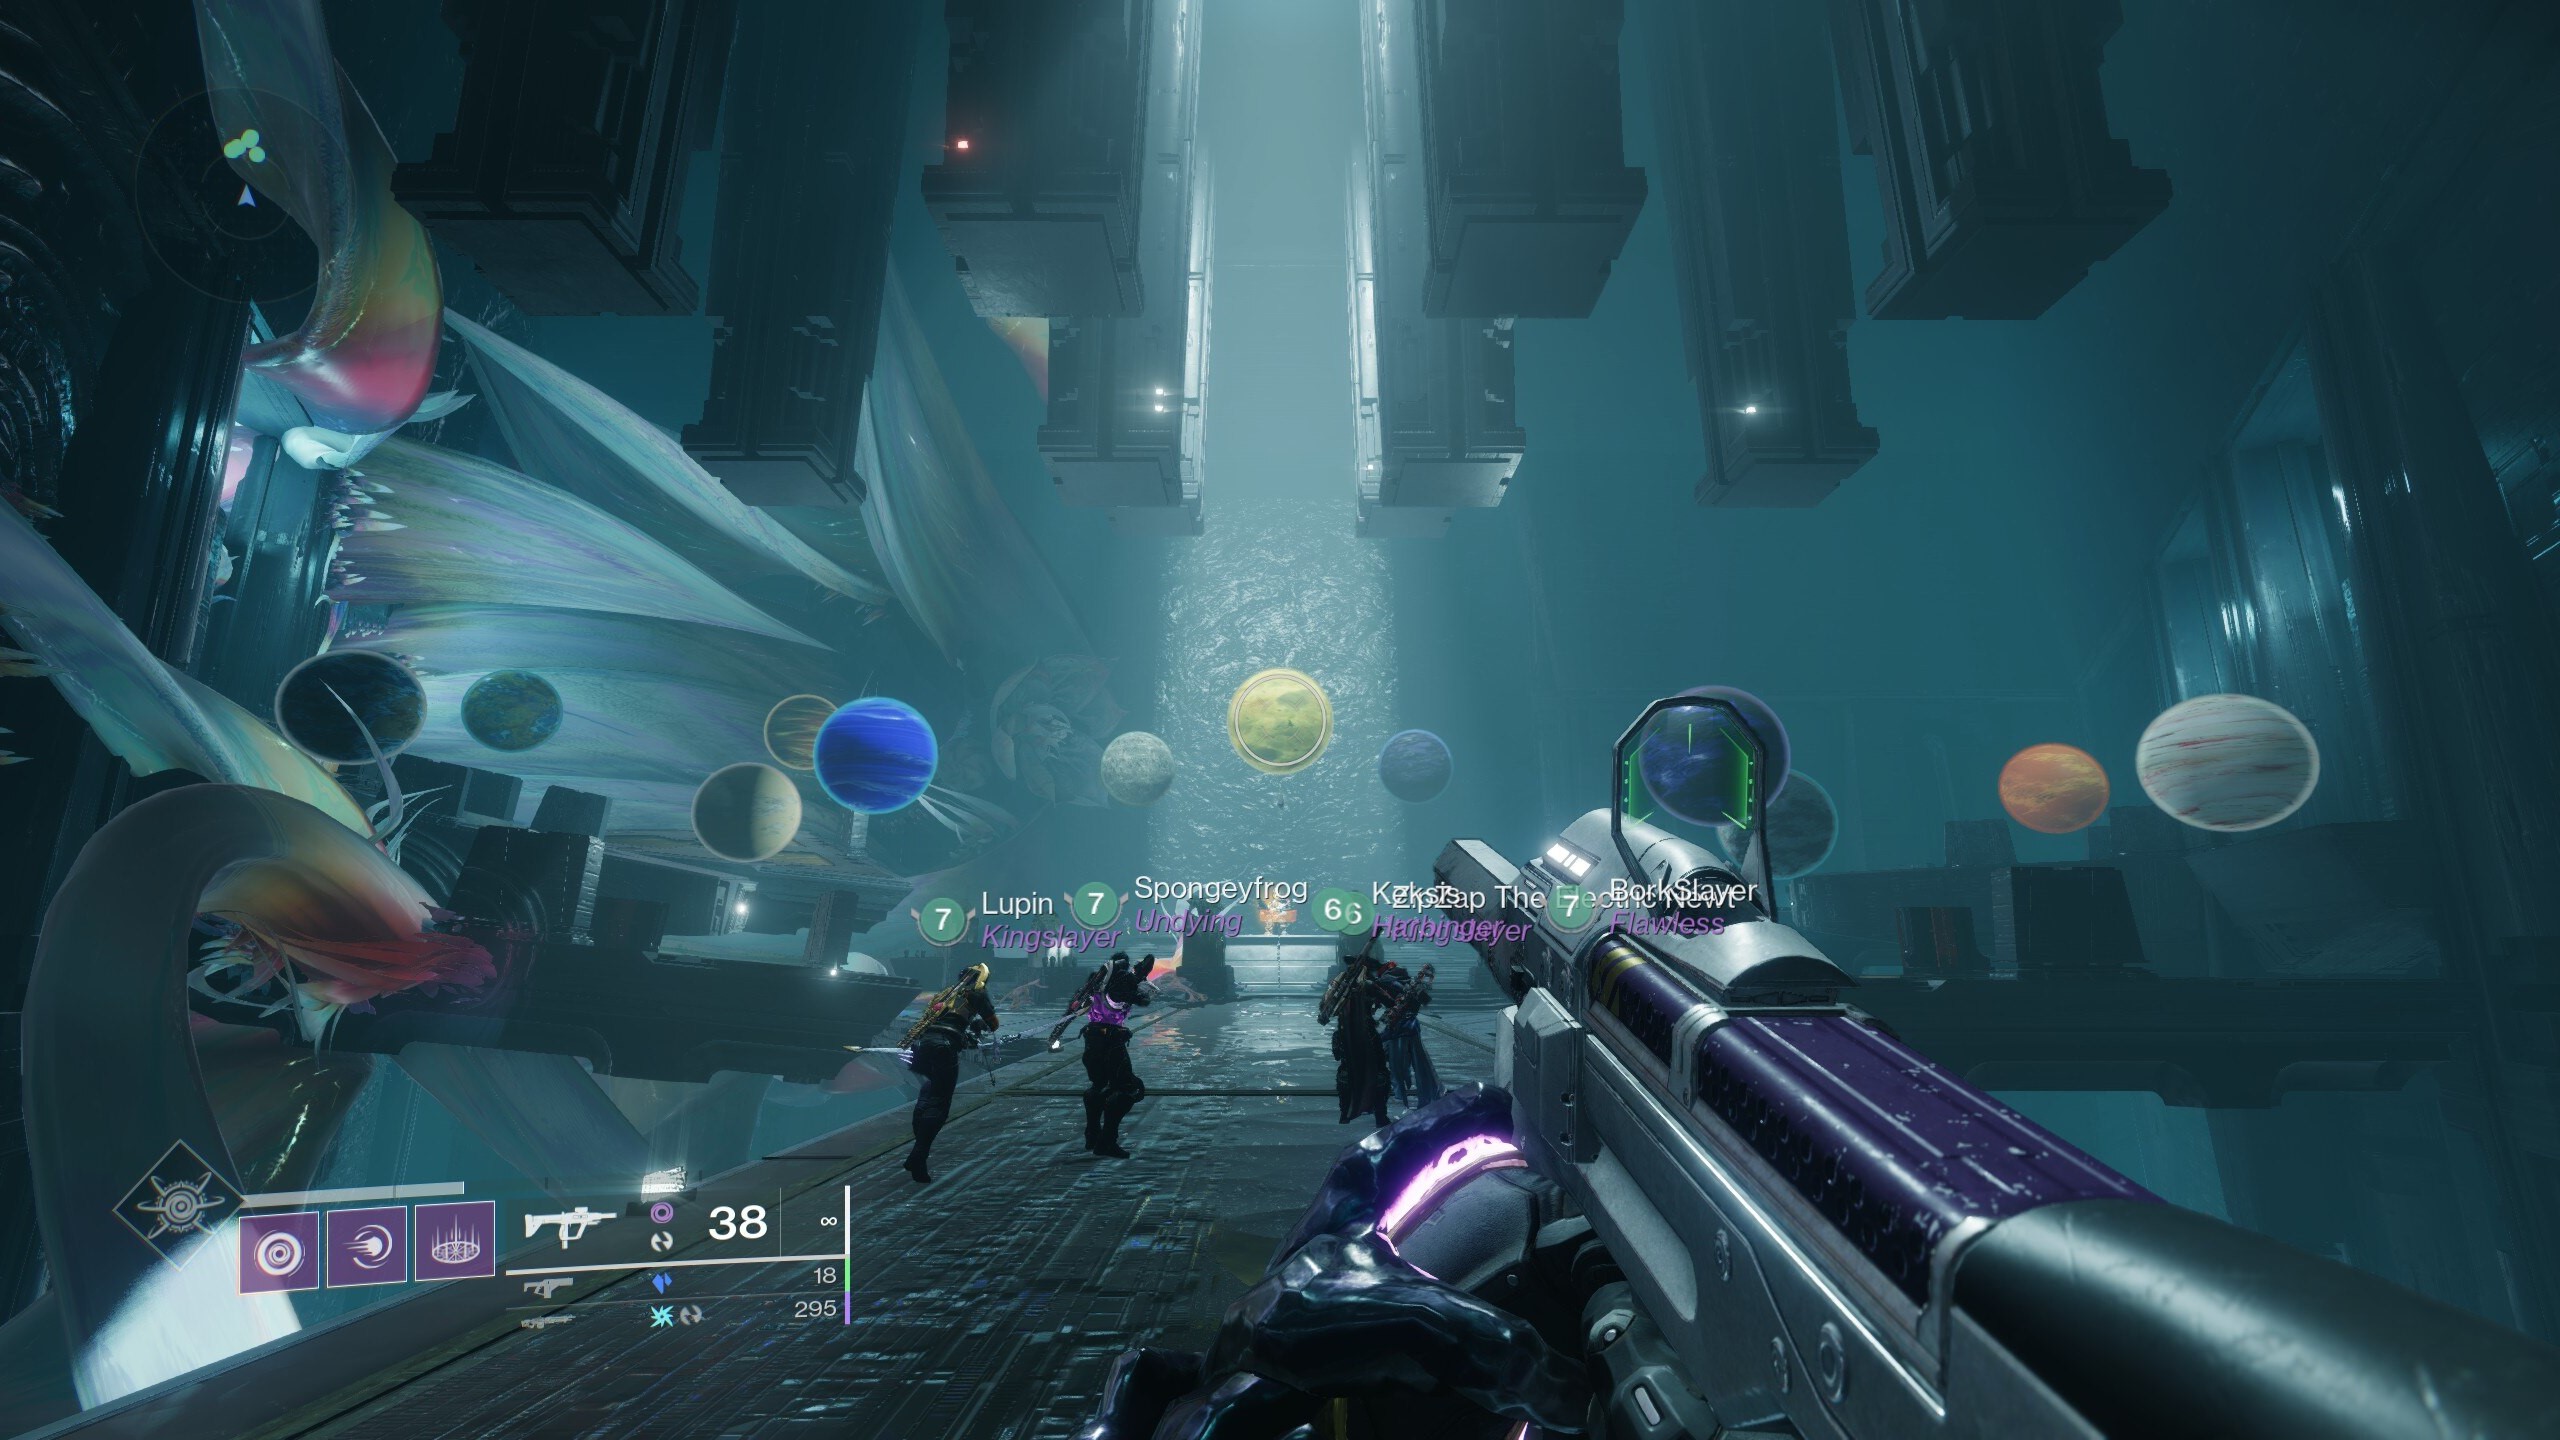
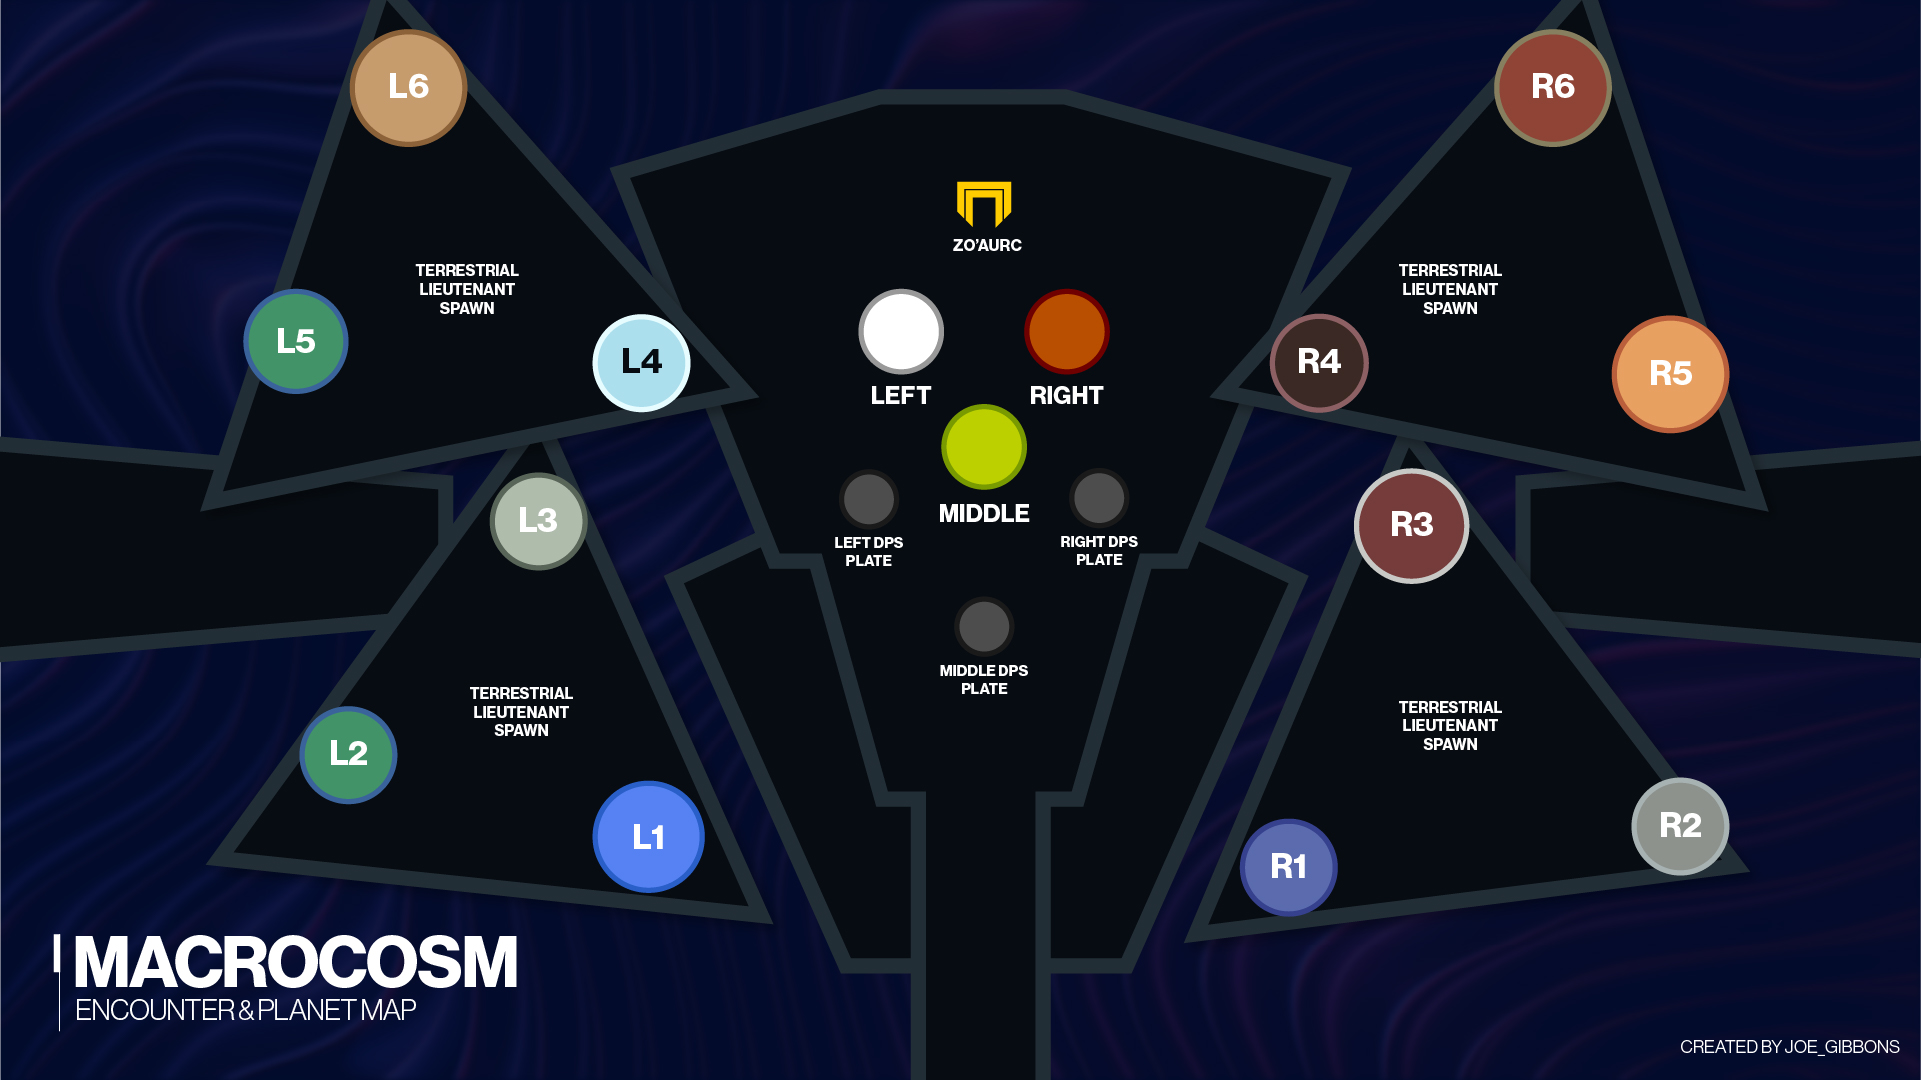
- When you enter the boss' arena, you'll notice that there are 15 planets in the room — six on the left side, six on the right side, and three in the middle.
- Also, take note of the fact that the left planet in the middle glows with Light, while the right one glows with Darkness. This signifies that the left side of the arena is where Light-covered planets need to go, and that the right side is where Darkness-covered ones should be.
- Split your team into three teams of two, and designate one team as top runners, one team as bottom runners, and one team as ad clearers.
- Make sure that one top runner is on each of the top left and right triangular platforms, and that one bottom runner is on each of the bottom ones.
- The positioning of the ad clear team doesn't need to be specific, but it's recommended to have one ad clear player on each side. Notably, the platform between the two triangular ones is a good place to stand since it offers good cover and isn't too far away from enemy spawns.
- Start the encounter by shooting the boss or the other ads in the room. Eventually, Honored Centurions will spawn in the back of the room; everyone should focus on killing them quickly.
- When the Centurions are dead, Terrestrial Lieutenant Colossus enemies will appear on each of the four triangular plates. While the ad clearers are keeping waves of Cabal at bay, the runners need to kill the Terrestrial Lieutenant on their plate.
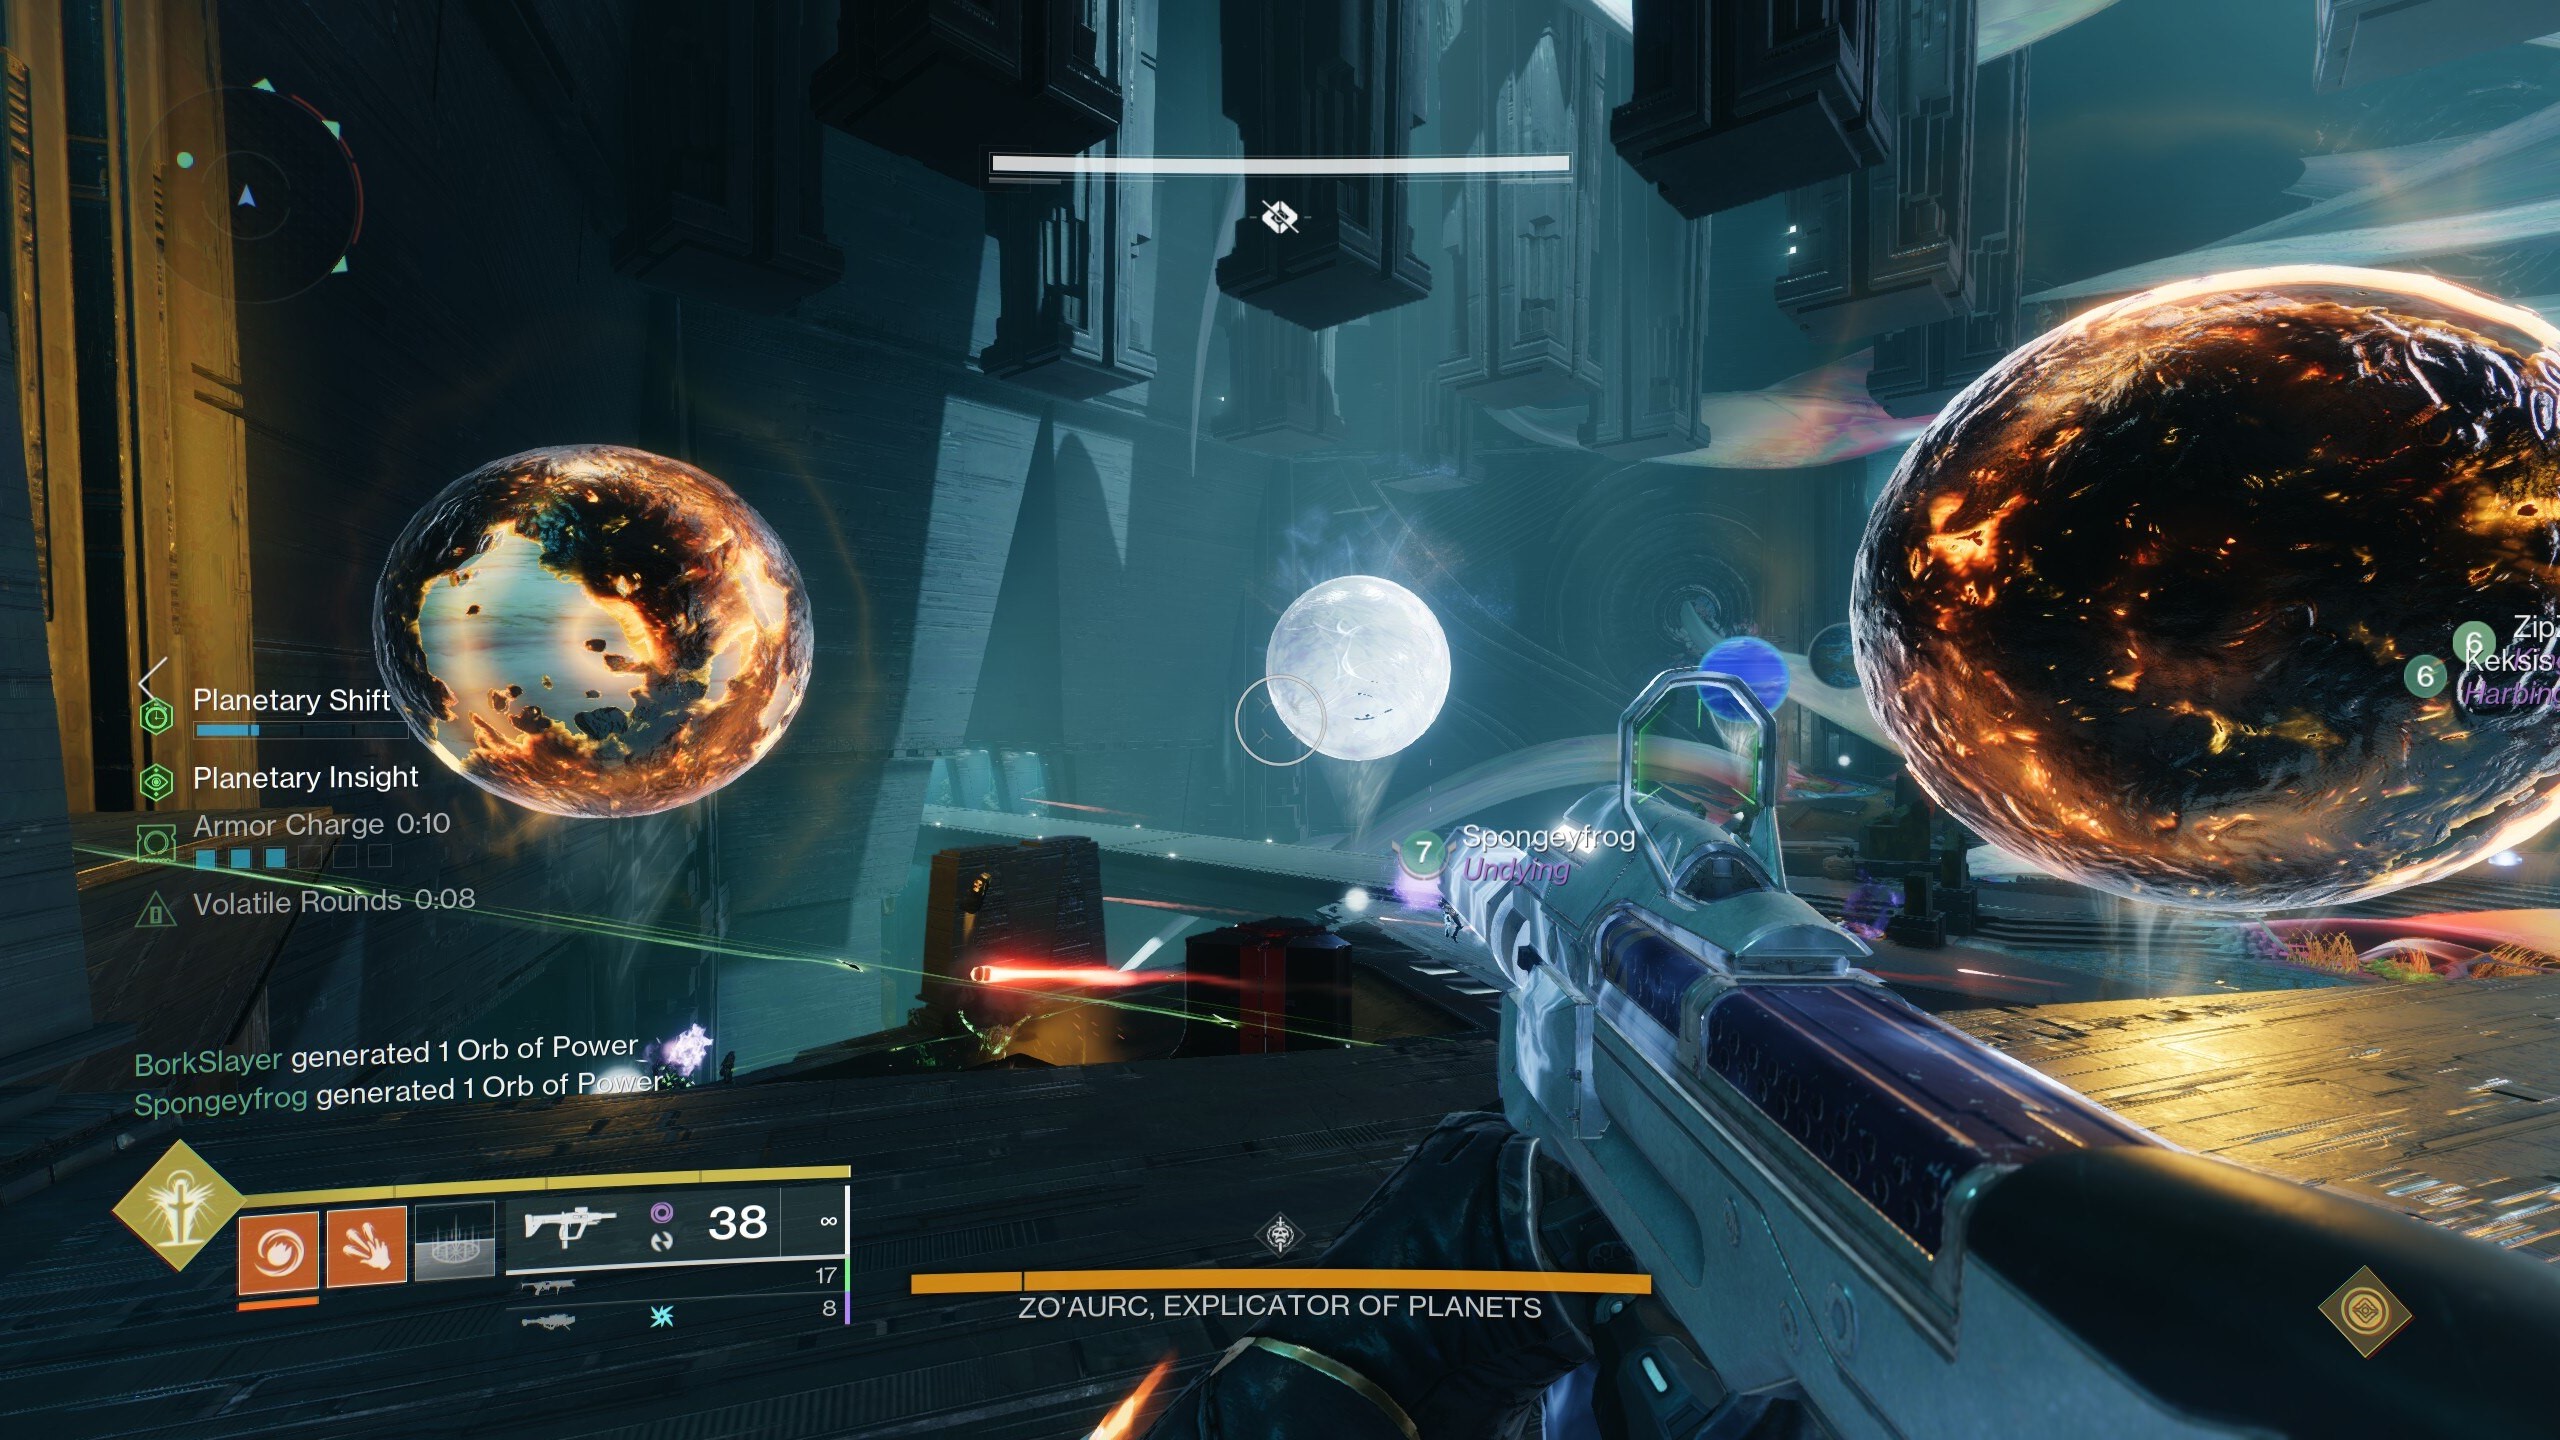
- When the Terrestrial Lieutenants spawn, all players will also get a timed Planetary Shift buff that allows them to move a planet from their side to a spot on the opposite side. This is what the runners will use in the steps below.
- Killing Terrestrial Lieutenants will give each runner a Planetary Insight buff that allows them to see which type of glow the three planets above their plate have (see below).
- Note that Planetary Insight only allows you to see the glow of the planets on your side.
- With Planetary Insight, runners need to look for the "odd one out" planet above their platform; on left, this will be a Light planet, while on right, it will be a Darkness one.
- While Planetary Shift is still active, runners need to interact with the orb underneath that planet, run to the other side, and activate the orb beneath the planet that the runner opposite of them used. This will swap the out of place planets from each side to the opposite side.
- Communication between the runners is crucial here. Top left and right runners and bottom left and right runners should communicate with each other about which planet they activated so that the runner opposite to them knows which orb to activate on the other side.
- If you fail to send the planets to the correct locations, the switch won't occur. Note that you can only spawn two sets of Terrestrial Lieutenants before the boss kills your team, meaning you only have two chances to swap the two out of place planets on each side before a wipe.
- To do this smoothly, we recommend assigning callouts to each of the left and right planets. Most players seem to have agreed to L1-6 and R1-6, where L1 and R1 are closest to the Raid Banner location and L6 and R6 are the farthest planets away from it (check the map below if you're confused).
- If you do everything correctly, you'll get a "The indexed planets reveal themselves" message, indicating that you've almost reached a damage phase.
Now that all of the Light and Darkness planets are together on the left and right, it's time to begin a damage phase. Here's how to do that, as well as how the damage phase works:
- After the planets have successfully been moved, all players should kill ads until another wave of Honored Centurions spawn. Like before, make sure you kill them as quickly as possible.
- Doing so will once again spawn Terrestrial Lieutenants, which gives everyone Planetary Shift. Kill these enemies like you did before to get Planetary Insight.
- Once someone has Planetary Insight, they need to use it to look at the three planets in the middle of the room and call out which glows they have. They'll either have one Light and two Darkness glows or one Darkness and two Light glows.
- To start a damage phase, interact with orbs beneath Light (left) or Darkness (right) planets and then activate the circular black plates beneath the center planets that have a matching glow.
- For example, if the left and middle planets in the center of the room have a Light glow but the one on the right has a Darkness glow, you'll need two players to activate the left and middle plates after interacting with a Light planet's orb, and one player to do the same for the right plate with a Darkness planet orb.
- Depending on the glow of the planets above the plates, they'll begin glowing with Light and Darkness energy themselves and will provide the Field of Light or Flux of Darkness buff from previous encounters.
- Look at the color of the Zo’Aurc's shield and take the buff that matches it. This will allow you to do damage for about 7-8 seconds until he changes it. If the boss is glowing white, take the buff from a Light plate. If he's glowing dark orange, take a Darkness plate's buff.
- Note that Zo’Aurc always alternates between Light and Darkness shields and never uses the same shield twice in a row, so you can plan your plate rotations ahead of time.
- For example, if you "dunked" two Darkness planets and one Light planet to initiate the damage phase, you should plan to run to the Darkness plate first, then the Light one, and then the second Darkness one.
As long as your team has strong damage loadouts, you should be able to kill Zo’Aurc in just one or two damage phases. Note that once you reach his final stand phase (the last chunk of his health), all of the plates in the room will glow and provide you with a constant Flux of Darkness buff you can use to finish him off.
Destiny 2 Root of Nightmares final boss guide: Nezarec, Final God of Pain
| Role | Players | Description |
|---|---|---|
| Runner | 2 (1 per side) | Complete Field of Light/Flux of Darkness plate sequences, create Light's/Darkness's Refuge to protect the team from Nezarec's wipe attack. |
| Taunter | 2 | Shoot Nezarec's weak spots to hold his attention and find out which refuge the runners need to create. |
| Ad Clear | 2 (preferably 1 per side) | Clear as many enemies as possible, help distract Nezarec if necessary. |
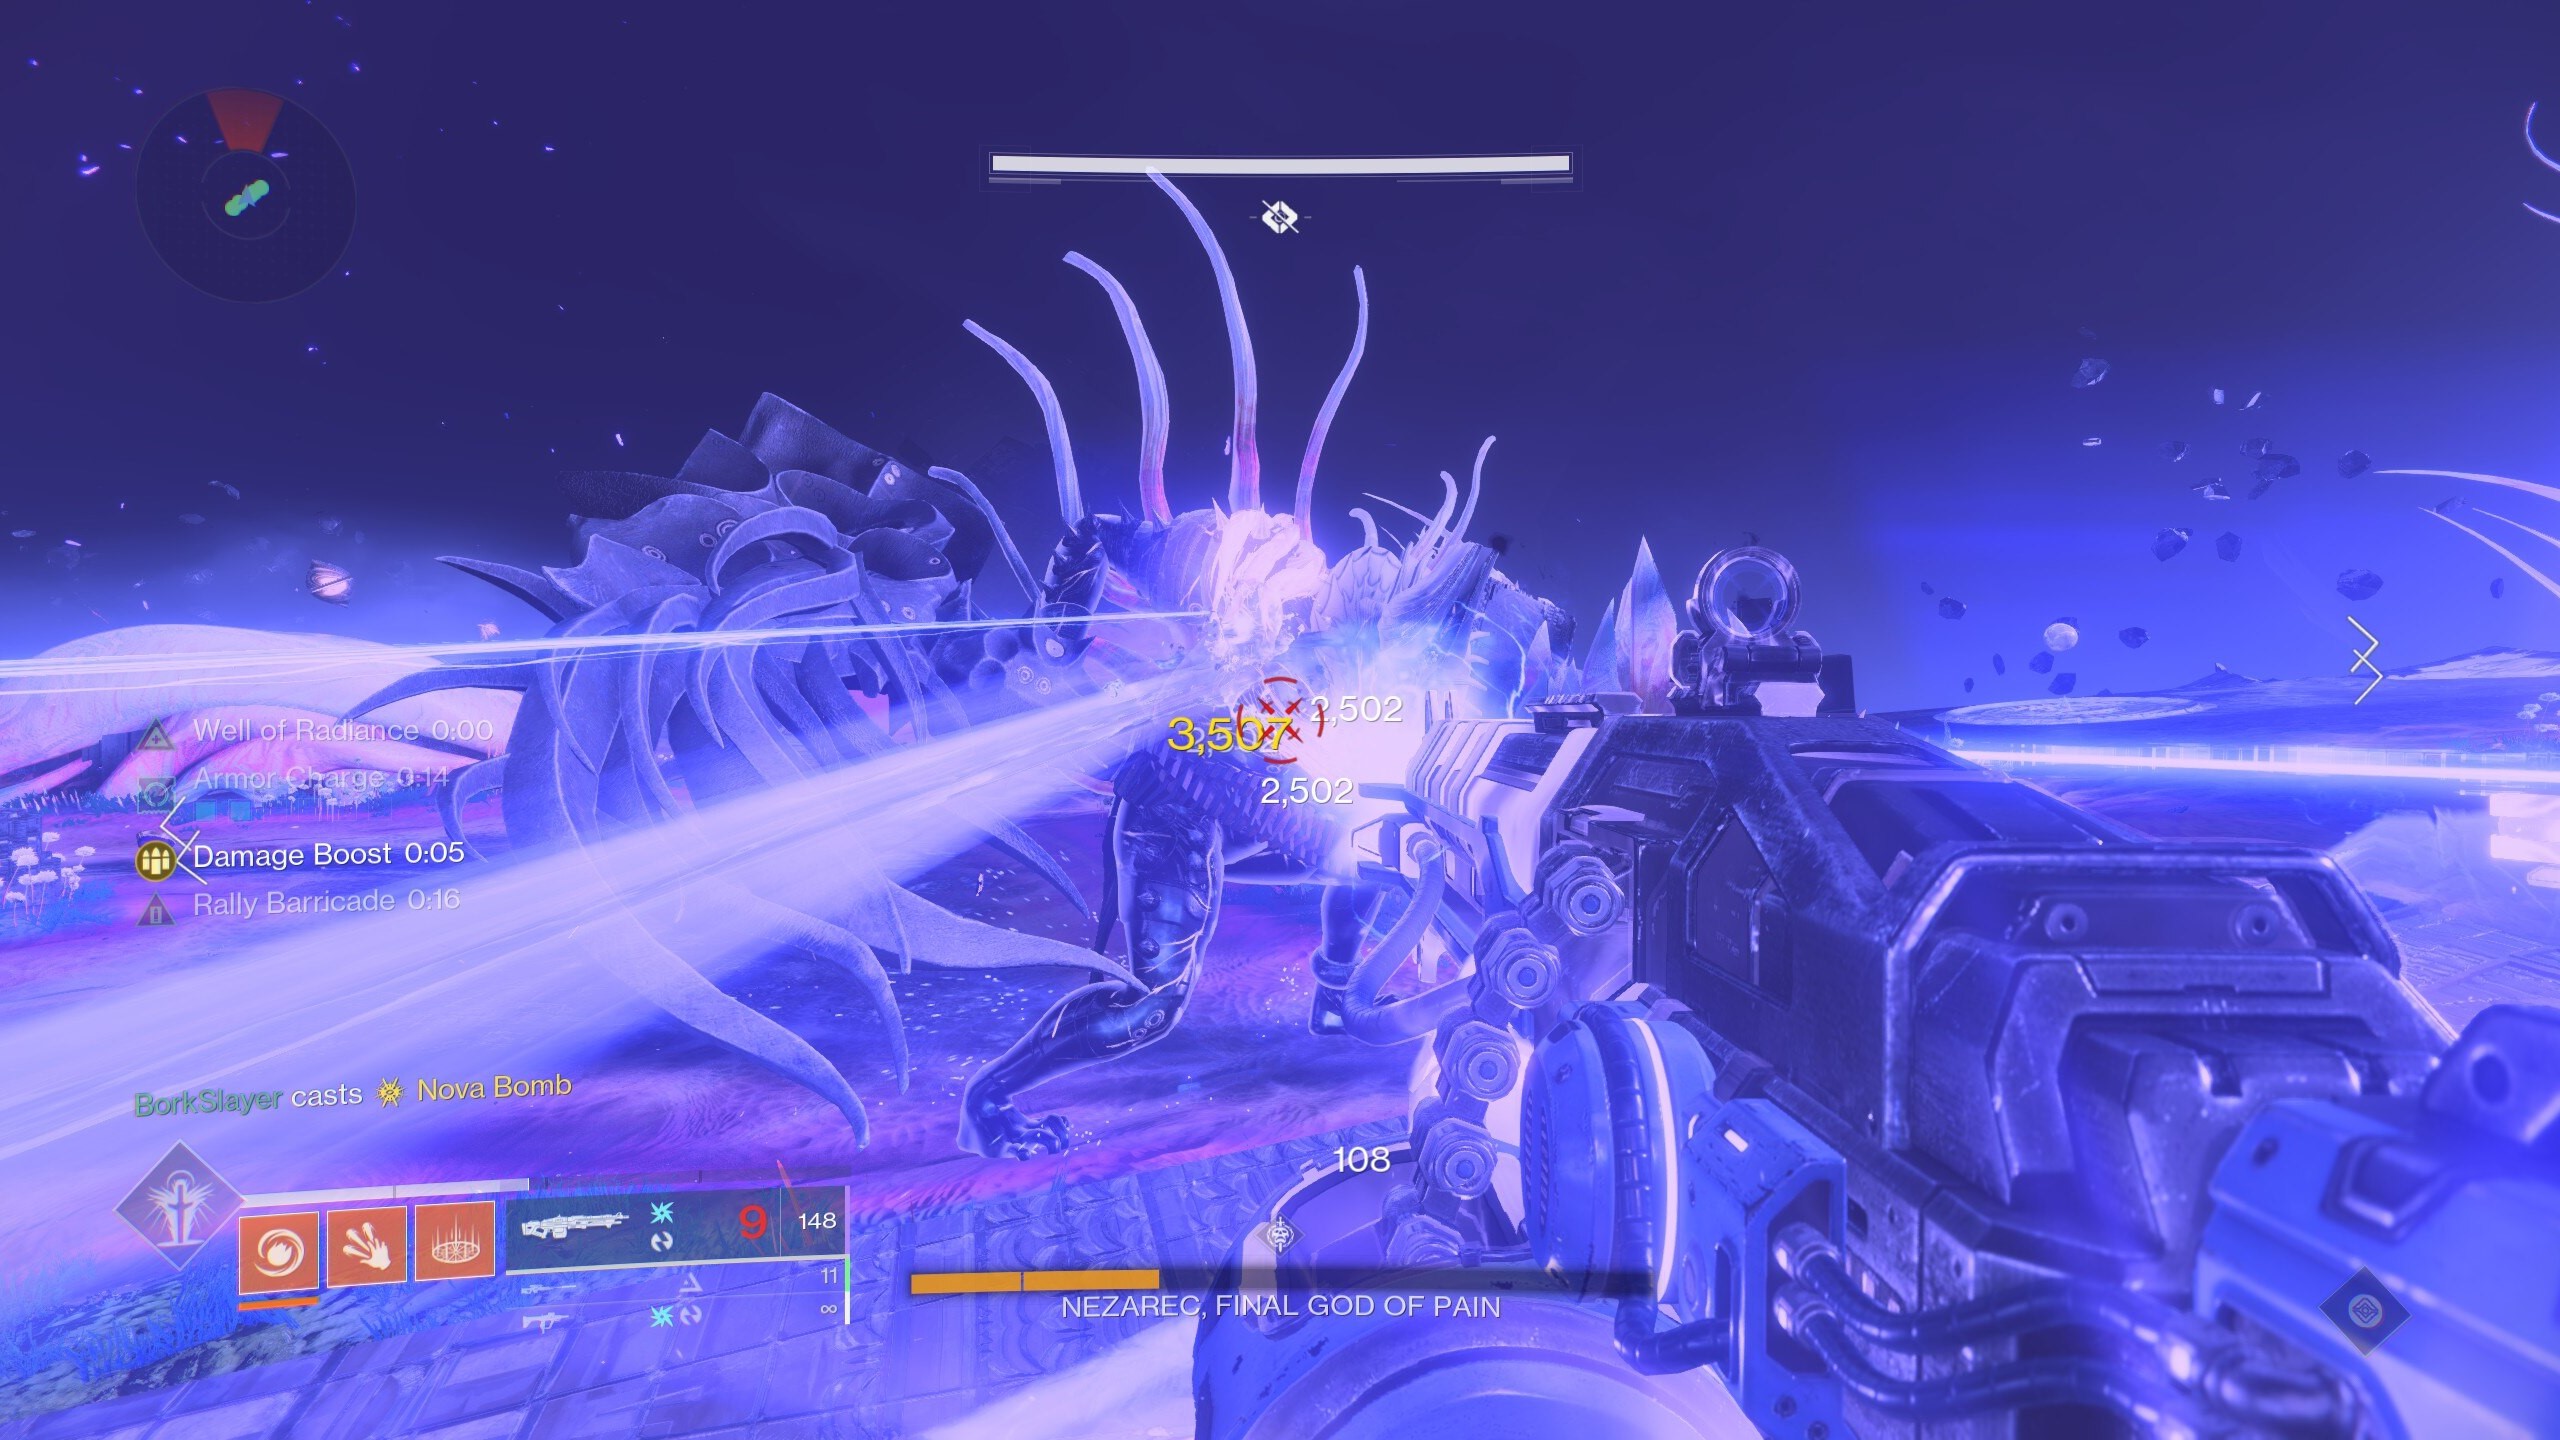
It's time for the final boss of the Root of Nightmares raid: Nezarec, the Final God of Pain. In this bout, the plate sequence mechanic from the first and second encounter returns, as does the ability to create refuges by carrying a Light or Darkness buff to a plate with the opposite energy that you used in the raid's jumping puzzle. Here's a complete overview of the fight:
- Split your team into three teams of two, with one team handling running and completing plate sequences, one team focusing on taunting Nezarec himself, and one team on ad clear duty.
- The runners should split up, with one going to the left side of the arena and the other going to the right. On the left and right will be Field of Light and Flux of Darkness buff plates, respectively; use them to finish plate sequences like you did in the first and second encounter.
- The plate sequence will always go in a zigzag pattern, so keep that in mind when running to go as fast as possible. Also remember that the plate you regain the buff from will always be two behind where you are in the sequence.
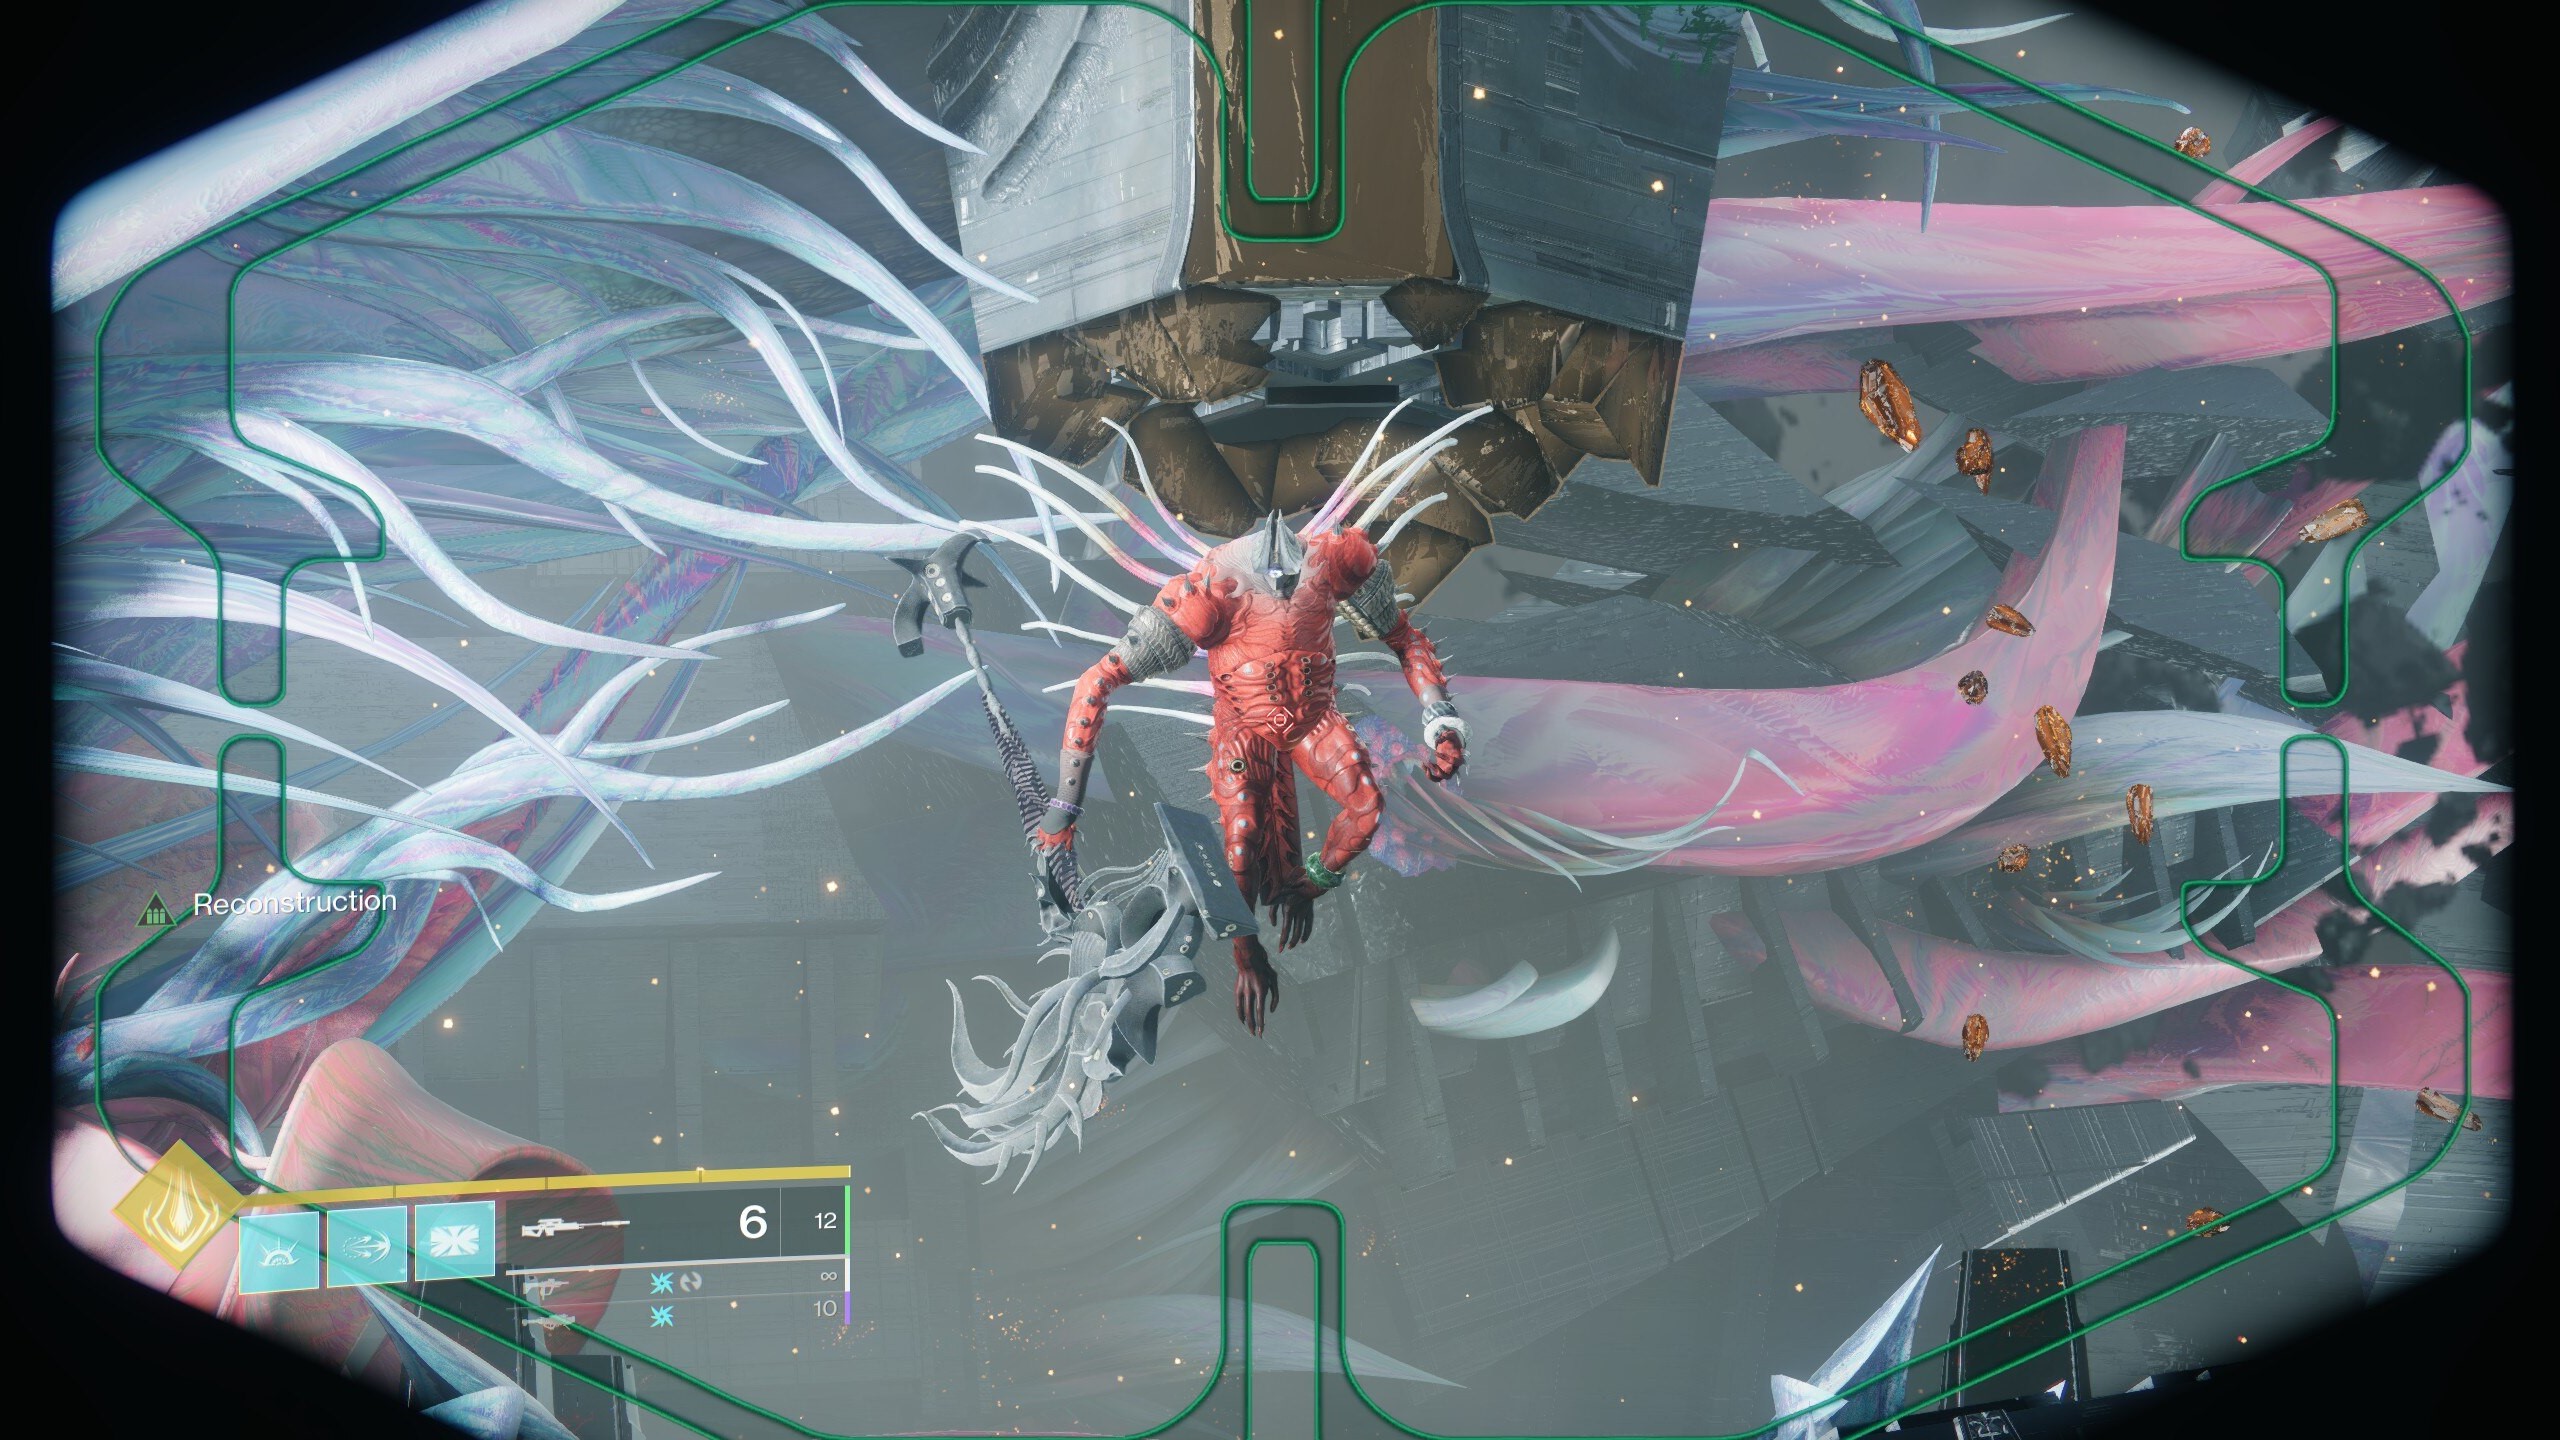
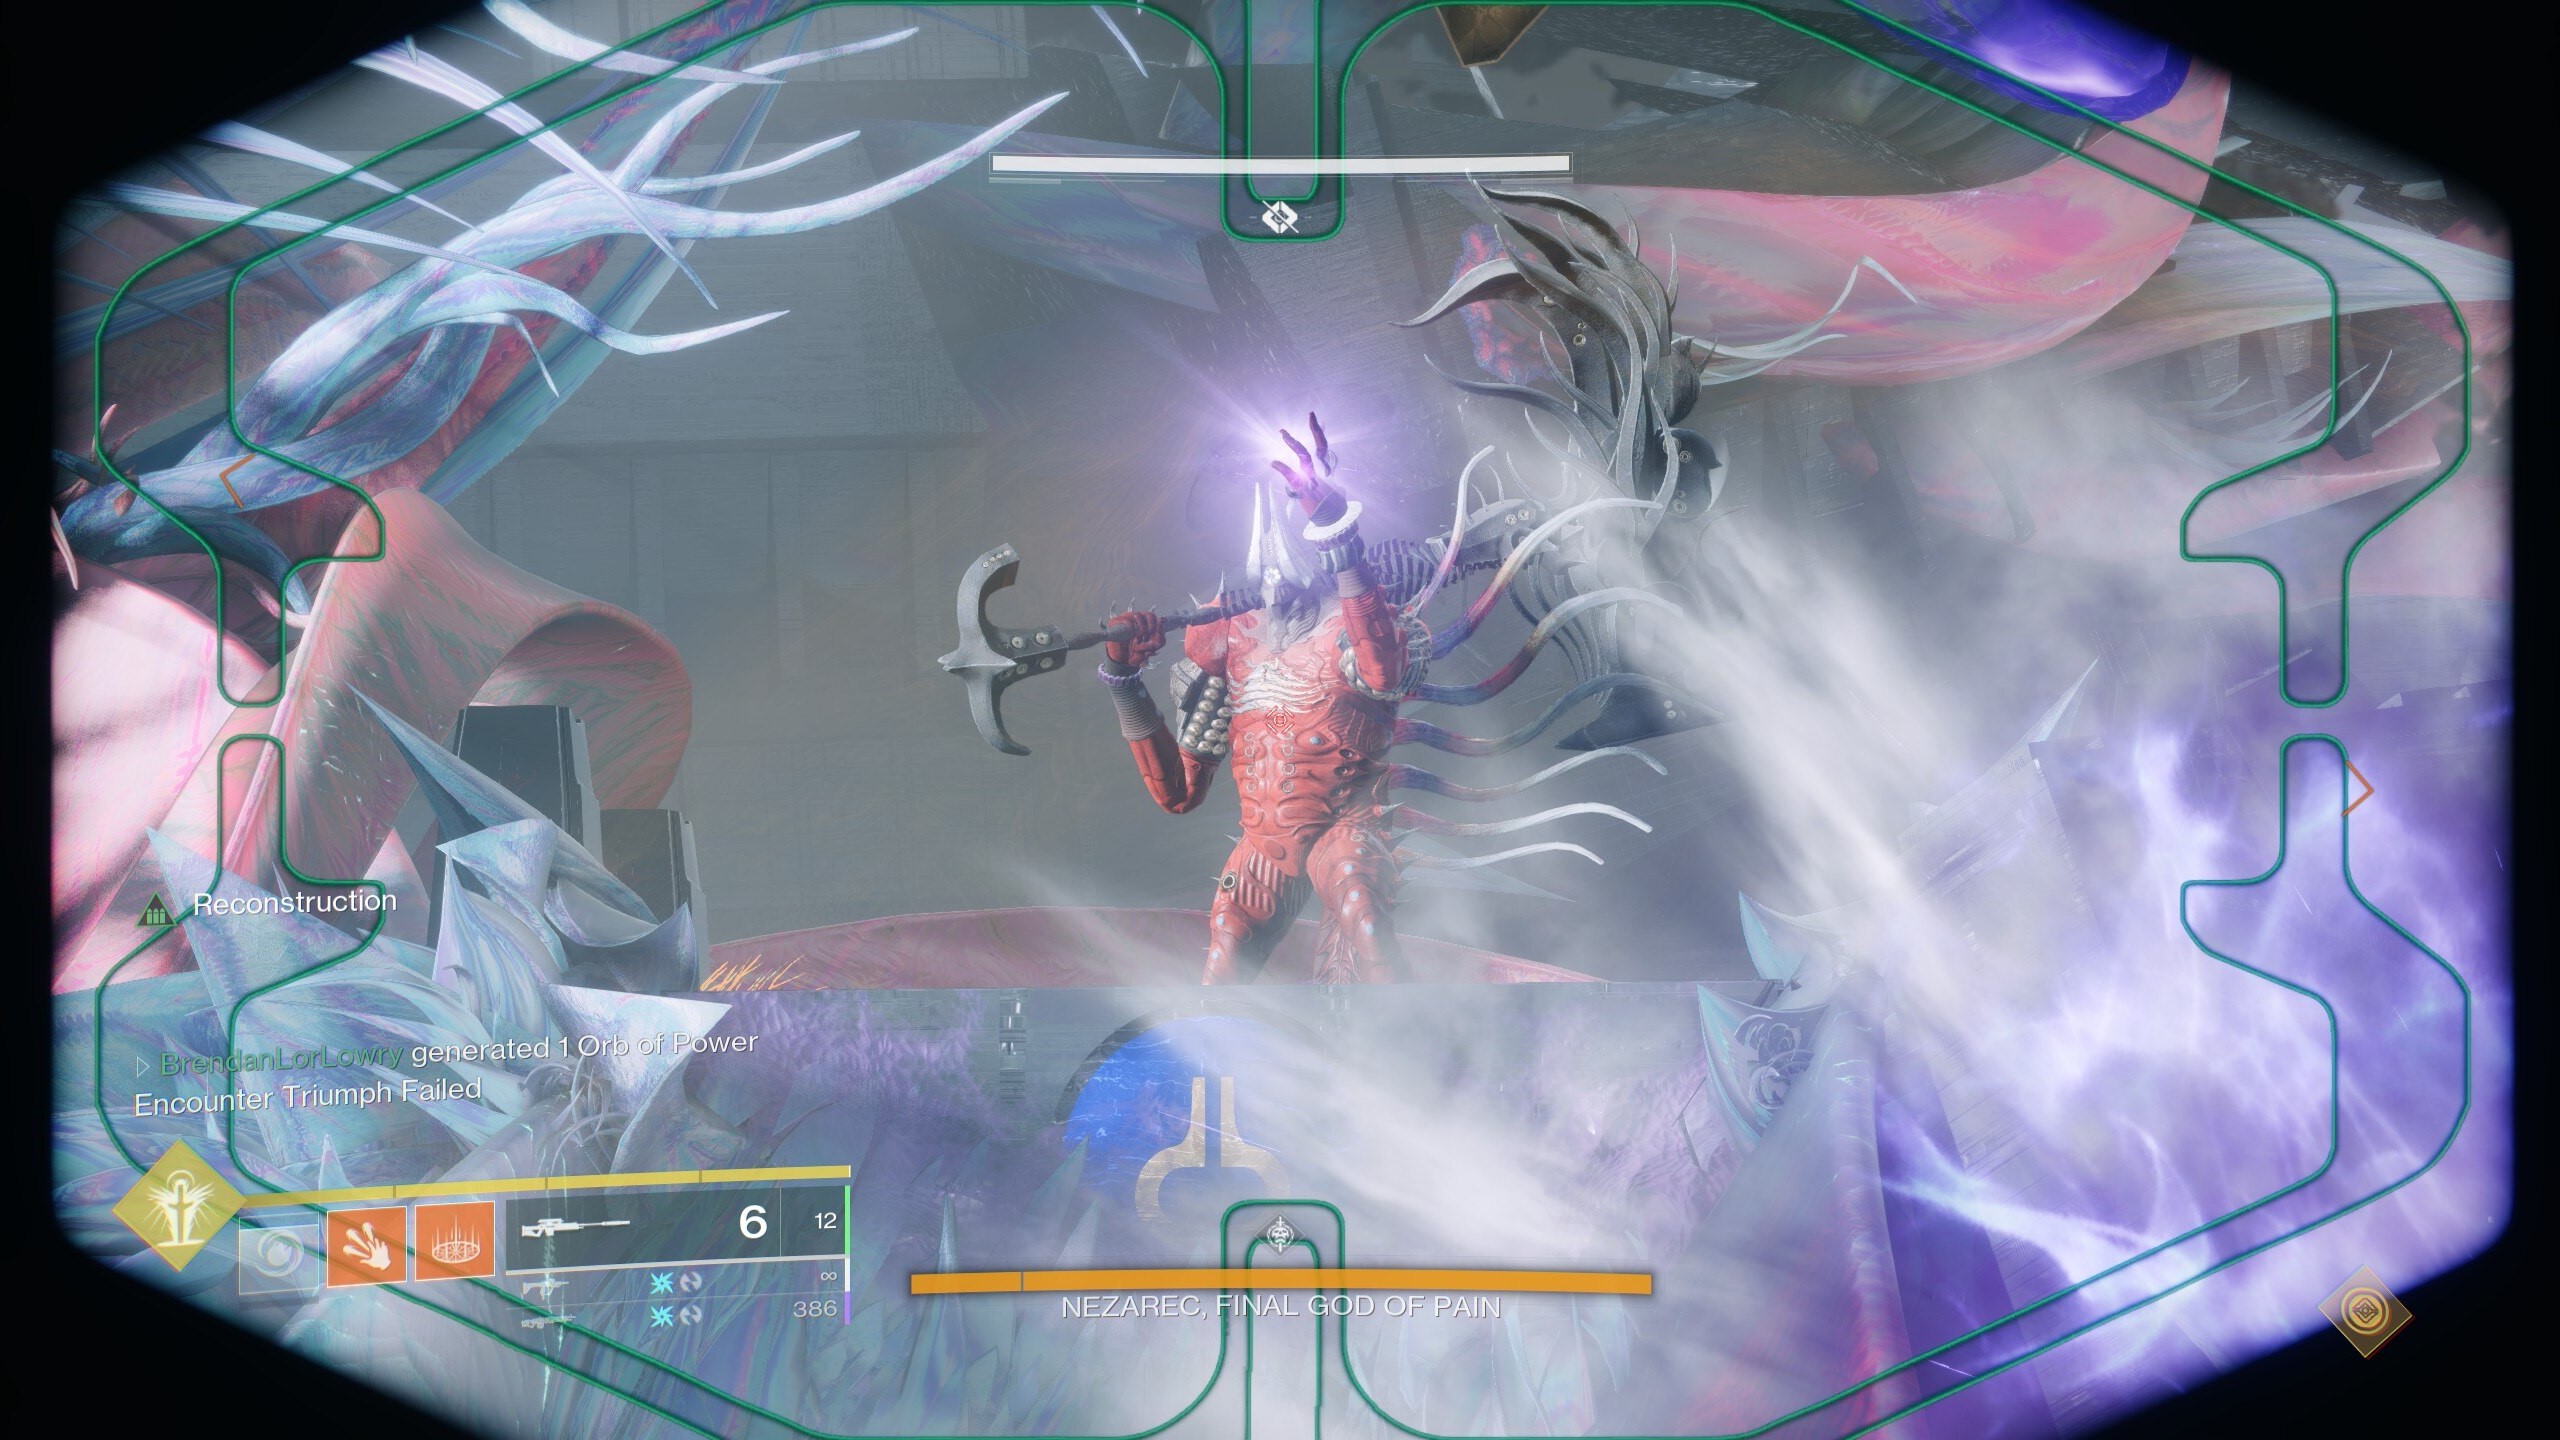
- During the fight, random players will be given the Nezarec's Hatred debuff and the boss will begin forcibly knocking them into the air with Void attacks. While this is happening, Nezarec's chest will glow yellow (see below); the taunting team should shoot it to transfer Nezarec's Hatred to themselves instead.
- After Nezarec's Hatred is transferred, the boss will jump down and begin chasing the player that shot his chest. At this time, his shoulders will begin glowing; shoot both and call out the color of the energy burst created when both weak spots are destroyed. Blue means Light, while orange means Darkness. Taunters should then continue shooting his chest to hold his aggro, using cover throughout the arena to survive his Void projectiles and slam attacks.
- Shortly after this, Nezarec will begin glowing and will initiate a wipe attack several seconds later. To survive it, one of the runners will need to create an appropriate refuge for everyone on the team to use.
- The type of refuge needed depends on the color of the energy burst from Nezarec's shoulders. If the taunting team called blue/Light energy, the Flux of Darkness (right) runner needs to take their buff to a Field of Light (left) plate that isn't glowing and shoot the orb above it to create a refuge. If orange/Darkness energy is called, the Light player takes Field of Light to a non-glowing Flux of Darkness plate.
- Make sure the runners call out where they made a refuge so everyone on the team knows where to get it.
- Note that it's not recommended to have everyone stand in the refuge plate until the wipe attack passes, as this makes everyone a sitting duck for the standard attacks Nezarec does while charging his wipe mechanic. The Light's and Darkness's Refuge buffs last for 14 seconds after you leave a refuge plate, so you only need to walk through them briefly to protect yourself.
- Once both runners complete their plate sequence, a damage phase will initiate. All players should rally to one of the plates in the room (ideally the Field of Light plate closest to the center of the arena, as it provides solid cover from ads).
- You can begin damaging Nezarec when he gets hit by a large laser. Note that he can still attack you throughout the damage phase, though the elevated positions of the plates will keep you safe from nearly all of his moves.
- The damage phase will end after about 30 seconds, at which point Nezarec will return to his original perch.
Like the boss in the Macrocosm encounter, Nezarec also has a final chunk of health that represents his final stand. Once you reduce his HP bar to that point, wait for him to become vulnerable again and then finish him off with everything your team has left. Congratulations, you've completed Destiny 2's Root of Nightmares raid!
Destiny 2: Lightfall is available now on Xbox Series X|S, Xbox One consoles, Windows PCs, and PlayStation systems. In it, you'll take the fight to Emperor Calus, get access to Strand subclasses and their unique abilities, and more. It also unlocks the Root of Nightmares raid, allowing you to challenge the deadly forces within.
Destiny 2: Lightfall
The Lightfall expansion takes players to the neon-soaked city of Neomuna on Neptune and pits them against the fearsome Shadow Legion. The DLC also gives you access to the Root of Nightmares raid and all of its sweet, sweet loot.
See at: Microsoft | GMG (Steam)

Brendan Lowry is a Windows Central writer and Oakland University graduate with a burning passion for video games, of which he's been an avid fan since childhood. He's been writing for Team WC since the summer of 2017, and you'll find him doing news, editorials, reviews, and general coverage on everything gaming, Xbox, and Windows PC. His favorite game of all time is probably NieR: Automata, though Elden Ring, Fallout: New Vegas, and Team Fortress 2 are in the running, too. When he's not writing or gaming, there's a good chance he's either watching an interesting new movie or TV show or actually going outside for once. Follow him on X (Twitter).

 Windows Central Insider


