Destiny 2 Vow of the Disciple Raid guide: Full walkthrough and tips
Tackle Destiny 2: The Witch Queen's ultimate challenge, the Vow of the Disciple raid, with our step-by-step guide. Buckle up, it's a long one.
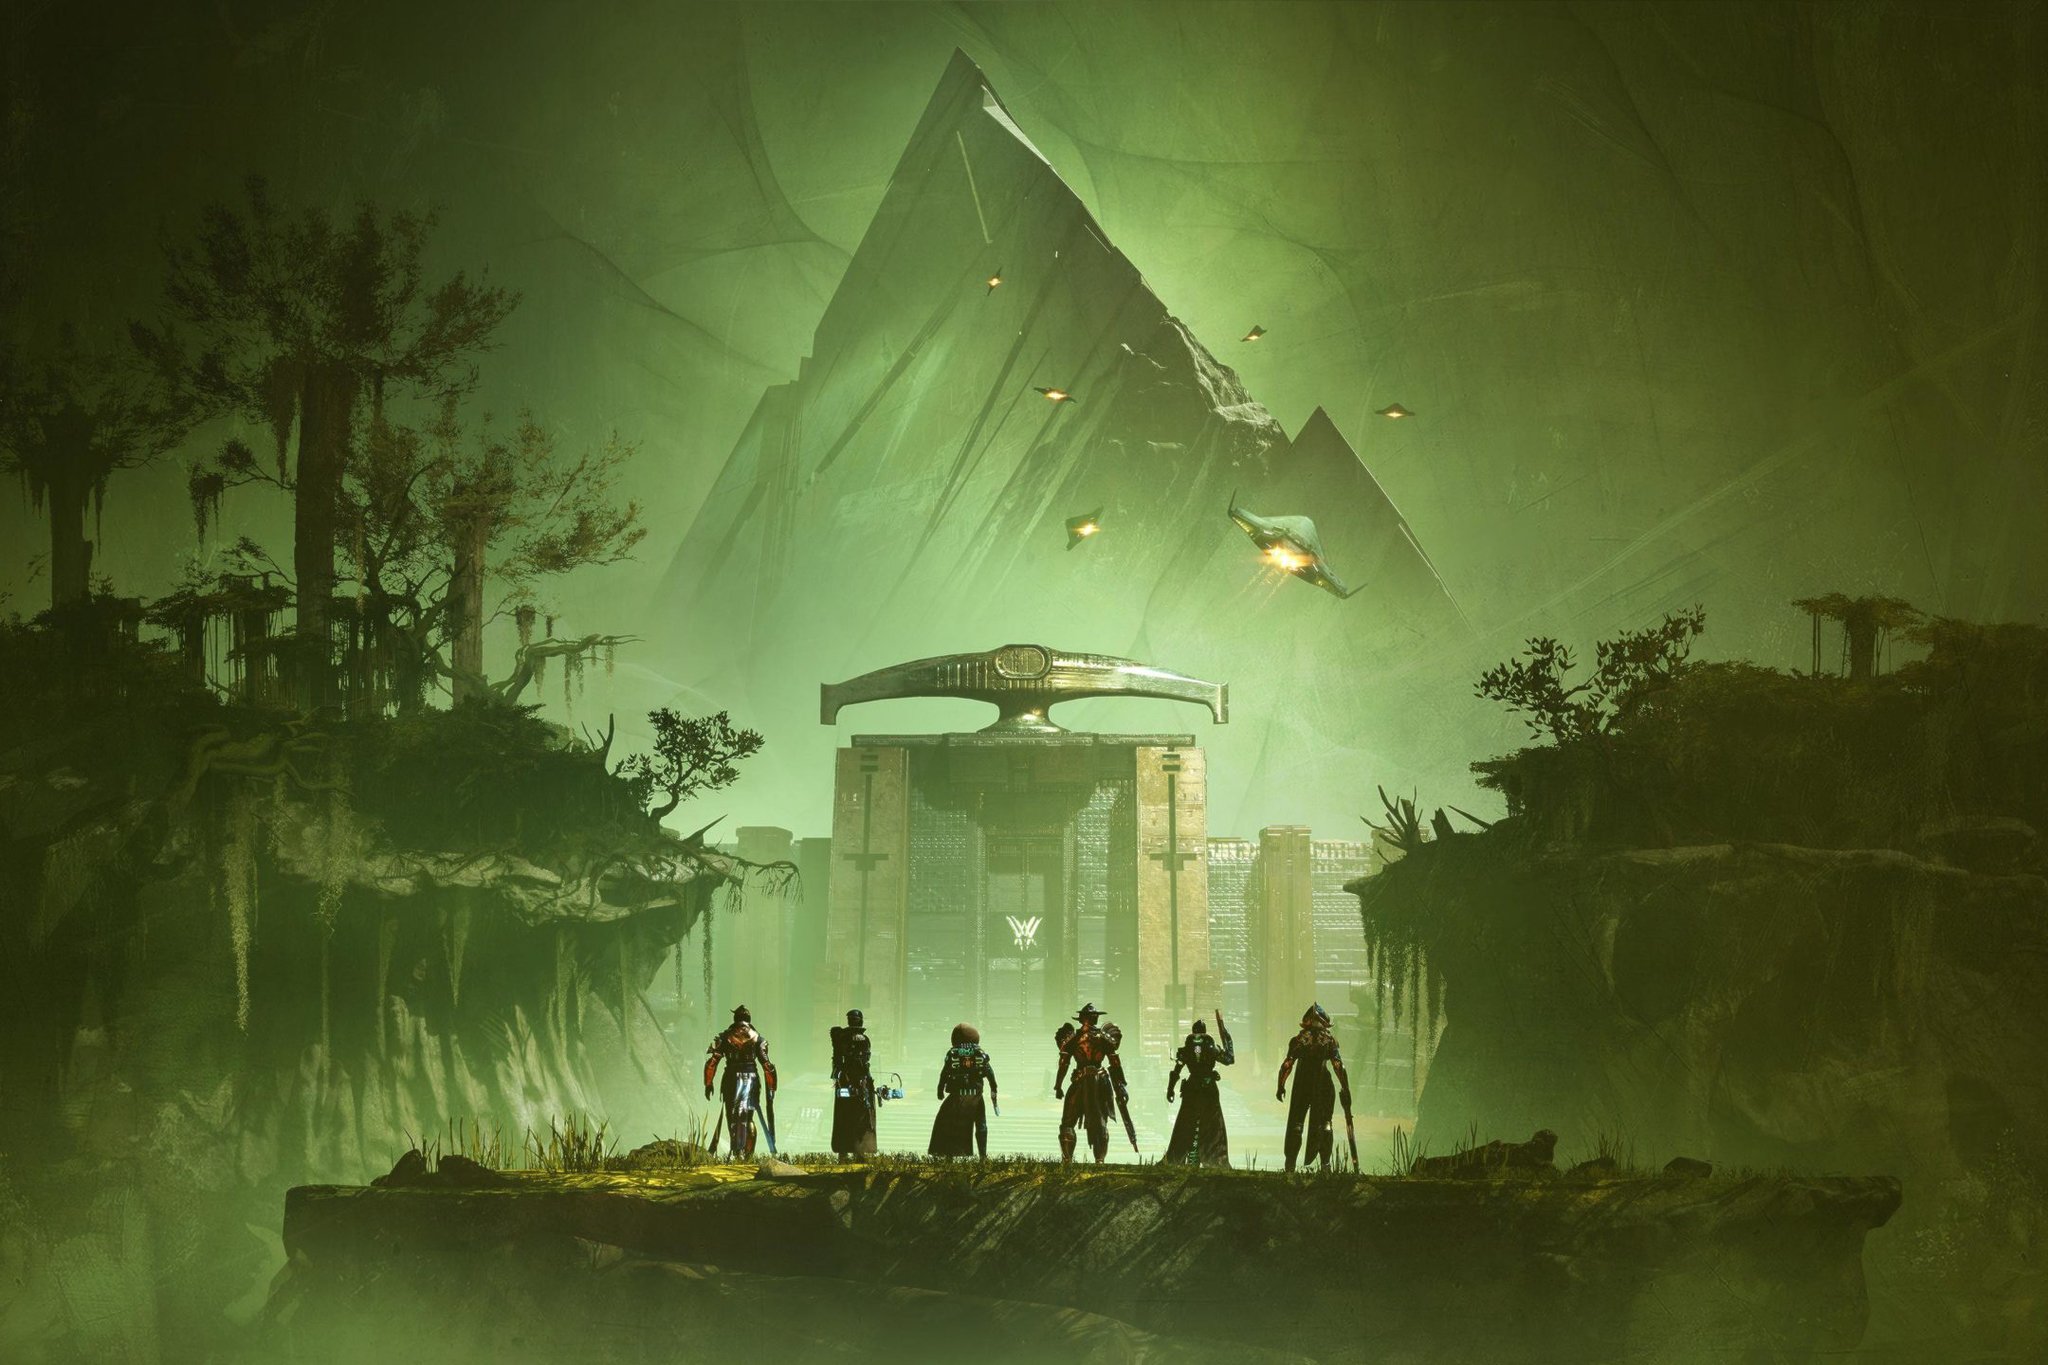
Raids host some of the hardest content available in Destiny 2. They demand precise aim, sharp reflexes, and coordination. On top of that, there are a plethora of mechanics, puzzles, and platforms that can defeat even the toughest Guardians. The Vow of the Disciple, The Witch Queen expansion's raid is no different, but it's an all-timer for testing your patience and communication skills. Here's everything you need to know about the Vow of the Disciple, how to beat it, and what to expect in every encounter.
Best Destiny 2 Vow of the Disciple builds
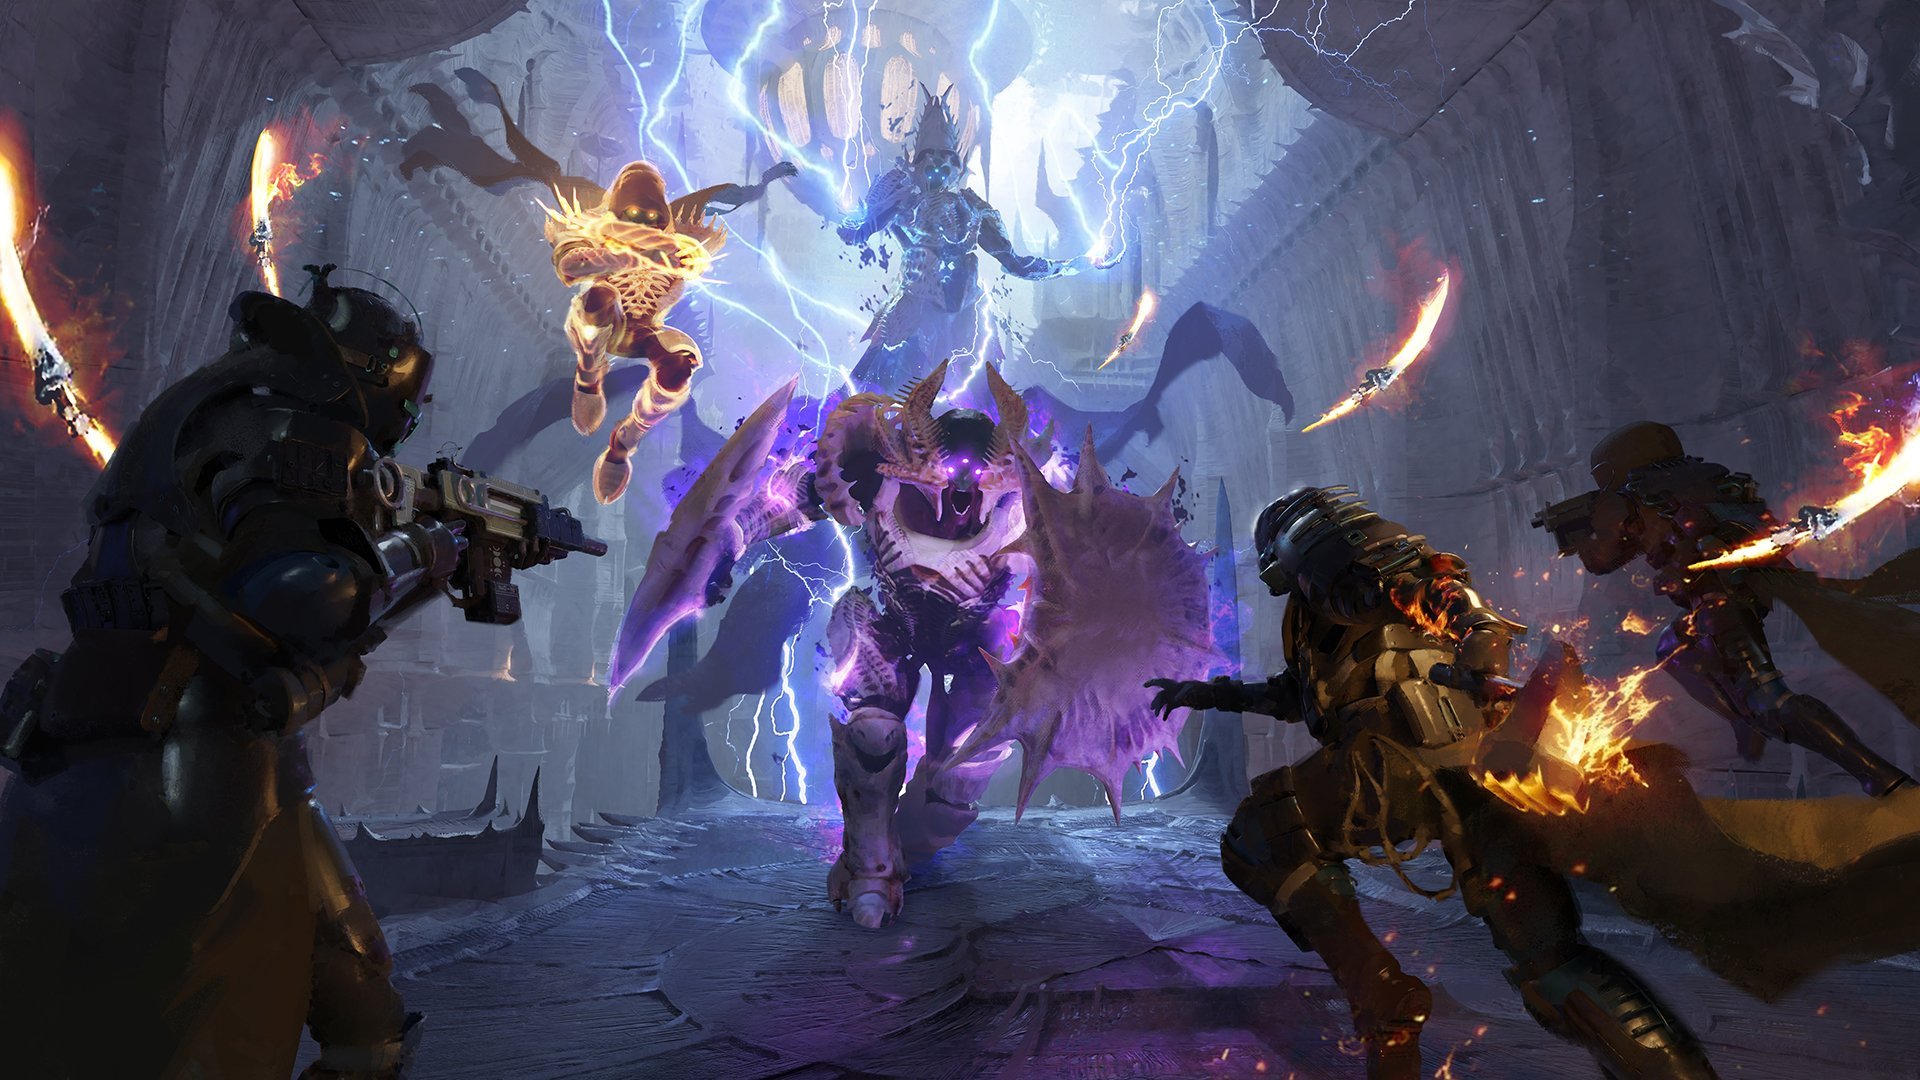
While Vow of the Disciple allows any setup, with Raid Triumphs that enforce restrictions outside your comfort zone, there are certainly options to keep in mind to tackle its encounters with ease.
Titans feel a little bit limited in the Vow of the Disciple due to some encounters requiring players to deal damage from small, stationary positions, or at a fast pace. This often rules out the Titan's beloved bubble, but makes way for the Rally Barricade. The Rally Barricade will let your Titan slap on some extra damage during boss fights and negate incoming damage. Couple this with Void 3.0's ability to generate additional overshields for your teammates and Titans can offer a competent support class in the Vow of the Disciple.
Article continues belowUnlike Titans, Hunters can be more flexible, opting between the Moebius Quiver and Deadfall supers in the Void subclass. You can also draw the help of Orpheus Rigs, near-infinite invisibility thanks to the Void 3.0 subclass changes combined with the Omnioculus, or falling back to the tried and tested pairing of Celestial Nighthawk and a Golden Gun.
Warlocks have a lot of new toys in Void 3.0, mainly Devour aspects and fragments. However, the class can also opt to return to its roots with a Well of Radiance, providing a safe zone for the team with an extra damage bonus.
Stasis is technically a viable option and a common theme through all three classes. While some supers leave a lot to be desired, the combination of Stasis Well mods and the ability to lock out tougher enemies with freezes make them a good choice in small quantities amongst a wider fireteam.
Best Destiny 2 Vow of the Disciple weapons
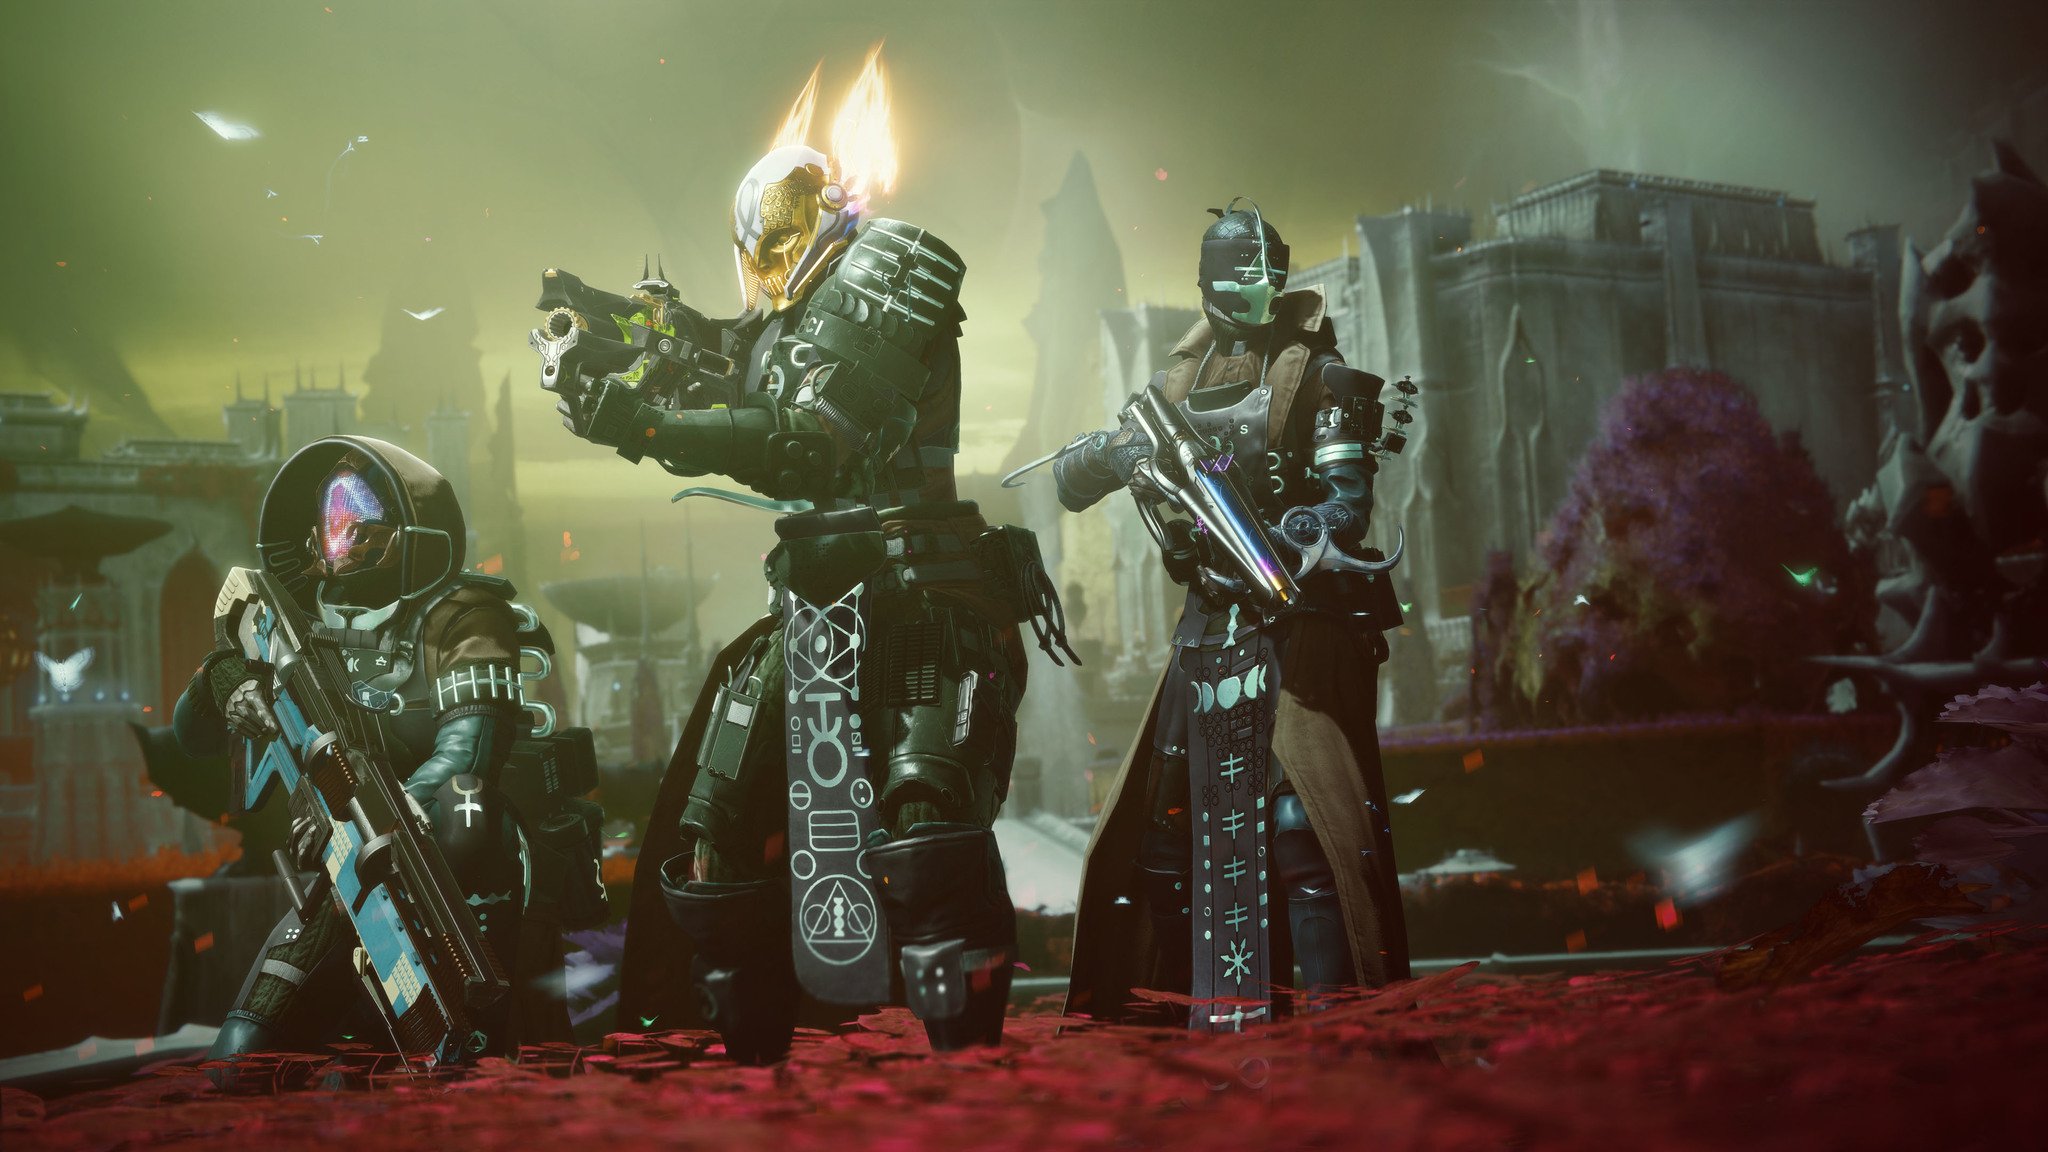
Now you've got a good idea of what to run on your subclass, we've rounded up some of the best Destiny 2 weapons that my day-one raid team found useful, and why.
All the latest news, reviews, and guides for Windows and Xbox diehards.
- Gjallarhorn: Not only does Gjallarhorn offer a very effective means of bursting down a tough enemy with a solar shield, but it also melts champions. You only really need one of these with a catalyst in your raid team to empower every other Rocket Launcher in your team, enabling teammates to use different exotics in their Primary and Secondary slots.
- Witherhoard: Given the positional spawns of the Vow of the Disciple, Withhoard remains one of the most efficient and malleable weapons in your arsenal. You can place a puddle on the floor, stack a second shot on the boss, and then unload with your high damage weapon while this subtly ticks over in the background, adding substantial health damage all the while.
- Outbreak Perfected: While the Outbreak Perfected is nobody's first choice, the benefit of having infinite ammo proved integral to some day-one clears the Vow of the Disciple. Many players cast aside secondary ammo using weapons in some encounters, in favor of Outbreak Perfected. The most recent buffs to all exotic weapons also mean that it packs an extra punch against smaller enemies.
- Palmyra-B: While there are plenty of Rocket Launchers that are worthy of your time in Destiny 2, there is none more deserving than Palmyra-B. Palmyra-B has innate tracking on its missiles and is available through the weapon crafting table. If you manage to drag this up to level 20, you can brag about your enhanced auto-loading holster and lasting impression weapons, as you cycle through your arsenal and deal swathes of damage.
- Funnelweb: While hard to come by, some players are touting the Funnelweb with Frenzy and Subsistence Traits as something of a GOAT. Thanks to its Foundry Trait, combined with the aforementioned perks and this season's Void focussed mods, you can continuously hold down the trigger and cut through small enemy clusters with ease.
- Deathbringer: Similar to Funnelweb, the Deathbringer gets a chunk of extra mileage thanks to armor mods this season. It also benefits from the open spaces above a majority of Vow of the Disciple encounters. It might not be the best choice of weapon for the raid, but this is the best raid for this choice of weapon.
- Divinity: When it comes to damage and elevating your team's ability to do more, Divinity is a fantastic choice. The bubble it places over the final boss of the Vow of the Disciple is integral to a significant number of day-one clears. All it takes is one person to make sure they've brought it along and you will have a significantly easier time.
- Sleeper Simulant: If you played in the previous season of Destiny 2, you won't need to be lectured on the supremacy of this weapon. But after the seasonal mods that helped it shine were removed, you probably locked it up and threw away the key. But sleeper holds its ground, especially when paired with a Divinity.
On top of all of these, taking time to pick out your favorite Pulse Rifle or Hand Cannon, and Auto Rifle or Submachine Gun is a must, due to the prevalence of Unstoppable and Overload Champions found in some encounters. There are far too many to mention, but Gnawing Hunger, Syncopation-53, and Tarrabah were my weapons of choice that I kept on hand outside of our top picks.
Exploring Vow of the Disciple's core mechanics
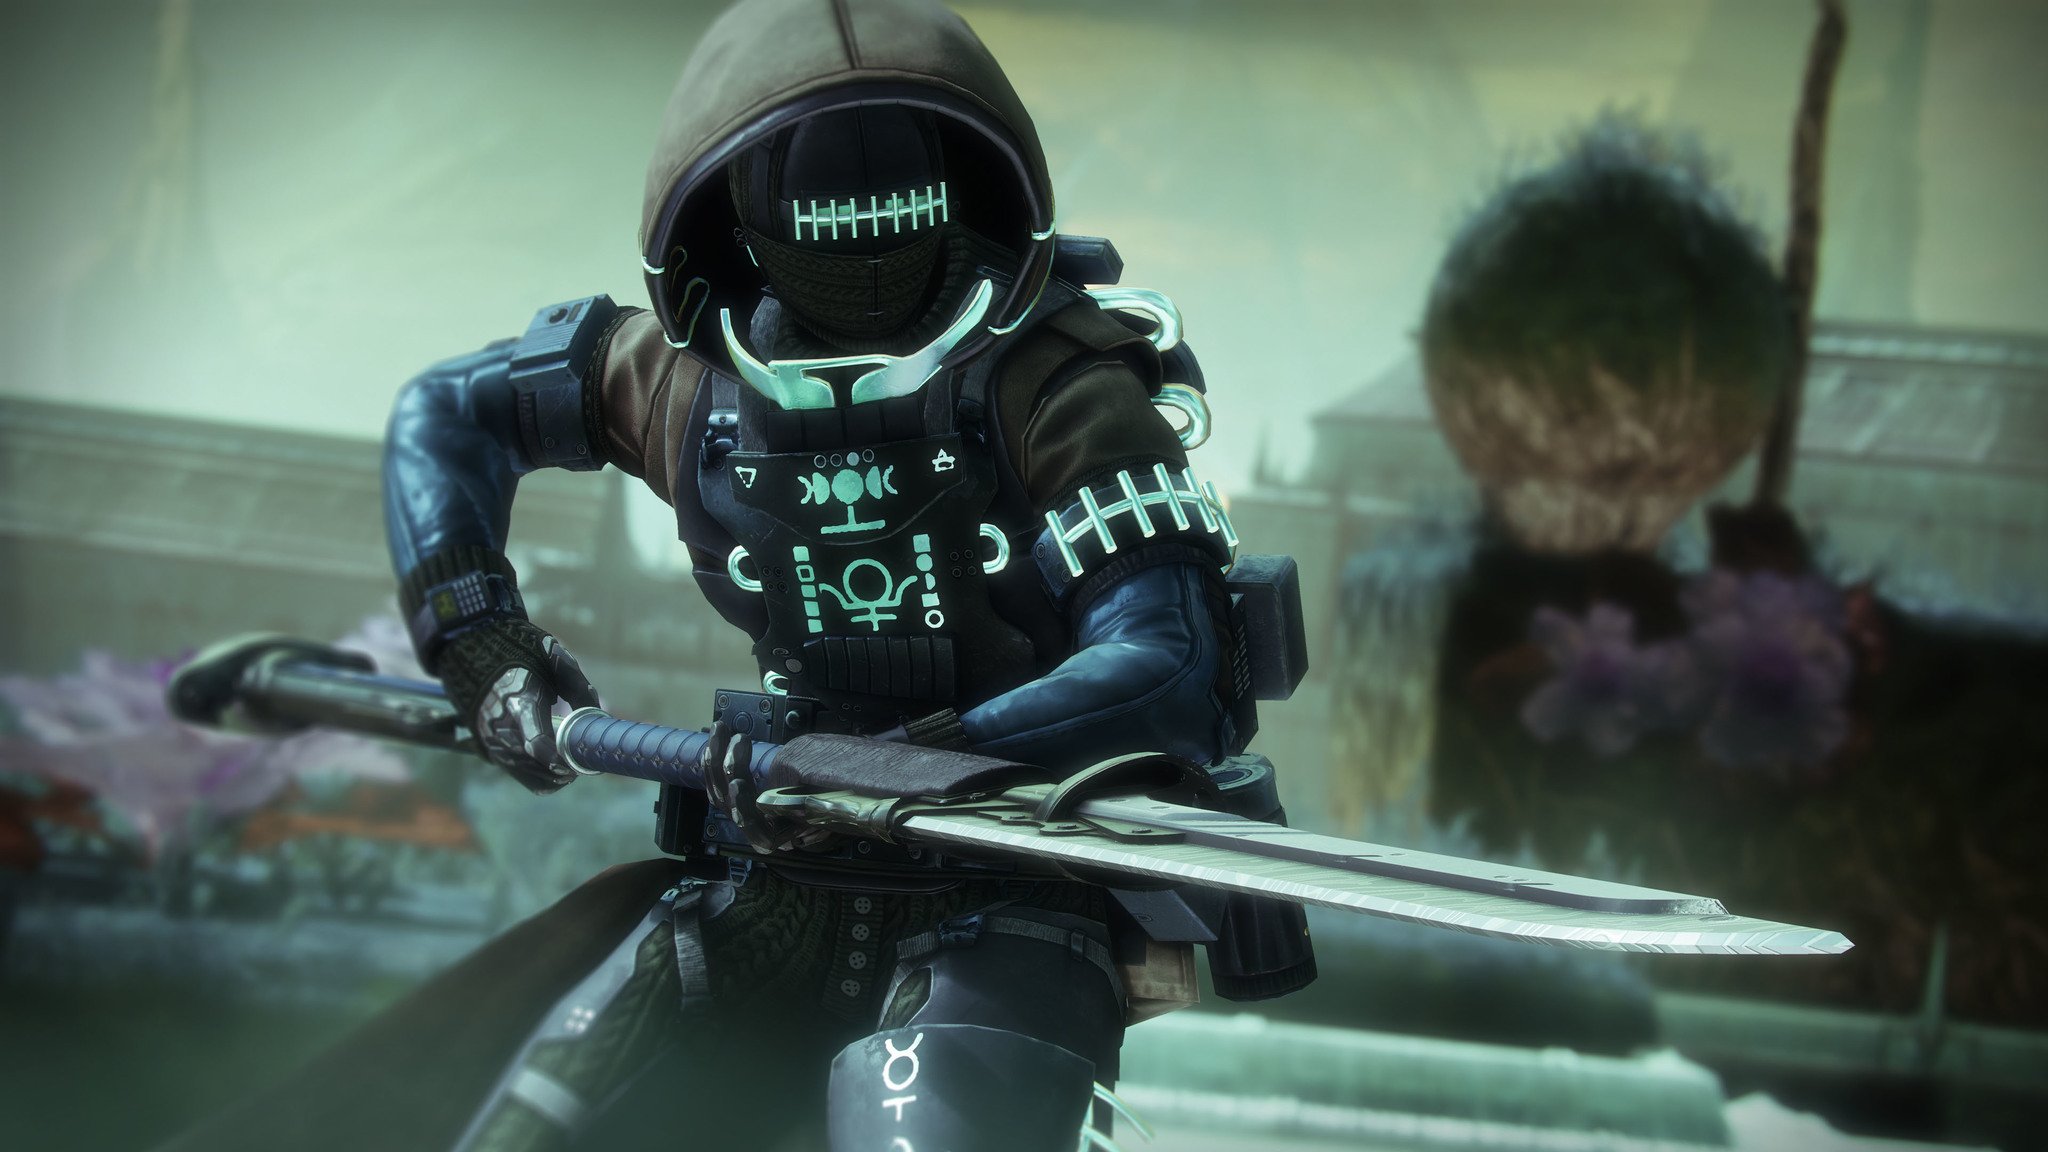
Destiny 2's complex but rewarding raids have seen it join today's best shooters, and once again, there are several concurrent themes throughout the Vow of the Disciple. While their use or interaction may vary from encounter to encounter, there are some fundamentals regarding the raid that you need to understand before going in.
Glyphs
Throughout the majority of the Vow of the Disciple, you will need to communicate Glyphs. There are 29 in total and each will have different relevance in the encounter you find them in. Before getting started, it's important to agree upon a series of names for the duration of the raid. For consistency, my team opted to use this Imgur link from Reddit's RaidSecrets channel to ensure consistency. You can view all of these Glyphs early on in the Raid as you pass by a series of emblems, in something akin to a museum, before the first main encounter. Glyphs are present in all encounters.
Obelisks
Obelisks aren't quite as common as Glyphs, but they are intrinsically linked to them. Throughout the raid you will see large prisms with nine windows on them. We referred to these as Obelisks. When an Obelisk is in the arena of your encounter, the windows will display 9 Glyphs to shoot. Which window/Glyph you shoot will be dictated by the encounter. Obelisks are present in Acquisition and Reflection.
Fonts of Knowledge
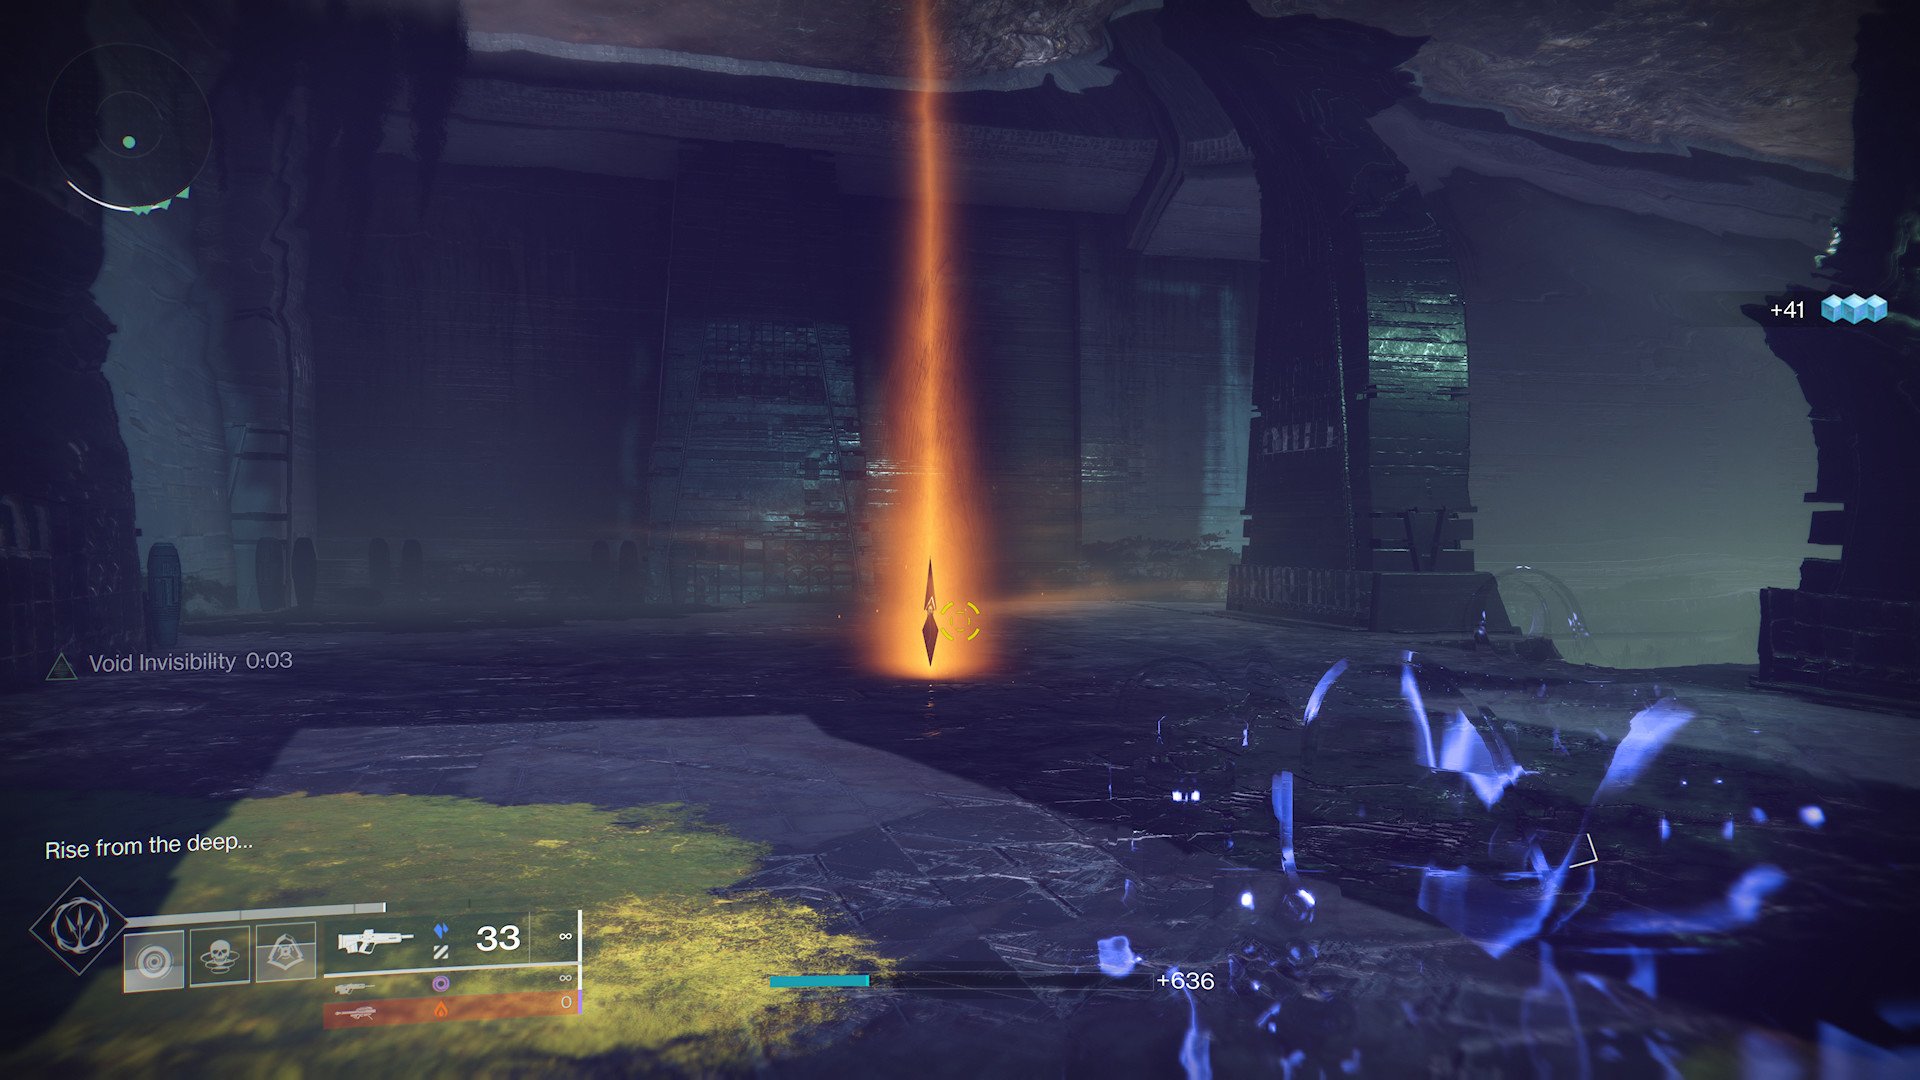
These are little beacons that emit a pillar of orange light into the sky. By collecting a font, you will receive a buff known as knowledge. You can stack these buffs three times. Each stack has its own name. In order, they are; Heightened Knowledge, Brimming Knowledge, and Overflowing Knowledge. Fonts of Knowledge are present while Traversing the Bog and in the Collection encounter.
Pervasive Darkness
Pervasive Darkness is a debuff that is applied throughout the raid. There is no singular physical entity it is attached to, but it will be displayed at the bottom left of your screen after it has been applied. You can only hold nine stacks of Pervasive Darkness, after the tenth stack is applied you will die. Pervasive Darkness is present while Traversing the Bog and in the Collection, Exhibition, and Rhulk encounters.
Opening the gate
As you load into the raid, you will be approached by a familiar face at a familiar location. It's Savathun's reflection and she is guarding the large ominous door that can be found in the Miasma on Savathun's Throne World.
All you need to do is kill the reflection and the doors will open. It's a simple encounter and you have unlimited lives here. So there's no need to stress.
Traverse the bog
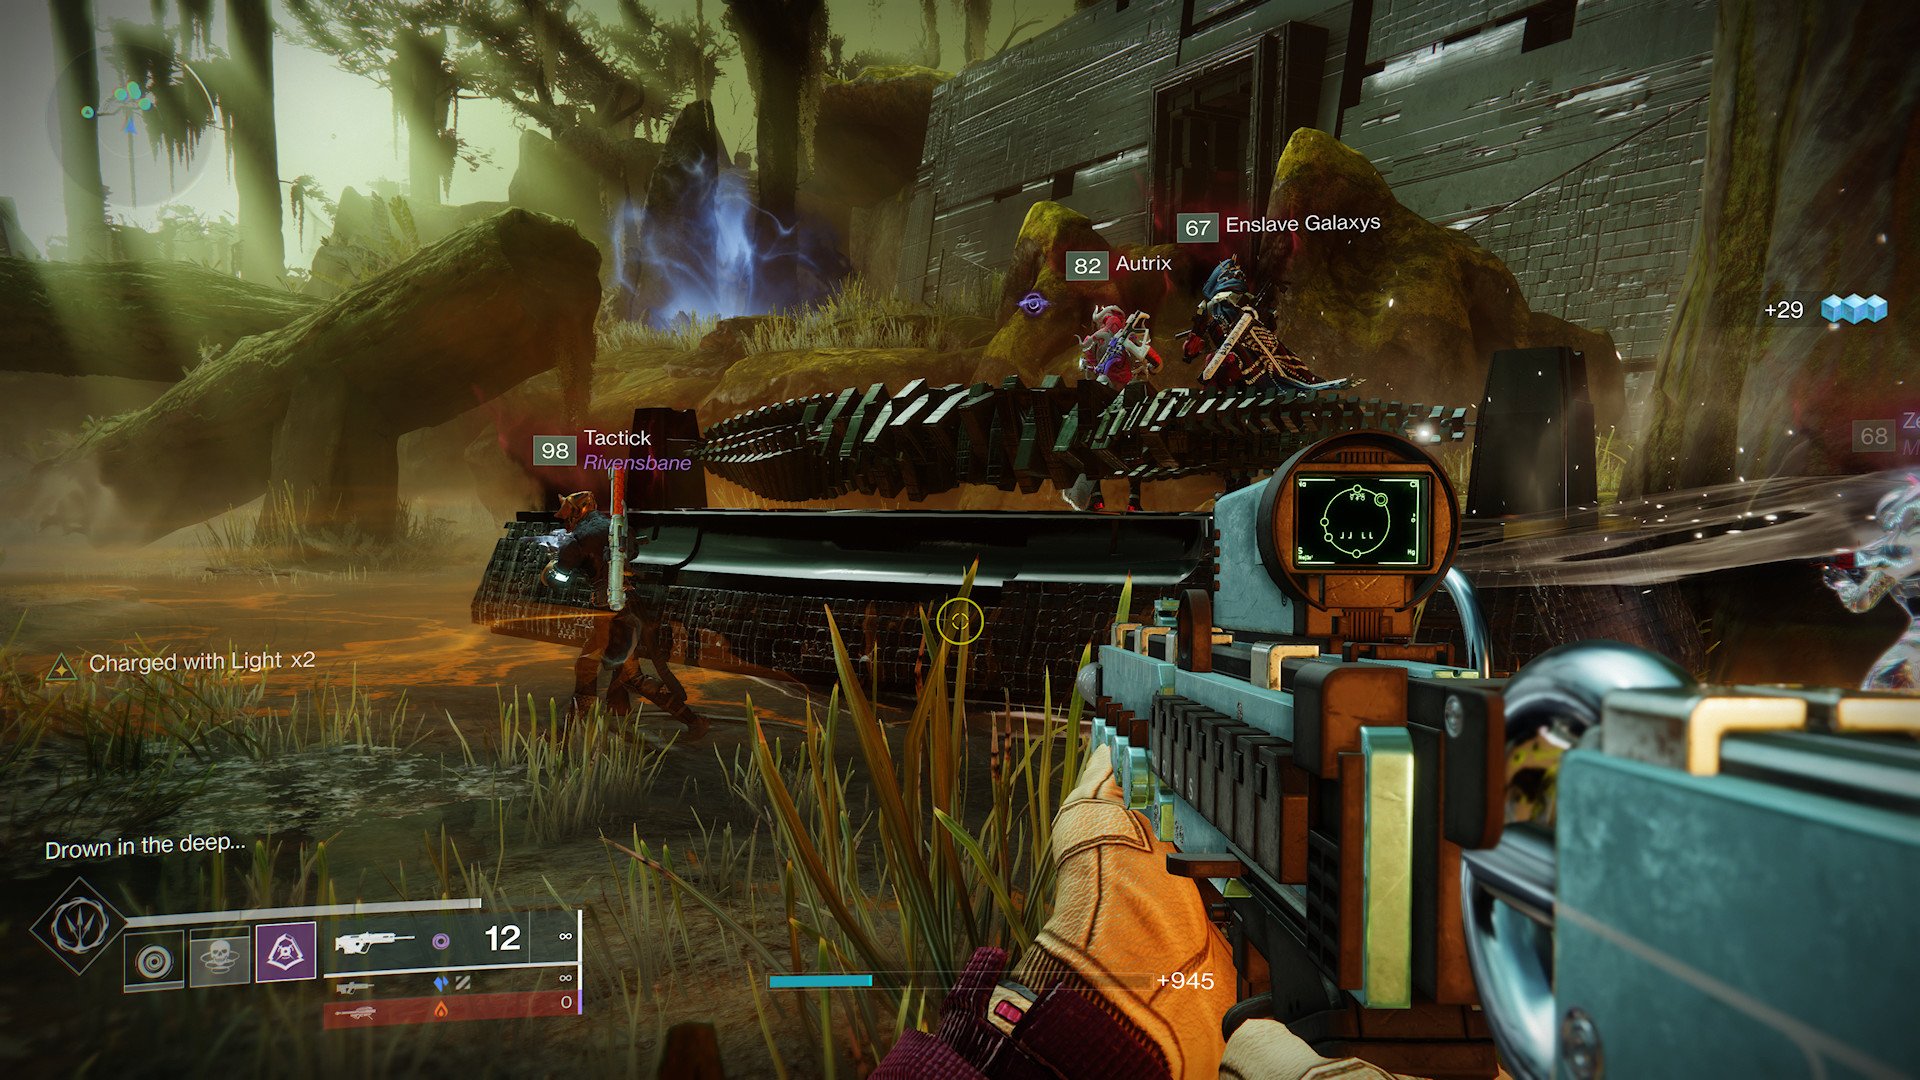
Following the door's opening, you will be treated to another unlimited life encounter where you will need to power a boat, of sorts, towards a downed pyramid ship. This encounter is very similar to the payload delivery-esque Public event that can be found in Savathun's Throne World. It's also your first introduction to the Font of Knowledge mechanic.
To power the boat, you will need to deposit nine Fonts of Knowledge in total by standing next to the boat while you possess a knowledge buff. This will take three Guardians to do so, which means it's best to split your team into two teams of three. One team should focus on collecting Fonts and the other team should focus on killing the surrounding enemies. While you are not standing in the immediate vicinity of the boat, you will gain stacks of Pervasive Darkness.
The boat will periodically come to a standstill. At this point, a large Scorn Abomination, known as the Knowledge Bearer, will spawn. Killing the Knowledge Bearer will provide your team with Fonts of Knowledge.
This process will repeat several times until the boat is tucked away in a rather dark hole and opens a door atop the stairs next to where the boat enters. You will now need to progress towards the next encounter. This can be done by dropping down the hole to the right as you enter the room and progressing forward.
Encounter 1: Acquisition
Acquisition is considered the first main encounter within the Vow of the Disciple, which means you will have a limited number of lives going forward. The objective of this encounter is to use Glyphs found on towers to decode a message and identify the correct Glyphs to shoot on an Obelisk within the arena.
To start this encounter, players must shoot the small floating object in the center of the arena, but before then you will need to organize your teams.
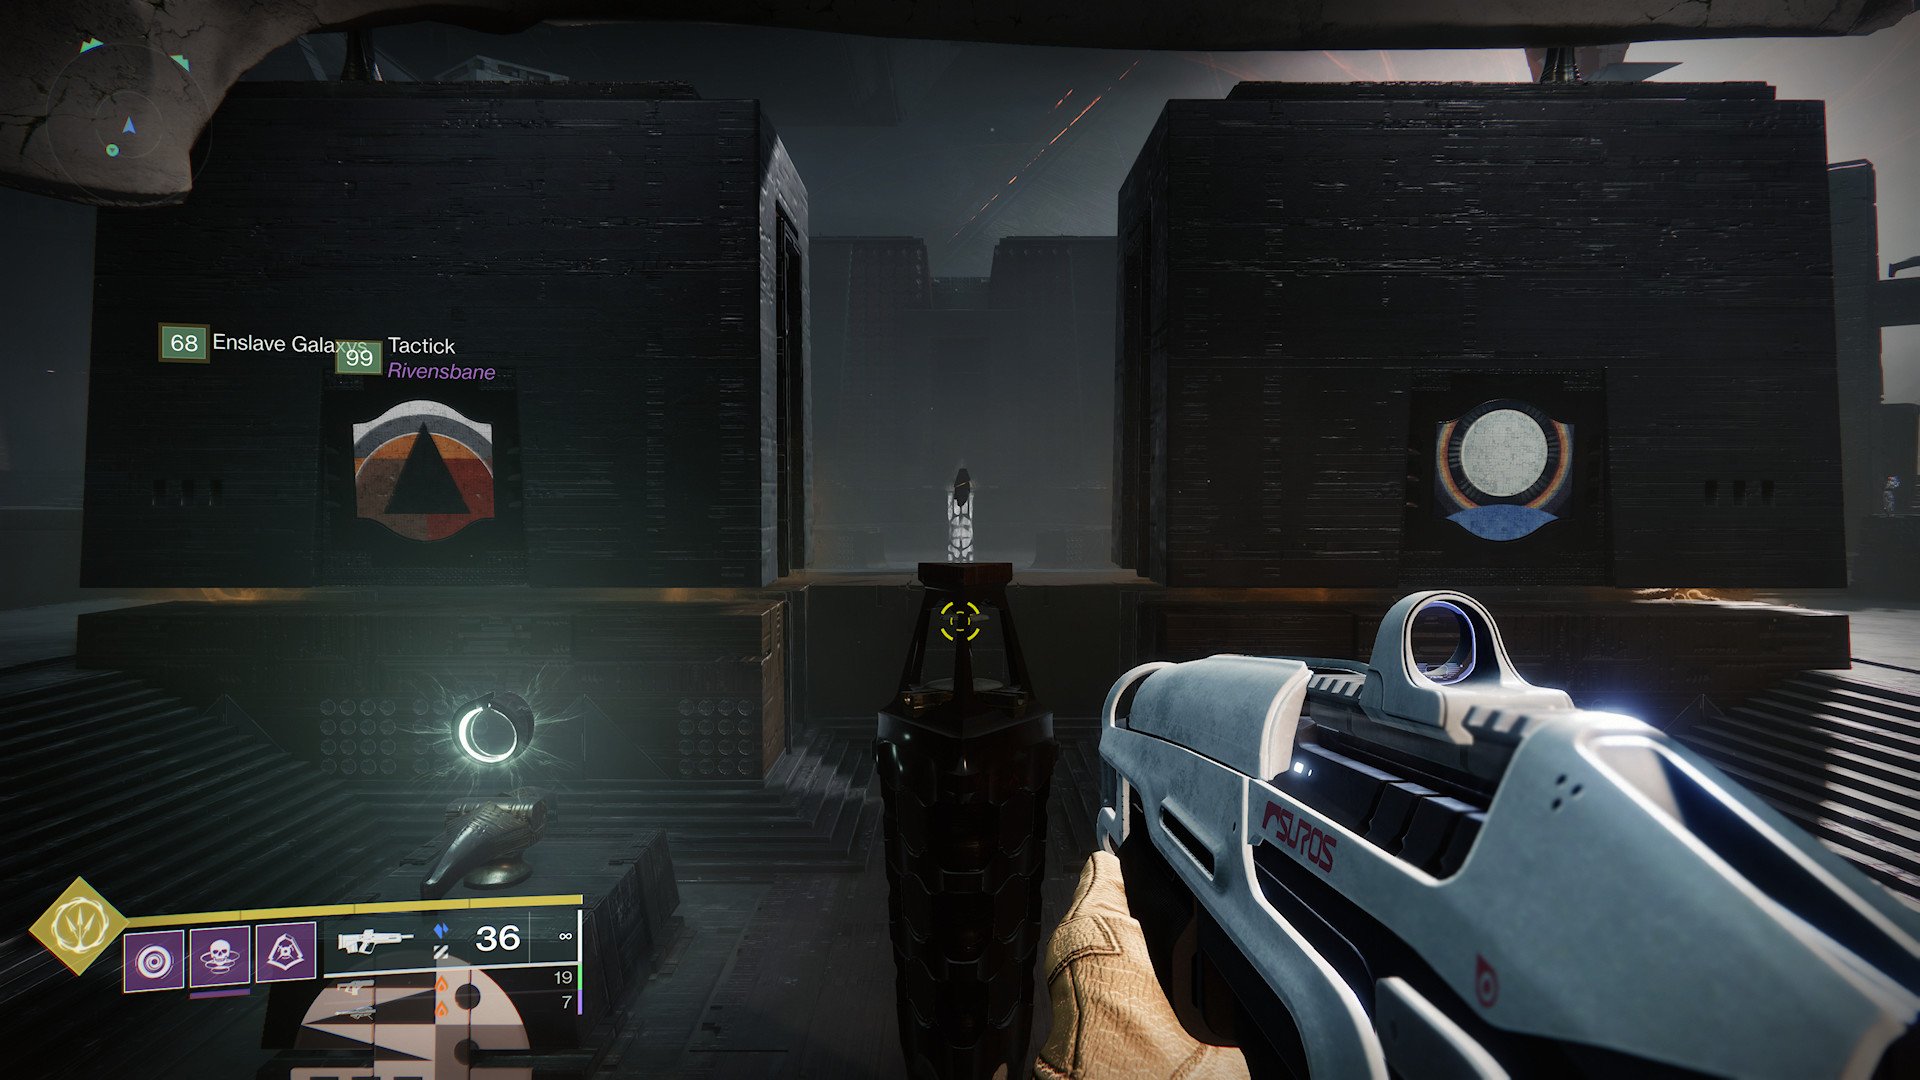
As you look around the arena, you can find three Obelisks. Each obelisk must be protected from enemies and eventually shot after deciphering the code you are working towards. You may also notice a tower with three windows opposite the Obelisk. These display Glyphs that will provide you with information throughout the encounter, from top to bottom, to progress.
A team of three, one for each Obelisk, should be created within your fireteam. It will be their responsibility to communicate the information on their tower, defend their obelisk, and, when the time comes, shoot the correct symbol on their Obelisk. We will call this team "The Defenders."
The second team, which we will call "The Decoders," will be responsible for killing Taken Knights known as Disciple's Compass, entering vaults to clear them, before calling out a Glyph that spawns. Vaults can be found around the arena, via large doors with a singular Glyph above them.
When you start the encounter, one of the towers near an Obelisk will display a Glyph that will indicate which side of the room the Disciple's Compass has spawned. The Glyph will correspond with the large Glyph found on one of the two structures found in the center of the room. The Decoders must kill the Compass to reveal the next Glyph on the tower. The next Glyph revealed will help the Defenders identify which of the nine Vaults one member of the Decoder team will need to enter and clear. If the door is shut, you can shoot the same object that started the encounter to open these doors.
As the Decoder enters the vault, there will be a series of Screebs and two Scorn Captains, called Glyphkeepers, with solar shields. The Scorn Captains will appear on either side of the vault next to a large tapestry of a Glyph. This Glyph will correspond with the third Glyph displayed on the tower and the Defender must call out this Glyph. After killing the captains, a further Glyph will appear where the Captains died. Matching this Glyph to the Glyph on the tapestry which the Defender called out will indicate the correct Glyph. Call this out to the wider team.
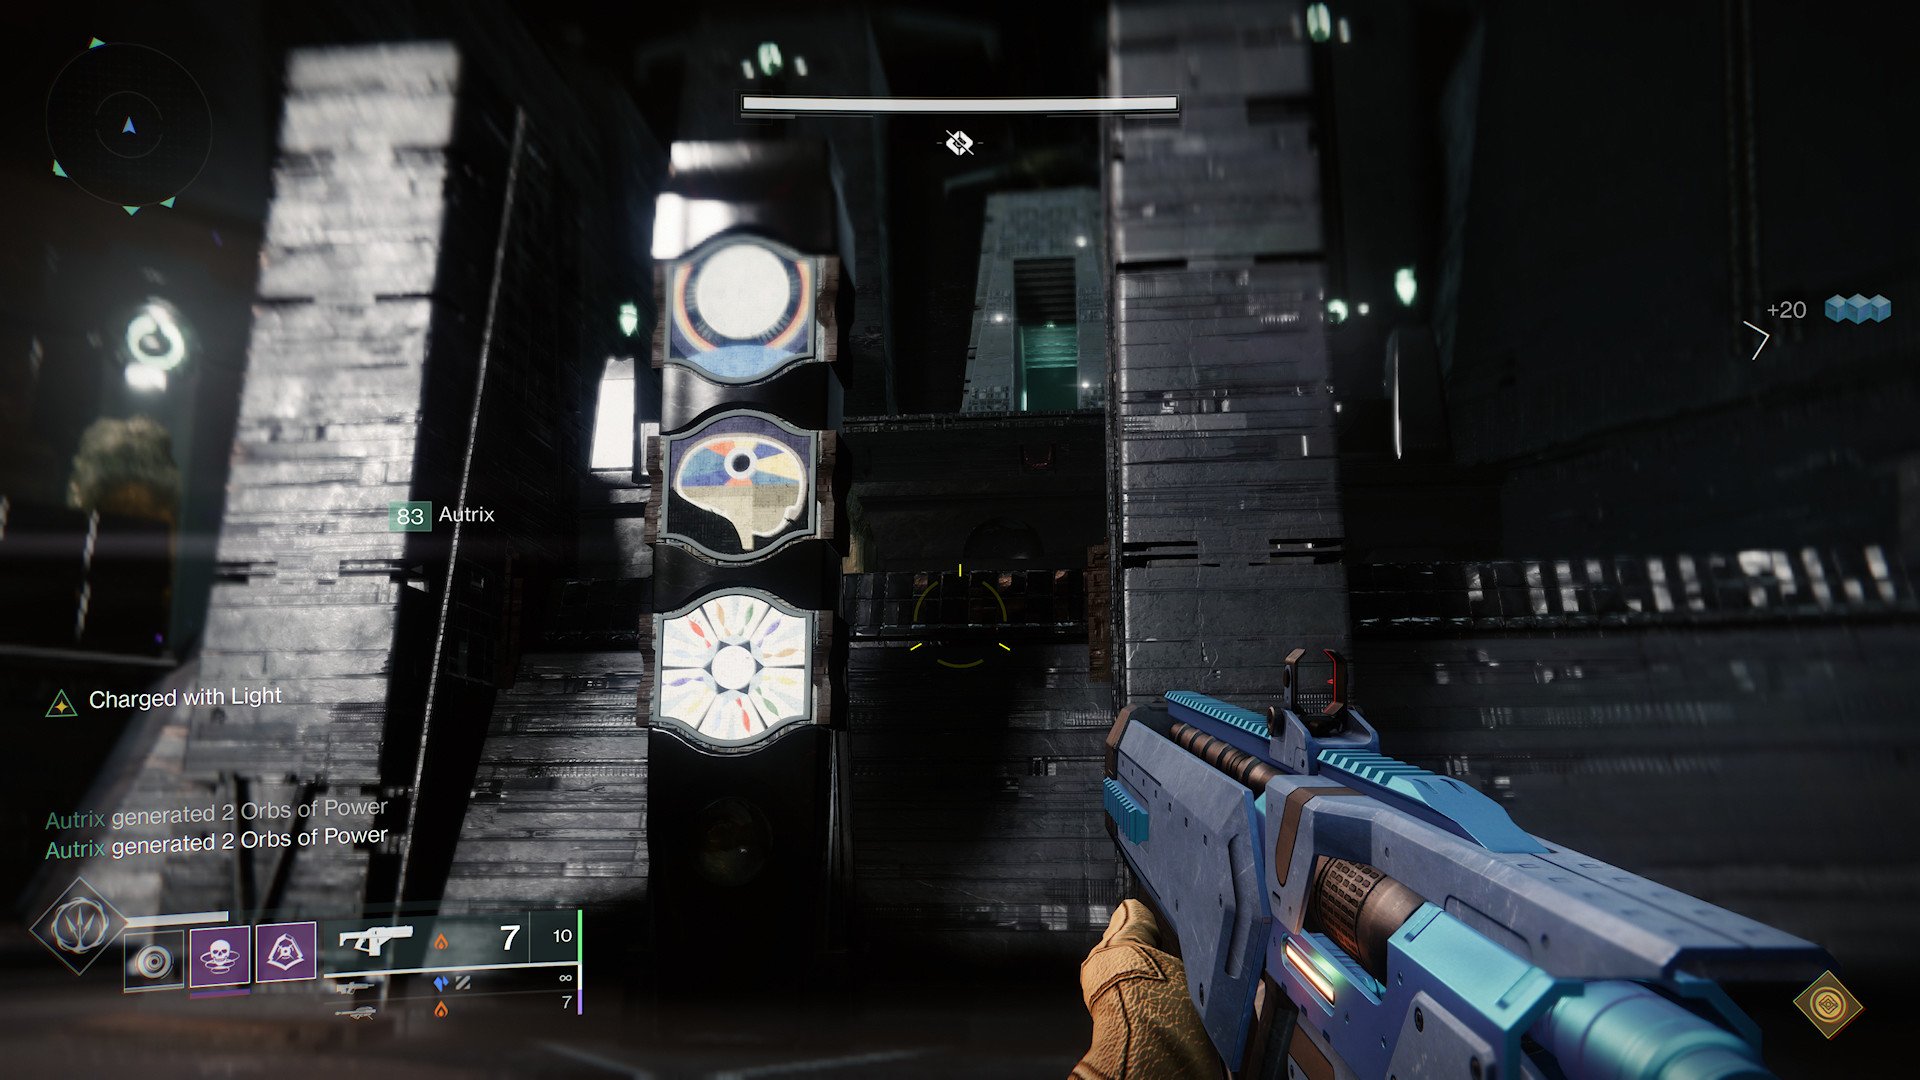
This process will repeat for all three Obelisks and their towers. While this is happening, you will be inundated with enemies. Within these waves, there will also be Unstoppable Champions that spawn, so ensure that you are able to deal with them by equipping the right weapon and mods.
As you clear the Vaults, Glyphs will start to appear on the Obelisks throughout the arena. Defenders should take time to examine their Obelisk to check if it contains the Glyph called out after each Vault clear. This will help to identify the Offering Obelisk.
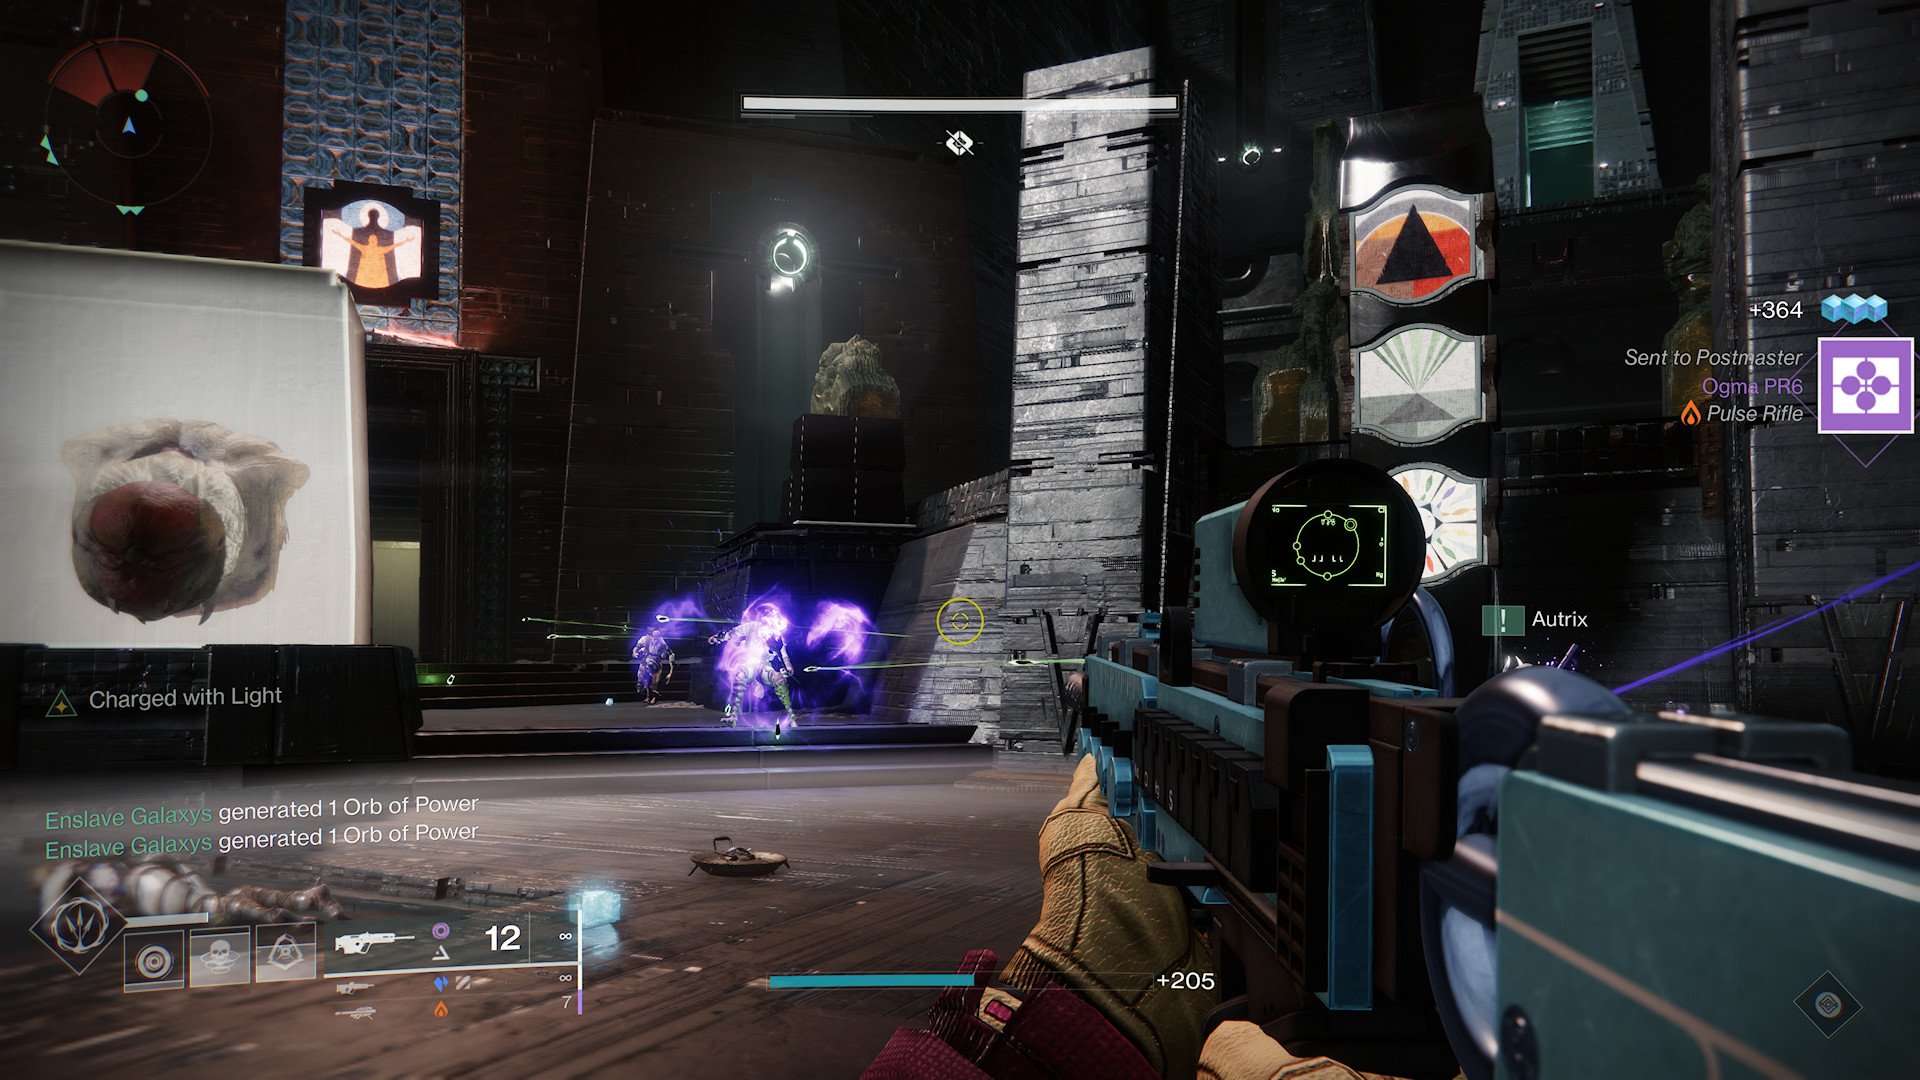
After you have cleared all three Vaults, you will know the correct Glyphs to shoot on the Obelisk. An in-game message will state something like "The Obelisk demands an offering". At this point, the Defenders will have been able to identify the Offering Obelisk as it will be the only of the three to contain all three of the correct Glyphs. Players must then shoot all three Glyphs in quick succession. In response, the game should display the message "An Obelisk accepts your offering." This will then reset the encounter and you must follow this process two more times for the remaining two Obelisks.
While all of this is happening, you may also notice that the Obelisks are filling with yellow energy. If the Obelisk fills to the top, the encounter ends and you die. Obelisks sustaining damage from enemies will rapidly garner this energy and clearing a Vault or rotation will reset the Obelisks.
Encounter 2: Collection
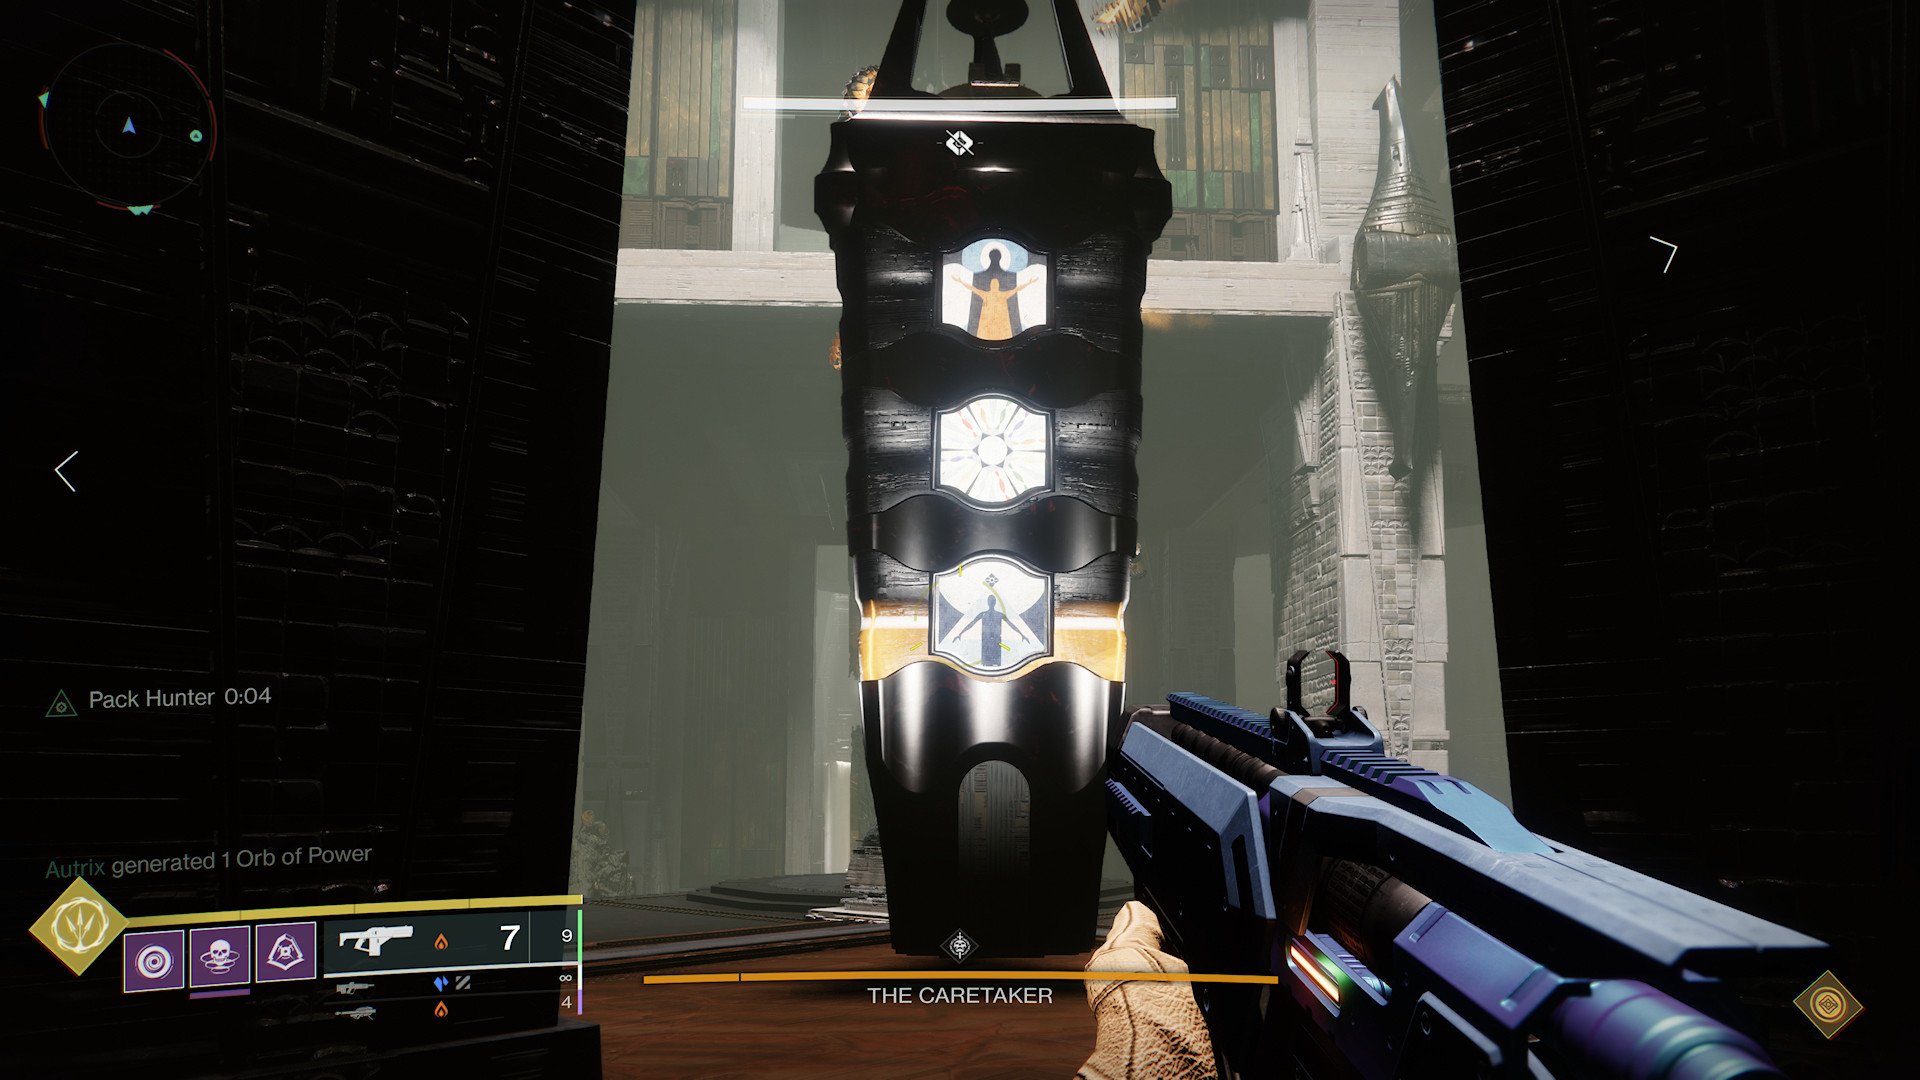
Now that you have successfully cleared the first encounter, you'll need to traverse a few corridors until you arrive at the Vow of the Disciple's second encounter, Collection. Collection contains the first boss of the raid, the Caretaker, but the encounter isn't as simple as shooting him.
Collection is formed of four phases, three of which will take part on floors with a Backroom. To coax the Caretaker into a damage phase, players must gather nine Fonts of Knowledge from the Backroom and use the associated Glyphs on those Fonts of Knowledge to shoot an Obelisk on the outside. While this is happening, players will also need to prevent the Caretaker from reaching the Obelisk and clear a whole load of enemies.
As such, our group decided it was best to have three separate teams of two. One team would be responsible for stunning and distracting the Caretaker, another team would be responsible for navigating the Backroom, and the final team would be responsible for killing enemies.
Due to the nature of the enemy killing team, there isn't much in the way of depth to discuss. Each member needs to occupy one side of the room and kill the enemies that spawn. This is an opportune moment to pick up a Witherhoard and keep everyone at bay. Outside of that, they may be called upon to help the Caretaker Bullying team.
The Caretaker Bullying team is a pretty unique team. Their goal is to keep the big galoot of an ogre distracted by shooting his head which will then open the coffin on his back, revealing a weak spot. Successfully shooting these two points will drop the Caretaker to its knees for a short period of time and allow the Backroom team more time to gather their Fonts of Knowledge. The Caretaker will also target players who will be designated with the "Caretaker's Gaze". This means that the Caretaker will fire a volley of homing missiles from its back and into the sky. These missiles pack a punch and inflict Pervasive Darkness once landed. It will be the responsibility of the Bullying team to destroy these while they stun the Caretaker.
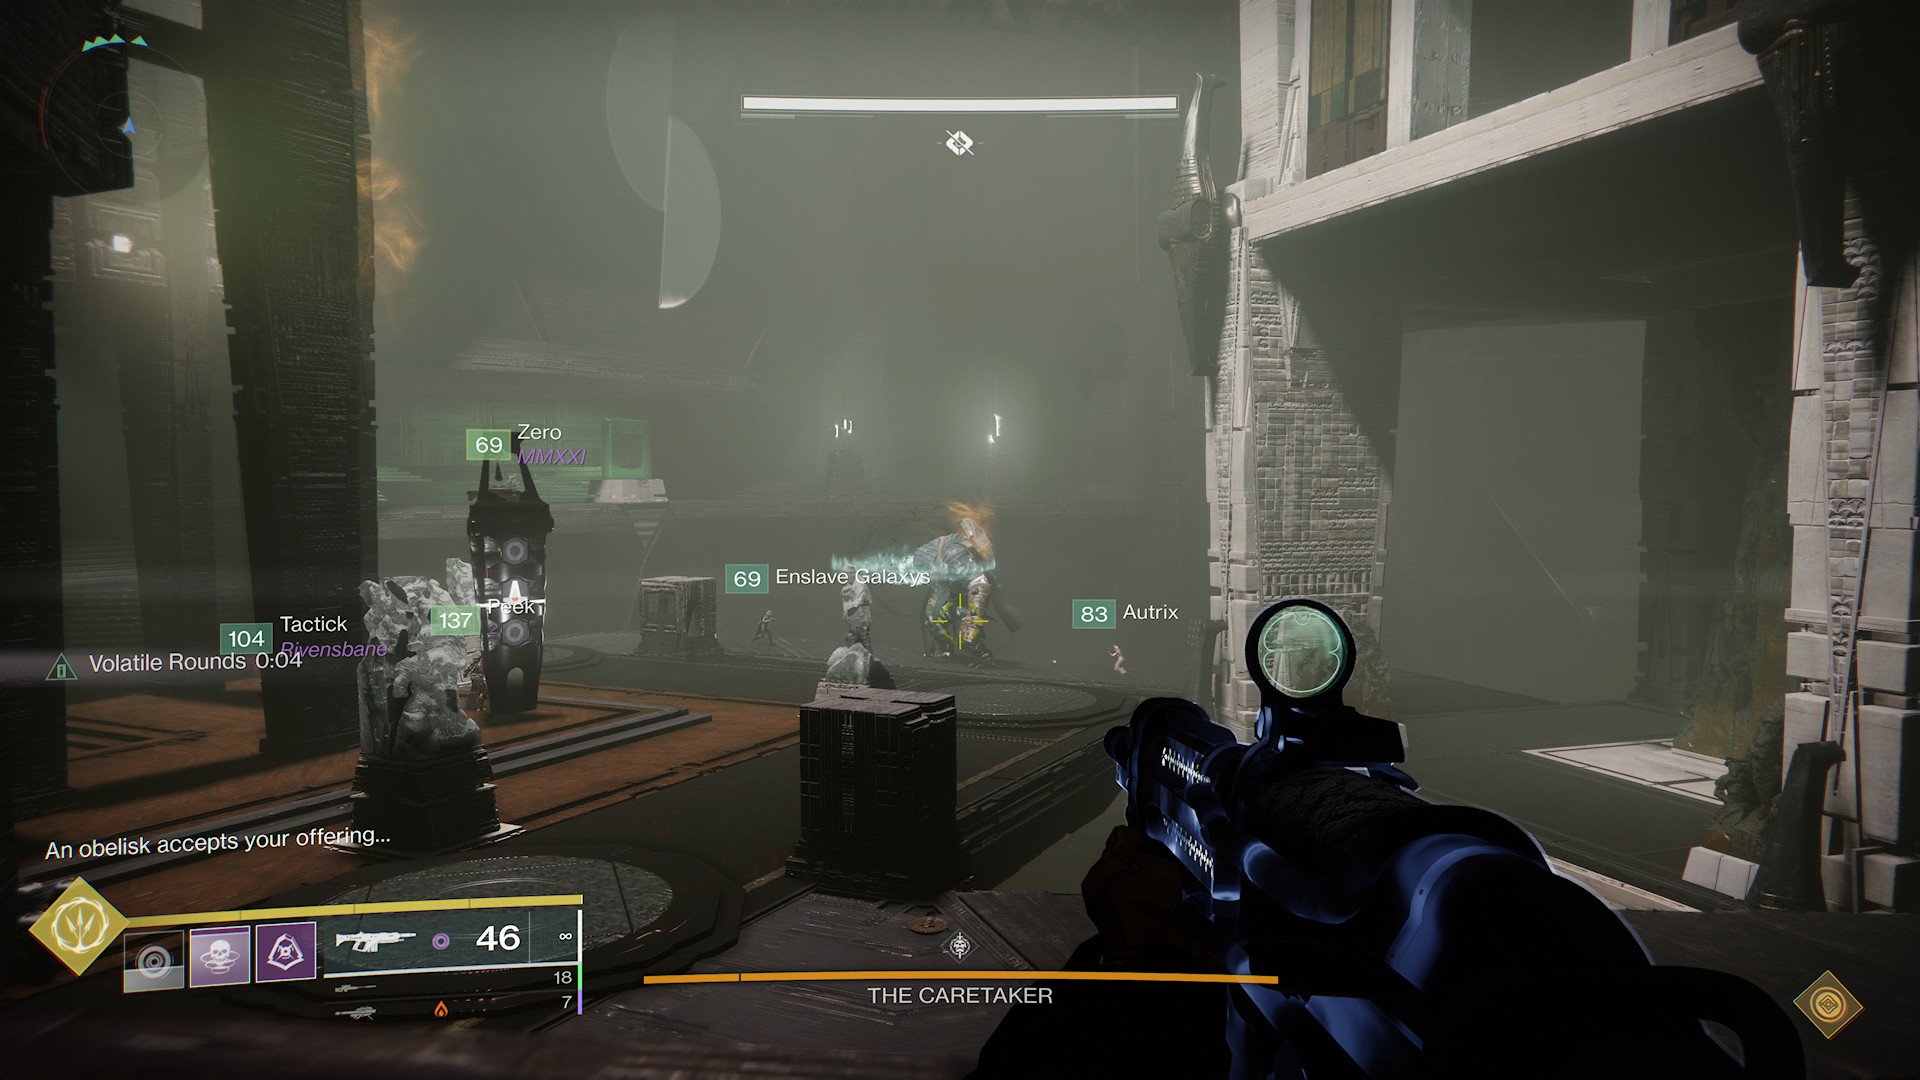
The final team in this encounter is the Backroom team. The Backroom team will take turns each entering the Backroom which can be done by shooting a similar floating object to that which you shot to start the first encounter. Shooting this object will open the door, which will close after a short period of time. When a member of the team is in the Backroom, they will be inflicted with Pervasive Darkness and hunted by various indestructible enemies. They must grab three Fonts of Knowledge and exit. While collecting the Fonts of Knowledge, Glyphs will be displayed above them. These Glyphs will correspond with Glyphs on the Obelisk.
After a member of the Backroom team exits the Backroom, the Obelisk will call for them to enter the Glyphs they shot. The player must then shoot these Glyphs in a quick fashion. After that, the Pervasive Darkness will be cleared and the next player can enter. Our team opted to switch between two players while doing this, but it is possible for a single player to navigate the Backroom and collect Glyphs with one designated player dedicated to opening the door for their return. The Backroom team will lock the Obelisk from the Caretaker's Destruction after depositing nine Fonts of Knowledge, which equates to three Backroom excursions.
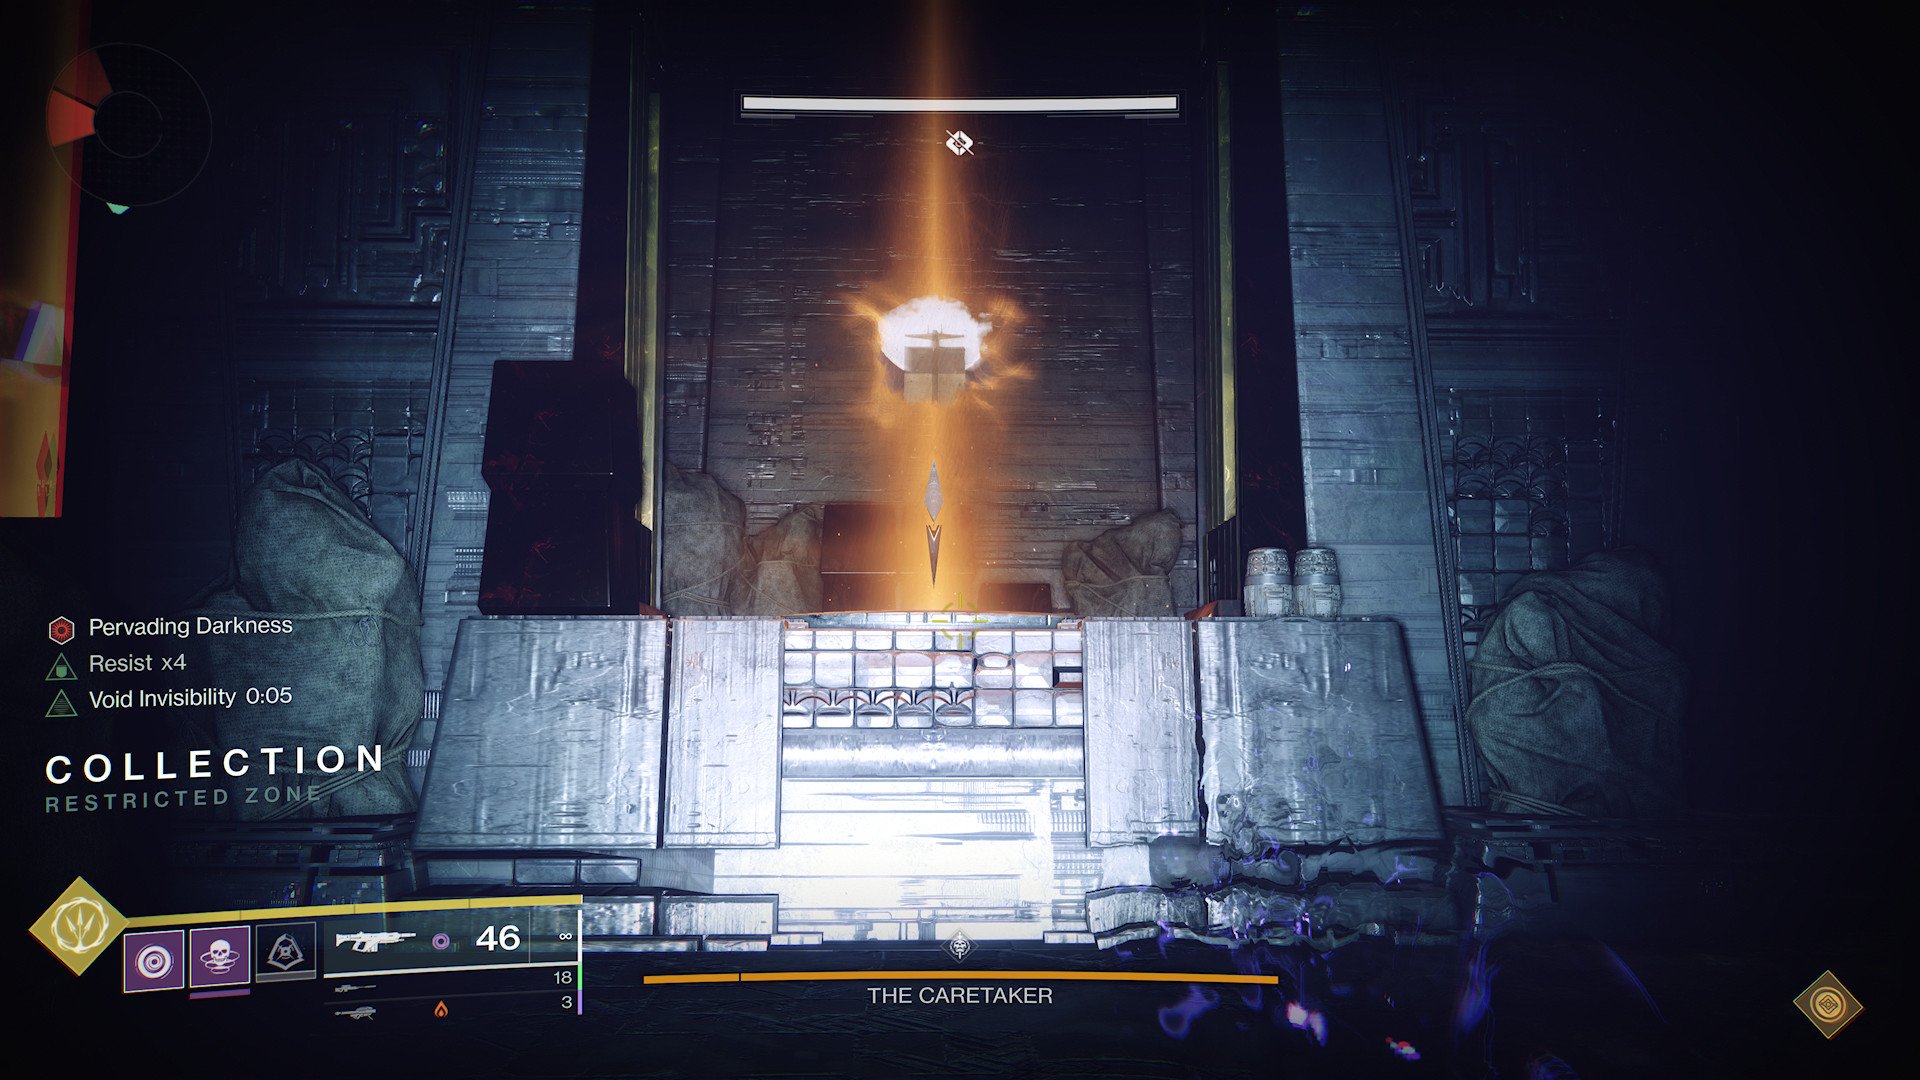
The encounter will start after the Backroom team shoots and sends their first Guardian into the Backroom. All three roles must simultaneously complete their tasks. When the ninth and final Font of Knowledge is deposited for the floor, the Obelisk will lock the Caretaker out. It's here where the Caretaker will continue to move towards the Obelisk.
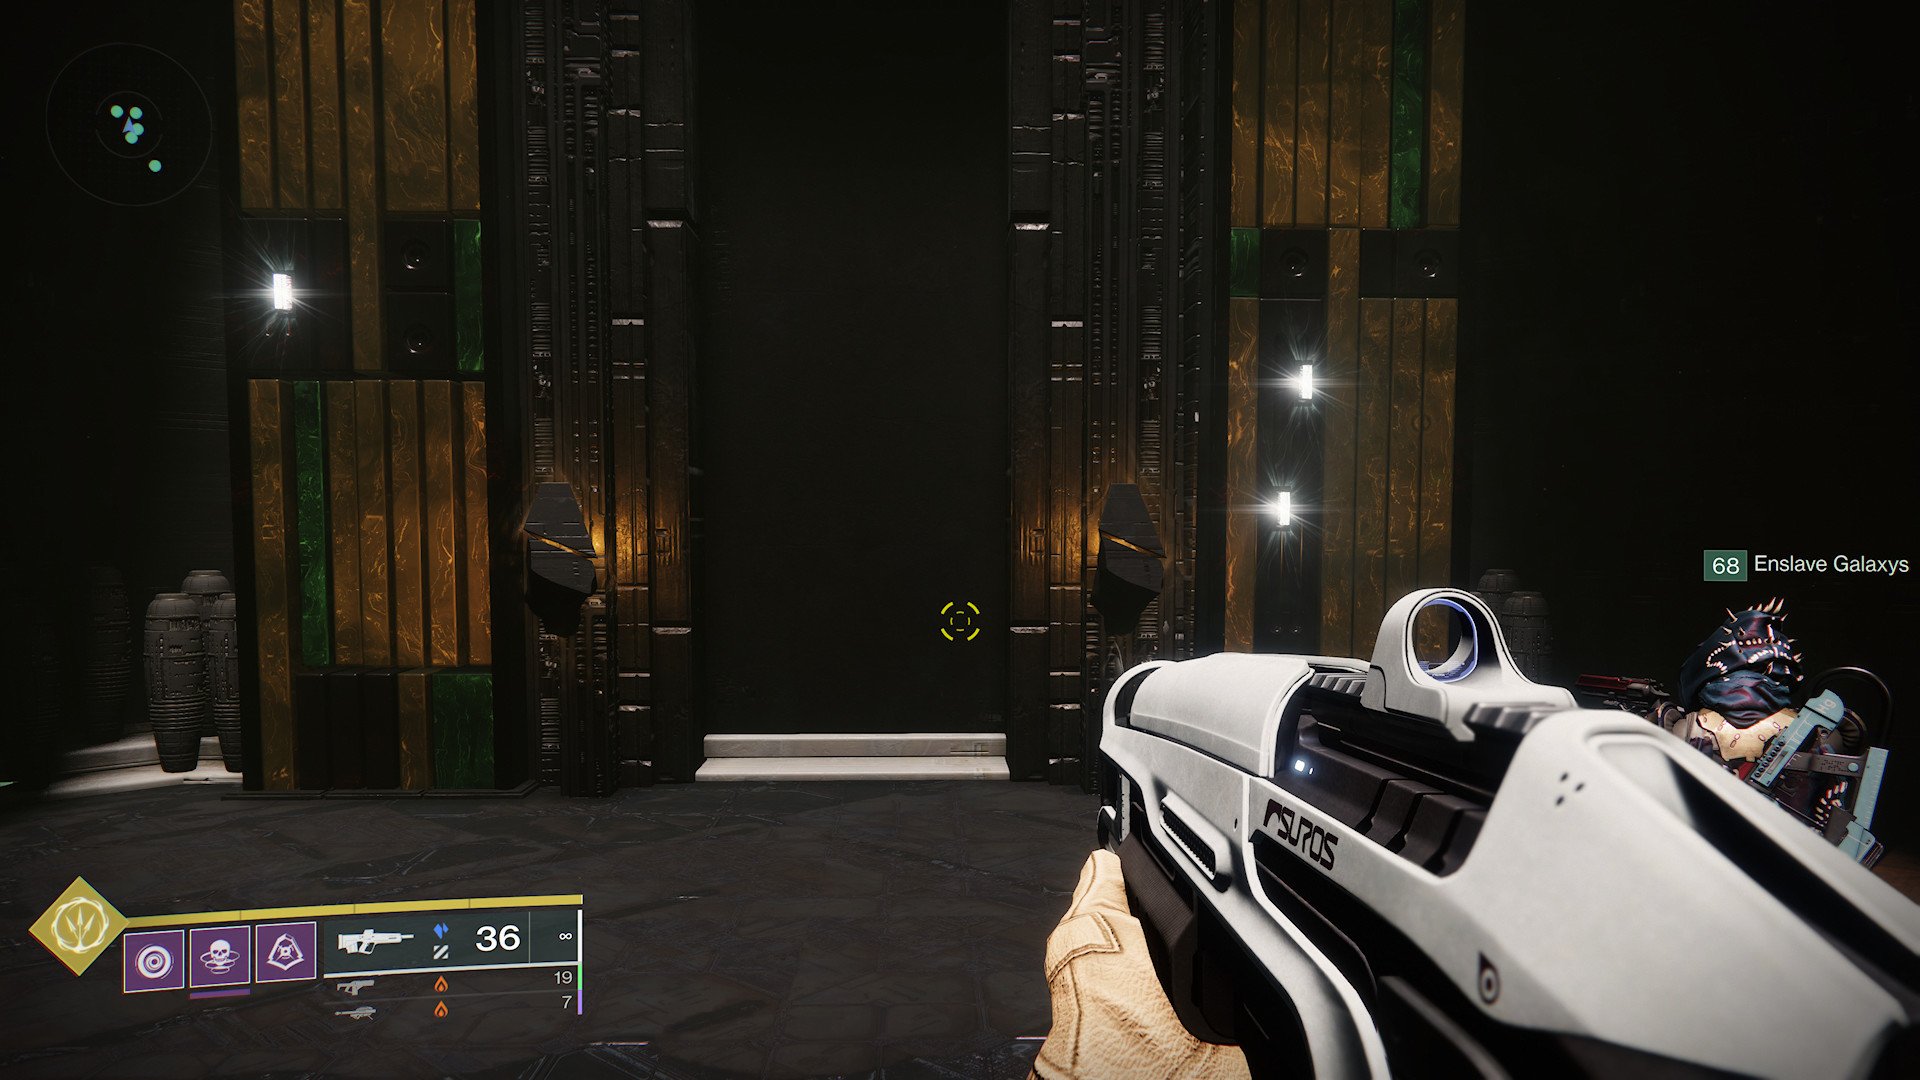
After the Caretaker reaches the Obelisk after it locks, one of the three panels on the floor will light up. Everyone must jump on the active panel and damage the Caretaker. After a short period of time, the panel will move to the next closest panel for further damage, this will happen again for the third and final panel on the floor. The starting panel will always be on the side that the Caretaker approached the Obelisk from.
When enough damage has been dealt, a set of golden stairs will descend from the next floor. Players will need to run up these stairs and repeat the same process on the next floor. The layout of the encounter will change, but all roles will remain the same. There are three floors with Backrooms and four floors in total.
On the final floor, the damage panels will be in a straight corridor. This is the Caretaker's Last Stand. Players will need to stand in the active damage panel to kill the Caretaker and move slowly forward as the next panel activates until the Caretaker is dead. If the Caretaker does not die by the final panel, he will raise his hand and unleash a devastating attack that wipes your entire team.
Jumping Puzzle 1
After the Caretaker falls, it's time for a quick reprieve. The next section is a far more relaxed endeavor. Players will need to navigate their way upwards through a series of jumping puzzles.
There will be a series of enemies while progressing that will try and deny your progress and will continue to spawn throughout this encounter. At some point, it will appear that a series of platforms come to an impasse but this platforming section will actually be controlled by another floating object found on top of a small structure where the enemies spawned.
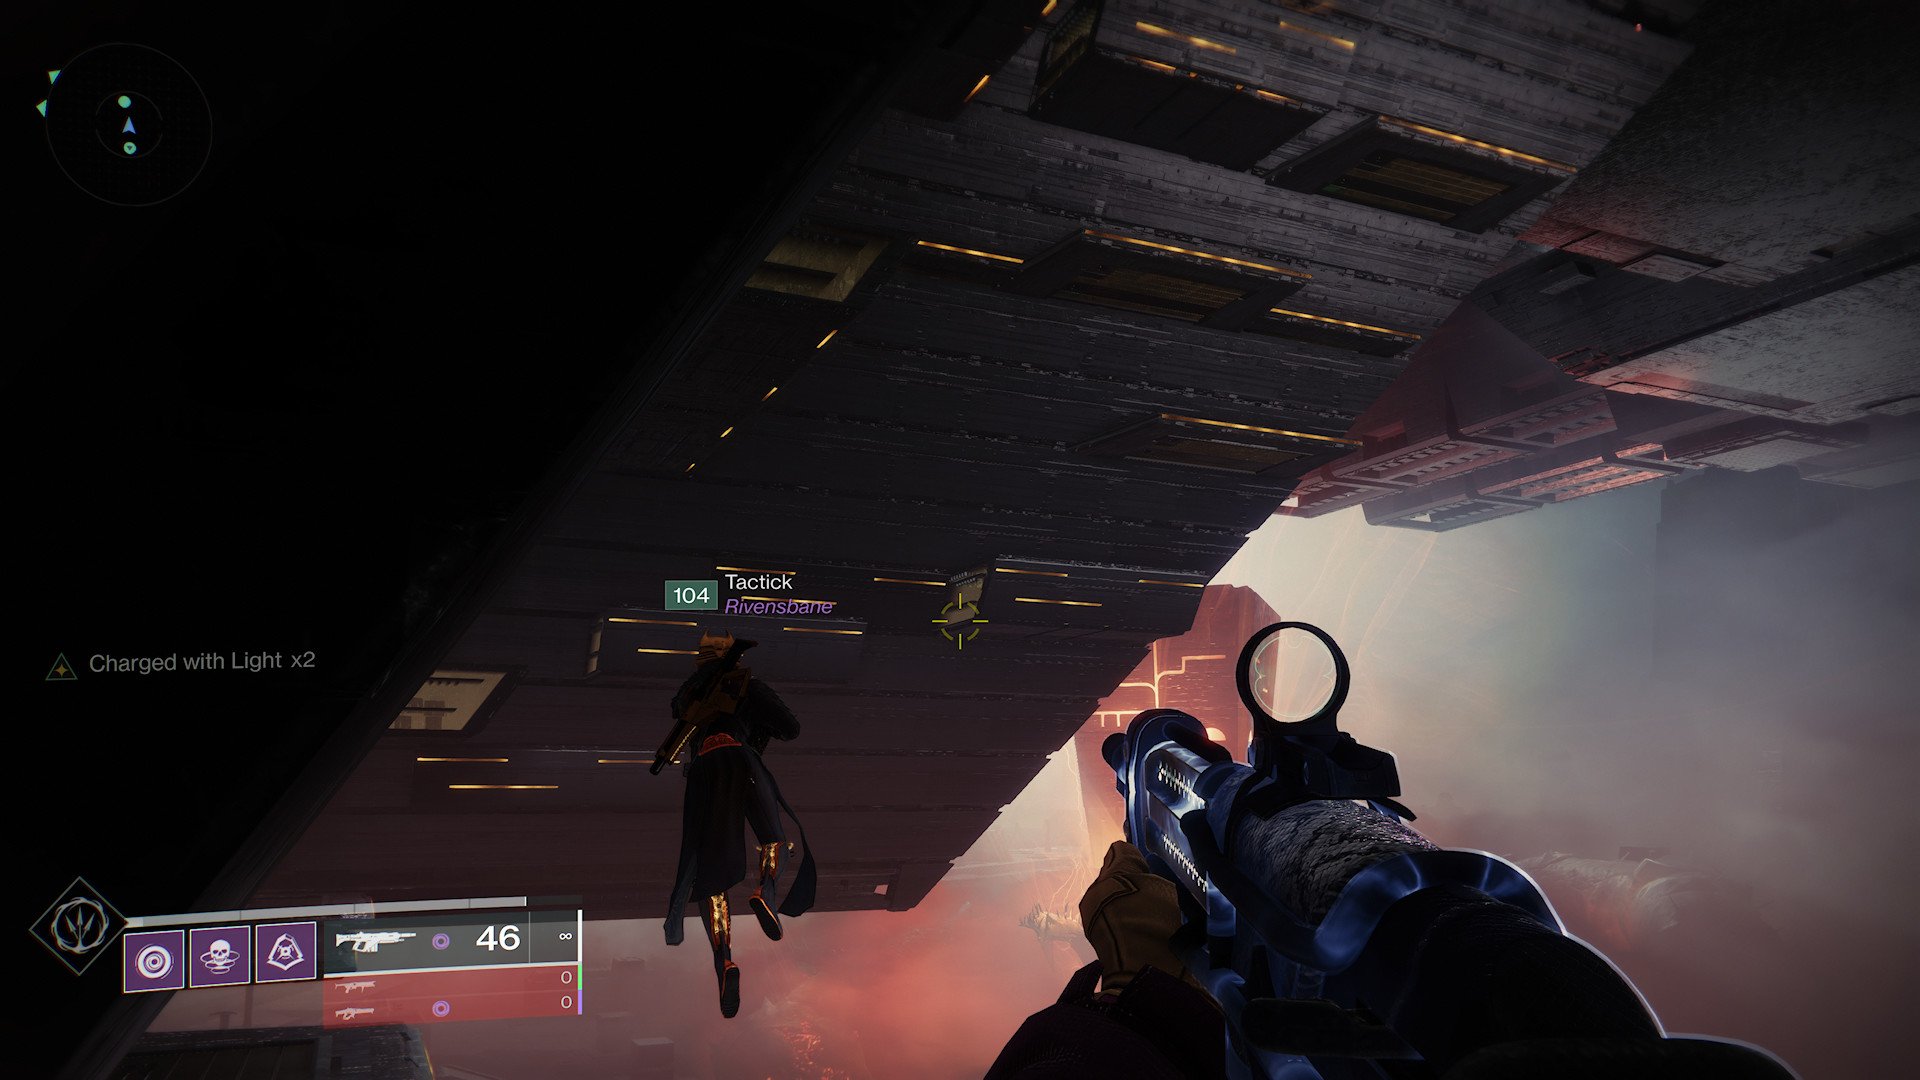
Players must coordinate with another player to shoot an object that controls these platforms and alternate their progress upwards. After a set amount of players reach the top, the platforms will all remain active.
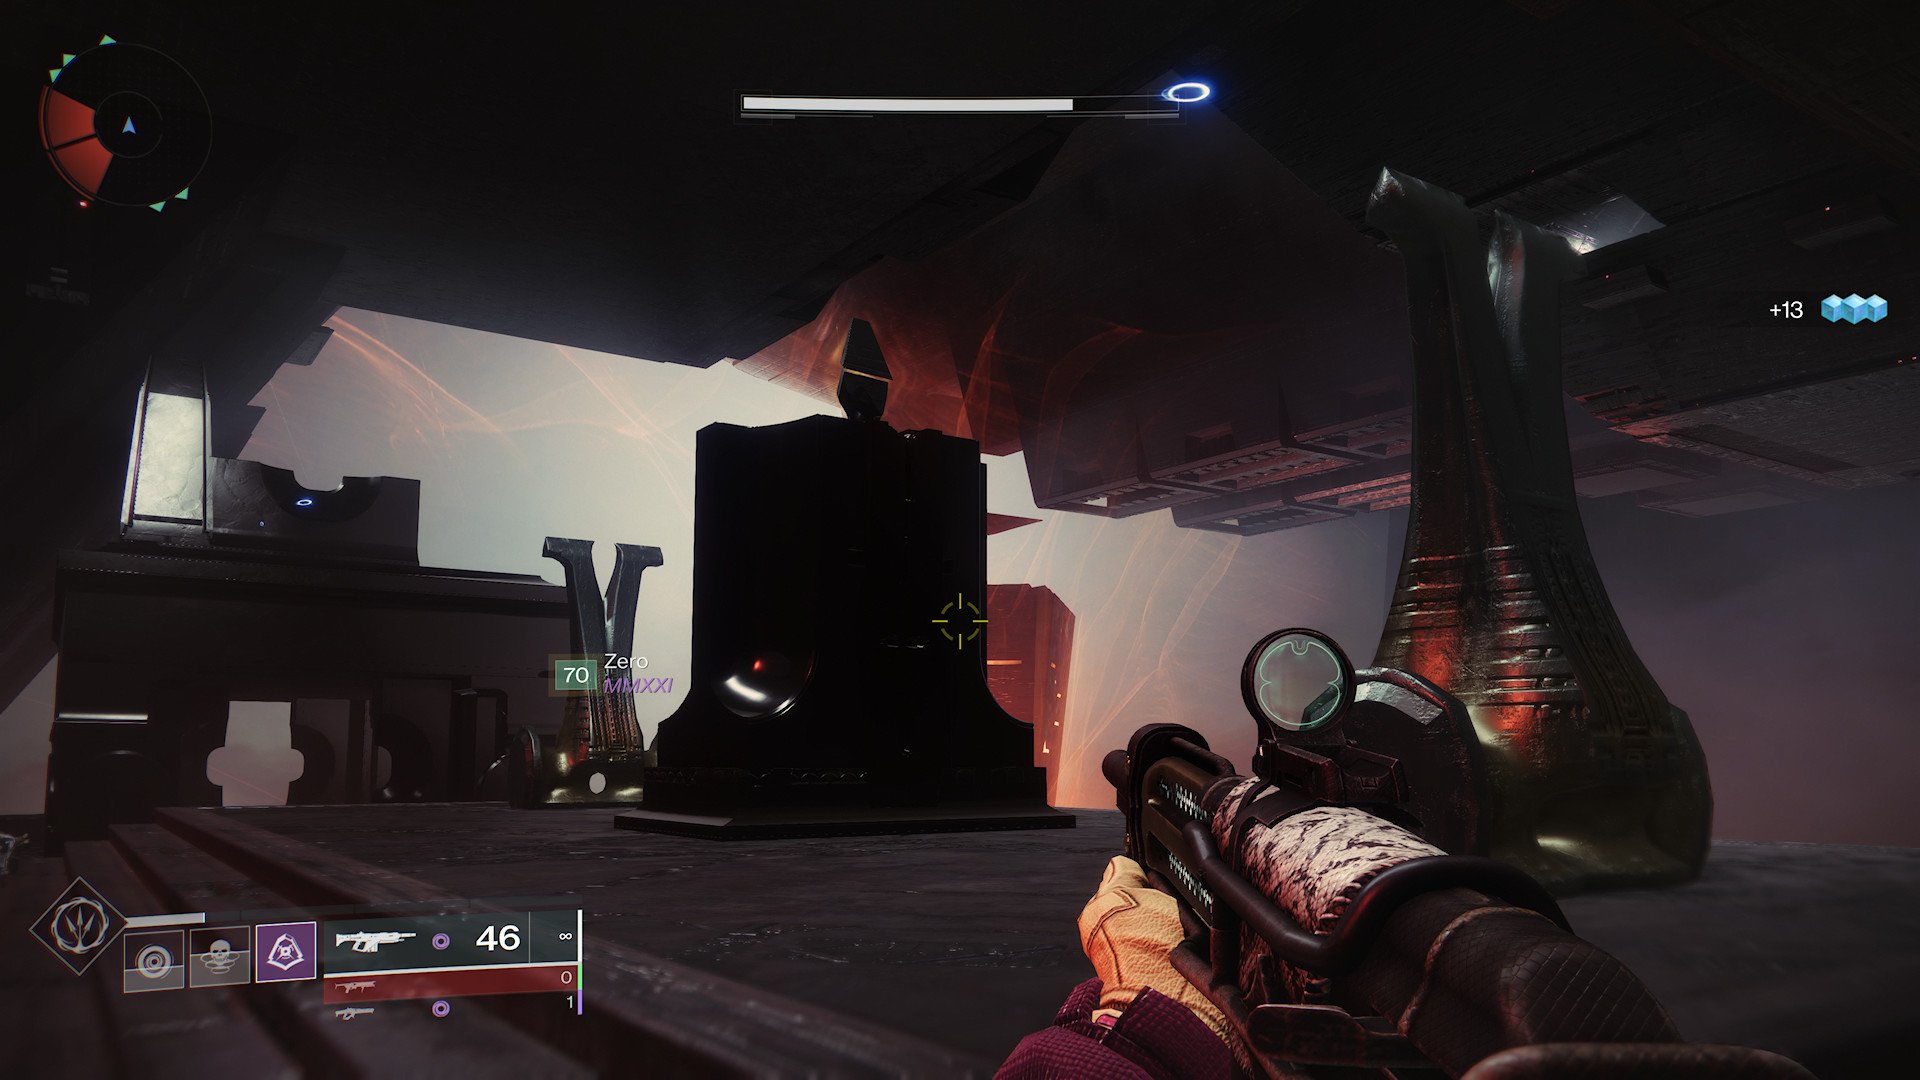
Another similar area will occur later too. There will be a room that continuously spawns more enemies and an object atop an altar at the back will need to be shot. Players must stay alive and continue to shoot this altar, allowing a series of cylinders to create a path towards the end of a tunnel. Just like the previous section, these cylinders will lock in place after enough players have crossed.
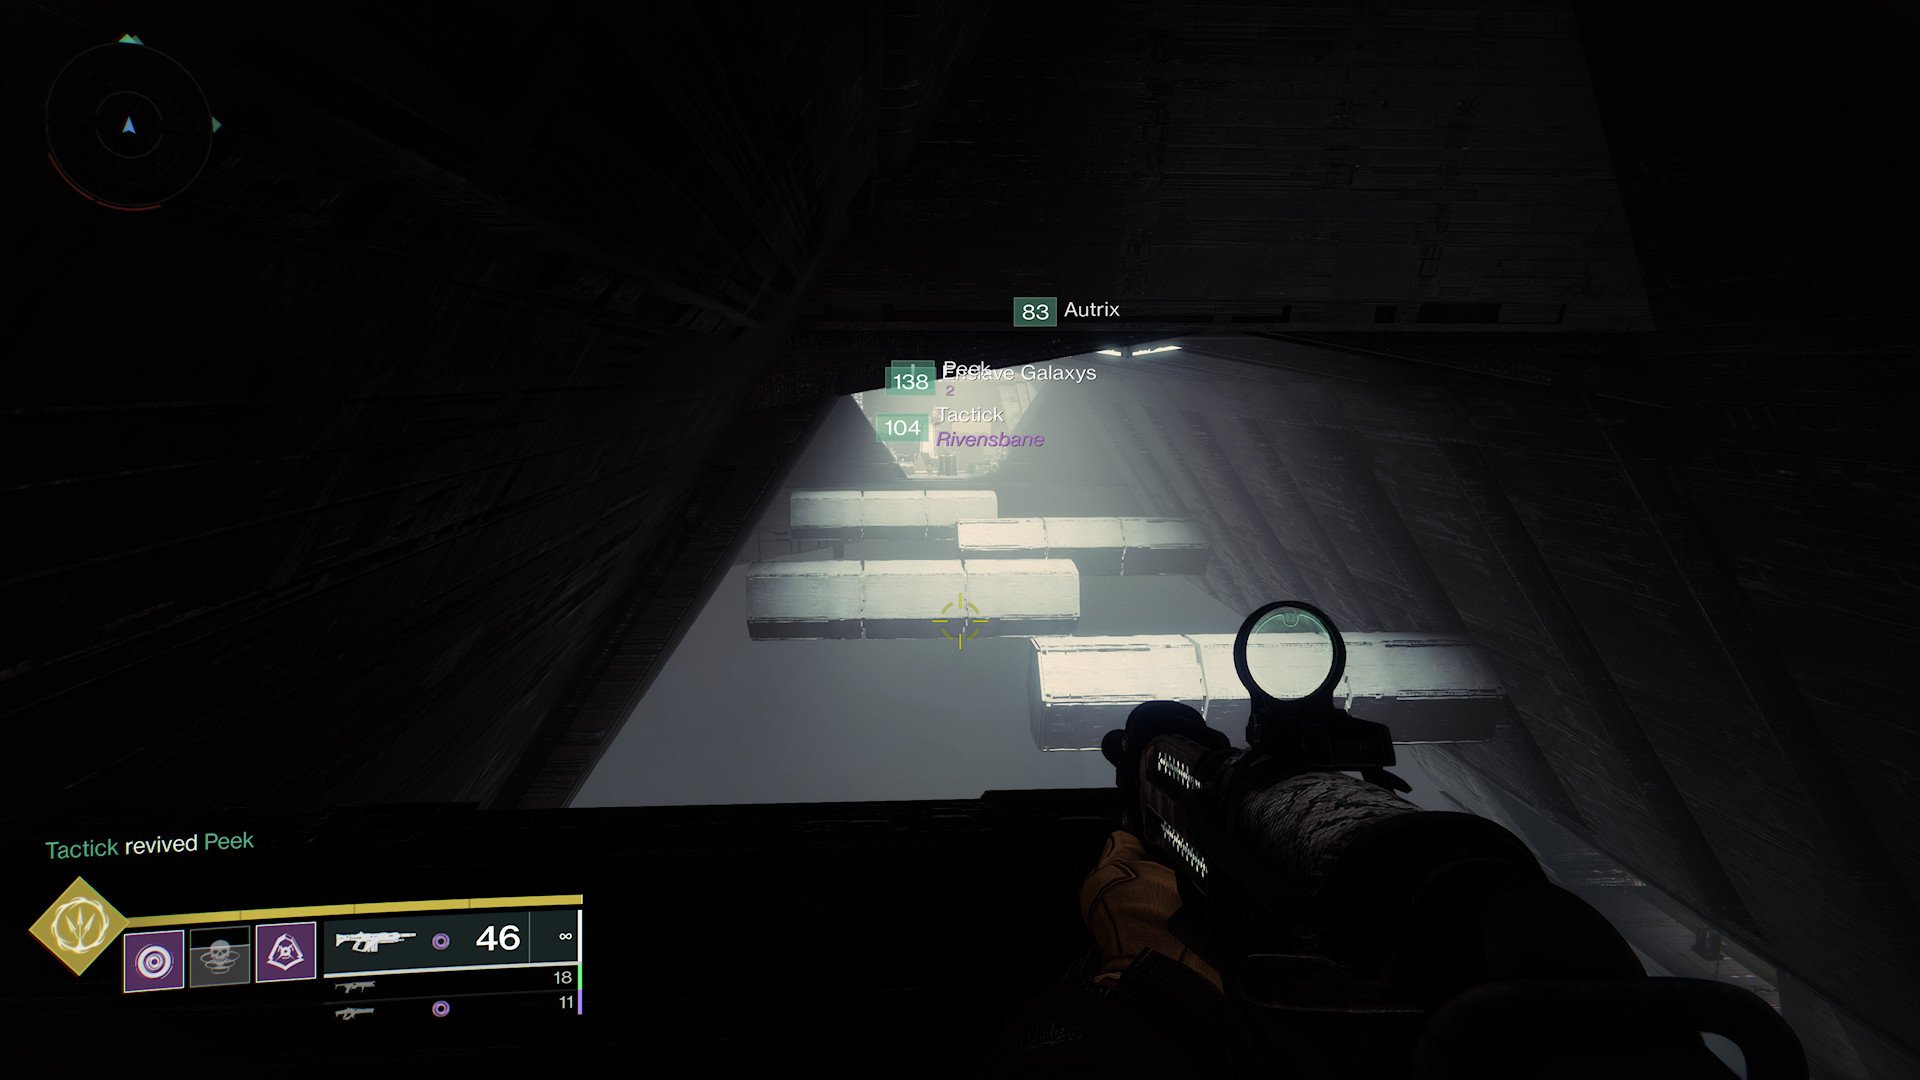
The final step will be to ensure all players reach a door defended by more enemies. Players must remain up here and kill enemies until the last of their fireteam arrives before the door to the next encounter opens.
Encounter 3: Exhibition
Now that you've had a bit of time to relax, it's time for the most chaotic of the vow of the Disciple's encounters. The next encounter, Exhibition, is a relay race of sorts. Instead of teams, this encounter has specific artifacts and mechanics that build over time as well as Overload Champions. In total, there are three artifacts.
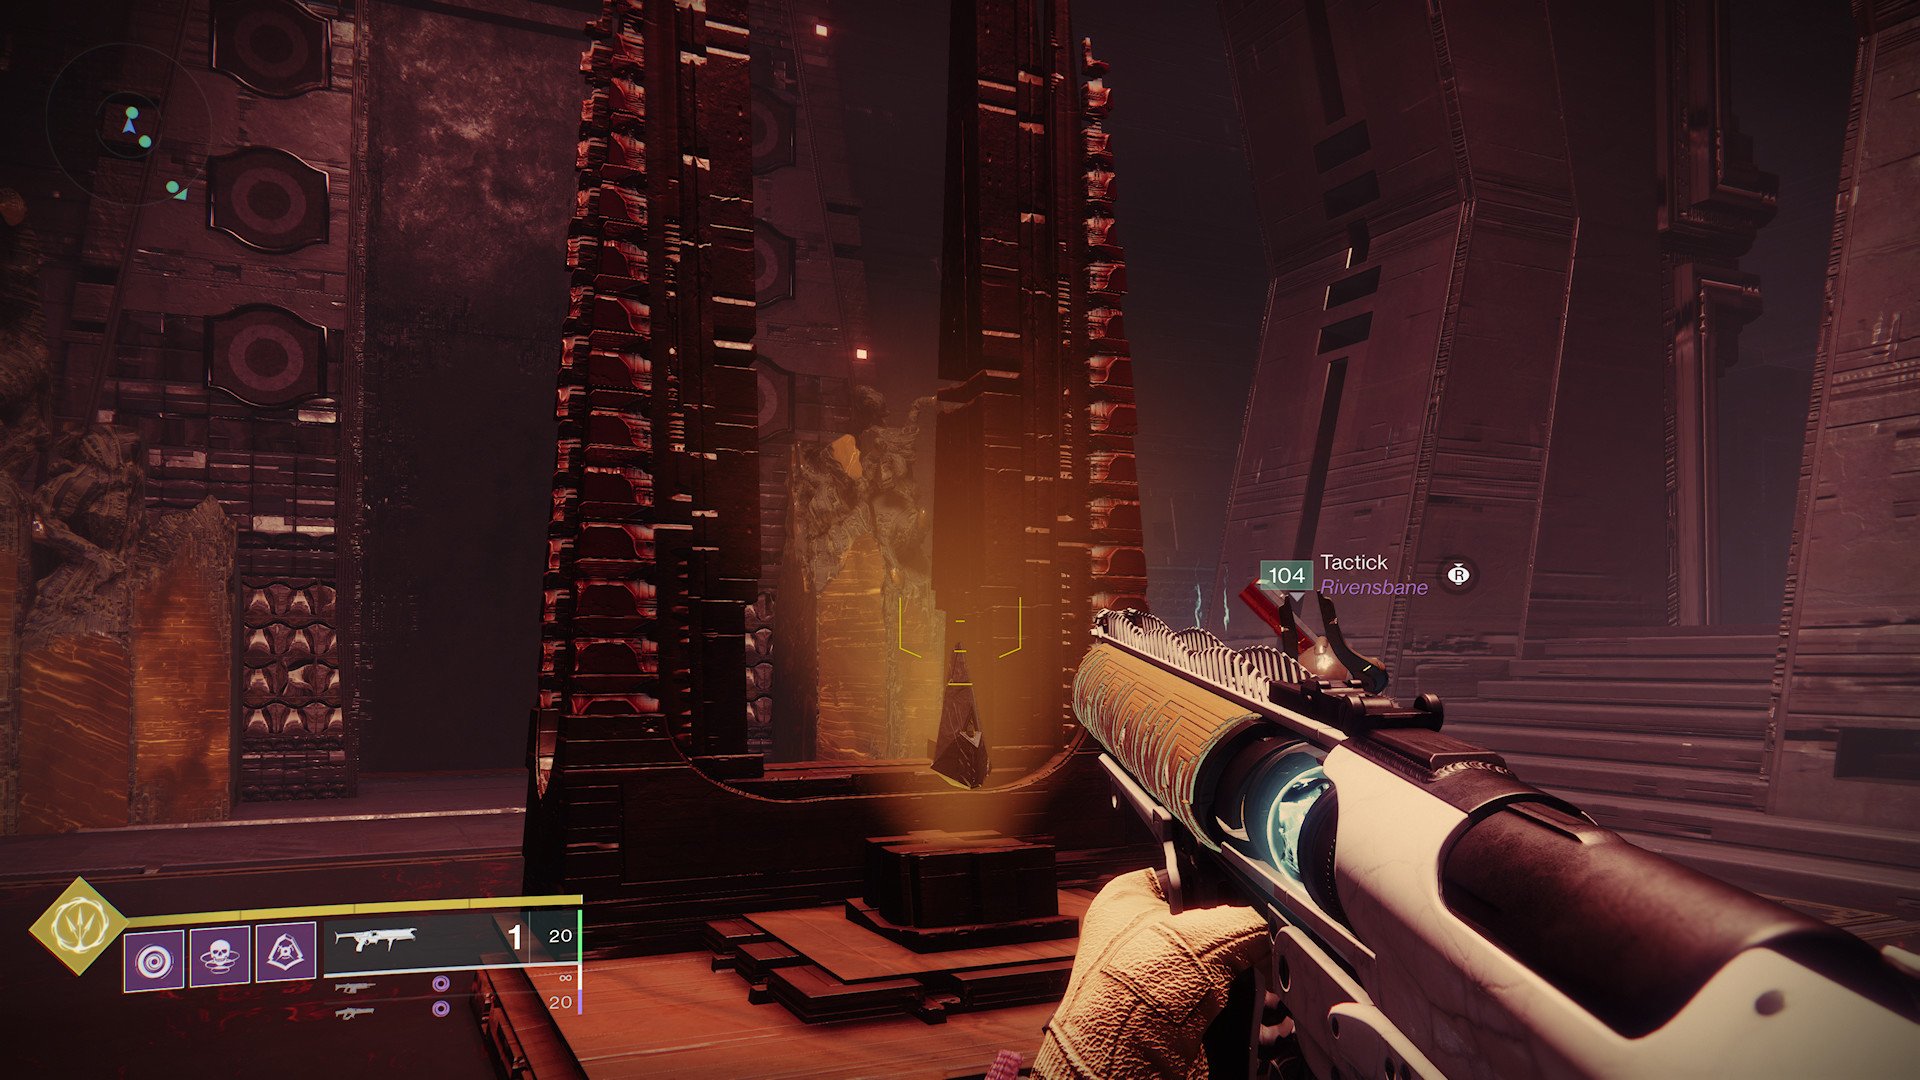
The first artifact is the Resonant Shard. The Resonant Shard offers players the ability to fire a laser beam at targets. This will be used to remove white glowing shields from Taken Knights known as the Disciple's Hourglass.
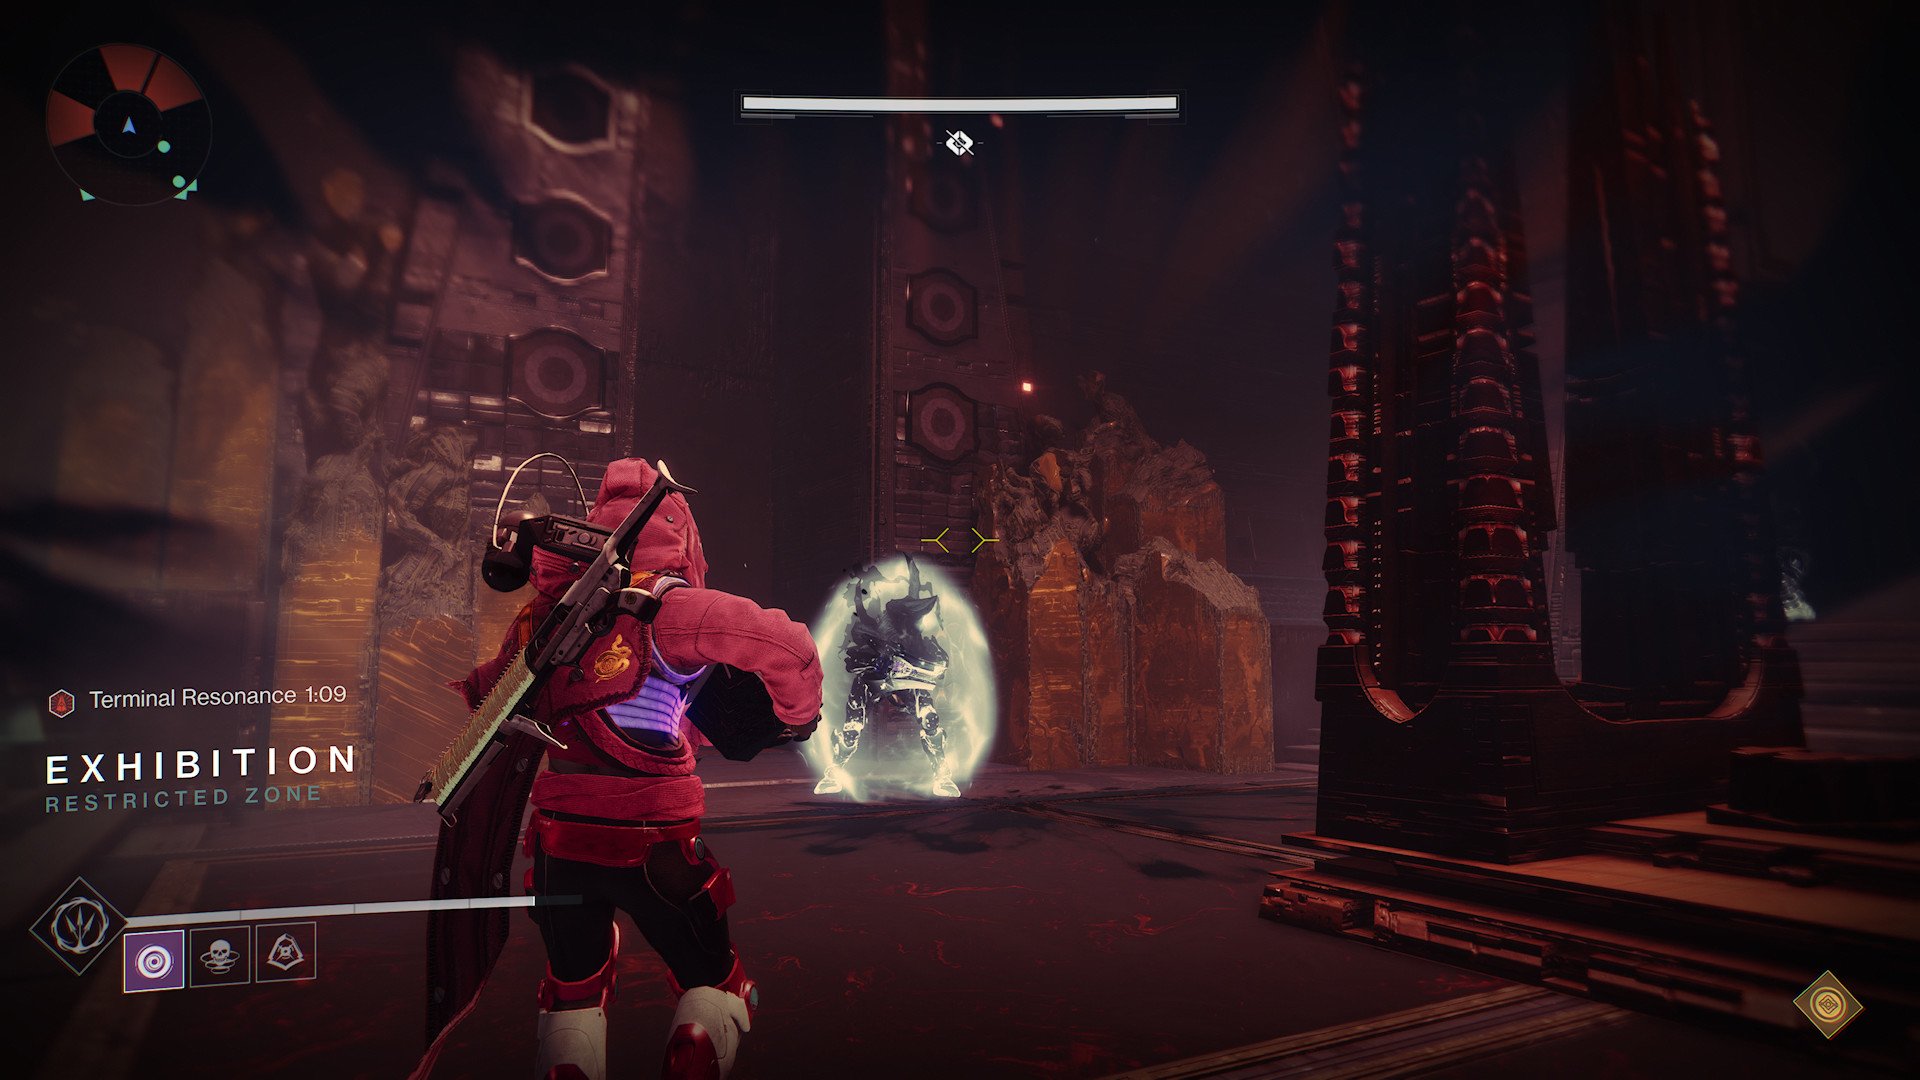
The second artifact is the Aegis shield. You might remember this from the Vault of Glass. The Aegis shield allows players to cleanse Pervasive Darkness from players by creating a shield of light that players can walk through to remove the debuff.
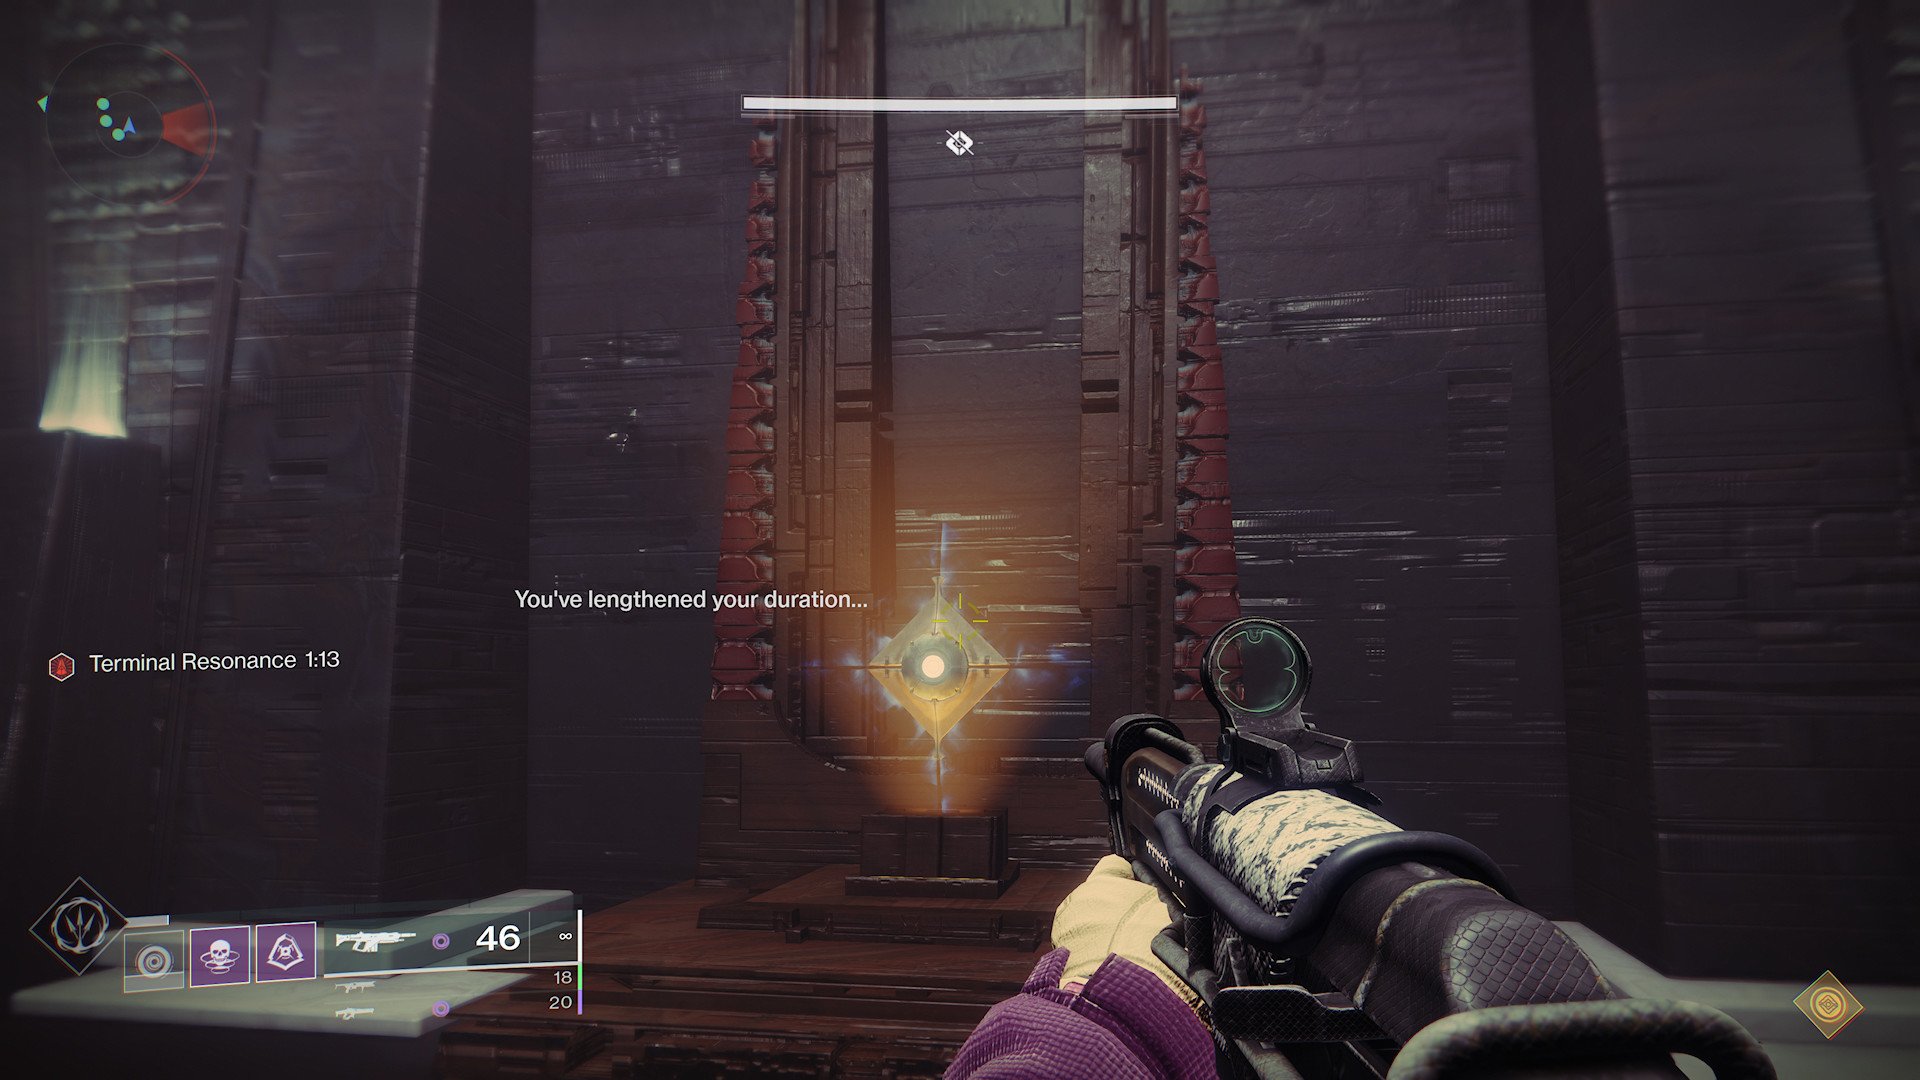
And the final artifact is the Taken artifact. The Taken artifact works similarly to how it does in the Last Wish raid. The purpose of this artifact is to use its grenade ability to destroy mini Taken Blights in the encounter to remove additional shields from enemies.
No matter the artifact, all of these must be placed on an altar at the end of each room. All artifact holders will always see the Glyphs revealed by killing a Taken Glyphkeeper. And, after dropping an artifact, all artifact holders will not be able to pick up another for 30 seconds.
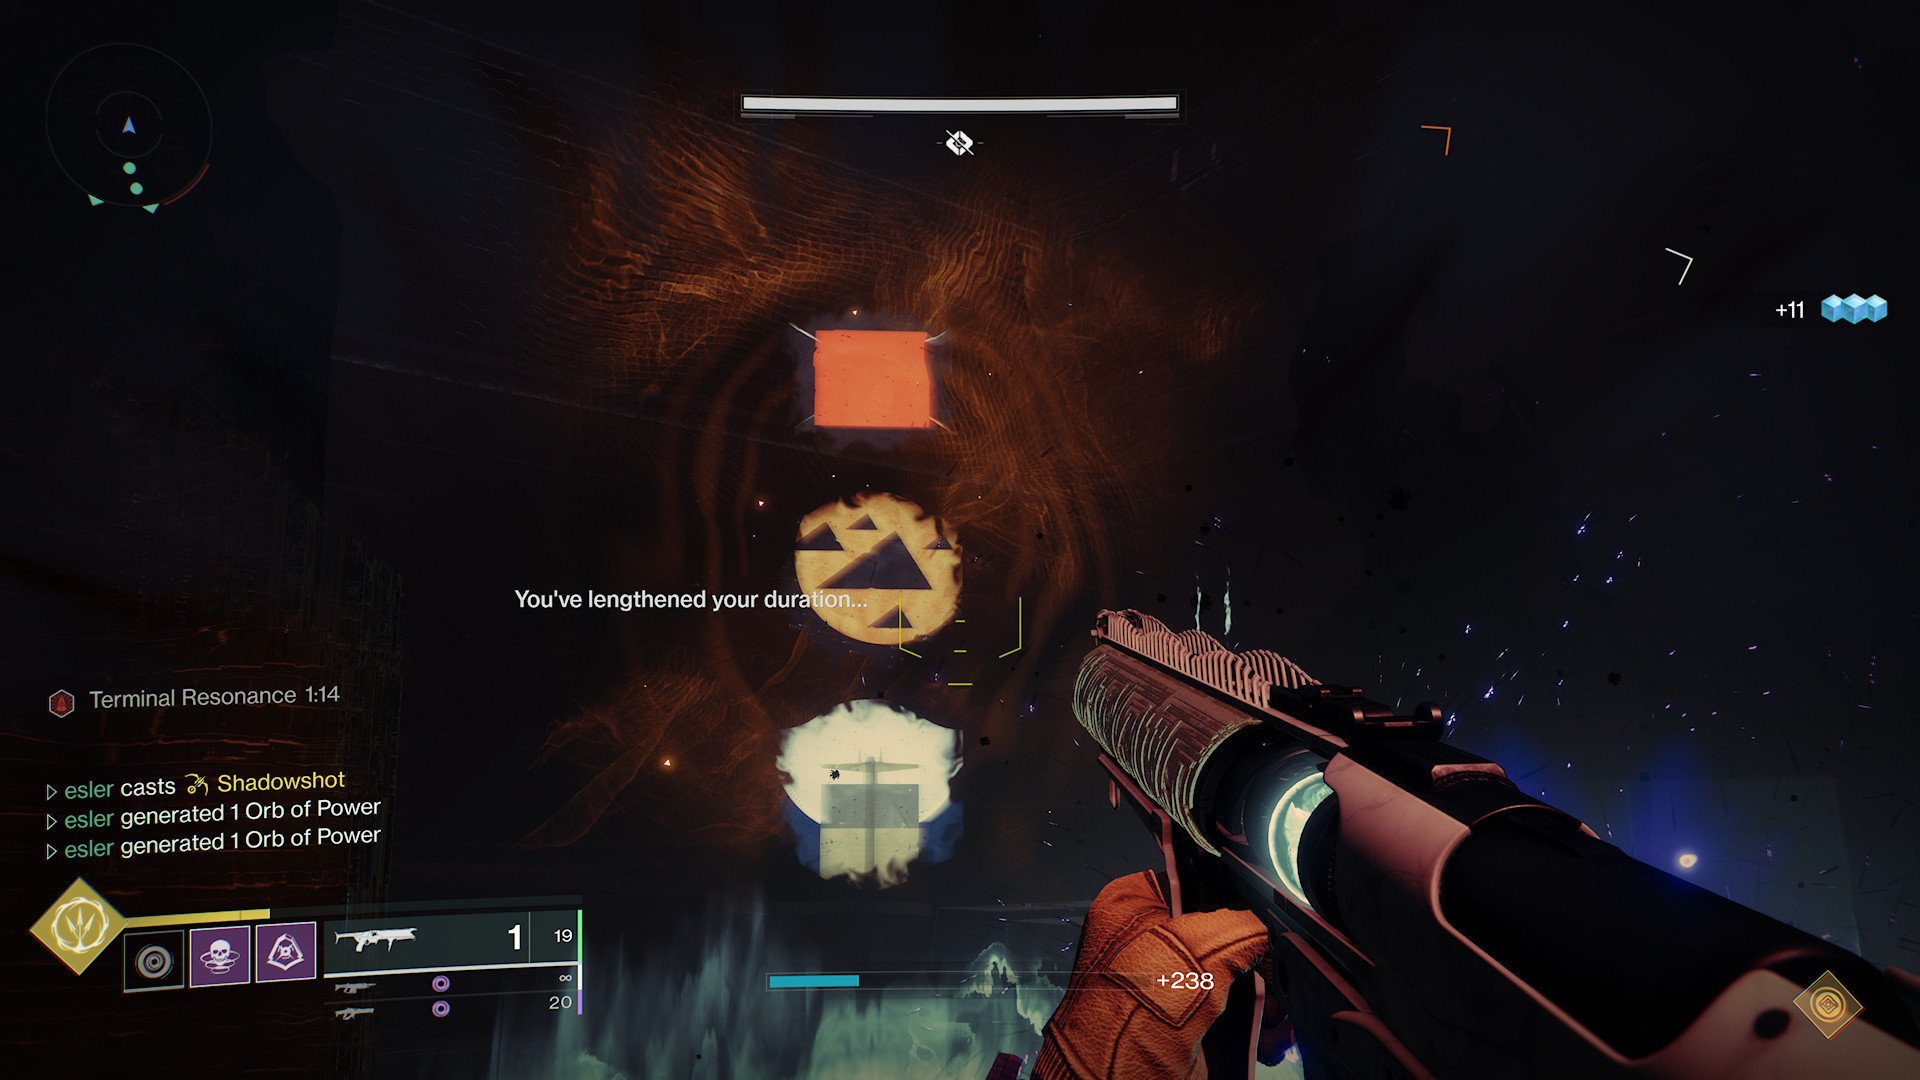
On top of the artifacts, there is also a decoding aspect within the encounter and a need to clear a load of enemies. Our team opted to designate those who would not take an artifact to clear the left or right path of the room they did not hold an artifact in.
To start the encounter, pick up the Resonant Shard. Terminal Resonance will be applied as a Debuff to the whole team. Terminal Resonance will countdown from 1 minute and 15 seconds. Picking up the Resonant Shard will also spawn a Taken and Scorn Glyphkeeper, as well as a Taken Knight, called the Disciple's Hourglass.
illing the Scorn Glyphkeeper will reveal three Glyphs where it dies, the same applies to the Taken Glyphkeeper, and killing the Disciple's Hourglass will increase your Terminal Resonance timer. Only the Artifact Holder will be able to see one set of Symbols while the rest of the team will be able to see the others. At this point, the entire team must coordinate to find the duplicated symbol on the Glyphs found by killing the Glyphkeepers and shooting the corresponding Glyph on the door.
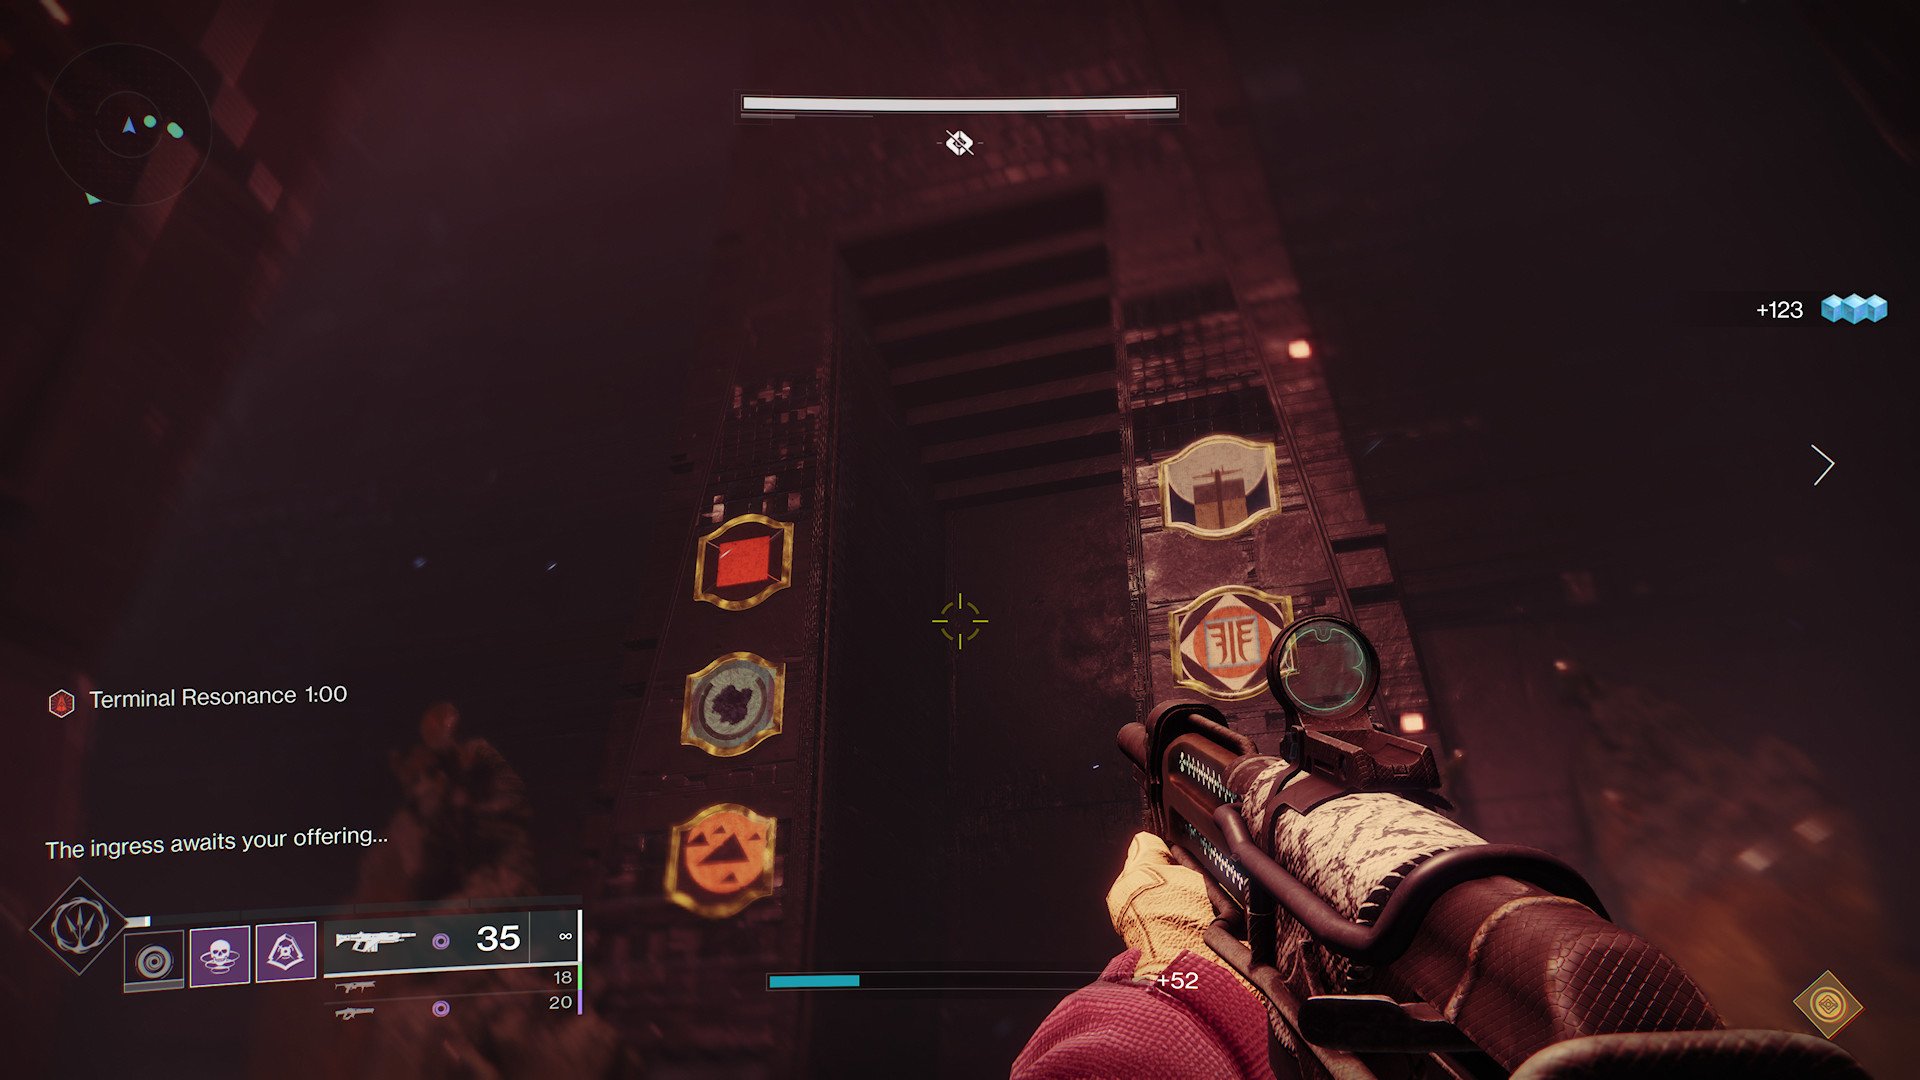
After the door opens, a terminal will be available for you to place the Resonant Shard. The player who deposits the shard will be locked out of picking up an artifact for the next room and will reset the timer back to 1 minute and 15 seconds. Placing the Resonant Shard will also spawn the Aegis shield. After both artifacts have been acquired, you will enter a larger room than the first.
The objective of this room is to kill Glyphkeepers once again, but this time there are four; two Taken Glyphkeepers and two Scorn Glyphkeepers. These Glyphkeepers will only spawn after the Taken Hobgoblins in the room have been cleared. Then it's on to decoding the two sets of Glyphs and shooting the matching symbols on the door. Just like the previous room, a series of Disciple's Hourglass enemies will appear. Killing these will extend your timer in the room. Throughout this room, players will gain stacks of Pervasive Darkness. While everything else is going down, the Aegis holder will be coordinating with both sides of the room to clear their Pervasive Darkness debuff.
When the second room has been cleared and the door opened, there will be a swarm of Screebs that spawn. Don't get caught out. Wait and kill them before depositing your artifact and extending your time once more. This will now spawn all three artifacts covered in the initial section of this encounter. Pick up the artifacts before leaving
Within this room, the mechanics are all identical, but the room is larger and you will also need to destroy blights with the Taken Artifact. In total for this encounter, there are four Glyphkeepers, making two of each type and two Disciple's Hourglass enemies. Kill all of these enemies and decode the door once more. Do not run in when you open the door. Wait until the wave of Screebs spawns before entering.
Now that you have reached the final stage of this encounter, there will be no more artifacts. The following room will play out the same as the last with the exception of two more Glyphkeepers and one more Disciple's Hourglass. The main challenge here is there is a gaping chasm you must navigate and the number of enemies has increased once more. After you do your thing, progress towards the back of the room, open the door, and deposit your artifacts for the final time.
This has to be the most high octane encounter of the whole raid and the approach you can take may vary based on who you play with. Our team saw success by splitting the team in two, with the guardians not carrying an artifact split between sides and bolstering their numbers with artifact holders. In terms of time, this was more efficient but required a lot more coordination to decode doors. The alternative method was to move as a swarm of six.
This allows for easier and more consistent enemy management and cleansing Pervasive Darkness is easier as a group, but its major downside was the time you lose navigating as a slower and larger group in the more challenging rooms.
Jumping Puzzle 2
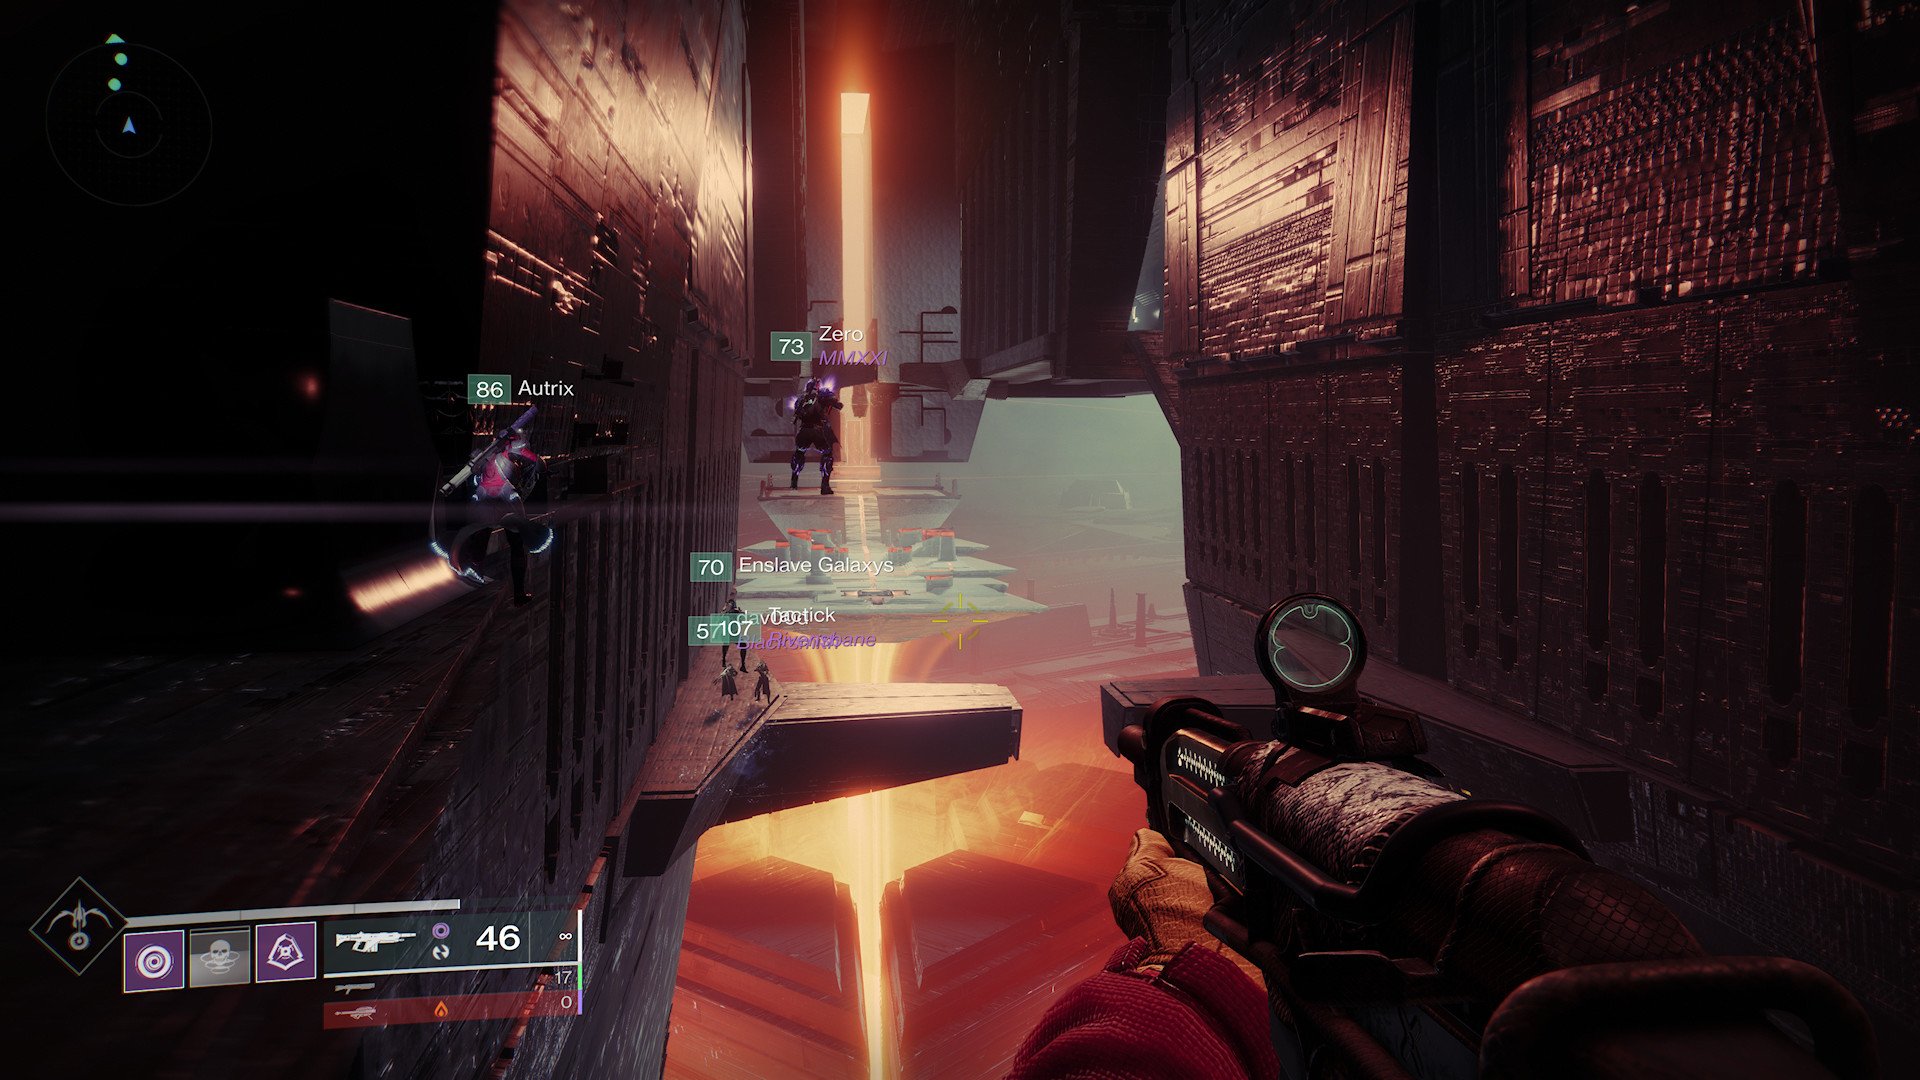
If you are anything like me, you'll be sweating and tired by this point. Both in navigating the raid and in the navigation of this guide. It's a doozy, isn't it?
Thankfully there's some much-needed respite. The next encounter is another jumping puzzle. Just make your way upwards and clear the enemies as you go. Platforms will jut out from the structures that will aid your ascent until you can see what appears to be an arena in the distance. Keep going until you can identify a set of stairs on the right side of the area and climb up them. You should now be face to face with the final encounter.
Encounter 4: Rhulk, Disciple of the Witness
It's finally here, the end of the Vow of the Disciple. All you need to do is get Rhulk, Disciple of the Witness, out of the way and it's going to take everything you've learned so far. There's going to be Pervasive Darkness, Glyph Reading, Decoding, and a big ol' damage phase. For the sake of this section, we are going to split the sections and roles into two parts; Decoding and Damage. There will be some minute carryover between, but they are distinctly different parts of this encounter.
The first part, Decoding, requires your team to coordinate a buff called Leeching Force between Guardians, decode Glyphs, and then deposit Emanating Force in small towers that are like mini versions of those we found in Acquisition.
To start the encounter, walk towards the stairs at the back. This will trigger Rhulk who will move forward and create a rather large forcefield that pushes you back. The goal of this section is to siphon his energy and deposit it in the towers.
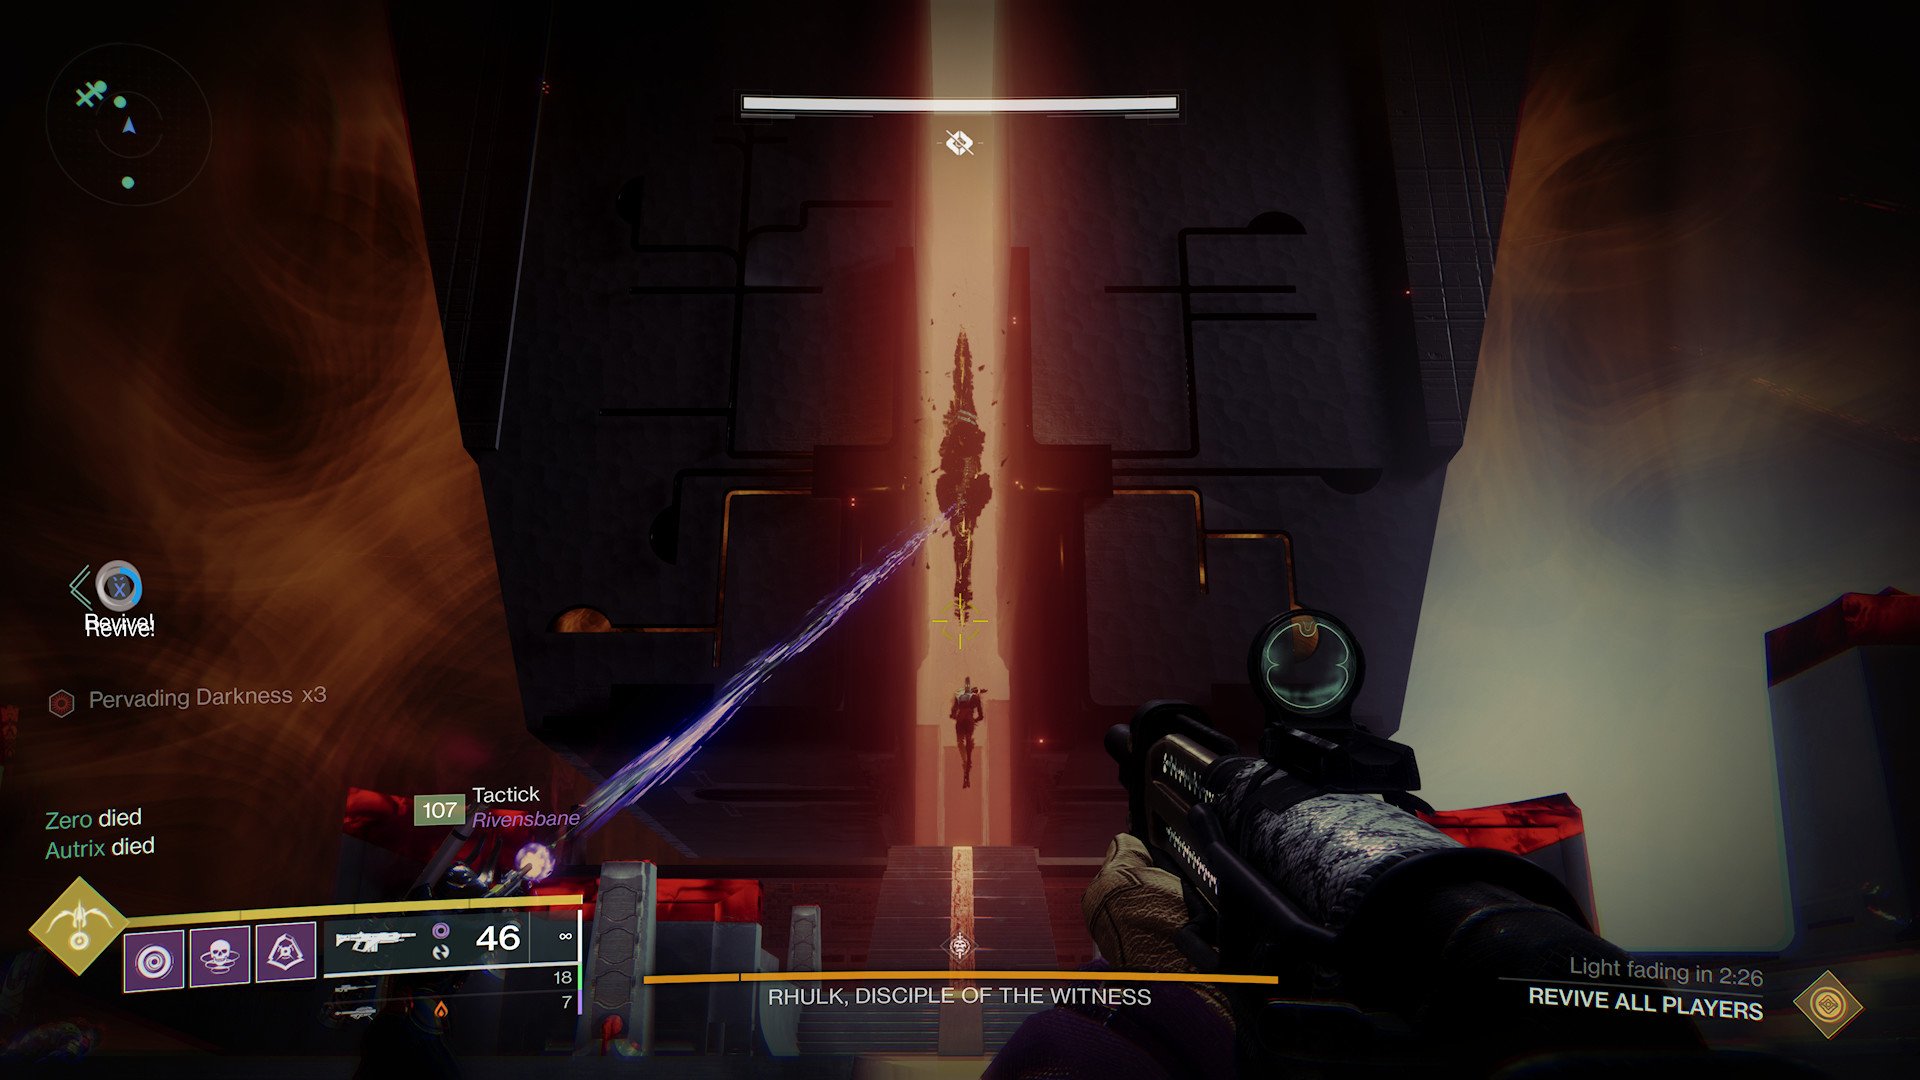
After Rhulk starts the encounter, a large floating spiral will appear over his head. One player must shoot this spiral. This will grant the Leeching Force buff. When a player with Leeching Force stands on a plate at the front of the encounter, it spawns to further spirals at the back. Shooting these spirals will grant the two Guardians that shoot them Leeching force and remove it from the player standing on the plate.
At this point, our team dedicated one person in that team to run into the giant laser beam Rhulk fires and empower their Leeching Force to an Empowering Force, which will allow you to deposit energy in the mini-towers. If you do not have Leeching Force and you are hit by the big beam, you will be inflicted with Pervasive Darkness. Our team named the towers Left and Right, one to three, and started the count at those closest to the front.
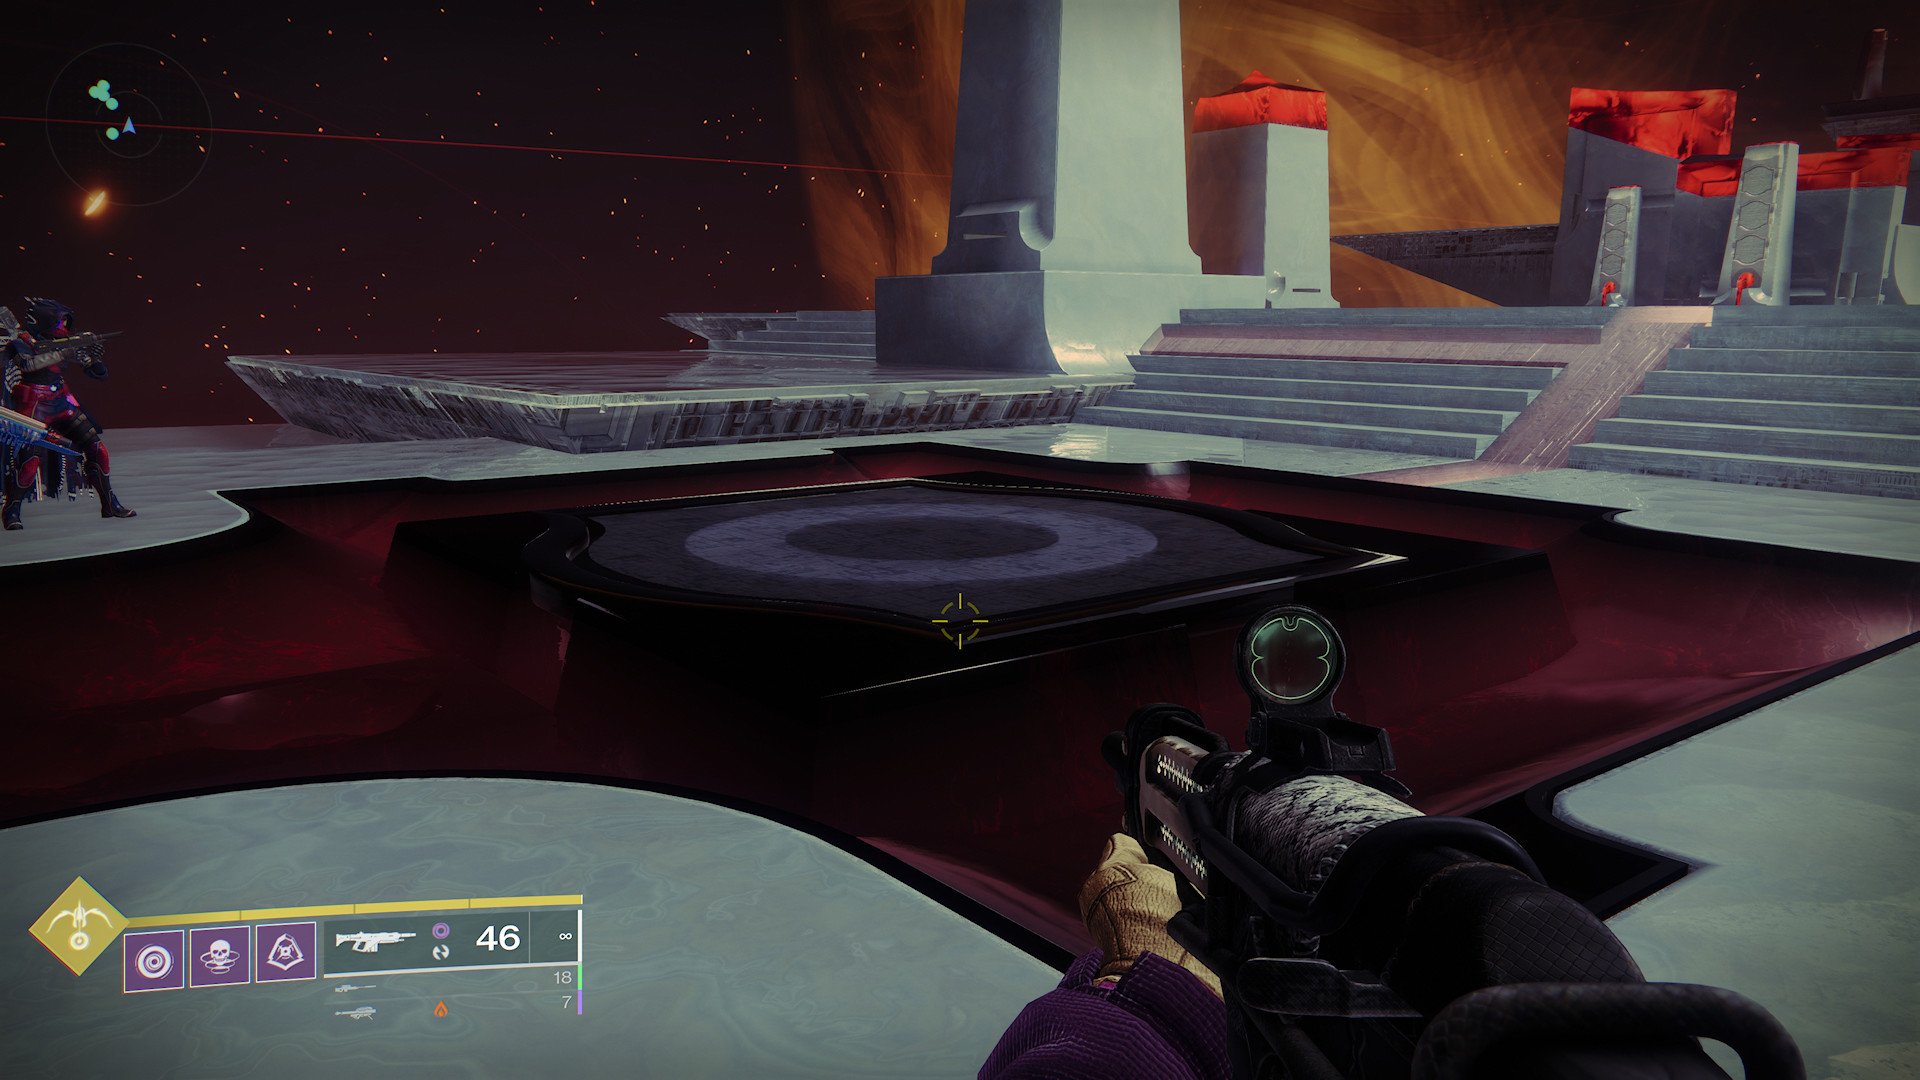
Now, to decipher where you need to deposit the energy you will have to work out a matching Glyph between two sets of Glyphs that spawn. One set will be visible to the players with the Leeching Force and the other set will be visible for those who don't have the buff. The players should identify the repeated Glyph between the two sets and then identify which of the small towers it's on in the arena. At this point, the player with the Empowering Buff must deposit their buff in one of the towers with that Glyph present. They will not be able to see what's on the tower, so they will depend on the players without the buff to tell them where to deposit.
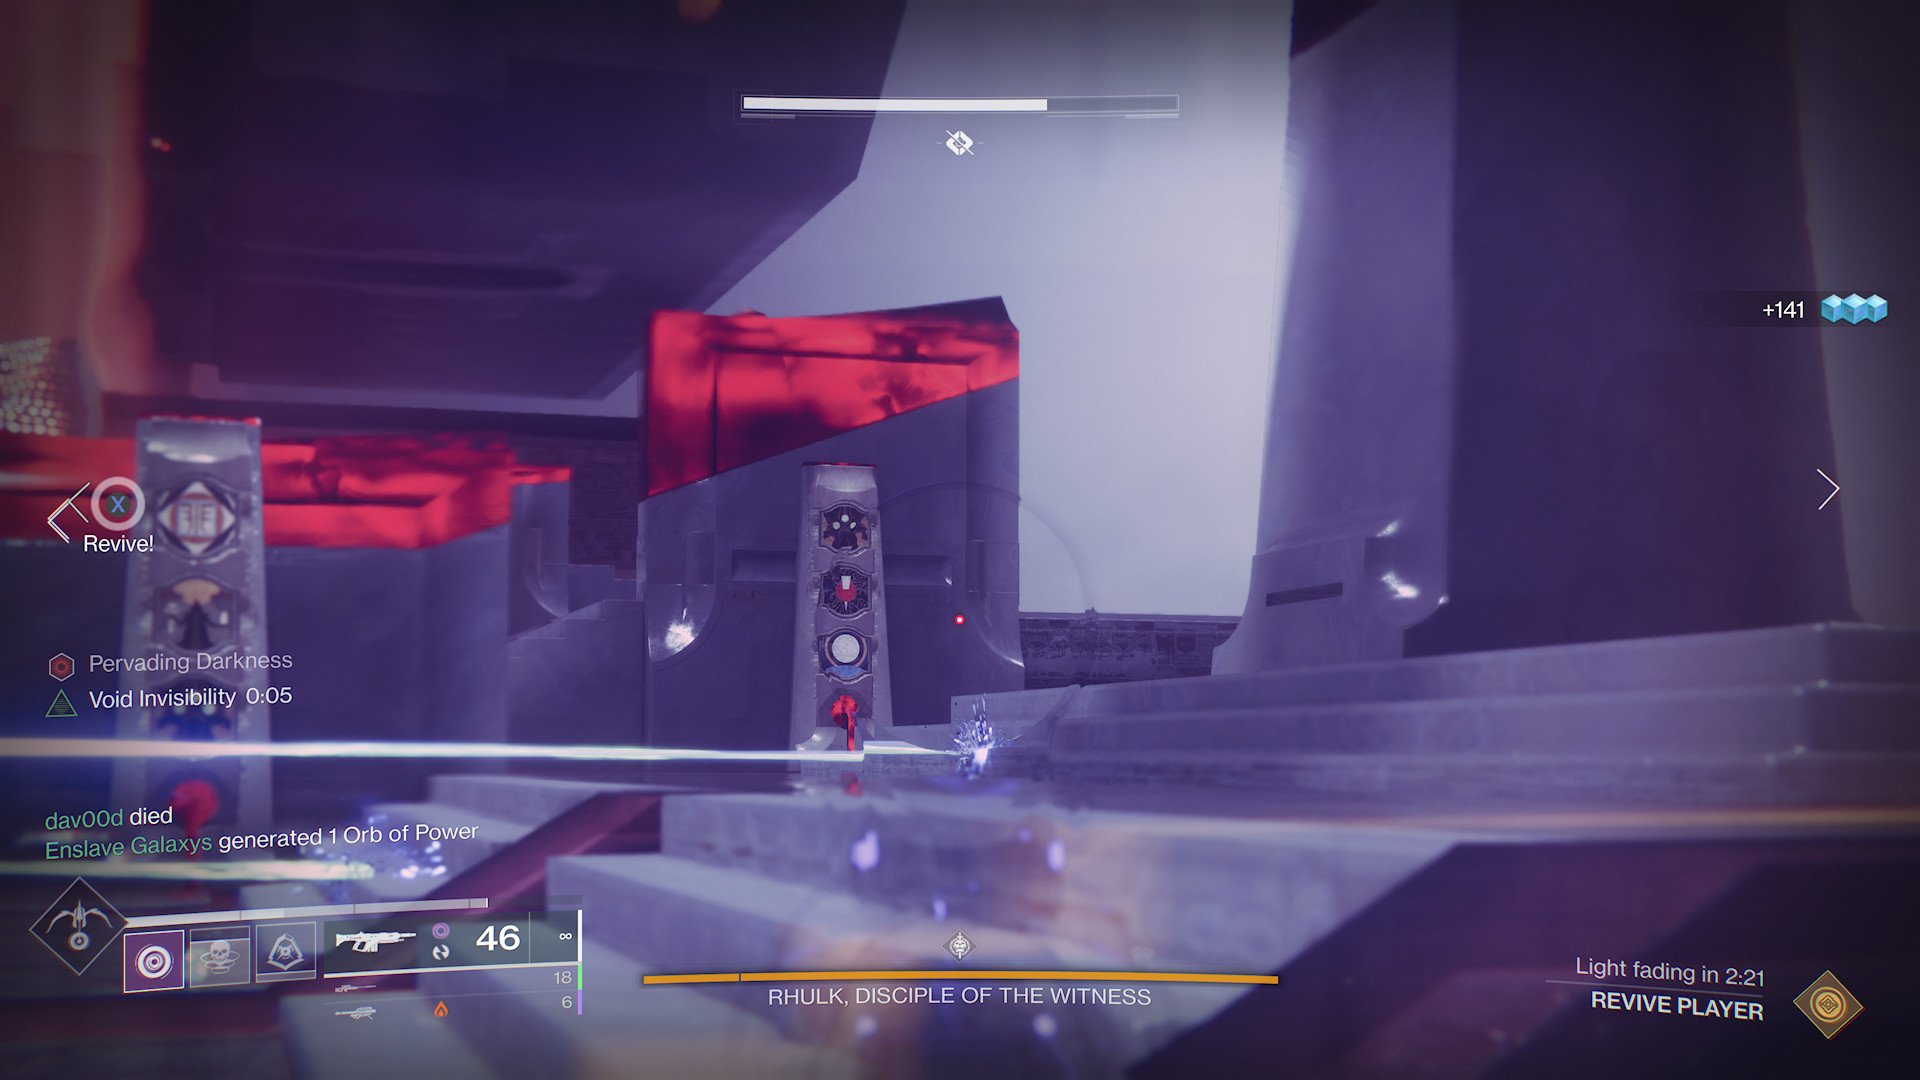
You will need to deposit a total of six Empowering Force buffs. It's possible to do this two at a time, but it's much harder and if your team does not keep the Leeching Force, Rhulk will retreat and put up the initial spiral again. If this happens twice, your team will wipe. It's much safer to have one player consistently deposit the Empowering Force while two others rotate the Leeching Buff through the crystals. After the sixth deposit, Rhulk will retreat to the tower structure in the background. This will begin the damage phase.
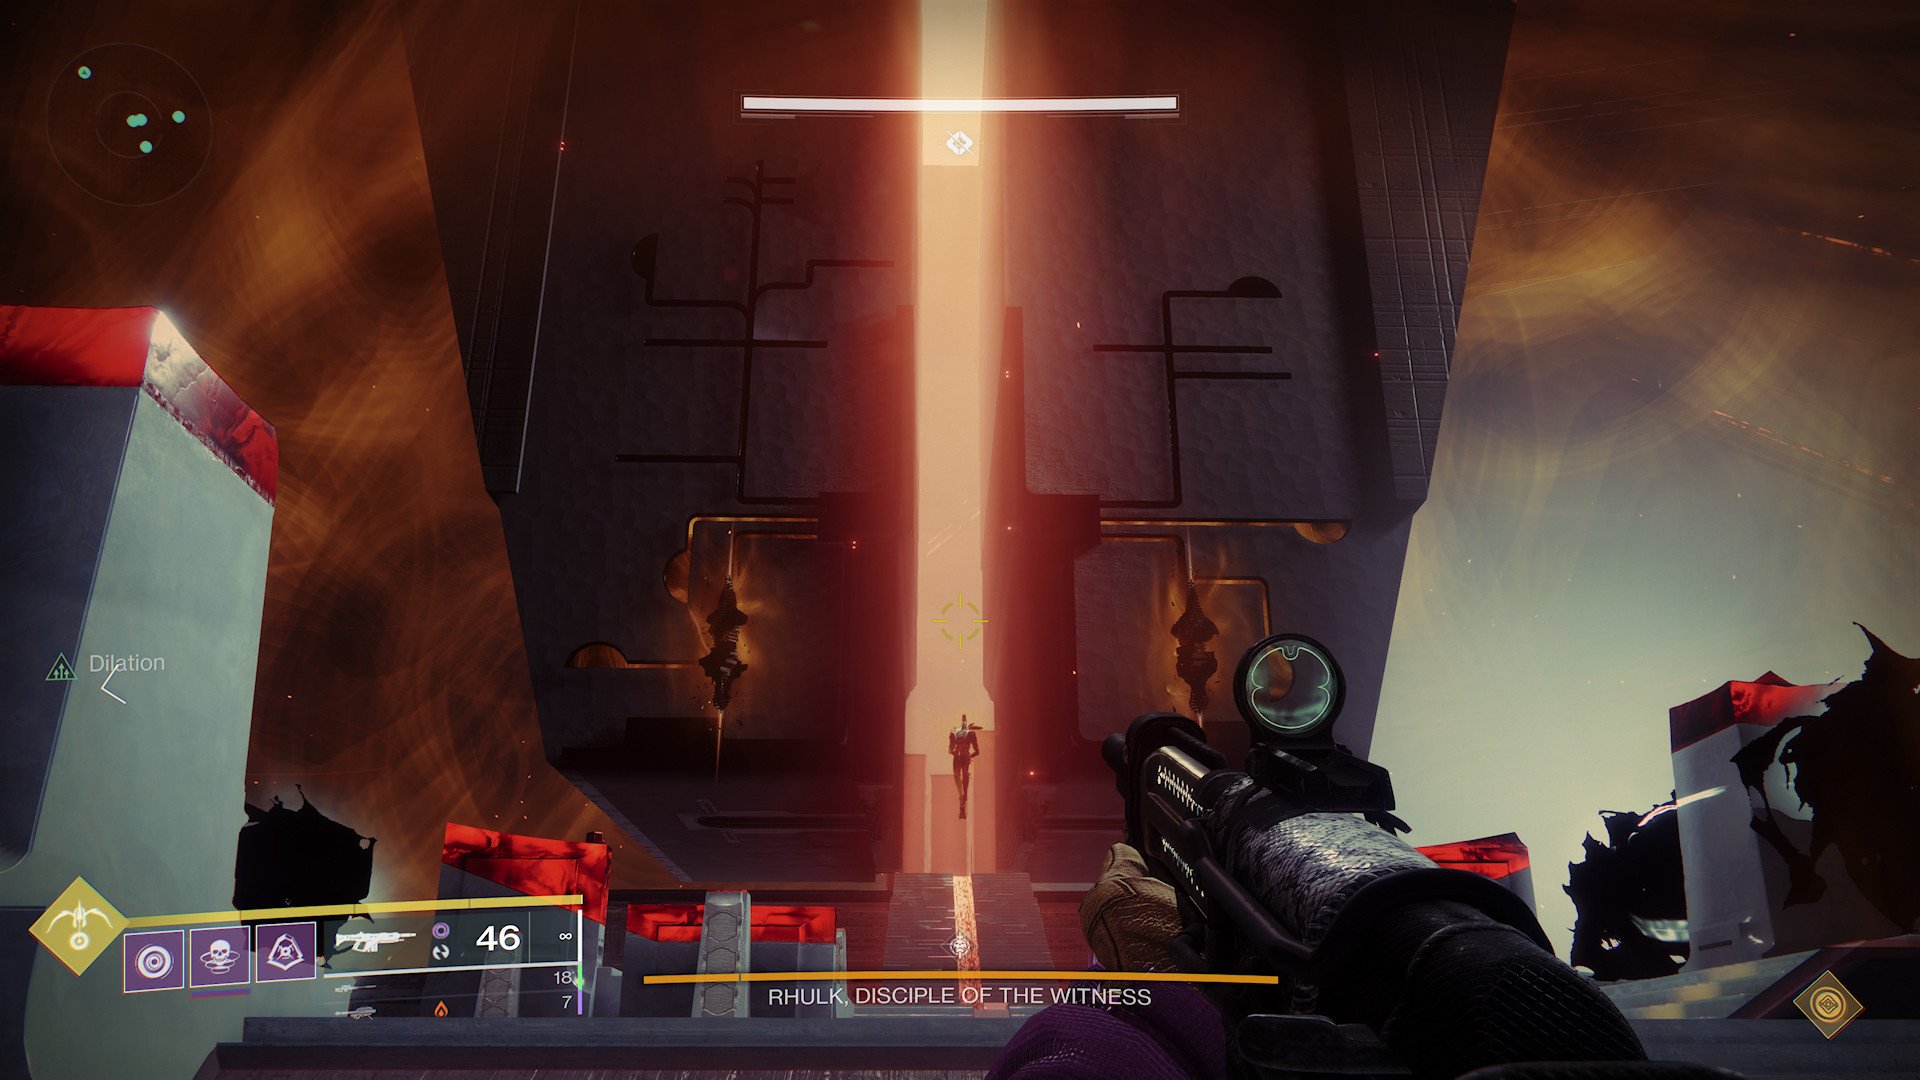
Now that you have entered the start of the damage phase, you will need to make Rhulk vulnerable. To do so, players will need to destroy his staff, which is dropped when Rhulk charges a player, to gain the Leeching Force Buff. When the staff is destroyed, the players without the Leeching Force will see a Glyph where it was destroyed. This Glyph will match a Glyph on a tower at one of the four corners of the arena. This must be communicated to the player with the Leeching Force. But before the player deposits, they will need to get hit by another laser beam to turn it into an Empowering Force.
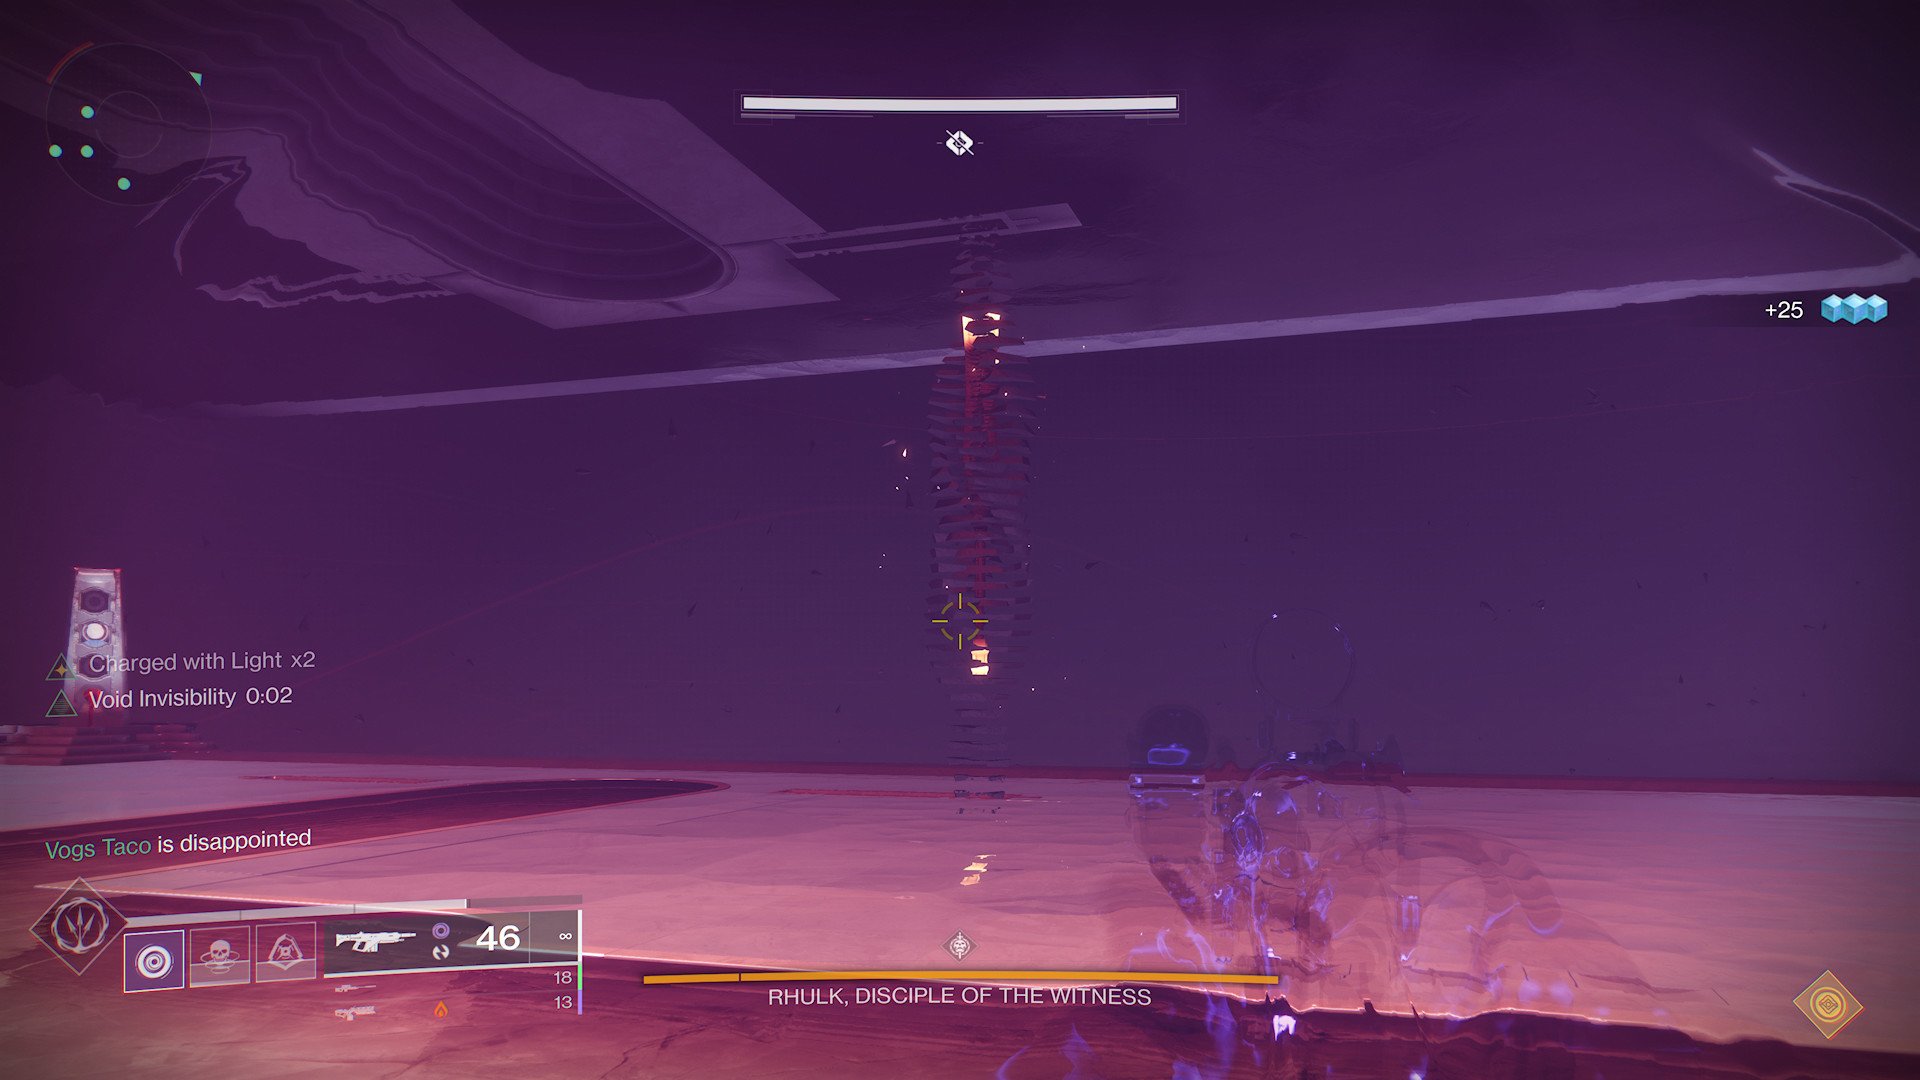
Every time an Empowering Force is deposited, a weak spot will appear on the boss. After four deposits, a stronger weak spot will appear. Guardians will destroy this and it will start the actual damage phase. Rhulk will rush you down and do empowered attacks. If you fail to kill him here, Rhulk will fall to its knees and become immune. You must run away from this tower and get to the start of the encounter again. You will then repeat the initial decoding phase again before getting to the damage phase again.
Eventually, Rhulk will fall and you will have completed the raid unless you take more than three phases. You'll die if you don't kill him in that time. That marks the end of The Witch Queen's Vow of the Disciple raid, with sweet rewards in store for all.
Take back the Light
The new Witch Queen expansion features the sinister Savathûn and her brood of Light-wielding Hive, which will undoubtedly prove to be the most challenging foes faced by Guardians yet. Players can expect tons of new loot, enemies, locations, and more.

Ryan is a Former Contributor for Windows Central, covering Destiny 2 and other gaming hits.

 Windows Central Insider


