How to install Microsoft PowerShell on a Chromebook
Whether you need to use PowerShell day-to-day or just want to poke around and learn it while on a Chromebook, here's how to get started.
All the latest news, reviews, and guides for Windows and Xbox diehards.
You are now subscribed
Your newsletter sign-up was successful
PowerShell is an immensely popular and powerful tool that comes built into Windows 10 with applications across enterprise, development, automation, and so much more. But PowerShell is also cross-platform and open-source, with versions available for Mac OS and Linux, too.
But what about if you're using a Chromebook, either personally or professionally? Well, so long as it's a recent machine with support for Linux apps, you can install and use Microsoft PowerShell.
Here's what you need to know.
Making sure Linux is enabled on your Chromebook
What makes the magic happen is the Crostini Linux container on Chrome OS, which will allow you to install the Linux version of Visual Studio Code on your Chromebook.
If you don't already have that enabled, it's really straightforward.
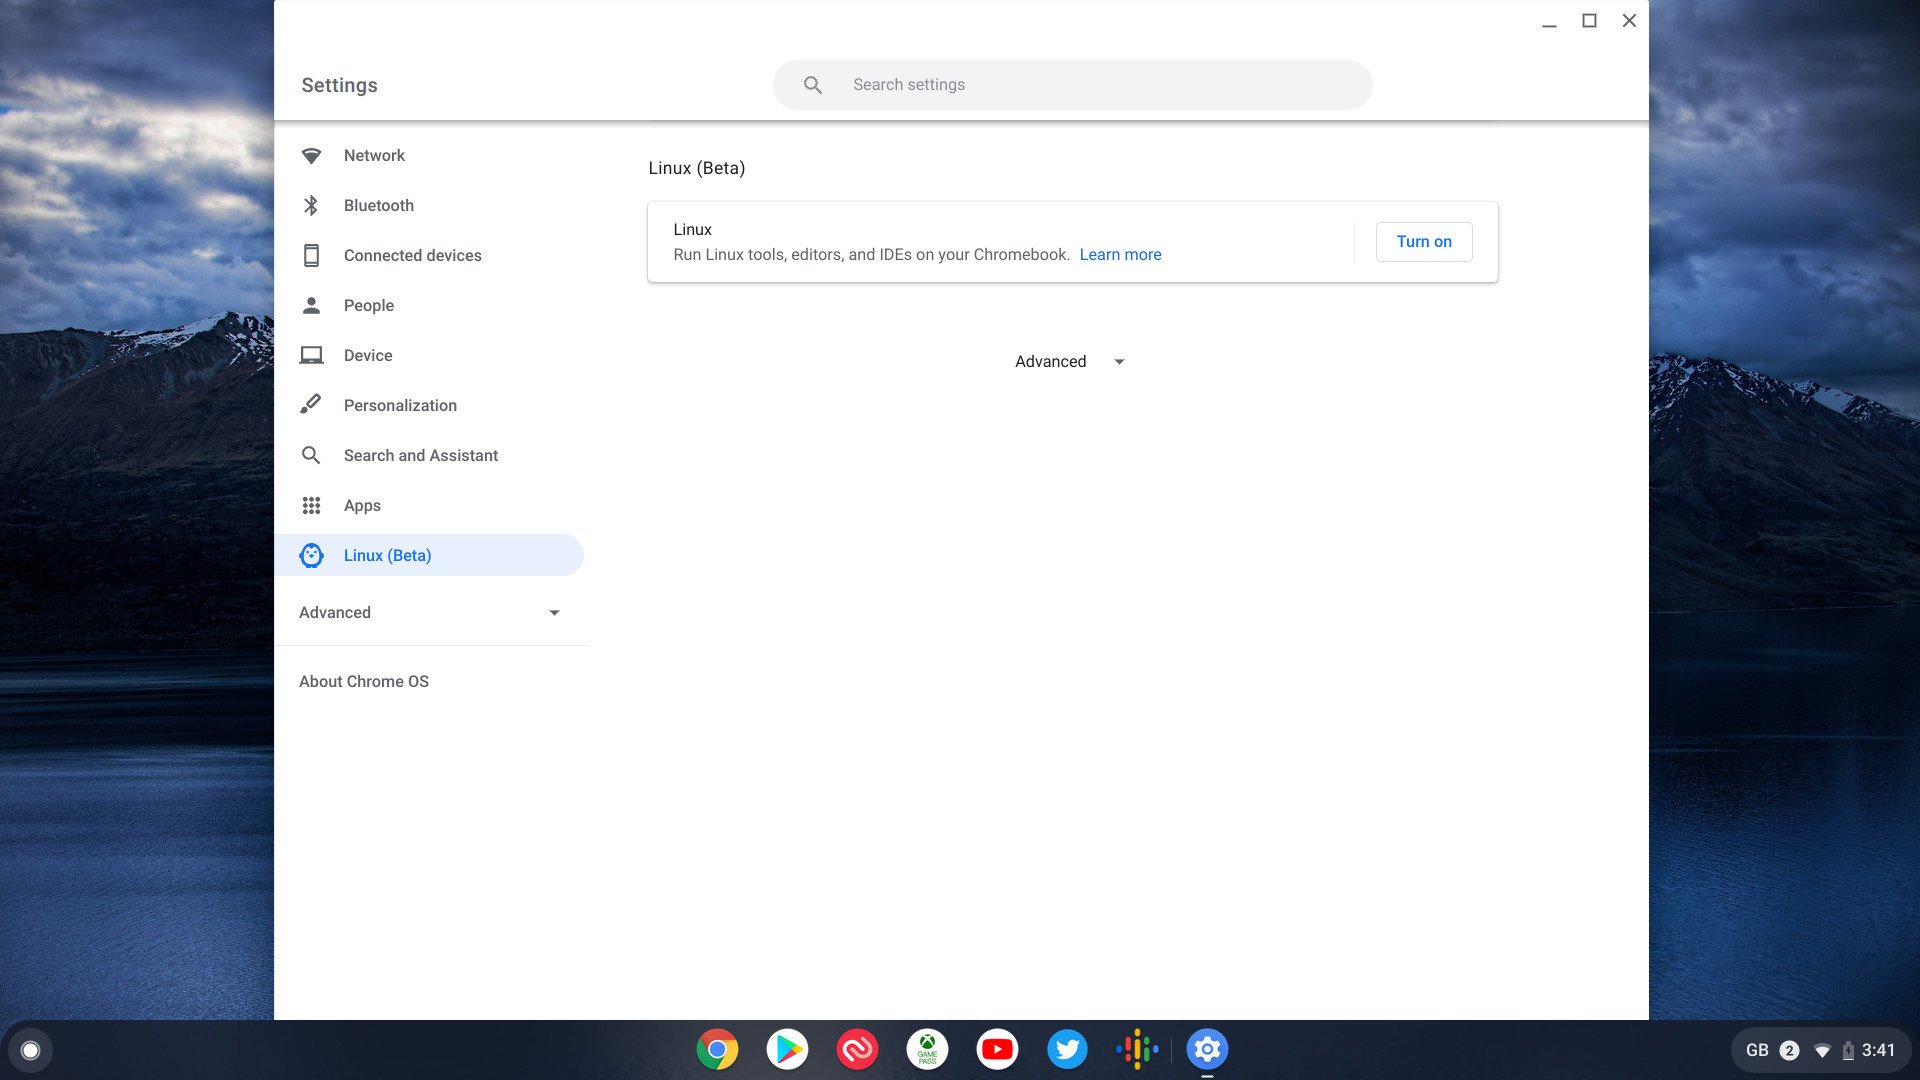
- Open Settings.
- Locate Linux (Beta) in the sidebar.
- Click Turn on.
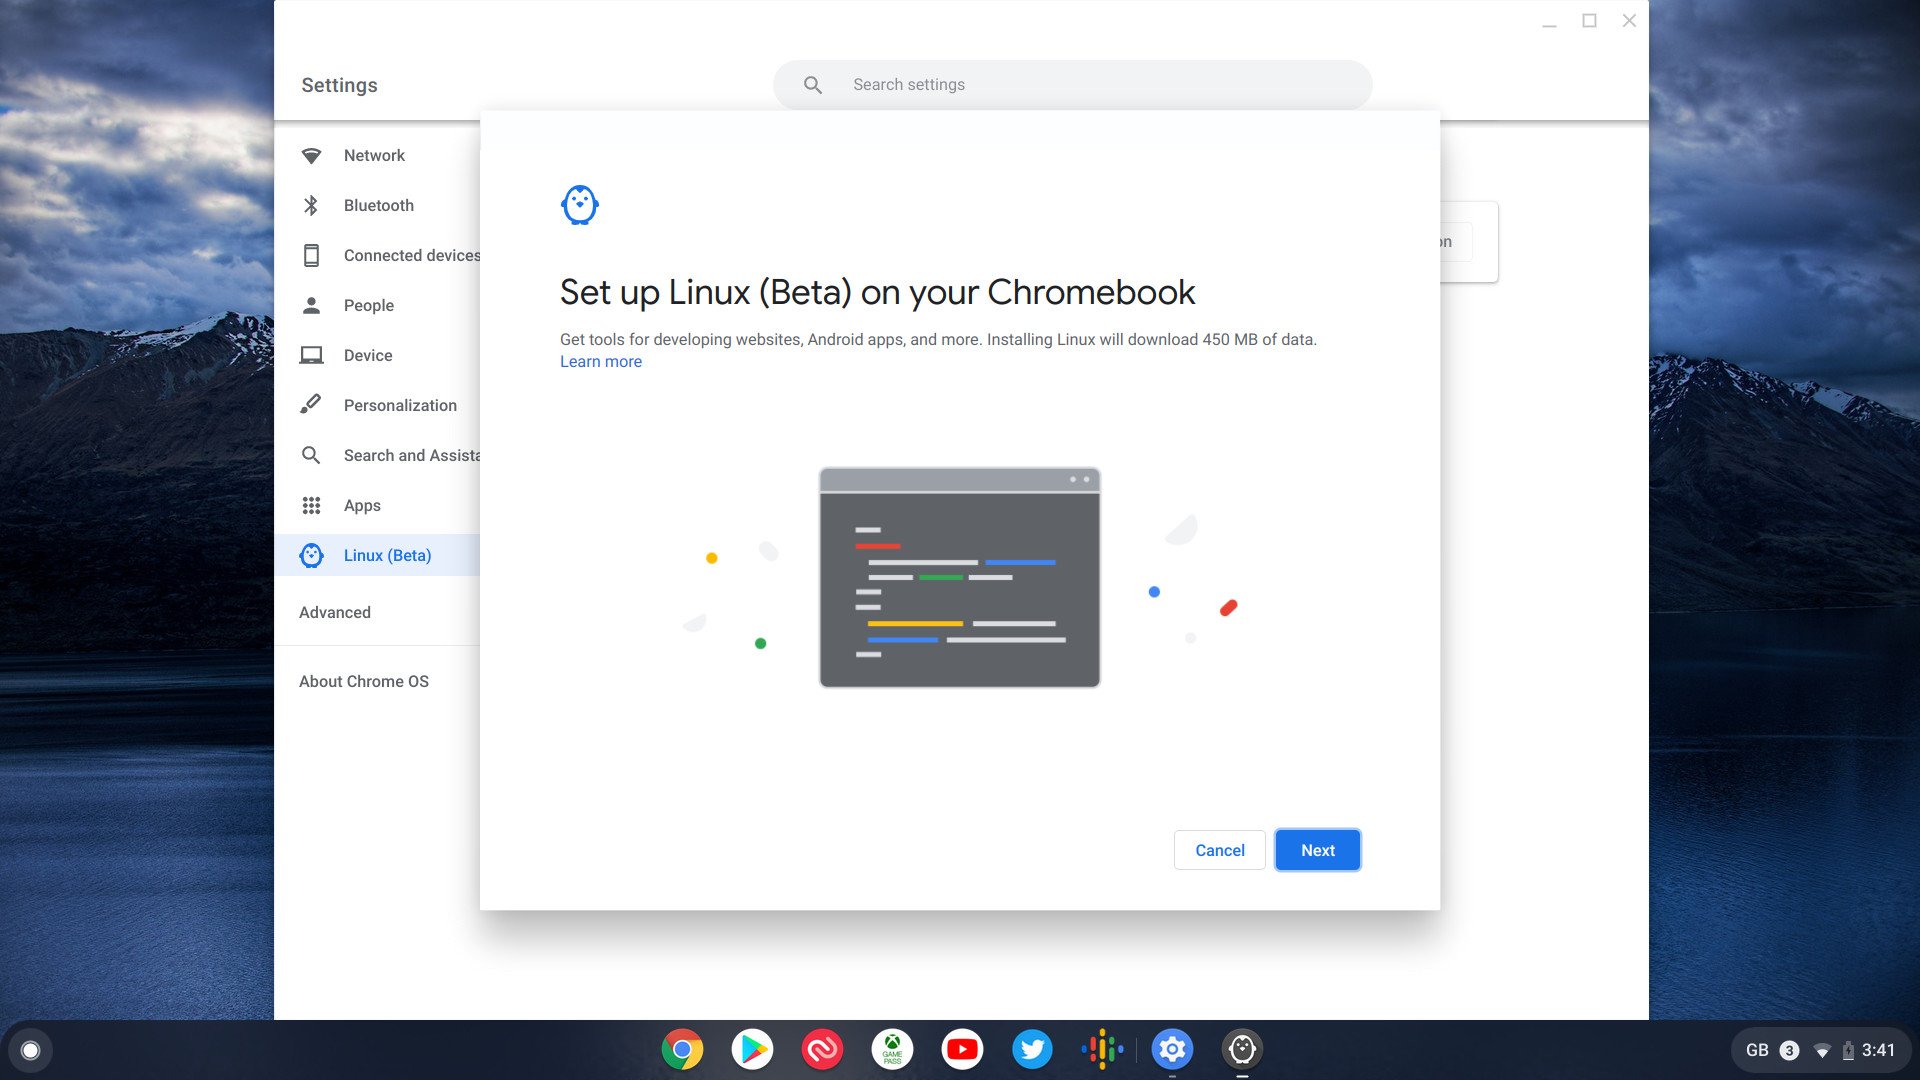
- At the next window, click Next.
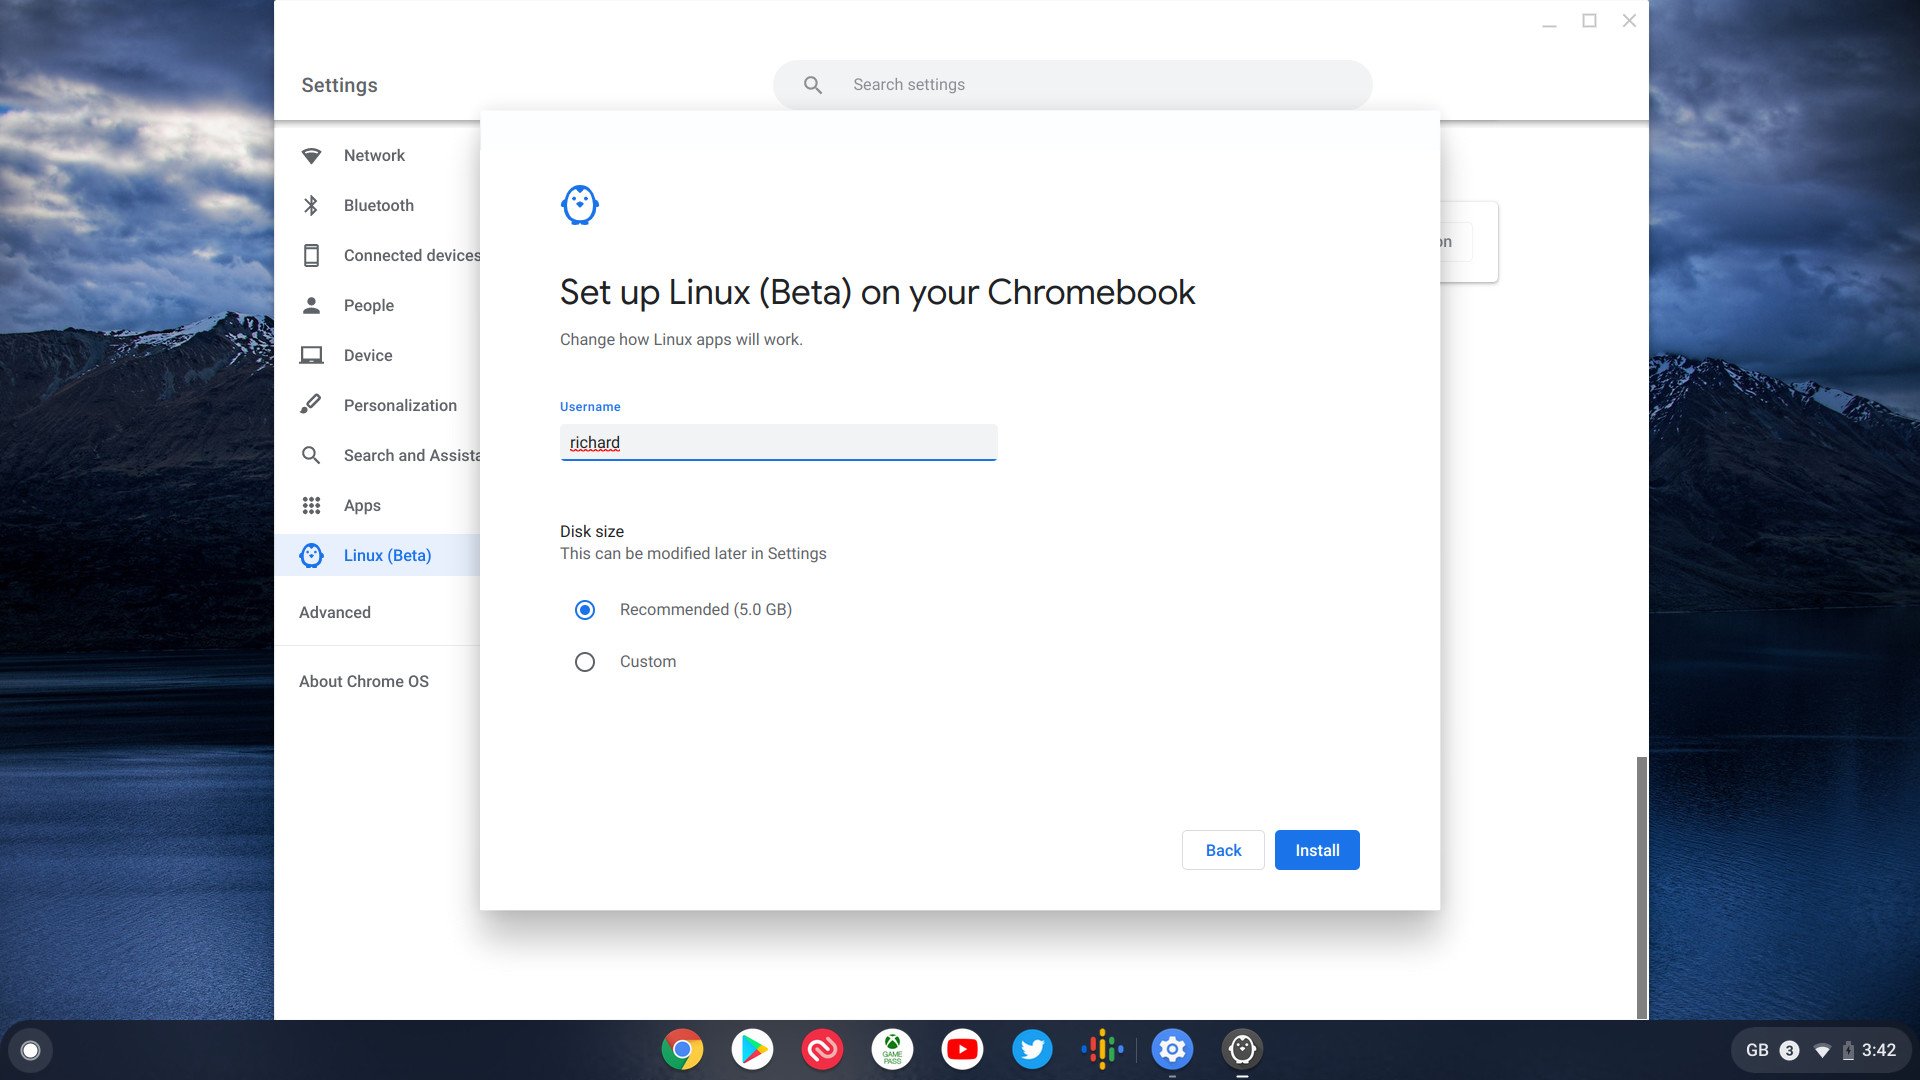
- Give your Linux install a username.
- Decide how much space you want to dedicate from your internal storage to it.
- Click Install.
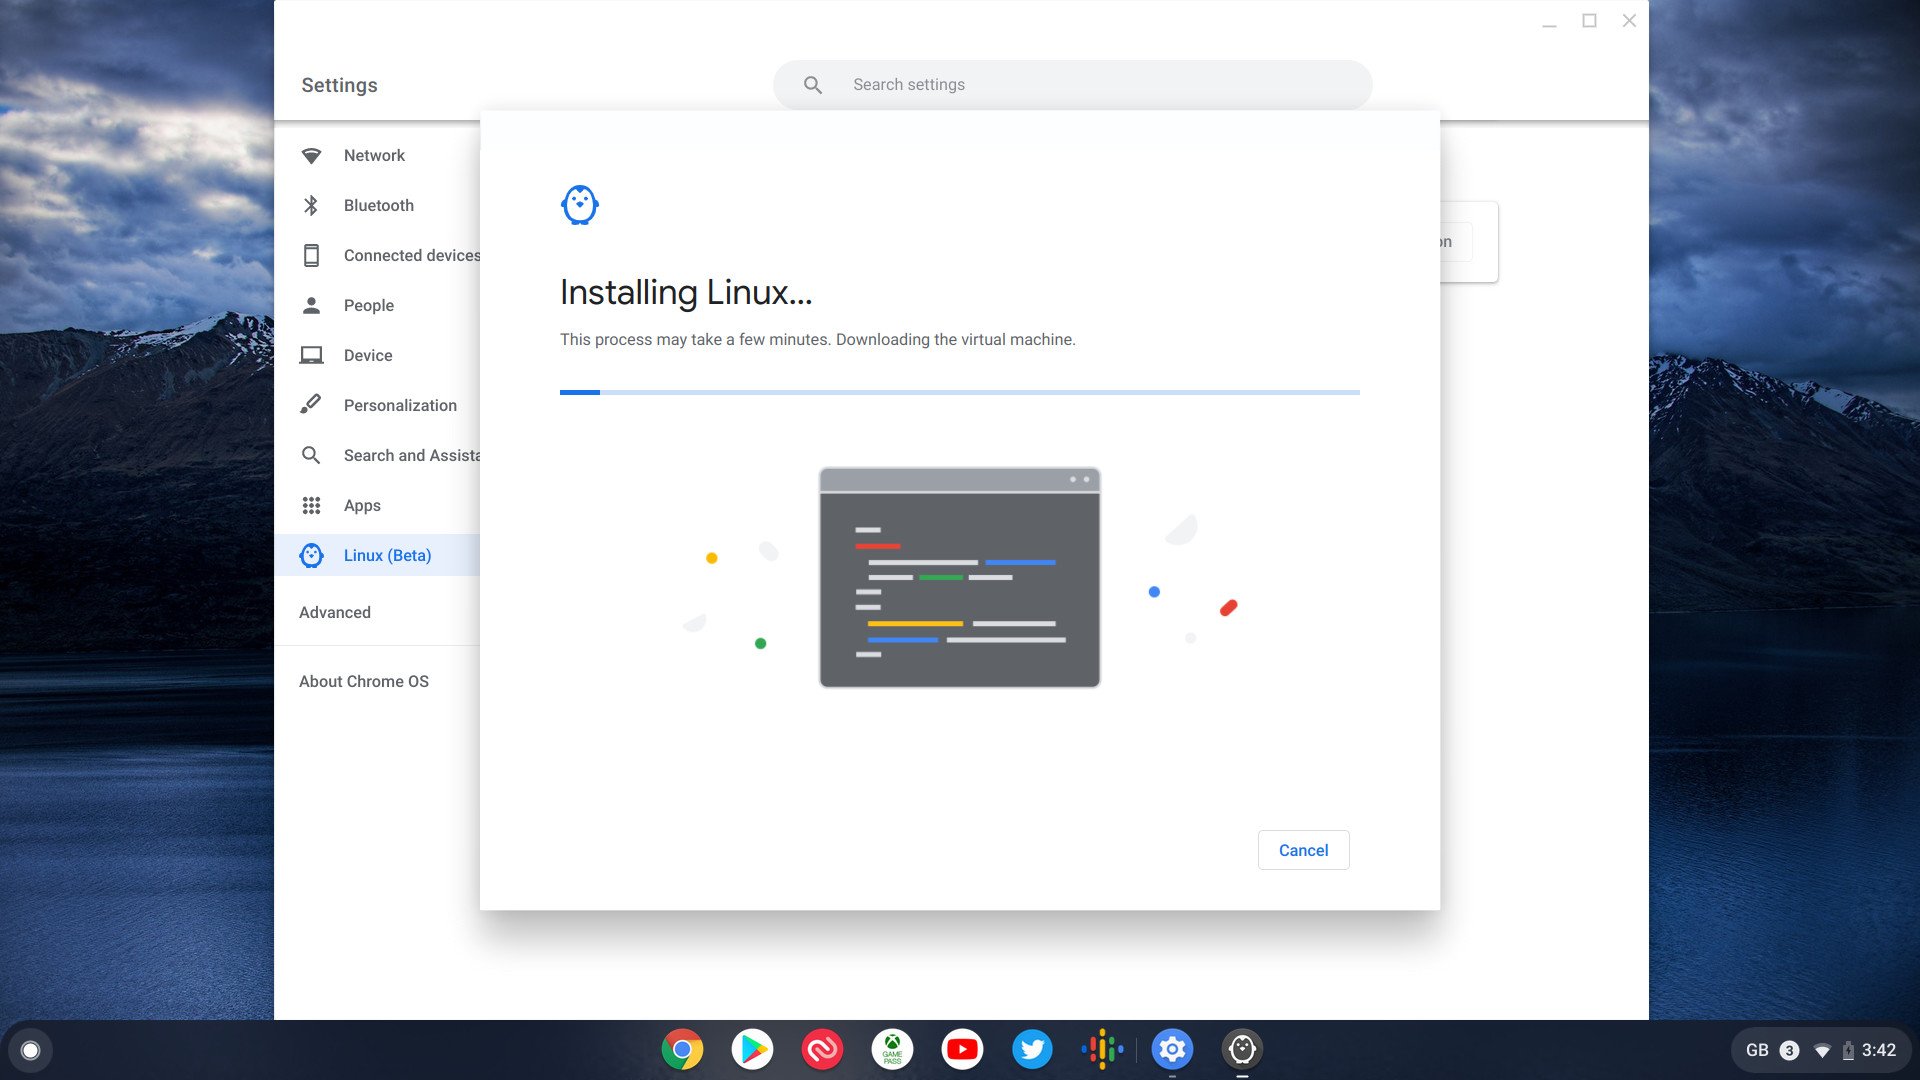
The Linux container will now begin to download and install itself on your Chromebook. You'll know it's finished when a terminal window pops up, and then you can move on to the next step.
Downloading and installing PowerShell on a Chromebook
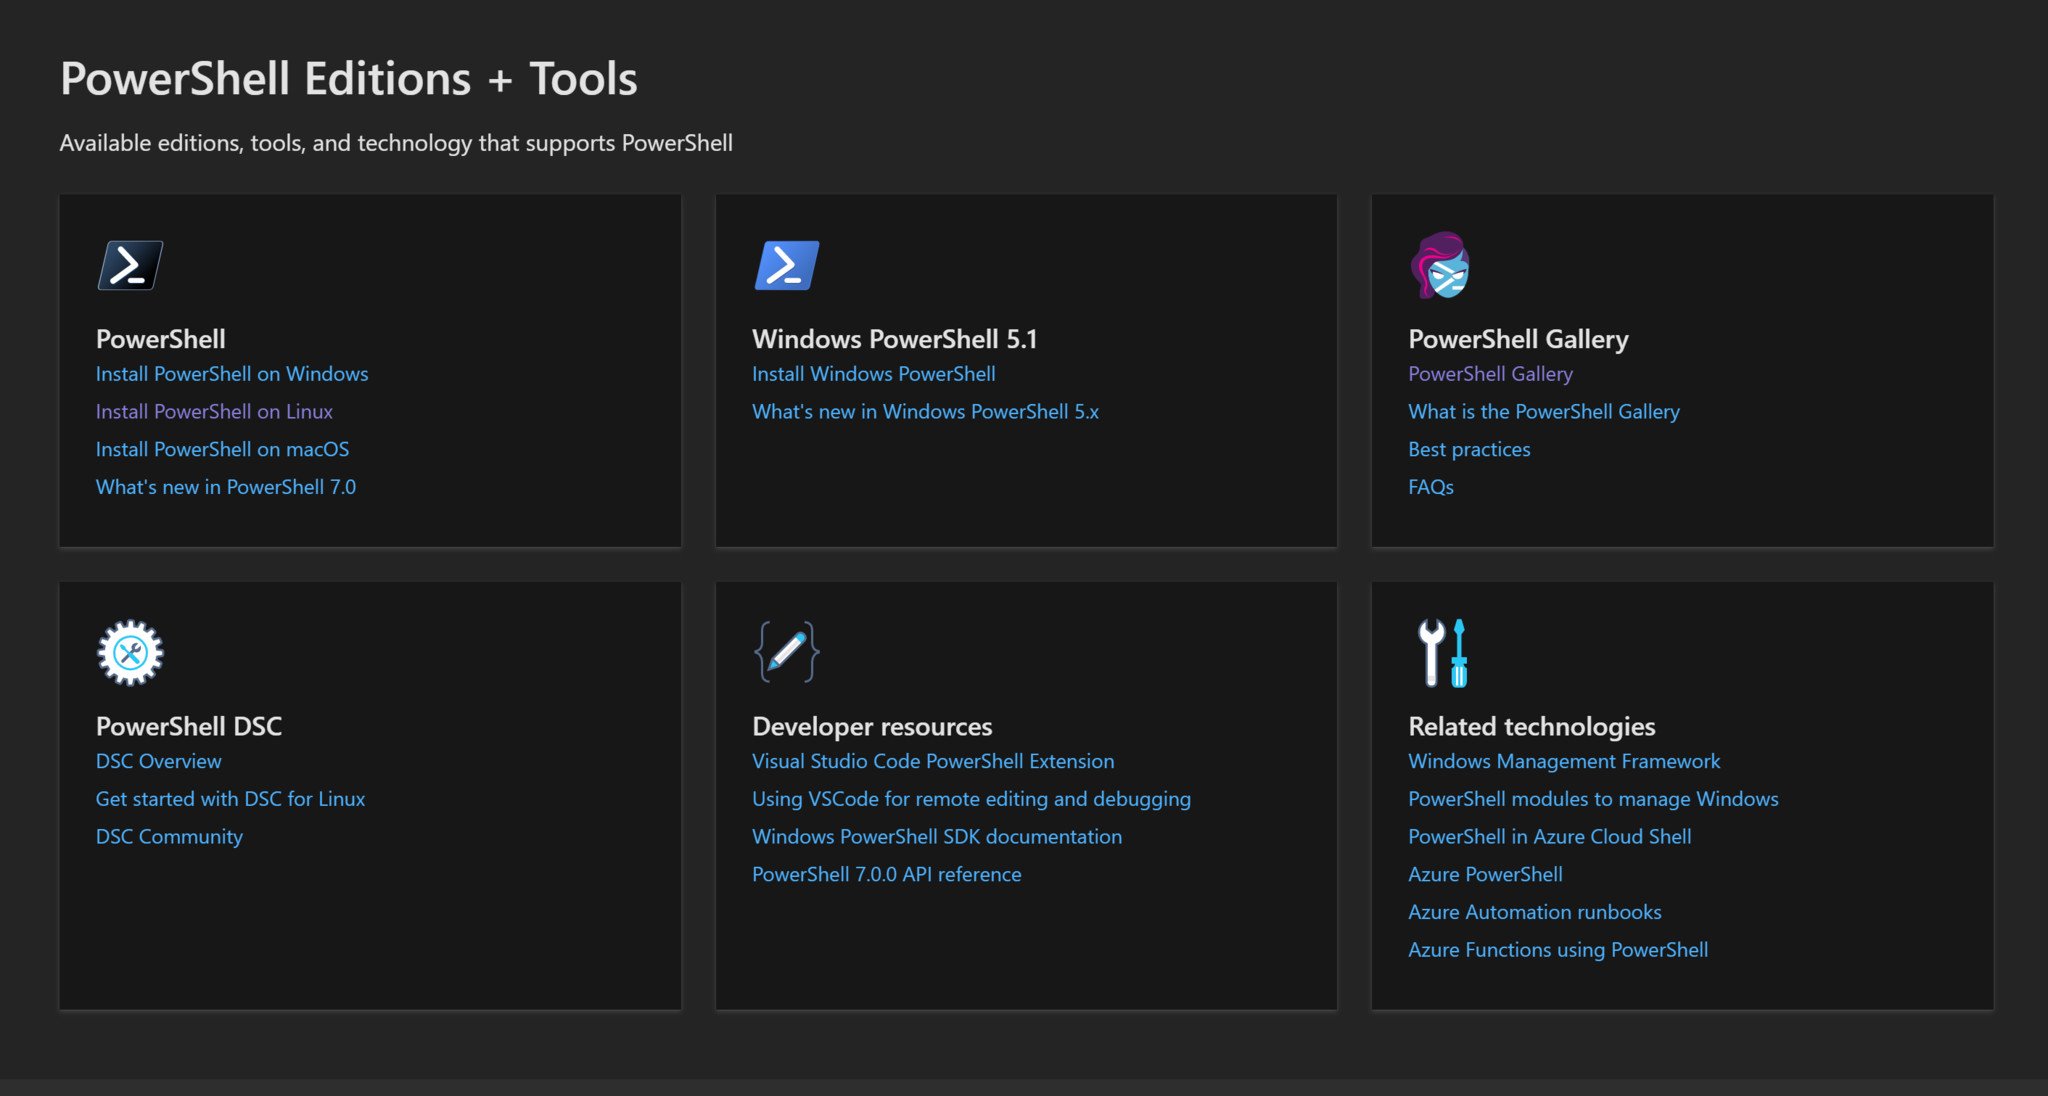
While PowerShell on Linux isn't exactly the same as on Windows — modules and commands specific to Windows are naturally unavailable — it's available for folks who need it. Once Linux is set up on your Chromebook, we can go about installing PowerShell.
All the latest news, reviews, and guides for Windows and Xbox diehards.
We'll be installing PowerShell 7 here, and the process is really straightforward.
- Go to the PowerShell release page.
- Download the .deb installer for Debian 10.
- Locate the downloaded file, by default, it will be in your downloads folder.
- Right-click and select Install with Linux (beta).
- Click install.
A fairly short installation process will now occur, and you'll receive a notification when it's all done.
The big difference between PowerShell and other most other Linux apps installed on a Chromebook is that there won't be an app icon appear in the Linux Apps folder in your app drawer.
How to launch PowerShell inside the terminal
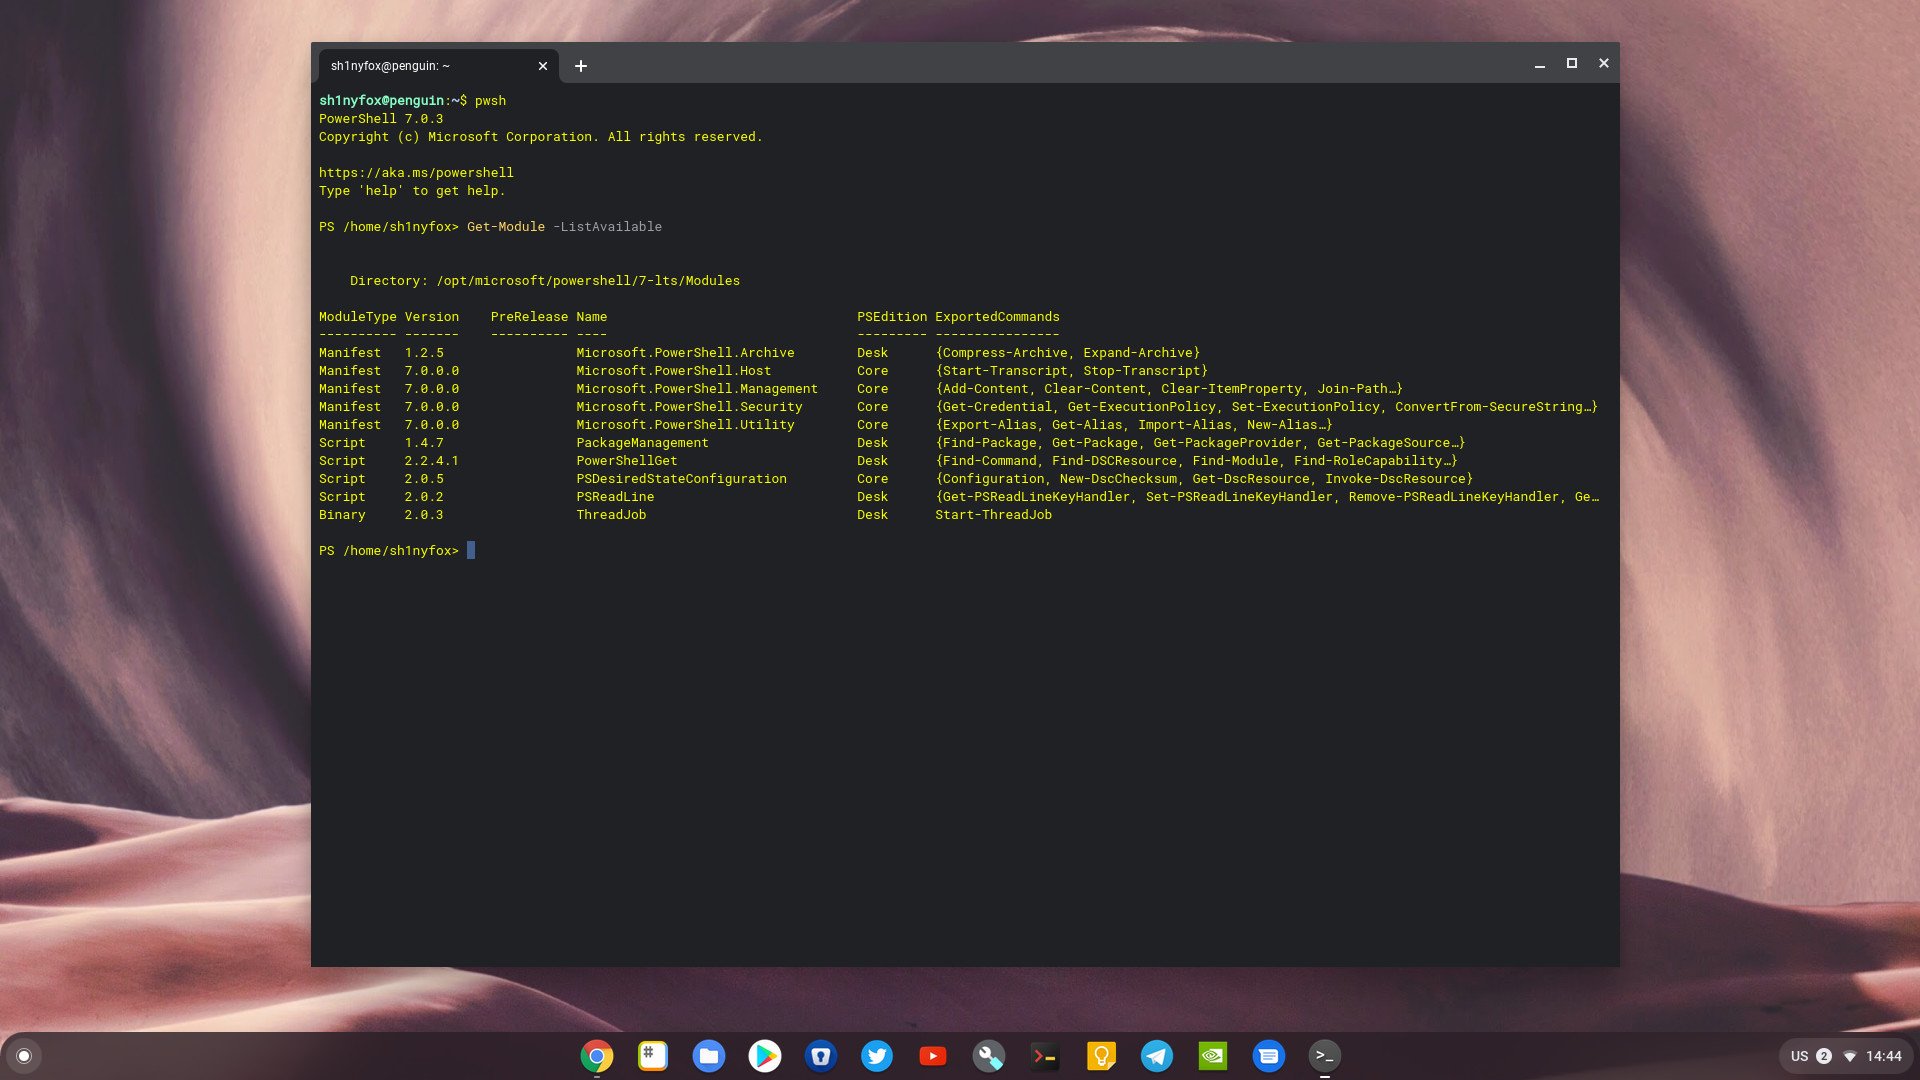
PowerShell is an entirely terminal-based application, and on a Chromebook, it operates inside the Linux terminal.
Open the Linux terminal either by searching for it or just heading to your Linux apps folder and when the virtual machine has done its startup, enter this simple command.
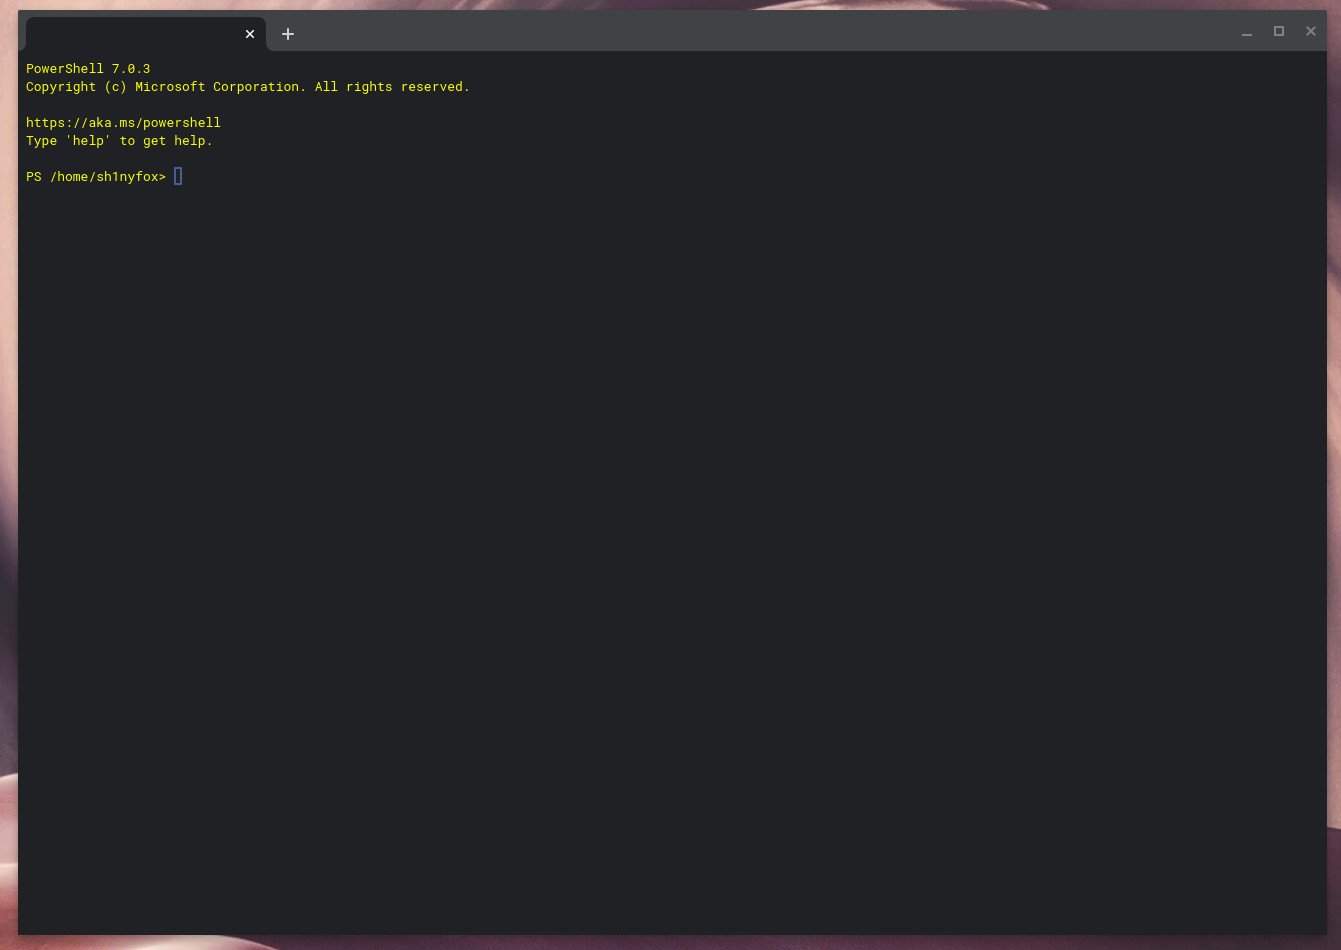
pwshYou'll now see a short bit of blurb beginning with the PowerShell version, and your command line will change from yourusername@penguin to PS /home/yourusername.
You're now all set to use PowerShell on your Chromebook. Any time you want to use it, simply enter the command to launch it and exit out when you're done by typing exit.
But if you're going to use it a lot, you might want to set it as the default shell for your Chromebook's Linux terminal.
Setting PowerShell as the default terminal shell
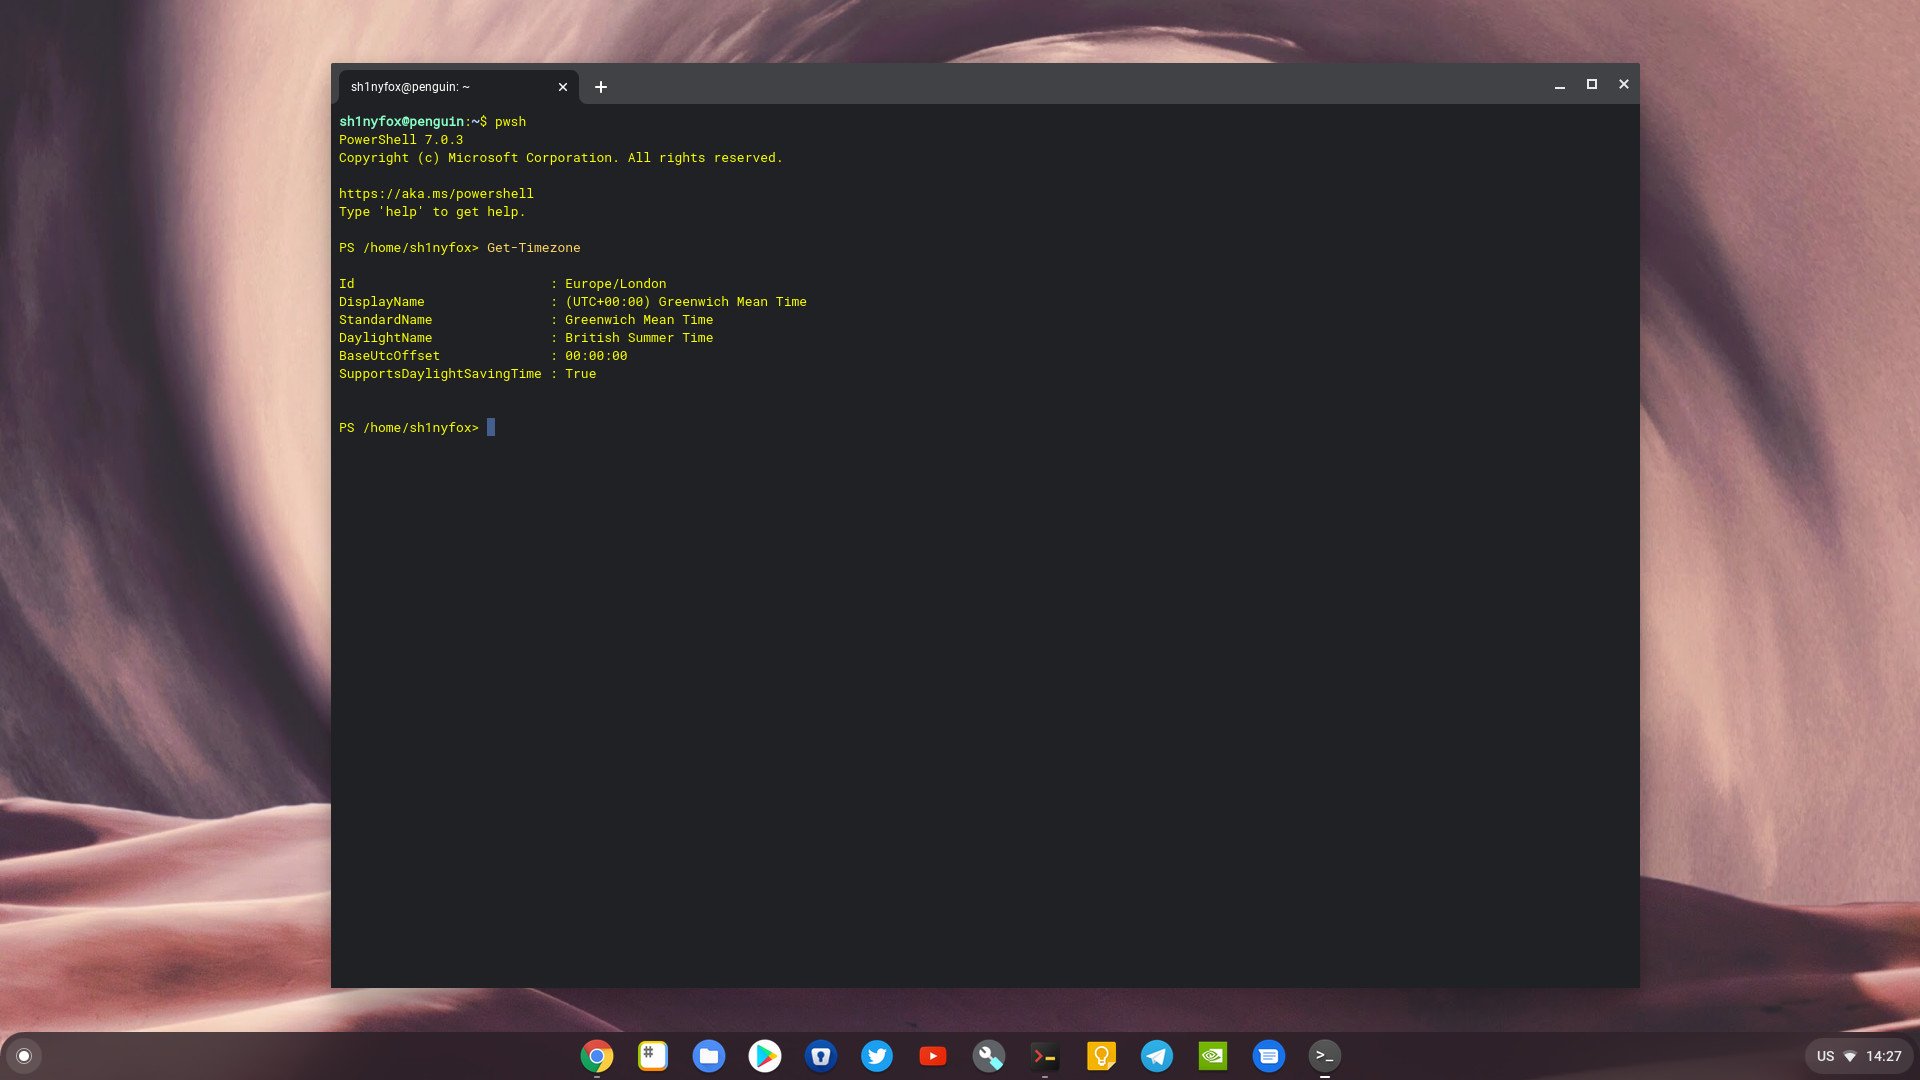
PowerShell's bonus is that it doesn't overwrite your existing shell; any Linux commands you could normally enter in the bash shell can also be entered in PowerShell. As such, if you're going to use PowerShell a lot, you can set it as your default shell and not worry about losing any functionality.
To do this, simply fire up the terminal and enter this code.
sudo chsh -s /usr/bin/pwsh $USERReboot the terminal, and you'll now be taken straight into PowerShell and no longer see the regular yourusername@penguin.
And that's all you need to do to get up and running with Microsoft PowerShell on your Chromebook. Whether you're just looking to poke around and learn some of the basics or you need to use it for work or development purposes, the Linux version of PowerShell works great on a Chromebook.
Updating PowerShell on your Chromebook
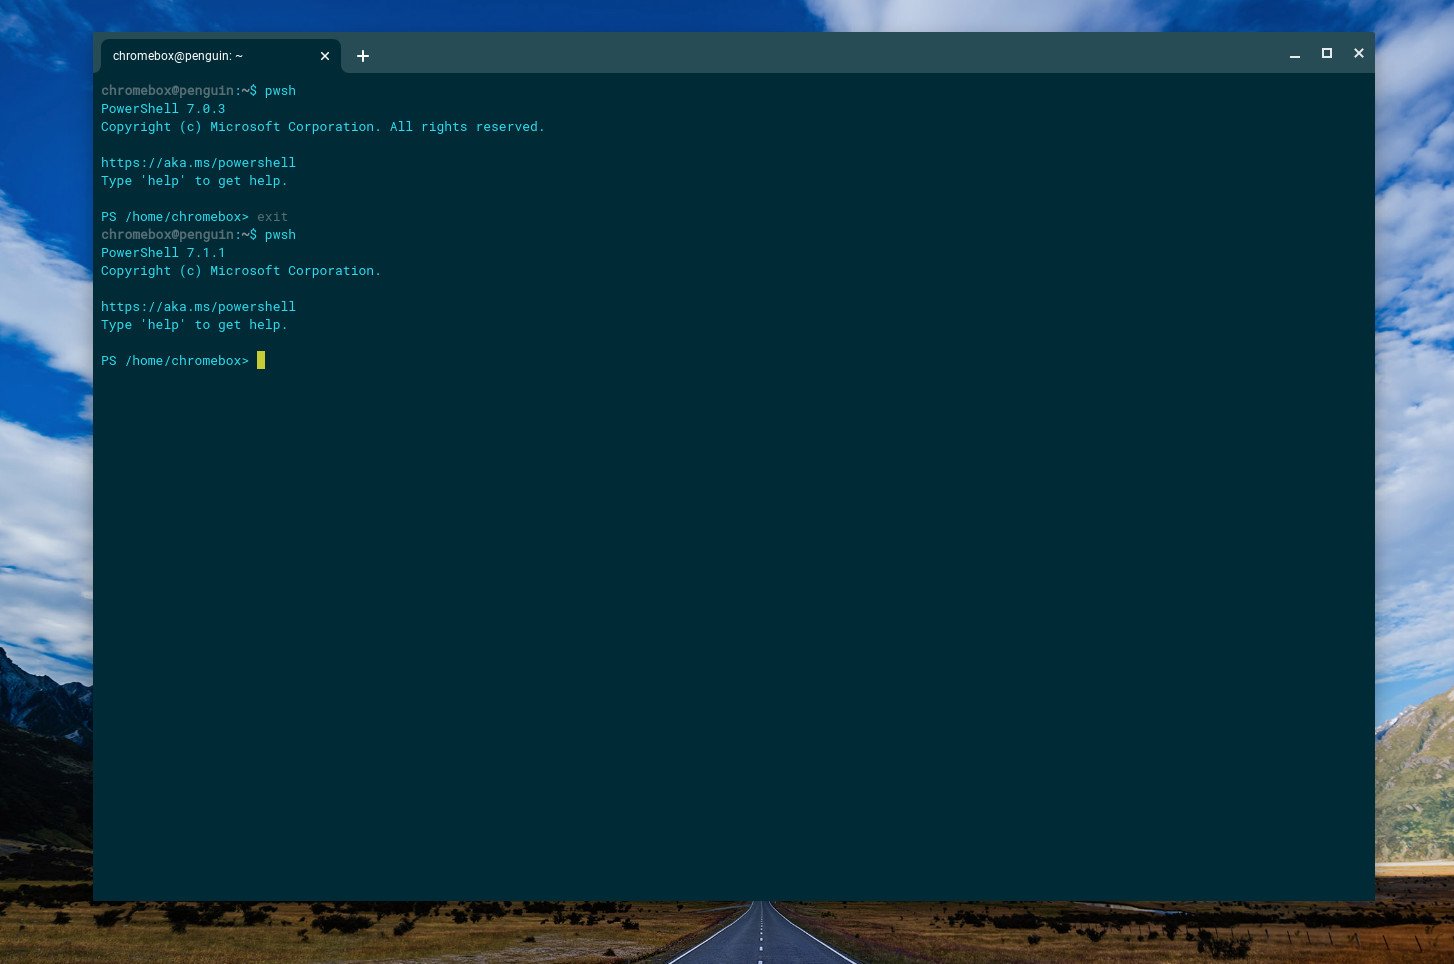
If you need to update PowerShell, either to newer stable releases or to a preview build, the process should be straightforward. In the first case, you should be able to follow the steps above to download the installer for the newer build and simply install it over the top.
If that doesn't work for any reason you may need to uninstall the existing PowerShell first by entering:
sudo apt remove powershellIf you're still having issues then the only option (spoken from experience) could well be to completely remove Linux from your Chromebook and start from scratch. If you've been poking around and making changes for some time you may well have dislodged something that affects PowerShell and this will almost certainly resolve any issues.

Richard Devine is the Managing Editor at Windows Central with over a decade of experience. A former Project Manager and long-term tech addict, he joined Mobile Nations in 2011 and has been found in the past on Android Central as well as Windows Central. Currently, you'll find him steering the site's coverage of all manner of PC hardware and reviews. Find him on Mastodon at mstdn.social/@richdevine
