How to bypass TPM 2.0 check when installing Windows 11 in a virtual machine
Run as many Windows 11 virtual machines as you like without worrying about one of the new requirements.
All the latest news, reviews, and guides for Windows and Xbox diehards.
You are now subscribed
Your newsletter sign-up was successful
The TPM 2.0 requirement for Windows 11 was one of the most talked-about changes from Windows 10, especially since it effectively locked many perfectly good machines out of an upgrade path.
There are ways and means of getting around this requirement to upgrade your laptop or desktop PC, but what if you just want to fire up a quick virtual machine? There are products out there, such as those from VMware, that can inject a virtual TPM to allow Windows 11 to install.
But the easier method is to just skip it altogether. Here's how to quickly and easily install a Windows 11 virtual machine if you're being blocked.
What you need
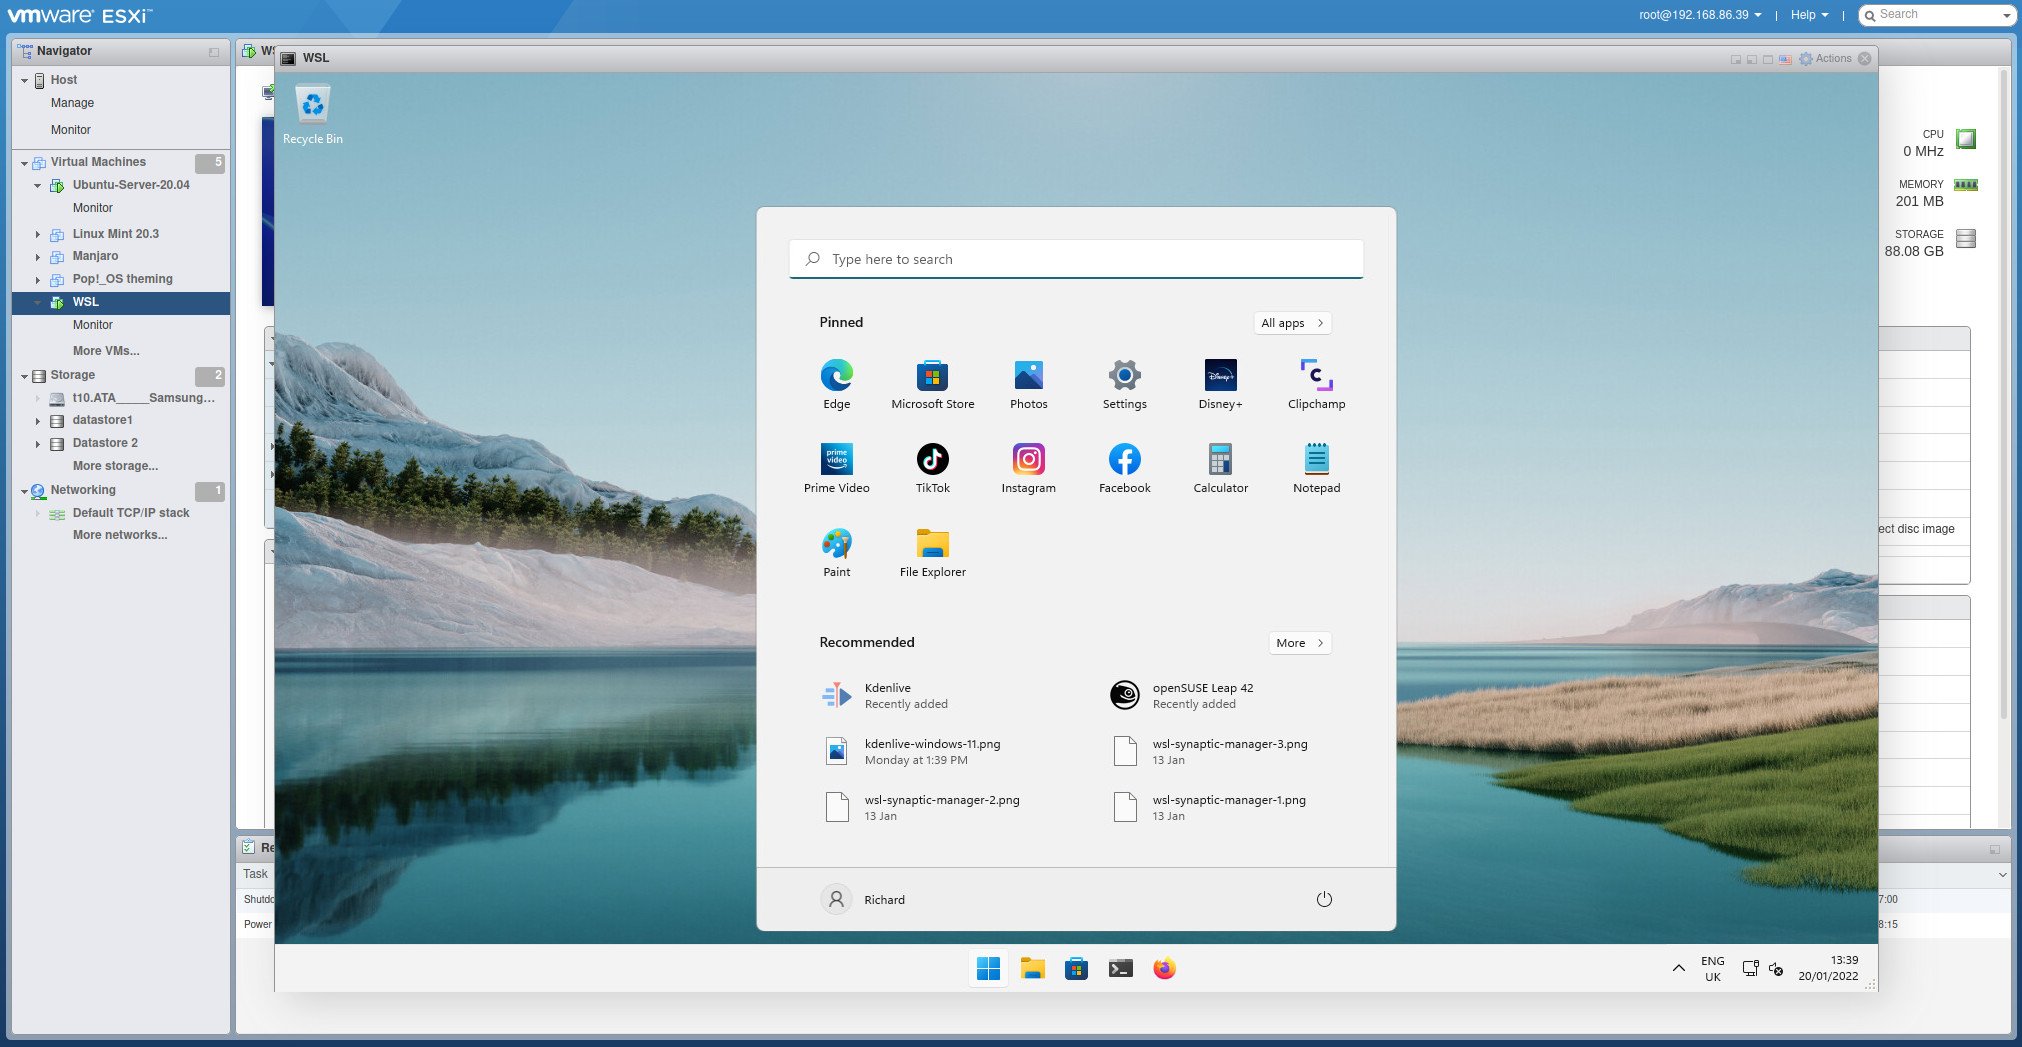
All you need for this is a Windows 11 ISO and some software to make a virtual machine. For the purposes of this guide, I will be using VMWare ESXI 7, but the process shouldn't be any different if you're using something else such as Hyper-V or VirtualBox.
How to install a Windows 11 VM without TPM
This method would, of course, also work on bare metal, but we're not necessarily suggesting it as a good idea since the requirements exist for a reason. But in a virtual machine, everything is sandboxed, so the risk factor is lower.
Essentially what we're going to do is tell Windows 11 during the installation process to skip the TPM check. Once you do this, Windows 11 will install with no issue.
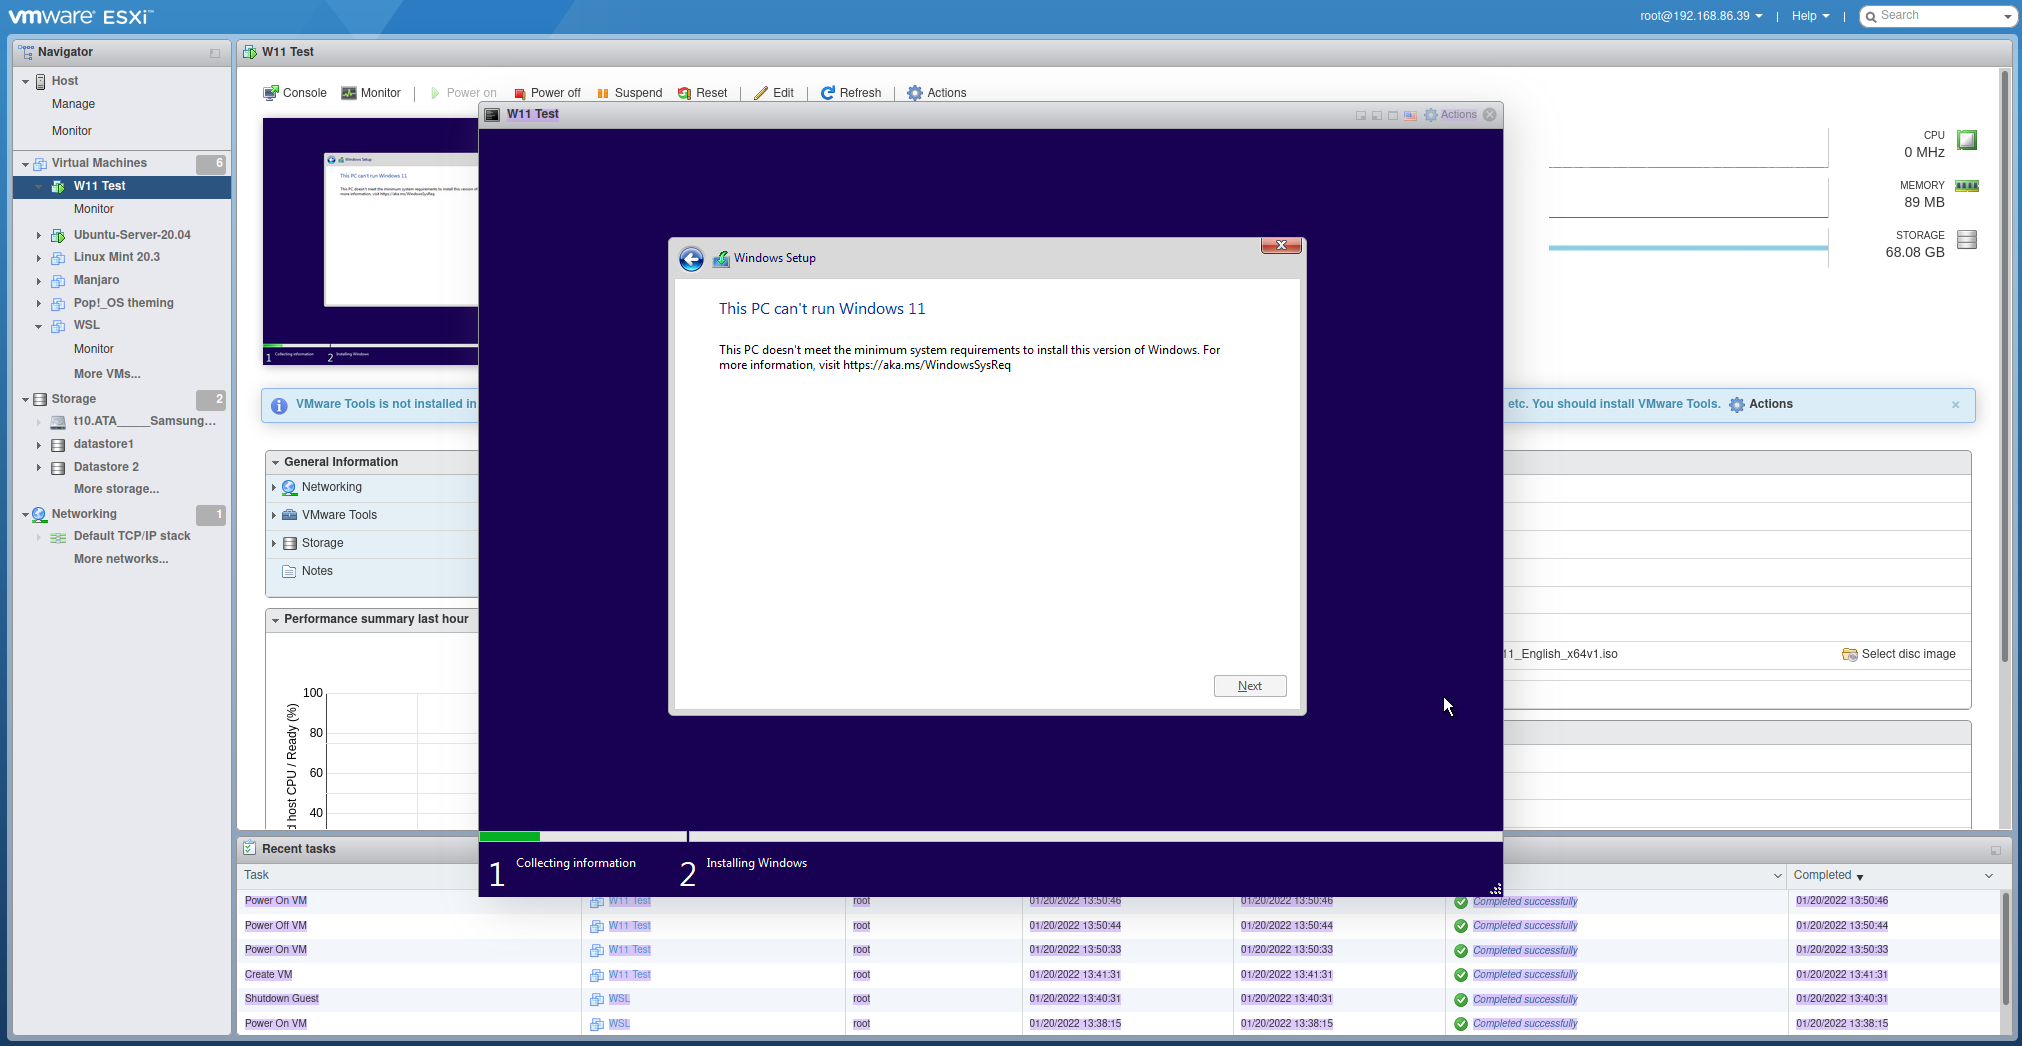
In your virtual machine manager of choice, set up a VM and begin the Windows 11 installation process. The first steps are normal, choosing a language and such. But you will soon find yourself looking at the screen above telling you that your PC can't run Windows 11.
All the latest news, reviews, and guides for Windows and Xbox diehards.
When you reach this screen, follow these steps:
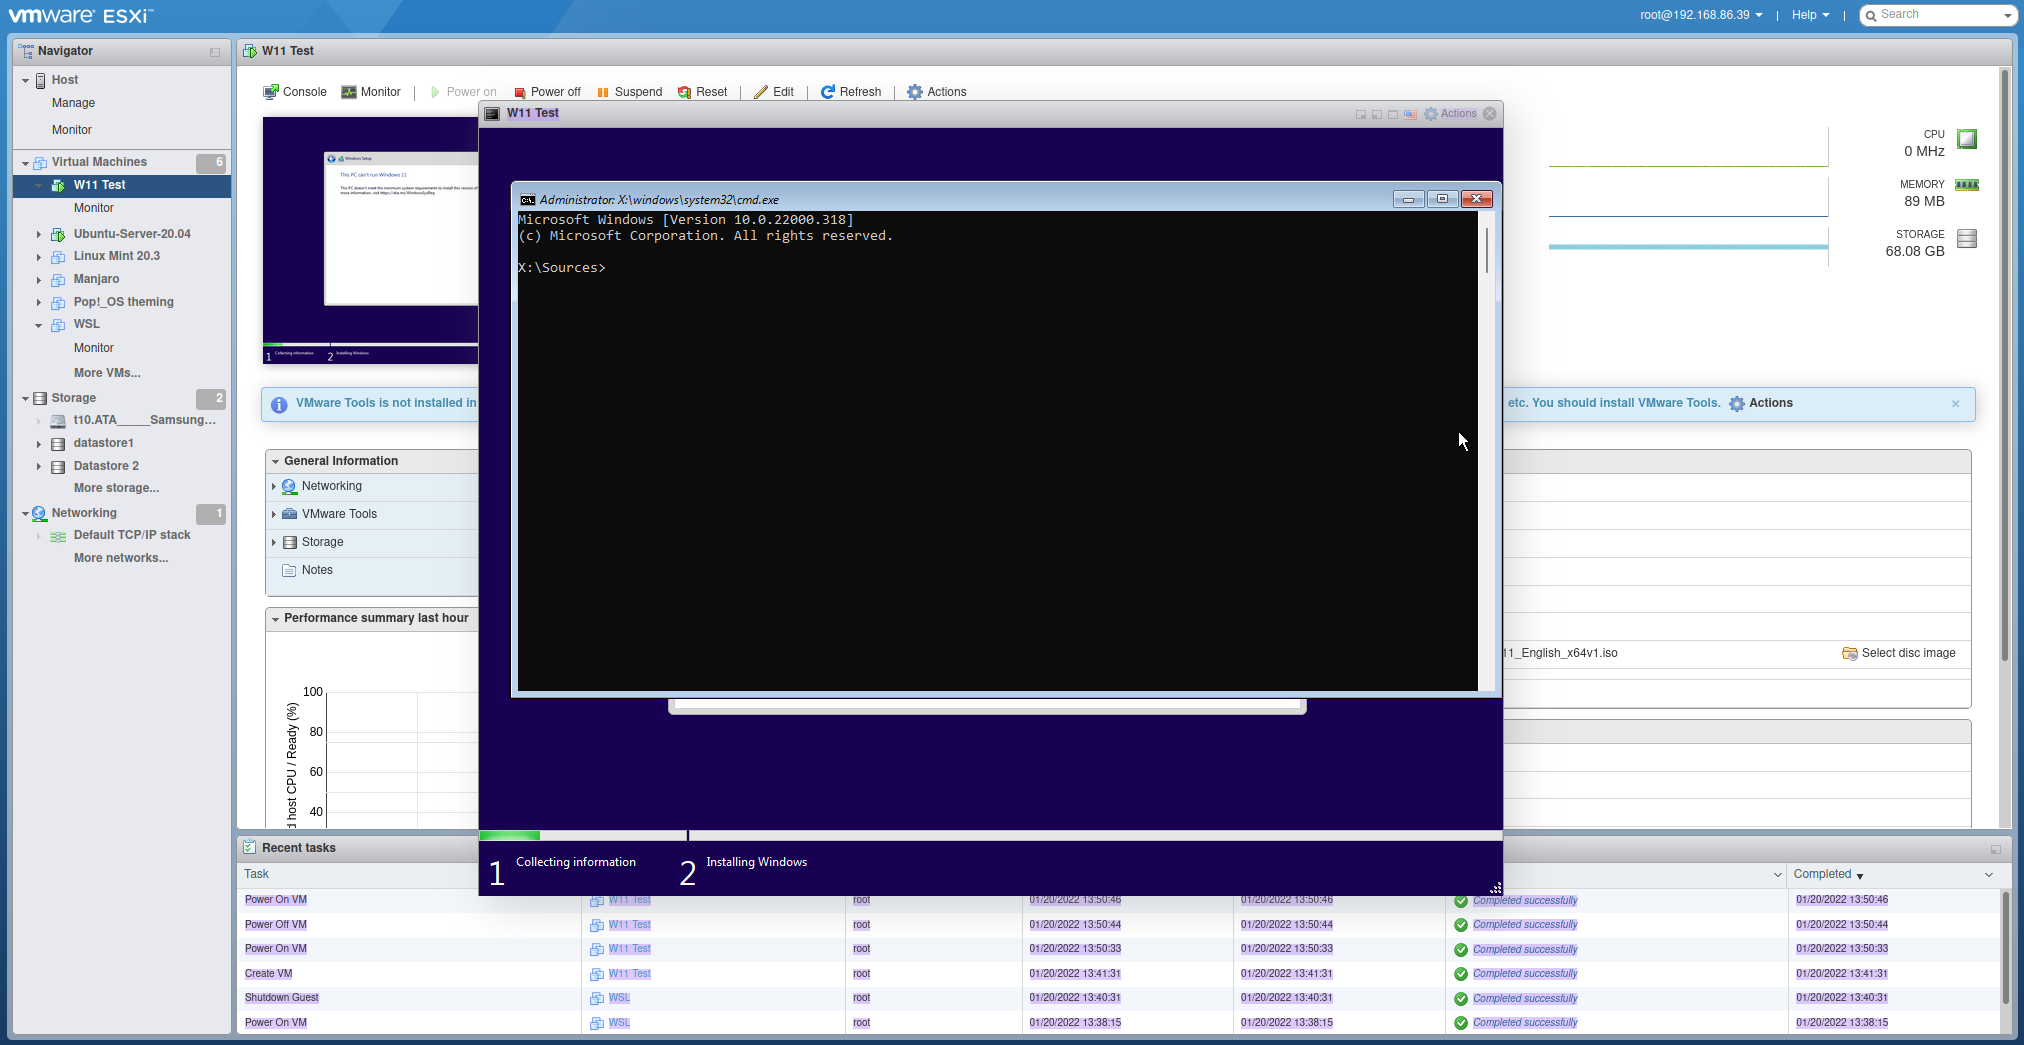
- Hit Shift + F10 on your keyboard to open Command Prompt.
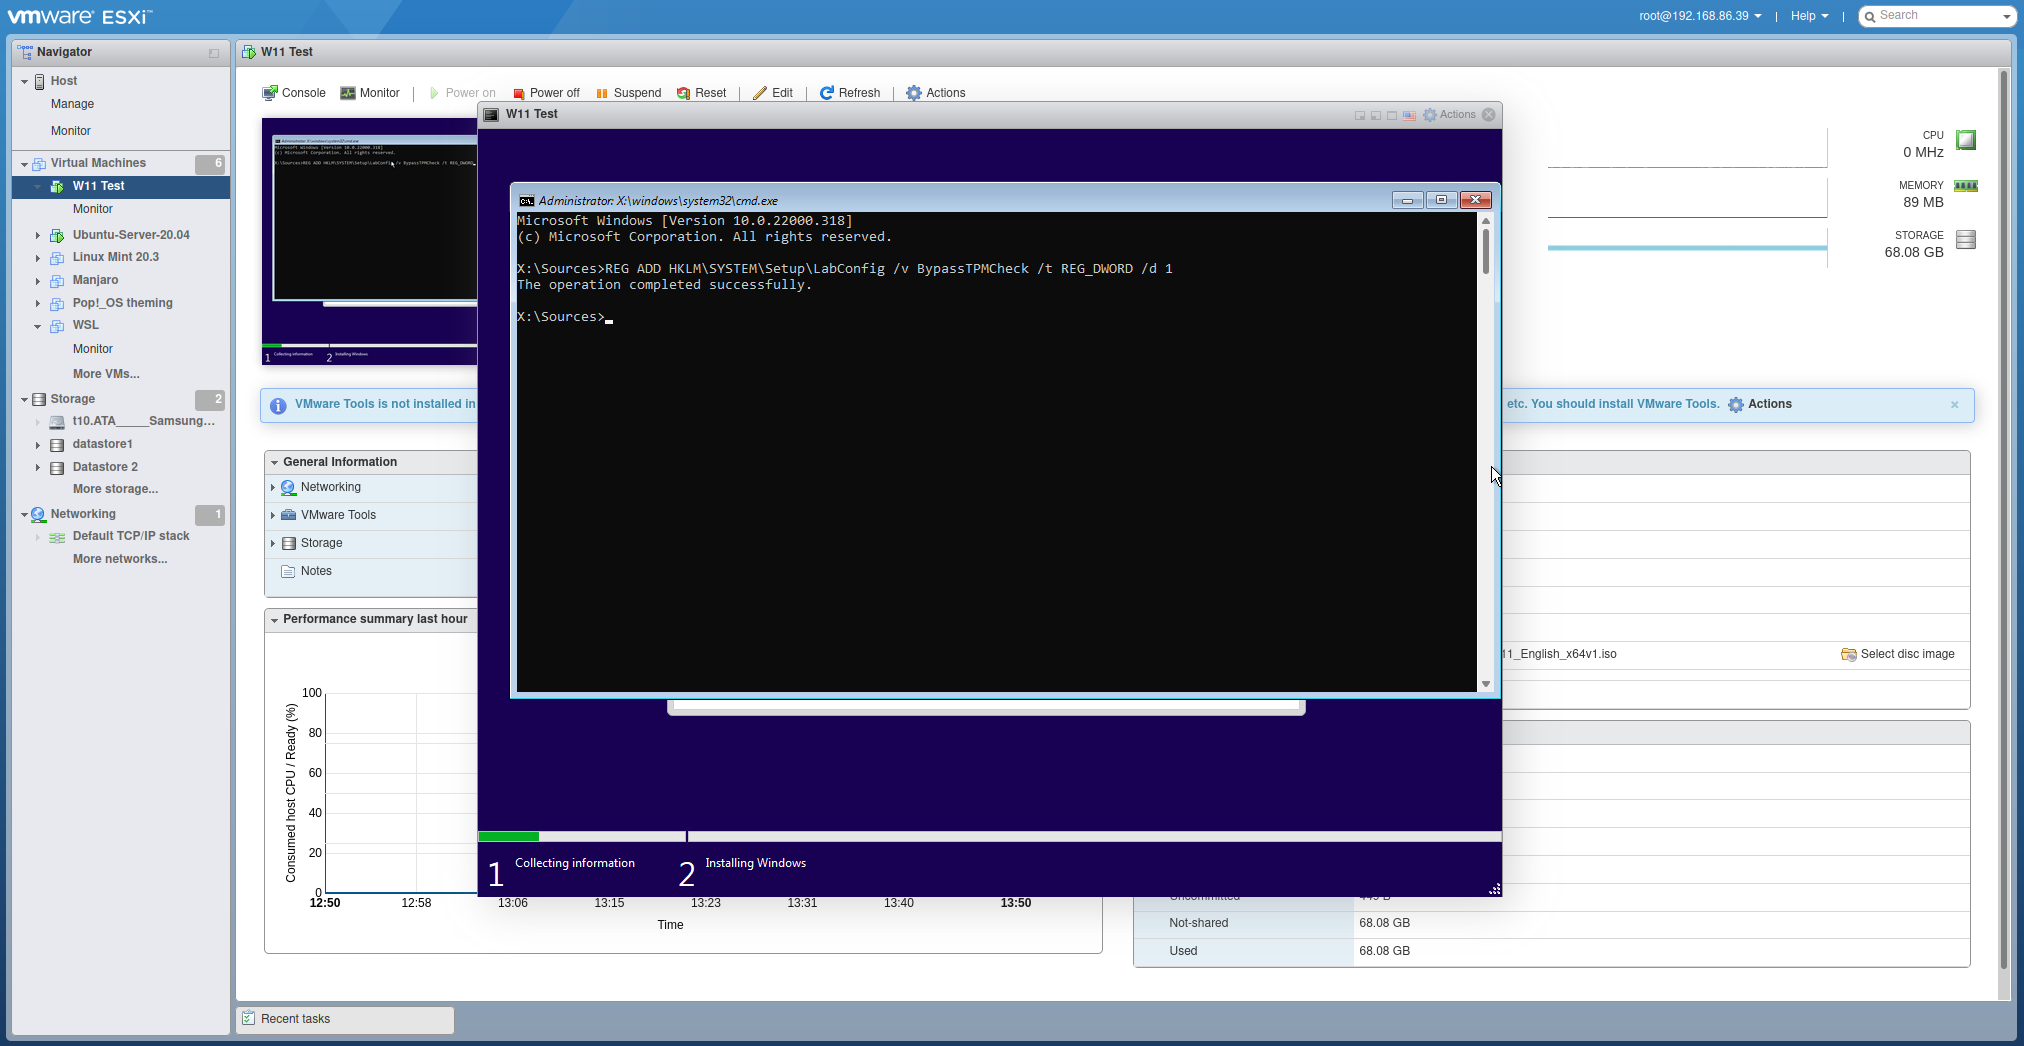
- Enter the following command:
REG ADD HKLM\SYSTEM\Setup\LabConfig /v BypassTPMCheck /t REG_DWORD /d 1 - When you see the operation completed message, close the Command Prompt.
- Go back one step in the installation process.
- Now proceed as normal.
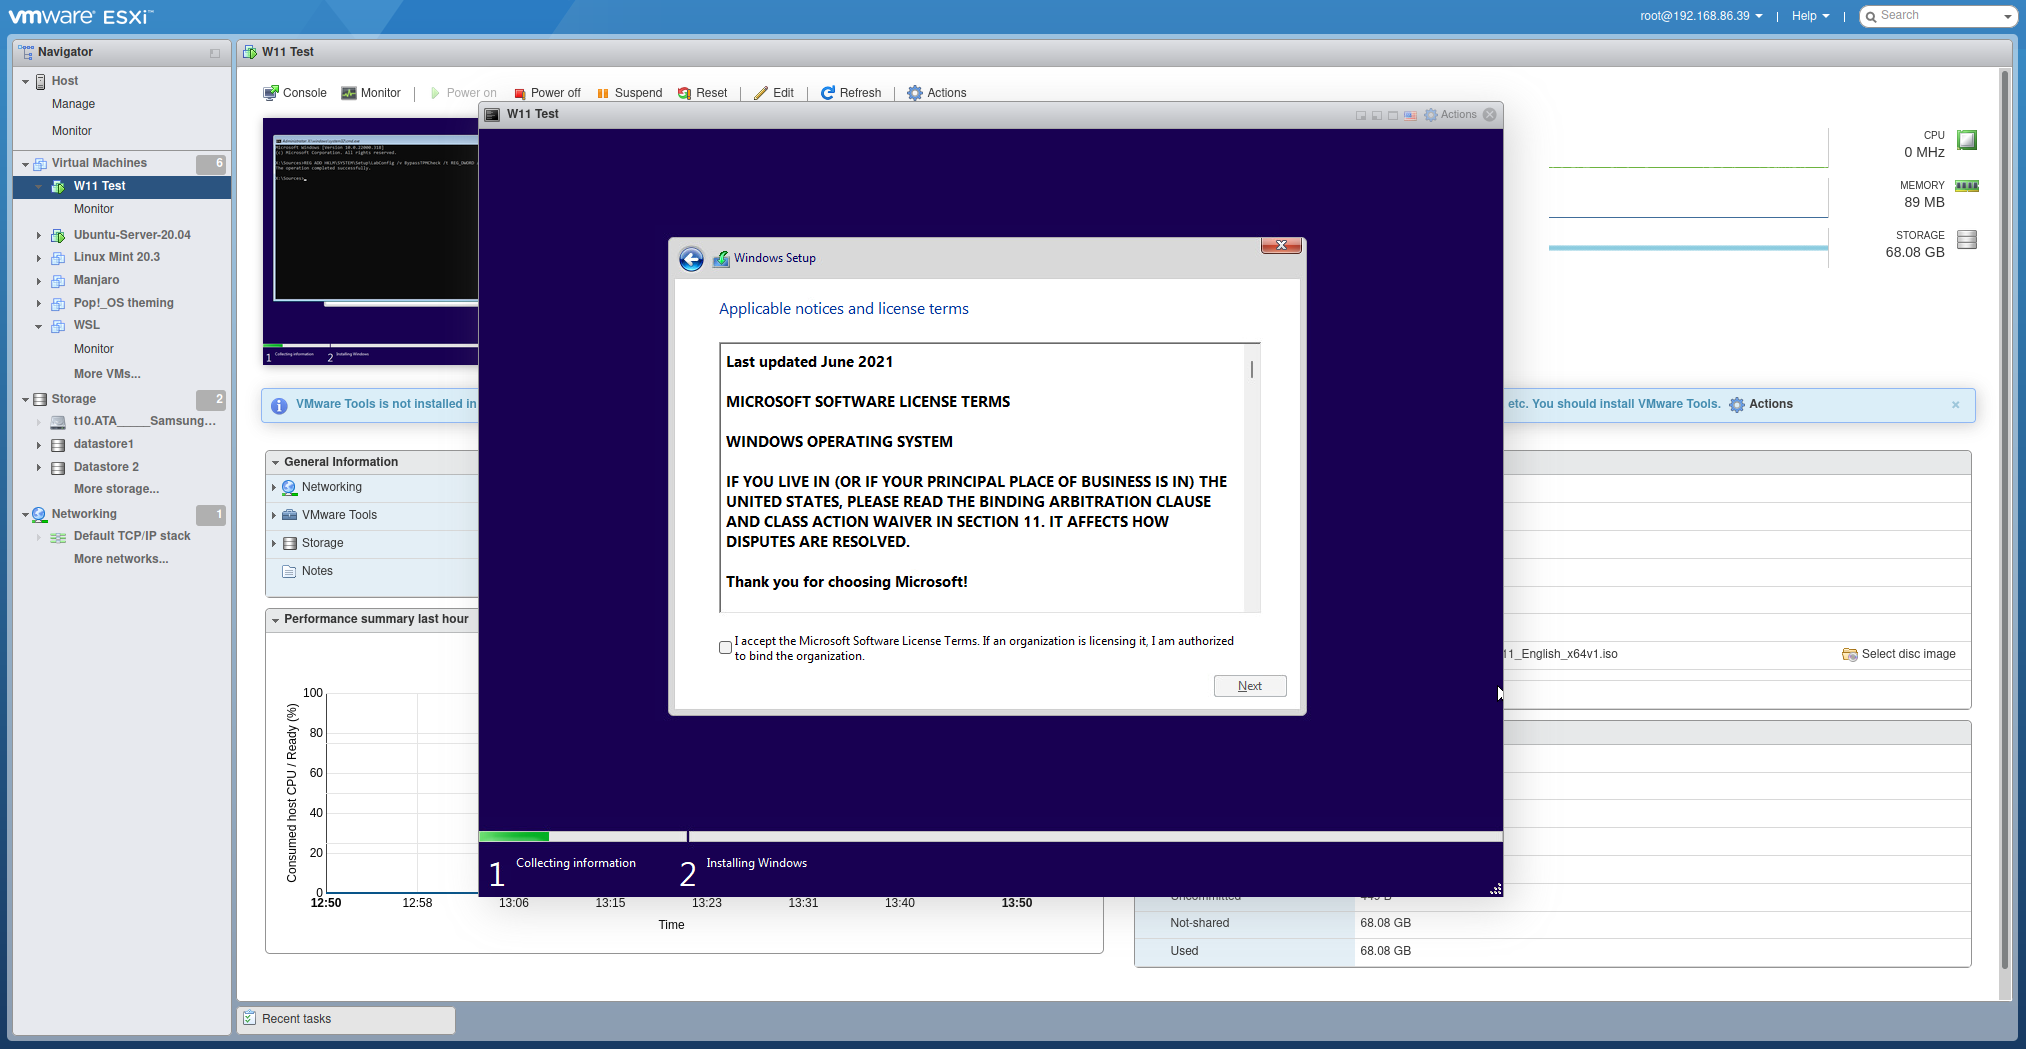
Now, as you continue with the installation you'll no longer see a warning that your PC can't run Windows 11 and everything will continue as planned. If you'd prefer, you can type
regeditinto the Command Prompt to open the GUI Registry Editor to add the key detailed above, but simply typing that single line into the terminal is definitely the fastest way.
As an additional step, you may need to add one further registry key. If after doing the above you still get the error, open up the Command Prompt again and enter this command:
REG ADD HKLM\SYSTEM\Setup\LabConfig /v BypassSecureBootCheck /t REG_DWORD /d 1Some VM software, such as VMware used here, seem to handle secure boot requirements, but others, such as Virtualbox, do not. So you may need to also disable this.
That's all there is to it. Your Windows 11 VM will now install as normal with no warnings, and you can get onto some top-level virtualizing.

Richard Devine is the Managing Editor at Windows Central with over a decade of experience. A former Project Manager and long-term tech addict, he joined Mobile Nations in 2011 and has been found in the past on Android Central as well as Windows Central. Currently, you'll find him steering the site's coverage of all manner of PC hardware and reviews. Find him on Mastodon at mstdn.social/@richdevine
