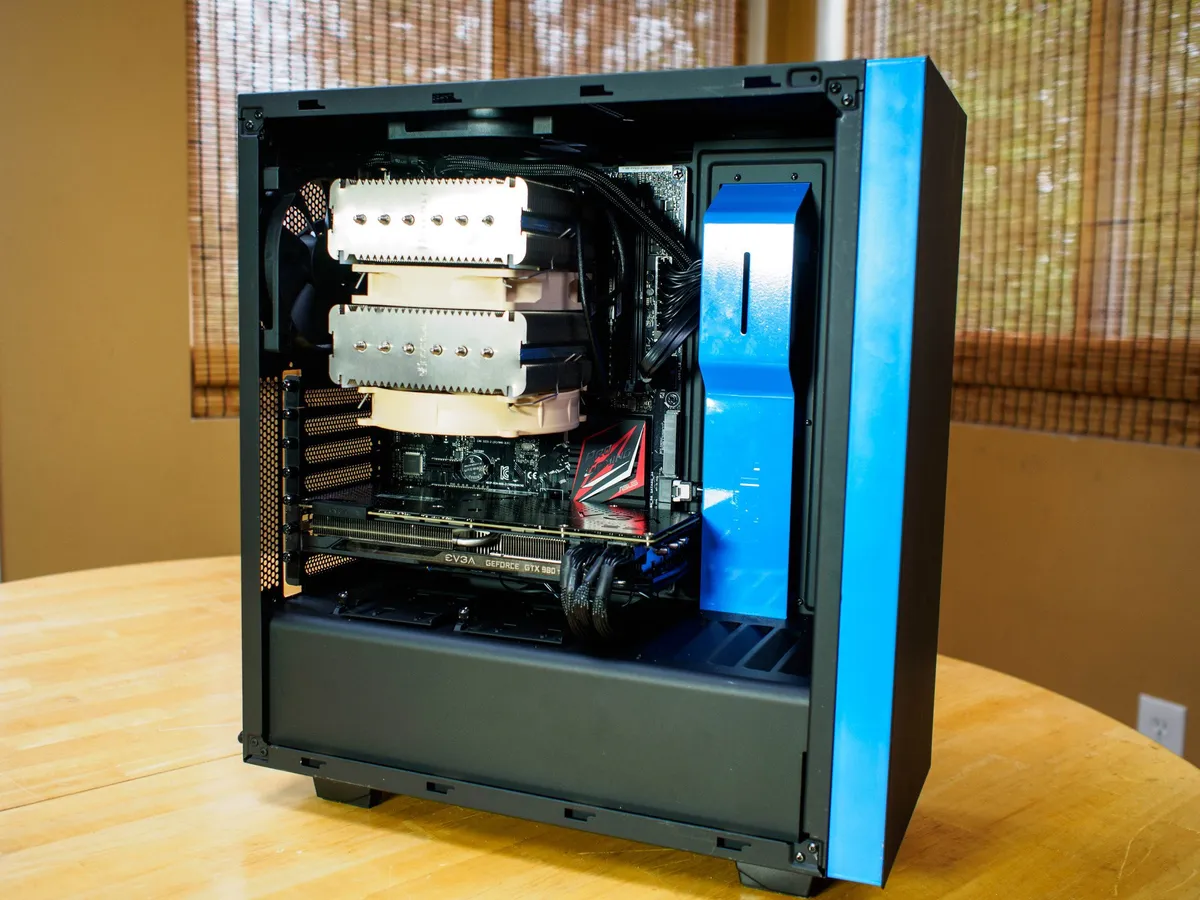
Any PC building veteran will tell you about the trials of trying to manage your PC cables in a way that's both visually appealing and functional. It's easy to plug in all the components, but those components need cables. And those cables need to go in every direction without turning into a high-tech rat's nest. Here's how to wrangle your PC cables properly.
What you'll need first
- Cable ties
- Scissors or wire cutters
Getting started
Before you get into the actual cable management, the first step should be to formulate a good plan. Without one, you'll get overwhelmed with how many PC cables there are to actually manage. The best thing to do is write down, draw out, and think about the components involved and how far their respective cables need to travel. You should also consider what cable management options your PC case has too.
It might help you to start with power cables to things like each hard drive or SSD, your motherboard, and your graphics card. Think about the size of each cable and which ones you'll need to cable tie to the case, and which ones you could cable tie together. Even if you're new to building a PC, having some visual idea to start with will go a long way. The worst thing that can happen is being surprised while already deep into routing all your cables.

How to manage your PC cables
Now that you have a game plan, here's how to start managing your cables.
- If you're building a PC fresh, plug in all of the components without any extra cables. If you're re-managing PC cables, then unplug everything and keep the cables organized and to the side.
- Take all of the large remaining cables and bend them away or set them aside. We want them out of the way for the next steps.
- Gather up the small cables from your fans, rear IO, and front panel connectors. Avoid the SATA cables for your hard drive and SSD for now.

- Take these cables and start routing them from or through the back of your case to catch the excess length so you can tie that up.

- Use cable ties to fasten the cables tightly and neatly to the back of the case. You can also loop them up and store them in unobtrusive pockets.

- Consider using cable sleeves if you're worried about exposed cables looking a little loose. Otherwise, don't be afraid to use cable ties to simply clean up their look.
- Now grab those big cables from your motherboard, graphics card, and power supply and start lining those up.

- Connect the ends of the big cables to your components and push the rest through to the back of the case. Keep the front connections snug so it's tidy and clean.

- For the graphics card in particular, you might consider plugging the cables in so that it pulls it upward to prevent sagging.

- Take the SATA cables for your hard drive and SSDs and pull those through the back of your case. Make use of their flat shape to slide them neatly around the other cables.

- Review your work and make sure everything is secured and connected correctly. You don't want any cables making hard bends or interfering with fans.

You only get to manage your PC cables once. Thankfully, some cases come with great options for that. But regardless of what you have, if you follow this guide, your PC cables should be neatly tucked away so that if you do ever need to get back into your PC, you won't have to battle a nest of wires. Even if you're not worried about aesthetics, clean cable management is important, especially when cleaning your PC down the line.
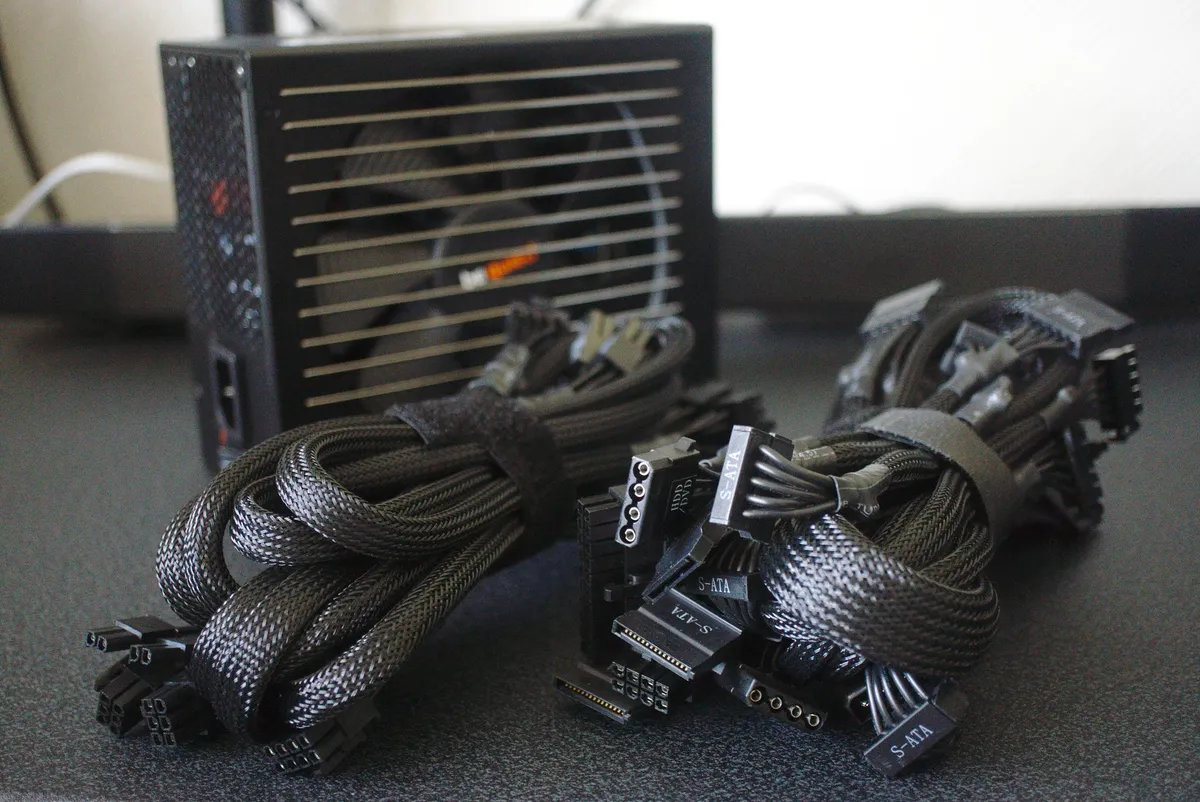
Our top equipment picks
To properly manage your cables, you're definitely going to need a few things to make everything neat and tidy.

Cheap, black cable ties that will disappear in your case.
Cable ties are as essential to PC cable management as cheese to grilled cheese. They're cheap, reliable, and invisible when used right.
Cable ties are the obvious pick for managing your PC cables. Not only are they cheap, so you don't have to worry about messing up a few, they're also effectively invisible for anyone worried about aesthetics. PC cables need wrangling, and cable ties get the job done in the easiest way.

Simple wire cutters for snipping off excess cable ties.
You'll need wire cutters to snip off any extra cable tie length or re-do any cable ties you messed up. Scissors work too, but wire cutters are easier to handle.
Wire cutters will perform the same basic function as scissors, but they're easier to handle. It might be worth investing in some so that it's easier to squeeze your hand into fairly hard-to-reach spots in your PC case.
Additional Equipment
If you're very worried about aesthetics or want more control over where your PC cables go, you should consider picking these up.

Velcro Stick Back Tape Roll ($7 at Amazon)
Velcro tape is useful for fan controllers and is less permanent than tape or cable ties if you want to move things around.
Alex Tech Cable Sleeve ($10 at Amazon)
Cable sleeves help a lot when it comes to making your wires have a unified, clean look.