


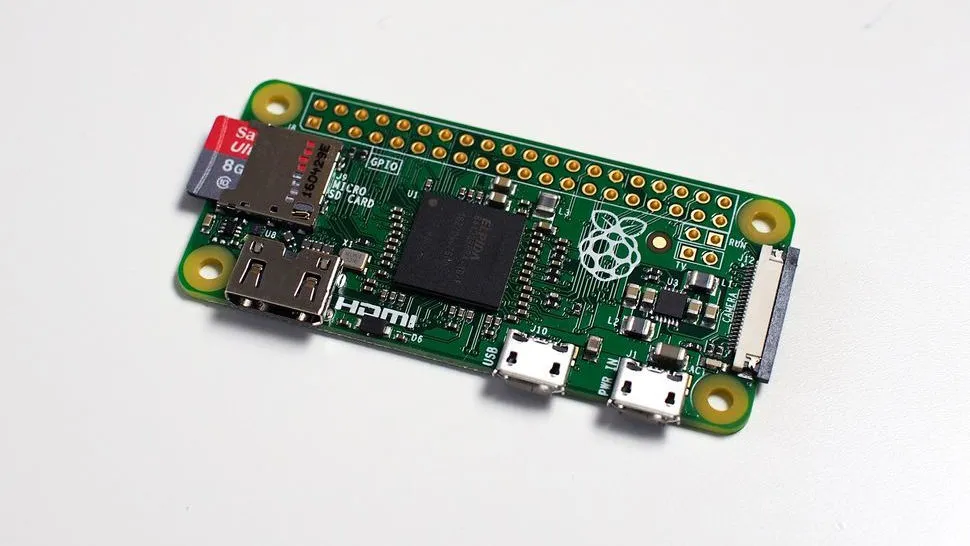
The Raspberry Pi continues to be one of the most impressive computers on the planet. Not for its power, but for the possibilities. This thing can be programmed with a mind-boggling number of purposes, from small servers and NAS to controlling your home automation or even just a small Linux computer to learn some new IT skills.
Whatever you want to use it for, it's a pretty solid bet that you'll need a static IP for it. Unless you're using something like the Raspberry Pi 400 hooked up to a display, you're likely using it headless. That is, without a GUI. In the case of the Raspberry Pi Zero, this is even more likely.
Setting a static IP for your Pi is really easy, and doesn't have to involve your home router which sometimes can mess it up anyway. Case in point, the last Raspberry Pi I set up on my home network I assigned a static IP in the router settings, and it just sort of forgot about it and assigned a totally different IP to my ad blocker so it didn't actually work properly. That's why you should follow these steps and set it up on the Pi itself for the best results.

Setting up your Raspberry Pi

This guide assumes that your Raspberry Pi is already set up and you've flashed it with the Raspberry Pi OS already. If you haven't and need a helping hand, we have a guide on setting up a headless Raspberry Pi using nothing but your Windows PC.
Before you can set a static IP for your Raspberry Pi you will need to know what IP address it's currently on. At this point, the quickest method is probably to log into your router's software and grab it there, especially if you're doing a headless setup. You'll need the IP address to connect over SSH and do the rest.
With the IP address in hand, open a terminal (WSL or PowerShell is fine), and connect with the following command:
ssh pi@YourIPaddressAccept the fingerprint by typing yes and hitting enter. If this is the first boot you'll need to log in with the default password, which is raspberry. It's a good idea to change this, but for the purposes of what we're doing here you don't need to and can just carry on with the next step.
How to set a static IP on your Raspberry Pi
To set the static IP properly you'll need a few things. The first is the current IP of the Pi which you've already got, the next is your router's gateway IP and the current DNS IP address. We can get these last two from the Raspberry Pi terminal.
Router gateway IP address
Enter this command into the terminal:
ip r | grep defaultNote down the first IP address given as this is the one you want.
Router DNS IP address
Again in the terminal, enter this command:
sudo nano resolv.confThis will open a file in the nano text editor and the IP address you're looking for is immediately after nameserver. Note this down and press Ctrl + X to close out.
Setting the static IP address

The final step is to set the static IP address for your Raspberry Pi. It involves appending some details to the end of a configuration file. You must make sure you either use the IP address already given to your Raspberry Pi or that you're using an address that is currently vacant.
To begin, enter this command:
sudo nano /etc/dhcpcd.confThis will open up the dhcpcd.conf file in the nano text editor. Use your cursor keys to navigate all the way to the bottom.
Make sure not to change any of the existing items in this file, then at the bottom, you'll be entering a block of text following this template:
interface NETWORKTYPEstatic ip_address=YOURSTATICIP/24static routers=YOURROUTERIPstatic domain_name_servers=YOURDNSIPYou'll replace the terms in capitals with the following:
- NETWORKTYPE — Type either
eth0for ethernet orwlan0for wireless. - YOURSTATICIP — Whatever static IP you want to assign to the Raspberry Pi.
- YOURROUTERIP — The gateway IP address acquired above.
- YOURDNSIP — The DNS IP address acquired above.
When finished you'll end up with something that looks a bit like this:
interface wlan0static ip_address=192.168.86.250/24static routers=192.168.86.1static domain_name_servers=192.168.86.1Now, press Ctrl + X followed by Y to close and save the file. You'll need to reboot the Pi for the changes to take effect, which you can do with this command.
sudo rebootGive it a minute to reboot, reconnect over SSH, and then use this command.
hostname -IThis will confirm the IP address matches what you set above. It should match, and now your Raspberry Pi should retain this IP any time it boots. Ensure you don't assign anything to this IP address, either manually or through your router settings, and you should be good to go!

