Shadow of the Tomb Raider: Temple of the Sun Challenge Tomb guide
Don't let the Temple of the Sun get the best of you.
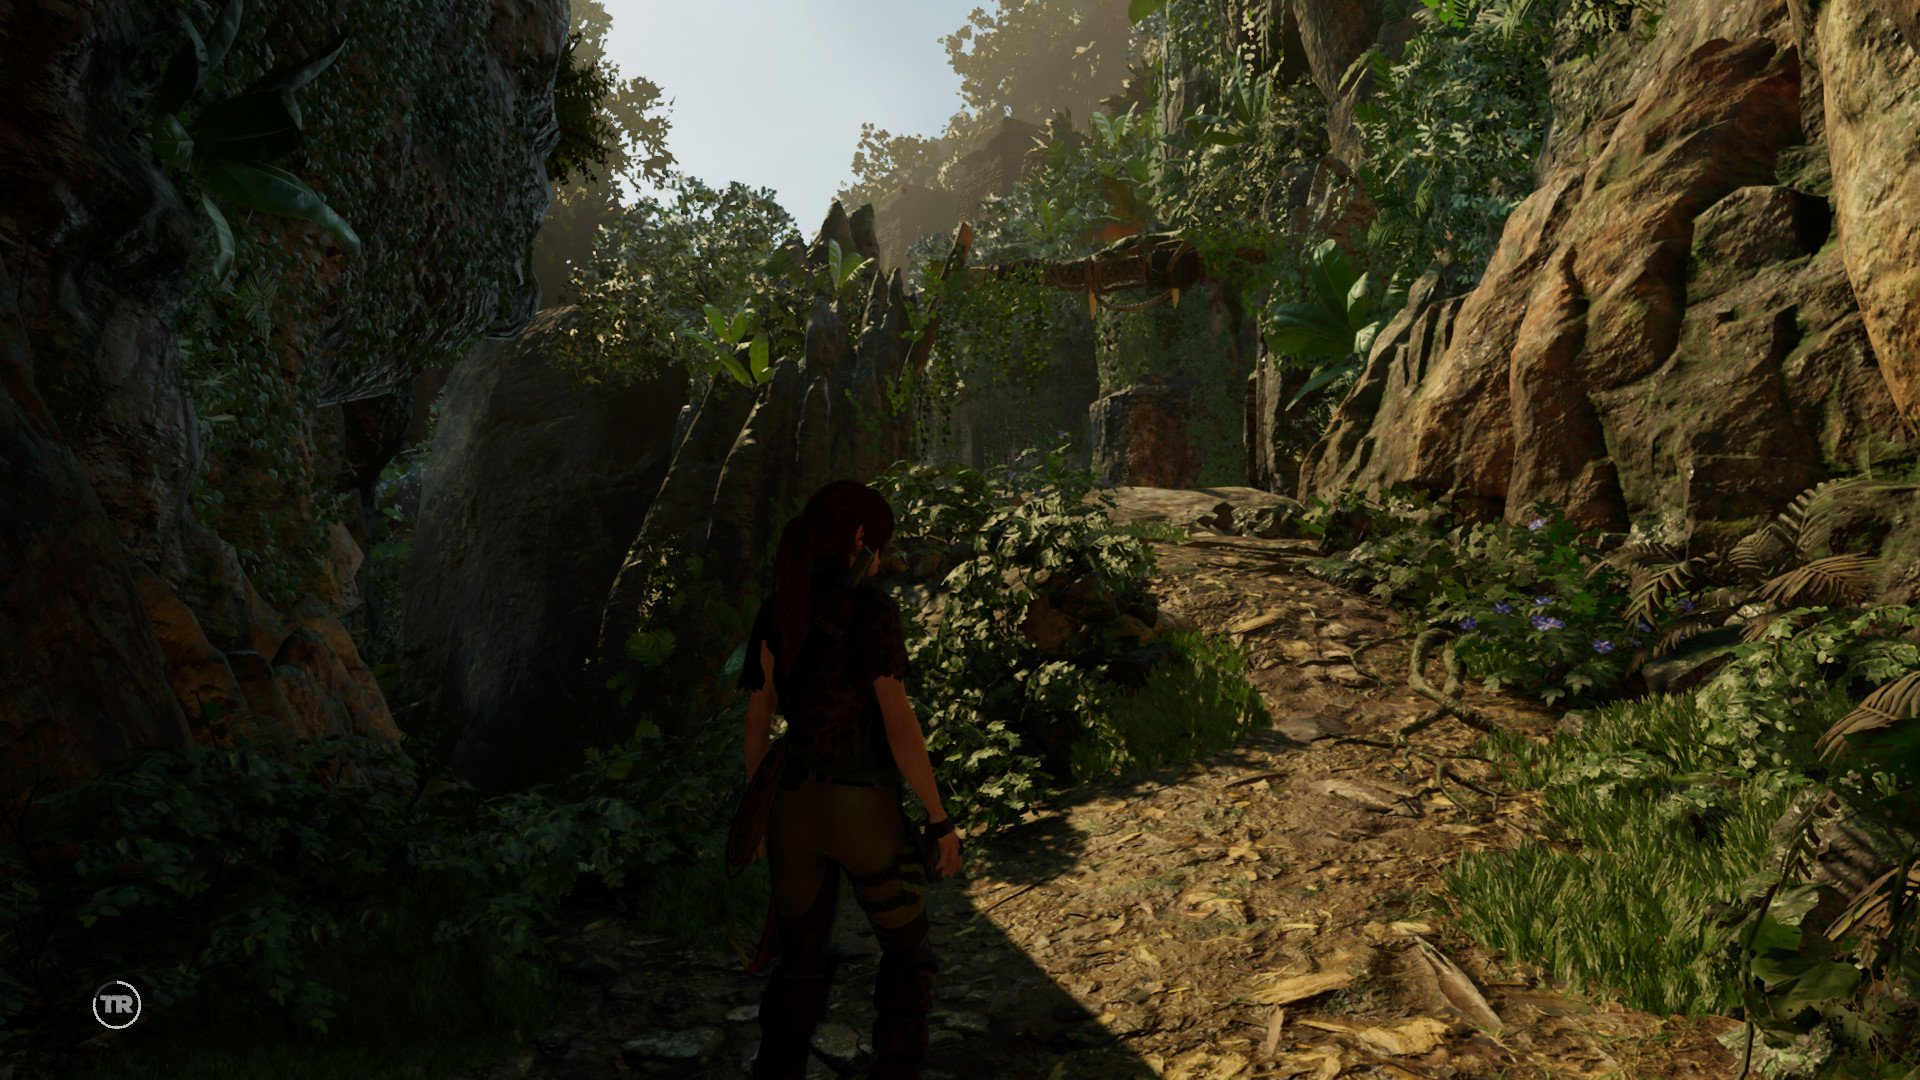
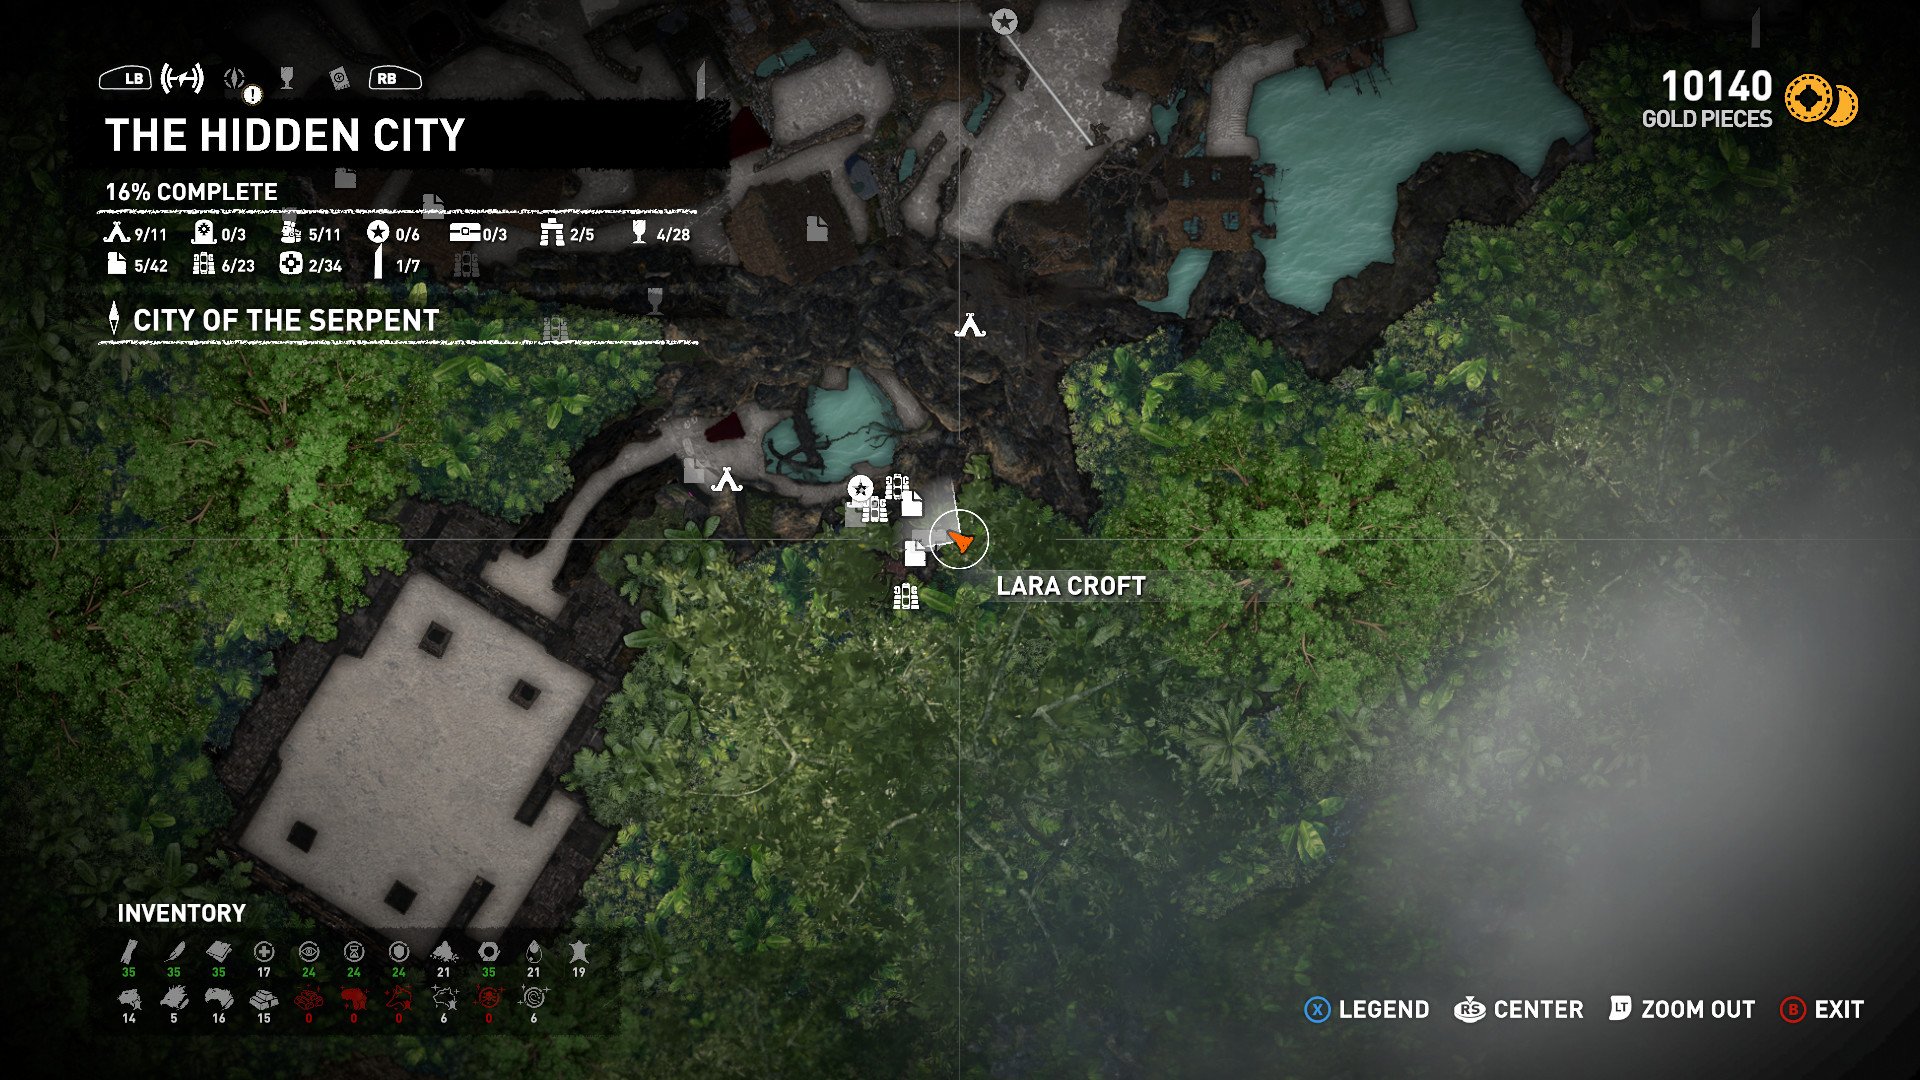
This next tomb is one of three that you'll find once you reach The Hidden City of Paititi, near the southern end hidden behind a large cavern.
Our complete list of guides on how to solve every tomb in Shadow of the Tomb Raider
How to complete the Temple of the Sun Challenge Tomb
The following steps will guide you through the aforementioned Challenge Tomb in Shadow of the Tomb Raider.
Article continues belowNote: Use your survival instinct while standing next to a mirror in the main puzzle chamber in order to hear which number it is, one through four.
- Squeeze through rocks and enter the tomb.
- Use your grapple-swing to reach the rock wall ahead.
- Continue following where the ledges lead you until you reach a final rock wall you'll need to rappel down.
- Swing toward your left to grab the next ledge.
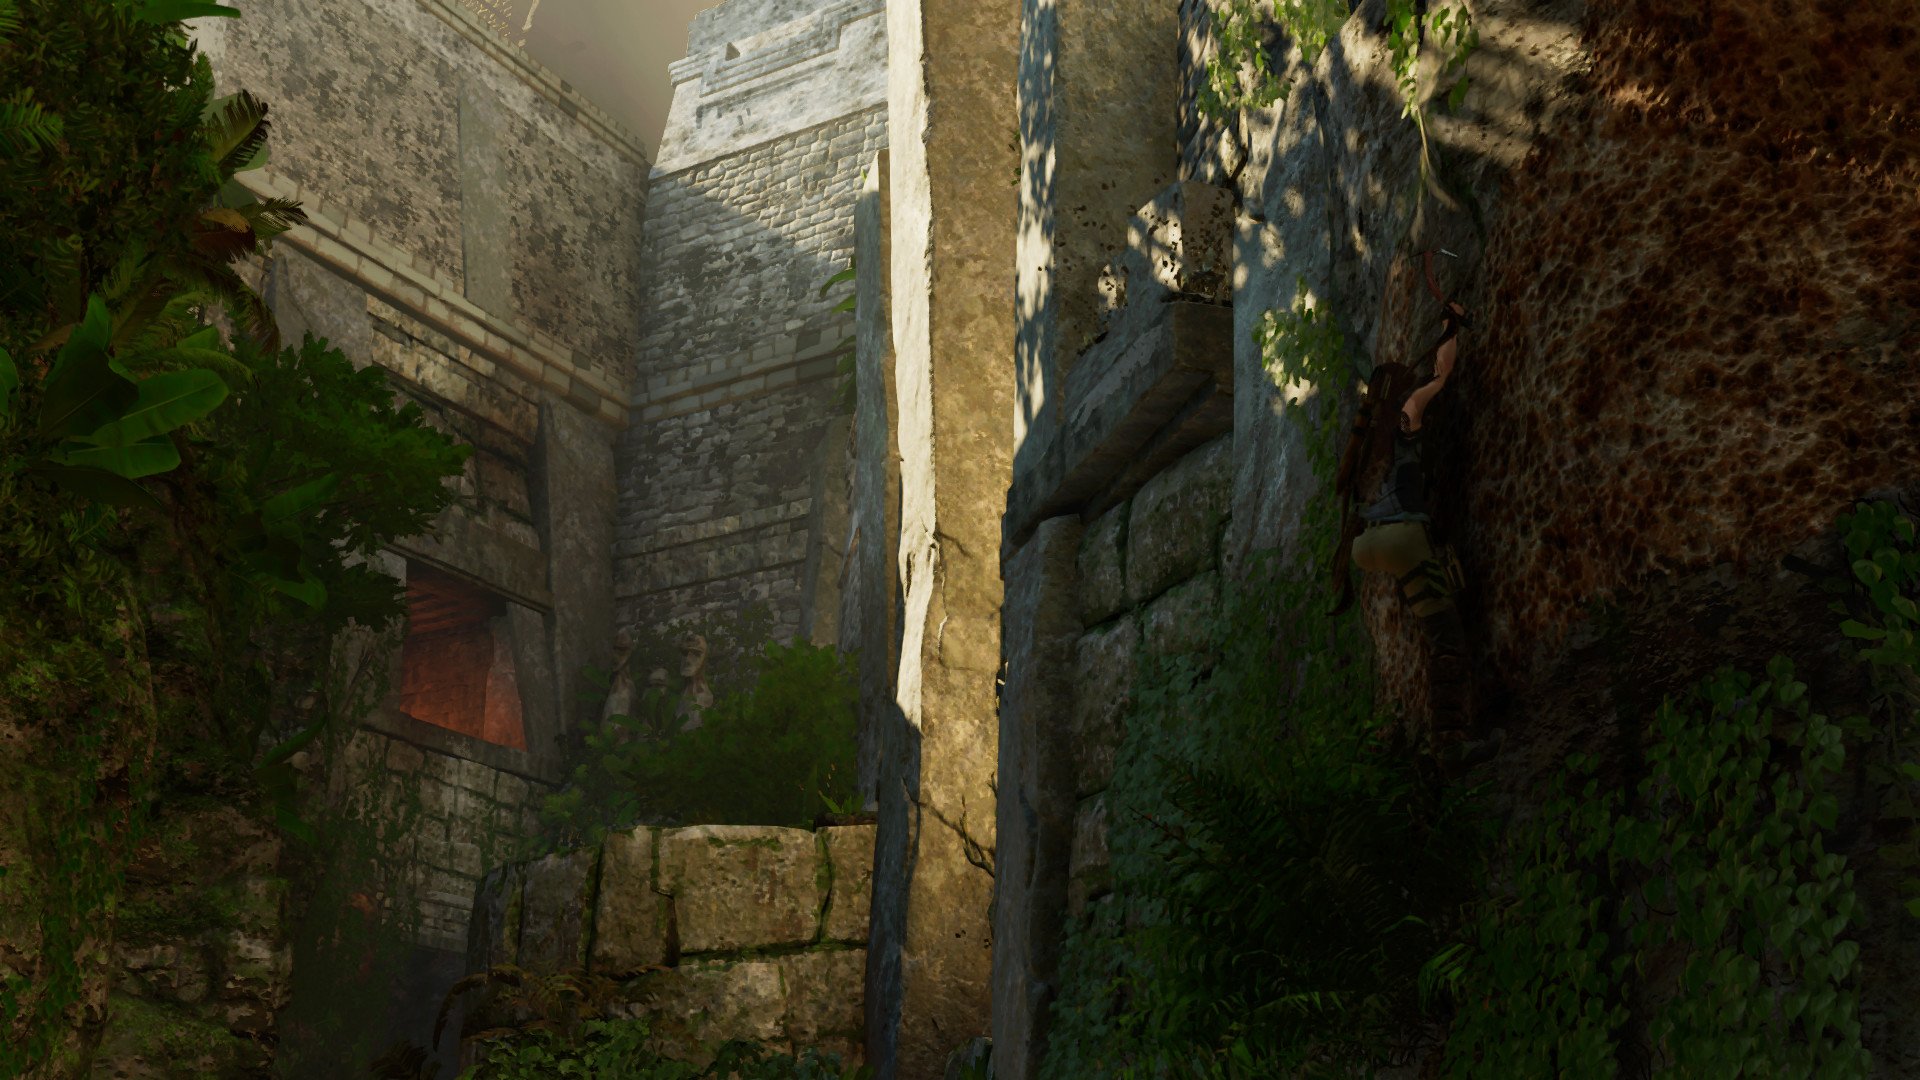
- Climb the rock wall to the top and jump to the ledge to your left, making your way to the ground in front of the temple entrance.
- Once in the temple, you'll immediately notice two statues with fire to light the room.
- Do not go down the path leading to your right.
- Instead, climb up the ladder between these two statues on the wall.
- Follow the path past a base camp toward the opening in the wall on the right side of the room.
- Jump across to the rock wall, rappelling down into the next chamber.
- Follow the path and crawl through the small space near the ground to enter the main puzzle chamber.
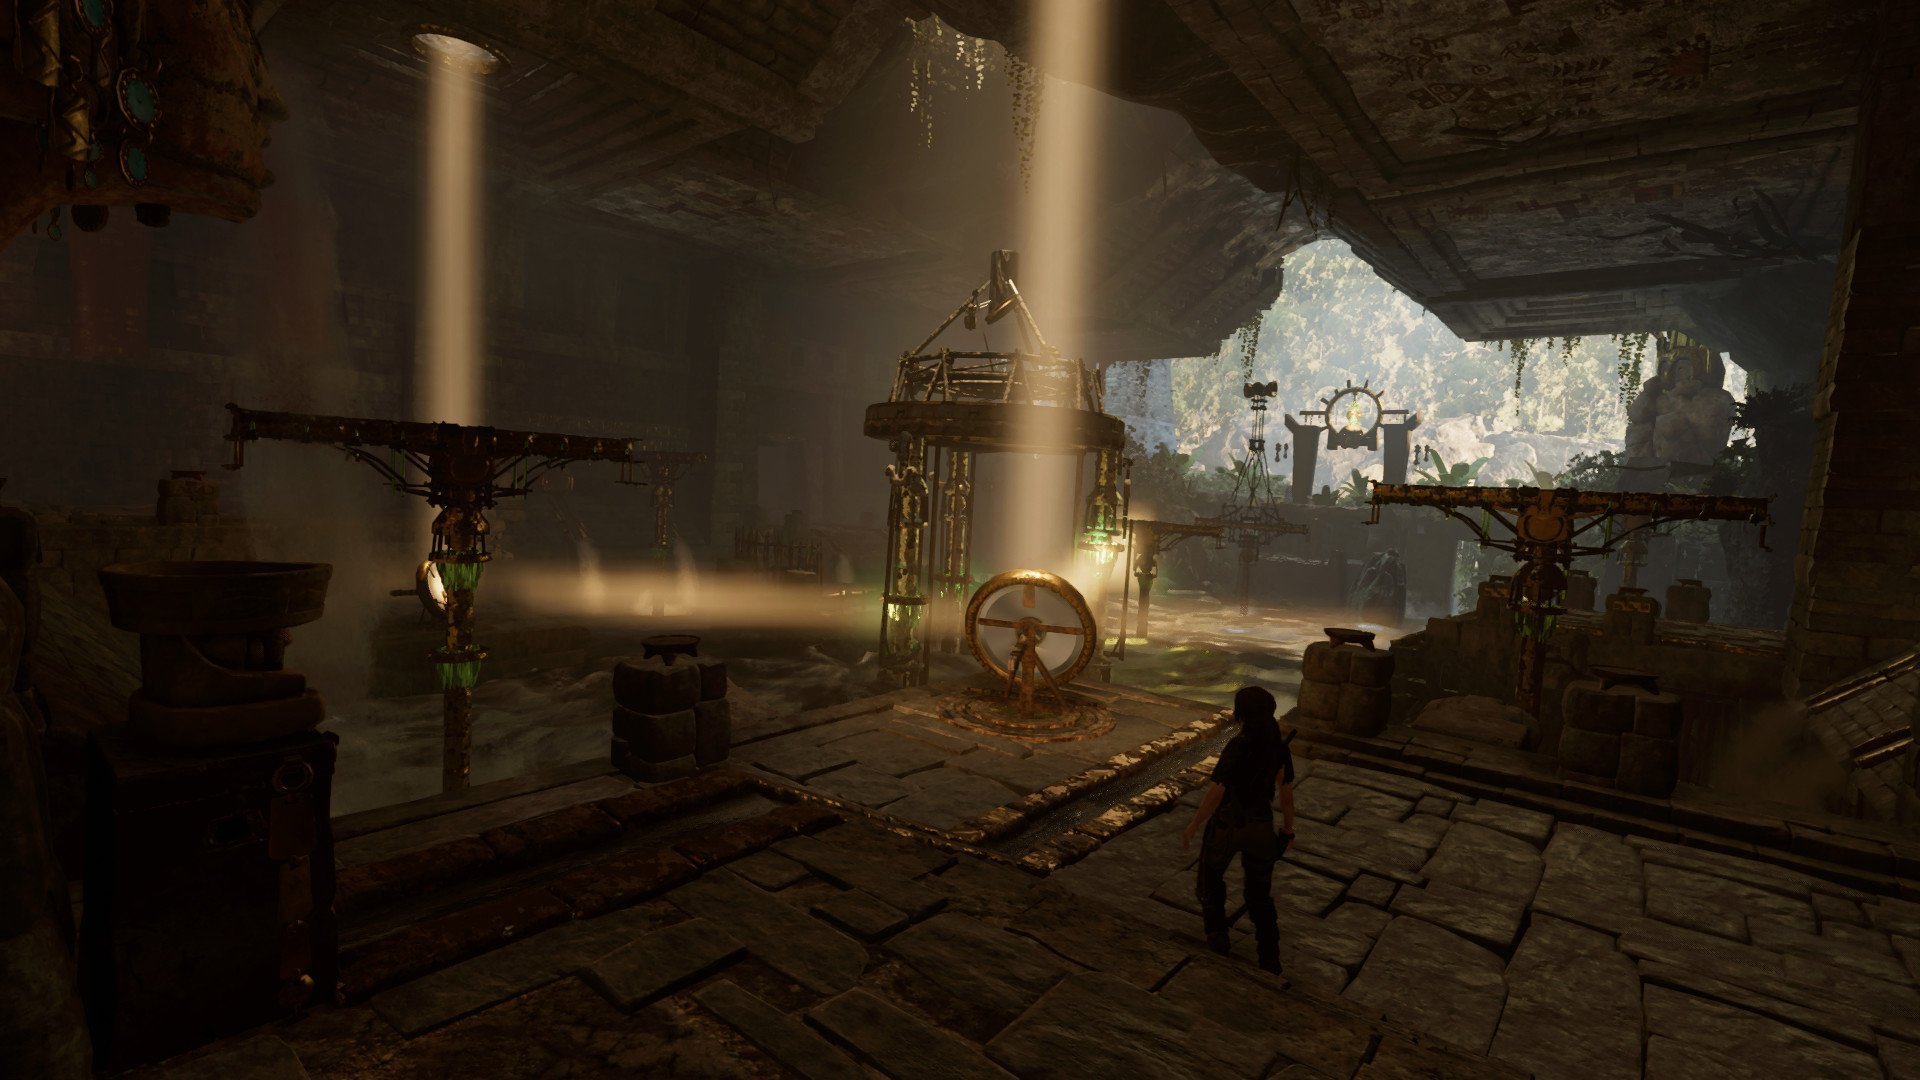
- There will be two beams directly in front of you and one to your left that you cannot cross yet.
- Turn the mirror on the left which is reflecting light until the light reaches the beam on your left. The beam will then turn in such a way that you can run across it.
- Walk across the beam to the left side of the chamber.
- Turn the next mirror (mirror two) so that the light reflects through the pillars of the center platform and hits the second beam on the right side of the room.
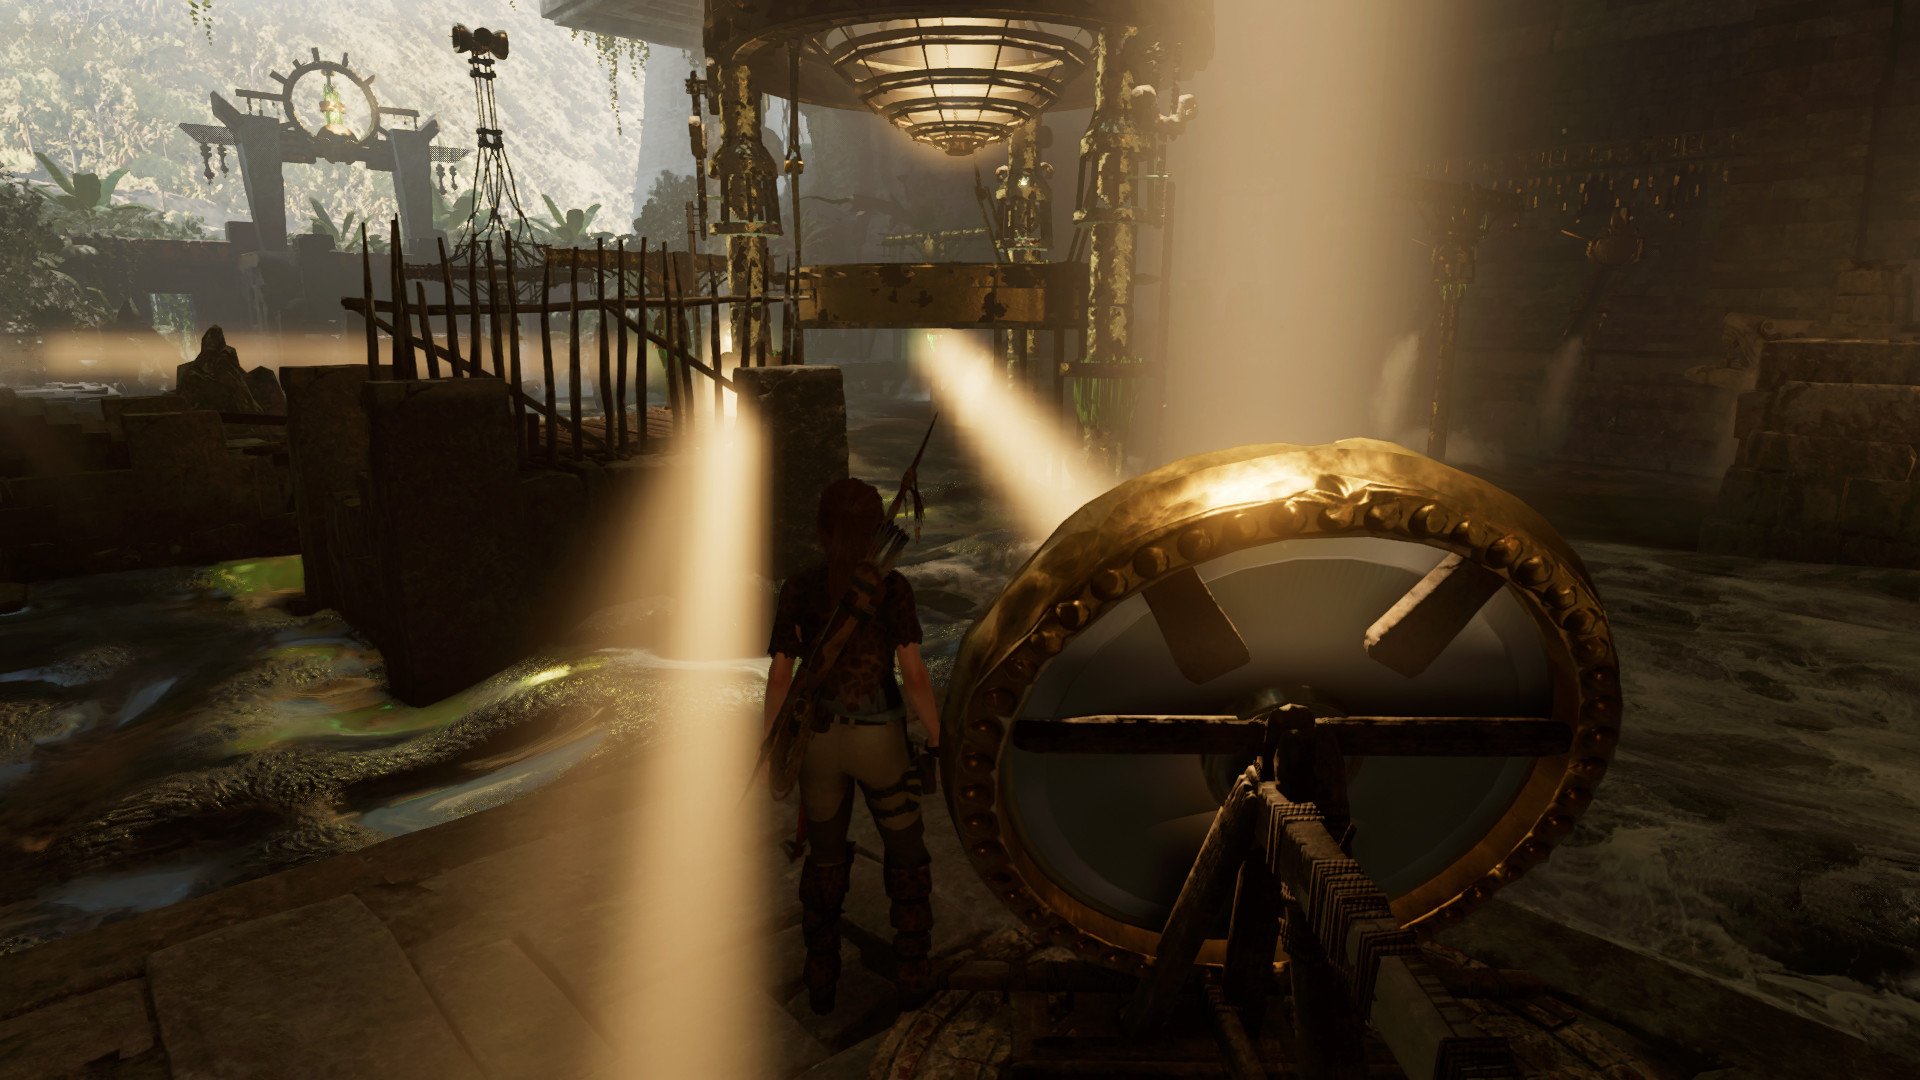
- Backtrack to the first mirror and turn it so that it hits the first beam that was directly in front of you when you entered the chamber.
- You'll now be able to follow the path on the right side of the room, crossing both beams to reach the platform on the other end with the third mirror.
- Turn the mirror so that the light reflects off of the beam next to the large center platform in the water. This will lower a section of the platform, blocking the second mirror's light and turning one of the beams you used to cross the water.
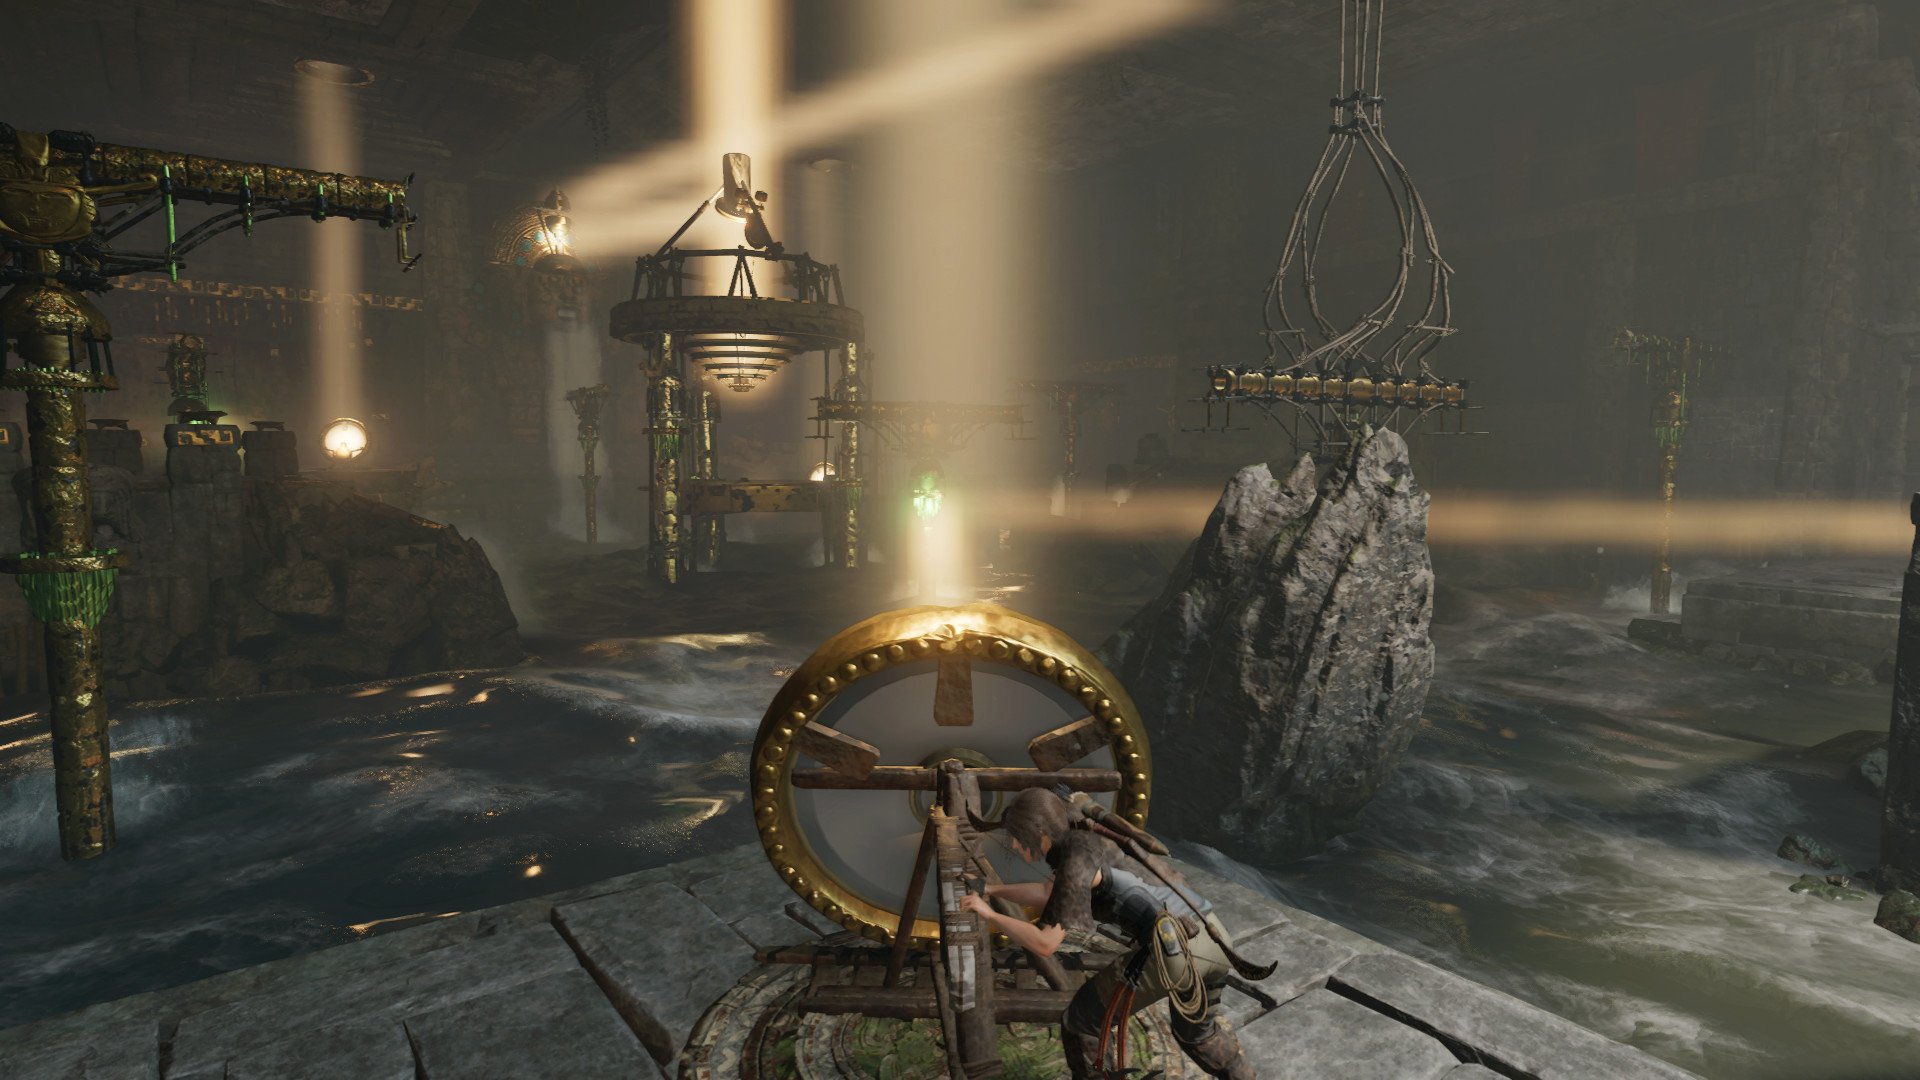
- You'll need to turn the third mirror again until it hits the beam that you just jumped off of.
- Use the rock wall on your left to get back onto the beam.
- Make your way back to the second mirror.
- Turn it so it strikes the beam to your right which is already being held in place with the first mirror.
- Run back to the first mirror.
- Turn it so that the light reflects through the pillars of the center platform and strikes the farthest beam on the left side of the room.
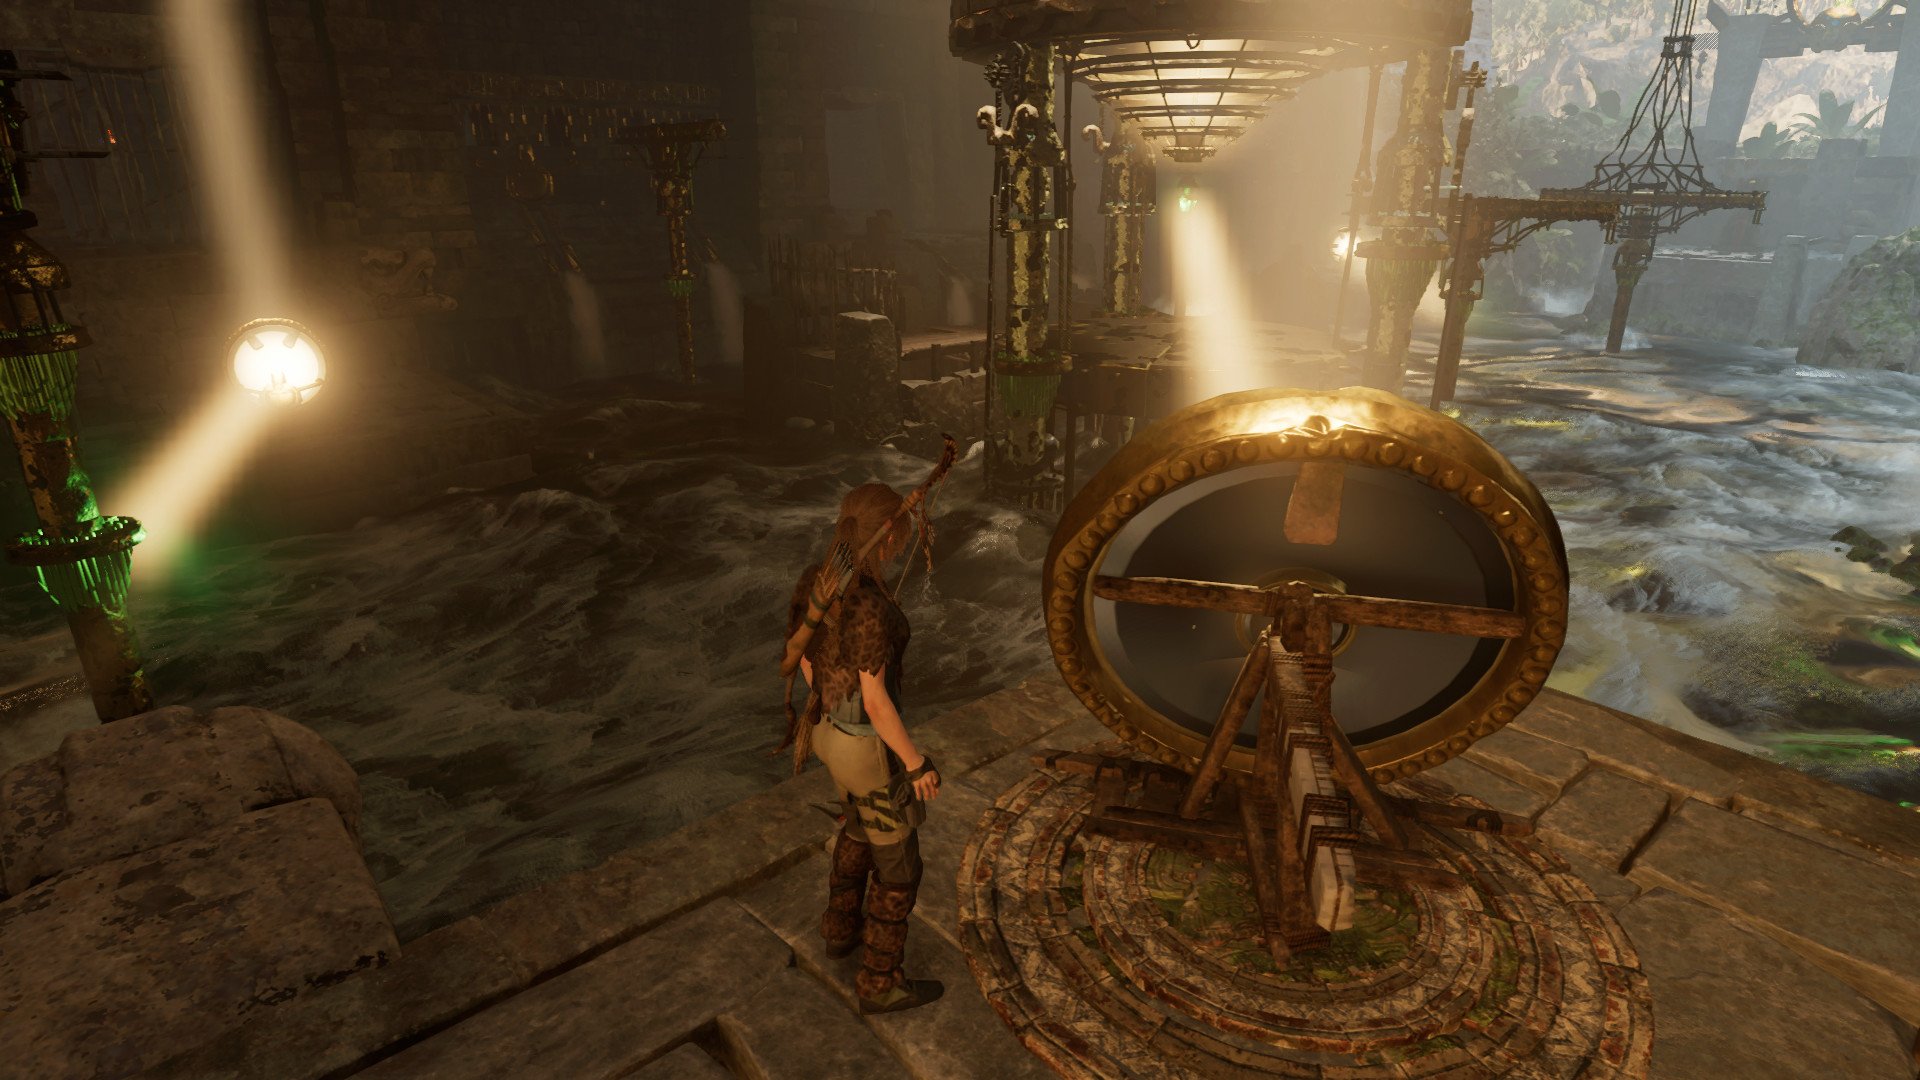
- Go back to mirror two again.
- Turn it so that the light reflects off the left beam closest to you.
- You will then be able to follow the path across the beams on the left side of the room to reach the fourth mirror.
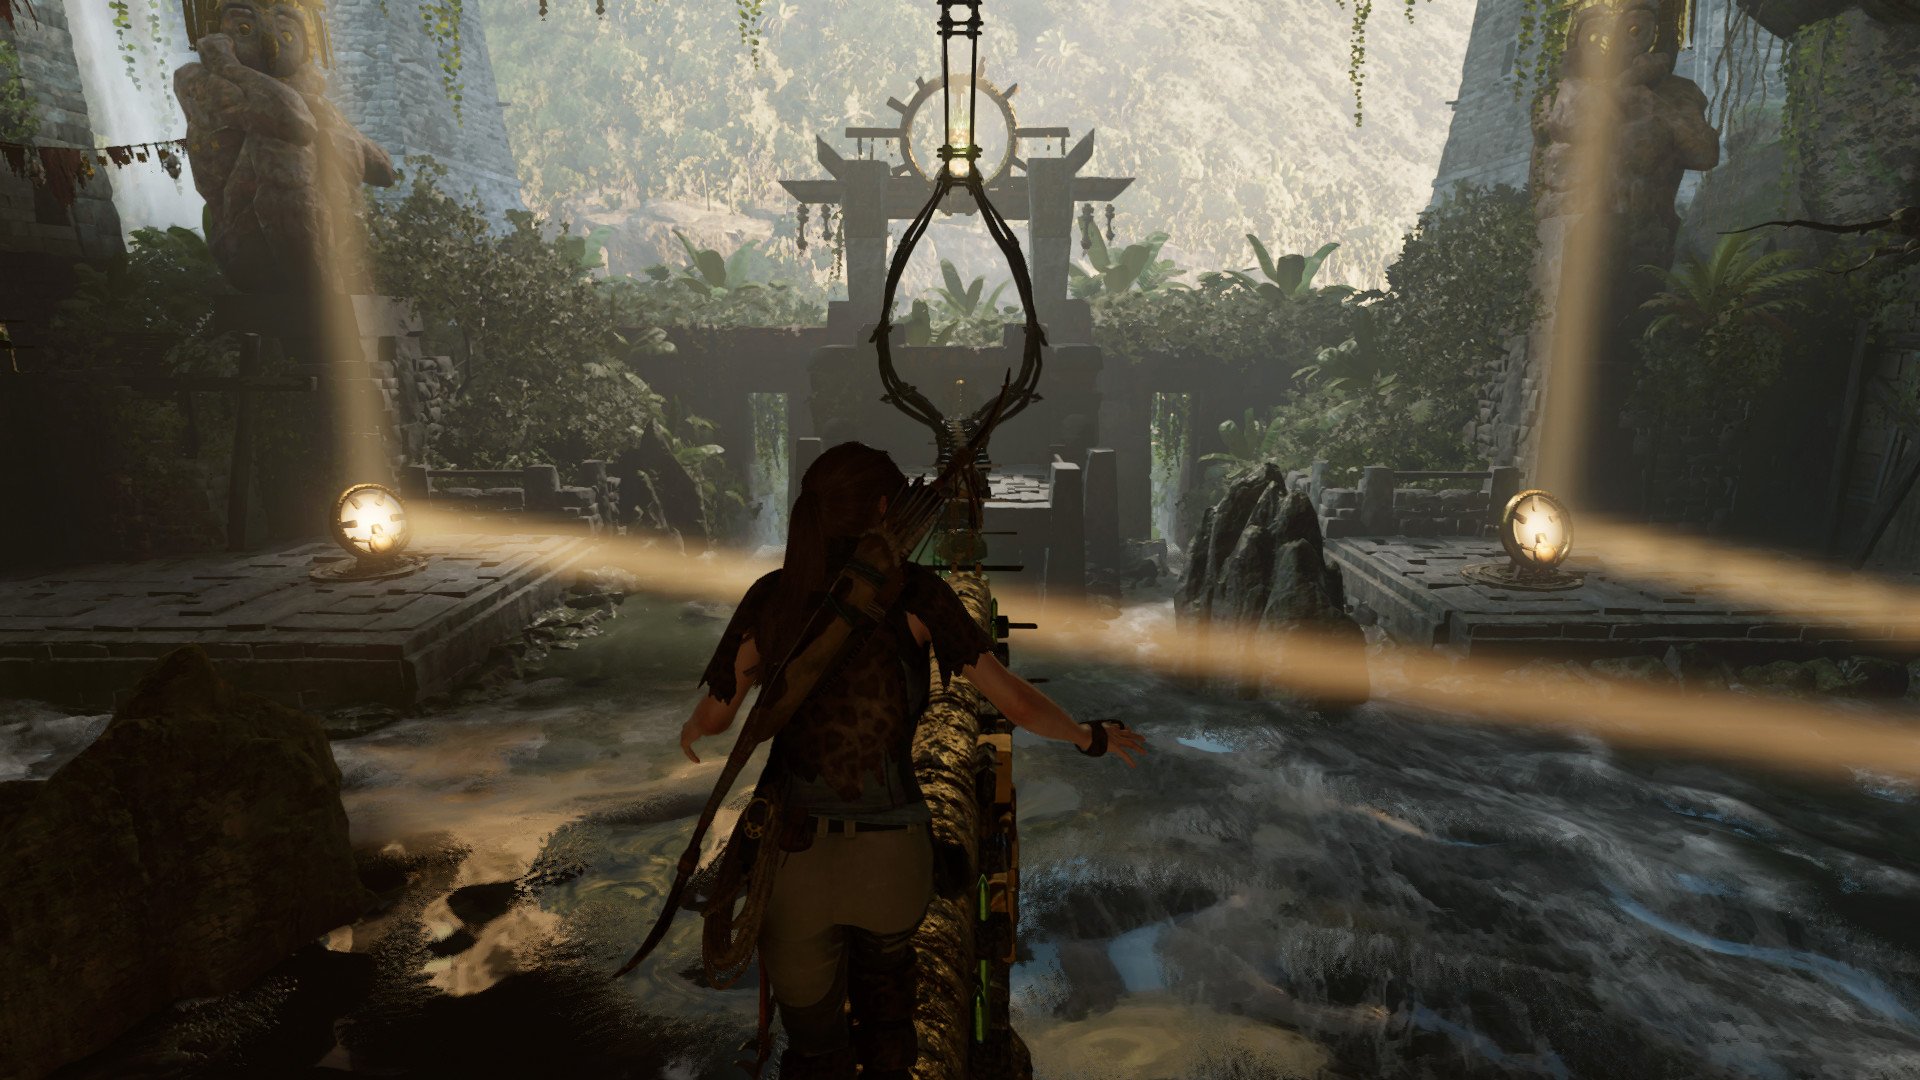
- Turn the fourth mirror so that the light hits the beam to your left with all of the vines attached to it.
- Make your way to the large center platform using the rock wall and beams you just came from.
- Once here, you can now run across both center beams and reach the end of the tomb.
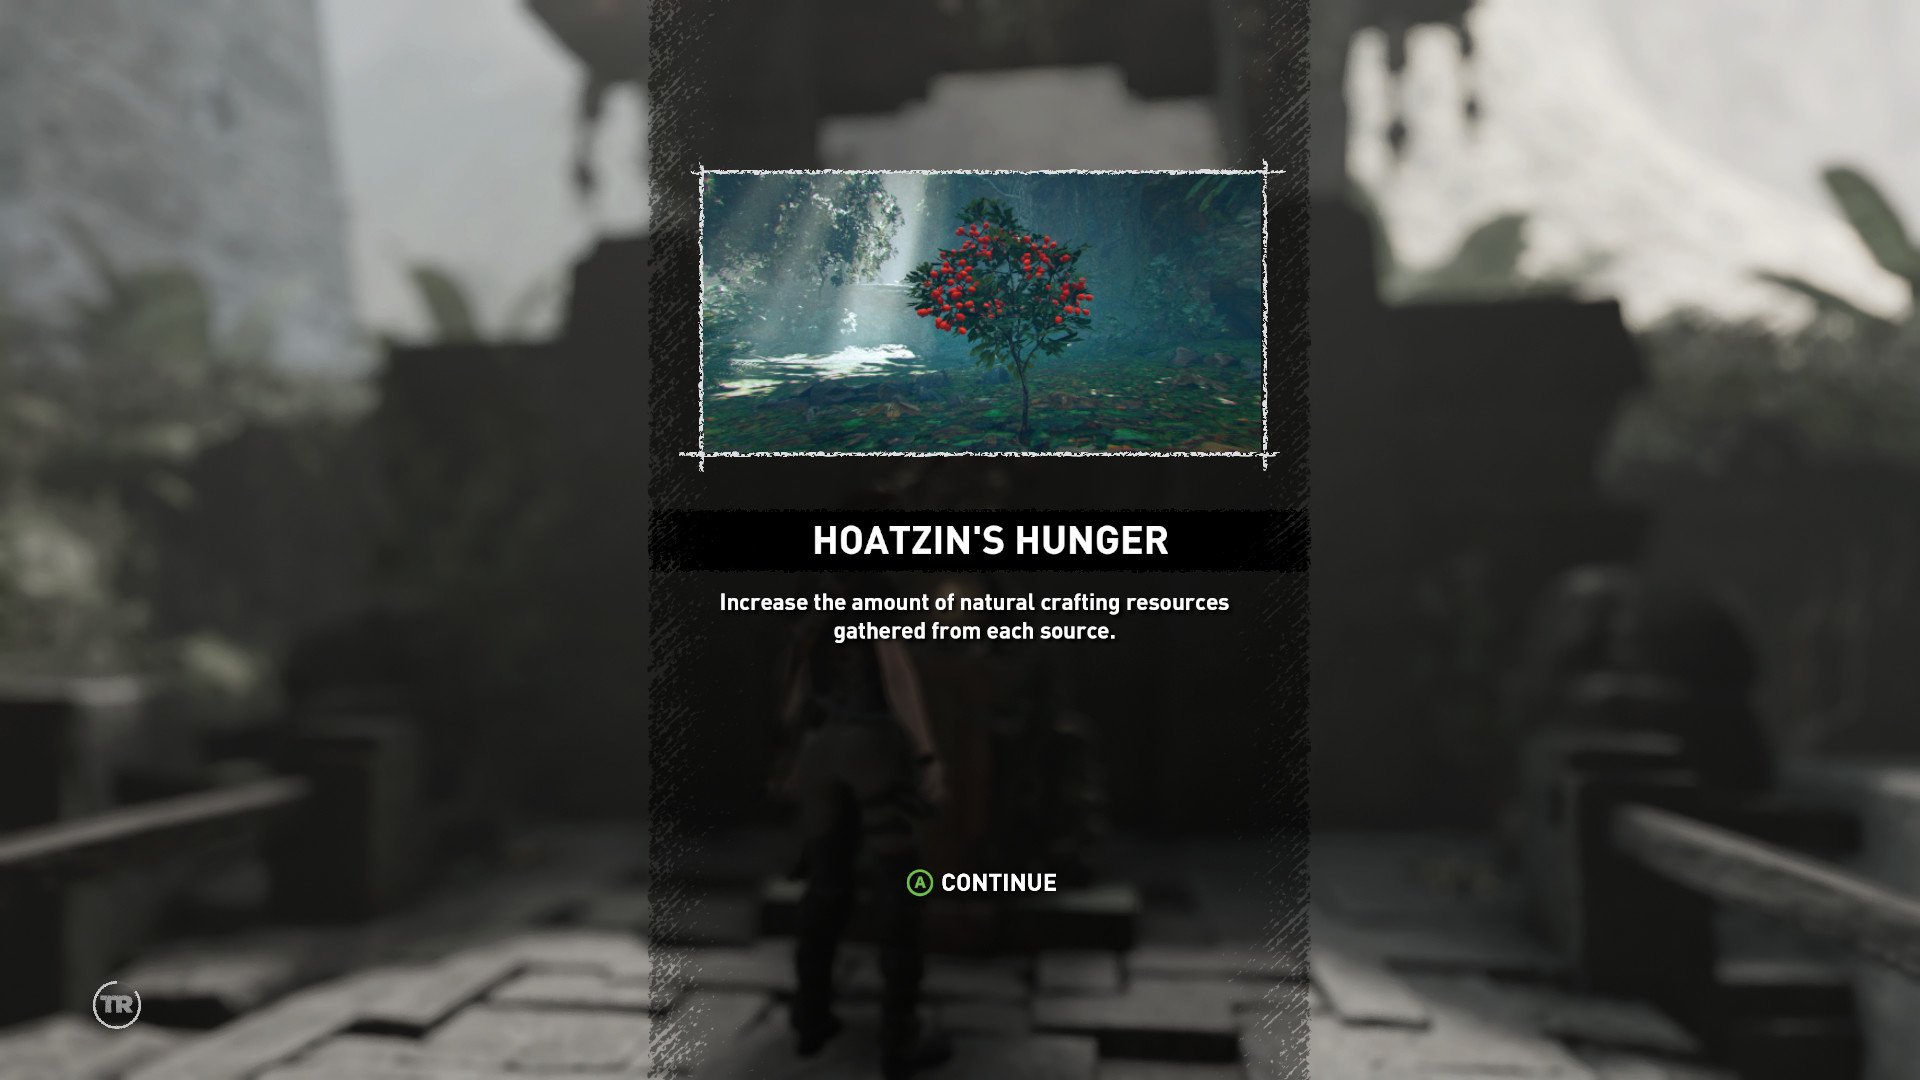
The tomb is now complete once you interact with the stone monolith. You'll unlock the Hoatzin's Hunger skill, which increases the amount of natural crafting resources gathered from each source.
Remember to check out our thoughts of the game in our review (spoiler free, of course) and why we consider it to be "Lara Croft's best adventure yet."
All the latest news, reviews, and guides for Windows and Xbox diehards.

Jennifer Locke is a Former Contributor for Windows Central, having played video games nearly her entire life, and is very happy Xbox is growing a stronger first-party portfolio. You can find her obsessing over Star Wars and other geeky things on Twitter @JenLocke95.

 Windows Central Insider


