
When it comes to mobile computing, there are usually three camps of people those who want (1) max battery (2) max performance (3) balanced between both. Today, we are going to focus on the second group, those who want to max out the Surface Book or Surface Pro 4.
The heart of this trick relies on increasing the integrated Intel HD 520 GPU from 'balanced' to 'max performance'. In real life terms, this means taking the HD 520 from 750 MHz to 1000 MHz and yes, it makes a difference. Here is our tutorial, which is also available in video format.
The problem
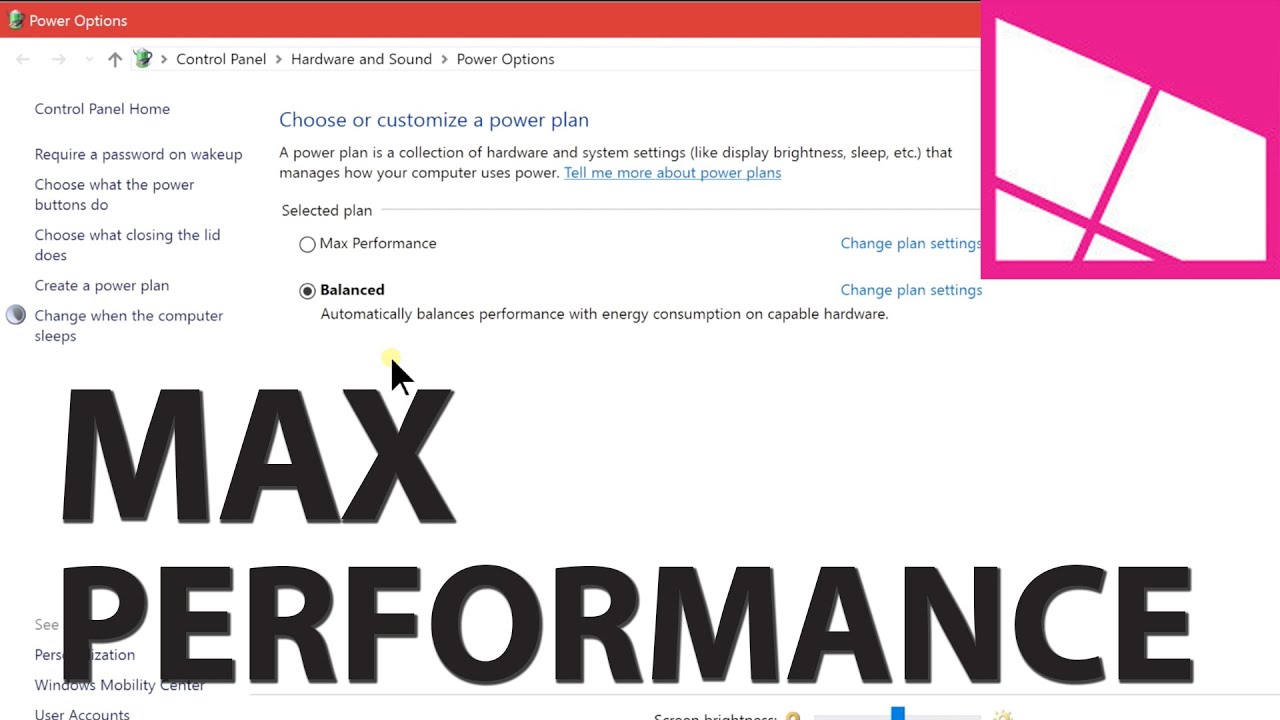
On all Surface devices, there is one unique drawback when compared to normal PCs. Under Power Options users only have one configured power plan option: Balanced. Other PC manufacturers often use the default settings of Max Performance, Balanced and Power Saver. These settings are preset for things like display brightness, max CPU speed, display off and the clocks speed of the integrated GPU.
What this means in the real world is even when plugged in the Surface Book, Surface Pro 4 (and even Surface Pro 3) never reach their max capability for graphics performance.
The reason for this is not too clear although there is a balance between battery life and thermal dissipation on the Surface series that limits the most extreme settings. Throttling at certain temperatures is not uncommon with the Surface due to its rather great thinness. Due to Skylake the Surface Pro 4 and Surface Book so far have no exhibited throttling under normal conditions, an improvement over the Surface Pro 3's Haswell system.
In fact, doing this 'hack' (I use the term loosely) draws more power: 2.4W versus 4.0W when set to max performance. Luckily, you can configure this so that the Intel HD 520 is only used in max 1000 MHz when either plugged into an AC outlet or you purposefully choose the Max Performance preset.
Disable Connected Standby
The secret to getting the Intel HD 520 to hit max speeds is disabling Connected Standby (CS) in the Windows registry. Once disabled and the OS has rebooted the settings appear under Advanced Power Settings.
The key thing to remember is you will want to re-enable CS after creating a new power profile. Connected Standby – also called InstantGo – is what is most commonly known as 'Sleep'. That means while disabled, your Surface will never go into standby mode. That is not a good thing, so make sure you read through this how-to.
Luckily, there is nothing that we are doing here that can be classified as 'risky'.
1. Launch registry editor
Type in Regedit into the search window and answer yes to the User Account Control prompt

2. Find CsEnabled
Navigate to HKEY_Local_Machine\System\ControlSet001\Control\Power; Alternatively hit [Ctrol + F] and search for CsEnabled (this will take around 10-20 seconds)
3. Turn it off
Double-click CsEnabled and change Value data from 1 to 0 and click OK to save the changes

Do not reboot the PC just yet.
Create new power plan
Next you will want to create your power plan. This step lets you keep the Balanced default one with all its native settings.
1. Power settings
Type in Power Plan into the search window or right-click the battery icon and select Power Options
2. Create
Select Create a power plan from the left menu

3. Name it
You must use Balanced as the reference plan and give it a unique name e.g. Gaming mode or Max Graphics and hit Next to save

4. Reboot
Now you can reboot the PC with the registry changes and new power plan.
Edit new power plan
This section is where the changes take place. Up until now, all we have done is created a copy of the Balanced (default) power plan. Now we are going to edit the plan you created above to enable max performance of the Intel HD graphics.
There are a few ways to set this up depending on your preferences:
- Enable max graphics for both battery and when plugged into AC power
- Enable max graphics only for AC power but leaves battery on balanced mode or vice versa
If you opt for only AC power as you would expect the graphics will max out when you plug in the Surface Book or Surface Pro 4. On battery, it will remain the same. You could even just do this for the default Balanced power plan. The benefit with modifying the default Balanced plan is you do not have to switch modes when you plug in.
Alternatively, with a custom power plan you can throw max HD graphics on even when on battery. Think it through. Once you are ready, here is what to do next:
1. Power Options
Right-click on the battery icon and choose Power Options
2. Change
Select Change plan settings from the desired power plan (preferably your custom one)

3.Advanced settings
Select Change advanced power settings

4. Intel graphics
Navigate to Intel(R) Graphics Settings
4.Max it out
From the drop down on On battery and/or Plugged in choose Maximum Performance and hit OK to save the settings

You could alternatively also set your Balanced plan to Maximum Battery Life but only On battery. This setting, of course, limits the Intel HD GPU to around 300 MHz resulting in reduced performance. For simply web browsing and editing in Word, this should be fine.
Re-enable Connected Standby
Now that we have created our power plan and set graphics to max you will want to re-enable Connected Standby. If you do not complete this step, your Surface will never go to sleep. You could, of course, live with that and simply set the device to hibernate or just turn it off, but most people will prefer InstantGo and sleep mode. For this step, we are just retracing the steps above with one change:
1. Launch registry editor
Type in Regedit into the search window and answer yes to the User Account Control prompt
2. Find CsEnabled
Navigate to HKEY_Local_Machine\System\ControlSet001\Control\Power; Alternatively hit [Ctrol + F] and search for CsEnabled (this will take around 10-20 seconds)
3. Turn it off
Double-click CsEnabled and change Value data from 0 to 1 and click OK to save the changes
4. Reboot computer
You should notice that the additional power plan Max Performance has disappeared as well. Additionally, you no longer have the ability to modify the Intel HD Graphics Power Plan. If you would like to change or modify those settings, you need to disable CS again and go through the same steps.
The good news is that your custom settings will stick even after re-enabling Connected Standby, and that is all that matters here.
Now what?
Assuming you created a secondary power plan, all you need to do now is change between them whenever you want. To do this, just right-click on the battery icon and select Power Options. You should then see your two power plans:
- Balanced (default)
- Your custom plan created above (with max HD graphics)

Say you want to play a game you can switch to your max HD graphics settings by choosing your custom power profile. Doing this automatically shifts the GPU into its new setting. You do not need to reboot or do anything else. When you are done, simply set it back to Balanced and it is back to normal. It is a dynamic process and you do not need to restart the OS to enable the changes.
What is gained
In some 3D Mark Cloud Gate benchmarks run by one Reddit user there was a 12% boost in performance when using the 'max' setting for the Intel HD 520. In Ice Storm Extreme, there were increases across the board when compared to balanced mode: Score: +10%, Graphics: +12%, Physics: +4%.
Putting aside benchmarks and we have seen significant performance gains when gaming. One of my favorite time killers is Pinball FX2 for Windows 10. On the Surface Book when used in Notebook mode (disconnected from the keyboard, no Nvidia GPU) the pinball game played decently on balanced, but had much higher framerates when in max mode. This performance change is more evident if you compared 'max battery' (300 MHz) to the 'max performance' (1000 MHz).

While enabling max performance for the Intel HD 520 GPU will result in smoother games and more power for graphic intensive tasks, remember you are trading battery consumption for those gains. Creating a secondary custom profile at least gives you finer grain control over these tradeoffs making this modification a smart choice for those who need it.
Try this trick and let us know how it works out for you in comments!
More resources
Not sold on either device yet? Check out our Surface Pro 4 review and our Surface Book impressions or jump into our forums.
- Microsoft Surface Tips and Tricks
- Windows Central Surface Book forums
- Windows Central Surface Pro 4 forums

