How to complete the Remnant 2 Cathedral of Omens puzzle and get the Sagittarius Bow
A different kind of lever-action
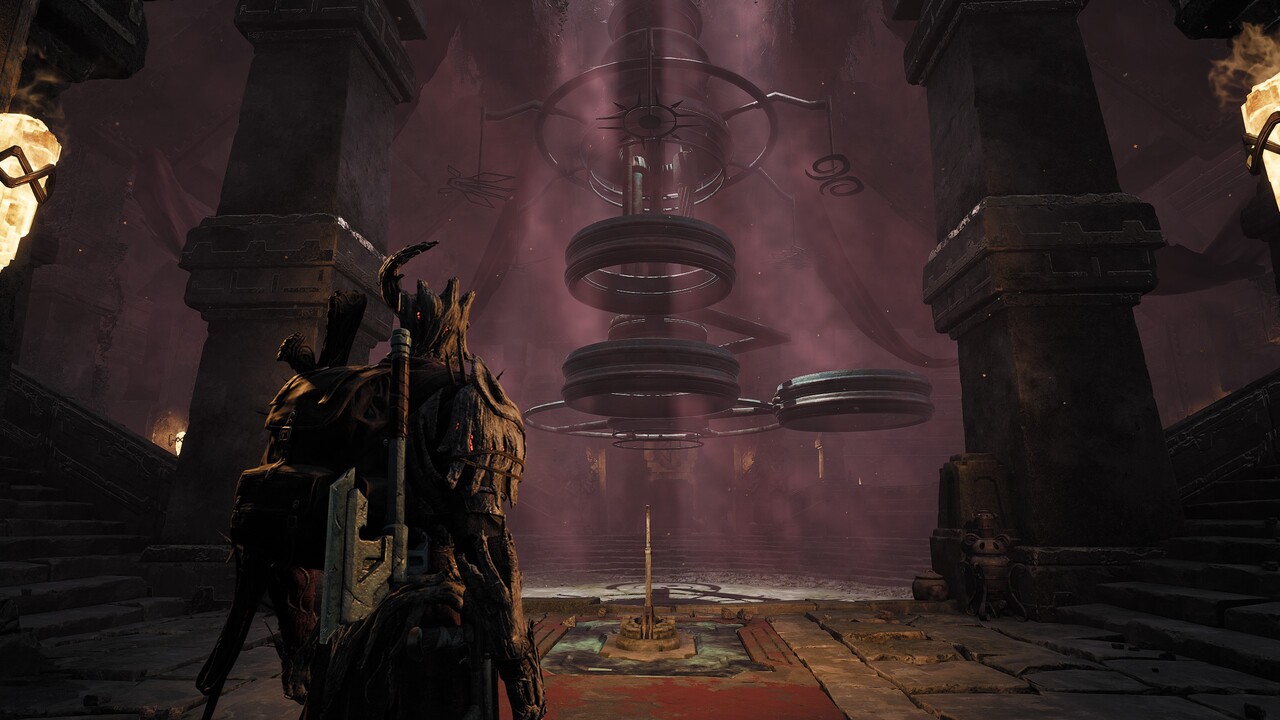
Remnant 2 is Gunfire Games' version of Dark Souls meets guns. A twisted tale of saving worlds from the evil Root, your character is tasked with taking on the corruption seen on multiple planets. Take on bosses with challenging mechanics and puzzles that are fit for the most lavish enthusiasts.
How about the Cathedral of Omens? Well, you better get energized for a dungeon filled to the brim with all the lever-action fun a cowboy can manage. In this no-holds-barred fight to the death, you'll experience gutwrenching action that'll keep even the sweatiest players busy. Just kidding, it's a puzzle room.
Coming into the Cathedral of Omens, you'll first find a checkpoint. Grab it and continue forward. On your way, you won't find any enemies. The challenge here is all played from your mind!
When you finally reach the puzzle room, you'll be greeted with a mechanical mass unlike any other. Fractal lenses, light, shadows, and shapes surround the center area. You'll see symbols above doorframes and levers at the front and sides of the room.
These levers control the motorized mechanism before you. What does each do?
- The lever to the left side of the room controls two adjacent circles.
- The lever in the middle rotates the two circles in line with one another.
- The final lever on the right side of the room controls the symbols on the floor.
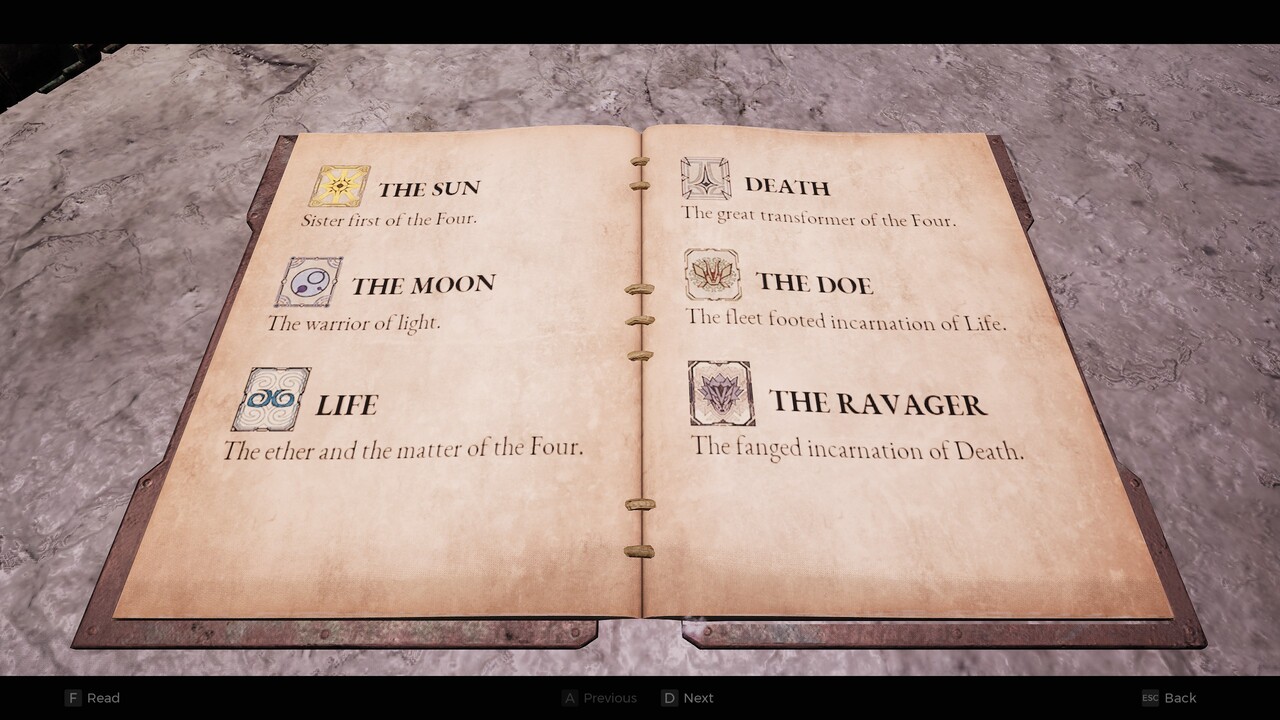
Now turn your attention to a room to the right. Inside is a book with a page of symbols corresponding to those on the floor, a few pages of triangular shapes, and a corresponding paragraph or two detailing their meaning. Combining this information, the puzzle room becomes clearer.
The objective is the find the triangular symbols above the doorframes and correlate those to the ones inside the book. Every passage in the book has three to four words in bold that relate to a symbol on the front page. Our goal with each puzzle is to match the triangle on the floor to the triangle above the door and make sure the symbols related to said triangle only encircle the words in the corresponding passage.
Let's break down every puzzle.
All the latest news, reviews, and guides for Windows and Xbox diehards.
Puzzle Guide: The Moon
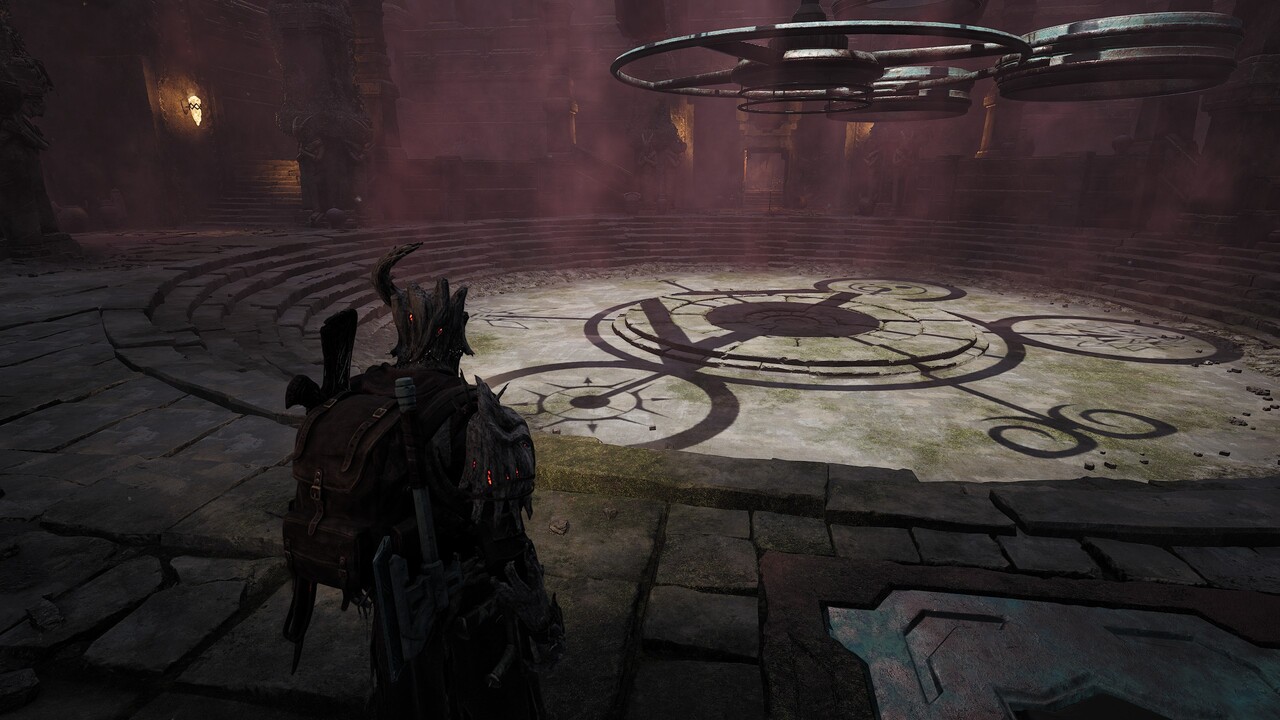
- Face the right side of the room to see the Blood Moon door.
- Match the triangle on the ground to that of the doorframe.
- This puzzle's affiliated paragraph mentions the Moon, Ravager, and Sun. Meaning those are the three symbols we need to incircle.
- Follow the screenshot above for emblem and circle placements.
What's inside
Behind the door, you'll find two chests that comes with scrap, upgrade materials, and a possible relic fragment.
Puzzle Guide: The Calamity
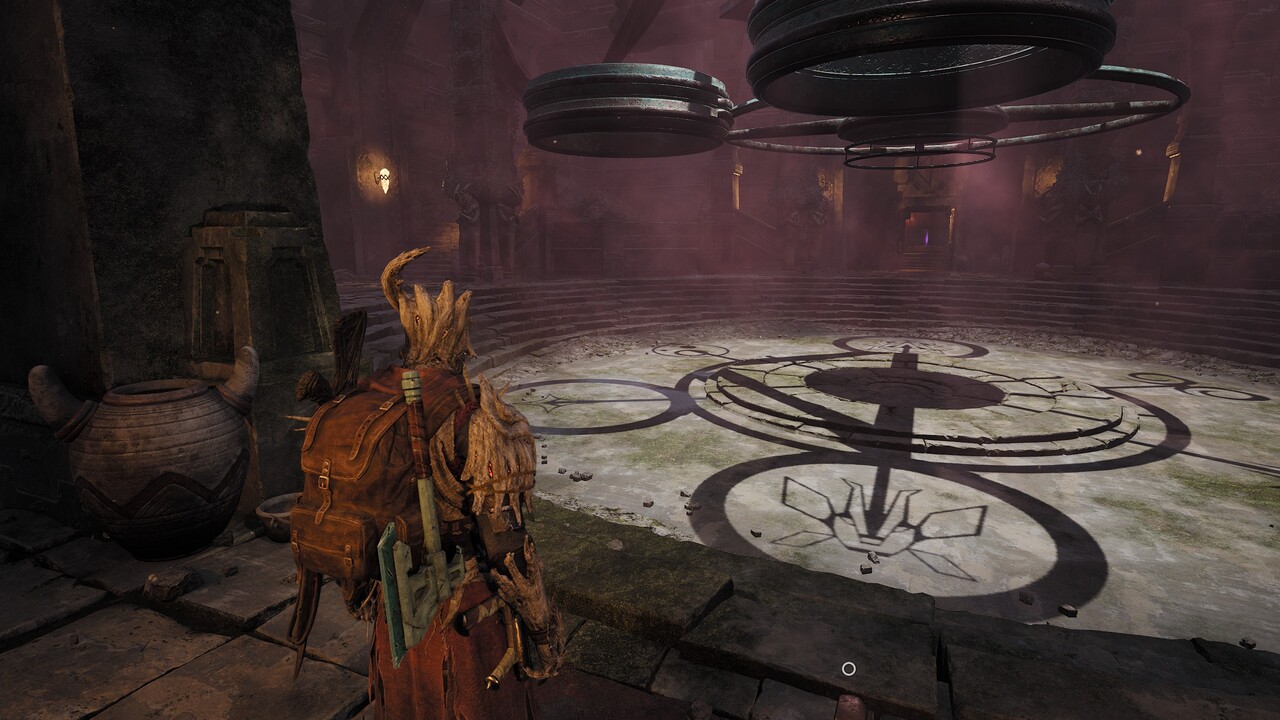
- Face the middle of the room to see the Calamity door.
- Match the triangle on the ground to that of the doorframe.
- The book mentions the Ravager, Doe, and Death.
- Follow the screenshot above for the emblem and circle placements.
What's inside
Inside is the Faith Seed, which can be used to craft the Astral Burst mod. This mod fires a short-range burst of 7-star fragments, which deal 35 damage each. Fragments bounce off walls up to three times, dealing 35% additional damage per bounce. Weakspot hits deal reduced damage.
Puzzle Guide: The Hope
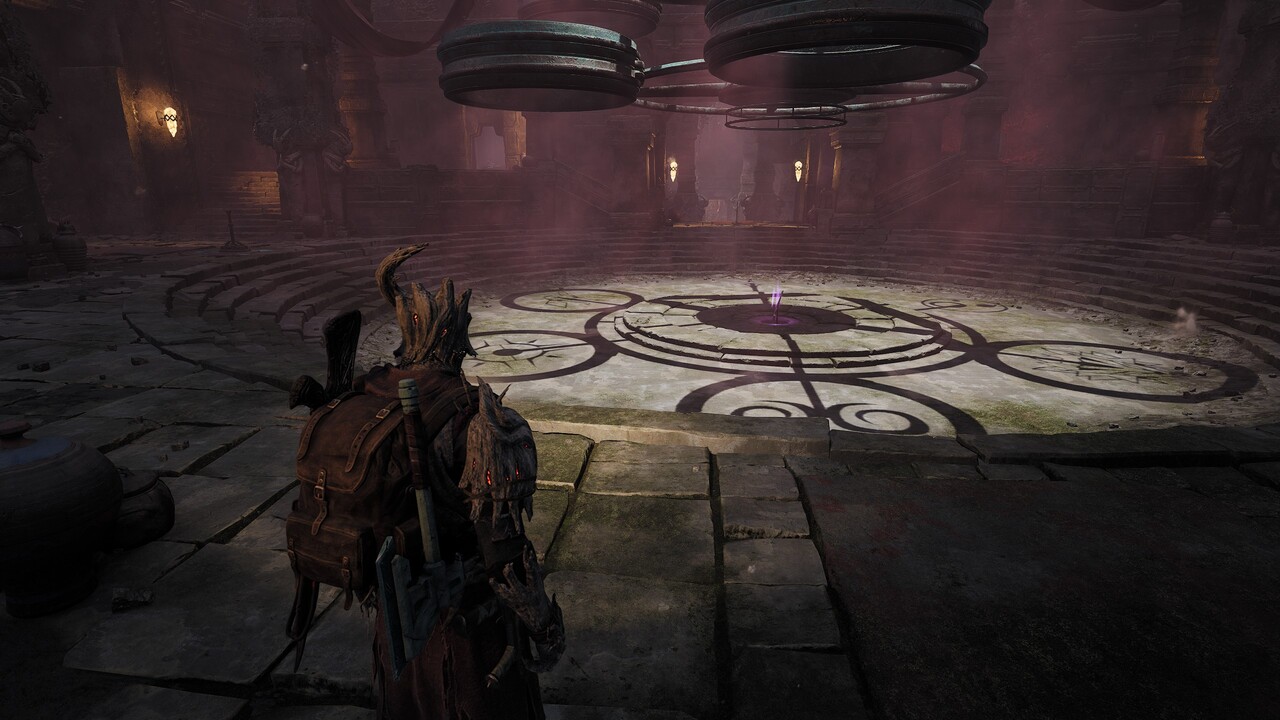
- Stand at the back of the room and face the entrance. This puzzle does not correspond to a door.
- Match the triangle on the ground to the symbol above the entrance.
- The passage for the Hope puzzle refers to the Ravager, Doe, Sun, and Life. We'll need to get four symbols inside a circle.
- Follow the screenshot above for the emblem and circle placements.
A pedestal will rise from the center of the room. On top of it, will be the Sagittarius Bow. I absolutely adore this weapon! It comes with a base damage of 98, as well as the mod Starfall. The mod fires a powerful arrow that deals 30 damage and opens a 7m portal that rains down star fragments. Each fragment deals 50 damage within 4m. Lasts for 6 seconds. Pairing this with an AOE booster will do some severe damage to packs of enemies.
That's it for The Cathedral of Omens guide. Make sure to follow us closely for other guides as they drop over the following weeks. We're diving deep to gather any of the game secrets others may need help with. Until next time, check out some of our other guides if you need them!

Michael has been gaming since he was five when his mother first bought a Super Nintendo from Blockbuster. Having written for a now-defunct website in the past, he's joined Windows Central as a contributor to spreading his 30+ years of love for gaming with everyone he can. His favorites include Red Dead Redemption, all the way to the controversial Dark Souls 2.

 Windows Central Insider


