Minecraft Legends guide: How to beat the Horde of the Hunt and the Beast boss
Here's how you can take down one of the fiercest piglin factions.
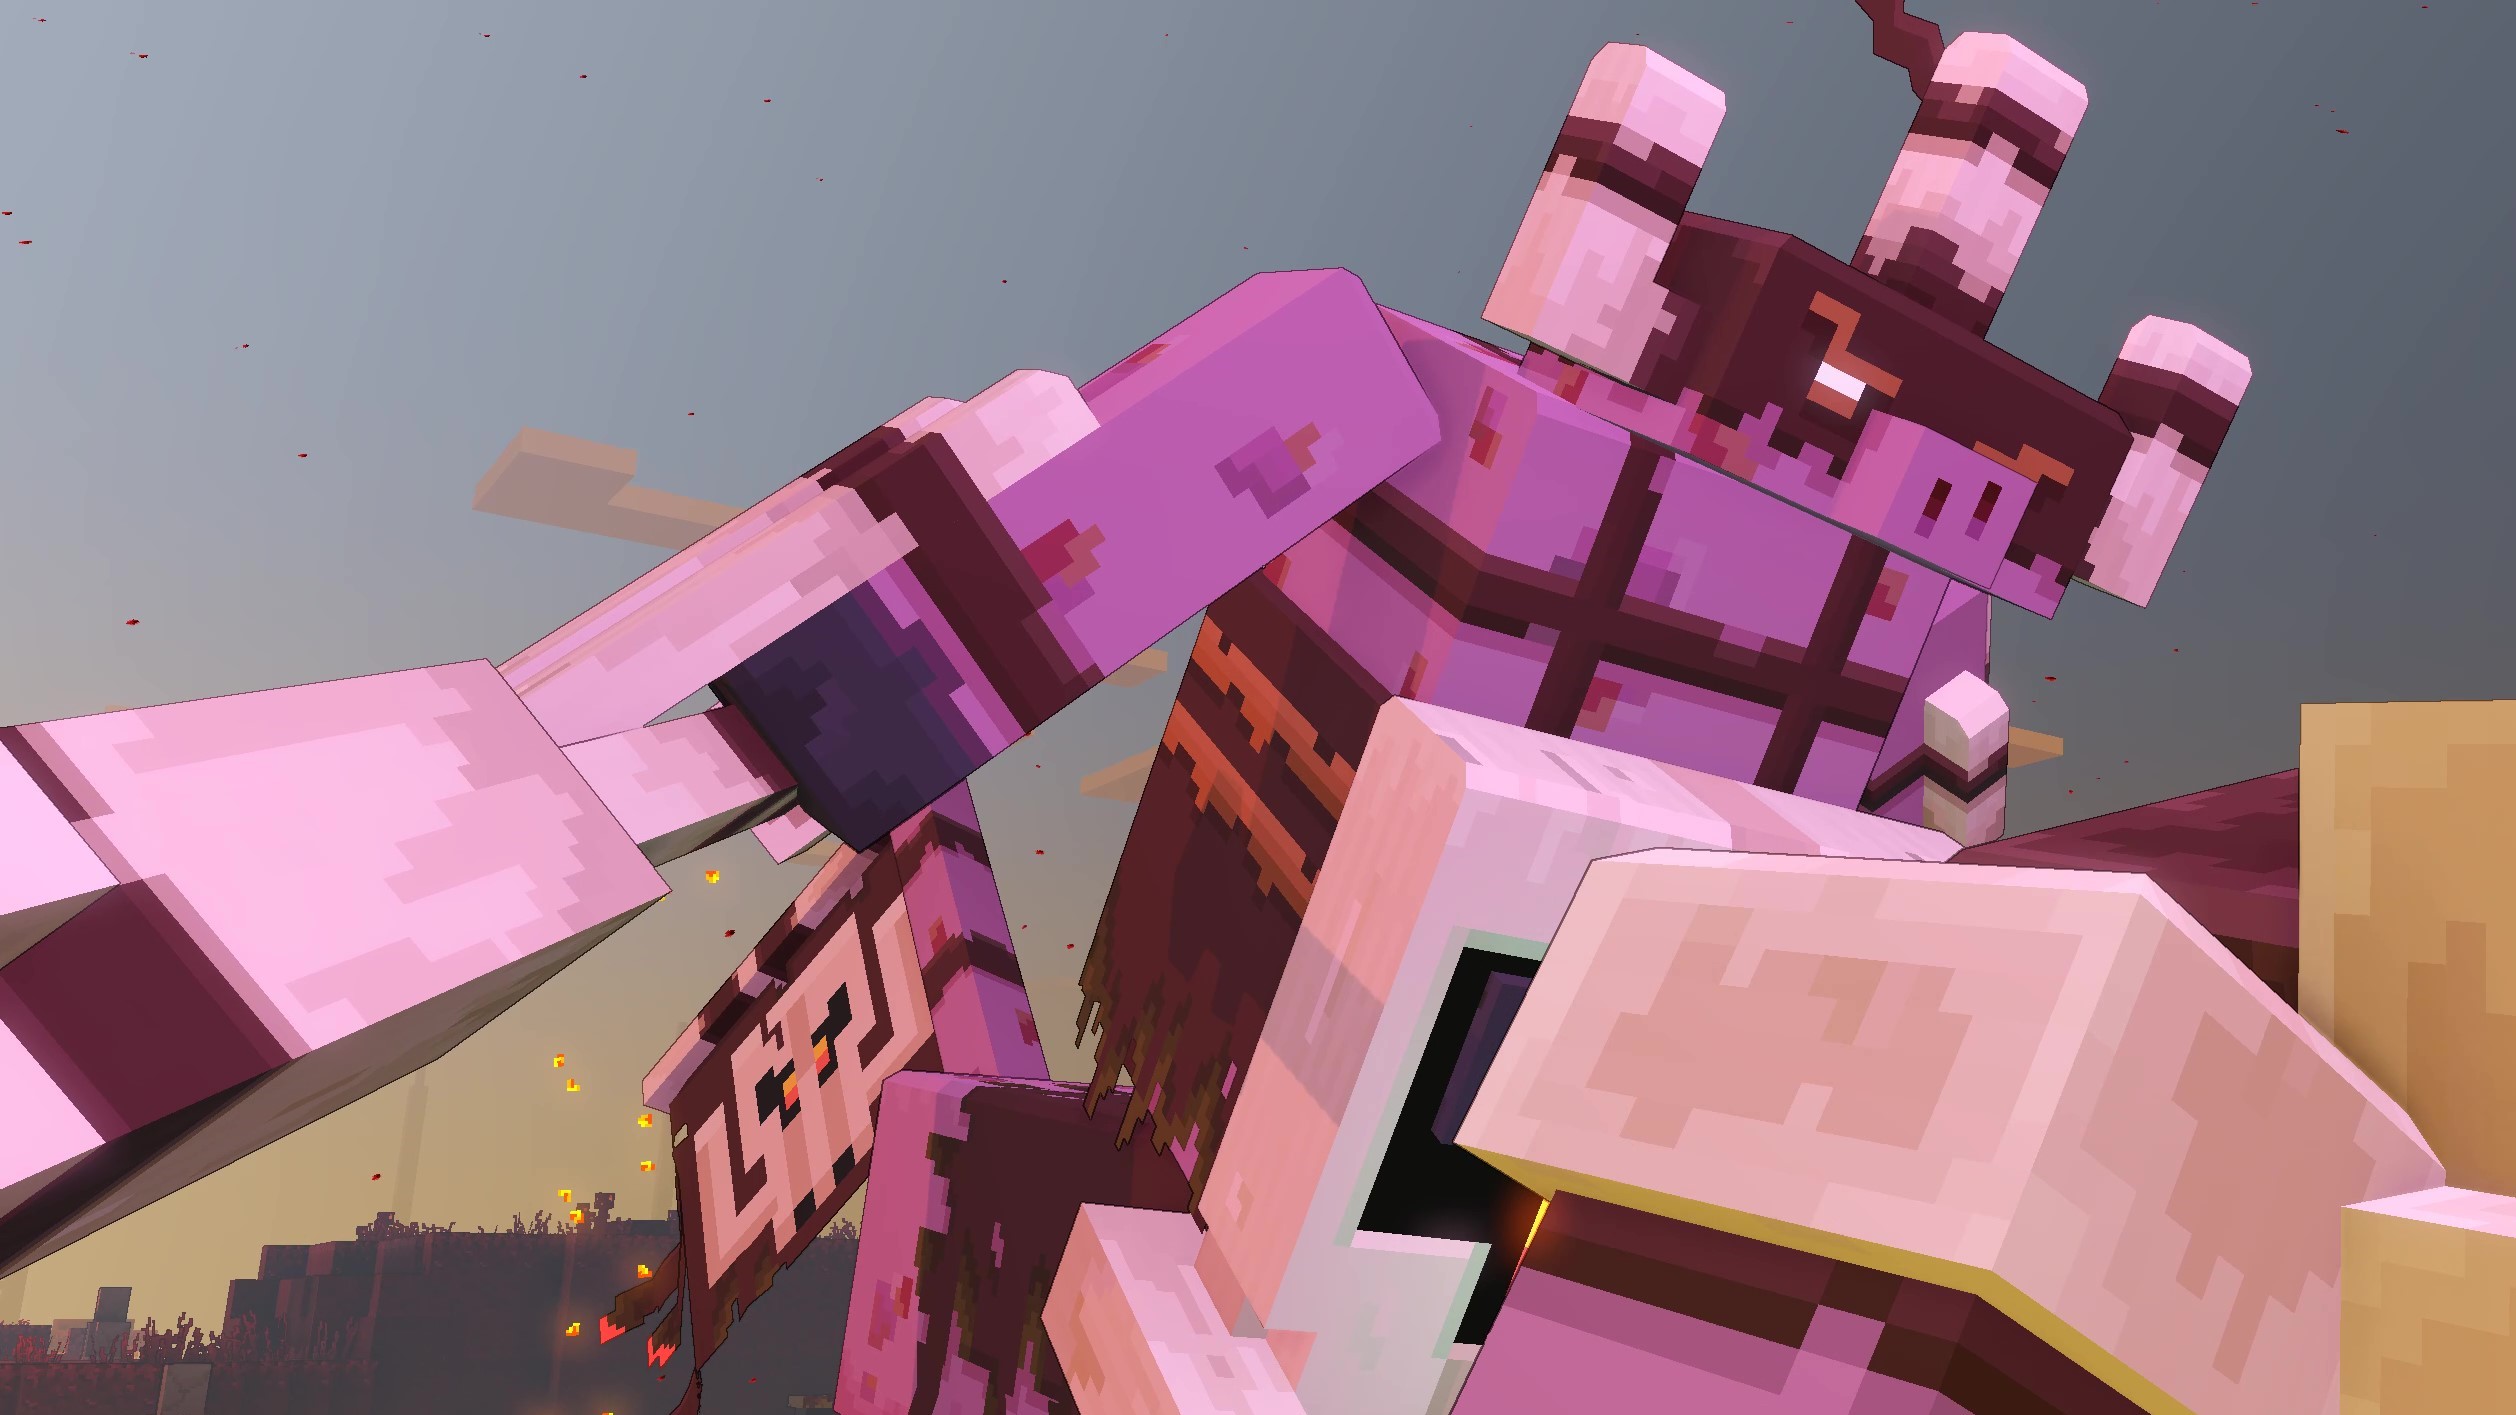
The Horde of the Hunt is one of the three main piglin factions you'll square off against in Minecraft Legends, and while their aggressive tactics are simplistic, they're still pretty difficult to handle if you're not sure how to fight them. The Beast, the Hunt's leader, is also arguably the most powerful faction boss in terms of raw offensive power. This makes him very difficult to take down without the right combination of mobs and structures.
You'll likely get overwhelmed fast if you don't approach battles against the Horde of the Hunt with the right mindset. Therefore, we've put together this handy guide that includes everything you need to know about fighting the faction, including all of the piglins and structures it uses, tips and tricks to keep in mind while attacking its strongholds, and strategies to use when fighting The Beast.
Minecraft Legends: What to know about the Horde of the Hunt
"The best defense is a good offense" is the Horde of the Hunt's motto. While the Horde of the Spore and especially the Horde of the Bastion rely on defensive tactics and fortifications for their bases, the Horde of the Hunt will simply charge you with massive infantry formations. Therefore, when fighting them, your strategy should be centered around halting their momentum and counterattacking their weak structures once you manage to do so.
Minecraft Legends: Horde of the Hunt piglin mobs and units
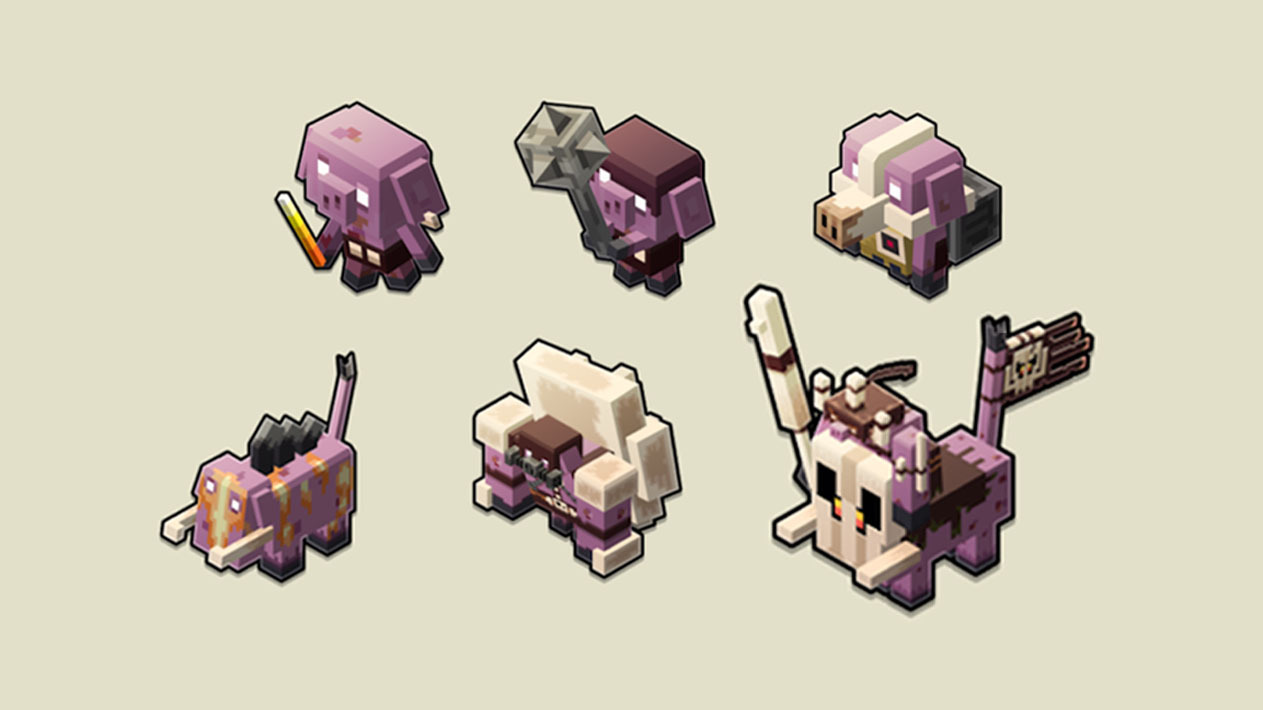
While the Horde of the Hunt mainly uses the same basic units that the other two Minecraft Legends piglin factions do, they do have a few unique foes in their ranks. Here's a look at every mob you'll face when fighting the Hunt's forces.
- Mace Runt: Basic piglin melee units that attack with their spiked maces. Individually weak, but a larger threat when fighting together en masse.
- Blaze Runt: A ranged version of the basic piglin that throws Blaze Rods at targets. Like Mace Runts, they're not difficult to kill, but in large groups they're dangerous.
- Spore Medic: These masked piglins will constantly attempt to heal their allies with poison spores. These spores won't hurt you or your units, but you should still try to kill Spore Medics anyway since it'll make fighting other piglins easier.
- Warboar: These boars are similar to Hoglins from regular Minecraft in that they're encountered in herds and are capable of charging into mobs and knocking them into the air. While they don't do terribly strong damage, the disruptive power of their charges can make your army susceptible to other piglin units. Fight them with resilient melee mobs like Zombies.
- Pigmadillo: The Horde of the Hunt's elite unit. These piglins are extremely tanky and frequently curl up in their shell, rolling and smashing into your mobs and structures battering ram-style. This attack can tear down walls and buildings or kill weaker units fairly quickly, so focus them down as soon as you can.
- The Beast: The Horde of the Hunt's boss. This large piglin charges into battle on a massive boar and is capable of barreling through defensive walls and structures with ease. On top of that, he also has powerful melee attacks that make him difficult to fight up close. However, he doesn't have a way to fight from range. Also, after each charge he'll get tired, giving you a window of opportunity to attack him.
Minecraft Legends: Horde of the Hunt buildings and structures
The Horde of the Hunt doesn't build many structures in their bases, but even so, it's good to know what types of fortifications you'll go up against when raiding one. We've listed them all below.
- Piglin Pit: The most common structure you'll find in Horde of the Hunt bases. These pits constantly spawn new squads of piglins. Taking them down will reduce the number of piglins you have to kill while fighting through a base or outpost.
- Blaze Rod Tower: While the Horde of the Hunt doesn't use many defenses, it does make use of the basic medium-range Blaze Rod Tower. It's essentially the piglin version of your Arrow Towers, and will fire Blaze Rods at you and your troops as you approach.
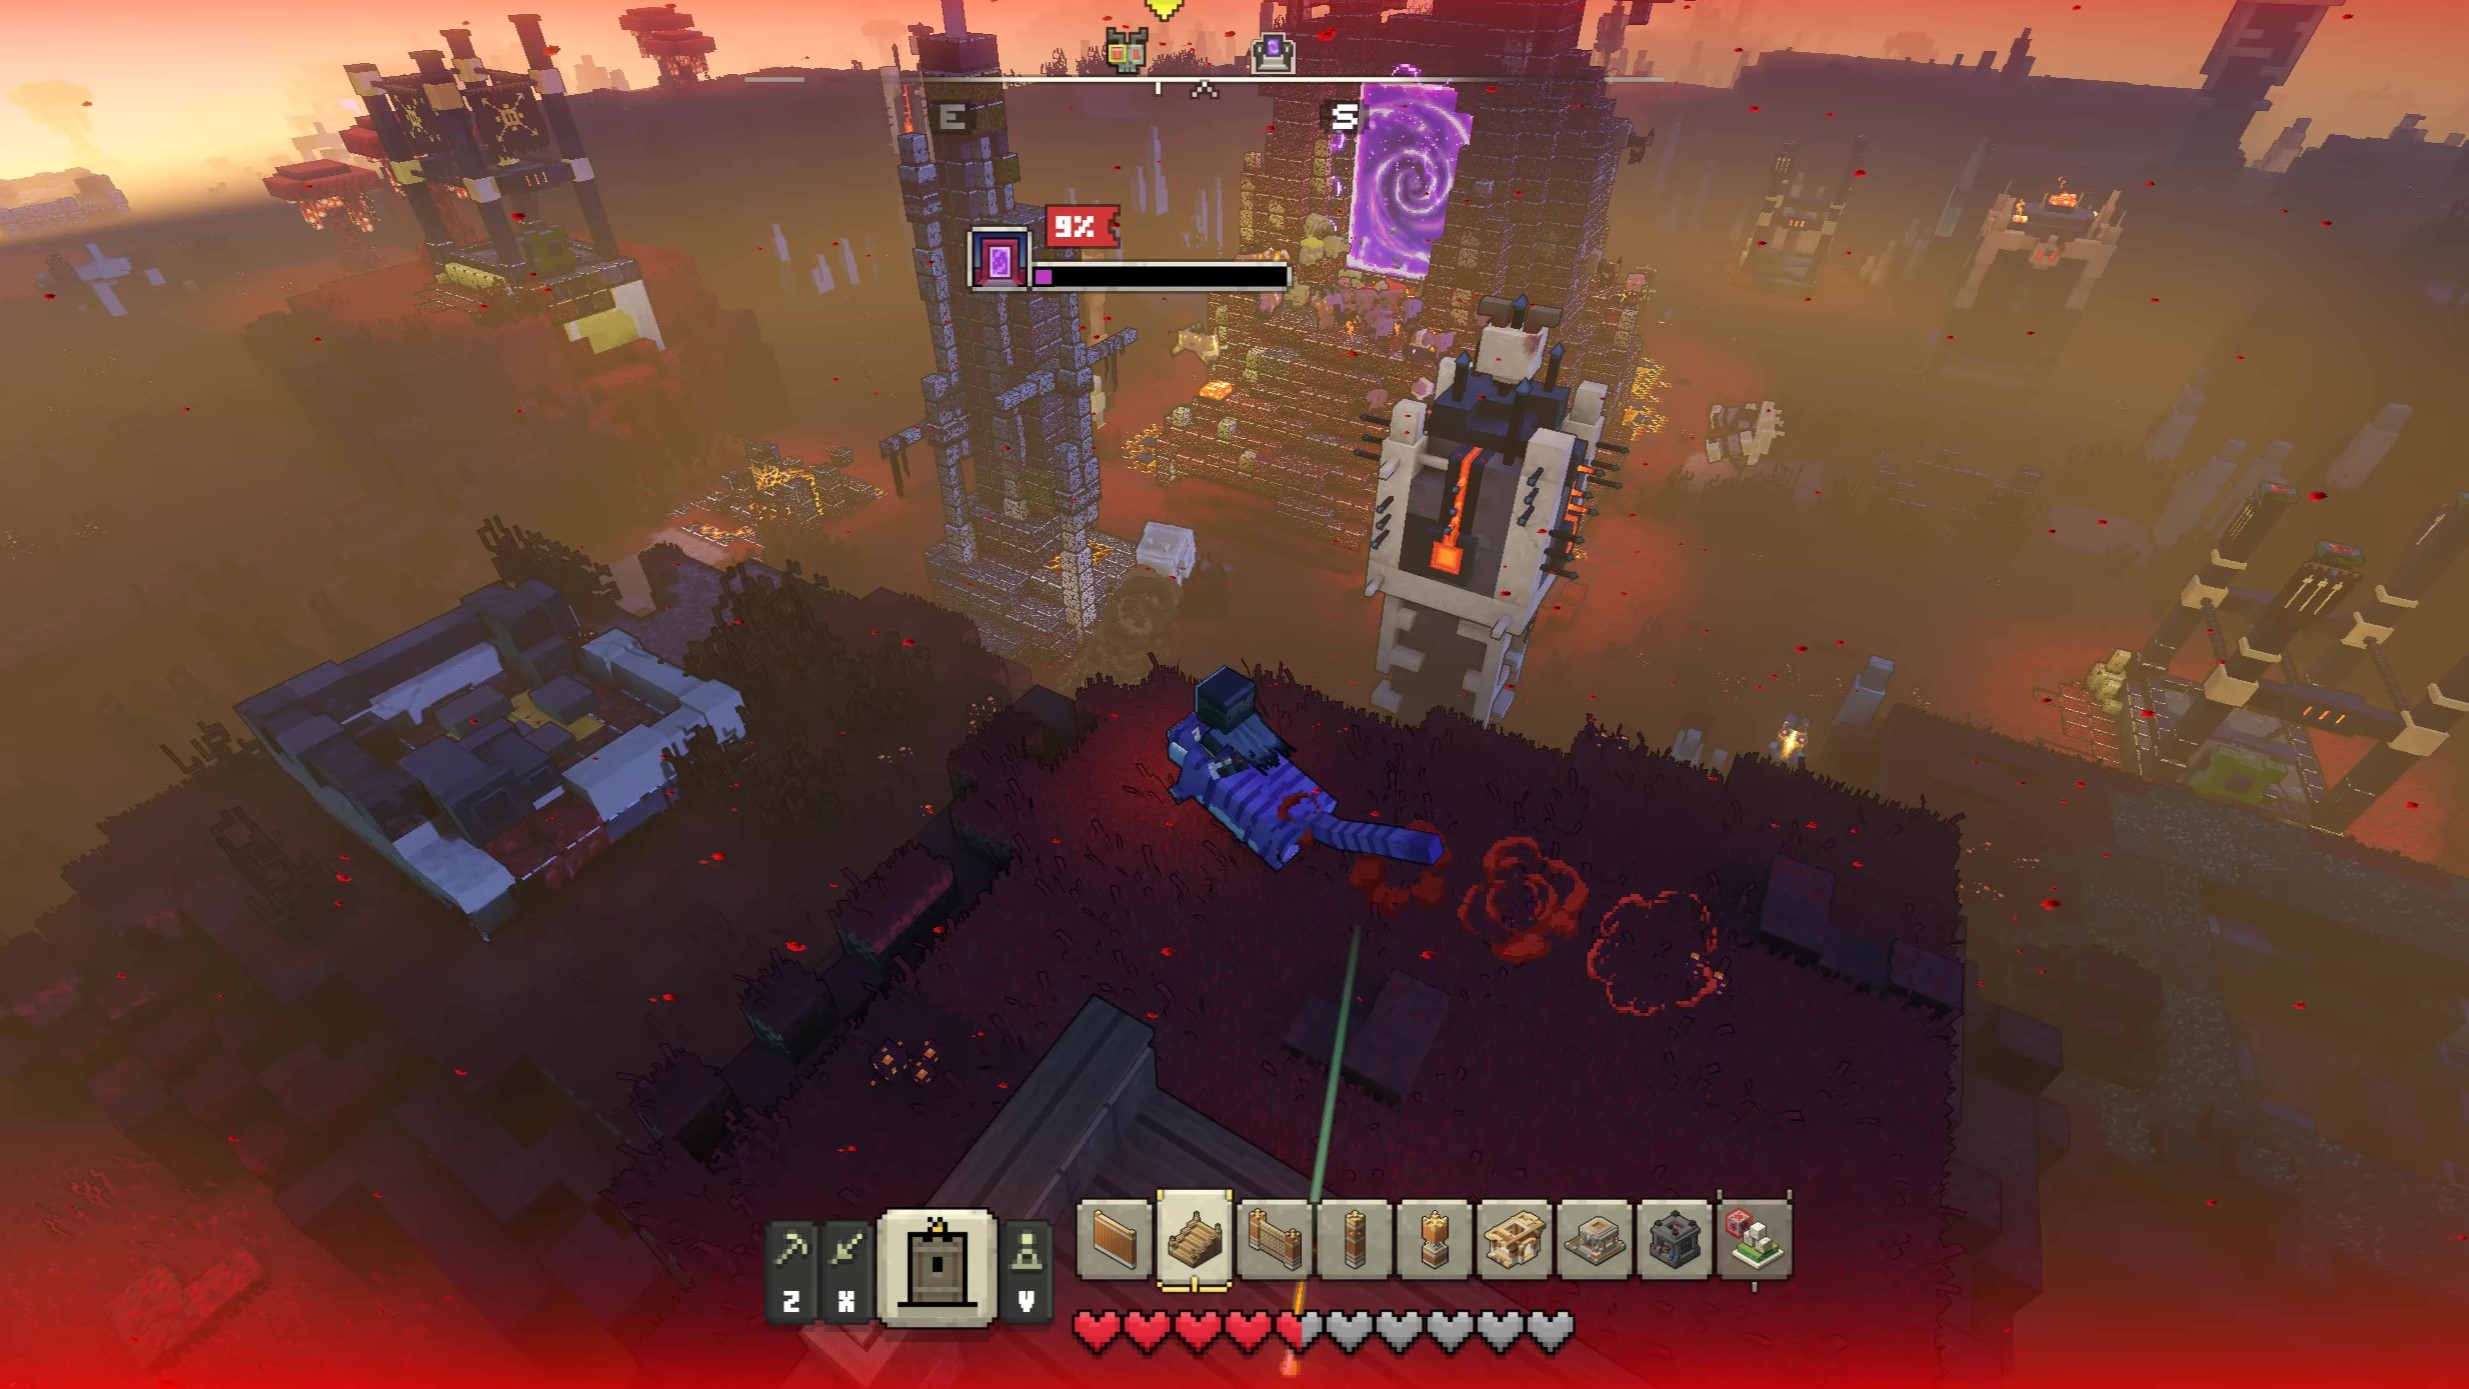
- Piglin Launchers: These structures are exclusive to Horde of the Hunt bases, and launch piglin infantry units like Warboars and Pigmadillos at you as if they were artillery projectiles. After these piglins smash into your mobs or defenses, they'll start melee attacking nearby targets. Take them down early if you can by rushing them with Cobblestone Golems or Creepers, making it much safer to build a forward operating base.
- Siegeworks: Tall and narrow buildings that improve the range of Blaze Rod Towers and Piglin Launchers. If you're not able to get to an enemy Piglin Launcher easily, taking out a Siegeworks tower that's buffing it will at least reduce the threat of it.
- Nether Spreader: Short structures that periodically spread Nether poison, converting regular land into Netherrack. Destroy these if they're located in the spot you want to build a forward base, but ignore them otherwise, as they're not much of a threat.
- Lava Coil Towers: All three piglin factions will sometimes use these to shield a base's Nether Portal and prevent it from taking damage. Therefore, you'll need to destroy these first. If possible, use Redstone Launcher artillery to blow them up from afar before you send in your troops.
Minecraft Legends: How to destroy Horde of the Hunt bases
Before you can challenge the Horde of the Hunt's boss, you'll need to destroy all three of the faction's bases. Here are our favorite strategies and tactics to use while raiding them.
- Use Cure Netherrack to push into the base's perimeter. Clear out a space large enough to build a forward base with several defenses and support structures.
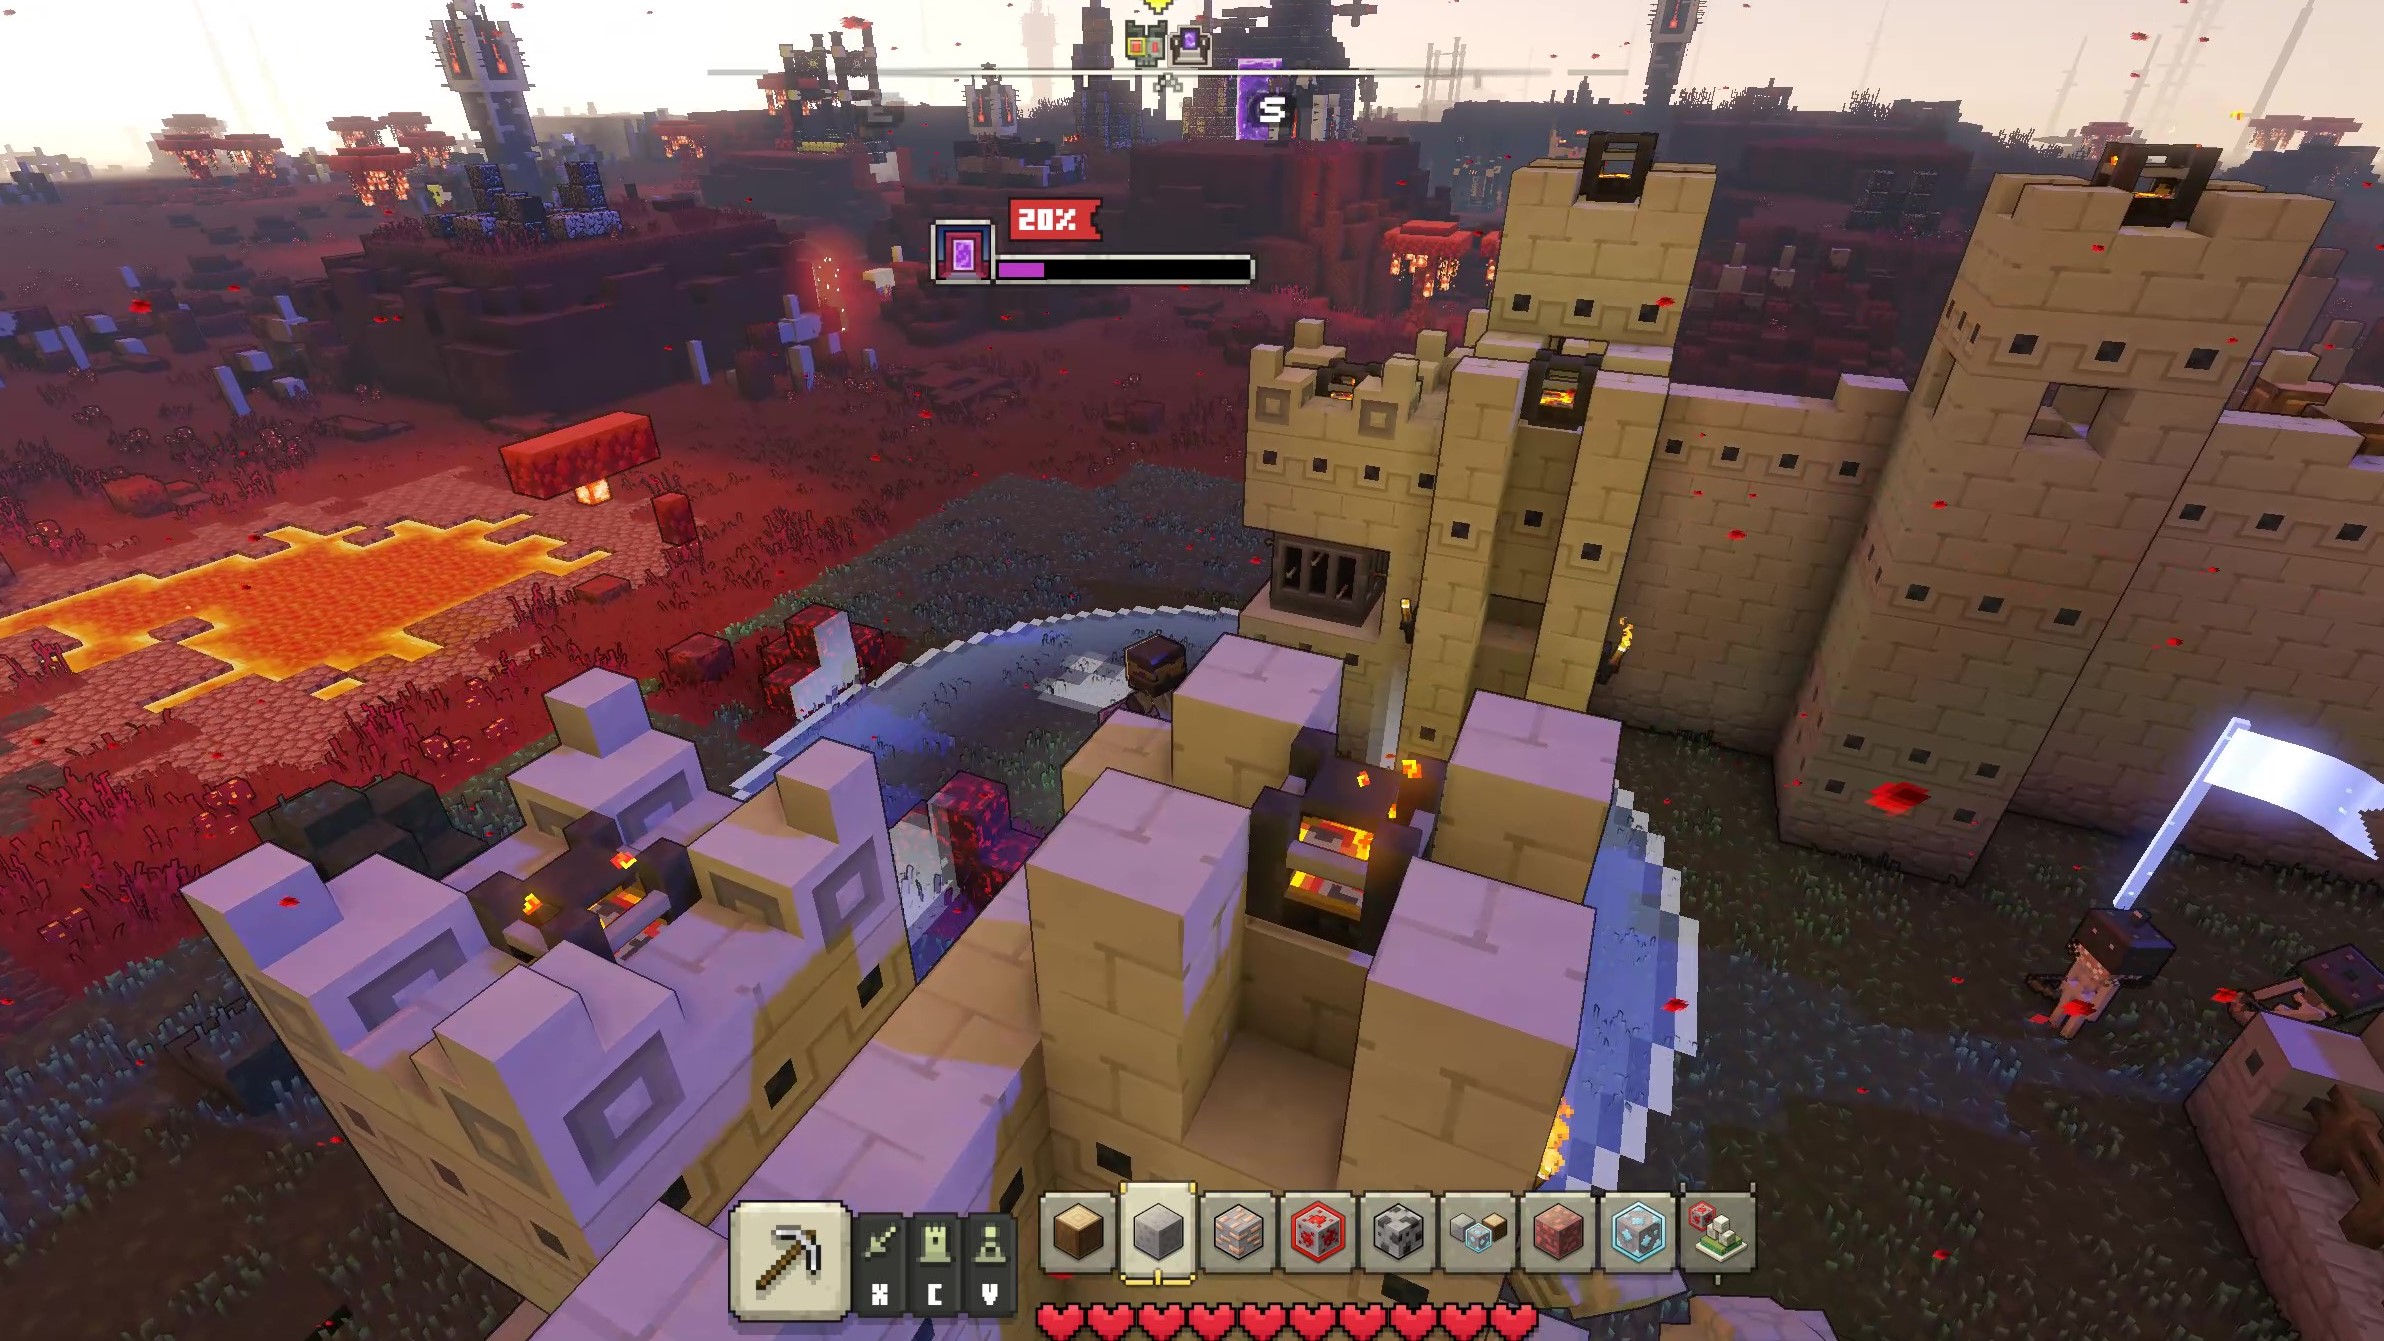
- Build a heavily fortified and repairable forward base in the area you've cleared. Build walls and place many Arrow Towers behind them, with close-range Scatter Towers in front. Upgrade their durability with a Masonry and build a Carpenter Hut to repair all of your fortifications when they take damage. A Protector Tower is also important, as it will stop Piglin Launchers from launching units over your walls and into your base. Other structures like Kaboomeries, Spyglass Overlooks, Battle Drums, and Redstone Launchers are helpful, but you can get by without them.
- Use your base to whittle down the piglin masses. Let your base's defenses take the brunt of the Horde of the Hunt's massive infantry charges. If you have Skeletons, position them behind your walls so they'll fire over them and into the oncoming horde. The goal here is to stimy the piglins' momentum so you get a chance to counterattack.
- Between piglin waves, destroy some Piglin Pits to slow down the horde. Once your defenses chew through the base's initial waves of infantry, you'll get some windows of opportunity to attack piglin structures before more can spawn en masse. Use this time to take out Piglin Pits, which will significantly reduce the rate at which the base can replenish its lost defenders.
- Go on offense with a mix of Zombies, Cobblestone Golems, and Mossy Golems. With most of the base's troops defeated, it's time to go on the offensive. Fight your way to the center of the base with Zombies, Cobblestone Golems, and Mossy Golems. Zombies are tanky and do good melee damage, making them a strong choice against the Horde of the Hunt's forces. Cobblestone Golems, meanwhile, will make quick work of structures you come across (use them to take out Lava Coil Towers if necessary). Mossy Golems will periodically heal both, keeping your troops in the fight. Note that clearing out more Netherrack and supporting your assaults with forward Arrow Towers isn't a bad idea, either.
- Once you reach the Nether Portal, send in some Creepers as well. Creepers do exceptional damage to Nether Portals with their explosions, and by taking out the structure quickly, you'll ensure that you aren't giving the Horde of the Hunt any time to respawn enough troops to drive you back.
Minecraft Legends: How to defeat the Horde of the Hunt's The Beast boss
Once you've destroyed all of the Horde of the Hunt's bases, the faction's leader — a massive piglin called The Beast that rides a gigantic hog into battle — will come to the Overworld and begin launching raids against random Villages. These attacks are very difficult to survive, but with the right defensive strategy, you'll be able to take The Beast and his raiders down.
All the latest news, reviews, and guides for Windows and Xbox diehards.
- As soon as you know which Village that The Beast plans to raid, head there and start setting up defenses immediately. You only have from dawn until dusk to prepare, so don't waste time doing anything else (get resources if necessary, obviously).
- Surround the Village with walls, with lots of Arrow Towers behind them and Scatter Towers in front of them. You'll need strong defenses you can rely on to keep The Beast's forces at bay while you distract and fight him yourself.
- Also place Arrow Towers outside of your walls, a good distance away from the Village perimeter. These expendable towers won't do a ton of damage, but they're an excellent distraction that will keep the piglins away from your main defensive line for quite awhile. They can also distract The Beast himself, keeping his attention off of your heavier and more important fortifications.
- Additionally, build a second layer of defenses around the Village's center Wellspring if possible. This is the hardest Village raid in Minecraft Legends by far, and even with all the prep in the world, you're still likely going to lose some walls and towers. A second line of defense ensures that the Village won't immediately be lost if the main defense crumbles.
- Buff your fortifications with every support building you have resources for. Masonries and Carpenter Huts are an absolute must-have for durability upgrades and repairs, and Battle Drums are a massive help as well since they'll increase the firing rate of your Arrow and Scatter Towers. Kaboomeries and Spyglass Overlooks will further enhance these towers with explosive damage and longer effective ranges. It's not a bad idea to put down some Power Towers, either.
- Travel to the Skeleton Homestead and gather Skeleton archers, then fast travel them to the Village that will be raided. This is an easy way to bolster the Village's defenses without using up your Flames of Creation. Position the Skeletons all around the Village, and put them behind your walls so they have cover.
- When The Beast's raid begins, let your defenses handle his minions while you and your forces distract him. Spawn an army of Zombies and Mossy Golems and use them to distract The Beast. The combination of tanky Zombies with restorative Mossy Golems will be extremely difficult for even The Beast to kill, allowing them to keep his attention off the Village itself for long periods of time while also dealing good damage to him. The First Golems are worth using here, too, as the First of Oak and Stone will dish out strong ranged damage to him while the First of Brick and Diorite shield your mobs and replenish their numbers.
- Use Creepers to deal huge damage to The Beast whenever he gets tired. The Beast has a ton of health, and without Creeper burst damage, it's tough to take him down in just one raid. Add some to your ranks and command them to explode on The Beast whenever he stops to take a breather after charging.
Note that if you're not able to kill The Beast before the raid ends, he'll retreat with his troops and immediately launch another raid the next time night falls (all the damage you did during the first raid carries over). If this happens and he targets a different Village, we recommend dismantling your support structures like Masonries and Kaboomeries for a refund on the resources you used on them. This will allow you to quickly set up these structures in the new targeted Village, and saves you time that you'd have had to spend gathering more materials.
Minecraft Legends is now available on Xbox, Windows PCs, PlayStation systems, and Nintendo Switch. It's one of the best Xbox games for fans of action-strategy, as it blends base building and unit coordination with hack-and-slash combat and the unique Minecraft charm that players know and love. It fully supports cross-play between every platform, too, and is also accessible through every tier of Xbox Game Pass.
Minecraft Legends
The latest expansion to the Minecraft universe is an addicting blend of real-time strategy and hack-and-slash action, and it's arguably one of 2023's best games despite the way it's been overshadowed by other releases.
See at: Xbox (Console Standard) | Xbox (Console Deluxe) | Xbox (PC Standard) | Xbox (PC Deluxe)

As a first-party Xbox Game Studios game, Minecraft Legends is available in every tier of Xbox Game Pass Ultimate, including on Xbox consoles, Windows PCs, and Xbox Cloud Gaming. Play it to your heart's content, and enjoy a sweet discount if you wish to buy it.

Brendan Lowry is a Windows Central writer and Oakland University graduate with a burning passion for video games, of which he's been an avid fan since childhood. He's been writing for Team WC since the summer of 2017, and you'll find him doing news, editorials, reviews, and general coverage on everything gaming, Xbox, and Windows PC. His favorite game of all time is probably NieR: Automata, though Elden Ring, Fallout: New Vegas, and Team Fortress 2 are in the running, too. When he's not writing or gaming, there's a good chance he's either watching an interesting new movie or TV show or actually going outside for once. Follow him on X (Twitter).

 Windows Central Insider


