


Beginners' Tips Series!
The days of having a single family computer that everyone shares are long gone. Now it isn't uncommon to find multiple computers, tablets, printers, gaming consoles, etc. all in one household. With so many users and devices in a single place, it may seem like sharing data between them might be a challenge.
Fortunately, you don't have to be a network engineer to figure out how to get Microsoft devices all talking to each other and sharing data. With HomeGroups, it's easy to set up.
What is a HomeGroup?
A homegroup is two or more computers that reside on the same home network. Members of a homegroup can share pictures, documents, music, videos and printers with each other.

They can be used to share individual folders and files with other computers in a way that can be easily managed by everyone who is part of the group. A homegroup can also be used to create a central server of sorts for media, printers, etc. that can be accessed by different computers, but managed centrally by one user.
HomeGroups can be secured using passwords, and each member can control exactly what they share with the other members of the group.
Any computer running Windows 7, Windows 8, Windows 8.1 and Windows 10 can be part of a homegroup. However, Windows 7 Starter/Home Basic and Windows 8/8.1 RT have limited functionality. The former cannot create homegroups of their own and the latter cannot create homegroups or share content with other members.
How to set up a HomeGroup from scratch
If you want to set up a new homegroup for the first time:
- Go to Control Panel > Network and Internet > HomeGroup, then click Create
- Select which libraries you would like to share with future members of the group
How to join an existing HomeGroup
Before joining an existing homegroup, you will need its password. To find it, you need to go to the computer that the homegroup was created on.
- Then, open Control Panel > HomeGroup.
- Click View or print the homegroup password.
Now that you have a password, go to the computer you want to join to the group.
- Go to Control Panel > HomeGroup.
- The computer should automatically detect that a homegroup exists and will prompt you for the password. Enter the password and click Join.
- Select the Libraries that you want to share with the rest of the group.
- Click under Media Devices and select what devices you wish to share.
NOTE: This is where you would activate sharing for streaming media to your Xbox 360 or Xbox One.
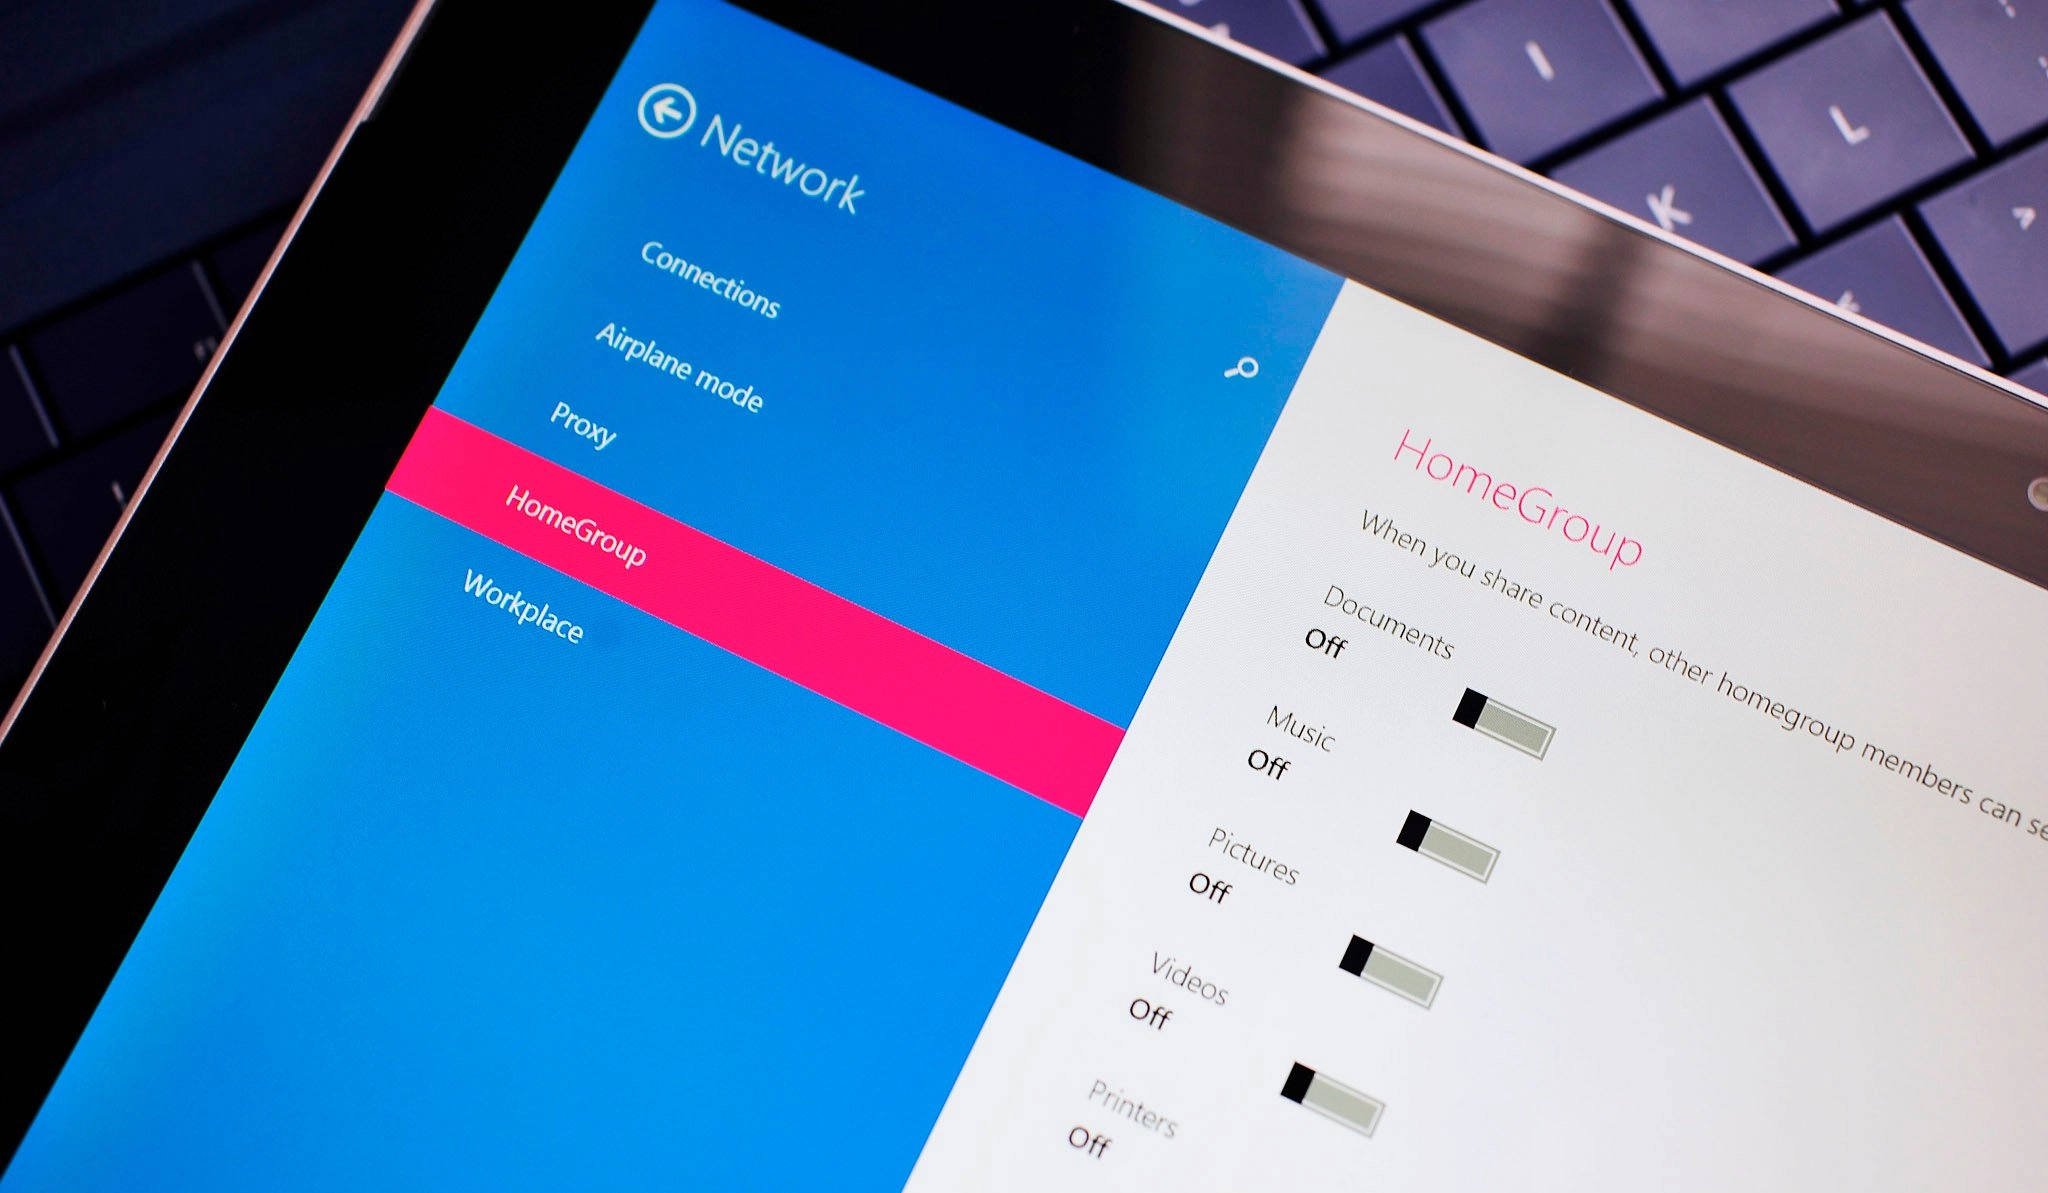
In Windows 8.1, you can get easy access to the HomeGroup settings by opening the Charms bar on the right, then going to Settings > Change PC settings > Network > HomeGroup.
Here you can use the sliders to choose what Libraries you want to share, or toggle printer sharing and media streaming. You can also view your homegroup password, or leave the group all together.

To share individual folders instead of Libraries
- Open File Explorer
- Navigate to the folder you want to share
- Right-click, then select Share with > Specific people.

- Click the drop down arrow, select and then HomeGroup
- Click Add

- You can change what level of sharing you want by clicking the arrow next to the homegroup in the list and choosing Read or Read/Write. This is also where you would remove permissions from the folder.

- Click Share to save your changes
All set. Now what?
You can get a view of all of the computers and devices that are part of your homegroup by going to Control Panel > Devices and Printers. There you will see computers, printers, and gaming consoles that belong to your group.

To access files from your computer
If you want to open documents, watch videos or listen to music that has been shared out to your computer via the homegroup, you can open File Explorer (known as Windows Explorer in Windows 7) and simply navigate to them under the HomeGroup section on the left.

To remove your computer from the homegroup
If you no longer want a computer to be part of the group:
- Go to Control Panel > HomeGroup
- Click Leave the homegroup

- Click Leave the homegroup again to confirm your decision
As more and more devices creep into our homes, it becomes increasingly important to manage them in a simple way. The development of HomeGroups has taken the once esoteric world of home networking to a level that anyone can understand, making it easy to share between them all.

