


There are some awesome Network Attached Storage (NAS) solutions out there that can be bought, set up and used within an hour. The downside to these devices is the cost, which can be upwards of $1,000 depending on what you need from connected storage. Luckily, if you haven't quite got enough cash to spare, or wish to build one yourself, it's easy to do with a Raspberry Pi.
Products used in this guide
- Buy the Pi: Raspberry Pi 4 CanaKit ($65 at Amazon)
- Download free NAS OS: OpenMediaVault (free)
- Pick up some NAS HDDs: Western Digital 4TB ($100 at Amazon)
How to set up your own Raspberry Pi NAS
We're big fans of Raspberry Pis. They're excellent pieces of kit that offer everyone the opportunity to purchase a ready-to-go micro PC that can do almost anything — within reason. One such use of the newest Raspberry Pi 4 is to run a home or office-based NAS. We use the OpenMediaVault software in this step-by-step guide. Just follow these steps:
- Download OMV for Raspberry Pi onto a PC.
- Create a bootable USB drive with the ISO image.
- Connect the external hard drives to the Raspberry Pi.
- Plug the drive into the Raspberry Pi and switch it on.
- Select Install from the menu.
- Carefully follow the install wizard (each step is well explained).
- After updates have been installed, the server will reboot.
- Wait for OMV to finish booting.
- Login on the NAS, using the command line (type "root" and hit enter):
- User: root.
- The password is what you set during install.
- Run the command
ifconfigto view the set IP address.

- Access the web interface by using the IP address in a browser on a PC.
- Log in to the web interface:
- User - admin.
- Password - openmediavault.
After the installation process has completed and you've connected a device or two to the Raspberry Pi, you should consider the following:

- Change the web password.
- Activate various protocols, including SSH, SMB, FTP.
- Create file systems for each drive or partition you wish to use.
- Add users for friends and family.
- Create shared folders.
- Install plug-ins (like the excellent Plex Media Server).
There's no true "best" option for everyone when it comes to a NAS. There are many factors to consider, including price, storage capacity, features, noise, and power consumption. Solutions by Synology and other companies are sound choices if you wish to simply plug and play but they come with a few limitations. A Raspberry Pi is vastly more affordable, allows you to finetune how it's all set up, is ideal for those who wish to not rely on third-party support, and lets you master a NAS OS.
But there are some downsides. There's the lack of space within enclosures. When you install the small PC into a case, you don't have any space for a hard-disk drive (HDD), which means you'll need an external enclosure. There's also a steeper learning curve compared to other NAS operating systems.
Our top equipment picks
You'll need a Raspberry Pi at the very least. The other equipment featured here is optional but we highly recommend it.

Everything you need to get started
This Raspberry Pi kit has everything you need, including a power supply, the board itself, starter guide, and heatsinks for the chips.
For this guide to work, you need a Raspberry Pi and while it's easy to buy one on its own, you'd then need to purchase some heatsinks and a power supply. Picking up the CanaKit package ensures you've got all the internals sorted and a means to power the unit.

Everything you need to get started
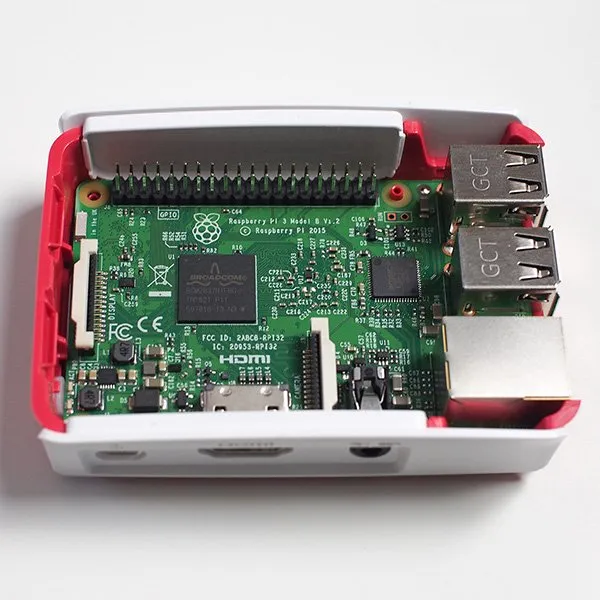
You need a case to keep the Raspberry Pi secure and safe from damage. This clear case is a perfect example that would support the unit itself and allow you to connect everything.
The case is made of acrylic and wraps around the Raspberry Pi, providing great levels of protection while leaving ports open for enhanced accessibility. The case even comes with heatsinks, just in case there's an issue with the ones supplied with the Raspberry Pi kit, and a fan.

Store all your stuff
Western Digital's (WD) Red family of hard drives are manufactured for NAS use and can be deployed in systems that support up to eight bays. Backed by a 3-year limited warranty and a powerful brand in the storage market, WD drives are well known to be of top quality, and they last a long time.
This particular series of drives comes in 1TB, 2TB, 3TB, 4TB, 6TB, 8TB and 10TB versions. Depending on just how much space you require, it's possible to pick one up for as little as $65 (1TB). Each drive comes with the company's NASware 3.0 for enhanced reliability and performance. It's also worth noting that WD doesn't ship any mounting brackets or screws with these drives.

