How to save Oculus Rift apps in different locations on your PC

All the latest news, reviews, and guides for Windows and Xbox diehards.
You are now subscribed
Your newsletter sign-up was successful
Rift Core 2.0, the ongoing major software overhaul for Oculus Rift, has received in an update (version 1.24) a feature that allows you to easily change library locations for the Rift app. Not only can you create as many new locations as you want, you can also move existing installation files. Let's take a look at how it all works.
- How to create a new library location
- How to set a library location as default
- How to remove a location from the list
- How to delete a library location
- How to move an installation to a new library
How to create a new library location
Use this method if you'd like to create a new place to save Rift experiences other than where you initially specified during install.
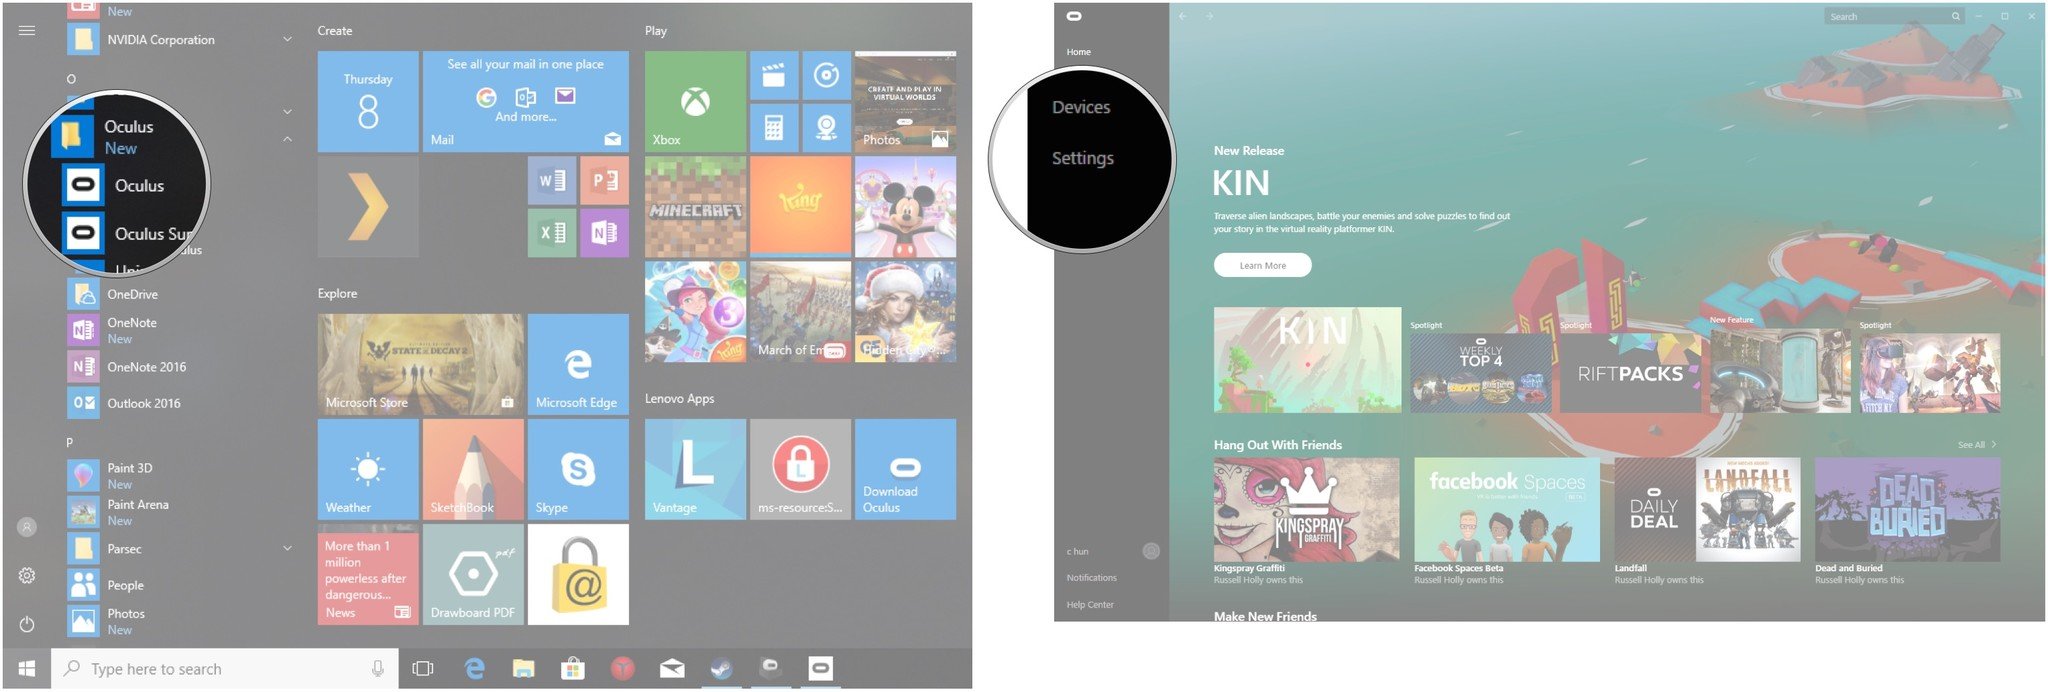
- Launch the Oculus app from the Start menu, taskbar, or desktop.
- Click Settings.
- Click General.
- Click Edit in the Library Locations section.
- Click Add Location.
- Choose a new library location.
- Click Select Folder.
How to set a library location as default
Here you can change the default library location for any new Rift experiences you choose to download.
- Launch the Oculus app from the Start menu, taskbar, or desktop.
- Click Settings.
- Click General.
- Click Edit in the Library Locations section.
- Click the More button next to a library location. It looks like three dots in a row.
- Click Make Default.
How to remove a location from the list
This method does not delete the contents of the folder. It simply removes the folder and its contents from showing up in the Oculus app.
- Launch the Oculus app from the Start menu, taskbar, or desktop.
- Click Settings.
- Click General.
- Click Edit in the Library Locations section.
- Click the More button next to a library location. It looks like three dots in a row.
- Click Remove From List.
If you choose to add this folder to the list again at a later time, any previous installation files should be recognized by the app.
How to delete a library location
This method will completely delete the entire library folder and its contents from your PC.
All the latest news, reviews, and guides for Windows and Xbox diehards.
- Launch the Oculus app from the Start menu, taskbar, or desktop.
- Click Settings.
- Click General.
- Click Edit in the Library Locations section.
- Click the More button next to a library location. It looks like three dots in a row.
- Click Delete Folder.
How to move an installation to a new library
Already have a bunch of apps installed on your PC but want to move them elsewhere? Rift Core 2.0 has again made it super simple.
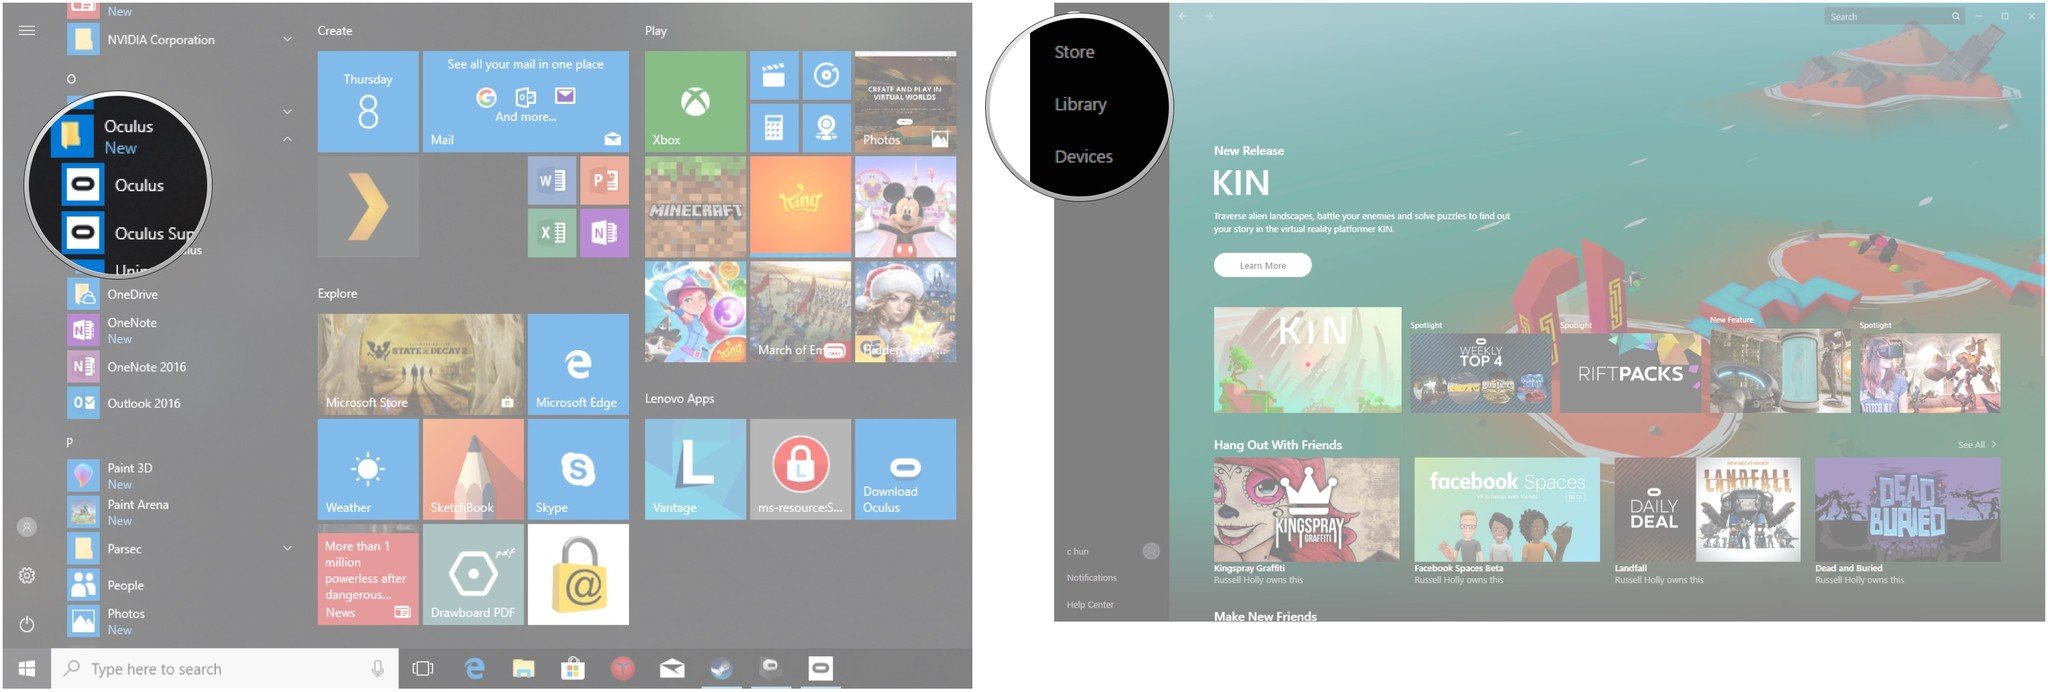
- Launch the Oculus app from the Start menu, taskbar, or desktop.
- Click Library.
- Click the More button below the app you'd like to move. It looks like three dots in a row.
- Click Move.
- Click a library location.
- Click Move.
If a suitable location doesn't already exist, you can click Add Location instead of Move and create a new folder on the fly.
More resources
Looking for more to do with Oculus Rift? Have a look at these other articles!
- How to stop Oculus Service from preventing PC sleep
- How to ensure the best VR performance from your PC
- How to take a screenshot on Oculus Rift (after the 2.0 update)
Updated March 12, 2018: This guide has been refreshed to include all new steps for the Rift Core 2.0 update.

Cale Hunt brings to Windows Central more than nine years of experience writing about laptops, PCs, accessories, games, and beyond. If it runs Windows or in some way complements the hardware, there’s a good chance he knows about it, has written about it, or is already busy testing it.


