How to take a screenshot on Oculus Rift (after the 2.0 update)
All the latest news, reviews, and guides for Windows and Xbox diehards.
You are now subscribed
Your newsletter sign-up was successful
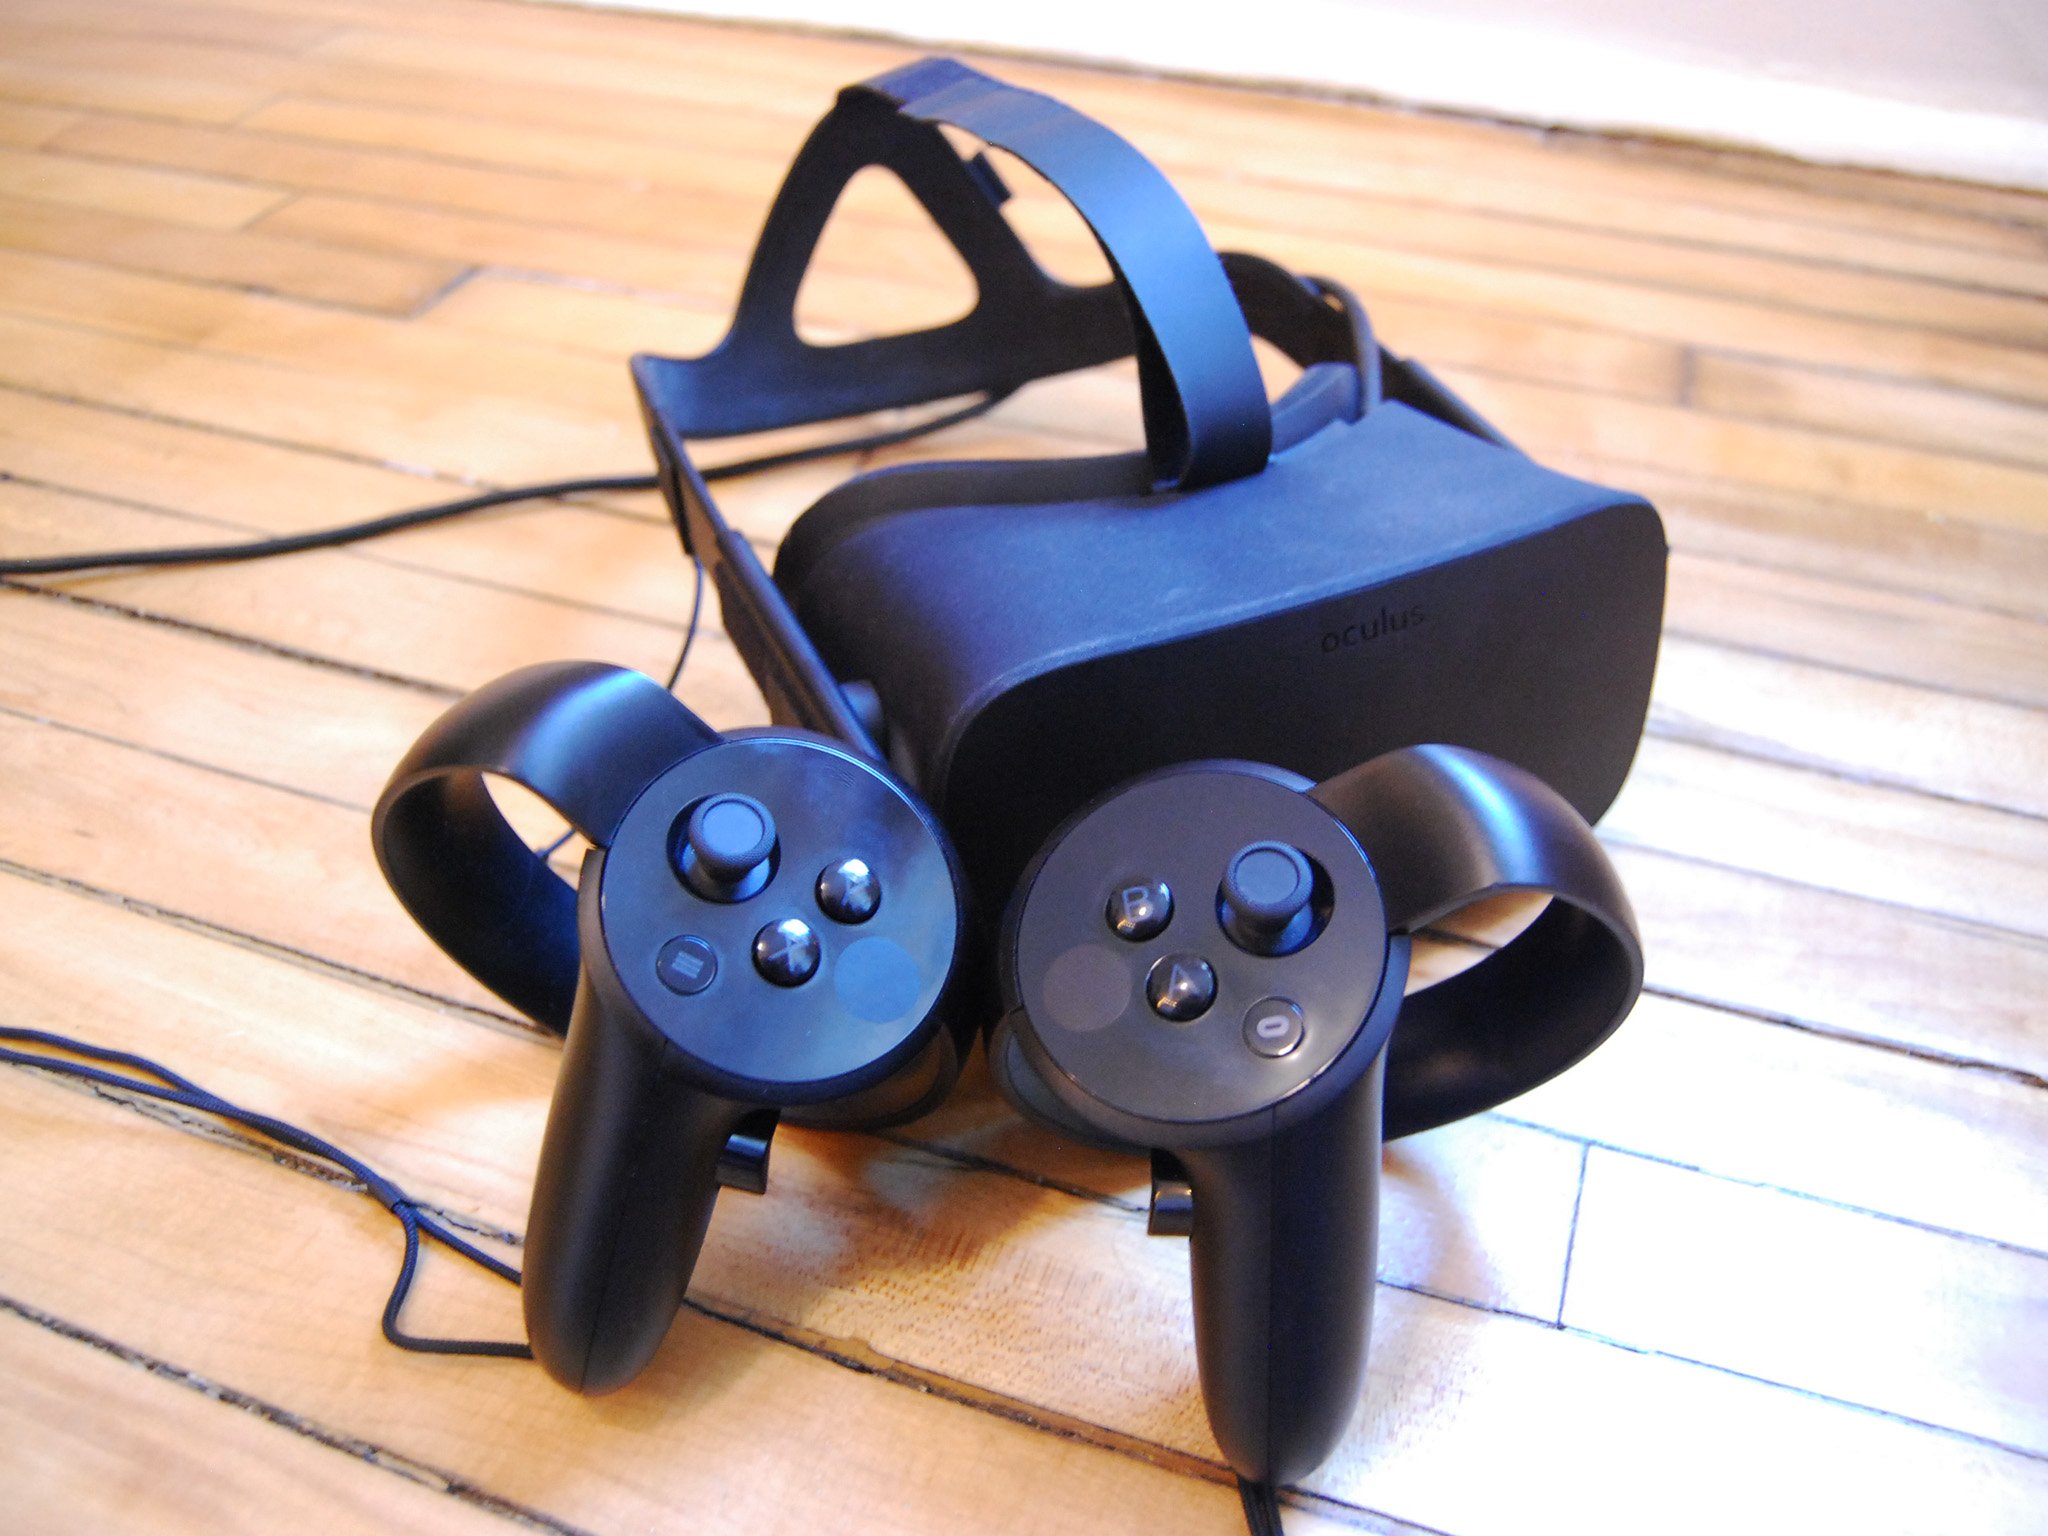
Rift Core 2.0, the in-progress software overhaul for Oculus Rift, has made it much easier to navigate the system using only Touch controllers, and it has added some personality to your Home area. There are a bunch more neat features — like a quality built-in desktop viewer — but there still isn't an obvious way to snap a screenshot. Until Rift Core 2.0 gets a true screenshot button, there's a workaround that will let you capture what you're seeing.
How to take a screenshot with Oculus Rift
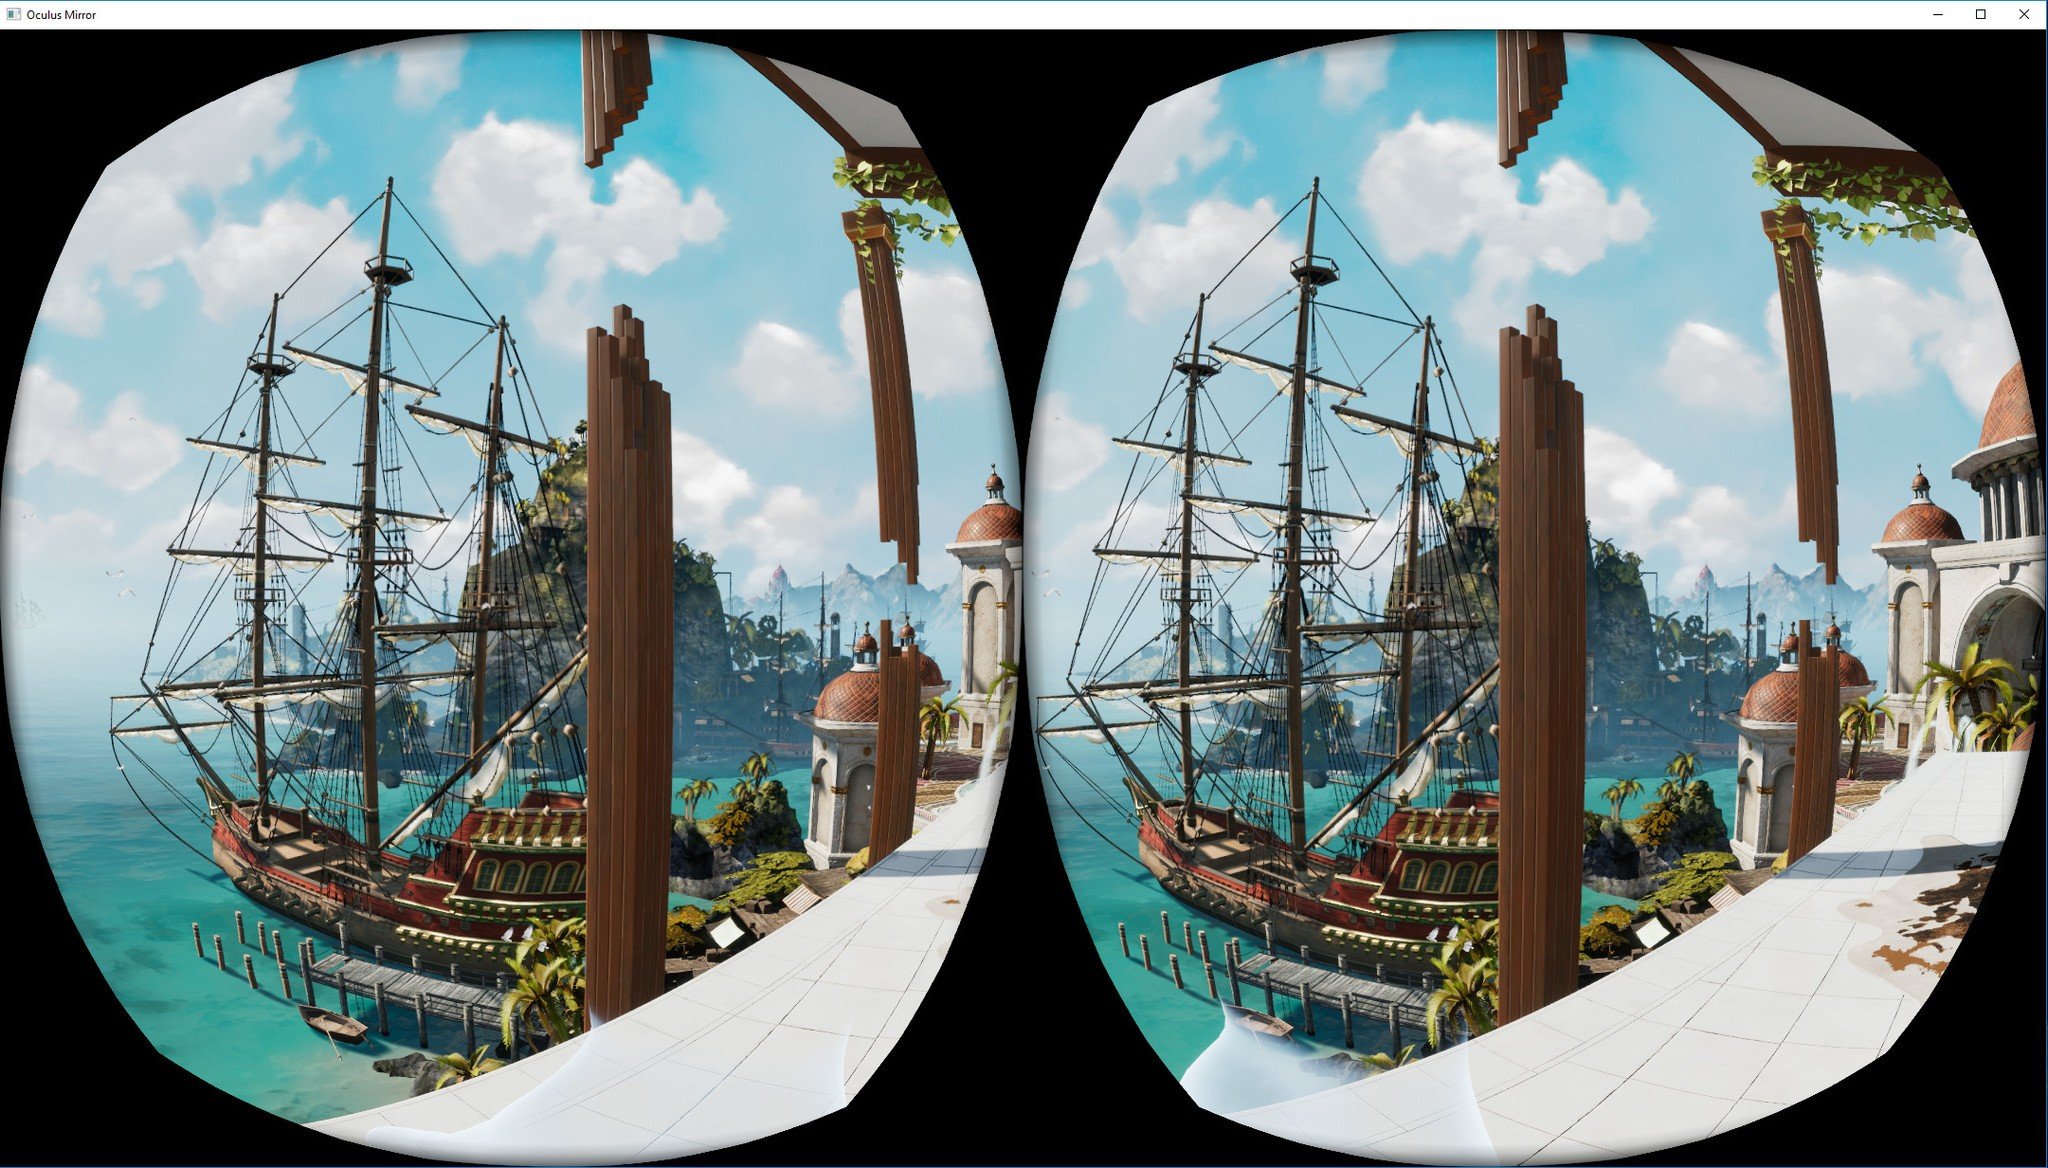
In order to see on your standard monitor what's being displayed inside the Oculus Rift, you can use an Oculus Mirror tool that's included with the Rift install.
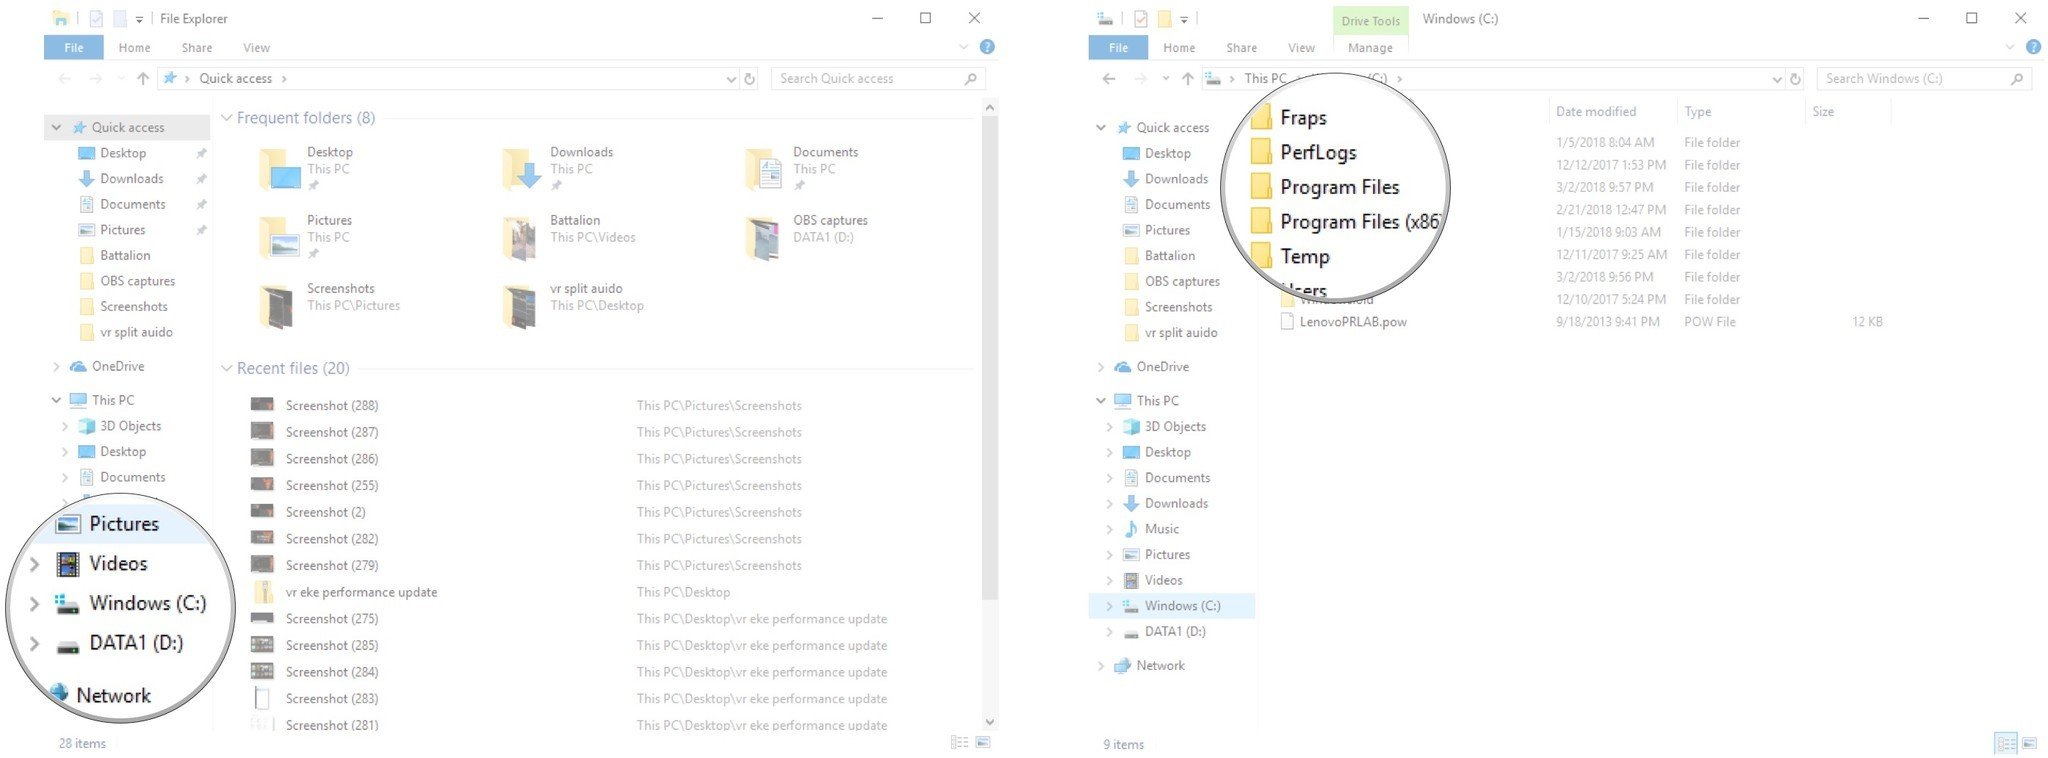
- Launch File Explorer from your Start menu, desktop, or taskbar.
- Click Windows (C:). If the primary install is on a different drive, click that drive instead.
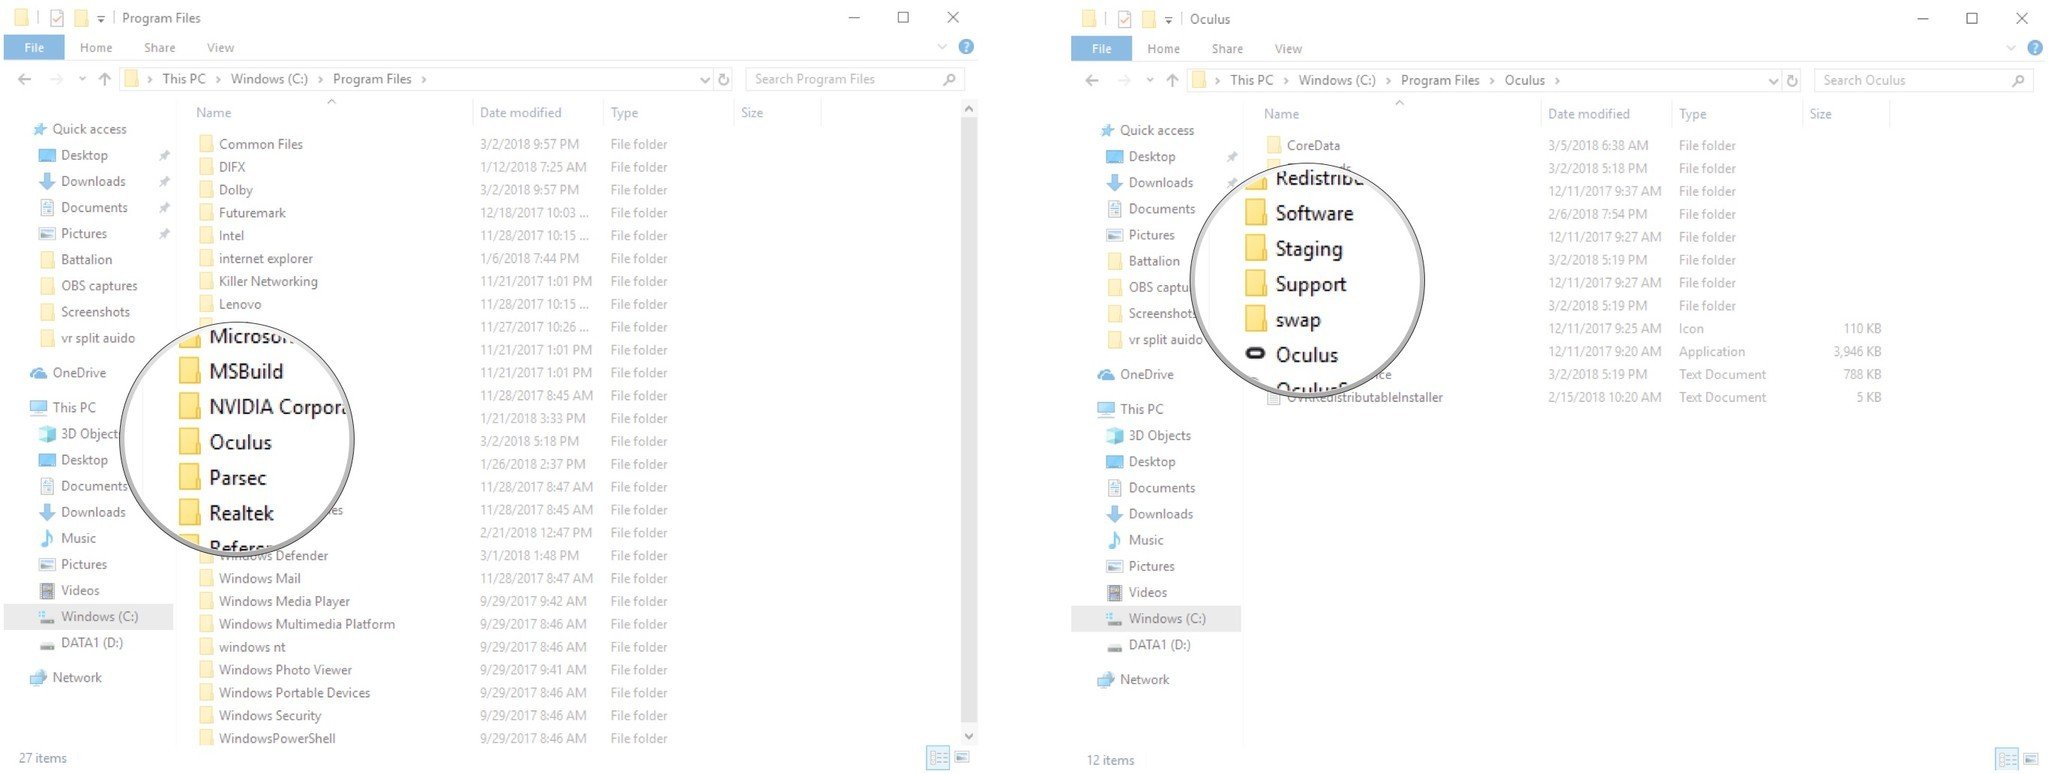
- Double-click Program Files.
- Double-click Oculus.
- Double-click Support.
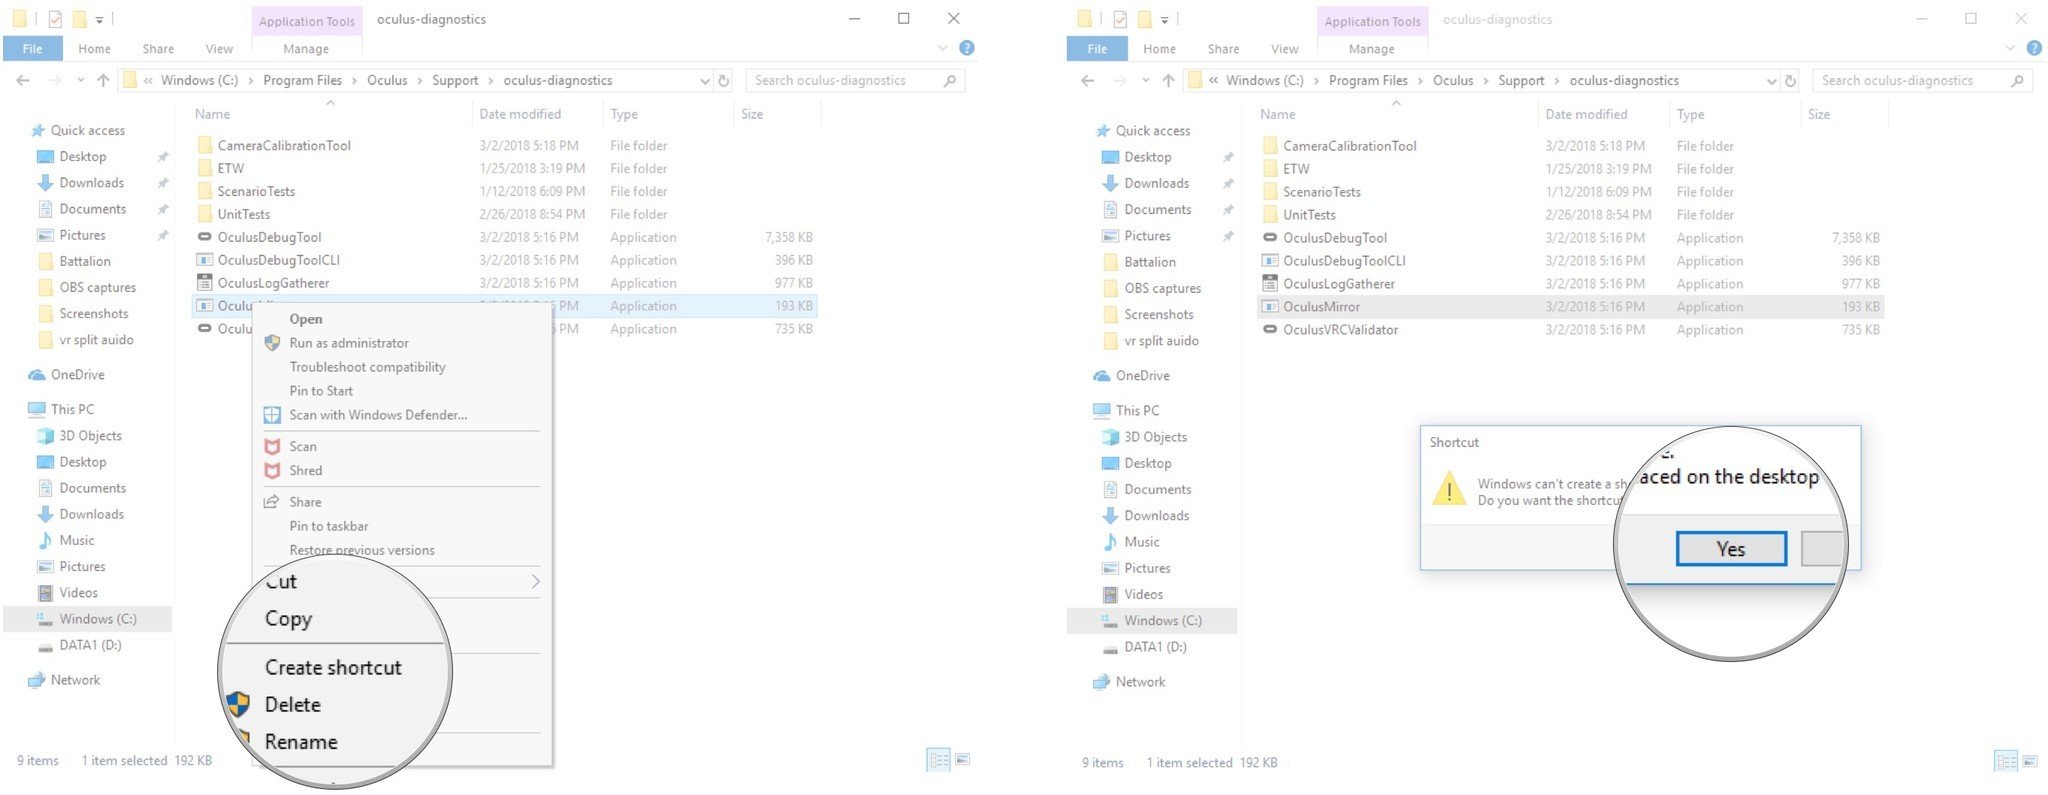
- Double-click oculus-diagnostics.
- Double-click OculusMirror.
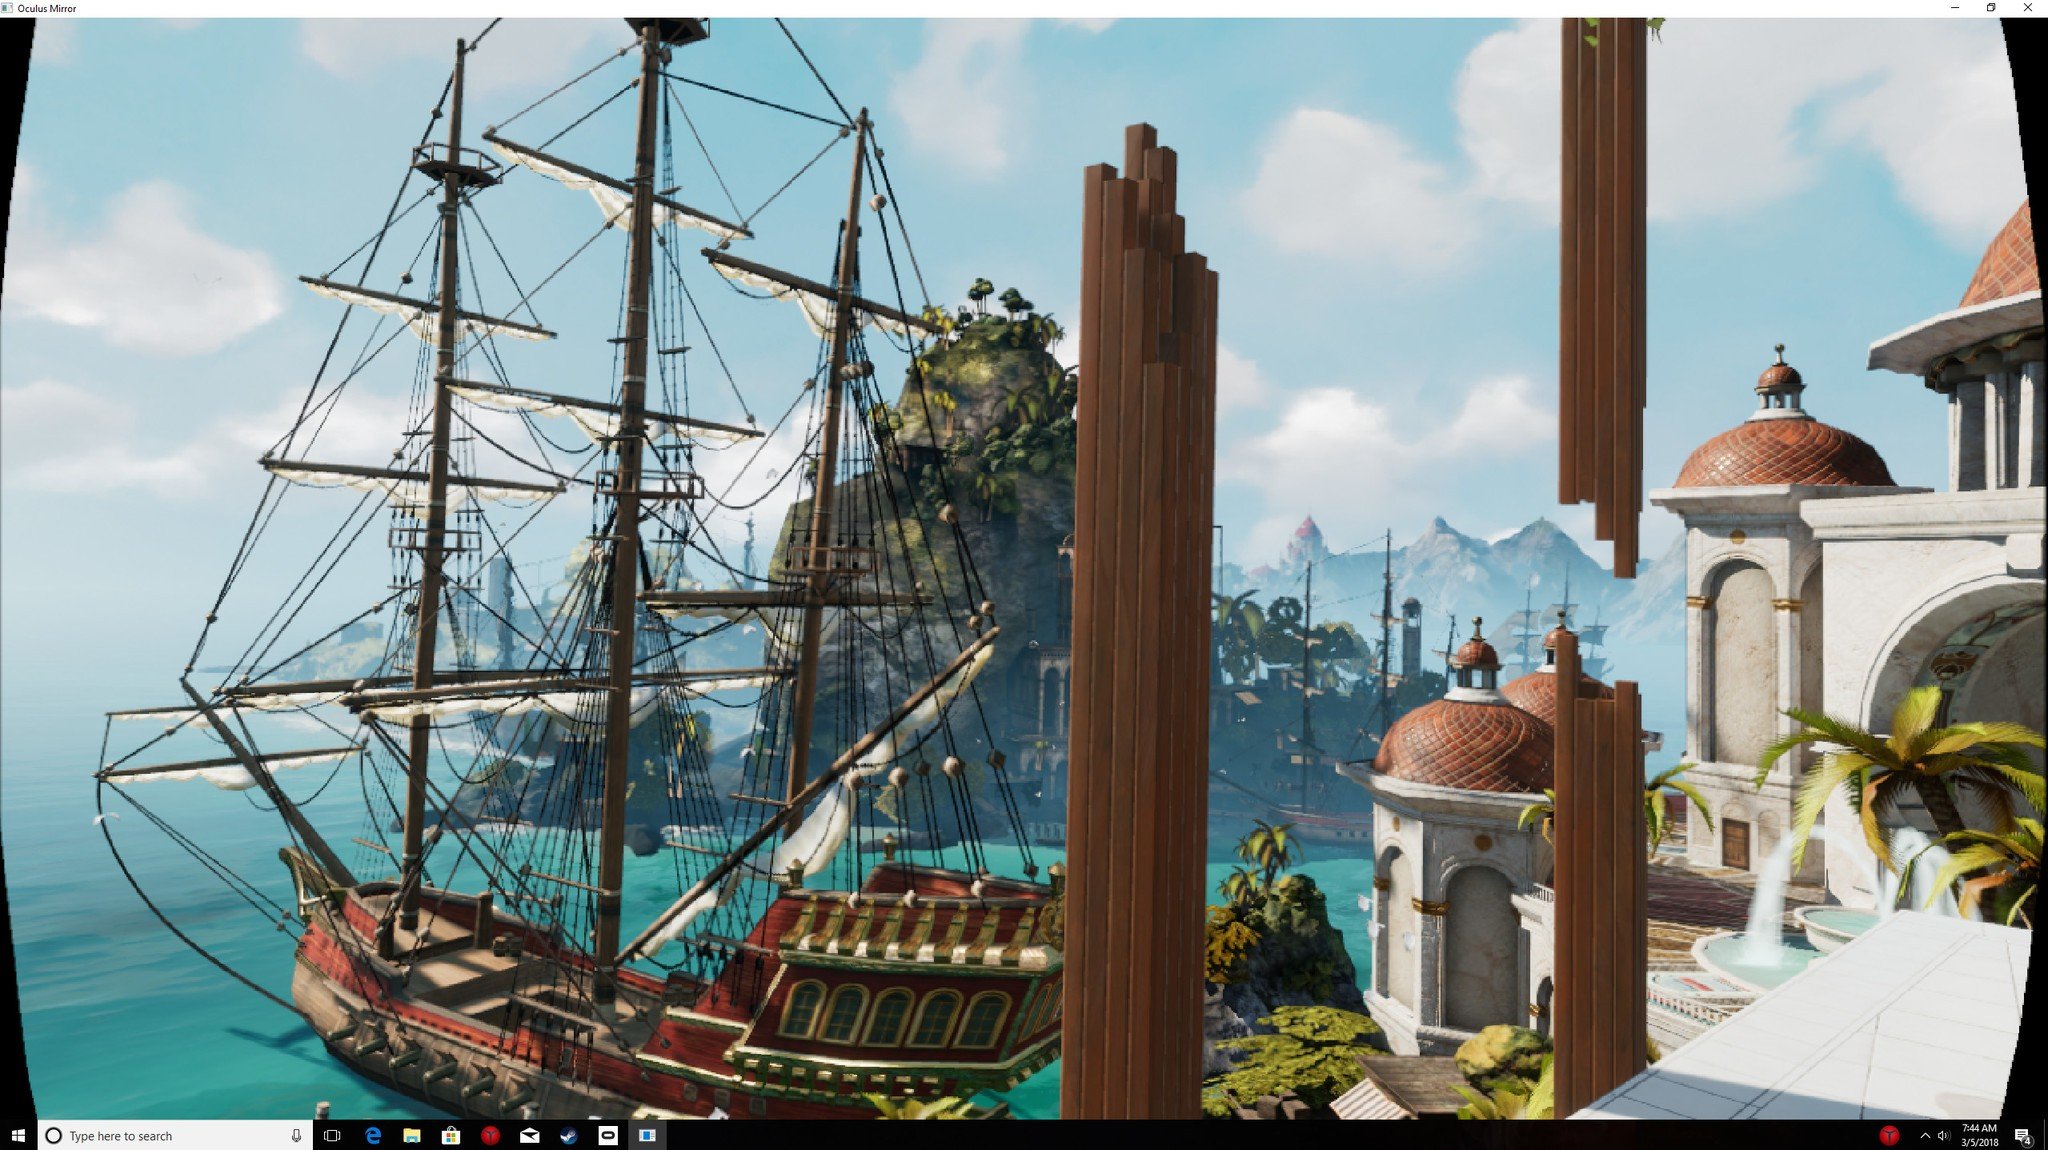
Rather than showing both eyes at once, the Oculus Mirror now shows a complete view, just as you'd be seeing inside the headset. You can click and drag this window to make it larger, but remember that it might not look as crisp as you change the dimensions.
With Mirror open and showing the view inside the Rift, you can now nab a screenshot as you normally would, using the Windows key + Prt Scr shortcut on your keyboard. If the window isn't fullscreen you'll have some cropping to do, but if you record footage with something like OBS, you'll be able to specifically choose the Mirror window.
How to modify the Oculus mirror
The 16:9 default Mirror view works wonders for grabbing screenshots or recording video, but you might want to instead show both eyes separately or just the view of one eye. Here's how to make those changes.
- Launch File Explorer from your Start menu, desktop, or taskbar.
- Click Windows (C:). If the primary install is on a different drive, click that drive instead.
- Double-click Program Files.
- Double-click Oculus.
- Double-click Support.
- Double-click oculus-diagnostics.
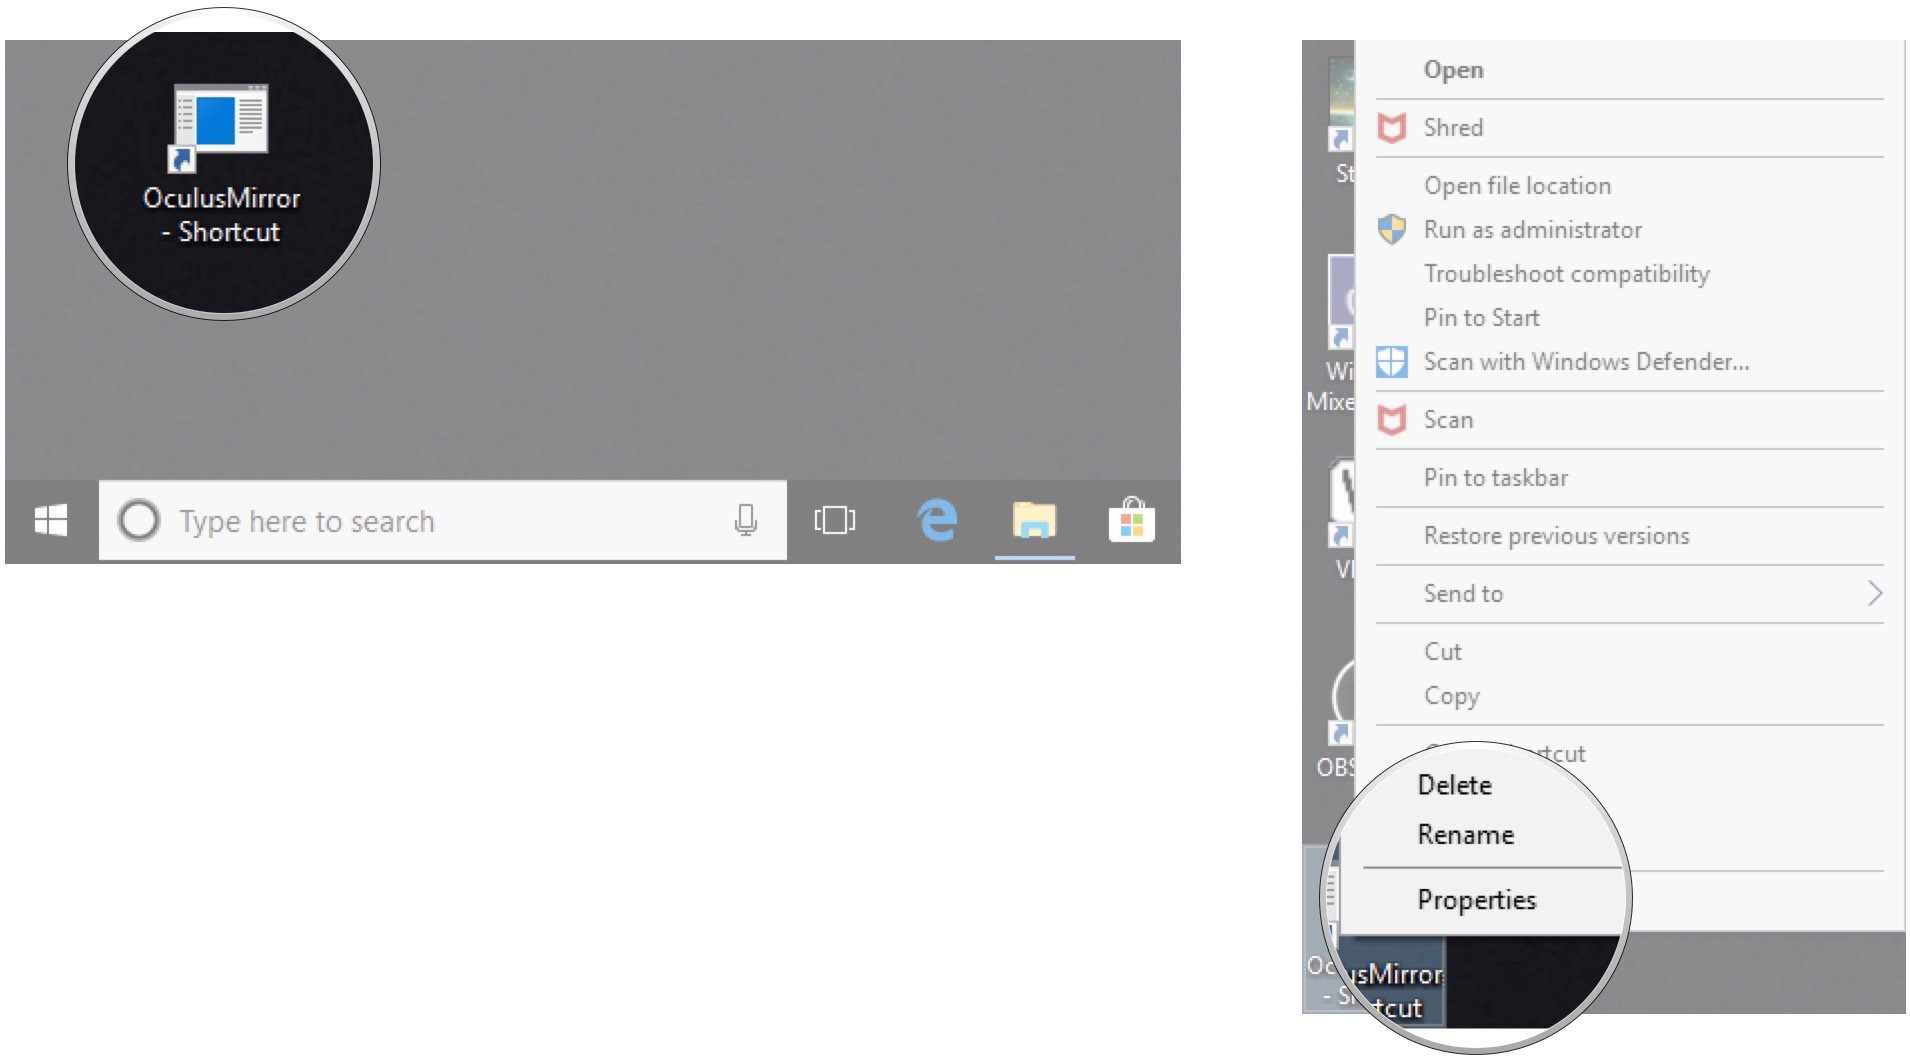
- Right-click OculusMirror.
- Click Create shortcut.
- Click Yes.
- Right-click OculusMirror - Shortcut on your desktop.
- Click Properties.
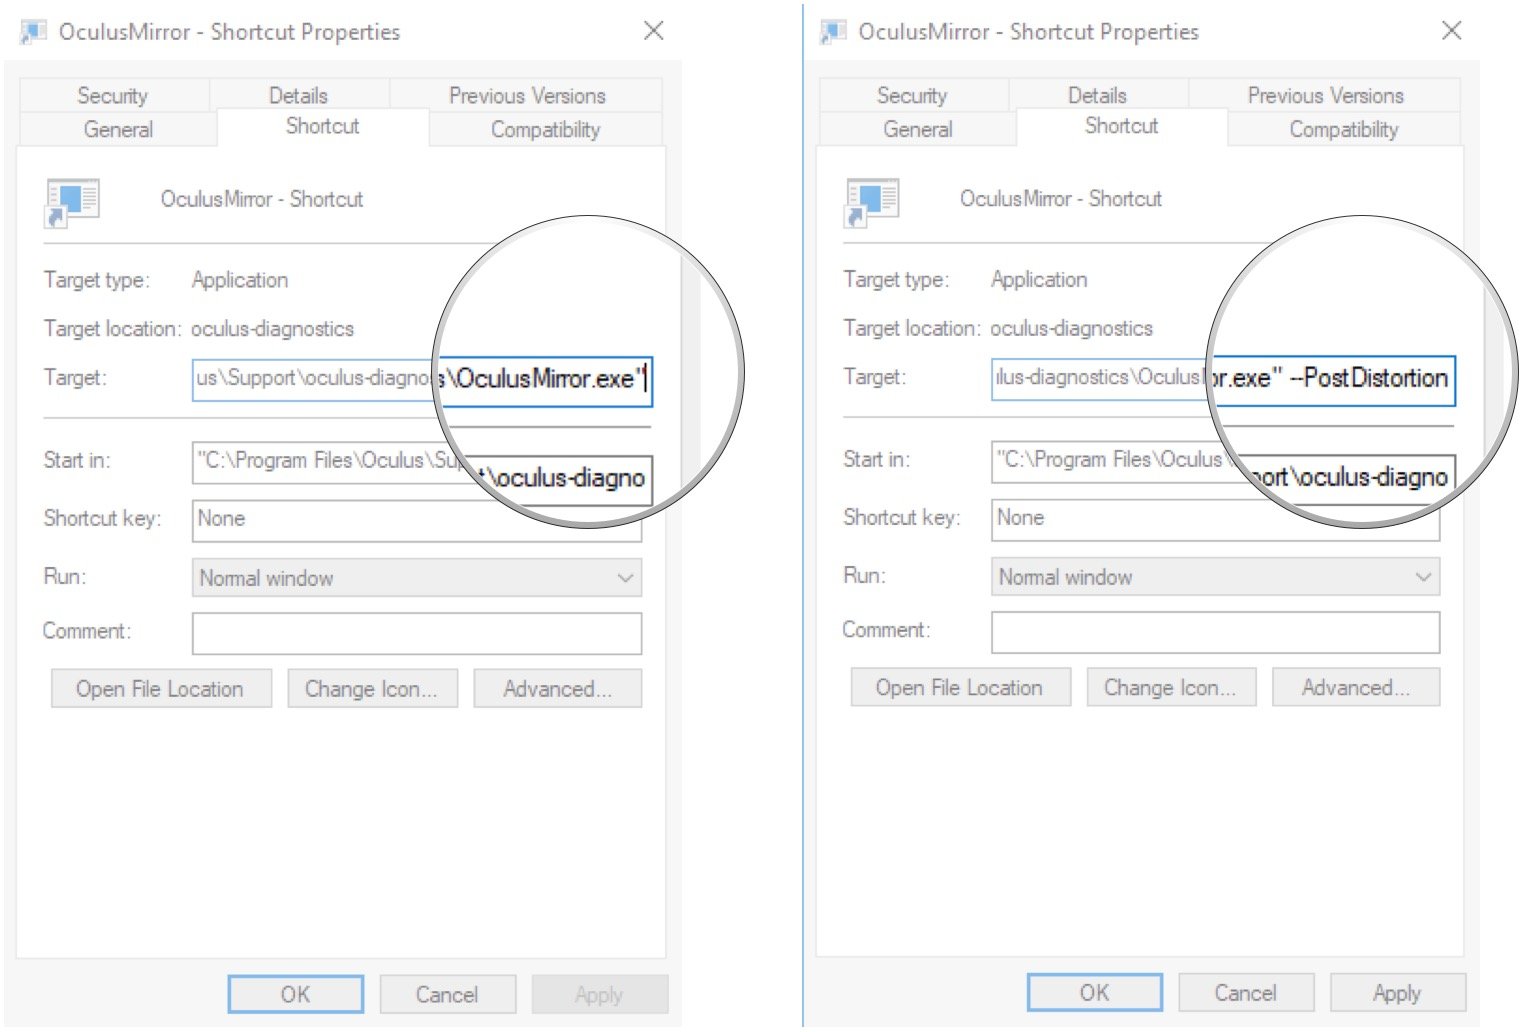
- Click the Target field so that your cursor is at the end of the string.
- Type a command.
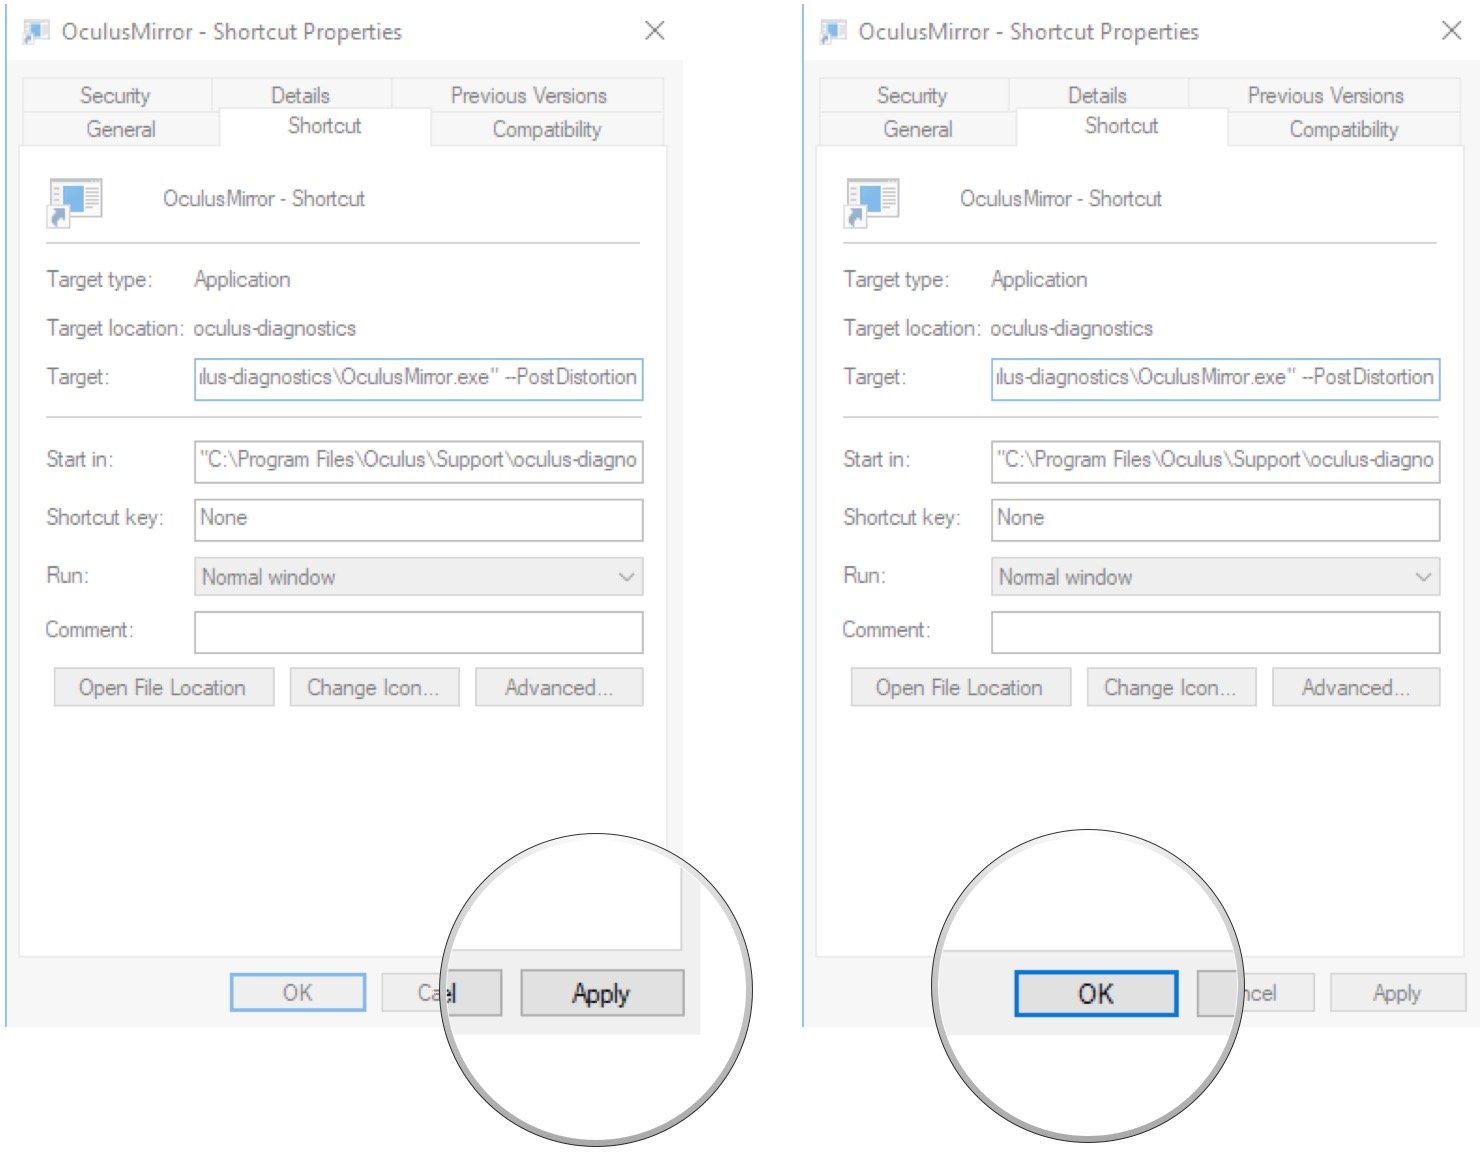
- Click Apply.
- Click OK.
For step 13, there are a few commands you can try:
All the latest news, reviews, and guides for Windows and Xbox diehards.
- --RectilinearBothEyes — Both eyes are shown separate from each other.
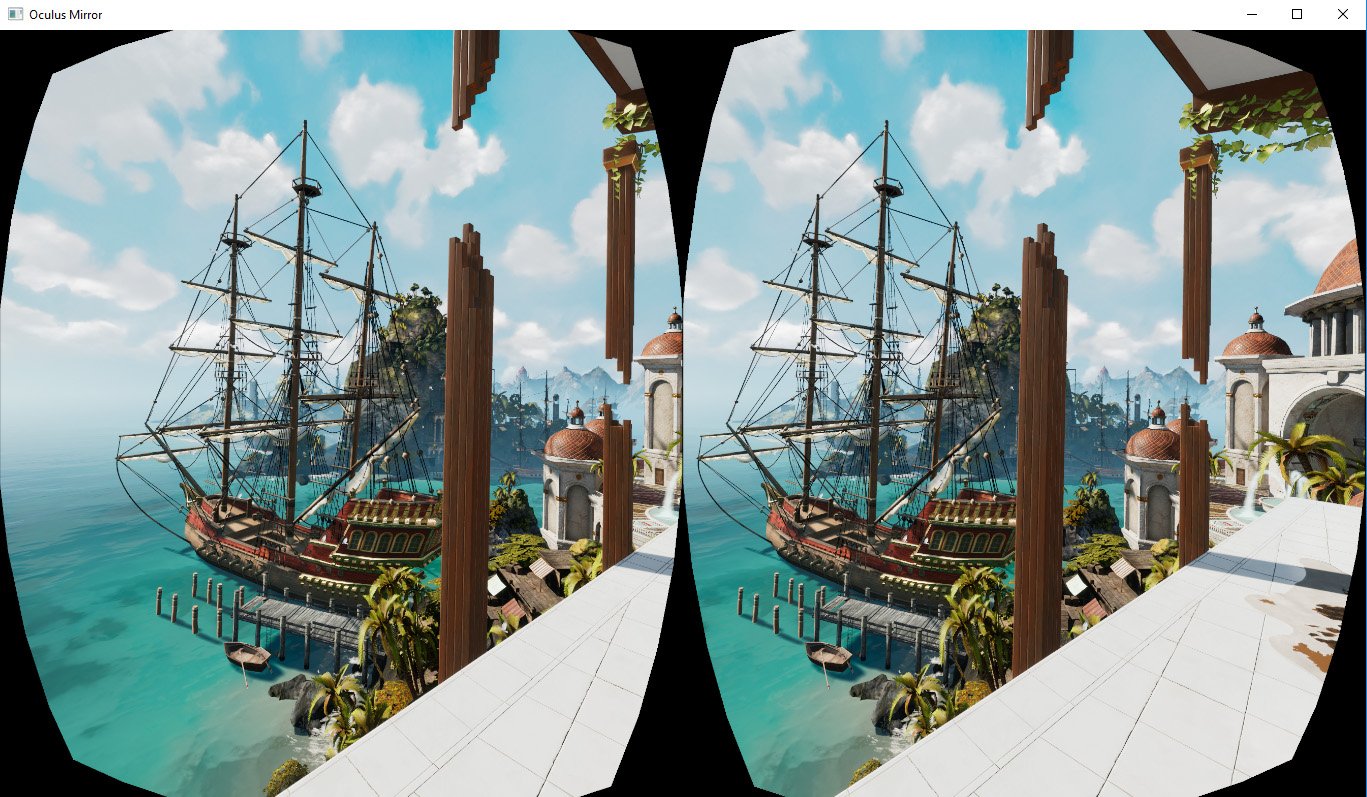
- --PostDistortion — Both eyes are shown separate from each other but without lens distortion and chromatic aberration.
- --RightEyeOnly — You see only the right eye's view.
- --LeftEyeOnly — You see only the left eye's view.
Always launch the Oculus Mirror with the desktop shortcut you created and modified in order to see the changes. At any time, you can remove the command from the Target field in order to return to normal.
More resources

Cale Hunt brings to Windows Central more than nine years of experience writing about laptops, PCs, accessories, games, and beyond. If it runs Windows or in some way complements the hardware, there’s a good chance he knows about it, has written about it, or is already busy testing it.
