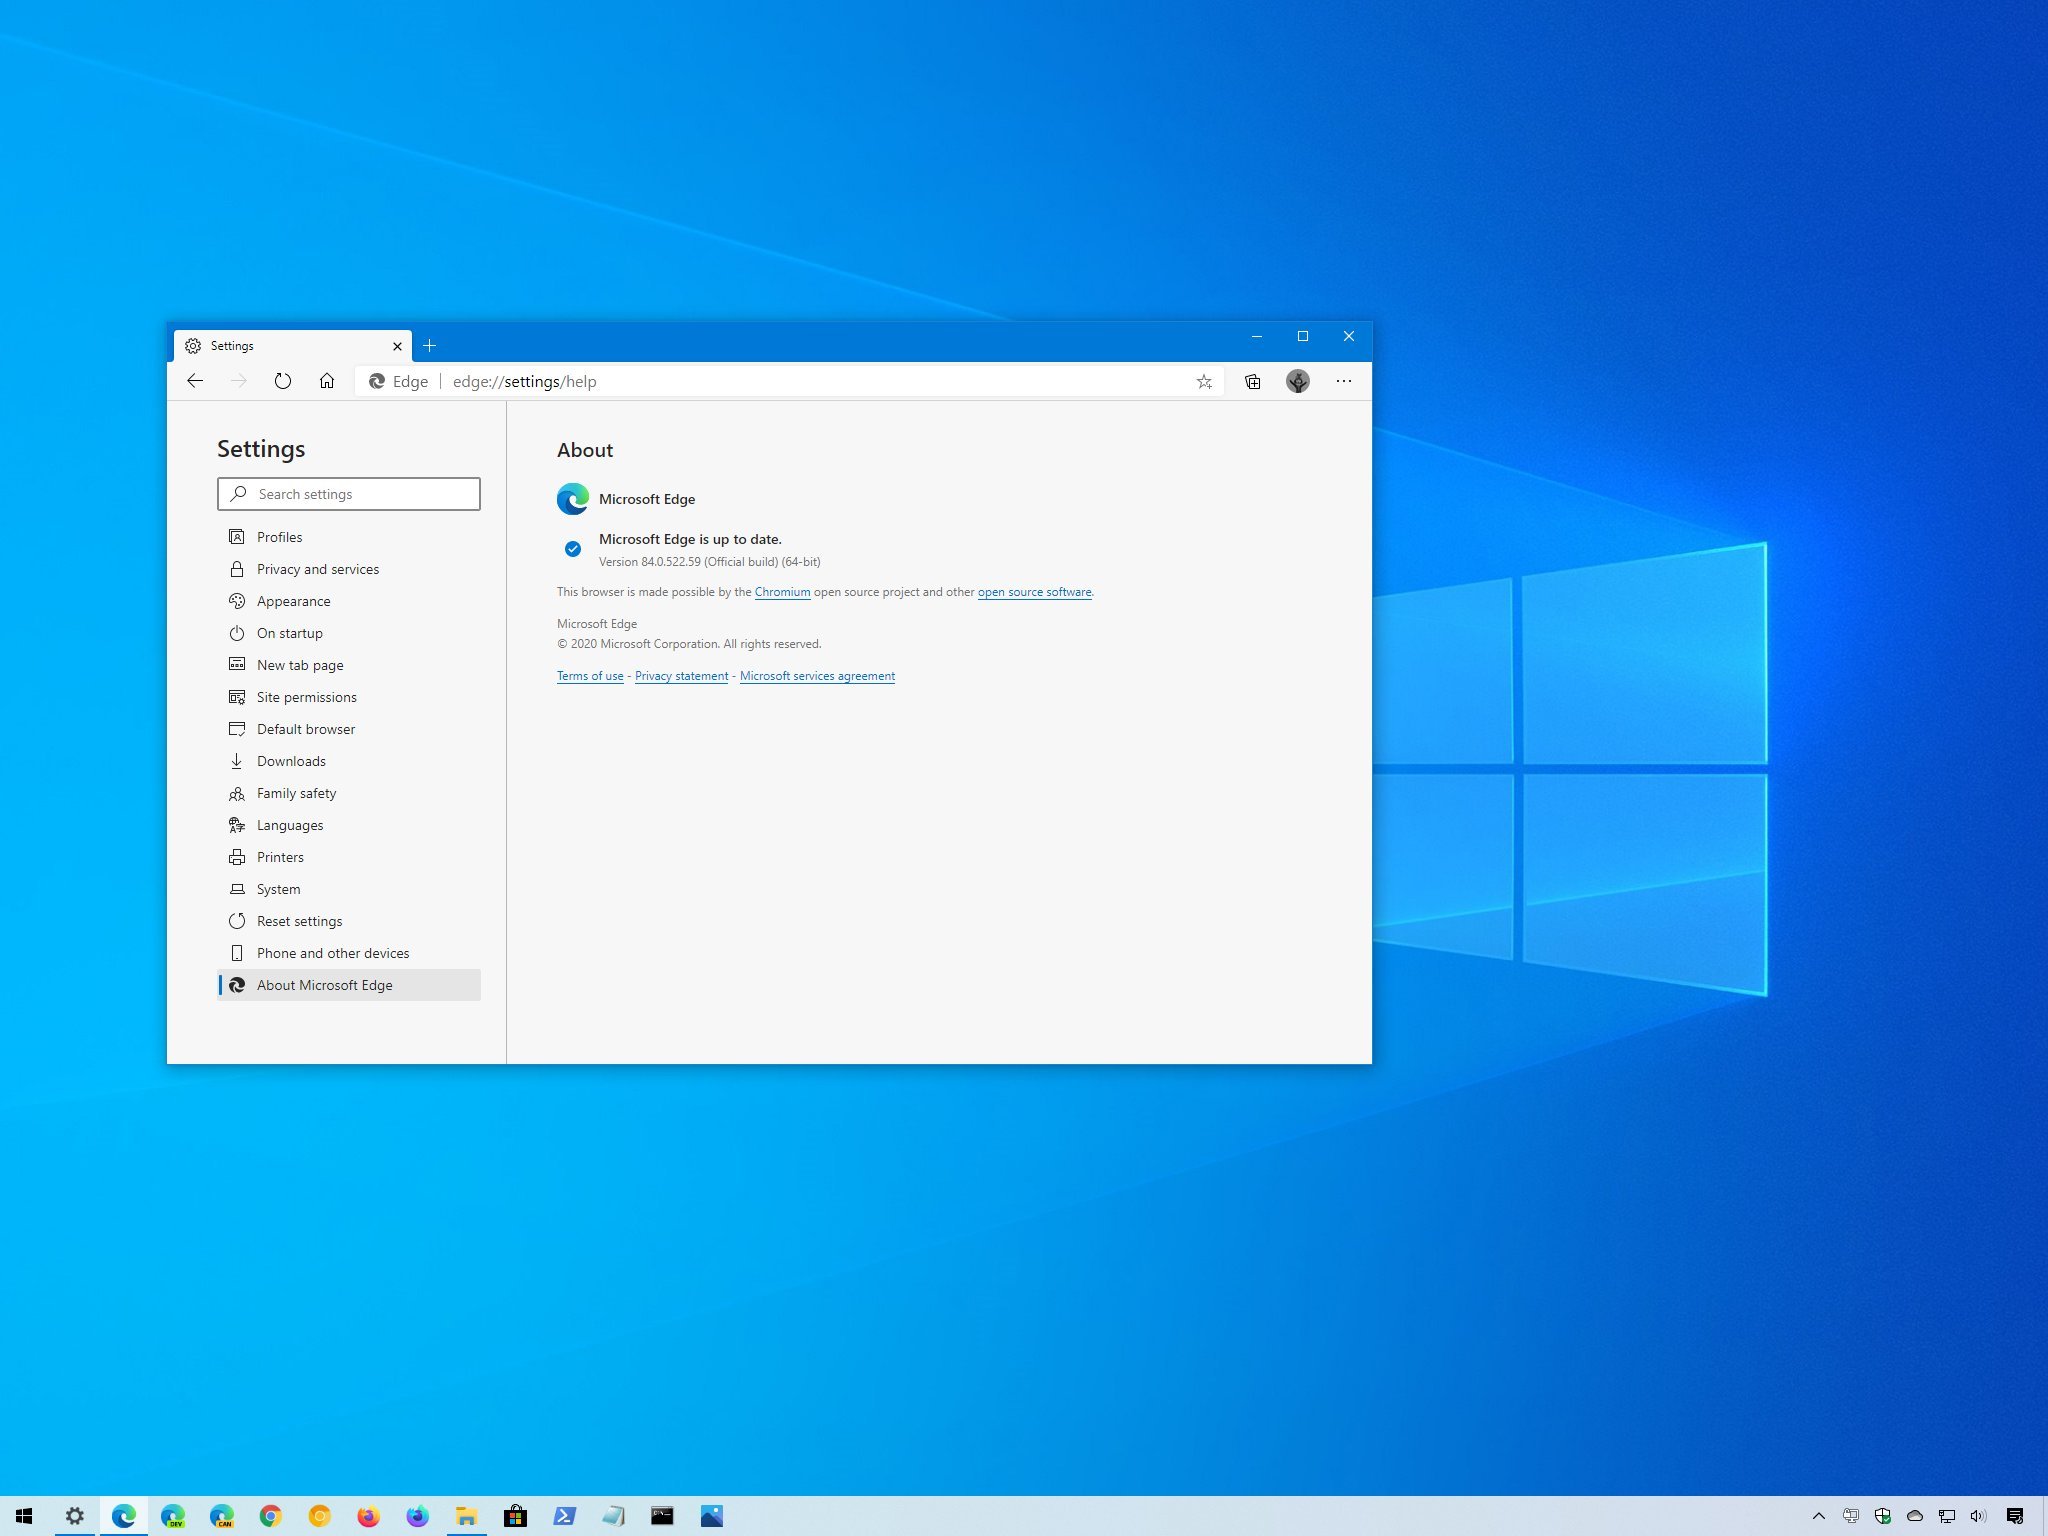
How to remove Microsoft Edge from Windows 10
If you don't like Microsoft Edge, you can uninstall it from Windows 10, but the process will depend on how you obtained the browser – Here's how to complete the task.

All the latest news, reviews, and guides for Windows and Xbox diehards.
You are now subscribed
Your newsletter sign-up was successful
On Windows 10, Microsoft has been rolling out its Chromium version of Microsoft Edge automatically through Windows Update to replace the legacy version of the browser.
The only problem is that since the company is making it part of Windows 10 when it installs automatically, you won't find an option to uninstall it or revert to the legacy version if you don't like it or you're not ready for the new version.
However, since Microsoft Edge is based on the Chromium project, you can uninstall it with Command Prompt using a process similar to the one to remove Google Chrome with command lines.
In this Windows 10 guide, we'll walk you through the steps to completely uninstall Microsoft Edge from your computer.
- How to uninstall Microsoft Edge (Chromium) using Settings
- How to uninstall Microsoft Edge (Chromium) using Command Prompt
How to uninstall Microsoft Edge (Chromium) using Settings
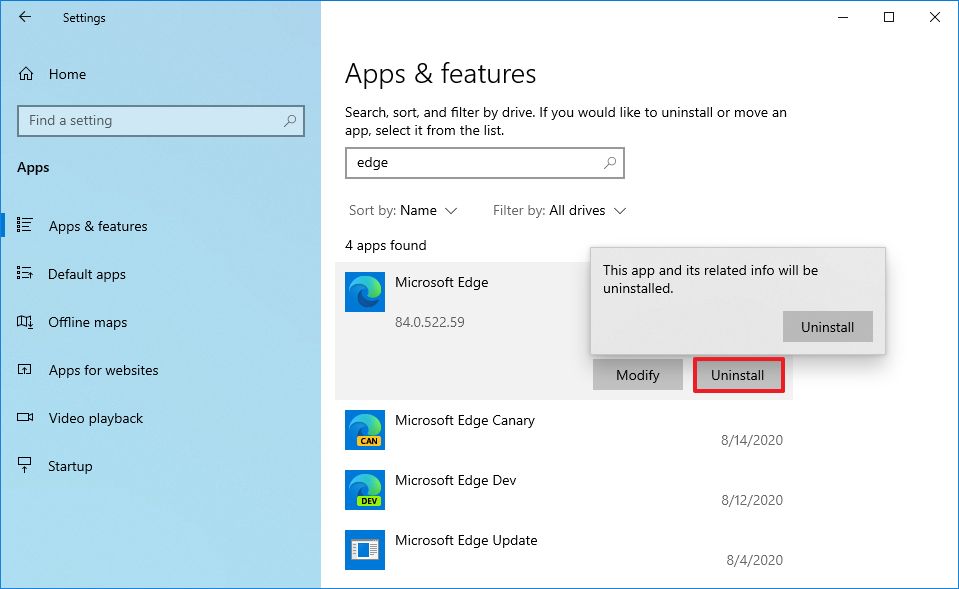
If you're trying to uninstall a version of Microsoft Edge that you installed manually using the installer, or one of the builds available through the Beta, Dev, and Canary Channels, you can remove it using the Settings app.
To uninstall Microsoft Edge, use these steps:
- Open Settings.
- Click on Apps.
- Click on Apps & features.
- Select the Microsoft Edge item.
- Click the Uninstall button.
- Click the Uninstall button again.
- (Optional) Select the Also clear your browsing data option.
- Click the Uninstall button.
Once you complete the steps, the version of the browser you selected will be removed from your computer.
All the latest news, reviews, and guides for Windows and Xbox diehards.
How to uninstall Microsoft Edge (Chromium) using Command Prompt
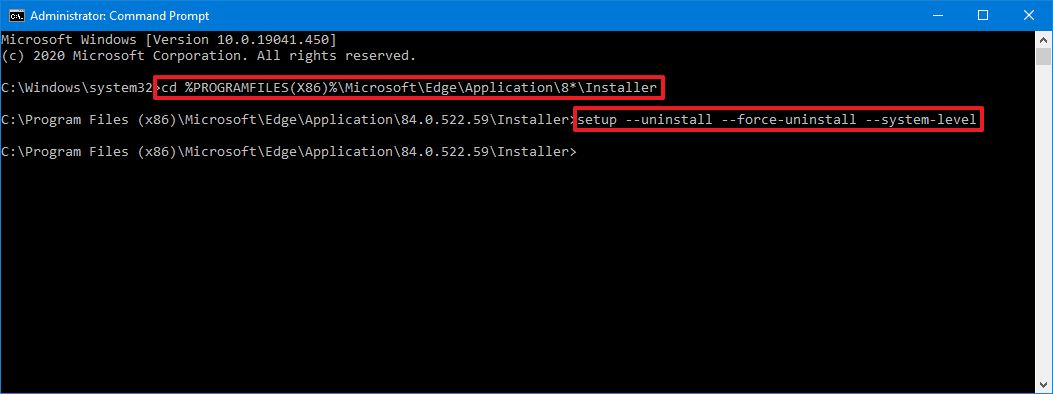
If the option to uninstall Microsoft Edge isn't available in Settings, because you received the new browser through Windows Update, you'll need to use Command Prompt to remove it.
To get rid of the Chromium version of Microsoft Edge, use these steps:
- Open Start.
- Search for Command Prompt, right-click the top result, and select the Run as administrator option.
- Type the following path to access the Installer folder and press Enter:
cd %PROGRAMFILES(X86)%\Microsoft\Edge\Application\8*\InstallerQuick note: On Windows 10, the "Installer" folder resides inside another folder named after the version number of the browser currently installed on your device; as a result, the name may change as new updates roll out. So, in the path, we're using the number "8" with a wildcard "*" to access the folder no matter the 8x.x.xxx.xx version you have installed. However, once the browser reaches version 9x.x.xxx.x, you'll need to update the path to 9 with the wildcard. - Type the following command to remove Microsoft Edge and press Enter:
setup --uninstall --force-uninstall --system-level
After you complete the steps, Microsoft Edge will be removed from the device, and the legacy version of the browser will be reinstated on Windows 10.
In case you haven't received the new version of Microsoft Edge through Windows Update, you can use these steps to prevent the automatic installation.

Mauro Huculak has been a Windows How-To Expert contributor for WindowsCentral.com for nearly a decade and has over 22 years of combined experience in IT and technical writing. He holds various professional certifications from Microsoft, Cisco, VMware, and CompTIA and has been recognized as a Microsoft MVP for many years.


