Shadow of the Tomb Raider: San Cordoba Challenge Tomb guide
Don't let San Cordoba get the best of you.
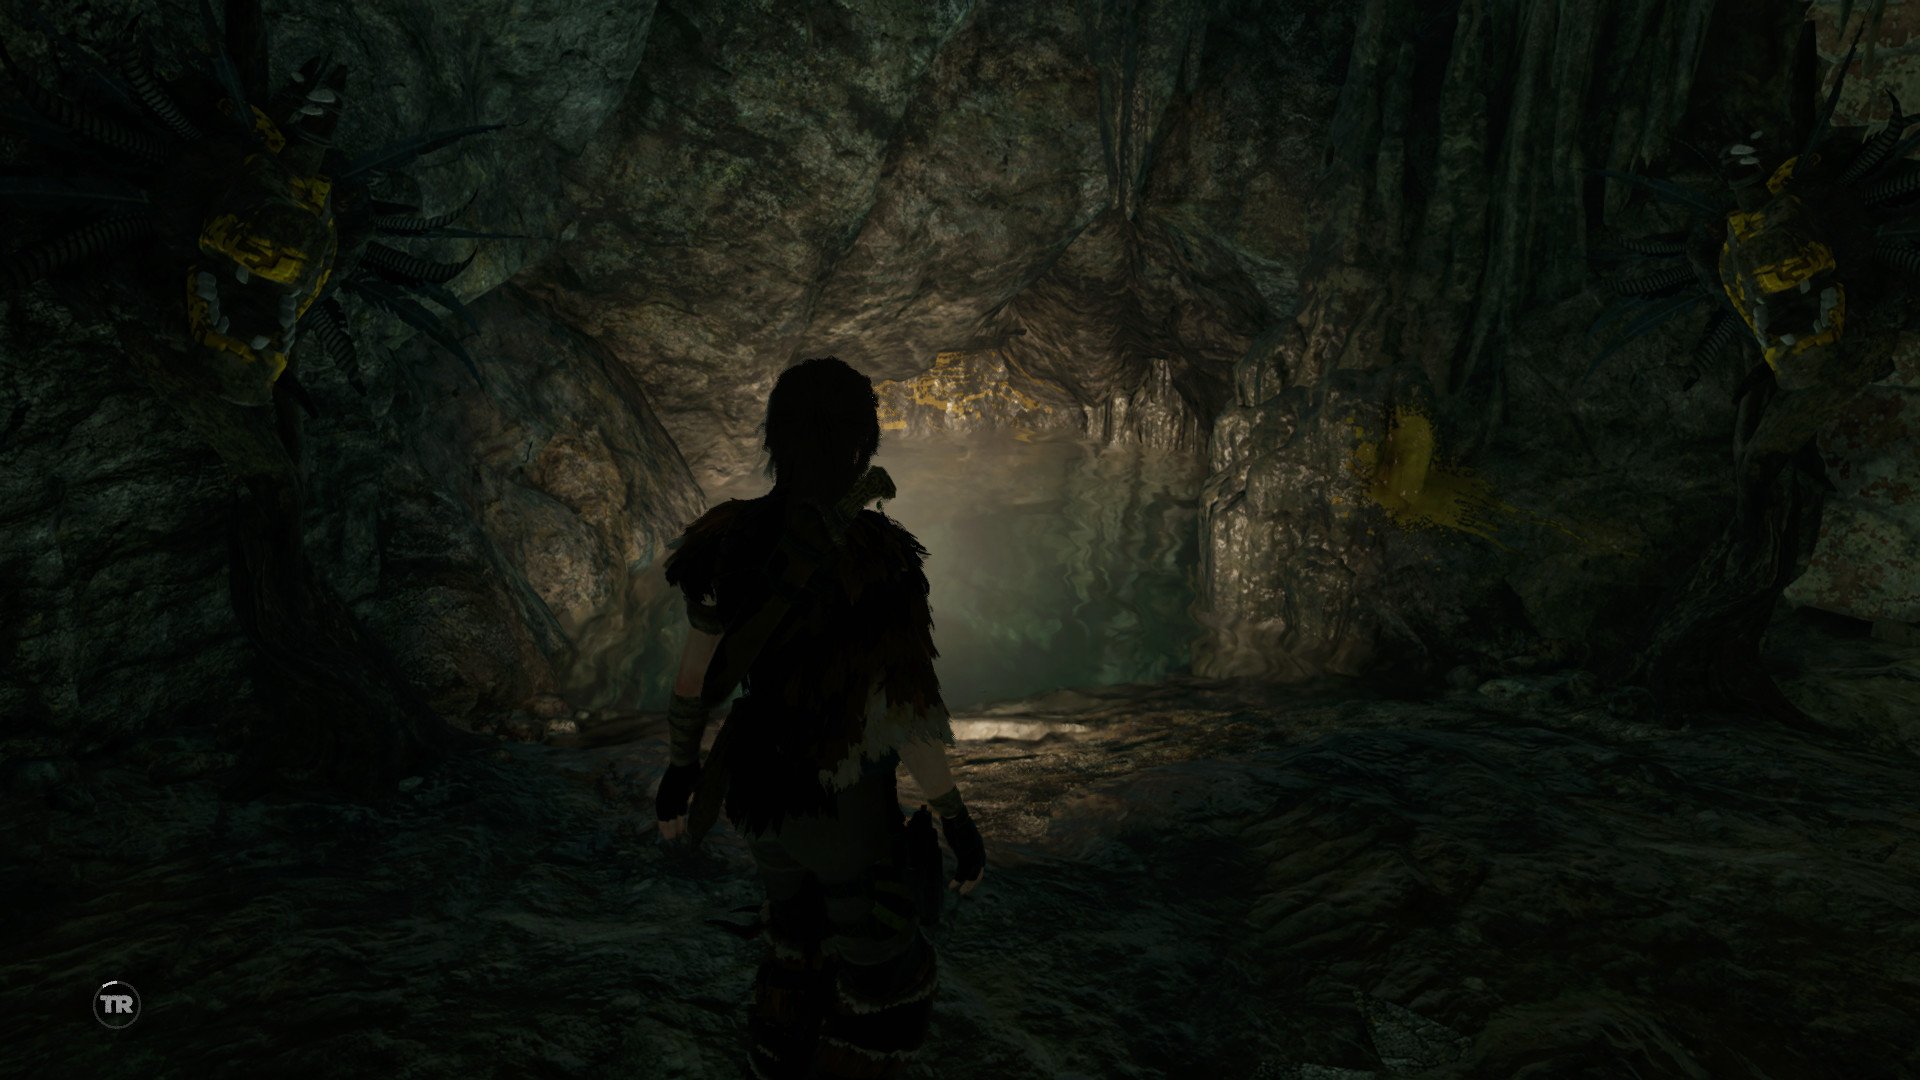
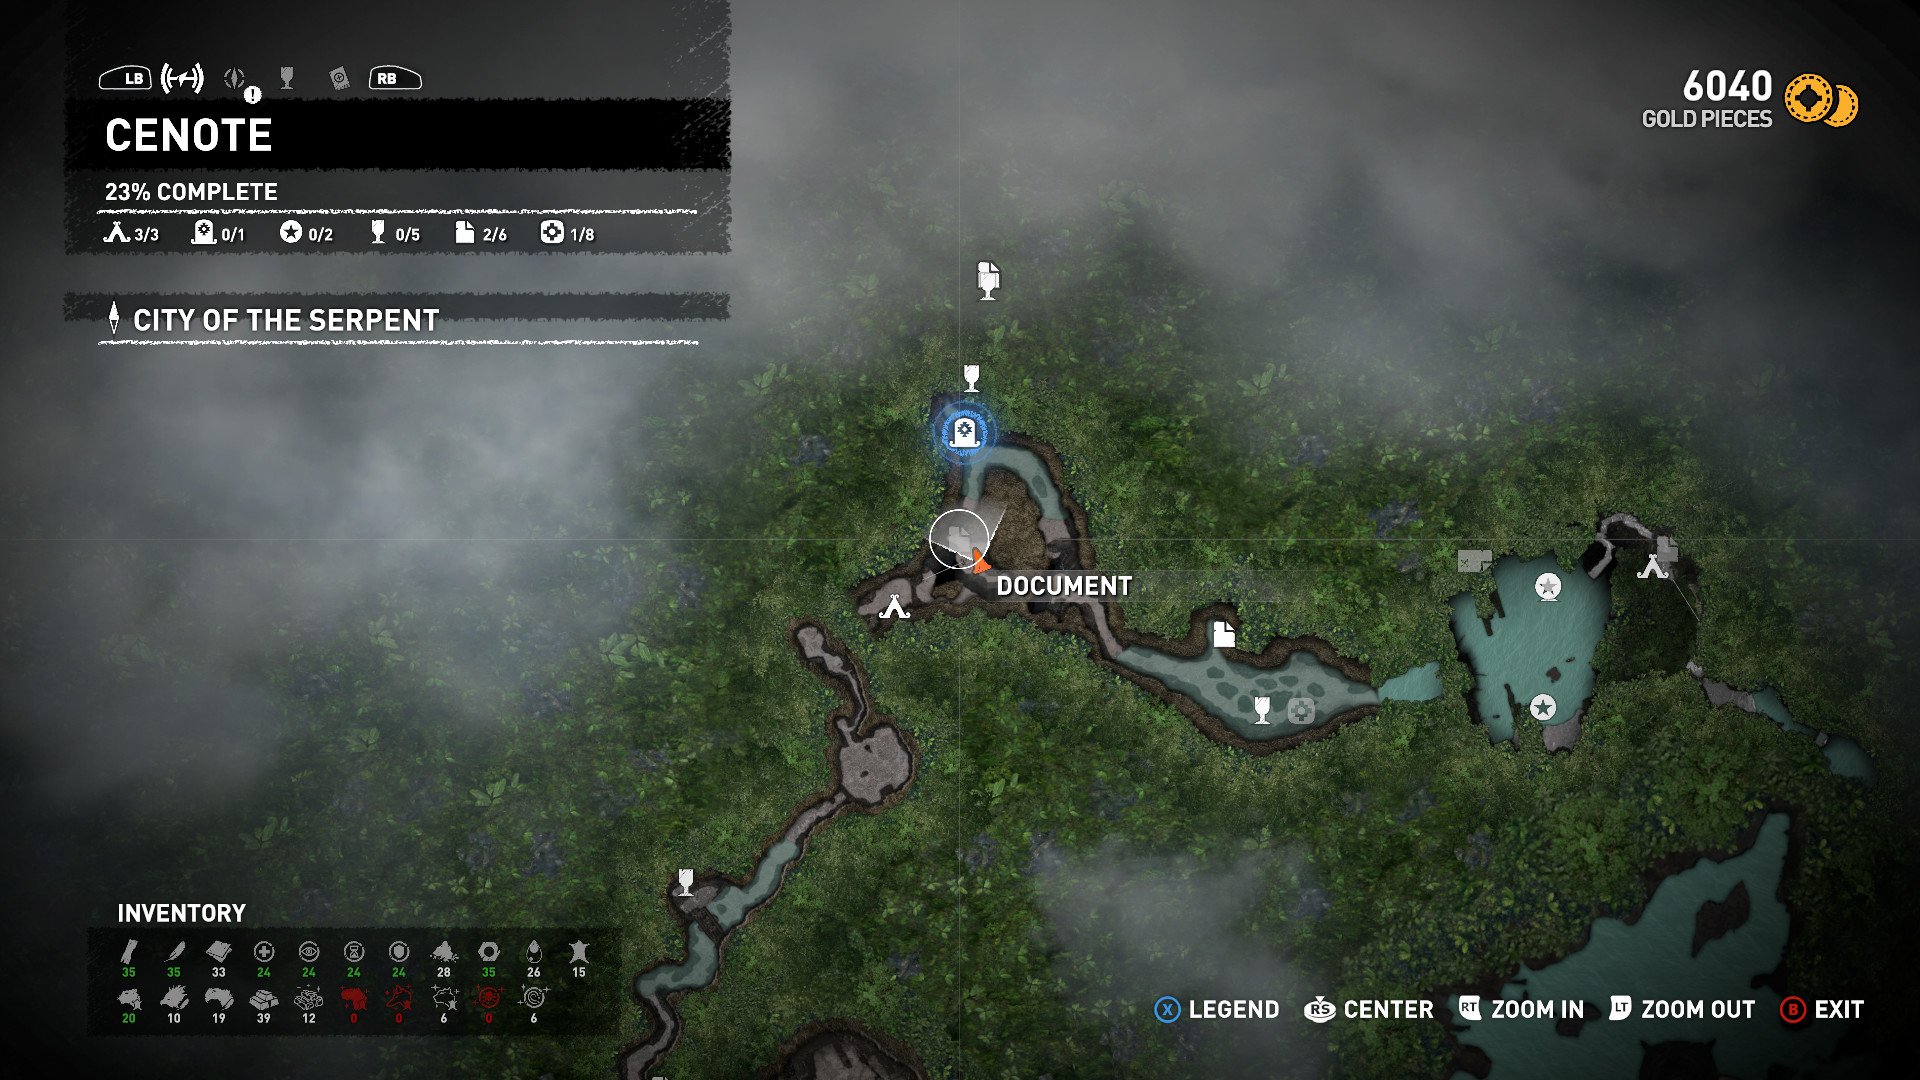
This is the only tomb found in the Cenote region. It's a little difficult to reach as you'll need to swim underwater through a cavern and avoid any eels in your path.
Our complete list of guides on how to solve every tomb in Shadow of the Tomb Raider
How to complete the San Cordoba Challenge Tomb
The following steps will guide you through the aforementioned Challenge Tomb in Shadow of the Tomb Raider.
Article continues below 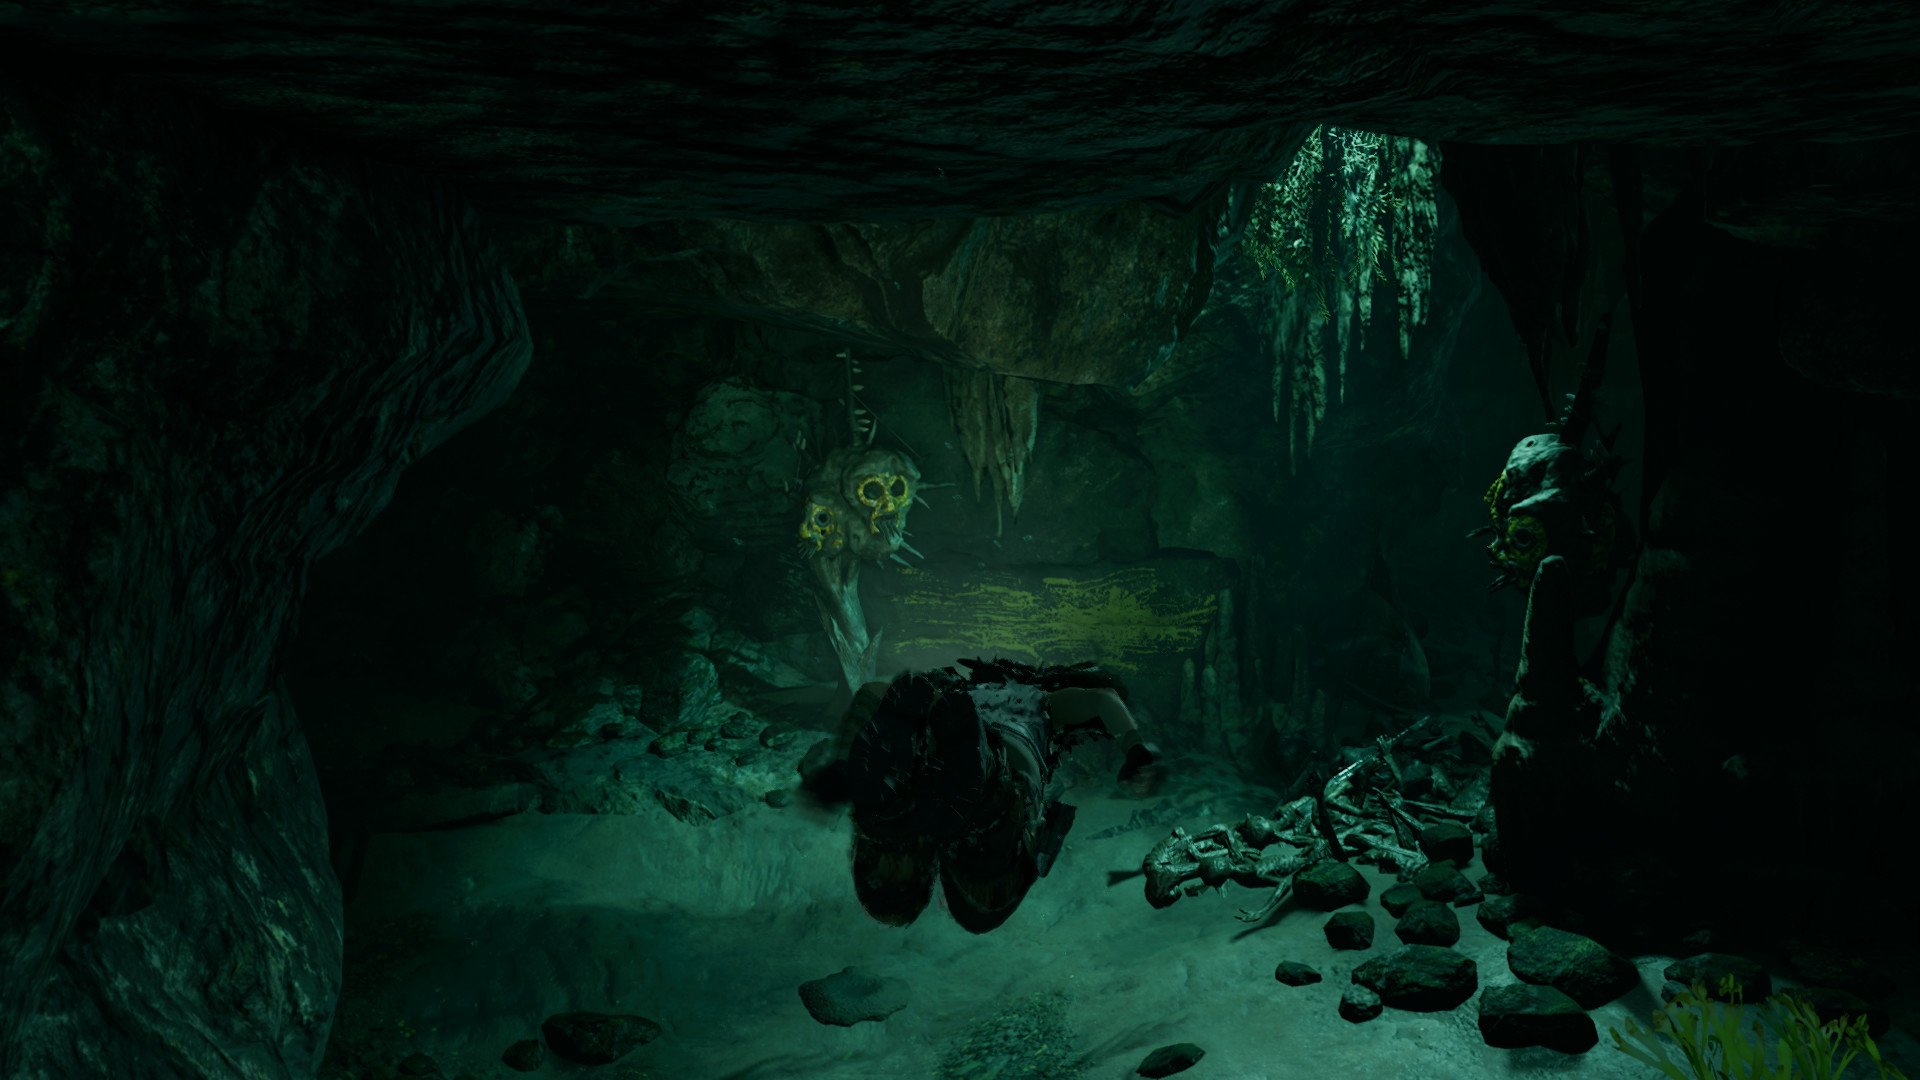
- Make your way through the subterranean caverns until you reach a point where you can dive into the water.
- Following the tunnel, you'll come to a fork in the road with skulls and a yellow wooden plank.
- You can either go left or right. Go right.
- Once in the underwater cavern with the moray eels, follow the left side until you reach a point where you are pulled away through a strong current and down a waterfall.
- Swim over to the embankment on your left and climb up the rock wall.
- Make your way to the right across another ledge and second rock wall.
- Follow the path and jump into the water below next to the base camp.
- Continue into the next chamber where Lara will remark about an incredible battle taking place long ago.
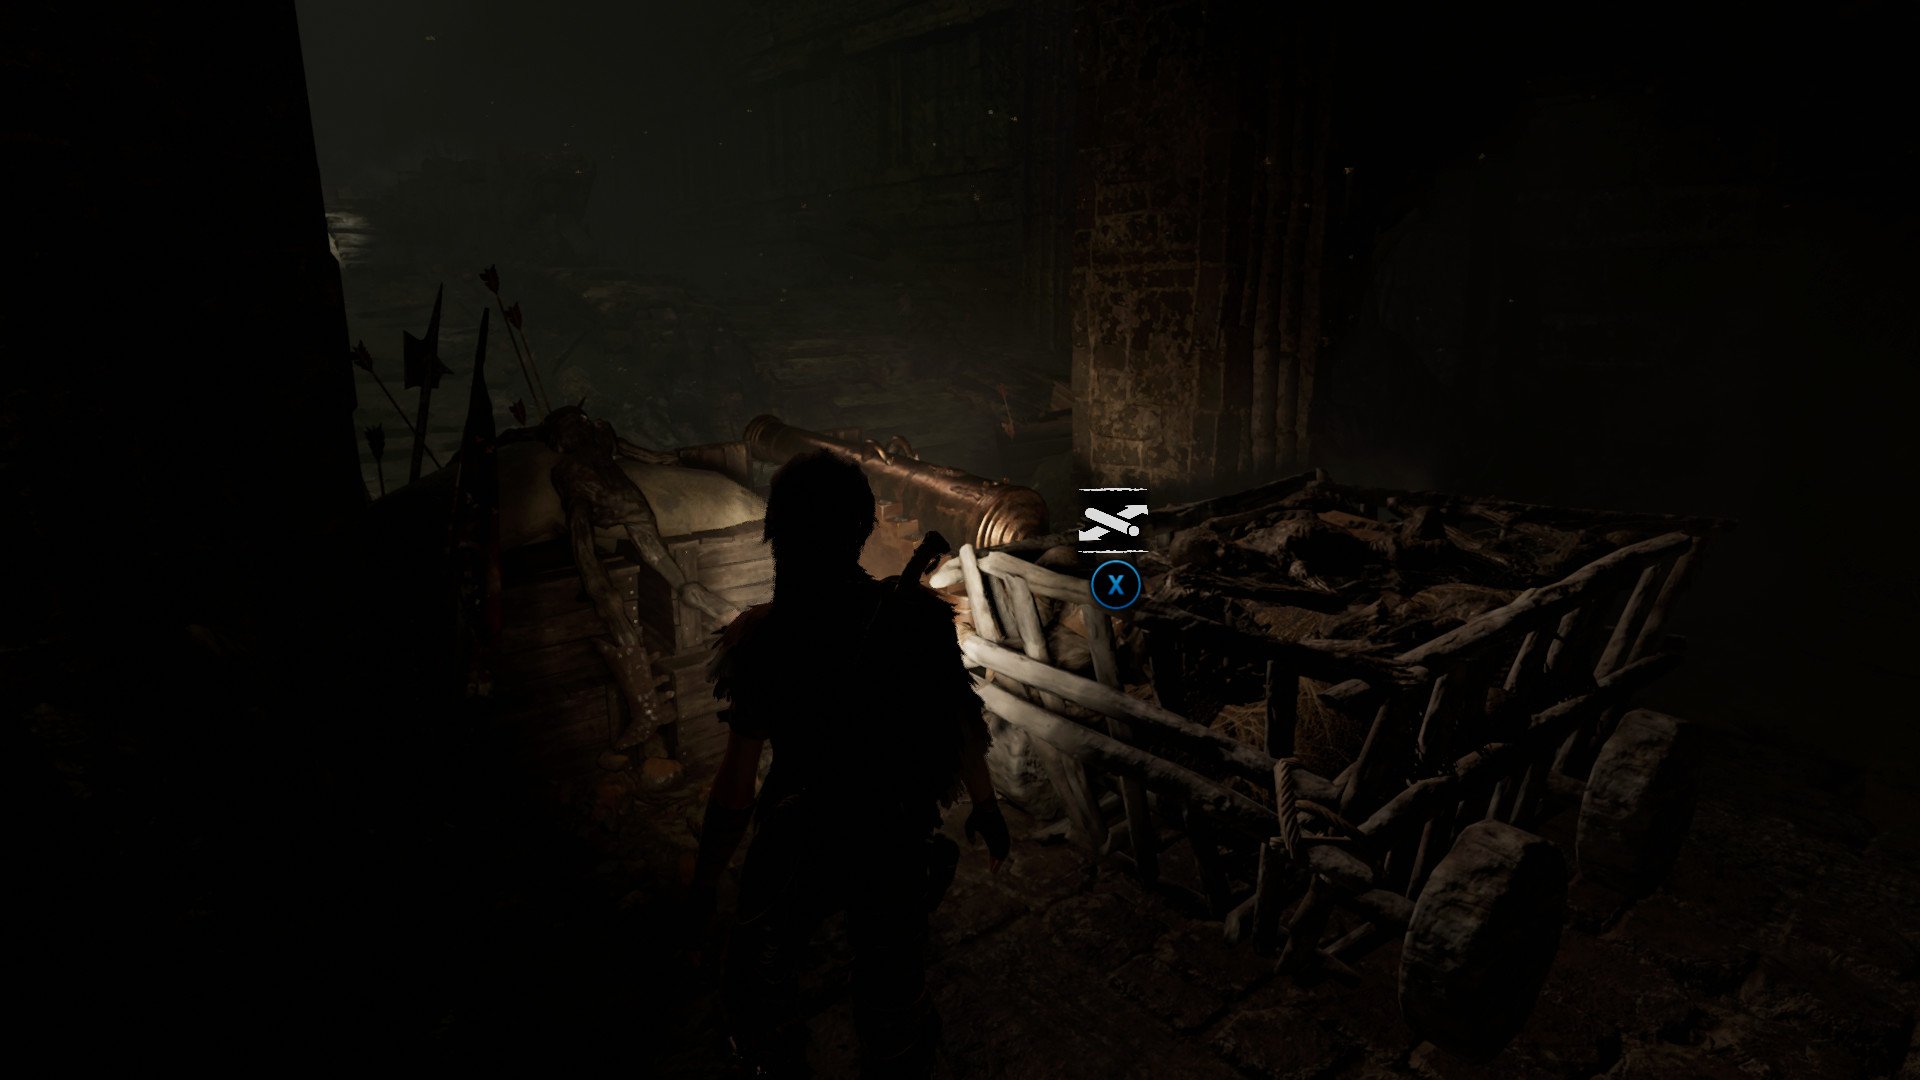
- Run down the stairs and toward the far end of the chamber with the cannon (falconet) and cart behind it.
- Move the cart so that it is no longer blocking the cannon's path.
- Push the cannon backward so that it rolls down the ramp and smashes the barricade, allowing you to enter the main chamber and view a Spanish Galleon.
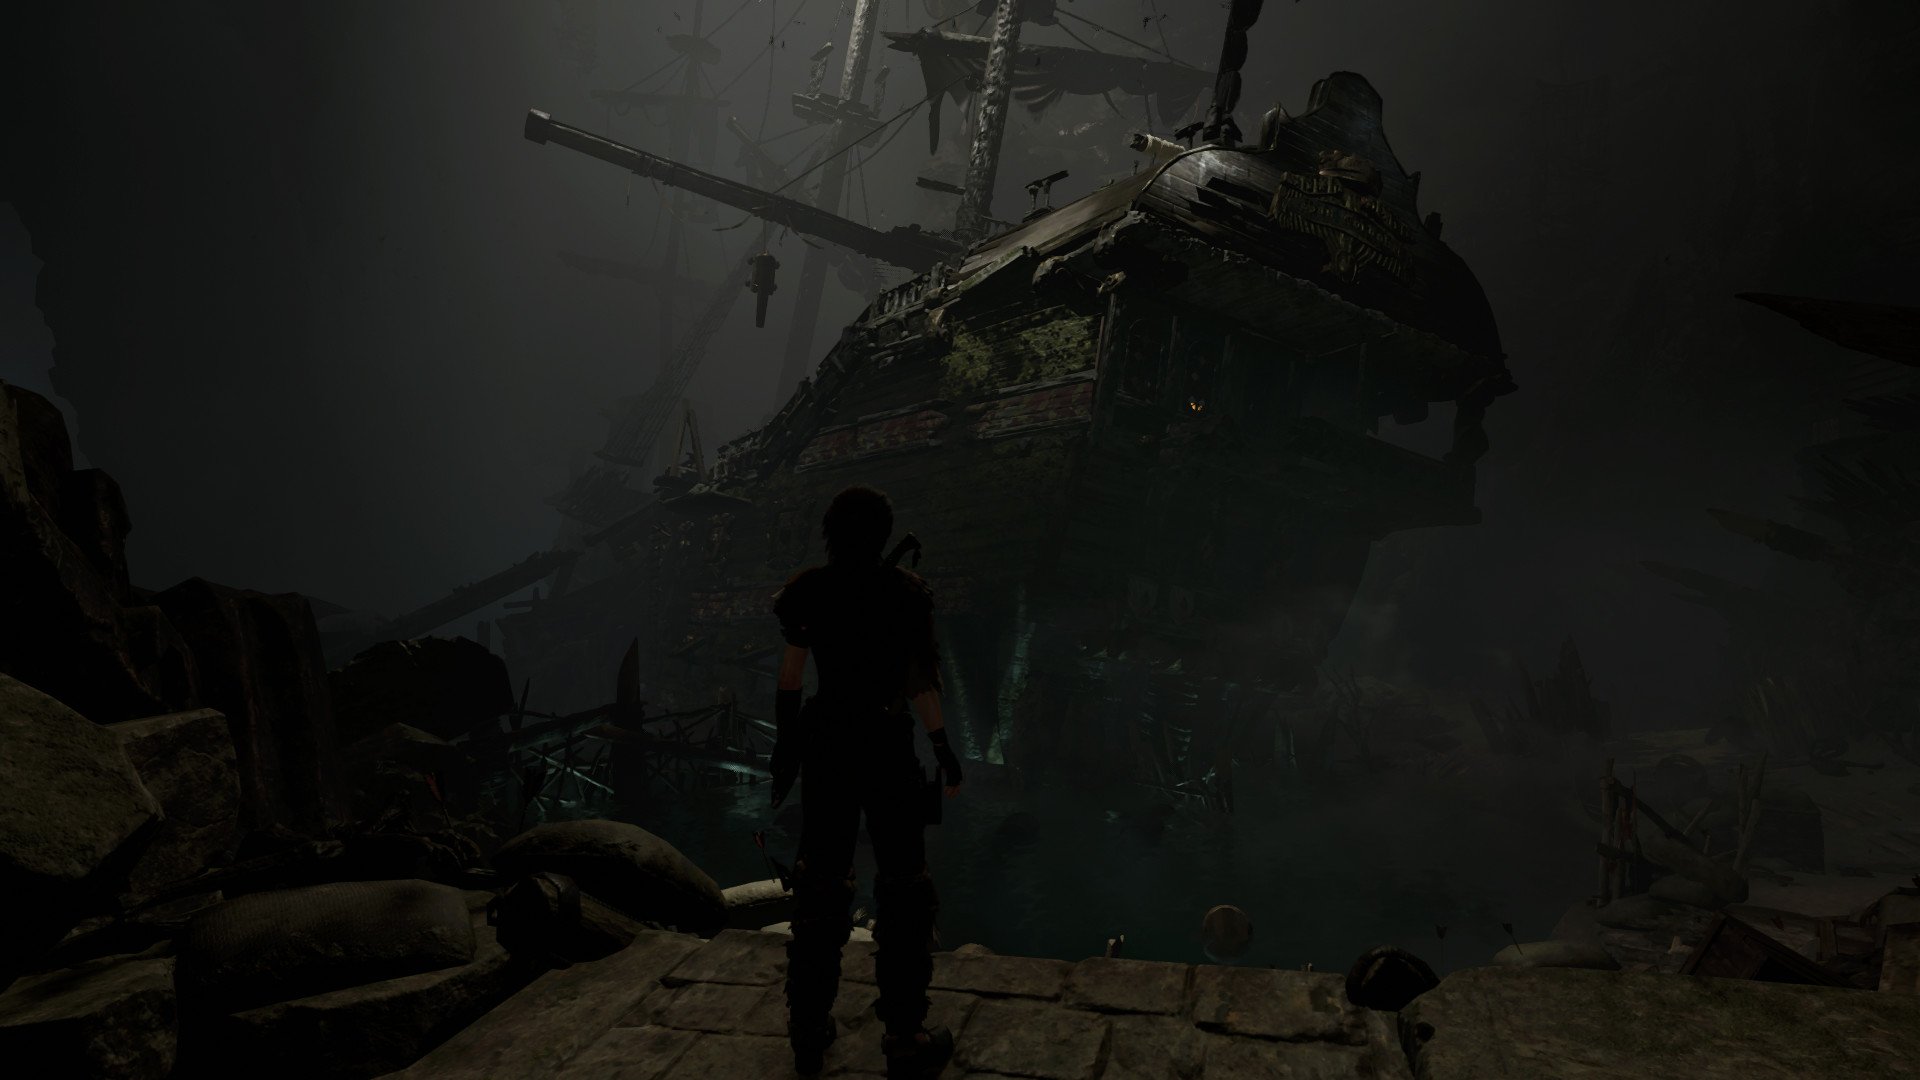
- Follow the path to the right until you reach the end with the raft ashore.
- Kick the raft so that it moves toward the ship next to the climbable ledges.
- Continue up until you reach the ship's main deck.
- Go down the left set of stairs.
- Turn the mechanism all the way to the left until the falconet is in position (Lara will remark when this happens).
- Jump into the water where the ship has broken apart in the middle.
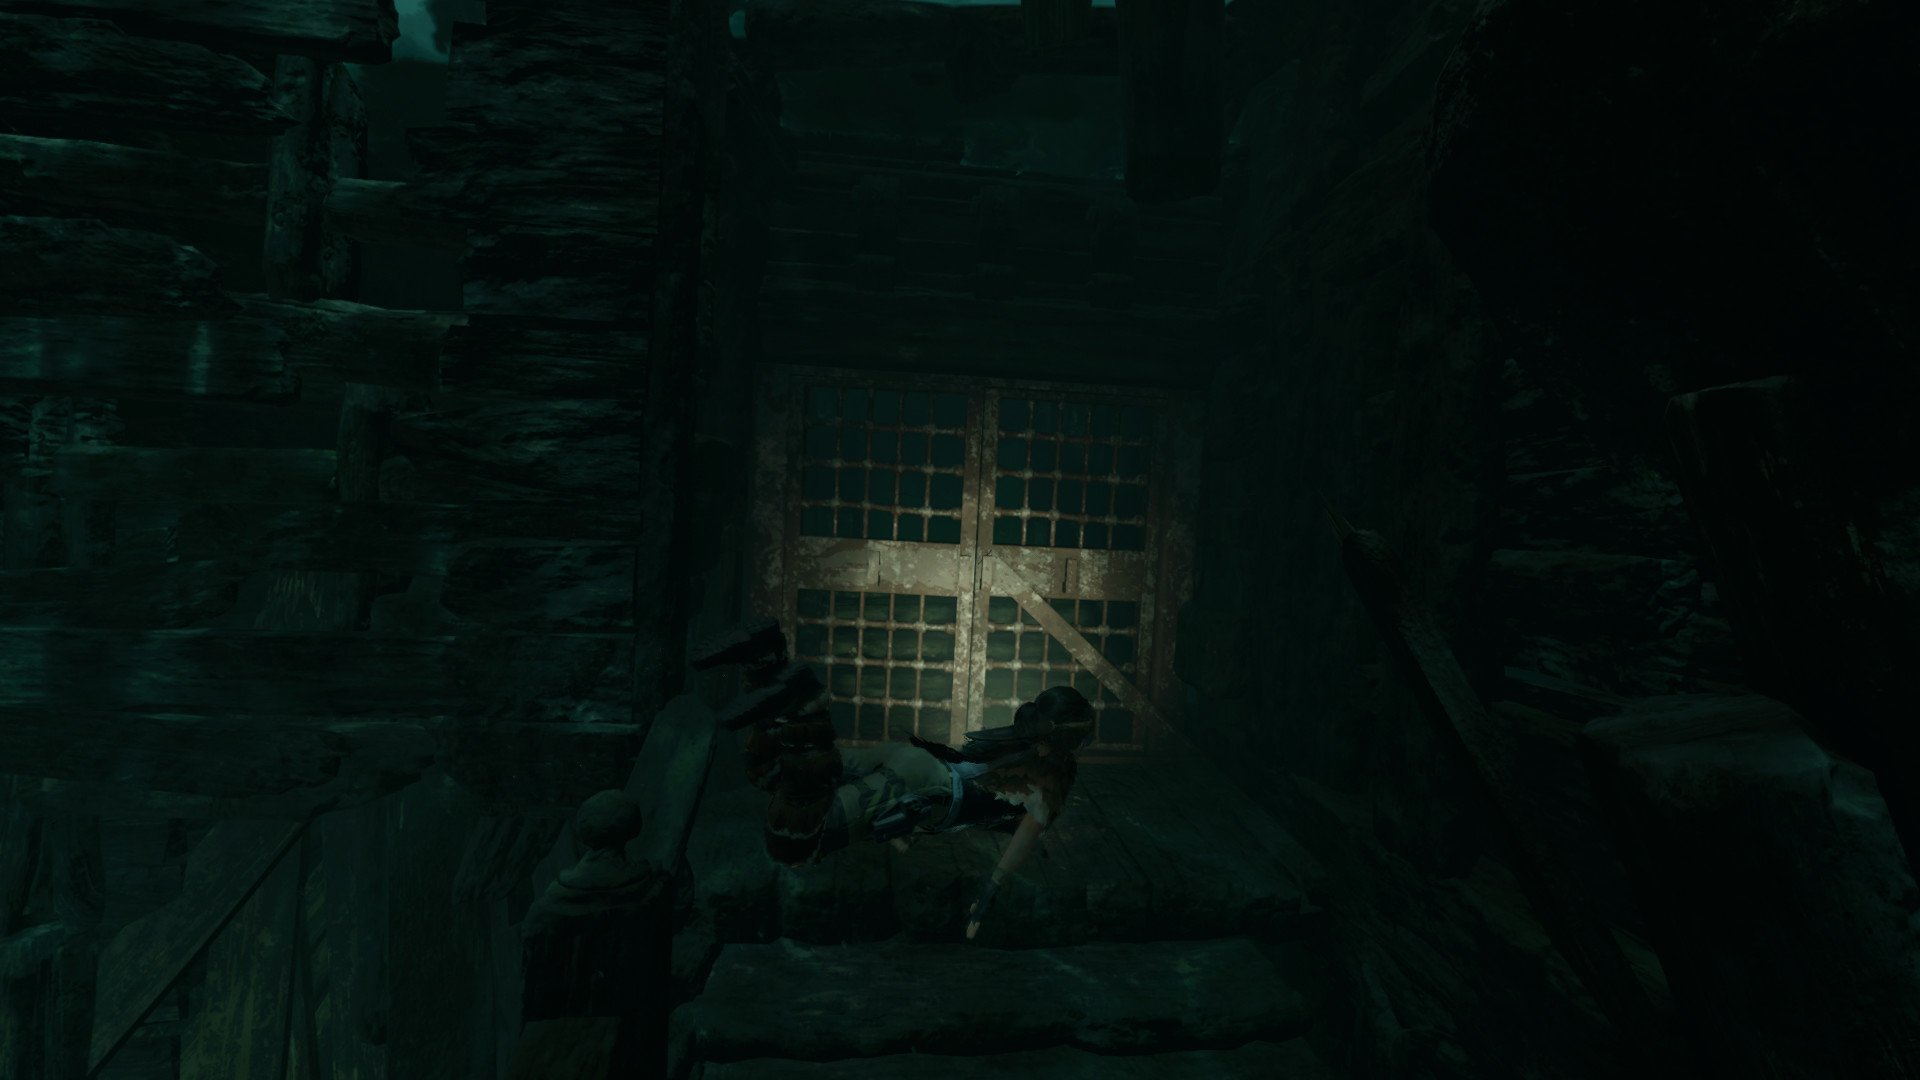
- Swim toward the metal gate on the back right.
- Pry it open with your pickaxe.
- Then swim through to the other side of the ship.
- Hop up the marked walls until you reach the main deck again.
- Ignore the turning mechanism for now.
- Instead, run to your left and climb up the rock wall.
- Follow the path and leap back onto one of the masts on the ship, running into a crow's nest.
- Free the other mast with your pickaxe when prompted.
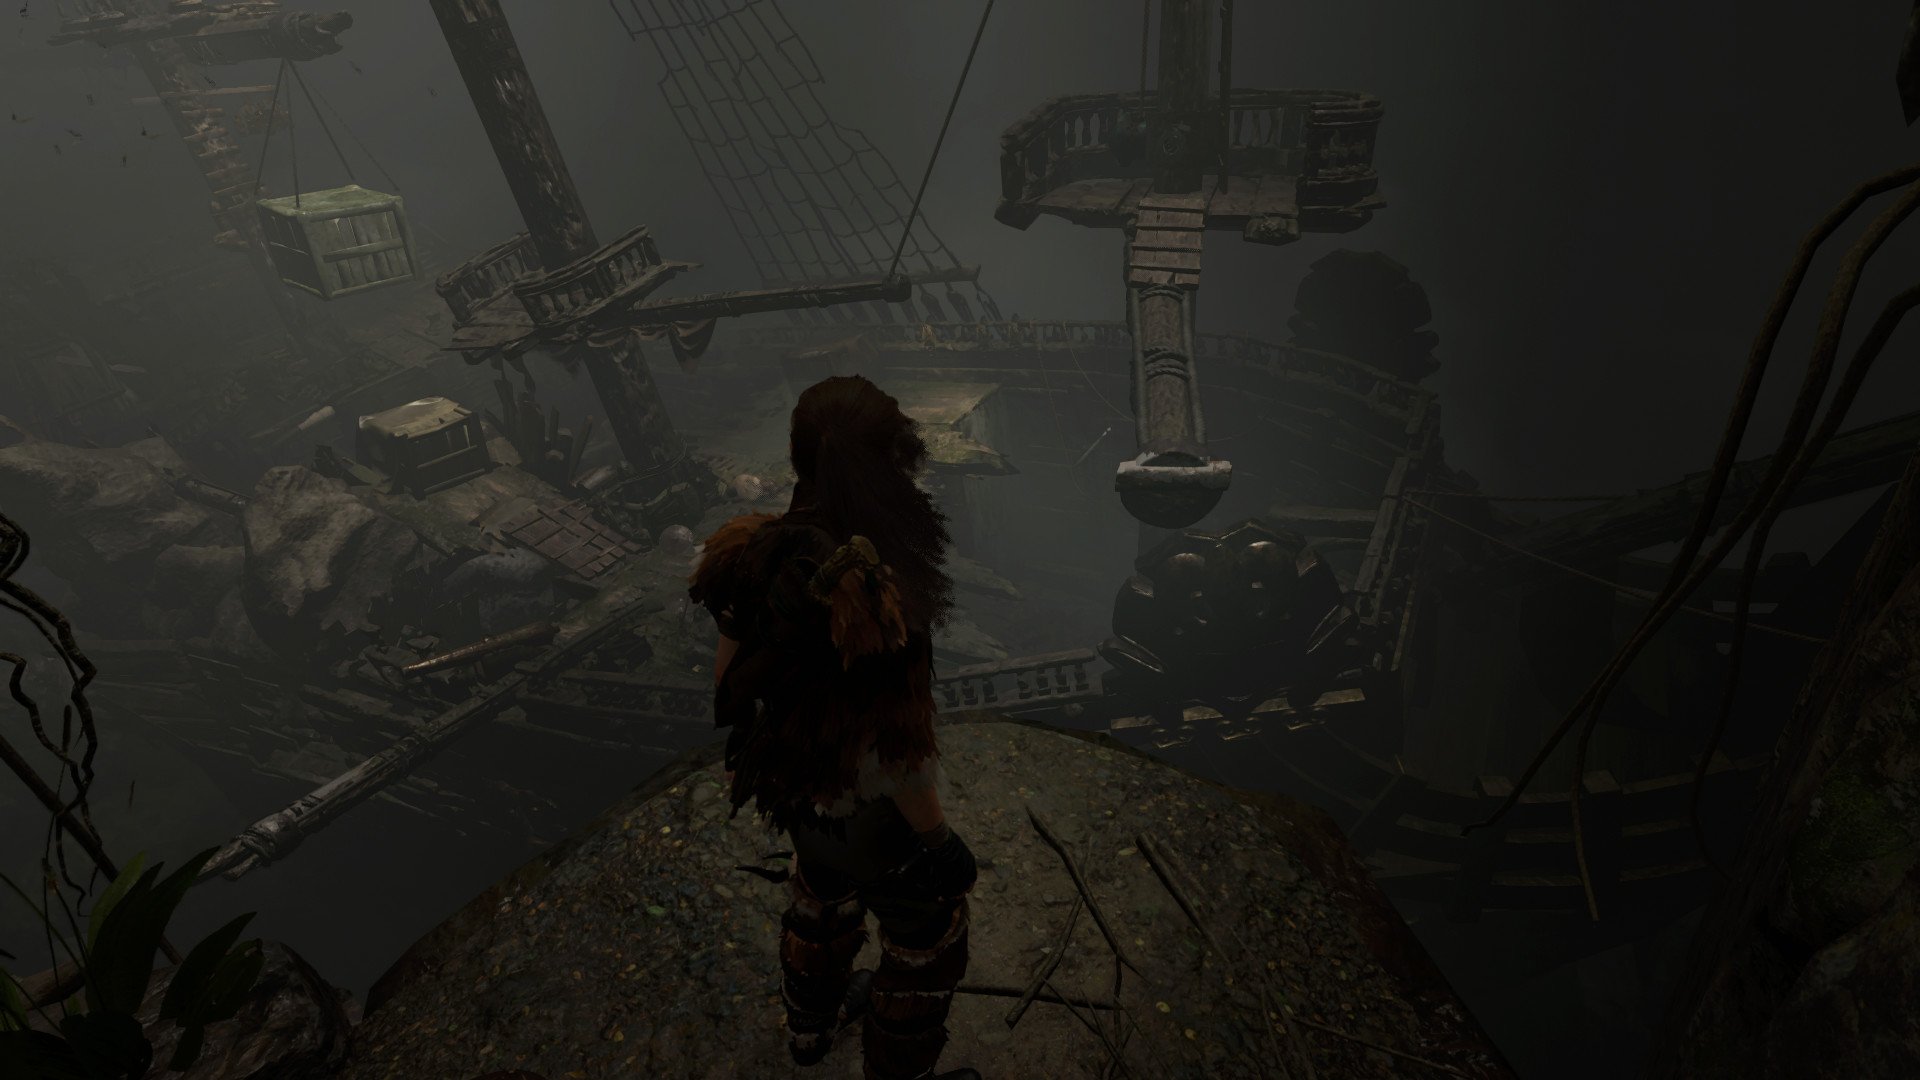
- Staying in that same crow's nest, leap up onto the wooden plank next to you.
- Climb the ladder to the next beam up.
- Run across this beam to your left and leap to the cliff.
- Rappel down the rock wall and swing onto the beam in front of you.
- Jump down back onto the main deck of the ship.
- This is where you'll turn the mechanism you previously ignored. Turn it so that the beam lines up with the suspended box to your right.
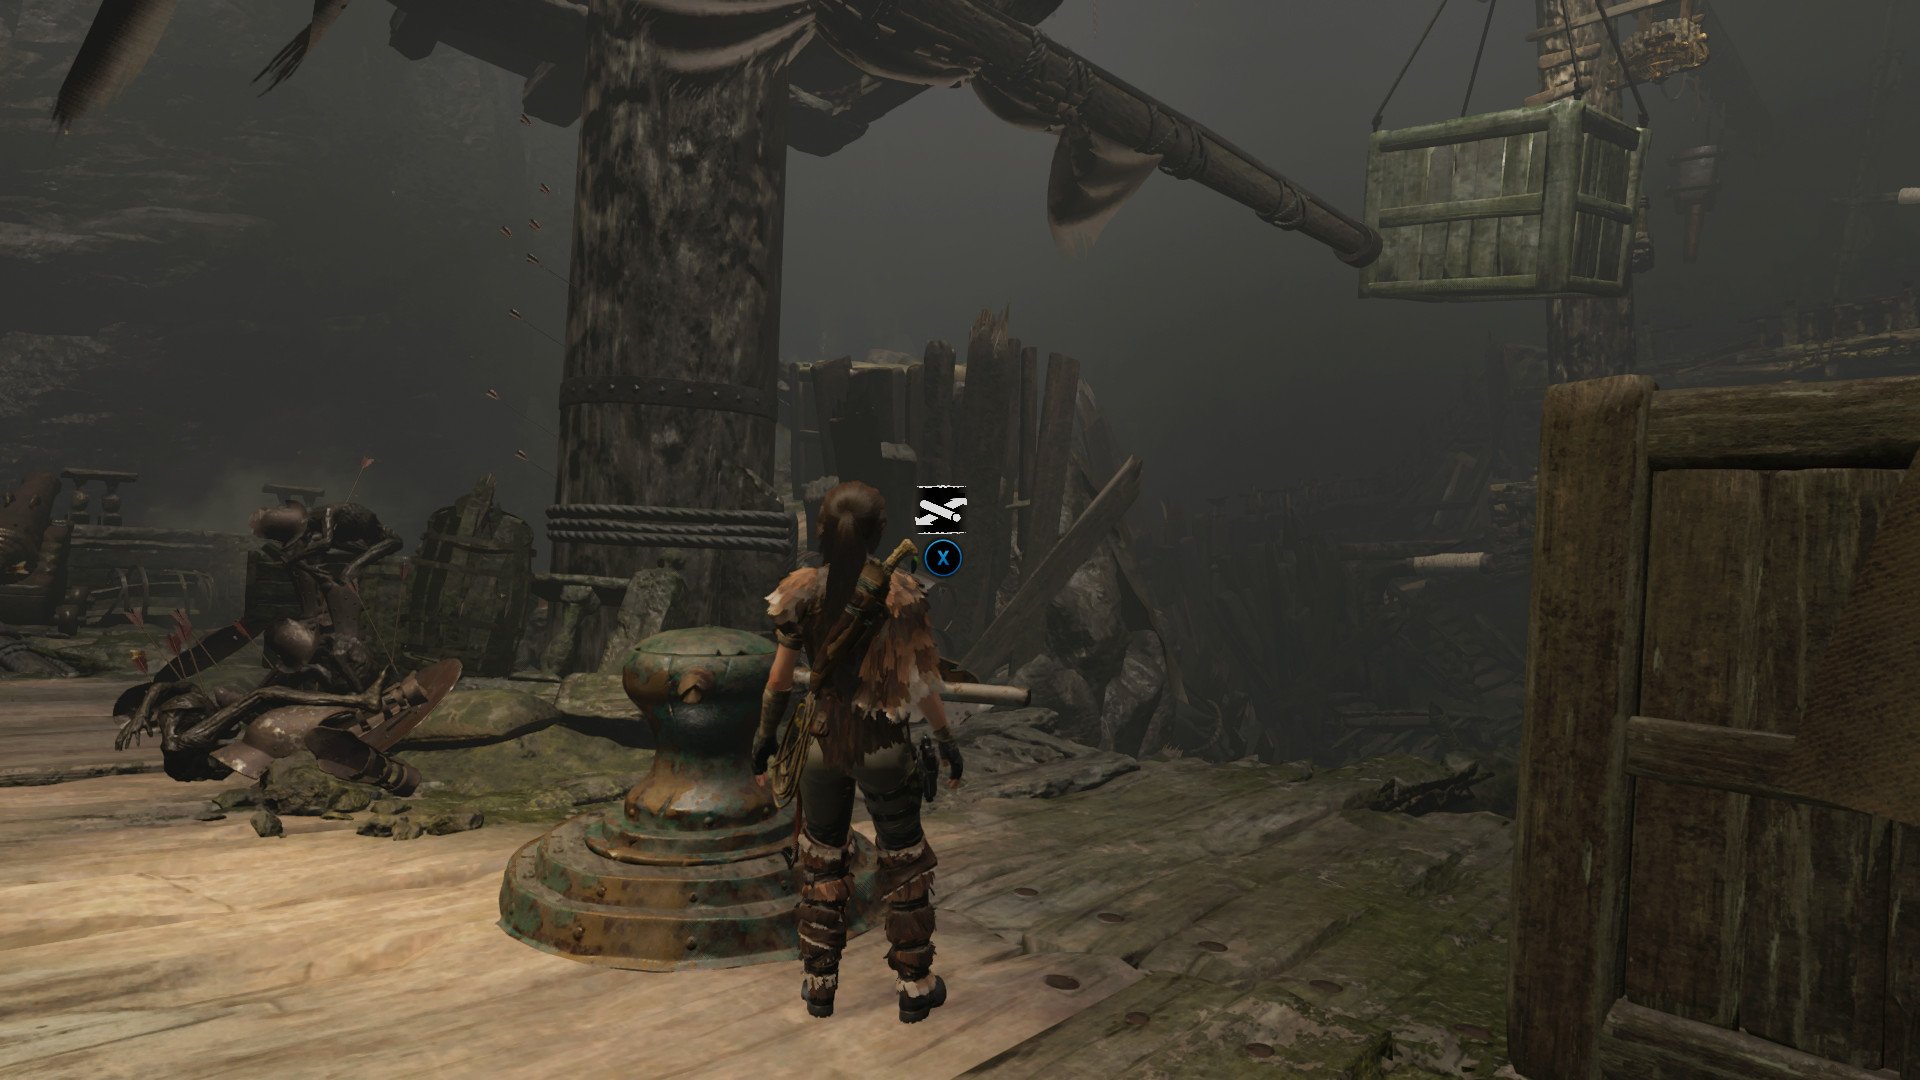
- Now jump onto the beam you just moved using the ramp and box next to you.
- Jump across the suspended box and climb your way up the ladder to a higher portion of the mast.
- Pry open the winch so that the falconet falls through the floor and into the captain's cabin.
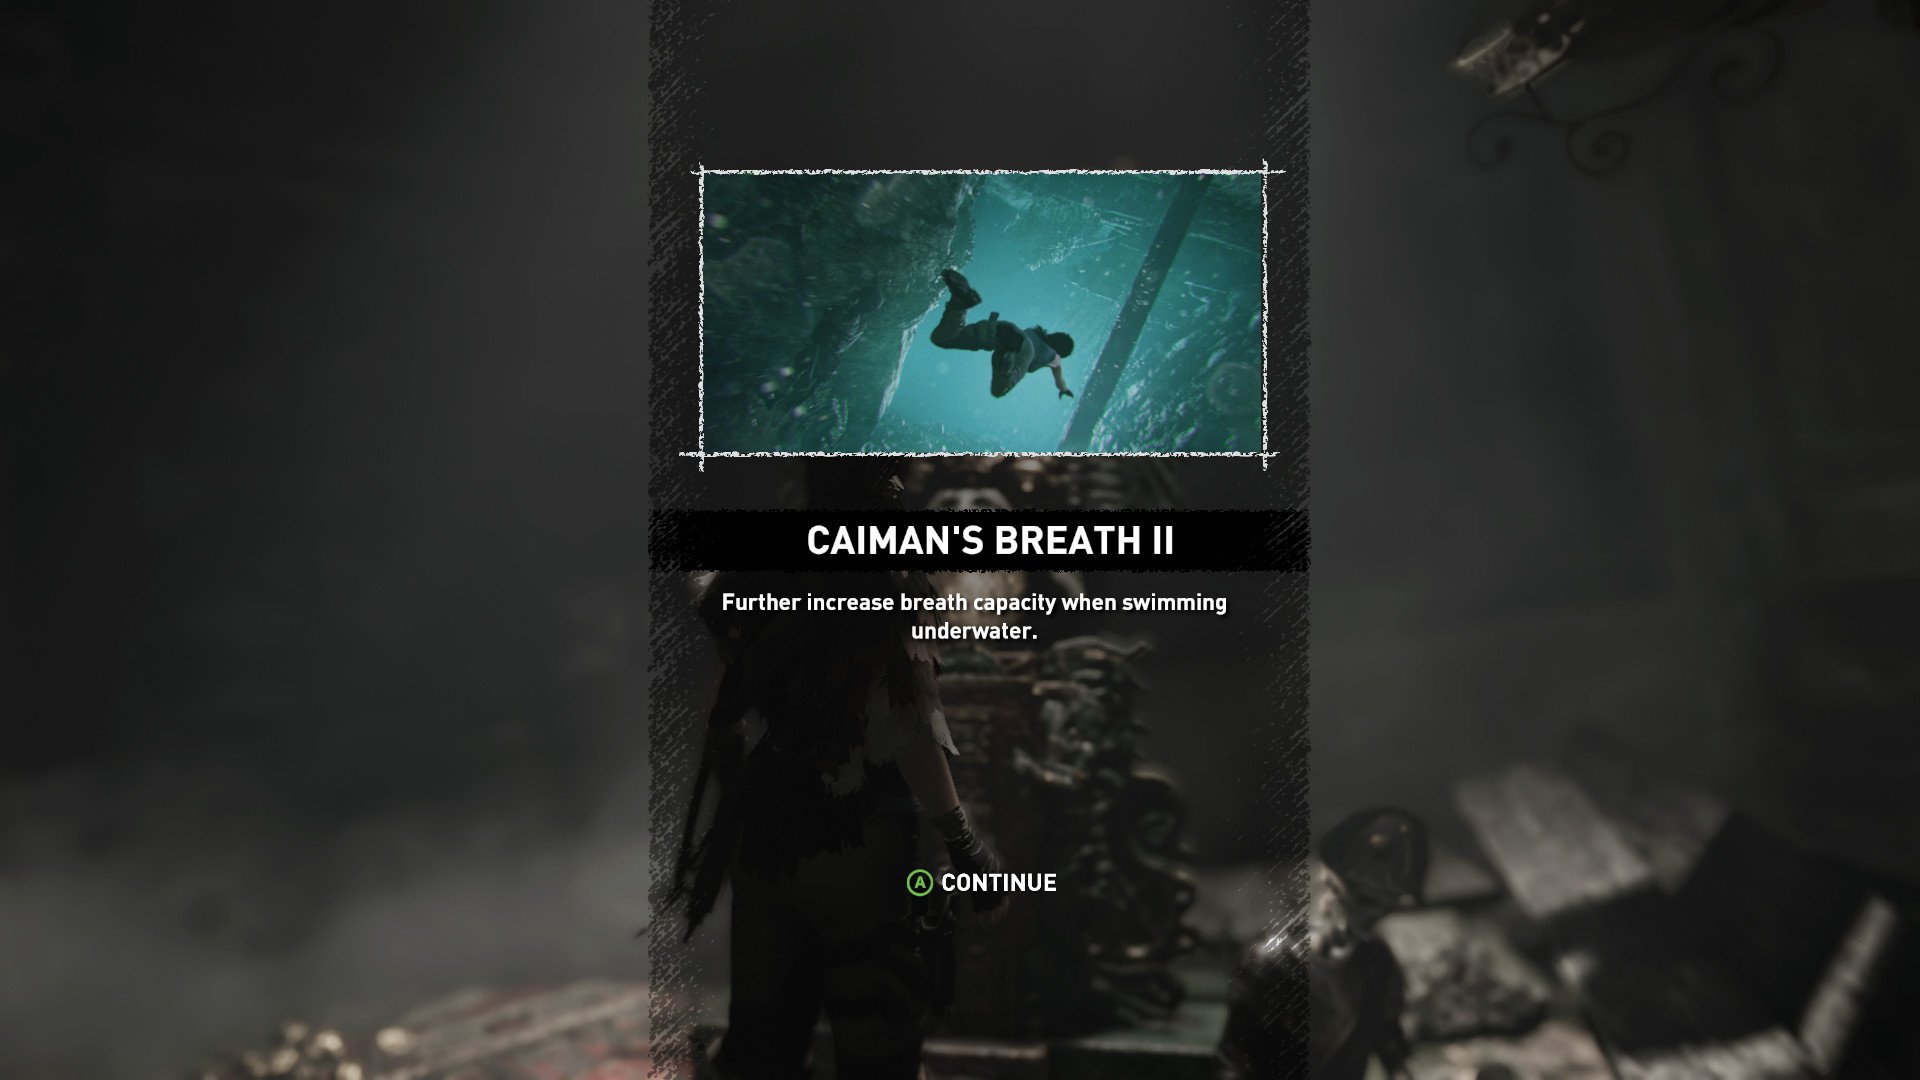
After you descend the rope and hop into the cabin, the tomb will be complete. You'll unlock the Caiman's Breath II skill, which further increases breath capacity when swimming underwater.
Remember to check out our thoughts of the game in our review (spoiler free, of course) and why we consider it to be "Lara Croft's best adventure yet."
All the latest news, reviews, and guides for Windows and Xbox diehards.

Jennifer Locke is a Former Contributor for Windows Central, having played video games nearly her entire life, and is very happy Xbox is growing a stronger first-party portfolio. You can find her obsessing over Star Wars and other geeky things on Twitter @JenLocke95.

 Windows Central Insider


