Windows Ink: How to use Screen Sketch
Annotating has never been easier

All the latest news, reviews, and guides for Windows and Xbox diehards.
You are now subscribed
Your newsletter sign-up was successful

Screen Sketch is a new feature available in the Windows 10 Anniversary Update, part of the new Windows Ink Workspace feature-set. It allows tablet users to doodle and take notes on their screen directly on their tablets in a dedicated inking environment, equipped with virtual rulers, pen-types and more. Here's how to use it.
How to open Screen sketch
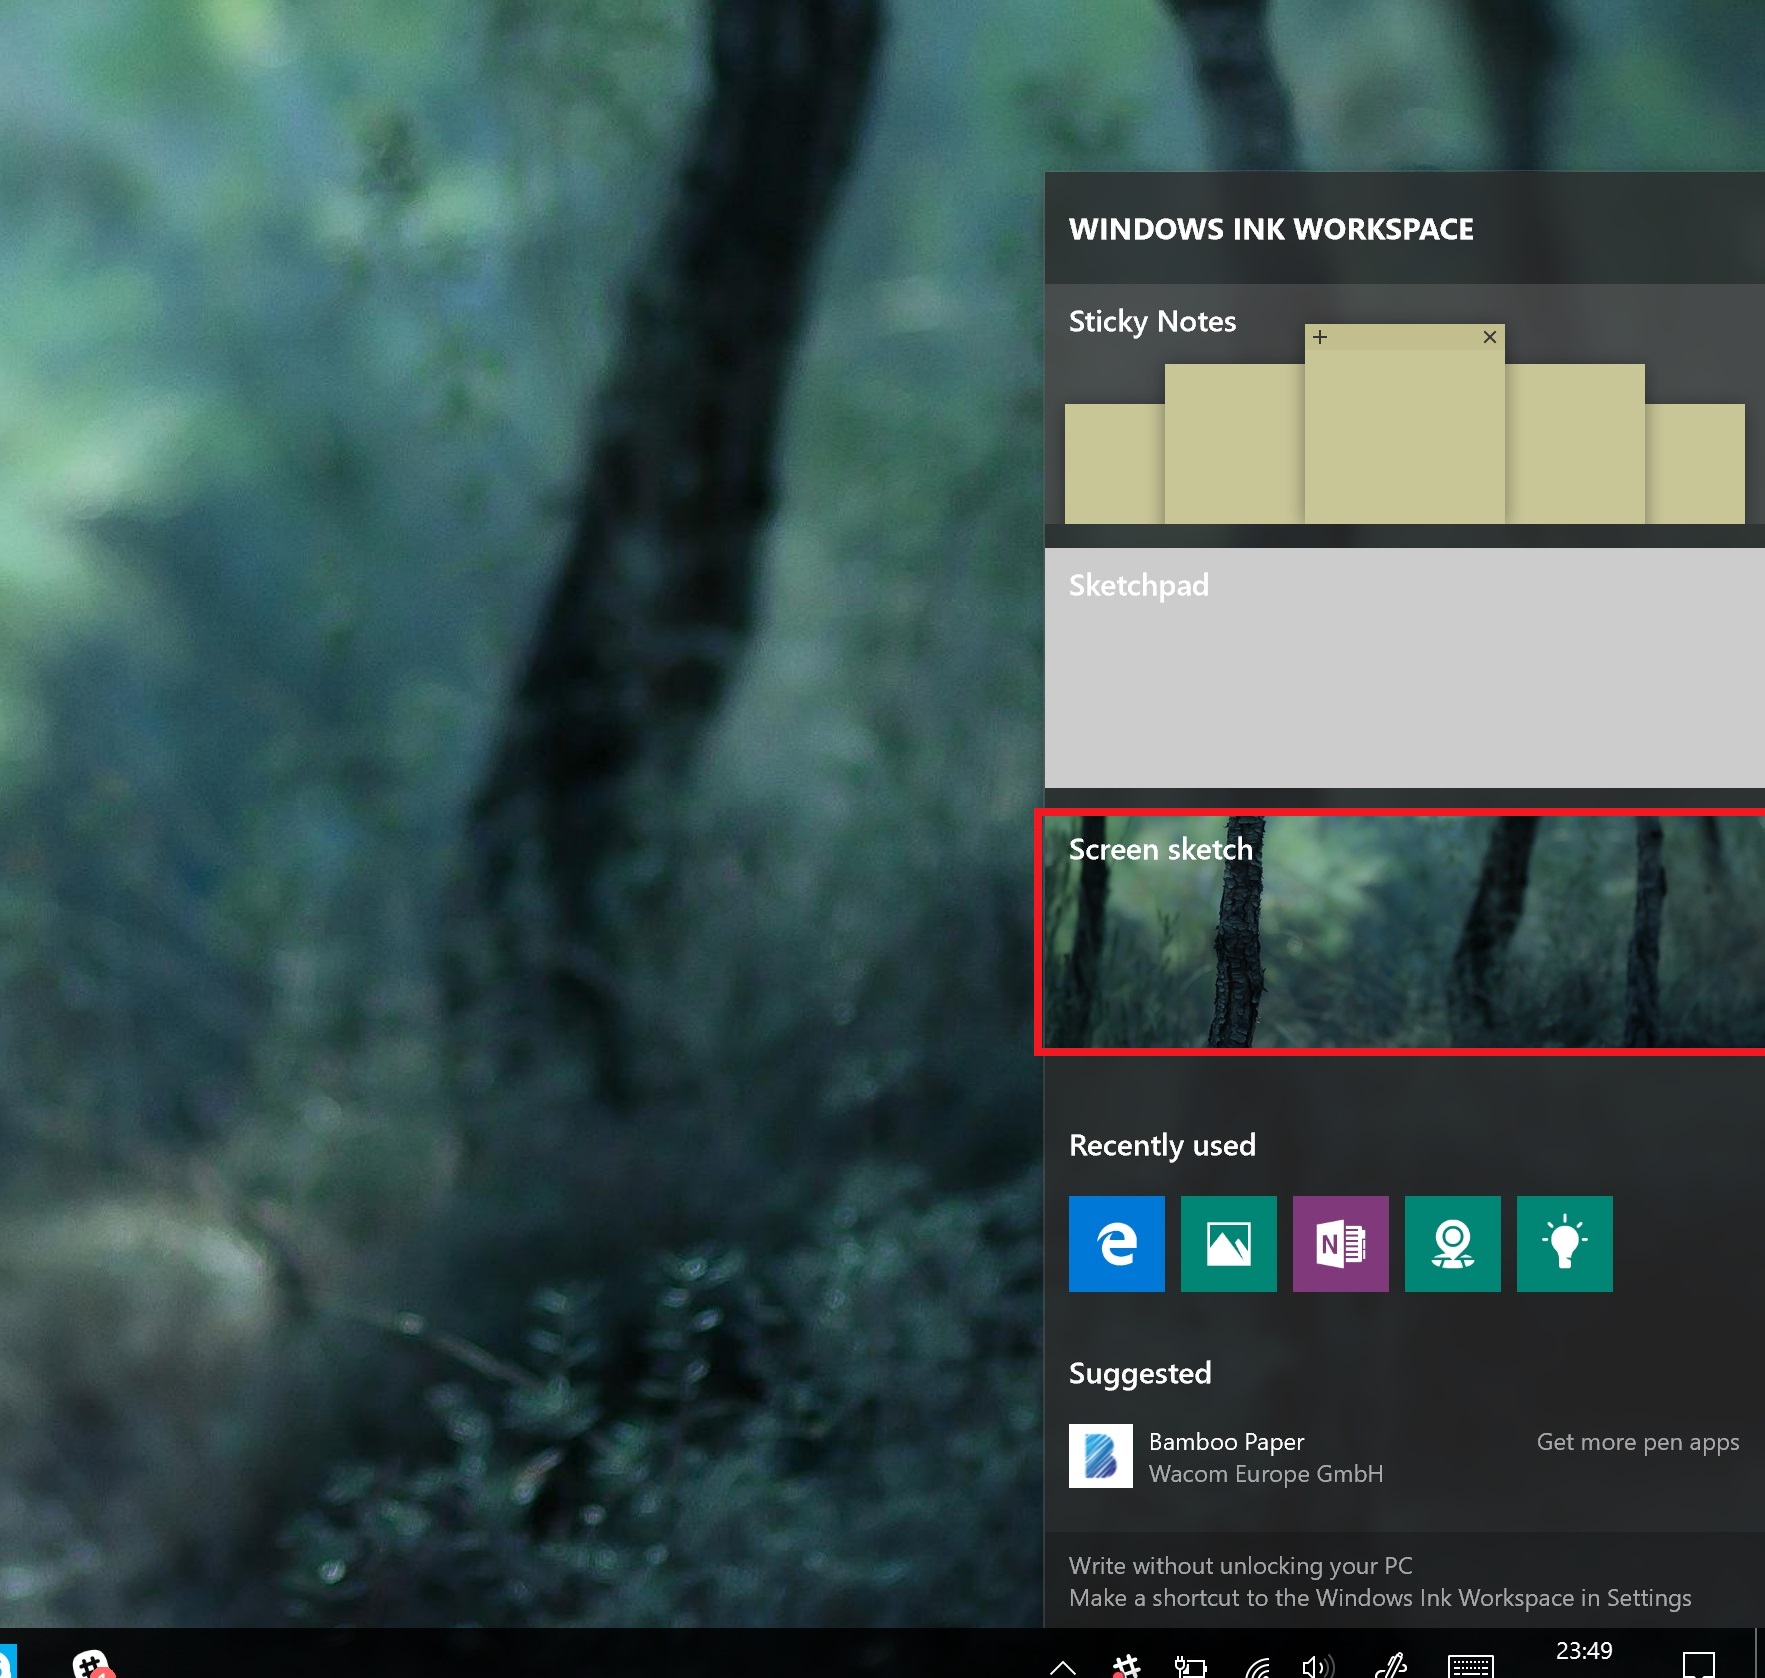
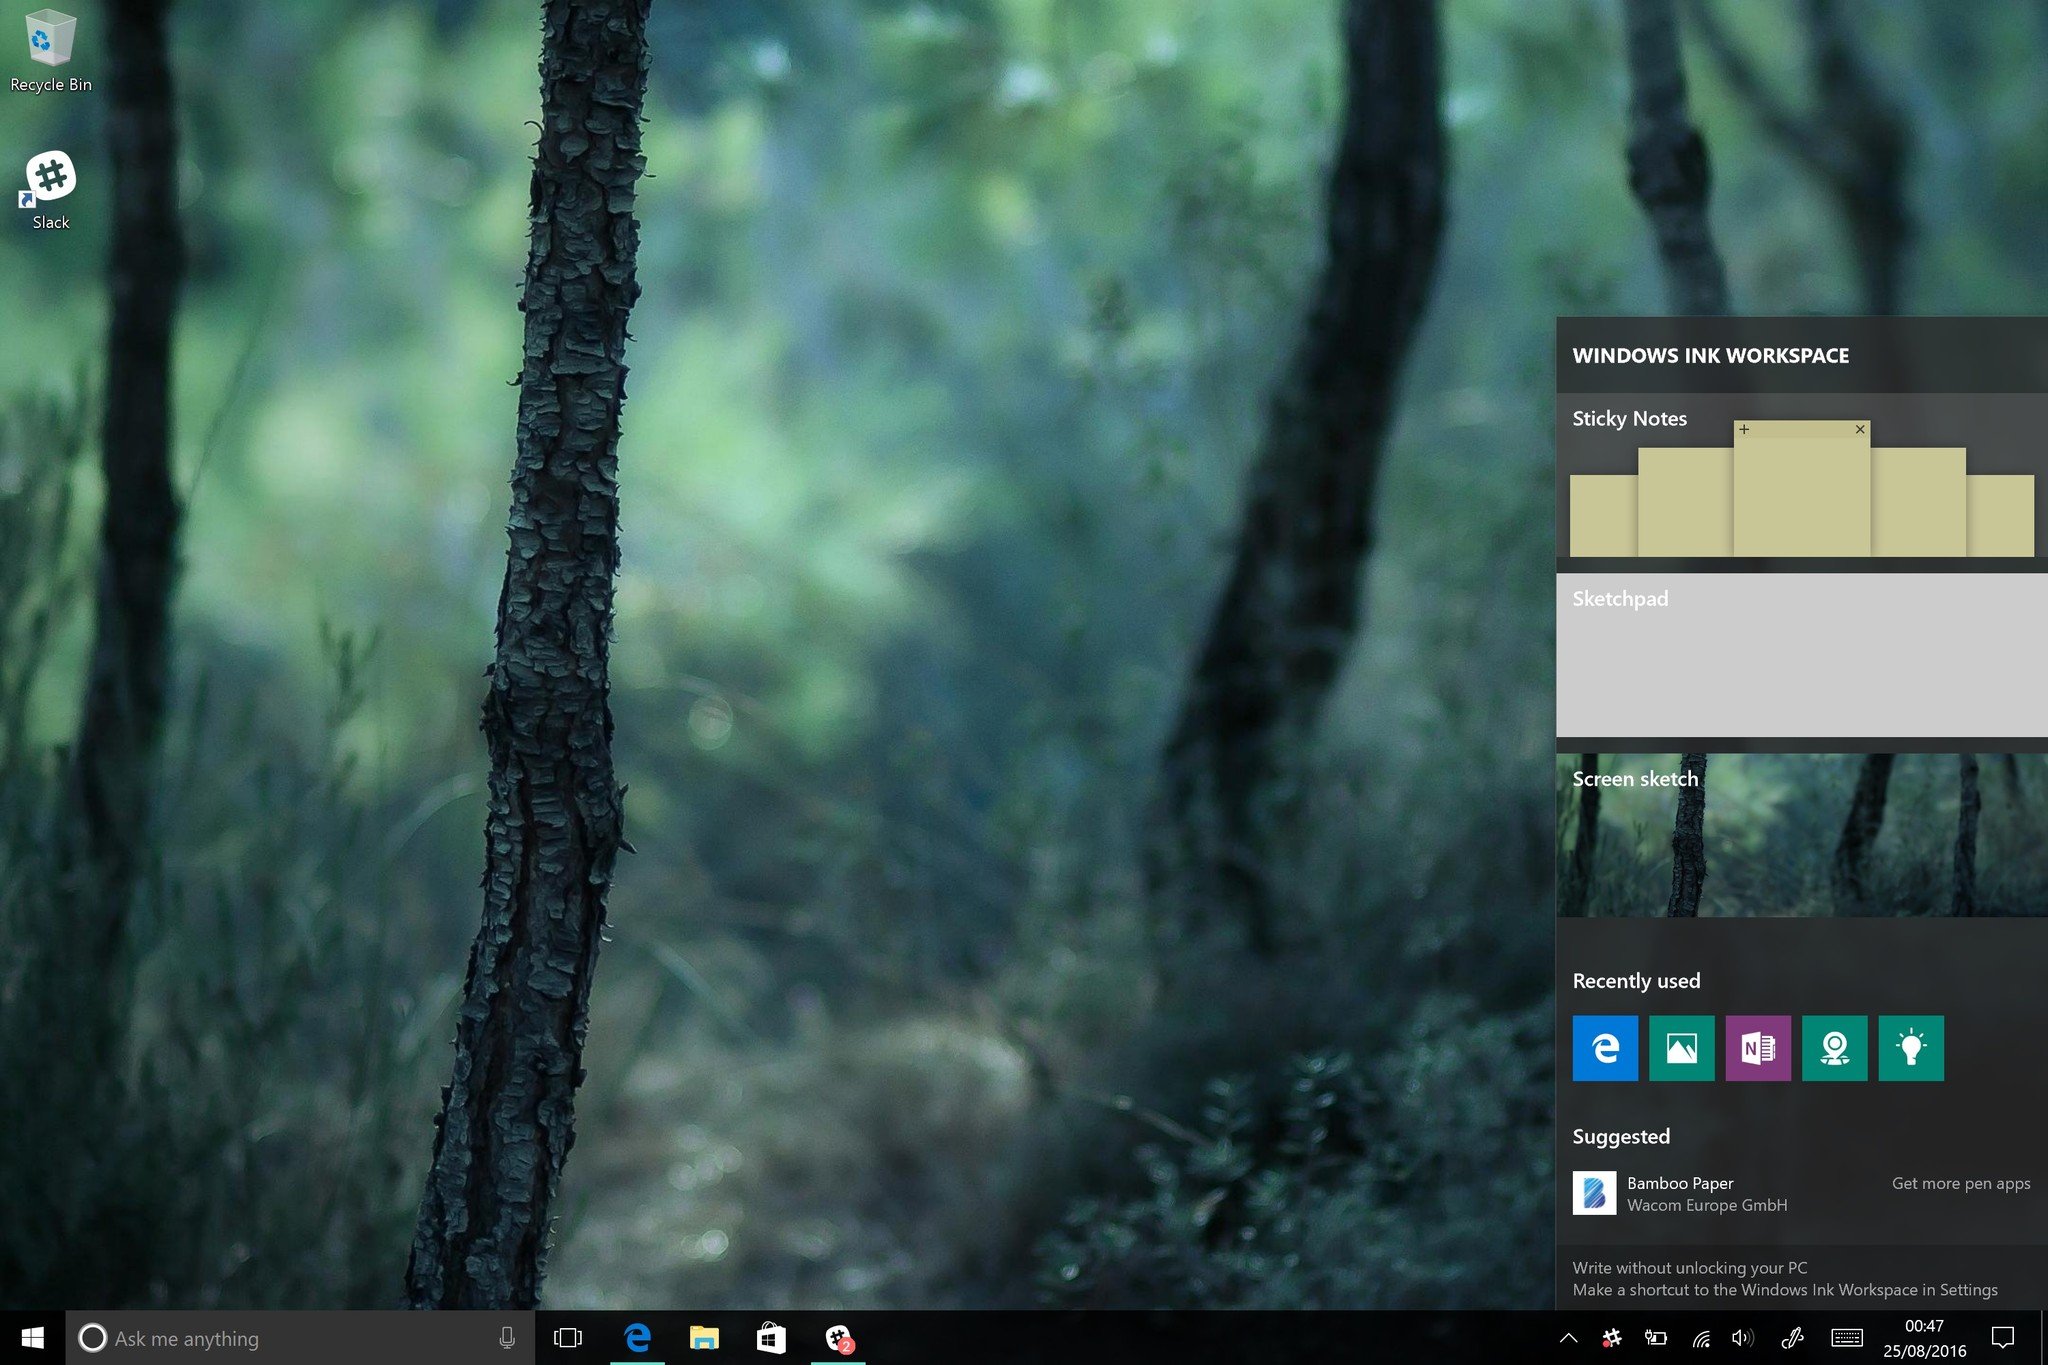
- Tap the Pen icon on the taskbar to open the Ink Workspace.

- Tap the "Screen sketch" block. It will be the third block in the list. It will automatically take a screenshot of your display and load it for your sketching.
How to change pen type
- Navigate to top right of screen where pen bar is.
- Select either of the first three icons located on left of the bar. These icons look like different variations of a pen.

The first three icons are different kinds of pen-types. You have the option of the following:
- Pen
- Pencil
- Highlighter
How to change color and size of selected pen
- Tap the icon of the pen you have selected.
- Choose color from dropdown menu.

- Slide "size" slider to the left to decrease the size of the pen ink and to the right to increase.
How to use the eraser
- Navigate to the pen bar at the top right of the screen.
- Select the eraser icon. This icon looks like an eraser erasing a line.

- Drag the pen tip of your sketch to erase that potion.Tapping the eraser icon a second time will erase all ink on the screen.
How to use the virtual ruler
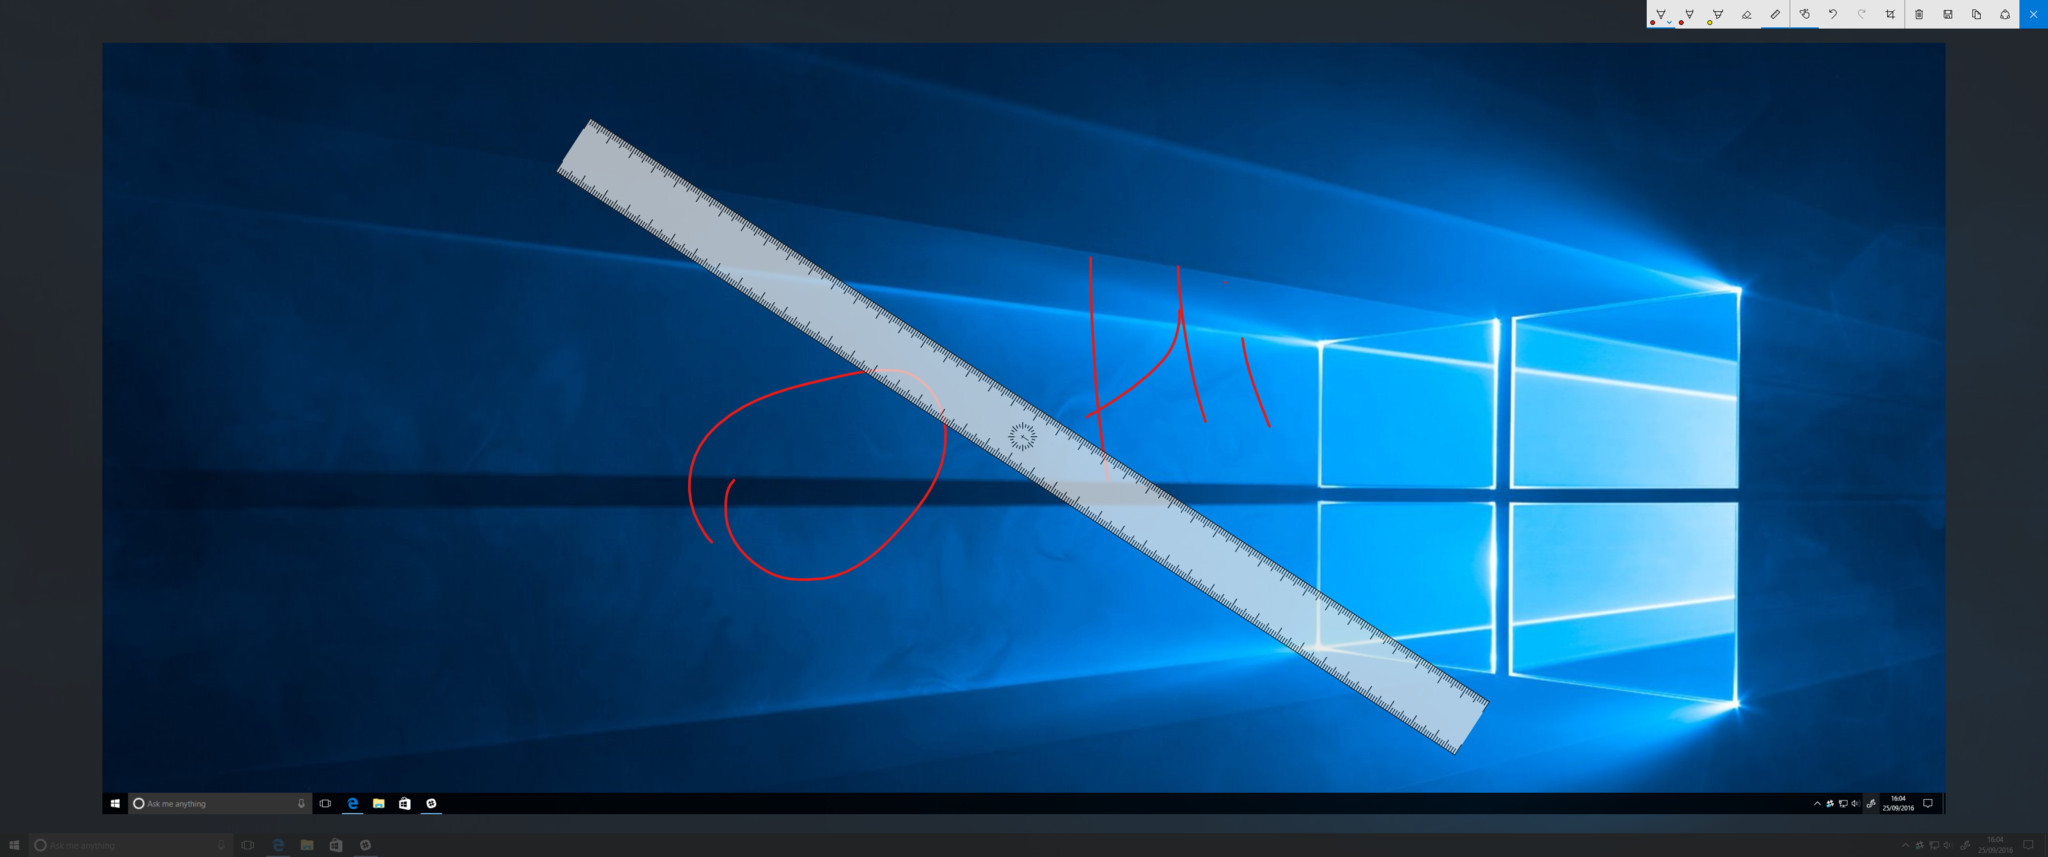
The Sketch pad features a new virtual ruler that makes drawing straight lines super easy on a touch screen. Here's how to use it.
- Navigate to the pen bar at the top right of the screen
- Select the ruler icon. This looks like a diagonal ruler.

- Use two fingers or mouse scroll wheel to rotate and position the ruler.
- Select your pen.
- Draw a line down side of ruler. The line will automatically snap to the ruler.
How to switch between pen input and touch input
- Navigate to the pen bar at the top right of the screen.

- Select **input switch button* to switch between pen and touch input. It looks like a hand pointing up.
How to undo and redo Ink strokes
- Navigate to the pen bar at the top right of the screen.

- Select the undo button to undo the last action. It looks like an arrow icon looping back to the left.
- Select the redo button to undo the last undo. It looks like an arrow icon looping to the right.
How to crop your sketch
- Navigate to the pen bar.
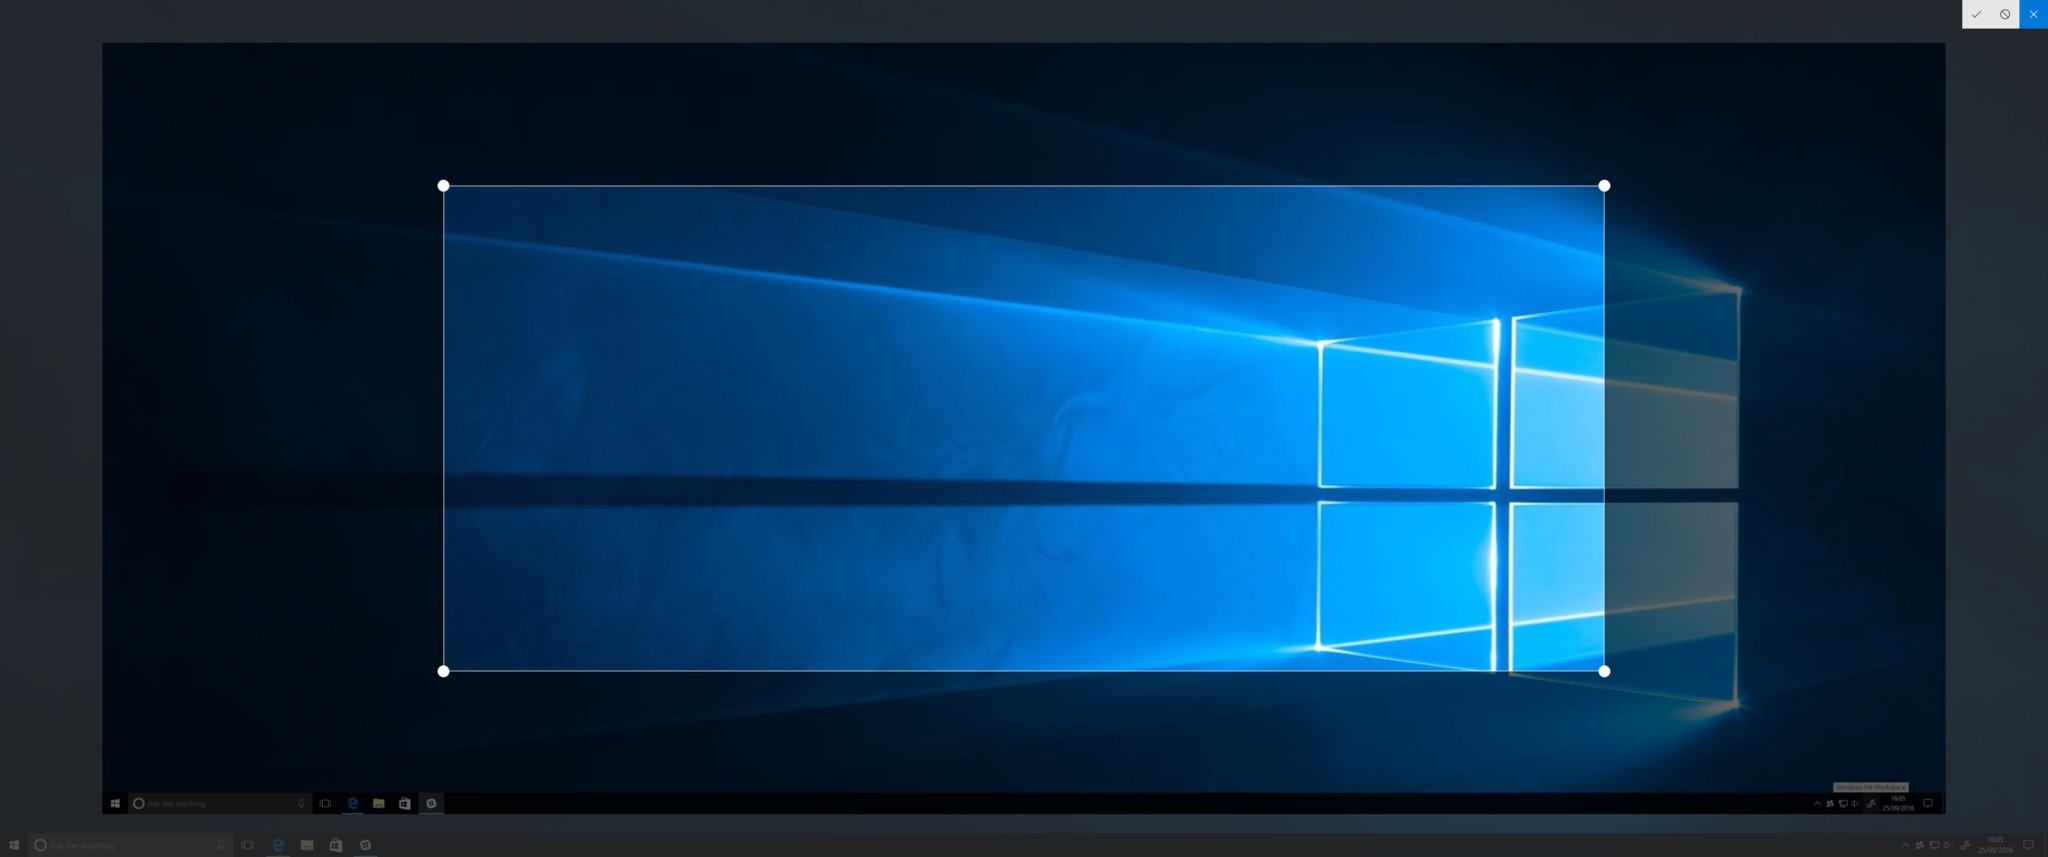
- Select the crop button, which looks like two right angles overlapping each other with a line going diagonally through them.
- Position the crop area by dragging the white circles at each corner to resize the highlighted area.

- Select the check button at the top right of the screen to apply the crop.Select the cancel button to cancel the cropping. The pen bar will return to its full toolset.
How to delete, save, copy and share your sketch
- Navigate to the pen bar
- To save, tap the save button. This icon looks like a floppy disk.
- To delete, tap the trash button. This icon looks like a trashcan.
- To copy, tap the copy button. It looks like two rectangles (i.e. copying paper)
- To share, tap the share button. This icon is a circle with three smaller circles on it.

All the latest news, reviews, and guides for Windows and Xbox diehards.

