


Imagine your loved one bouncing in glee because they've received a new Xbox Series X or Xbox Series S. It's exactly what they wanted! As they dance around in their pajamas, they list off all the games they want to play, only for a nightmare scenario to set in — they won't be able to play for hours.
If you're like me, you have fond memories of getting a Gameboy, Xbox, or PlayStation as a gift. But if you're as old as me, times have changed. Modern devices require quite a bit of setup before you can play your favorite games.
My advice is to set things up in advance, perhaps the night before your loved one will open the gift. They may be a bit confused if a box is empty, but that will fade quickly once you reveal the Xbox is ready to play.
You could also follow the guide below and then put the Xbox back in its box and wrap it, but considering the gift may be for a child that will run around the room with it, it's probably best the console is somewhere safe.
While the Xbox Series X and Xbox Series S pack different technology under the hood, both consoles share a lot in common. They utilize an identical operating system (OS), run the same games, and have a similar setup process.
Here, we have a quick check list for setting up an Xbox Series X or Xbox Series S, plus a full guide on how to perform the most crucial steps.
Xbox Series X|S setup check list
- Plug in the console and connect it to the TV
- Install any updates
- Set up an Xbox account
- Enable any parental controls you'd like
- Install games you purchased or got through Xbox Game Pass
- Update games as needed
- Make sure you have batteries for the controller or a charged battery pack
- Check for controller firmware updates through the Accessories app on your Xbox console

What's in the box with Xbox Series X|S?

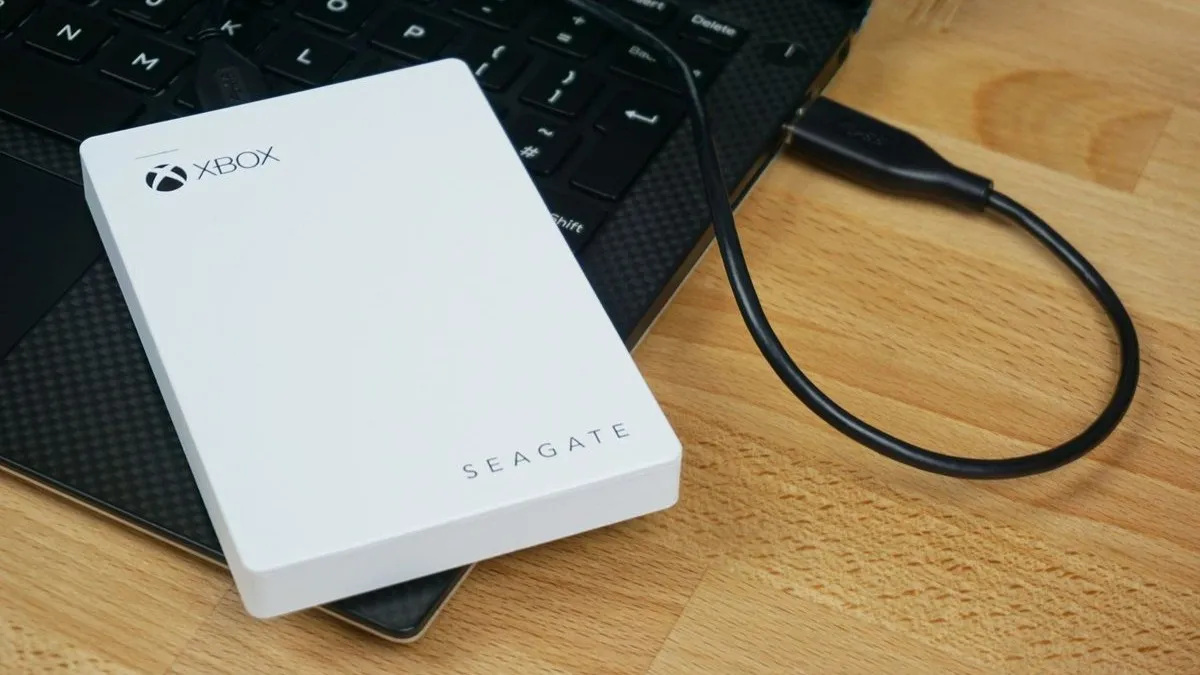
Xbox Series X and Xbox Series S include all the necessities to set-up and start using your new console, making it easy to enjoy it almost immediately. The box stows the device in protective, hassle-free packaging, coupled with one wireless controller, alongside all the cables needed to power and use your Xbox.
The Xbox Series X ships with the console itself, a new Xbox Wireless Controller in matte-black styling, and AA batteries required for power. The same comes with Xbox Series S but swapping out the gamepad for an all-white finish. The box also includes an HDMI cable to connect the console to your TV and the same figure-8 C7 power cable used by Xbox One X.
Console |
Contents |
|---|---|
Xbox Series X |
Xbox Series X Console |
Xbox Series S |
Xbox Series S Console |
It's also worth highlighting Microsoft bundles an Ultra High Speed HDMI cable with Xbox Series X that meets HDMI 2.1 requirements. That supports 4K resolution at 120Hz, or 8K resolution at 60Hz, making it easy to push the best possible experience to capable TVs. The Xbox Series S includes a High Speed HDMI cable that supports up to 4K resolution at 60Hz, or 1440p resolution at 120Hz, in line with the target performance for this lower-tier console.
How to set up Xbox Series X|S hardware

Xbox Series X and Xbox Series S ensure a relatively hassle-free setup, in part because of its streamlined out-of-box experience, getting you gaming in no time. After unboxing the console and its included accessories, it's time to hook everything up to your display.
First, find a place for your Xbox console, whether a desk, entertainment center, or another flat surface. Your console must have adequate ventilation, so the green-tinted top-facing exhaust on Xbox Series X and black circular vent on Xbox Series S can't be blocked. Microsoft recommends 4 to 6 inches (around 10 to 15 cm) minimum around the exhausts to cool your console. Xbox Series X and Xbox Series S also support horizontal and vertical positioning, making it easier to position the console around your home.
And in an always-connected world, also consider your internet connection. With Xbox Live and supporting services like Xbox Game Pass among the console fundamentals moving forward, it's crucial to have a speedy, lag-free experience. While wireless is most accessible with just a few clicks, the logistics of hooking up via Ethernet hugely improve that connection for most.
To ensure your Xbox Series X or Xbox Series S functions as intended, follow the steps below.
- Connect the included HDMI cable to the rear of your Xbox Series X or Xbox Series S.
- Connect the HDMI cable to your TV or monitor.
For many 4K TVs, it's also essential to consider which HDMI port is used. Some TVs map their best features to specific ports, which becomes especially crucial if using an HDMI 2.1 display, with an impact on resolution and framerate. Refer to your TV manufacturer for further specifications. - Connect the power cable to the rear of your console.
- Connect the power cable to an outlet. We recommend connecting the console directly to the wall, as external surge protectors have historically limited power draw, which impacts performance.
- Press the power button on your Xbox console.
Your Xbox Series X or Xbox Series S should light up with an accompanying chime. If no chime sounds, check if your power cable is plugged in correctly, using a functional outlet. If no image is displayed on the screen, check your TV connection, and ensure the correct HDMI source is selected.
How to set up your Xbox Series X|S
When your Xbox Series X or Xbox Series S first powers on, a digital out of box experience (OOBE) walks new users through configuring essentials on the software side. It touches on system language, getting online, and setting preferences, while also installing the latest Xbox operating system (OS) version available at launch.
It's a relatively self-explanatory setup, especially for returning Xbox One users. Microsoft also allows users to expedite the process through the official Xbox companion app, out now on iOS and Android, allowing you to configure preferences while the system is still processing.
How to set up your Xbox Series X|S with the Xbox app

Microsoft's new Xbox app setup experience provides the most seamless opportunity to customize your console, with an easily navigable in-app experience that walks users through the setup step-by-step. The free app is available on iOS and Android devices, which speeds up the process while your console handles updates in the background.
- Open and sign into the Xbox app on your iOS or Android device. If you don't have the Xbox app, it's available for free from the App Store and Google Play Store.
- Tap the console icon in the top-right corner of the screen.
- Tap Set up a console.
- Tap Set up a new console.

- Enter the 10-digit code displayed on your TV. This code will display when first powering on Xbox Series X or Xbox Series S, prompting users to use the app during setup.
- Tap Connect to console. Your mobile device will automatically display a prompt requesting to join your console's Wi-Fi network.
- Tap Join. Your phone will now connect to your Xbox console.
- Tap Next.

- Tap your preferred language and location.
- Hit Next.
- Choose your preferred Wi-Fi network and follow the on-screen prompts to connect. A confirmation will display when online.
- If using a wired connection, select Use wired connection. Ensure your Ethernet cable is connected to the console. A confirmation will display when online.

- Tap Next. The app will prompt you to install an Xbox update.
- Tap Next to start the update. Your Xbox Series X or Xbox Series S will start updating in the background.
- Choose your preferred power mode for your Xbox console.
- Shutdown (energy saving): This mode aims to reduce power consumption, with slower start-up, no downloads while shut down, and easy remote access. The environment appreciates your sacrifices.
- Sleep: This mode is all about speed and functionality, powering on in just seconds with the ability to download titles or remotely access your console while turned off.
- Tap Next.

- Choose your preferred sign-in preferences.
- No barriers: This is the easiest way to use Xbox Series X or Xbox Series S, allowing you to sign-in, change settings, and even purchase content without additional steps. You're sacrificing security for convenience.
- Ask for my passkey: This setting allows you to create a simple passkey that you must enter to sign-in, make purchases, and change settings across your console. Ideal when using your Xbox console in a household with multiple people.
- Lock it down: This setting requires users to reauthenticate your Microsoft account with your full password every time you sign-in, make purchases and change settings across your console. While great for security, it can be a hassle.
- Tap Next.
- Select Enable instant sign-in to be automatically signed when turning on your Xbox console. Otherwise, select No thanks.
- Choose your preferred automatic update preferences using the on-screen toggle.
- Tap Next.

- Choose whether to enable remote features using the on-screen toggle. This includes remote play, remote install, remote control. Otherwise, select Skip.
- Tap Next.
- Sign in with your Microsoft Account when prompted.
- Tap Next to acknowledge Microsoft's data collection policies.
- Tap Send Optional Data to send Microsoft optional diagnostic and usage data. Otherwise, select No thanks.
- Tap Next to acknowledge Microsoft's data-sharing policies.
- Enter a name for your Xbox Series X or Xbox Series S console. Otherwise, select Skip.
- Tap Next.

- Choose your preferred communication preferences for information and offers using the on-screen toggle.
- Tap Next.

- For existing Xbox users, Microsoft will provide an opportunity to restore your Xbox system preferences from the cloud. Select Apply Settings to accept these same preferences, or select No Thanks to further customize your console. Those setting up an Xbox console for the first time will also receive an opportunity to customize their system preferences.

- Select Link Controller to automatically sign in when using your controller. Otherwise, select Skip This.

- Select Take Me Home to complete the setup process.
How to set up your Xbox Series X|S on the console
For those who prefer to keep it simple or don't have access to the Xbox app, new consoles can also be set up on the device with an equally intuitive setup process. It's best to have your Microsoft Account ready, with an experience that transitions between your phone and TV.
- Press and hold the Xbox button to turn on your Xbox controller.
- Press the Menu (three-lines) button.

- Select your preferred language.

- Select the preferred variety of your preferred language.

- Choose your preferred Wi-Fi network and follow the on-screen prompts to connect. A confirmation will display when online.
- If using a wired connection, select Use wired connection. Ensure your Ethernet cable is connected to the console. A confirmation will display when online.

- Select Continue.

- Select your location. The console will prompt you to install an update.

- Select Start update. Your Xbox Series X or Xbox Series S will start updating. Microsoft will prompt you to hand over the set-up process to your mobile, although you can continue using just the console if preferred.

- Press and hold the Xbox button to turn on your Xbox controller.

- Press A to continue the setup process. Your console will prompt you to update the Xbox controller.

- Select Update Controller.

- Select Next to continue the setup process.

- Select Next to continue the setup process.

- Sign in with your Microsoft Account when prompted.

- Select Next to acknowledge Microsoft's data collection policies.

- Select Send Optional Data to send Microsoft optional diagnostic and usage data. Otherwise, select No thanks.
- For existing Xbox users, Microsoft will provide an opportunity to restore your Xbox system preferences from the cloud. Select Apply Settings to accept these same preferences, or select No Thanks to further customize your console. Those setting up an Xbox console for the first time will also receive an opportunity to customize their system preferences.
- Select Link Controller to automatically sign in when using your controller. Otherwise, select Skip This.
- Select Take Me Home to complete the setup process.
How to move games from Xbox One to Xbox Series X|S
With Xbox Series X and Xbox Series S supporting almost every title once playable on Xbox One, it's easy to bring your existing installations across devices. It saves the need to redownload potentially dozens of titles on your new console, with relatively seamless transfer processes in place, depending on your setup.
The Xbox One and Xbox Series family provide two transfer options: a wireless network transfer and by using a physical external hard drive. The former allows you to copy over games quickly provided the consoles are on the same local network. But if you have a USB-connected drive to hand, it's an easy plug and play process. You can even play backward compatible titles directly off the hard drive, allowing you to expand the Xbox Series X and Series S storage beyond that SSD.
Our guide on transferring games from Xbox One to Xbox Series X or Xbox Series S provides the full lowdown on how to move your games, unlocking the full benefits of the next generation.
How to set up Xbox parental controls
For parents setting up an Xbox Series X or Xbox Series S, Microsoft also provides a robust suite of parental controls designed to help keep an eye on the kids. Existing tools include timers on when and how long your child can play, limitations on content, as well as monitoring and managing their activity on consoles.
It's relatively easy to set up these controls on the Xbox Series X, located within the Settings app, under Account > Family Settings. But the new Xbox Family Settings app is our recommended experience because it packs all the tools into one remote app on your iPhone or Android device. The free app allows you to manage and monitor any aspect of your child's experience whenever and wherever with a simple process, only requiring a Microsoft Account.
For any parent picking up a new Xbox, these tools are a must-try to ensure your kids stay safe online, both with the content they play and the people they meet. It's now easier than ever, ideal even if you're not technically-minded.
Experience the best with your TV: 4K, HDR, 120Hz

Before sitting back and enjoying your new console, the importance of making sure your console is configured to work with your TV can't be stressed enough. While the Xbox Series X and Xbox Series S work better than ever with the newest TV technologies, it's still worth checking your console has been configured to deliver the clearest, smoothest, and most vibrant gameplay out of the box.
Microsoft contains a handy 4K TV test inside the Xbox Series X and Xbox Series S settings app, available under General > TV & display options > 4K TV details. The presented results, as demonstrated above, provide a breakdown of what your TV can output. It's also important to check which port your console uses, with many 4K TVs limiting features to select port numbers.
Only a select number of TVs will be capable of 4K resolution at 120Hz, which provides the ultimate balance of clarity and fluidity. It's restricted to only the best 4K TVs for Xbox Series X and Series S, with the new HDMI 2.1 standard. Older 4K TVs may support up to 4K at 60Hz, or 1440p at 120Hz. HDR is also one to watch, supported across many new TVs, resulting in improved contrast and colors.
We have complete guide on enabling HDR for Xbox Series X|S. The exact steps required depend on your TV.
Visit General > TV & display options under the Settings app on your Xbox and ensure your maximum resolution is selected on the "Resolution" tile. The adjacent Video Modes tile also provides additional options, like enabling HDR content or high refresh rates.

Follow Windows Central on Google News to keep our latest news, insights, and features at the top of your feeds!

