How to: Setting up and configuring Instant Actions on Outlook.com
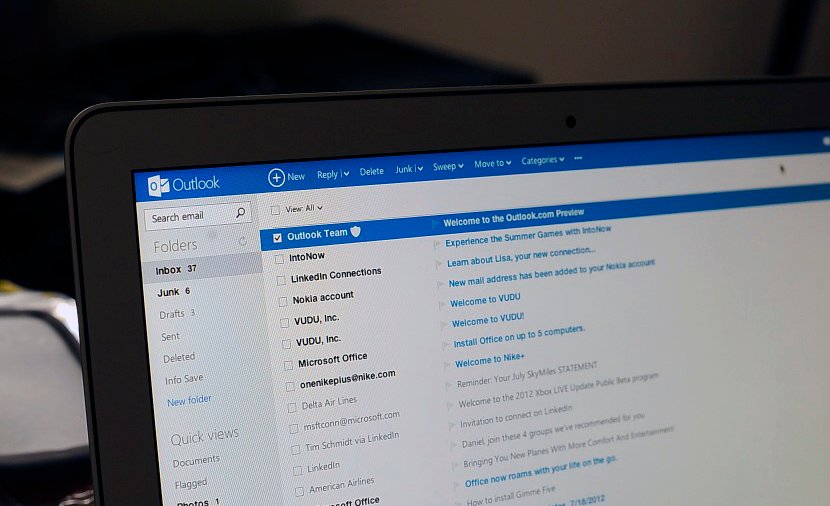
Sorting through a number of emails can easily become a tricky business, especially if there is a large collection waiting for you to synchronise your email client - we're sure you've experienced the post-holiday email craze, right?
Microsoft has designed Outlook.com to be extraordinarily easy to use, and to get common tasks done quickly. We took a look yesterday at how to automate inbox clean-ups to either delete or move emails and keep the inbox clutter free.
Today we'll be looking at how we can utilise Instant Actions to make email management easier. So just what are 'Instant Actions' on Outlook.com? They're quick tools that enable users to quickly manage individual emails. On hovering over a message in a folder, you'll see three icons appear under the received date (see below).
The default Instant Actions present are marking emails read / unread, deleting individual messages, and flagging for importance (this option also exempts that email from the automated cleanup facility). These can be manipulated, deleted, or be joined by more entries depending on the user requirements. In this how to we'll be looking at how we can add more options to the bar to move emails to folders and more.
Configuring Instant Actions
As is the case with most functionality on Outlook.com, it's easily customised by someone who hasn't had much experience with the user interface. To reach the Instant Actions settings page, we have to go through the main control panel for Outlook. This can be achieved by selecting the cog, which is situated between the Messenger icon and the full name of the account holder.
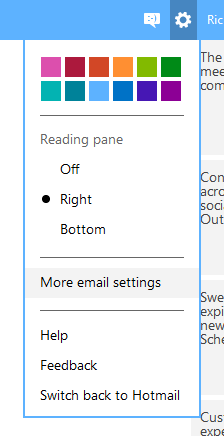
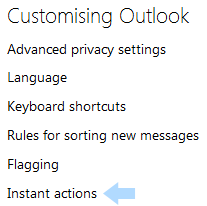
This will open up a drop-down menu where we can select 'More email settings' to load up the control panel. Once the control panel menu has sprung into life, choose 'Instant Actions' underneath "Customising Outlook" on the right-hand side.
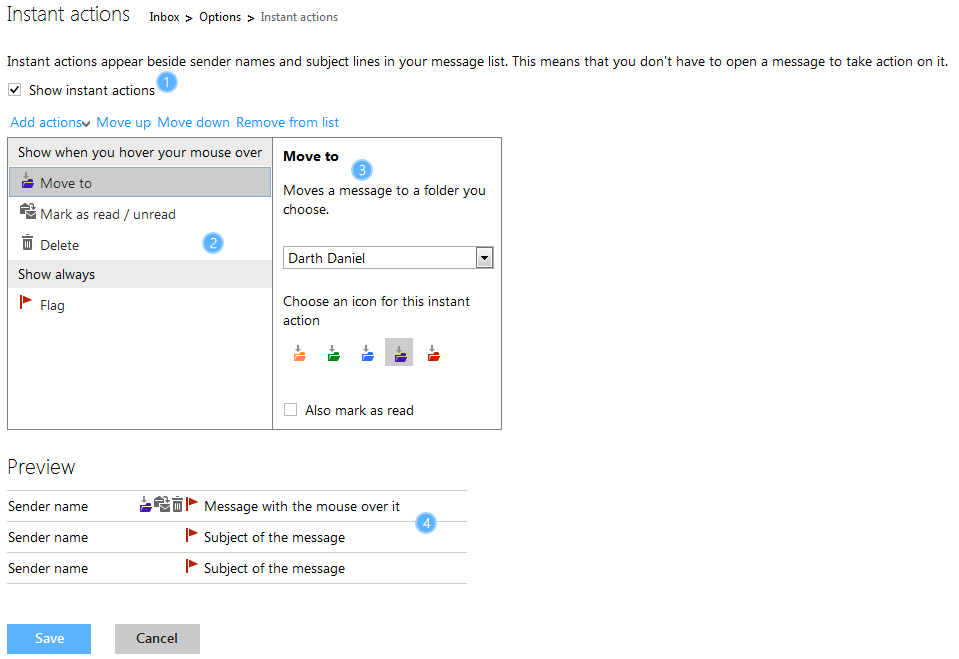
We're now in the settings page for Instant Actions. At first this can appear slightly baffling, but it's simple enough once you understand what's what. We've numbered the main functions we'll be tackling in this how to in the image below (click for a larger, clearer version).
All the latest news, reviews, and guides for Windows and Xbox diehards.
- This option simply determines whether or not Instant Actions are displayed in the main reading pane. If you'd like to disable them altogether, uncheck this box.
- The left-hand side of the box lists the actions we have currently in the menu. We can add new functions from the 'Add actions' drop-down menu above. 'Move to' enables us to move emails to designated folders, categorise sorts the email into pre-defined categories, sweep essentially sets up automated clean-ups, while junk does exactly what it says on the tin.
- Once we've chosen an action we'd like to add to the menu from the list in #2, the right-hand side of the box will alter depending on which action you've selected. Choosing 'Move to', we can set up a new icon (purple in our case) where when clicked it will move the selected email to the folder of our choice - Darth Daniel returns. A nice extra is the 'Also mark as read' option, which is handy in most scenarios.
- Lastly we have the preview of what the menu will look like in action.
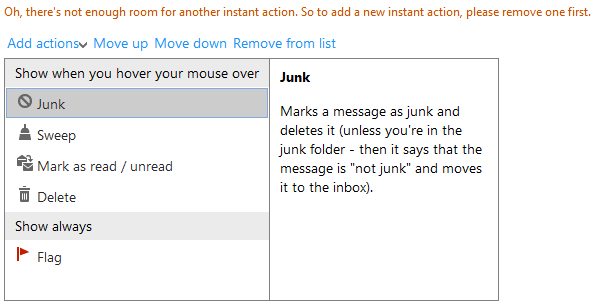
Do note that you can only have a maximum of 5 Instant Actions at any one time, and the default options can always be removed to make way for quick junking.
There you have it folks, the easy way to set up and manage Instant Actions to help make your emailing life that little bit easier. Should you not have an Outlook.com account yet, you can create a new email address, or upgrade your existing Live ID, by heading over to Outlook.com.

Rich Edmonds was formerly a Senior Editor of PC hardware at Windows Central, covering everything related to PC components and NAS. He's been involved in technology for more than a decade and knows a thing or two about the magic inside a PC chassis. You can follow him on Twitter at @RichEdmonds.

