7 Enshrouded beginner tips, tricks, and mistakes to avoid I wish I knew before starting
Get started on the right foot in Enshrouded by following these tips and suggestions.
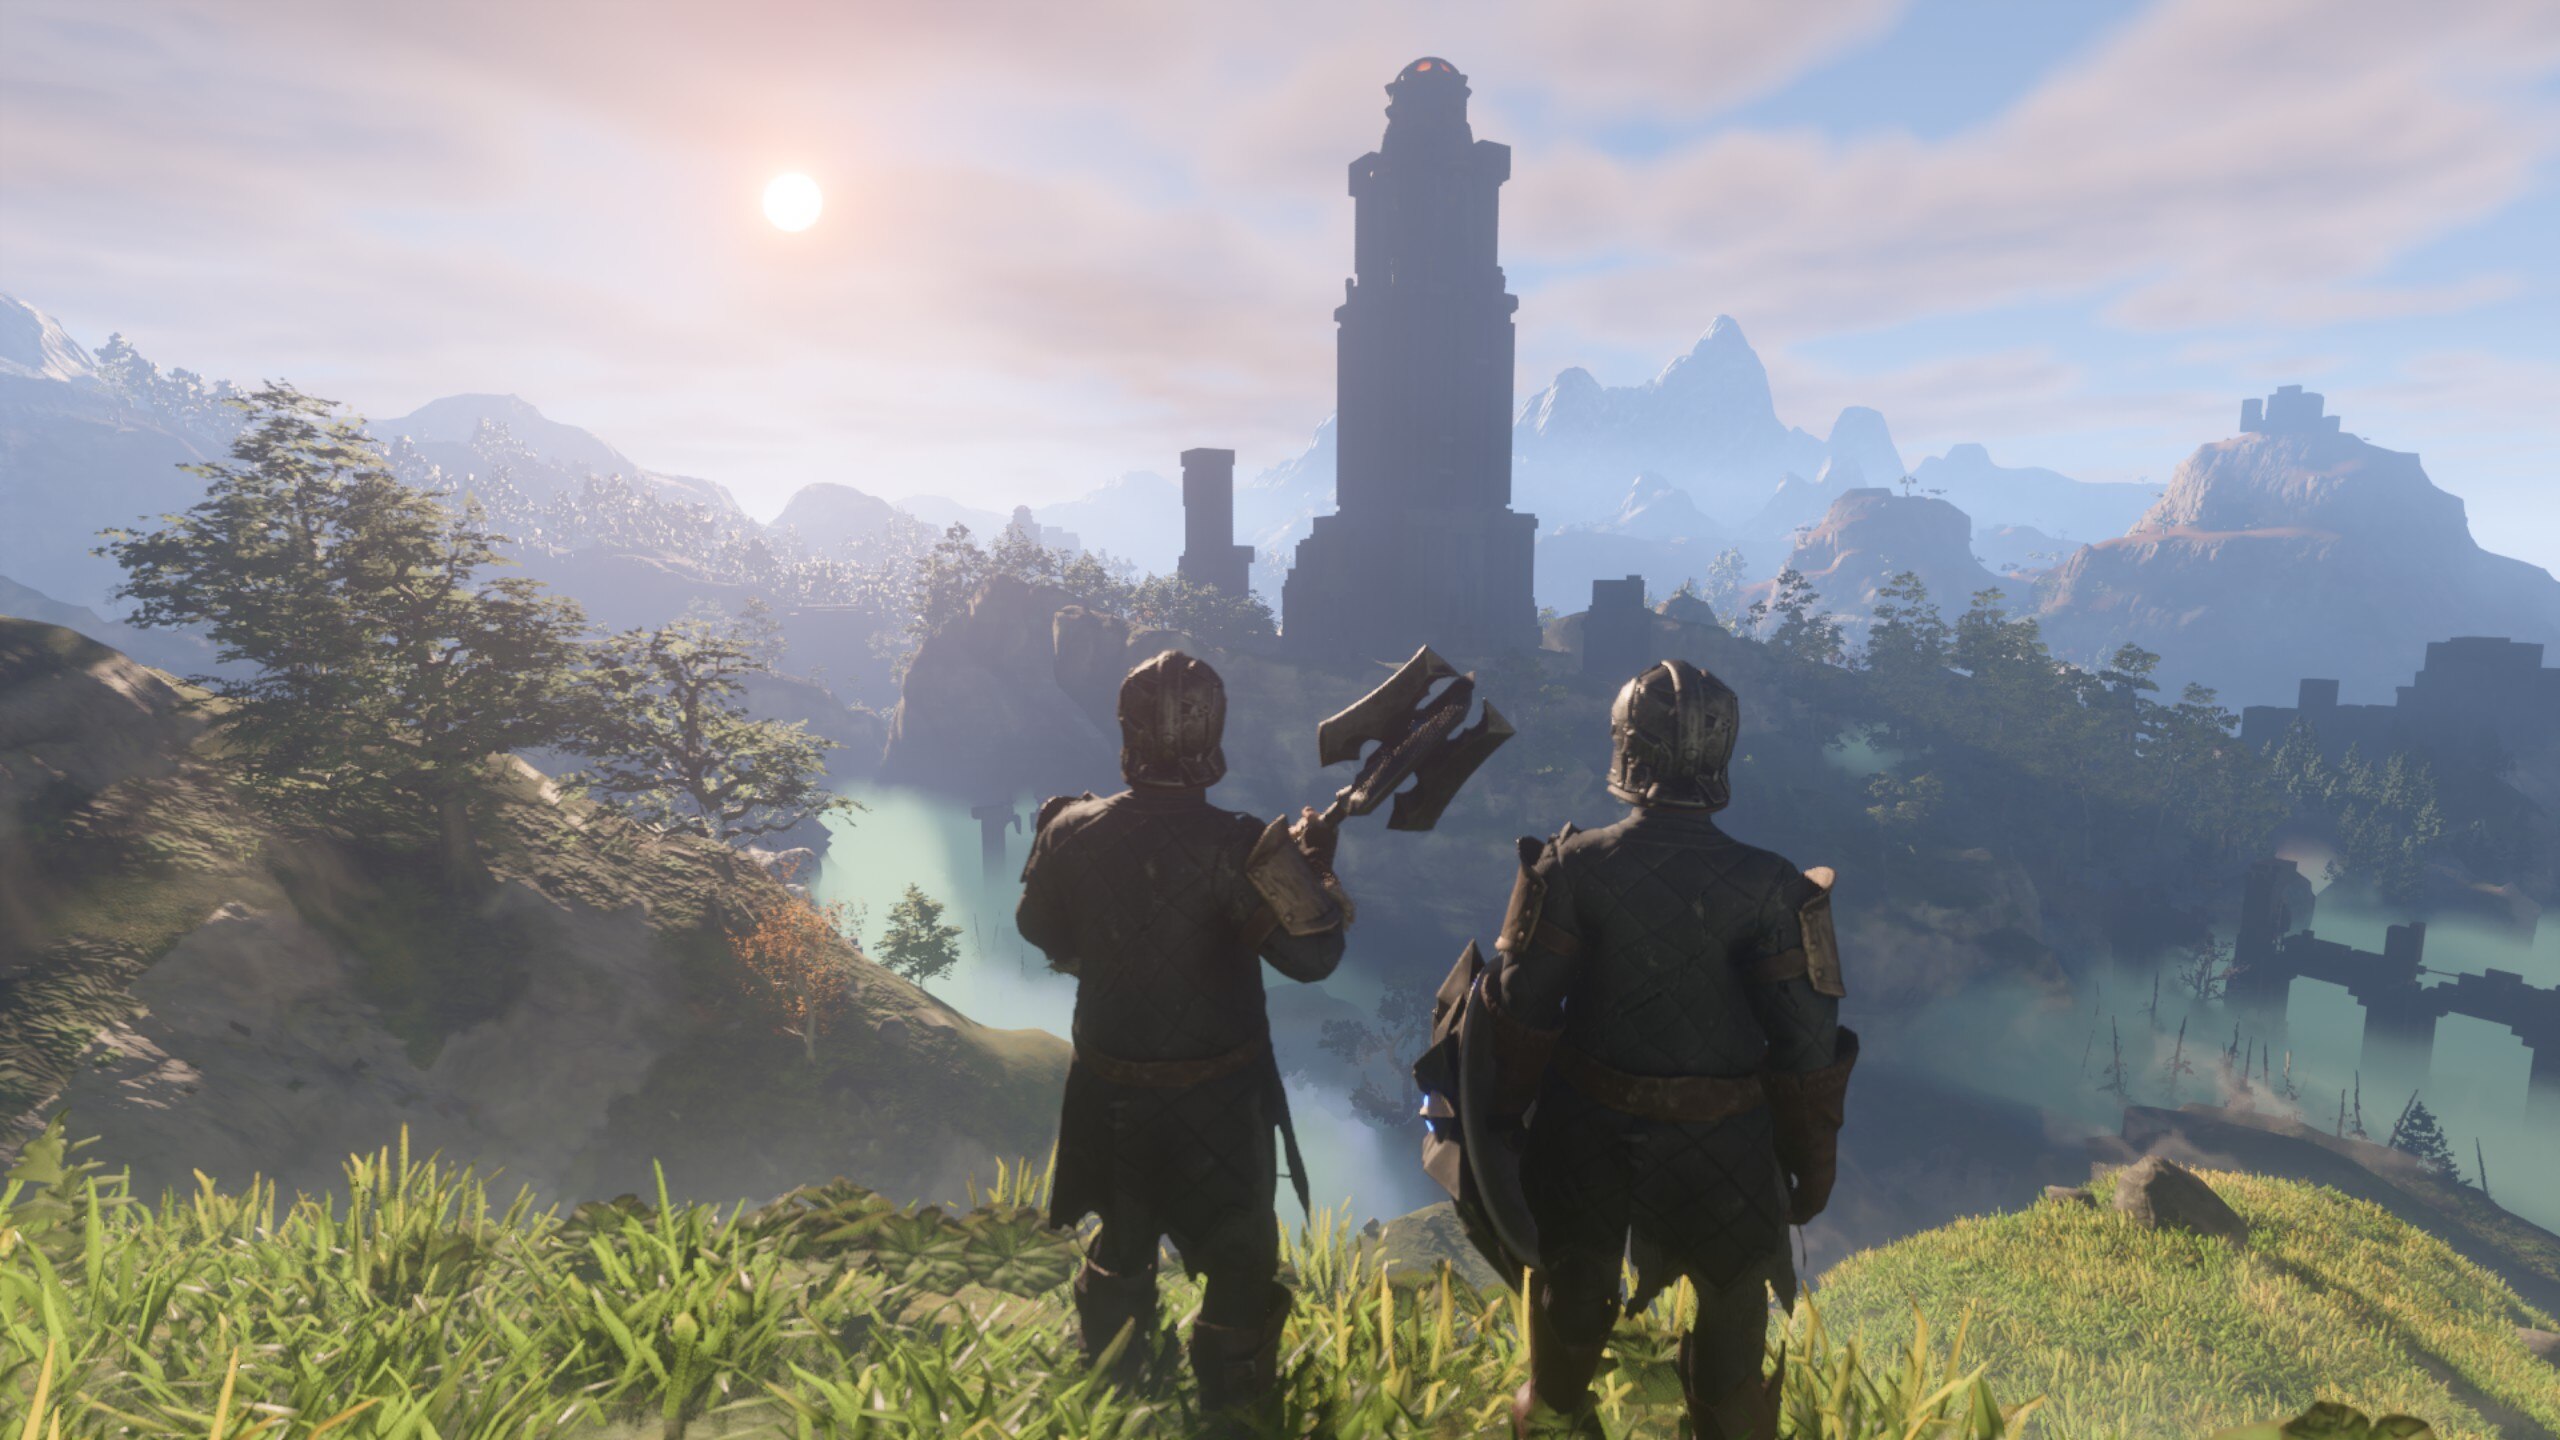
Since its Early Access launch on Steam in late January, Enshrouded has quickly become one of 2024's most popular new games. Its blend of open-ended exploration, survival game mechanics, and Soulslike combat is very compelling — especially since all of it takes place in a beautiful, yet ominous dark fantasy realm where a corrupting pestilence has fallen over the land. But when you're first starting out, it's tough to figure out what to do first and how to go about surviving and thriving in Embervale.
I recently began my own playthrough to take a break from Palworld, and after stumbling my way through the early game for several hours, I've come away with some handy tips and tricks that every new Enshrouded player should know, along with warnings about mistakes I made that you should avoid. The below guide covers all of this information as well as some other useful details, too; give it a read, and you'll know how to start your adventure on the right foot.
1. Craft the Grappling Hook and Glider ASAP
After following Enshrouded's brief tutorial and getting yourself situated with a simple base, a Workbench for crafting and repairs, and some basic gear, your first goal should be to craft a Grappling Hook. You won't be able to explore beyond the first few starting areas without one, and it's a tool that remains useful throughout the entire game.
Crafting a Grappling Hook requires 4x Metal Scraps, 7x String, and 10x Shroud Spores. Of these resources, the hardest to acquire are Metal Scraps. Metal Scraps drop from the Scavenger enemies first encountered near the Blacksmith's Ancient Vault, but you can also mine them from the metal pods in the Cinder Vault you woke up in with a pickaxe. Meanwhile, String is made with Plant Fibers from bushes, and Shroud Spores drop from the mobs that spawn in Enshrouded areas.
Another important item to make right away is the Glider. I neglected crafting this one for quite a while, and I wish I didn't, because it allows you to safely jump from high ground to lower areas without taking fall damage (it can be very lethal in this game) and will save you from accidental deaths, provided you've got stamina. To craft a Glider, you'll need 8x Shroud Wood, 2x Animal Fur, 2x String, and 2x Shroud Spores. Note that Shroud Wood comes from chopping down trees in the Shroud, while Animal Fur drops from animals like rabbits and wolves you can find running around.
How to use the Grappling Hook and Glider
Once it's equipped, using the Glider in Enshrouded is easy; to deploy it and start gliding, simply press Spacebar after jumping and/or while midair. While in the air, press A and D to turn left or right, and W or S to dive or level out, respectively.
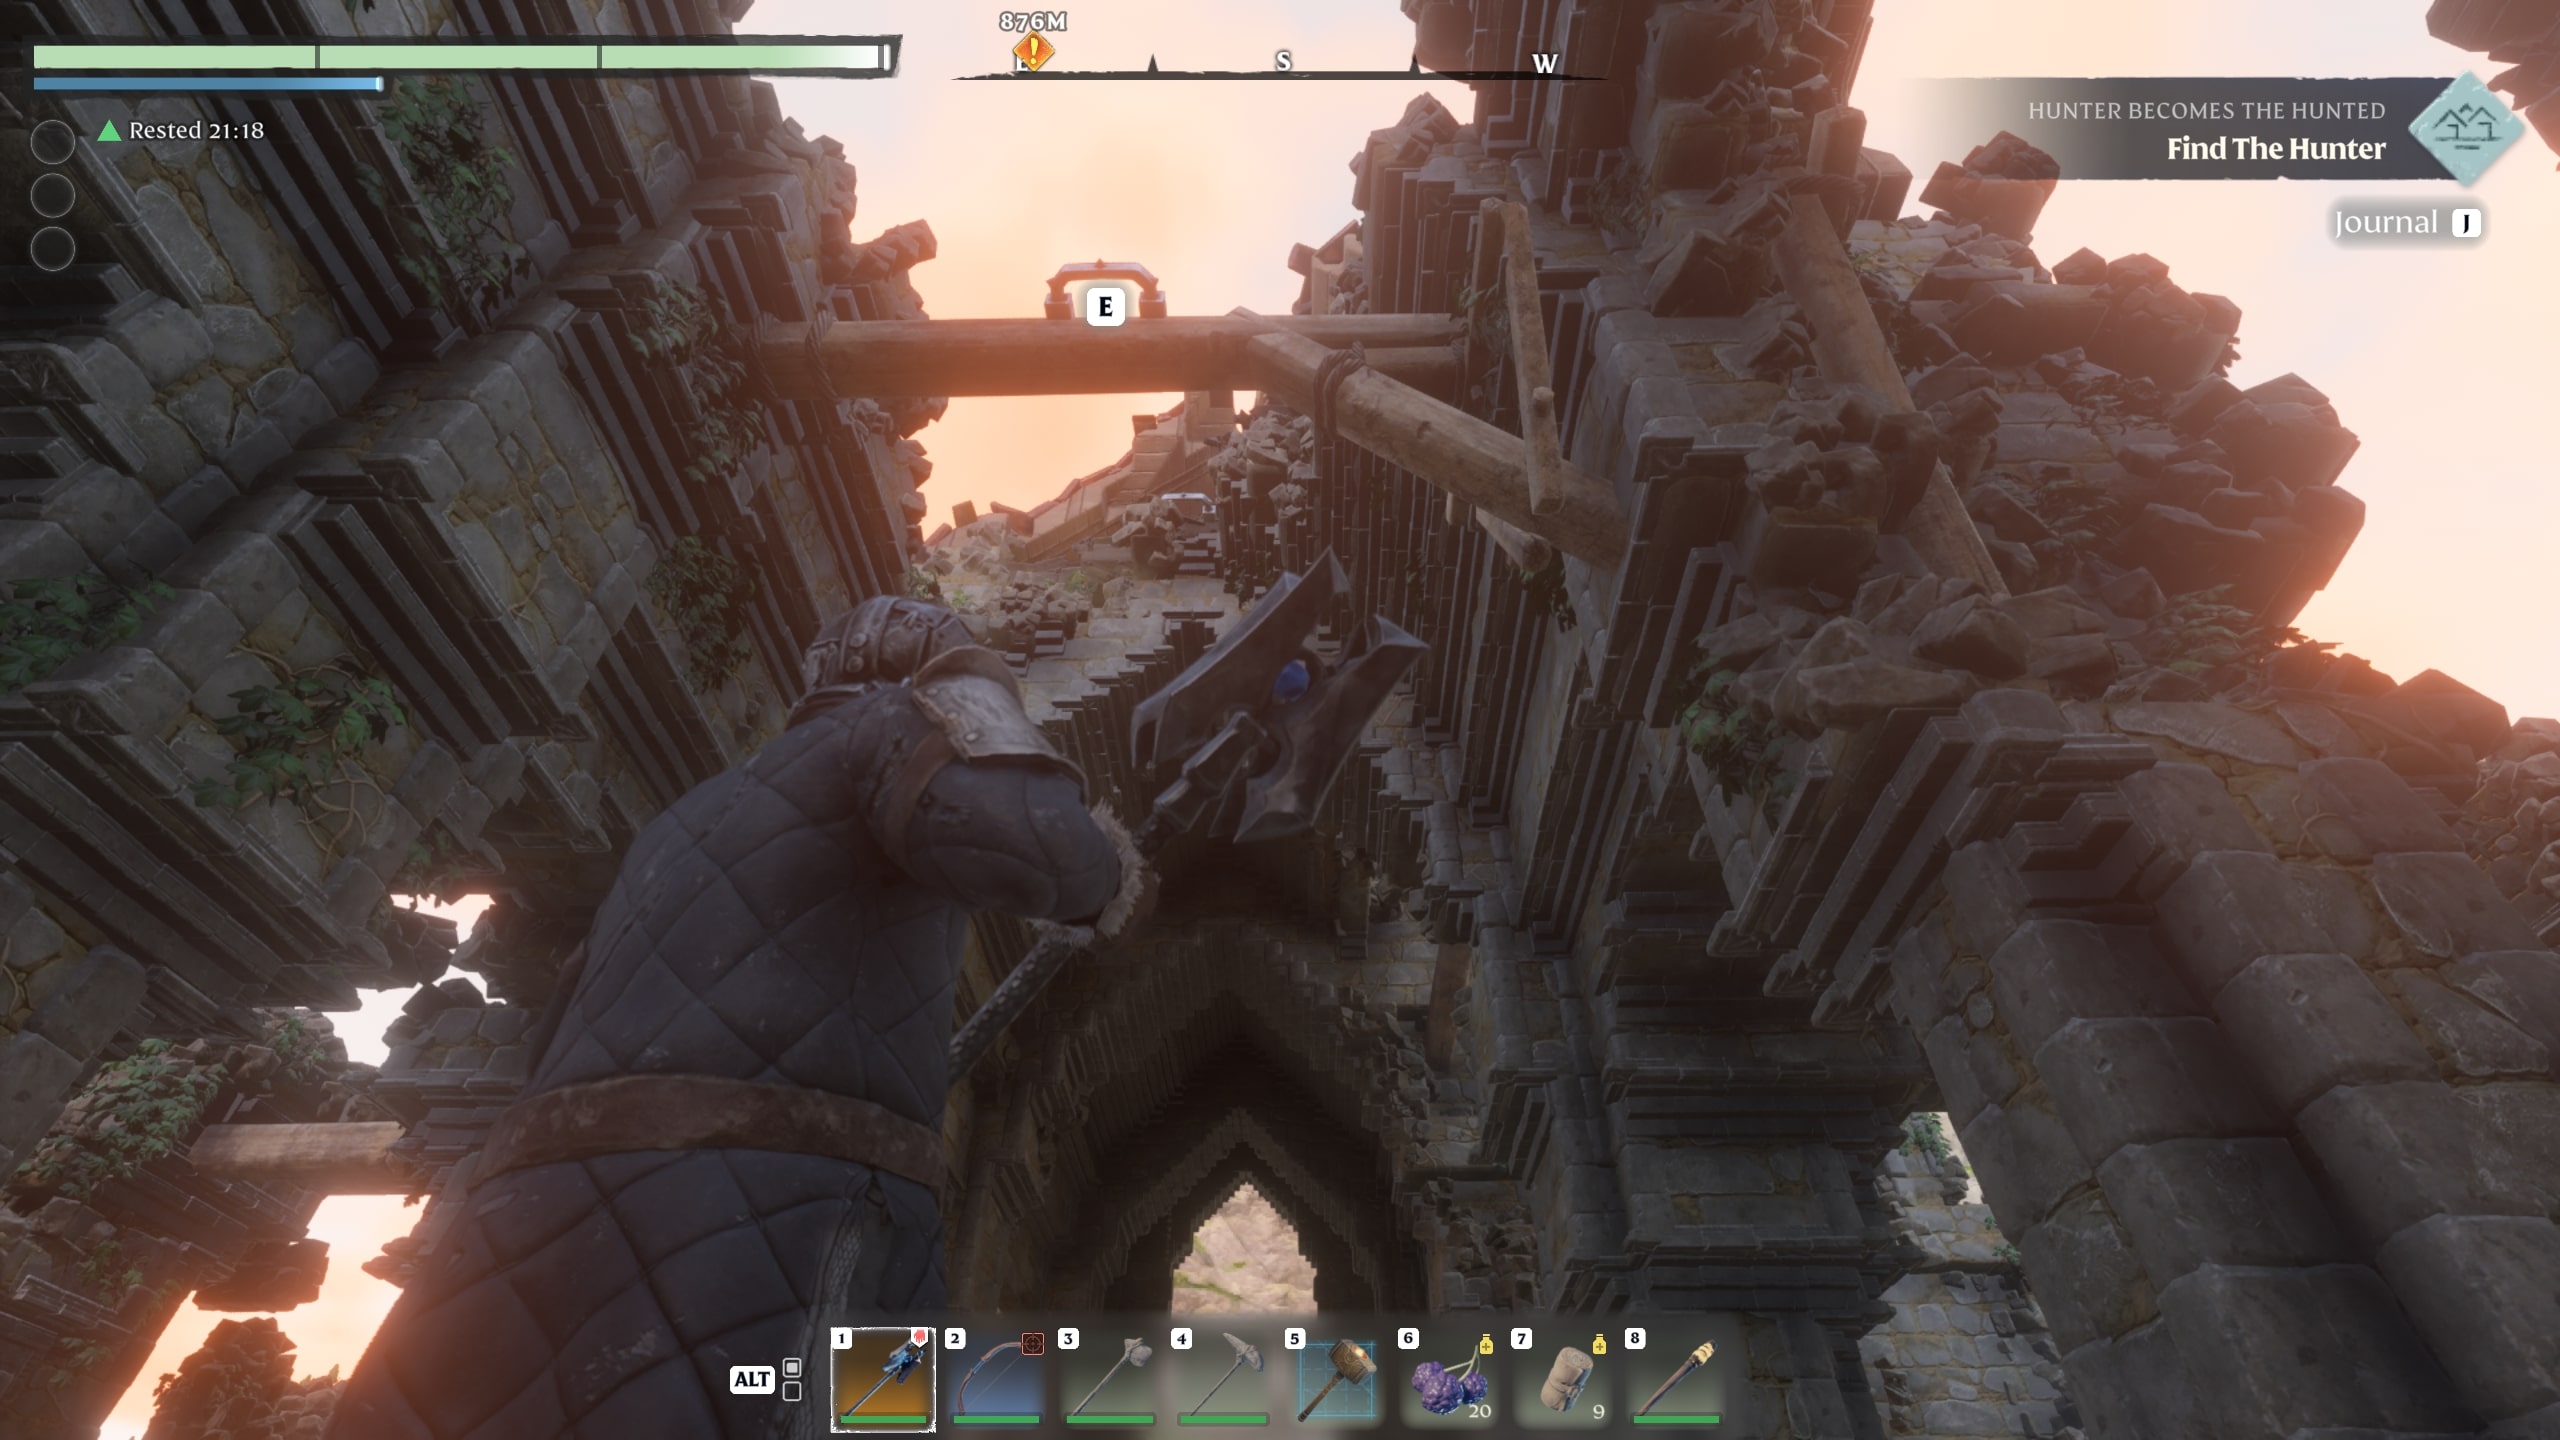
The Grappling Hook is a bit more complicated, as you can only use it on special grapple points found throughout the world. These points look like metal rungs that stick out of other structures, and will flash orange when you look at them. When you're close enough to the grapple point that you can grapple to it, an E key prompt will appear, and pressing it allows you to do so.
All the latest news, reviews, and guides for Windows and Xbox diehards.
2. Gather berries and craft Bandages to heal
Though Enshrouded's stamina-based, dodge roll-heavy combat feels rather Souls-esque, there isn't an "Estus Flask" healing item that refills whenever you reach a checkpoint. Luckily, health regenerates slowly over time, but you'll need to find or craft consumables that restore health if you want to heal in battle.
Eventually, you'll have the ability to create health potions, which are the best healing items in the game. Investing into the Healer skill tree will also eventually allow you to cast healing magic. Early on, though, active health restoration only comes from two sources: Purple Berries and Bandages.
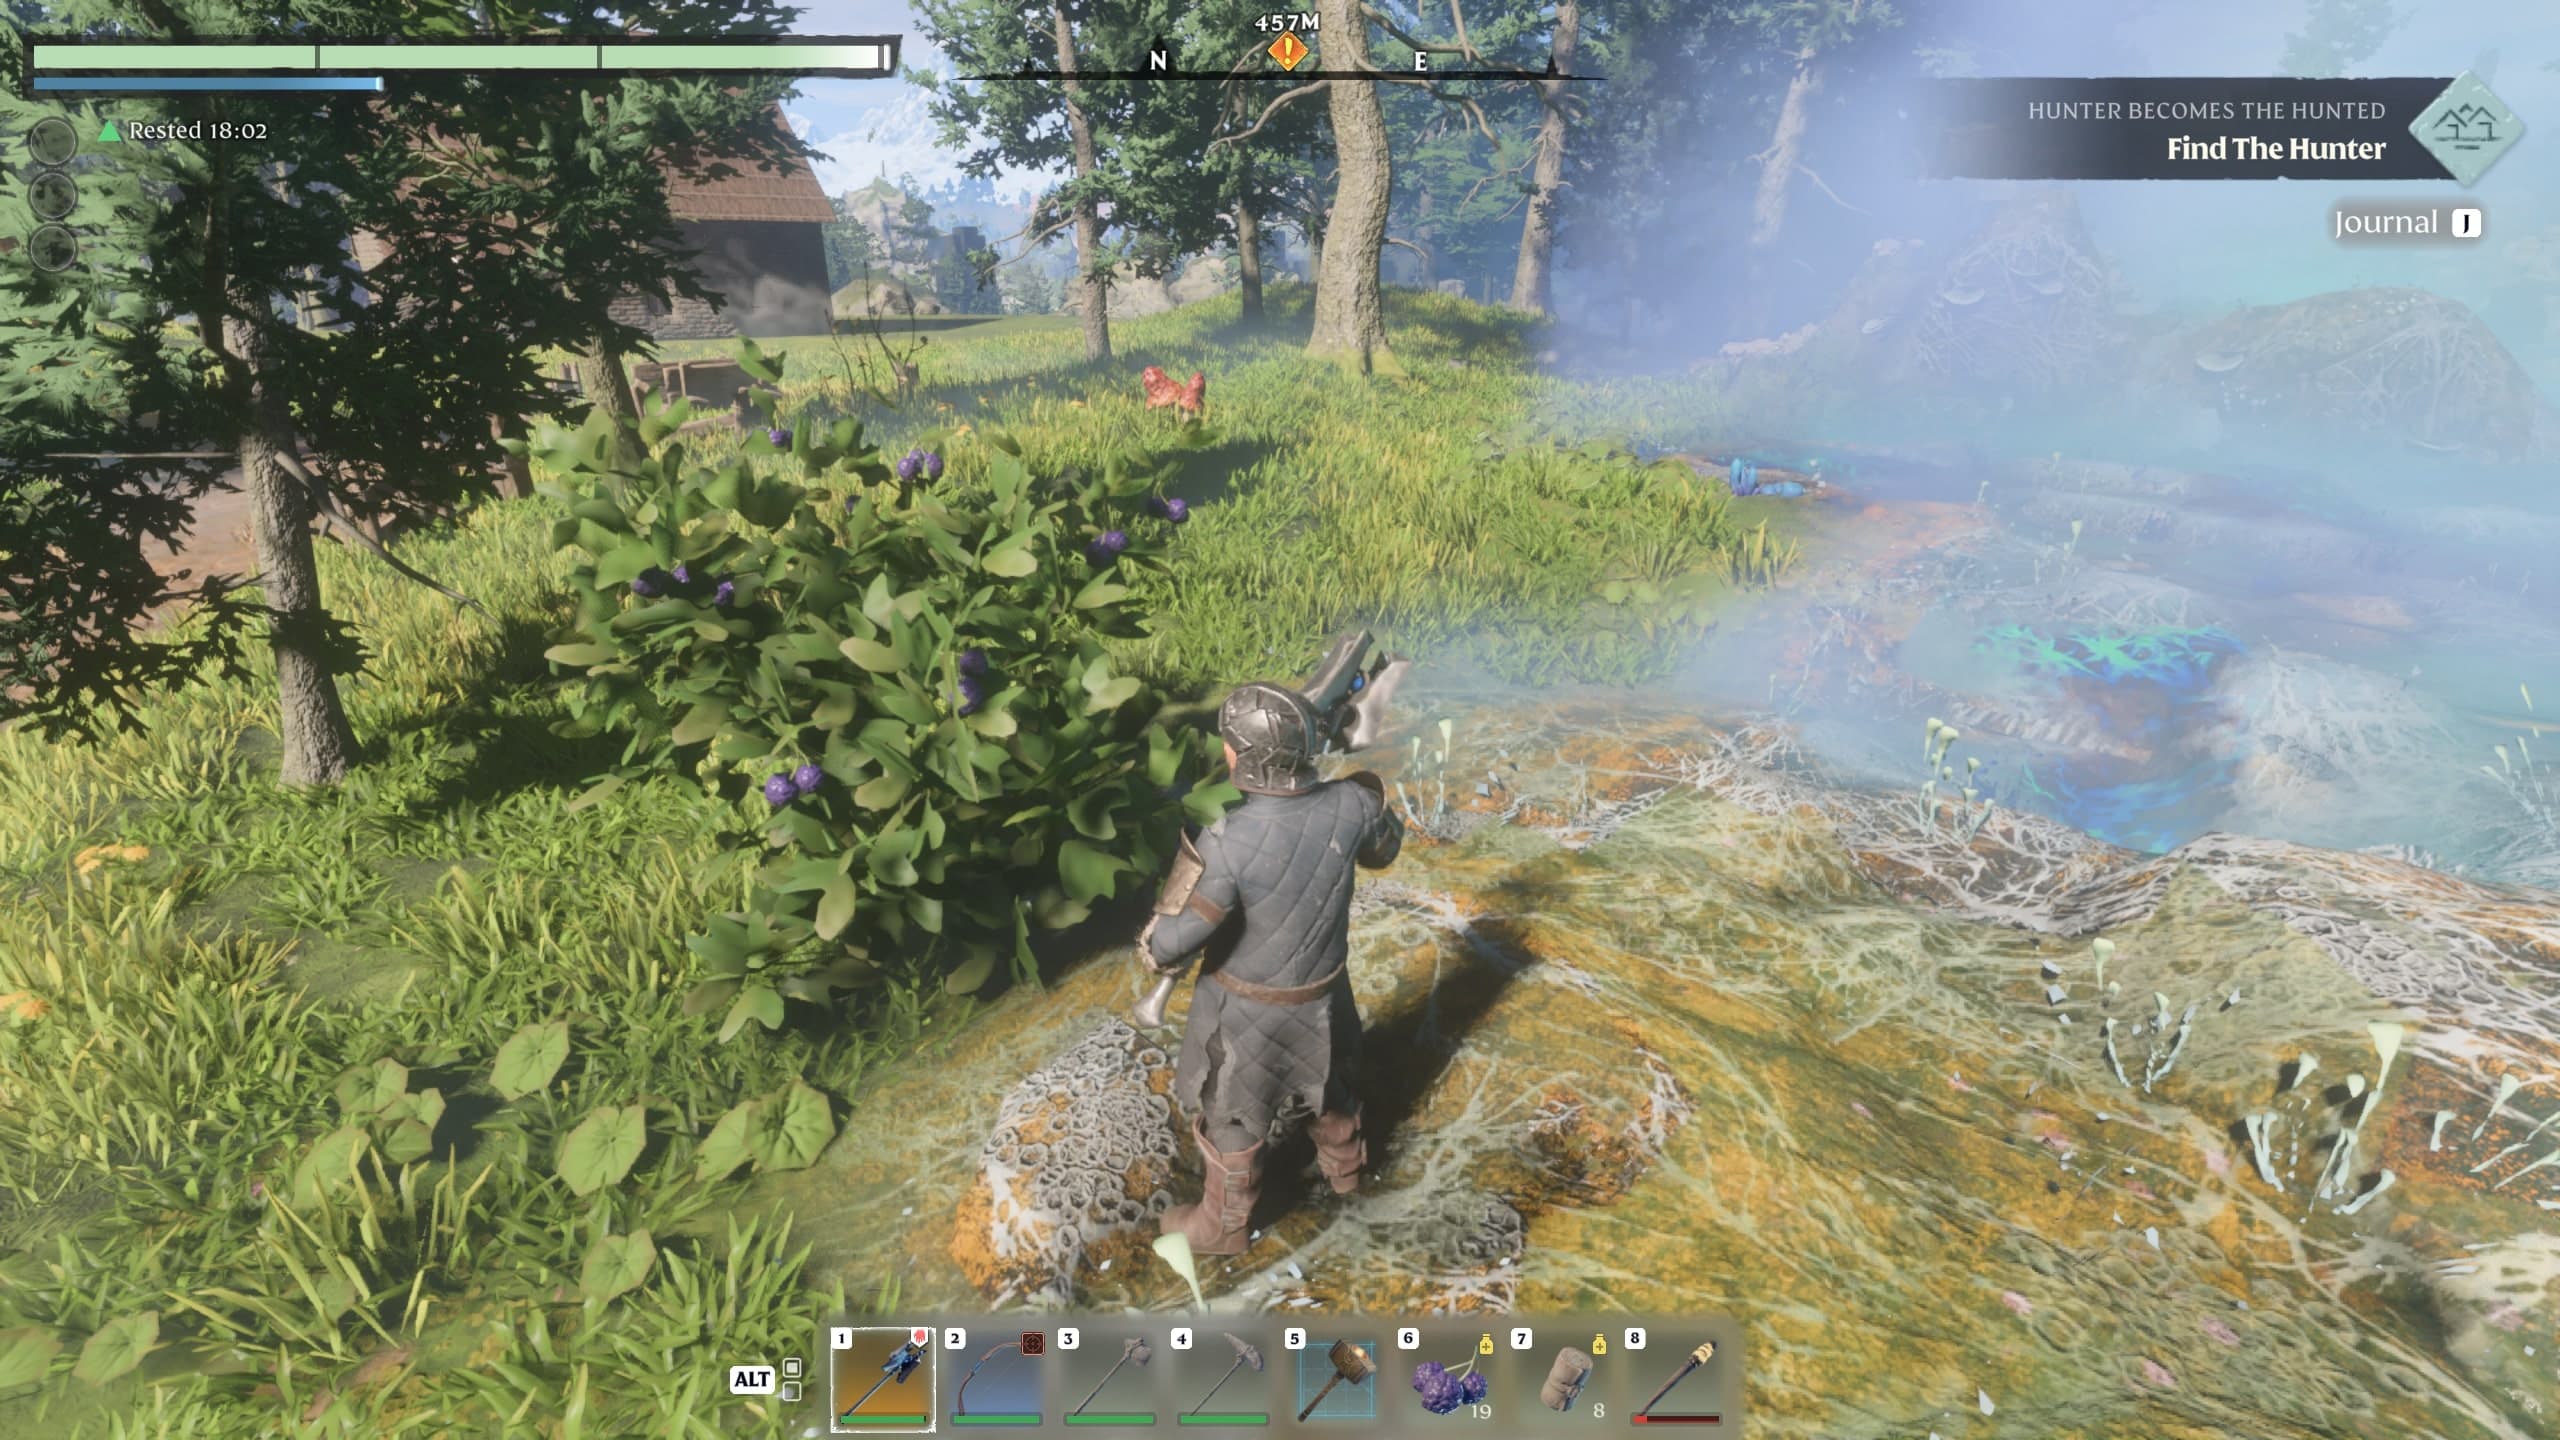
Purple Berries can be picked from berry bushes found across the Springlands, the game's starting region. These are useful in a pinch, but aren't very effective at replenishing lots of health quickly. For more serious injuries, you'll want Bandages, which are crafted with 1x String and 1x Torn Cloth. These heal a lot more, and also a lot faster.
Torn Cloth is very common and found frequently throughout the game. The best way to get Torn Cloth is to loot it from fallen foes or broken containers like barrels and crates.
Do Purple Berries respawn in Enshrouded?
Yes, Purple Berry bushes will respawn after a few in-game days, though the exact spot they appear in seems to change a bit each time they do. Therefore, make sure you're fully checking the area where they were before, as the new bushes might have popped up somewhere else.
What happens if I die in Enshrouded?
If your health is fully depleted or your Shroud timer runs out while you're in the Shroud, you'll die and respawn at the last Return Beacon (glowing metal ball structures) or Flame Altar you visited. You'll keep all your equipped weapons, armor pieces, tools, ammo, and consumables, but will lose all the crafting materials you were carrying. You can recover these by returning to where you died.
3. Don't forget about your Shroud timer
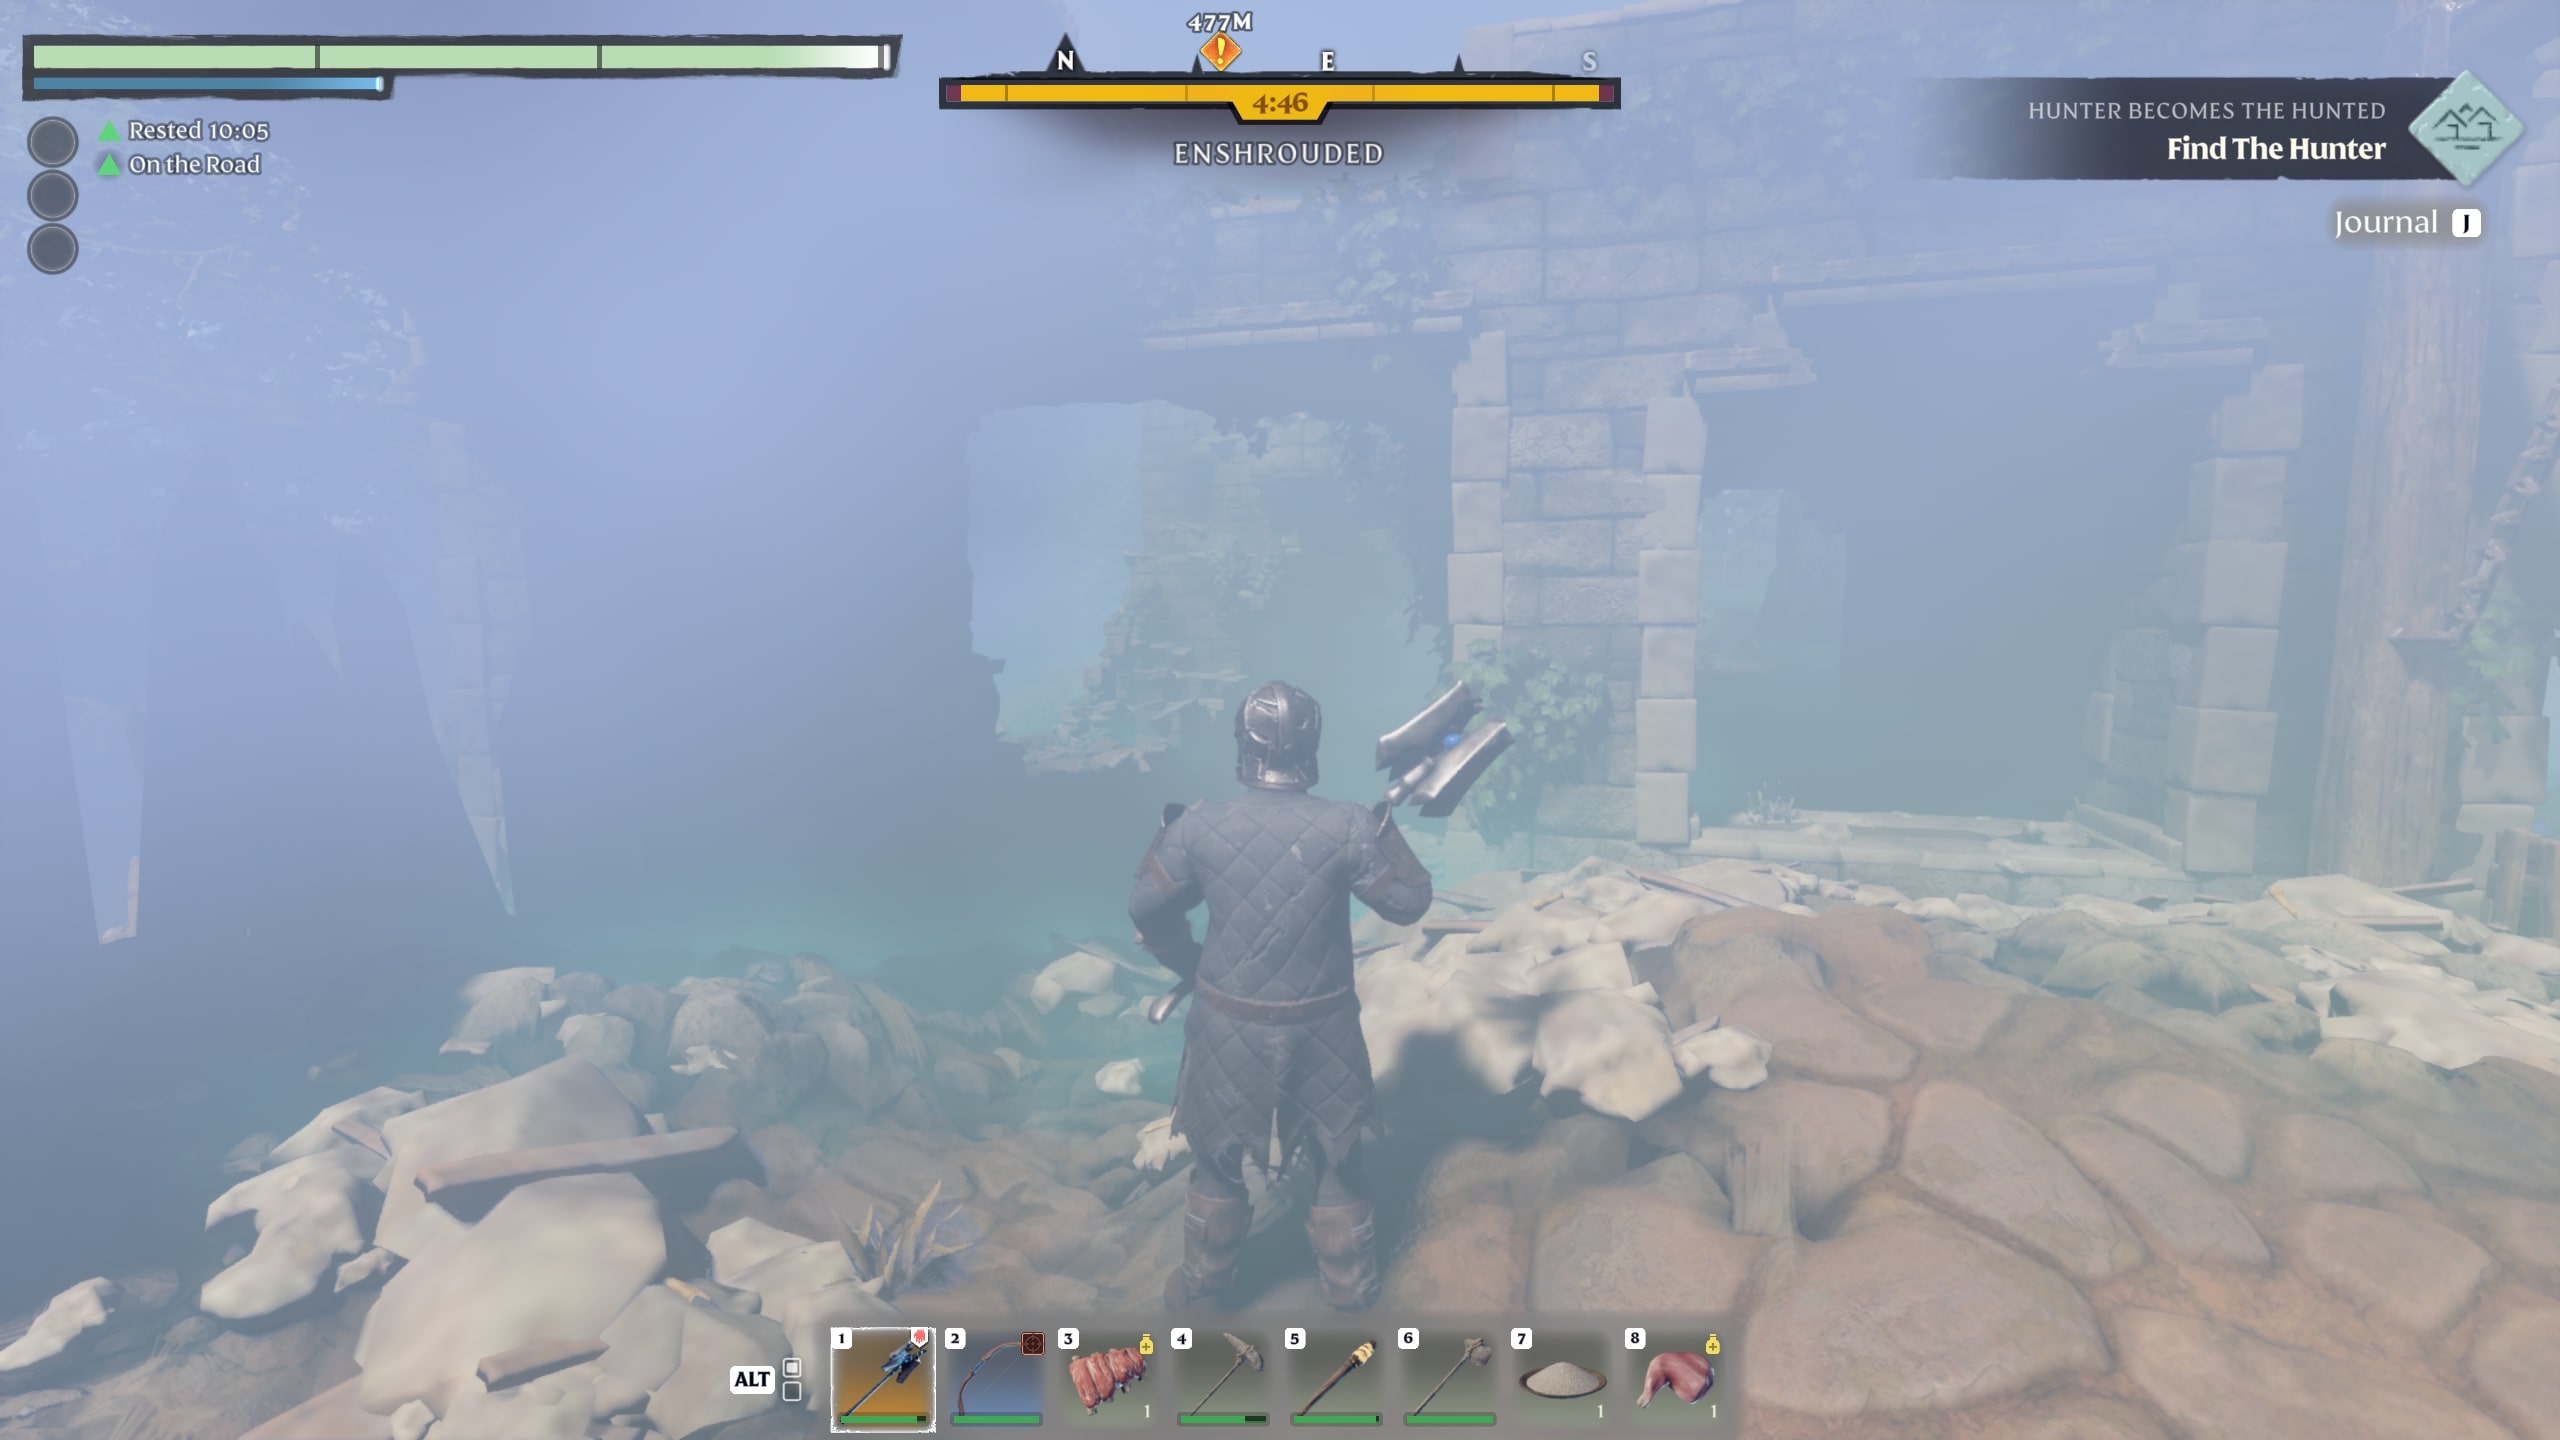
In Enshrouded, you’re only able to stay in areas covered by the thick, hazy mist of the Shroud for five minutes before you die. This is the core mechanic driving the game’s “explore and escape” gameplay loop, and since you get a countdown that shows exactly when time runs out, it’s easy to keep an eye on. But even so, losing track of it was a mistake I made several times early on.
It’s easy to get distracted by all the enemies, secrets, and treasures found in Shroud zones, but it’s crucial to give yourself enough time to escape them and get back to safety. There’s always a few paths that lead out of each Shroud-affected area, so I recommend finding these first and marking them with map markers. Then you can focus more on exploration, as you’ll know where to go when it’s time to escape.
So when should you escape? Generally, I’d start heading back to safe territory when your timer reaches the two-minute mark. As long as you sprint a good portion of the way, this should be enough time to make it out of the Shroud without cutting things too close.
Something to be aware of is that while you’re in the Shroud, you’ll need to watch out for large blue gas sacs scattered around the environment. These explode if they get damaged or you get close to them, and the cloud of spores they leave behind eats time from your countdown if you get caught in it. These spores can also spawn naturally, so watch your step.
How to survive longer in the Shroud
Five minutes is the base amount of time you get to safely explore in the Shroud, but there are a couple ways you can increase that maximum before you go in — or recover lost time to prolong your current expedition.
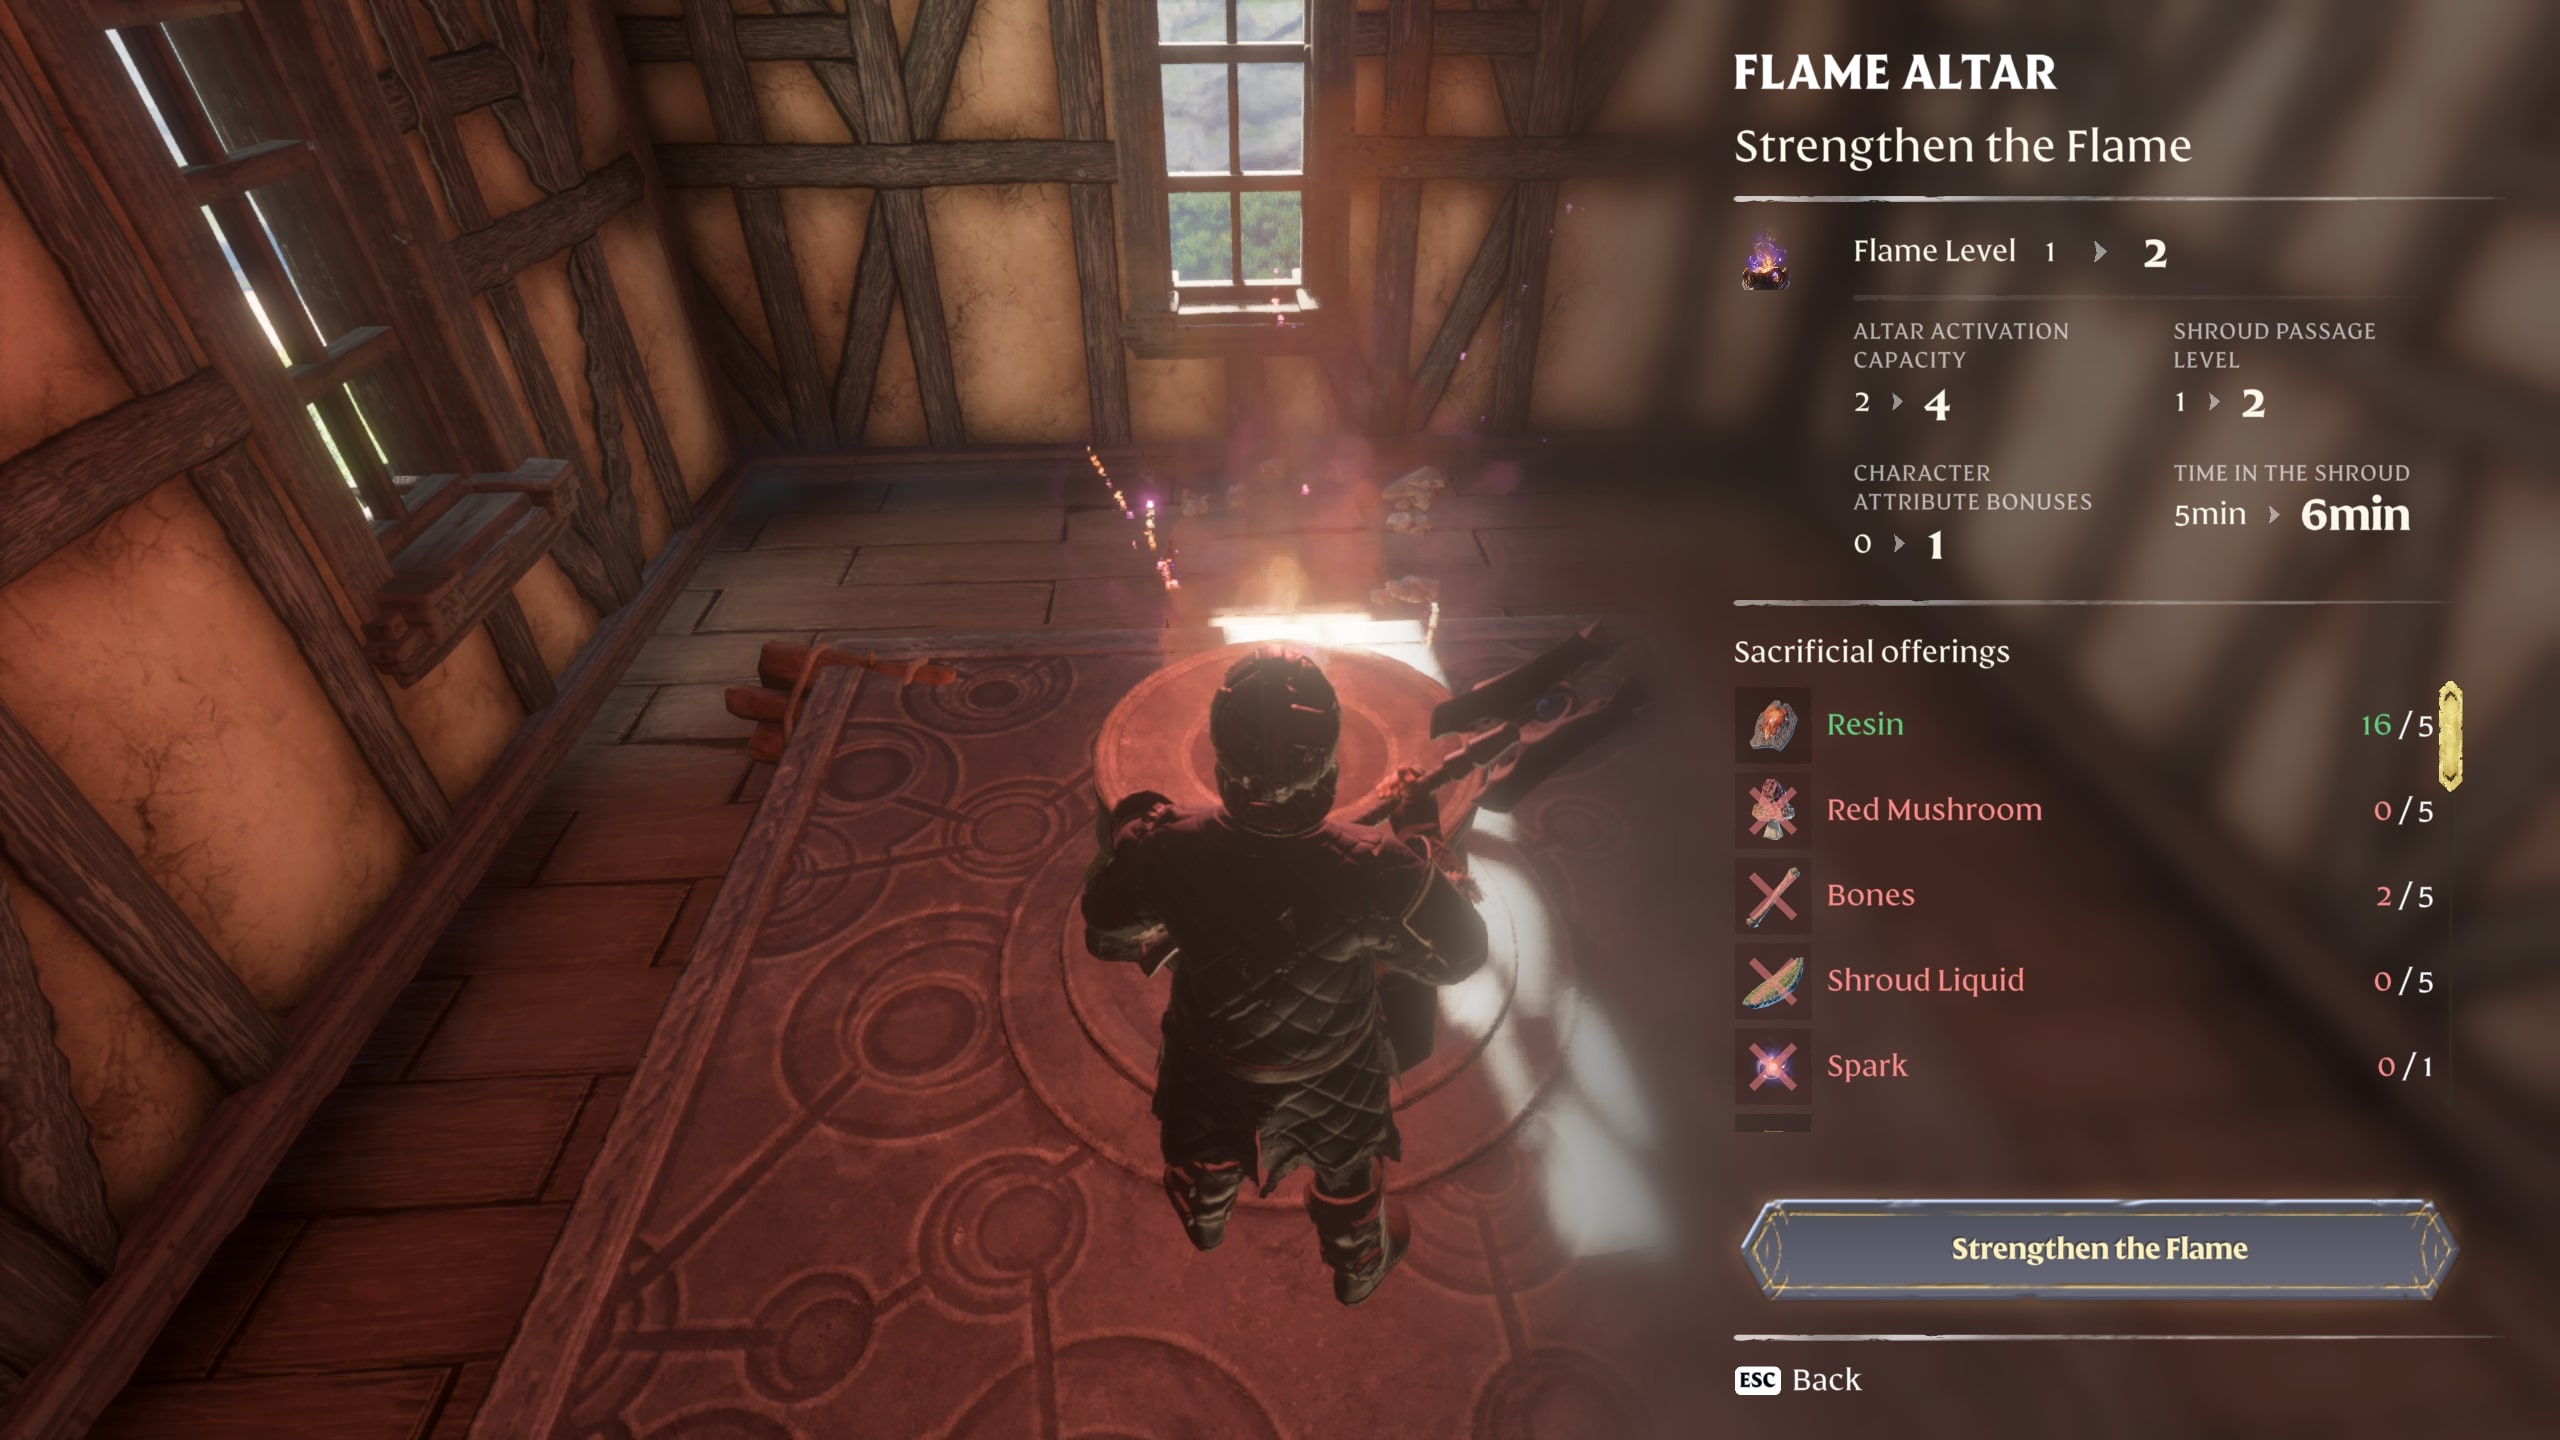
One method for this is to “Strengthen the Flame” at your base’s Flame Altar, leveling it up. This, among other things, permanently raises your max Shroud timer by a minute. Each level requires a number of different resources, which you can check in the Flame Altar’s menu.
Early on, you can also take the Inner Fires skill located between the Survivor and Beastmaster paths on the skill tree. This raises your max Shroud timer by two minutes. A similar skill you’ll be able to get later is Relentless Flames, which adds five minutes. Some other skills also add temporary time to your current timer when you perform specific actions, so make sure you read the description of each one.
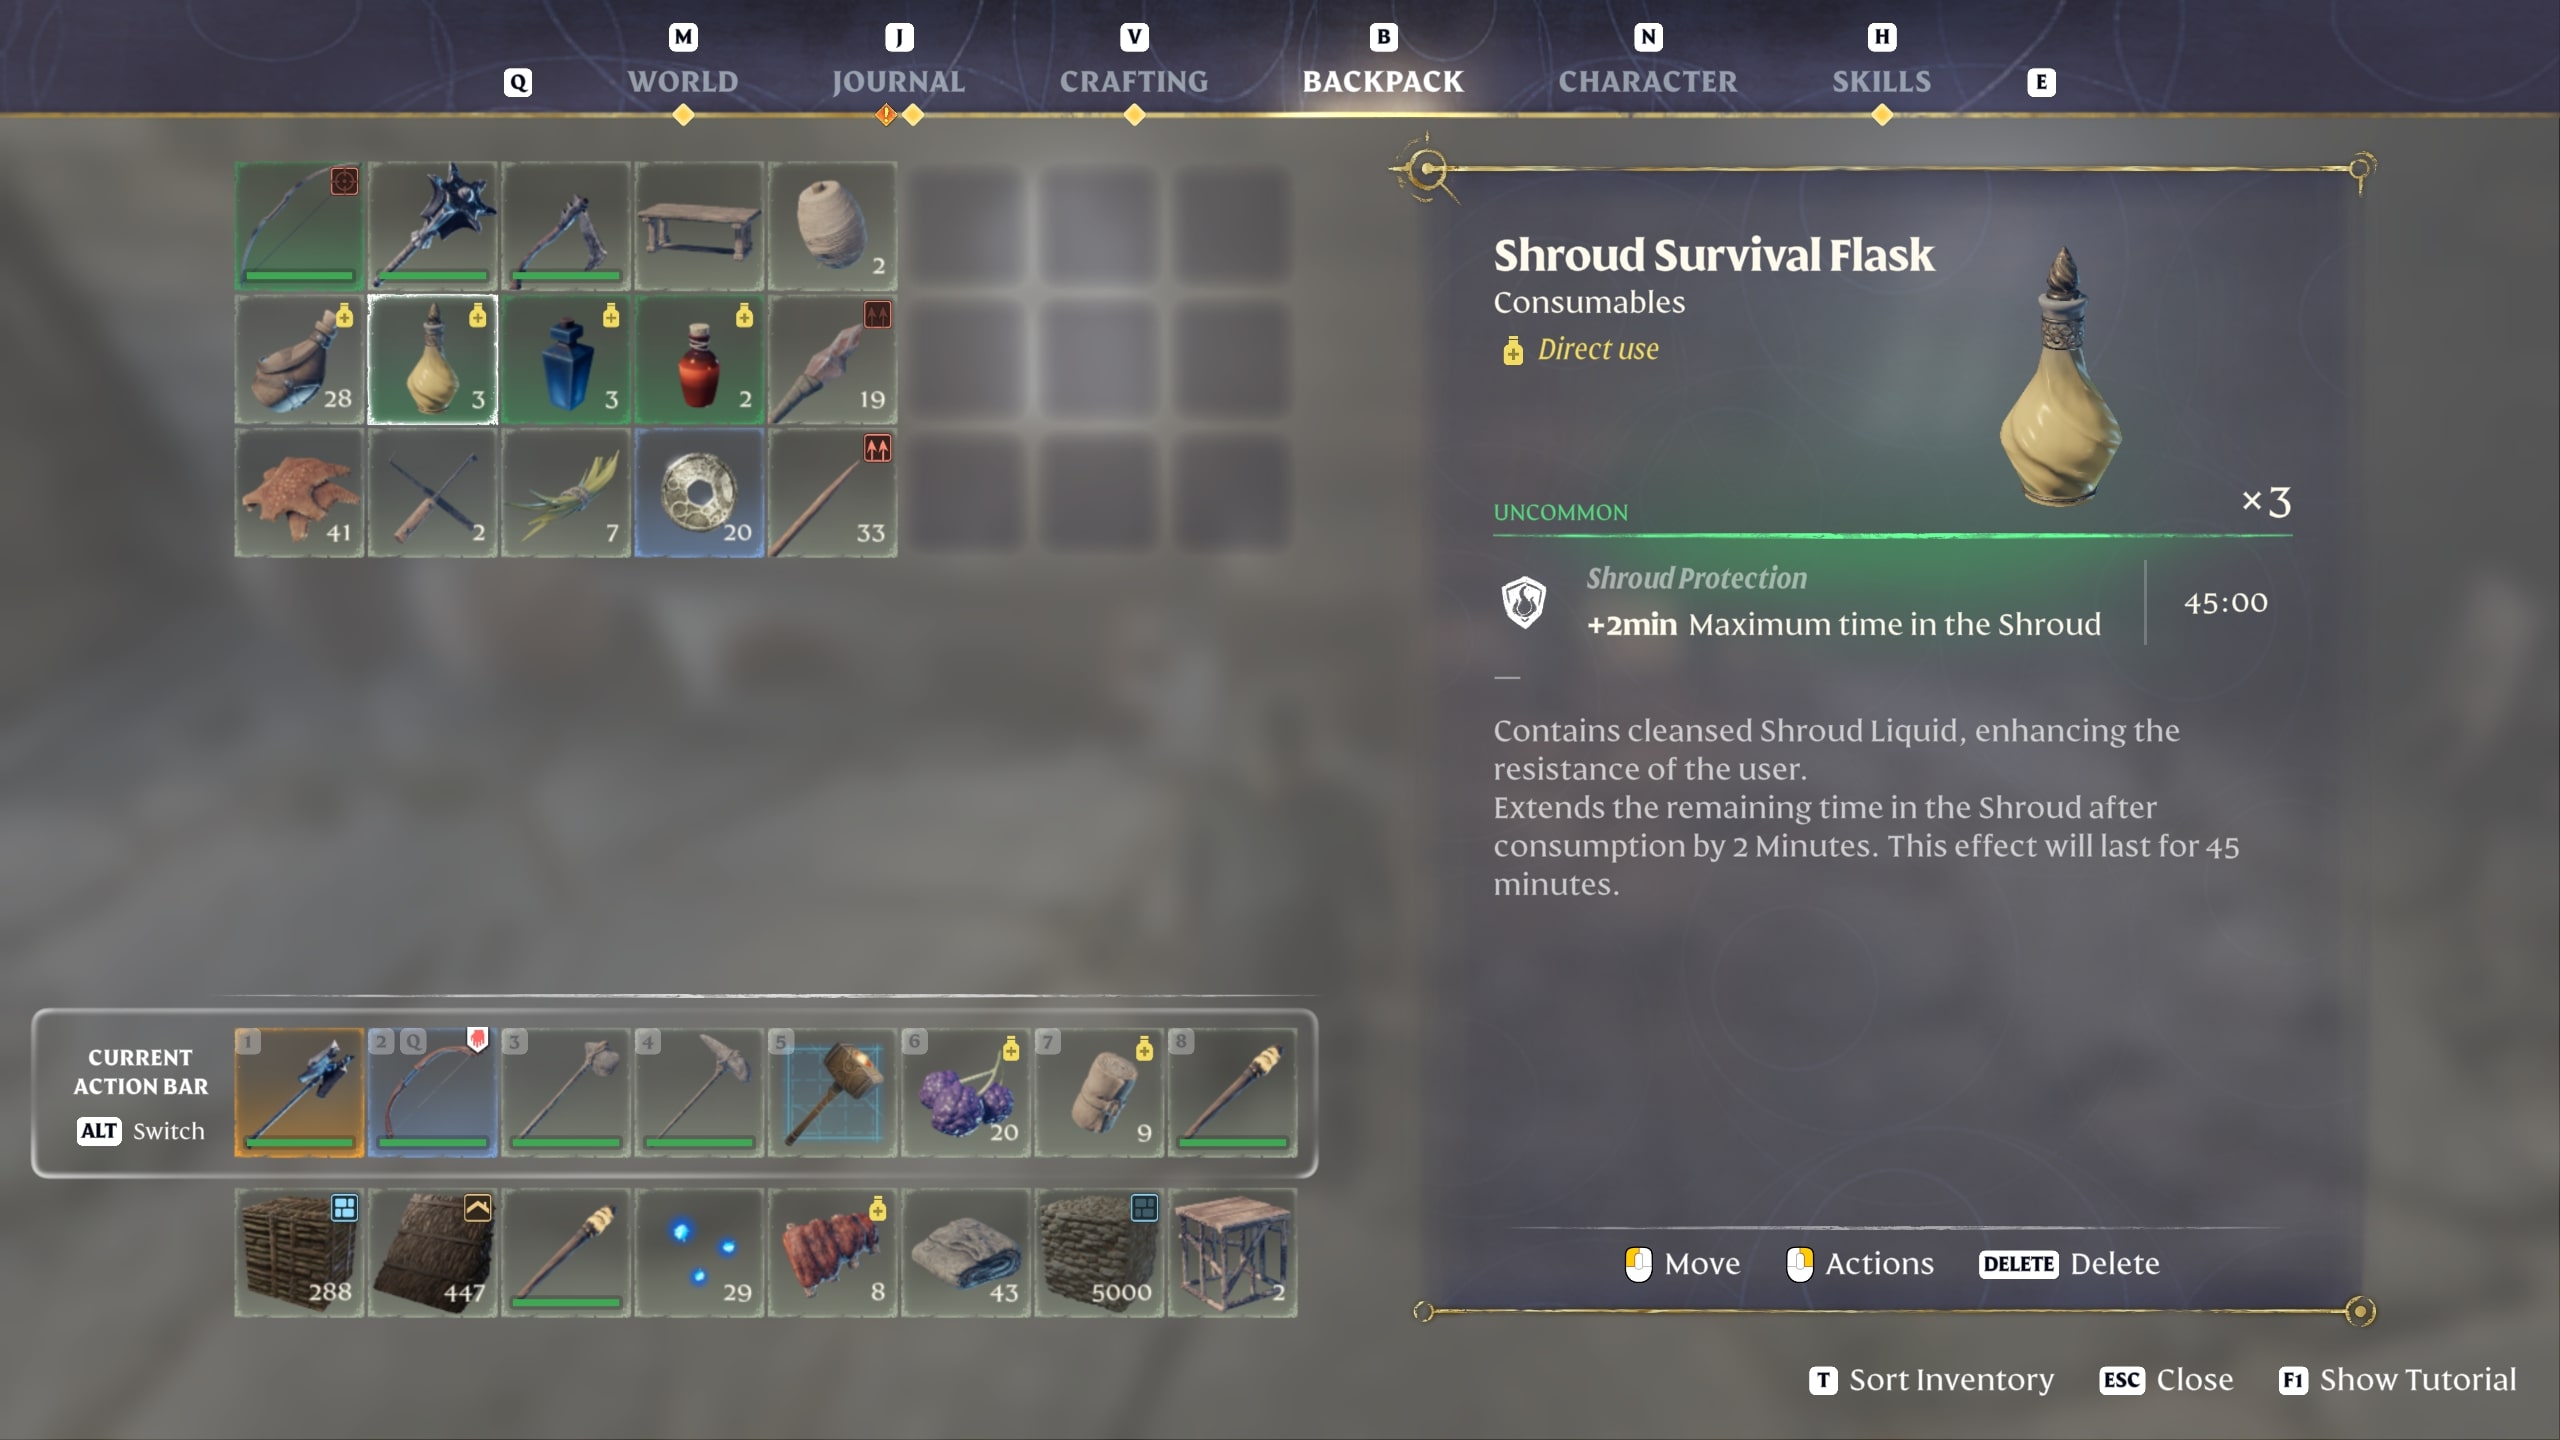
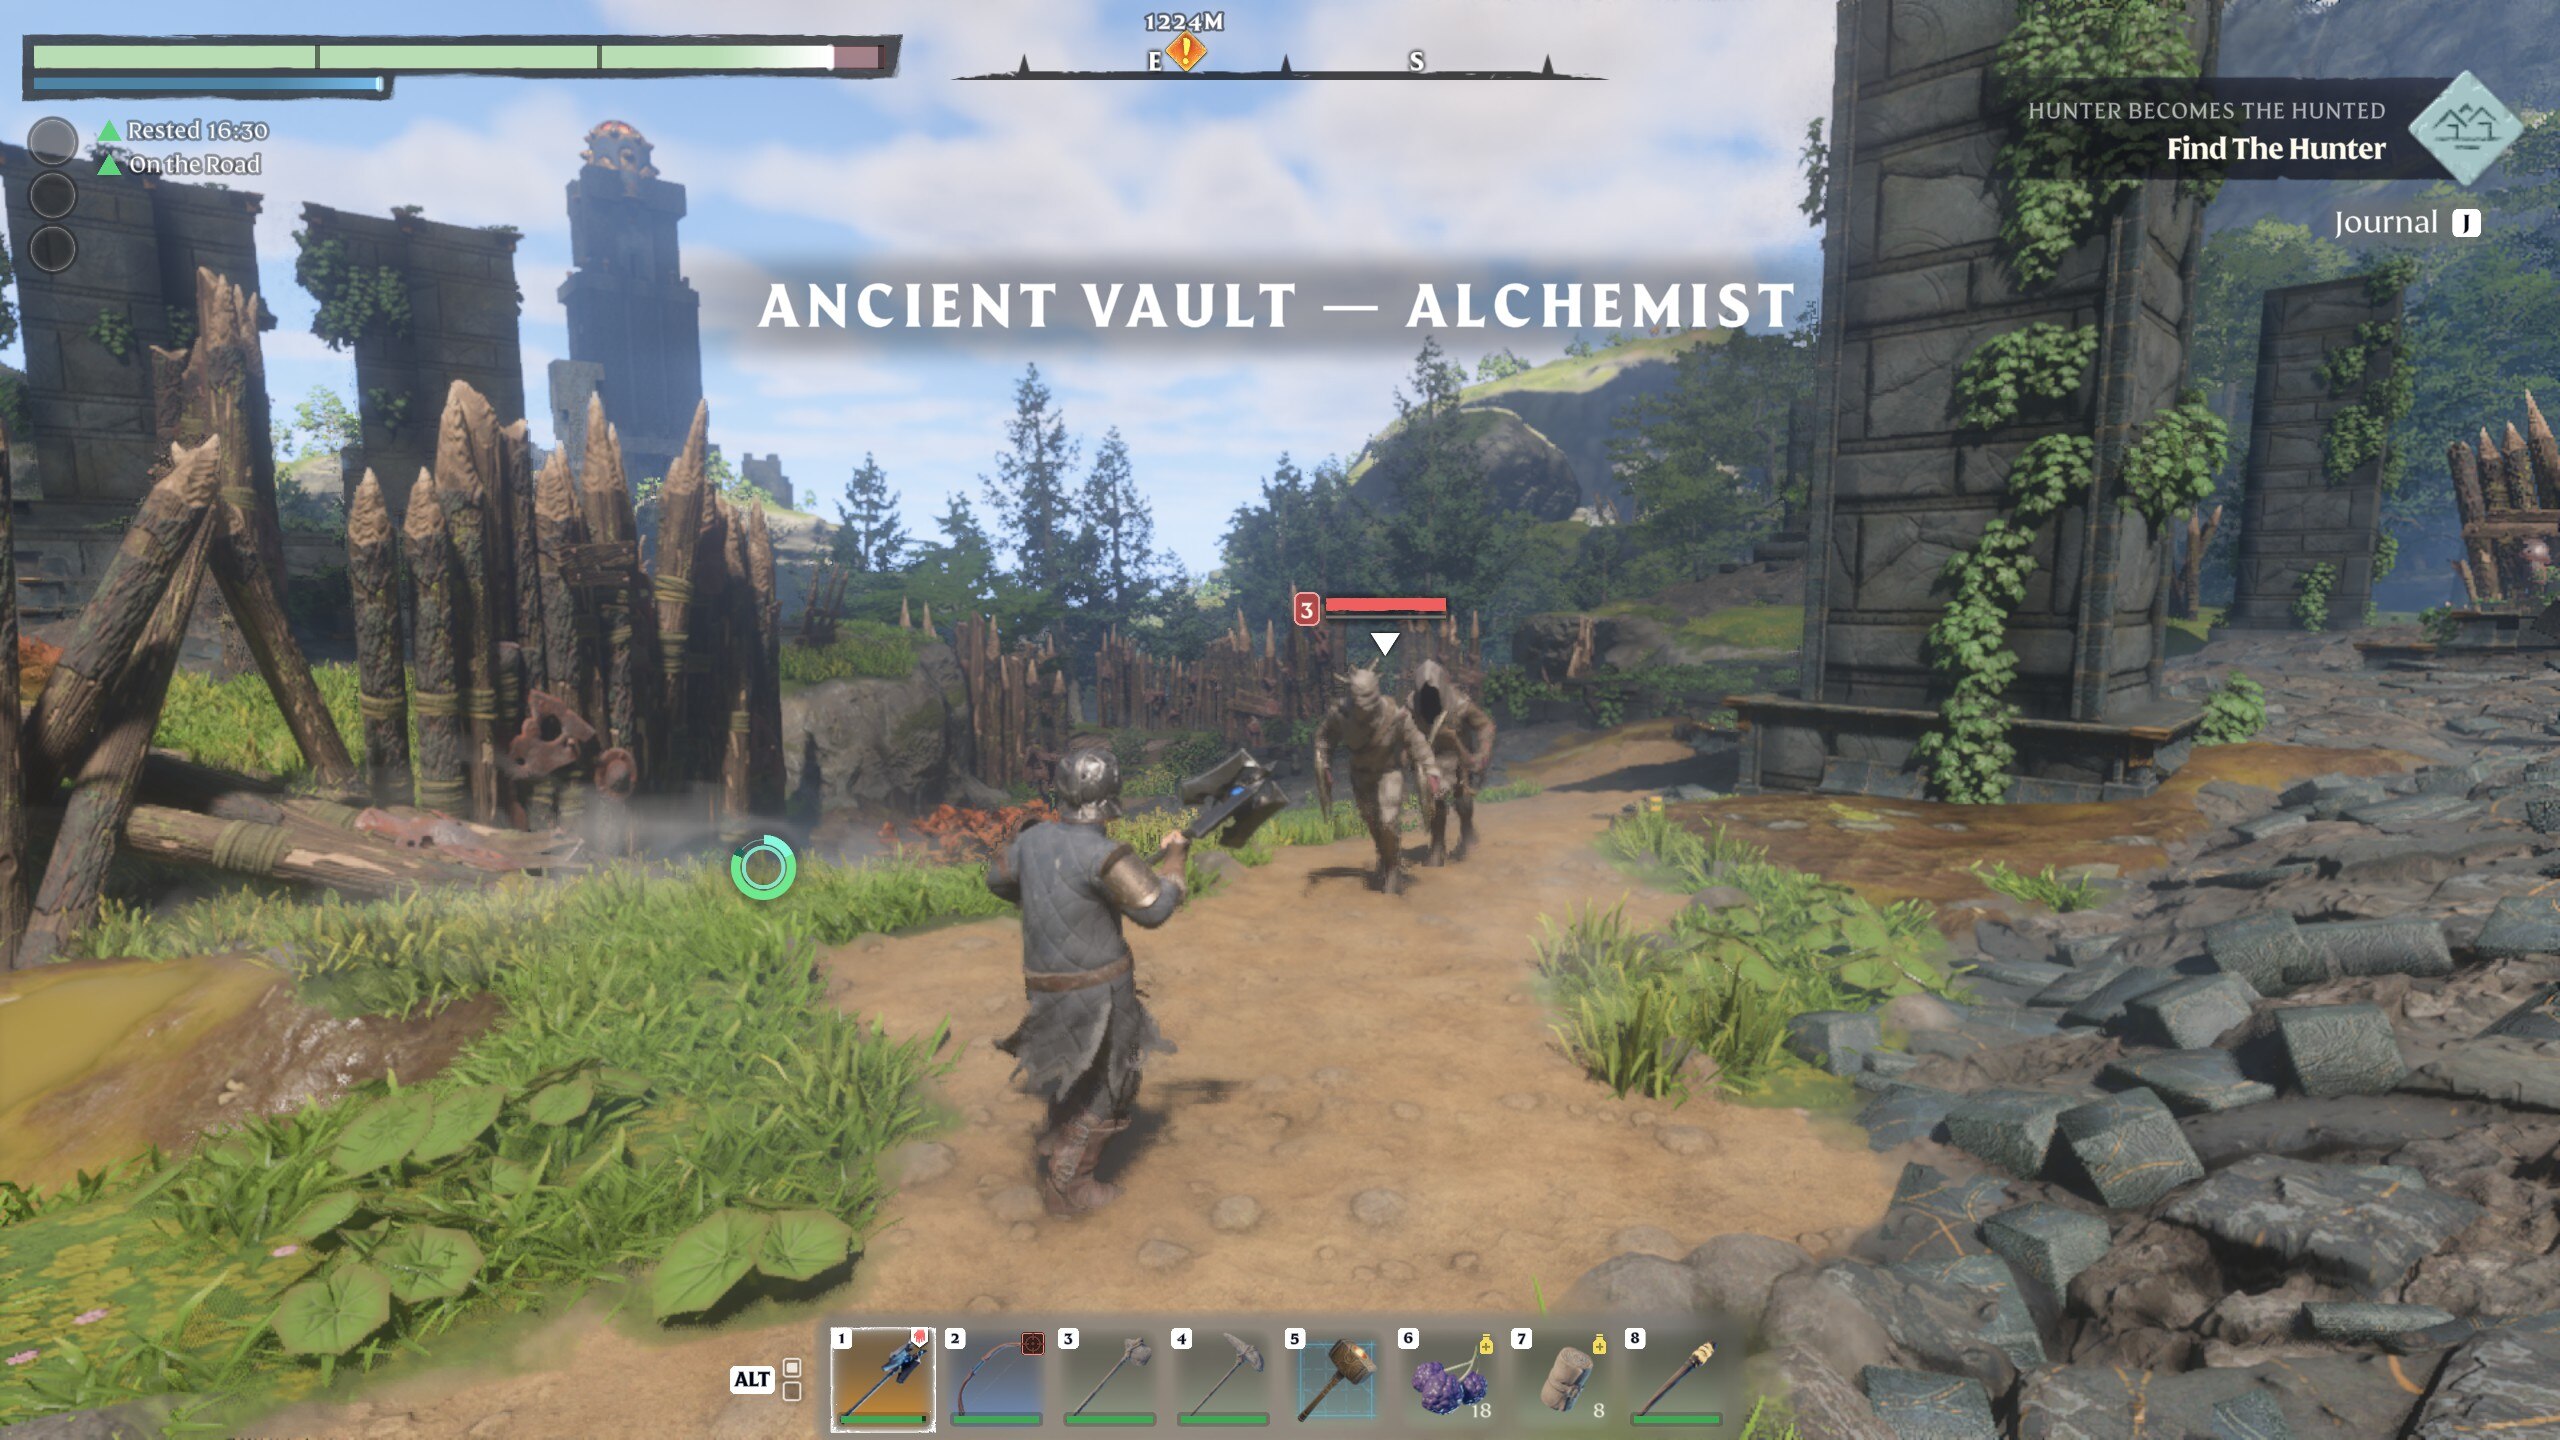
Lastly, you can also drink a Shroud Survival Flask potion before (not after!) entering the Shroud to add two minutes to your max timer. The effect lasts for 45 minutes, and the potion itself can sometimes be found in chests. Additionally, you can also craft these with 1x Charcoal, 1x Shroud Liquid, and 1x Wood Acid once you rescue the Alchemist.
It’s also important to note that major Shroud areas like Elixir Wells have a Return Beacon checkpoint on the large metal structures that lead to the Shroud Roots you have to destroy. Standing near Return Beacons refills your timer completely; make sure you mark their location on your map for future reference.
4. Kite groups of enemies in combat
Unless you're playing Enshrouded in co-op multiplayer, you'll find yourself outnumbered in many of the game's combat encounters. Because of that, you'll need to do everything you can to avoid being surrounded, especially since blocks and parries only protect you from one angle of attack and you'll need a decent amount of room to dodge.
The best way to deal with groups of foes is to dodge backwards and backpedal, kiting them and clumping all of them up in front of you. By doing this, you'll make it much harder for any enemy other than the one in front of the pack to actually hit you, while simultaneously making it easier for you to land your own strikes. You'll even be able to cleave multiple mobs at once with two-handed weapons or weapons with wide swing arcs.
Notably, this strategy is effective with ranged weapons as well, provided you lock onto incoming enemies with the Tab key (you can then switch targets with R). This takes care of aiming for you at medium range, so all you have to do is loose your arrows or spells.
5. Upgrade your weapons with the Blacksmith
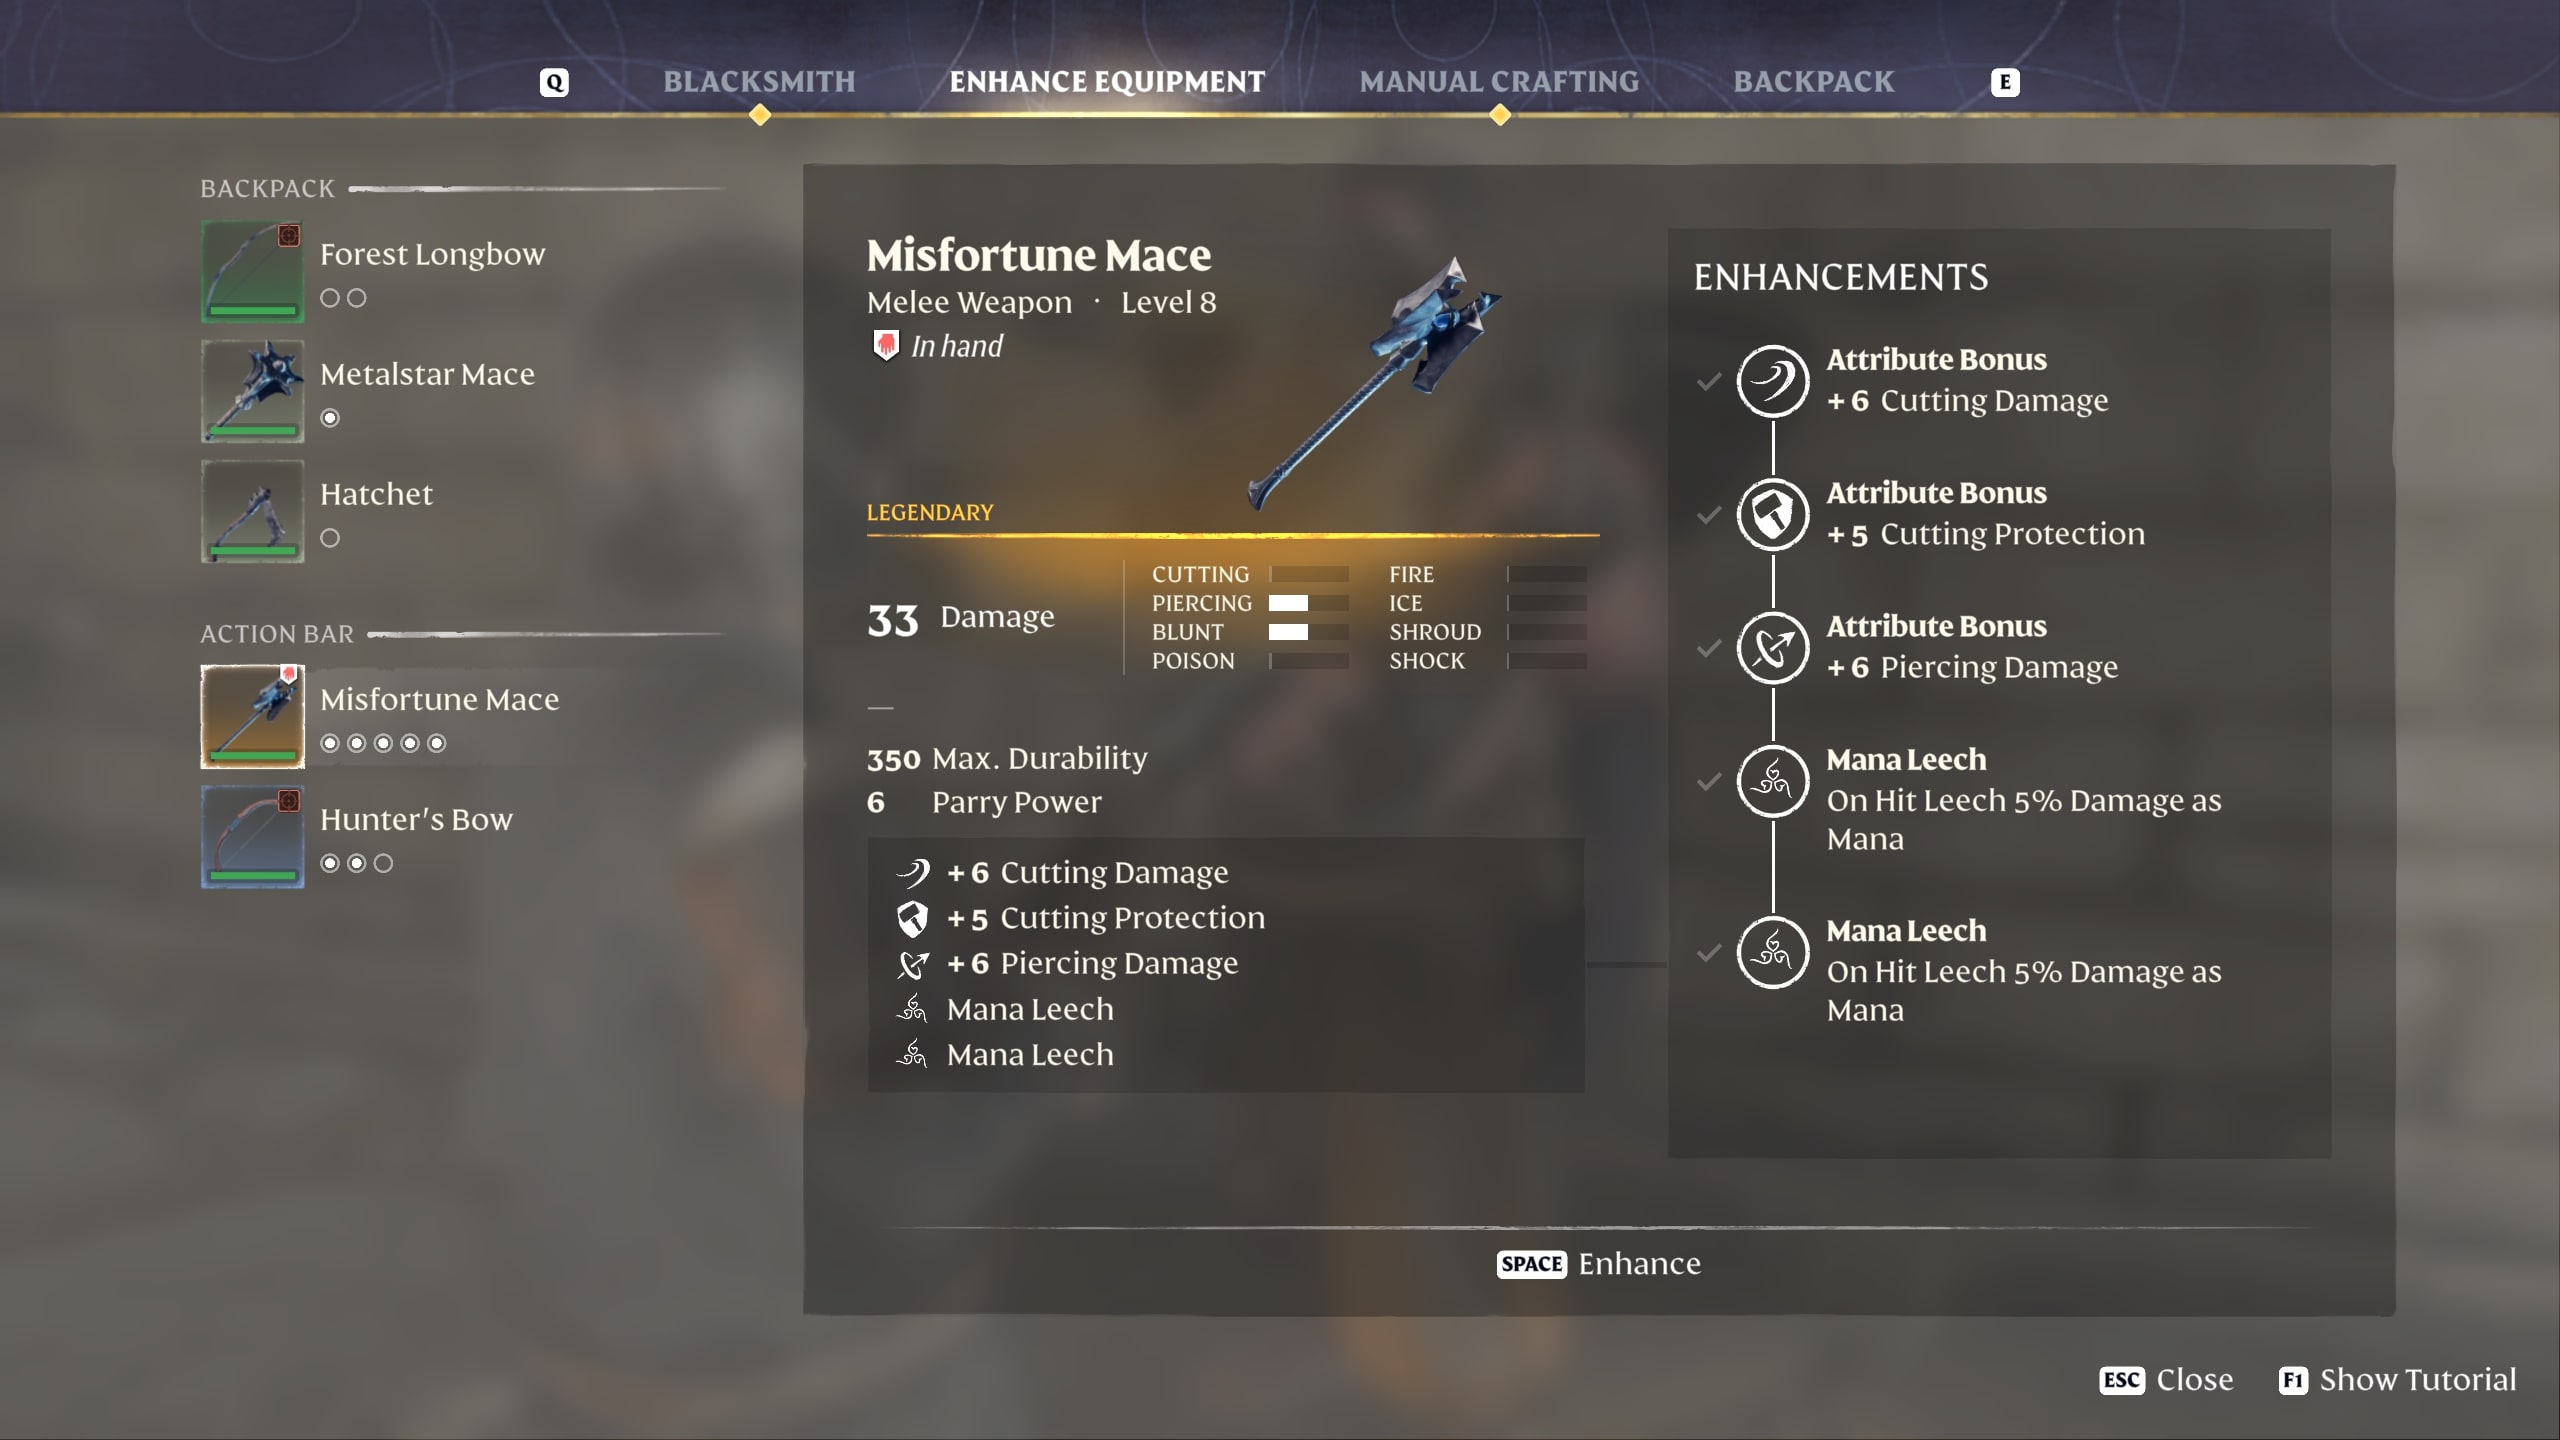
Another great way to make combat easier — especially in the early game — is to upgrade your weapons. You can do this by interacting with the Blacksmith you rescue at the start of the game. Simply talk to the Blacksmith, select the Enhance Equipment tab, and upgrade your weapons with Runes you've collected. Each enhancement you perform on a weapon will improve its damage or give it new functions, such as the ability to leech Mana from enemies you hit with it.
Gear with a higher rarity can be enhanced more, making them considerably better than more common types of weapons at the same level. Common (gray) weapons can get one upgrade, Uncommon (green) ones get two, Rares (blue) get three, Epics (purple) get four, and Legendary items (gold) can be enhanced five times.
Don't make the mistake of getting overly attached to your upgraded weapons, though, as ones with a higher item level will generally be stronger once they're enhanced. Item level factors into damage quite a bit, and as I'll go over below, Runes aren't hard to come across. Don't worry about feeling like you're wasting the resources you put into previous enhancements by swapping to a higher level weapon.
Where to find Runes
You're going to need plenty of Runes for all the weapon enhancements you'll be doing throughout your Enshrouded playthrough. Thankfully, they're plentiful, as decent sums of Runes can often be looted from slain enemies as well as chests you find in the world.
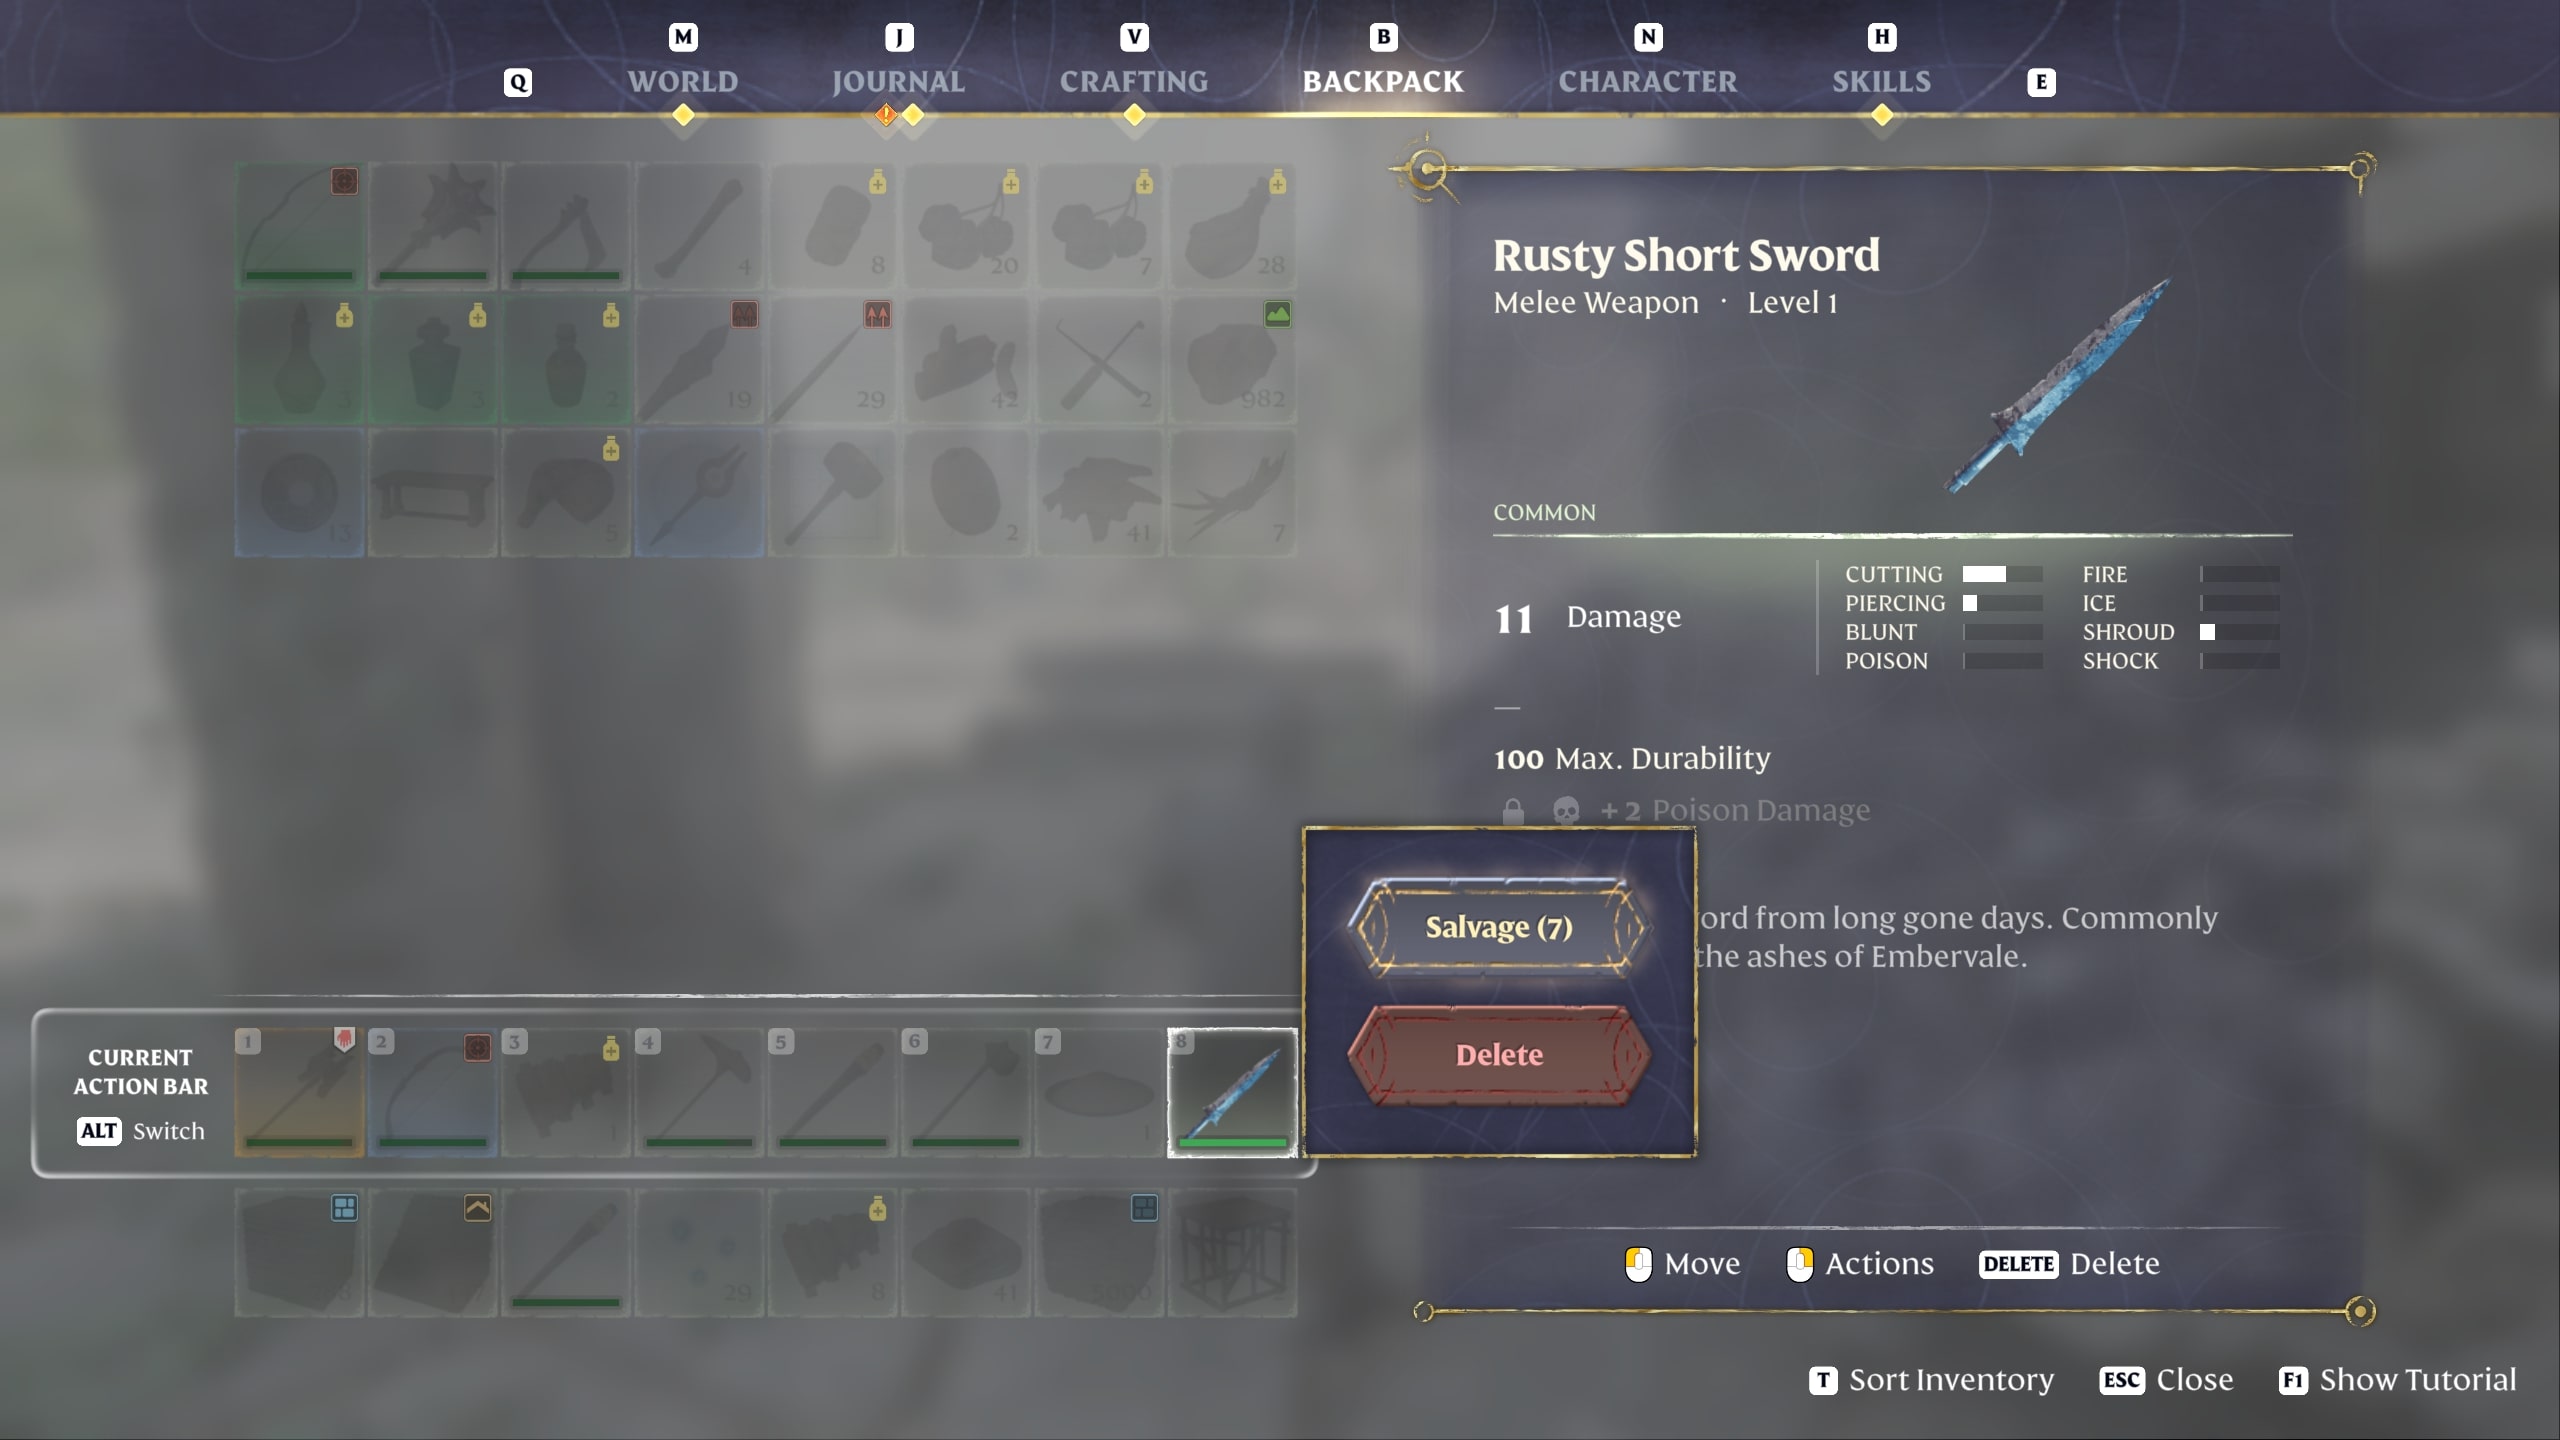
You'll also get plenty of Runes by Salvaging old or unwanted weapons taken from corpses and loot containers. To do this, right-click on a weapon in your Backpack, then select the Salvage option to break it down.
6. Make a second base and abuse fast travel
Fast travel is extremely useful in Enshrouded. As you progress and reach new zones to explore, it helps you move back and forth across Embervale quickly. It also allows you to bring valuable supplies back to your base faster, which will save you a ton of time in the long run. On top of that, it's free and doesn't have restrictions aside from not being usable while you're in the Shroud, so there's no reason not to take advantage of it.
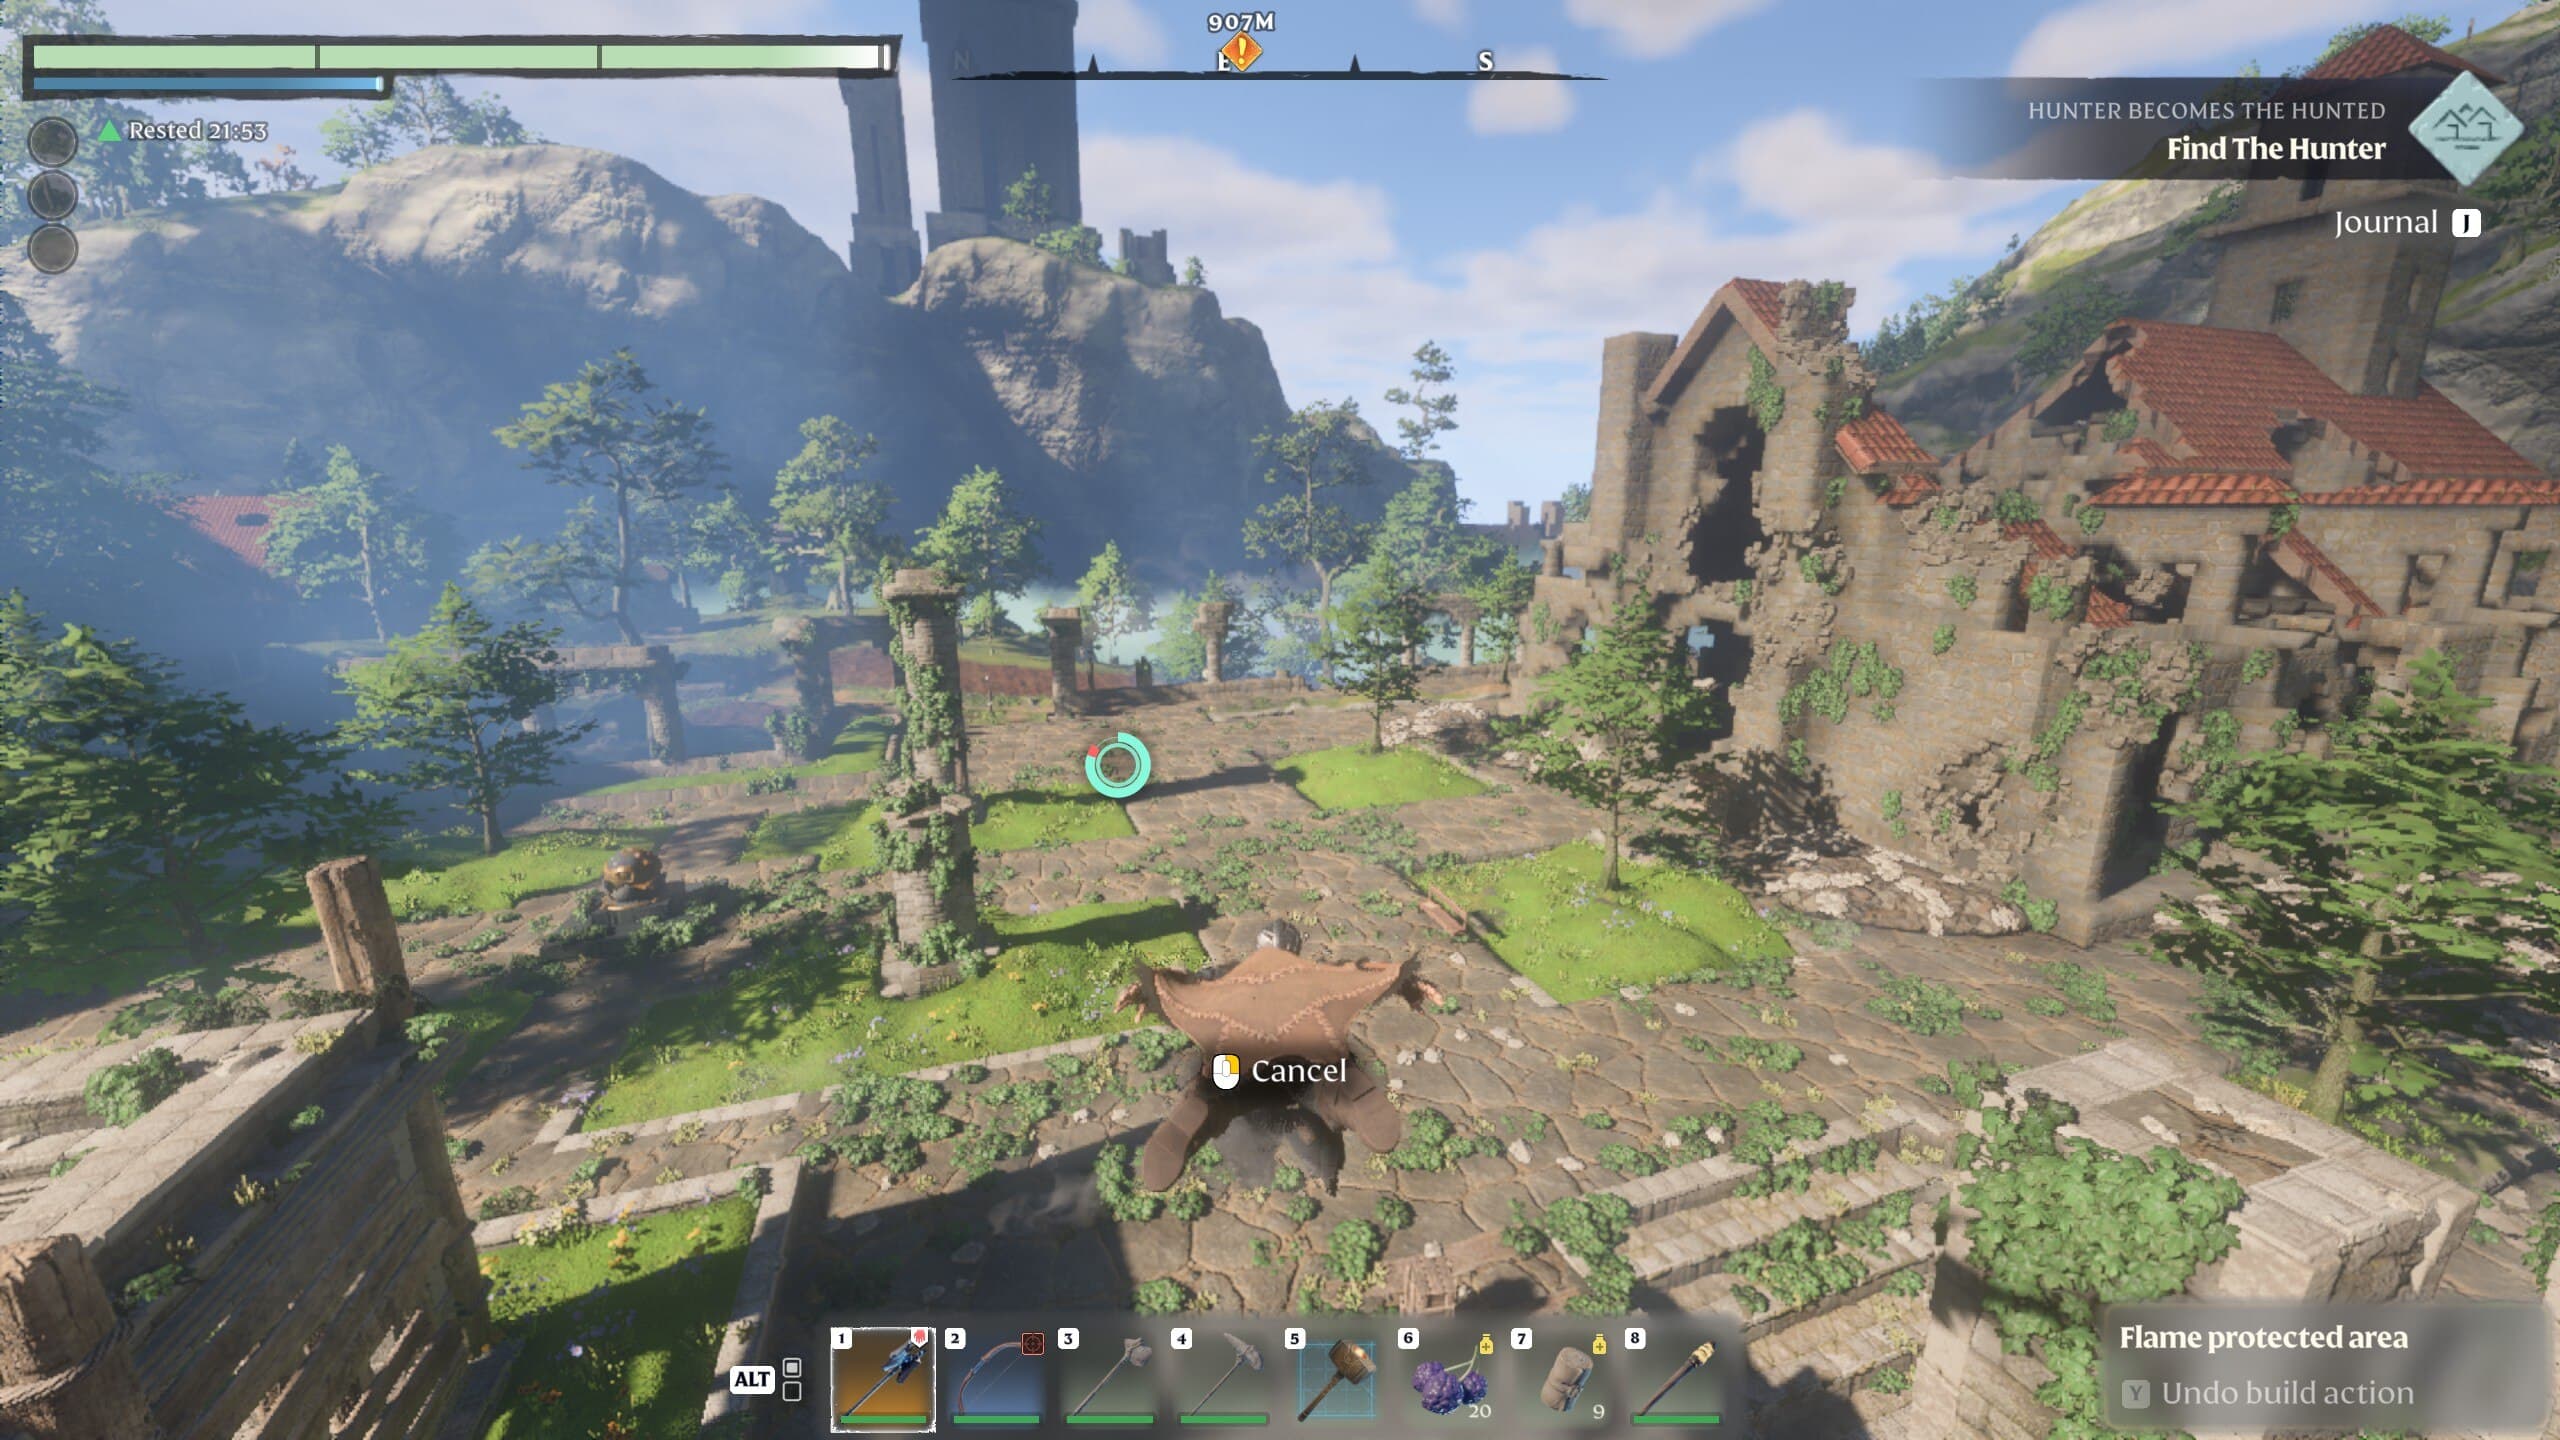
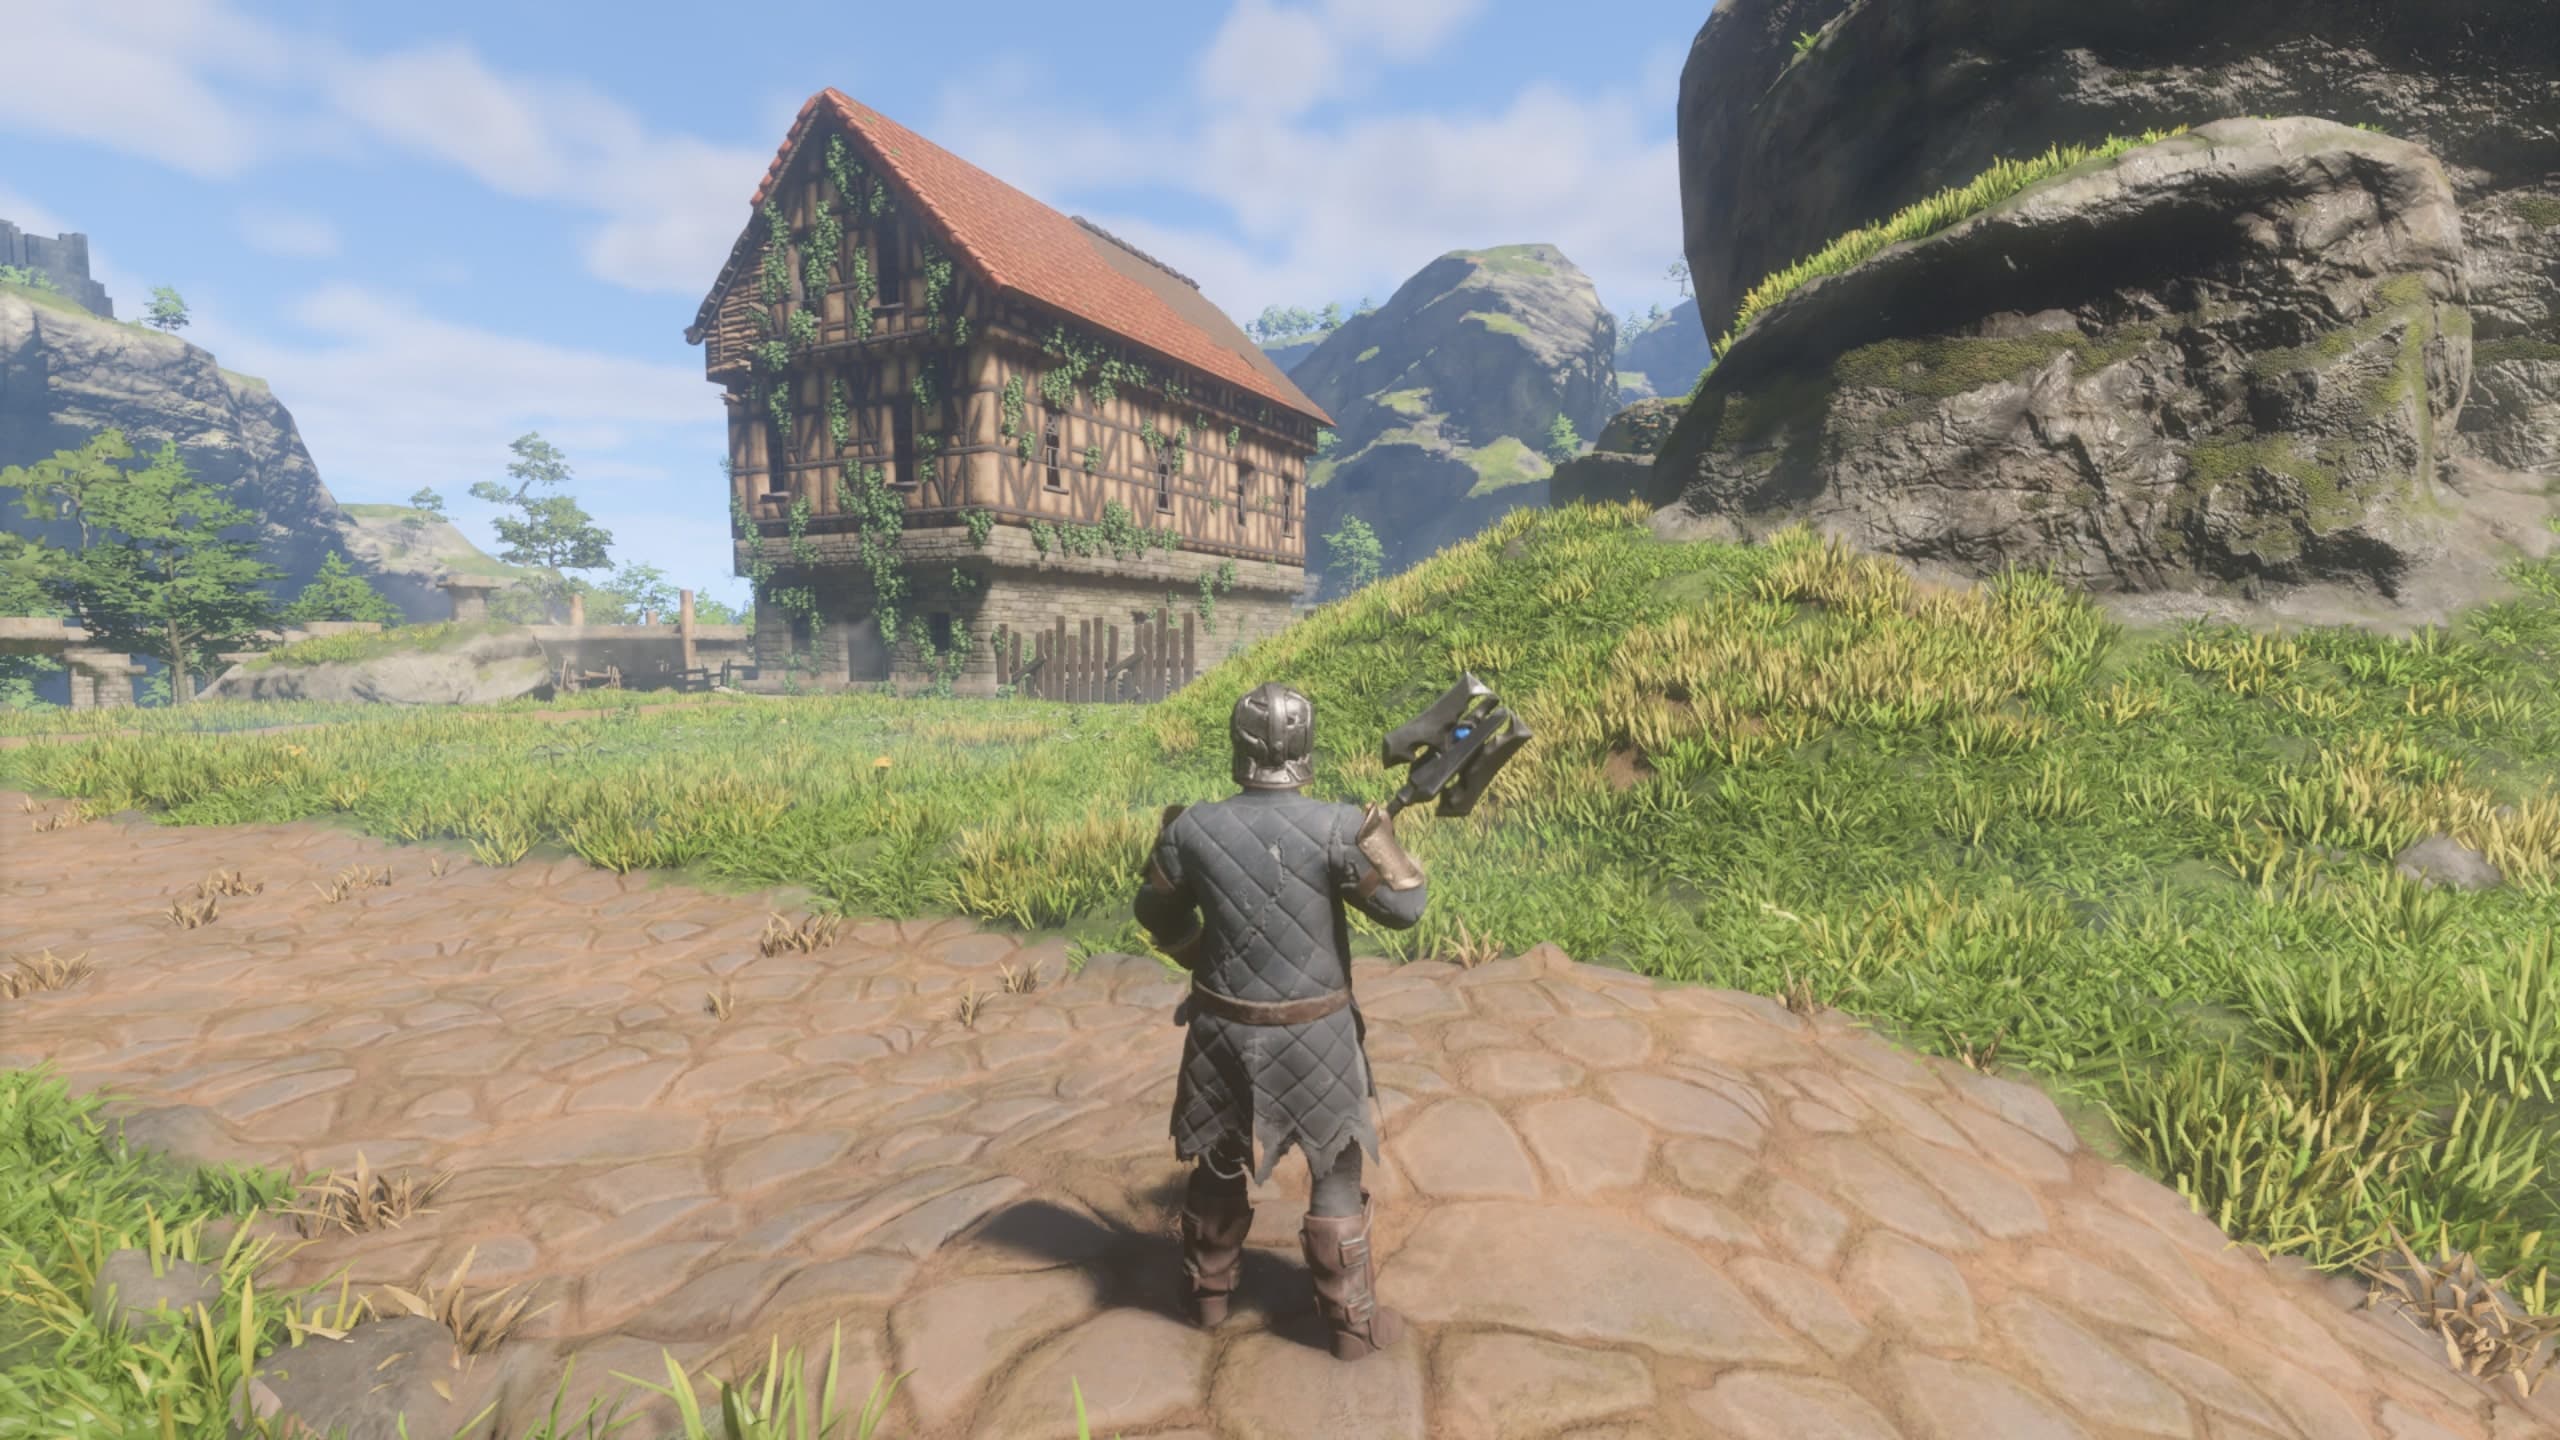
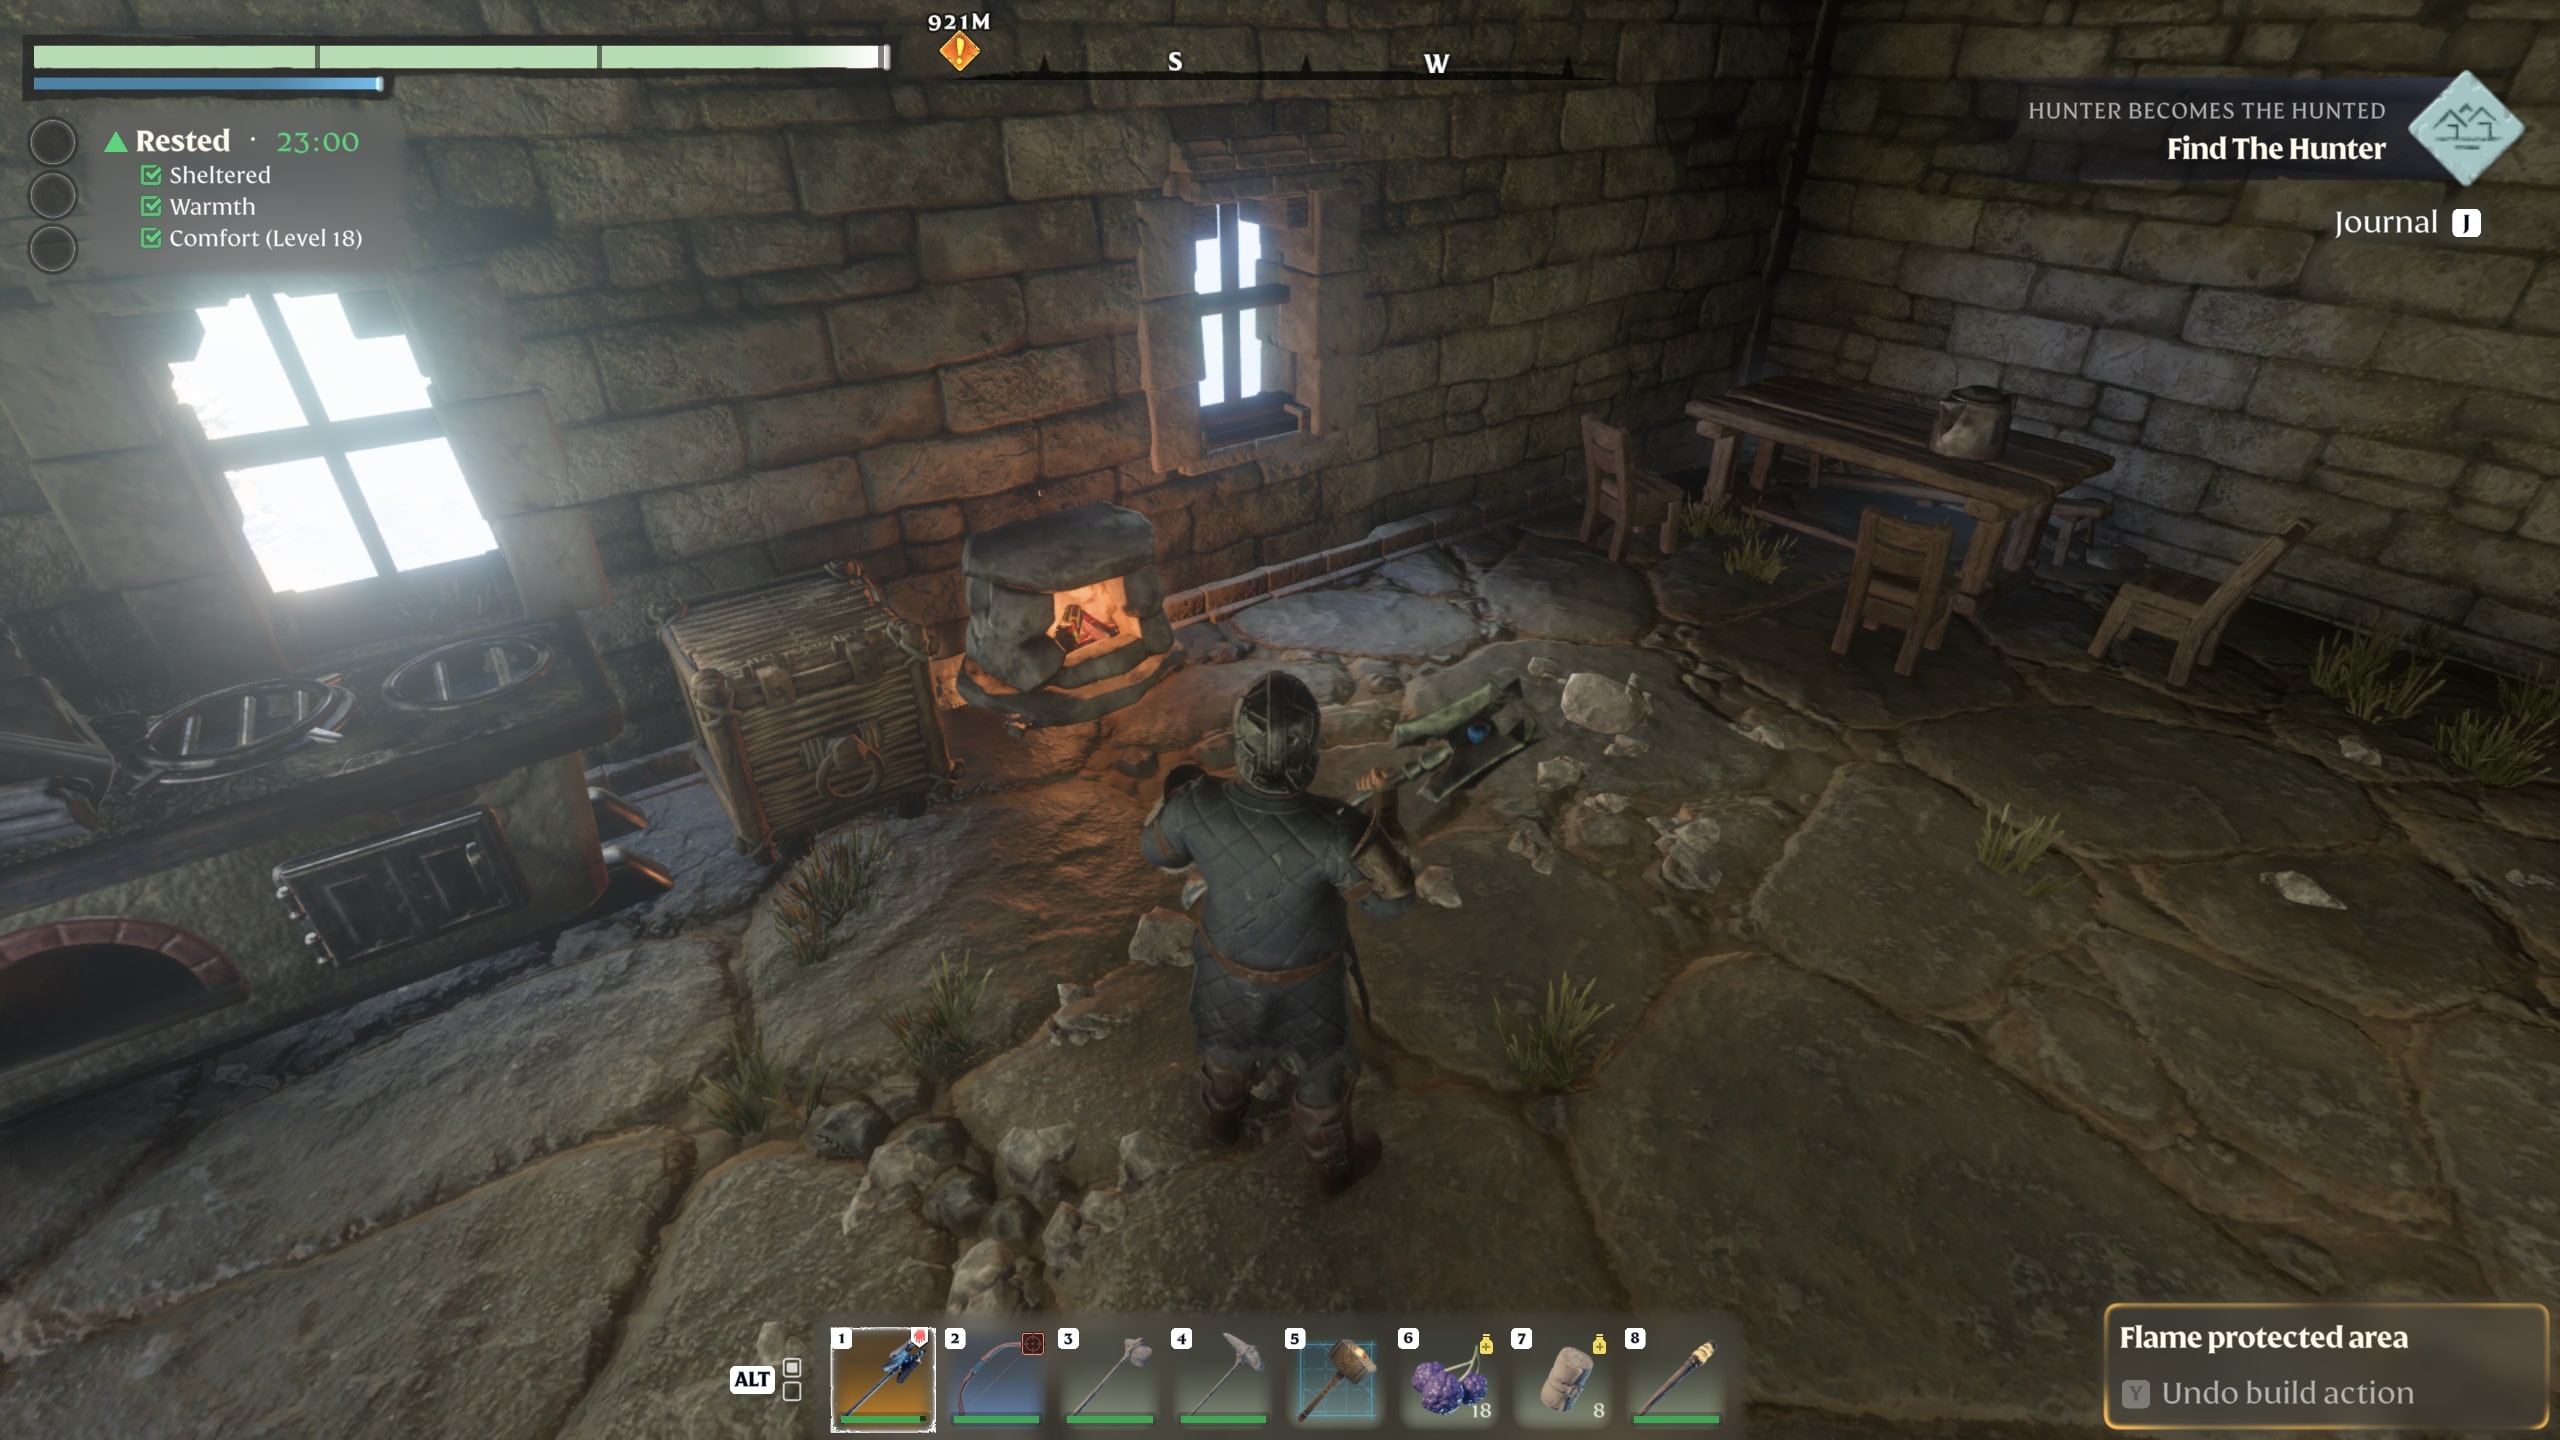
The game primarily points you towards finding and completing Ancient Spires to unlock new fast travel points. Something I didn’t realize until recently, though, is that you can craft additional Flame Altars, place them down to make extra bases, and fast travel to them, too. These only cost 5x Stone to craft, and since Enshrouded doesn’t have base raid mechanics, you don’t even have to build the area around them up (or you could build them within existing structures like the one in the image above, which is what a friend and I did).
How to increase Flame Altar limit for more bases
You're only able to make two Flame Altars at the start of the game, represented by the Altar Activation Capacity stat visible in the menu of your Flame Altars. However, you can increase the Flame Altar cap by Strengthening the Flame, which also lets you start pushing into areas covered by Deadly Shroud and raises your max Shroud timer.
These upgrades (not to be confused with the ones that extend a Flame Altar's building range) require a smorgasbord of materials, many of which are fairly easy to find. The materials you need to Strengthen the Flame from Level 1 to Level 2 are listed below:
- 5x Resin
- 5x Red Mushroom
- 5x Bones
- 5x Shroud Liquid
- 5x Animal Fur
- 1x Spark
The only resources that are particularly tough to get for Strengthening the Flame are Sparks. These items can't be found randomly on fallen enemies or in chests; rather, Sparks are exclusively located in Flame Sanctums and Flame Shrines. These appear on your map as cream-colored diamonds with a fire icon in the middle, and the locations of more of them will gradually become visible as you venture to new regions.
7. Don't forget about the Rested buff
While I was pretty good about remembering to eat cooked meats to get max HP boosts from the get-go, I'm kicking myself for not prioritizing getting and maintaining the Rested buff until recently. Though Enshrouded doesn't call a whole lot of attention to it, it's one of the best buffs you can get in the entire game, and it's also incredibly easy to keep up.
Rested gives you a significant boost to both your max stamina as well as your stamina regeneration, making it an amazing buff to get before you go exploring or head off to an enemy-dense location. Notably, it even remains active while you're in the Shroud, making it essential for expeditions into the mist — you'll be using lots of stamina to sprint through these zones, after all.
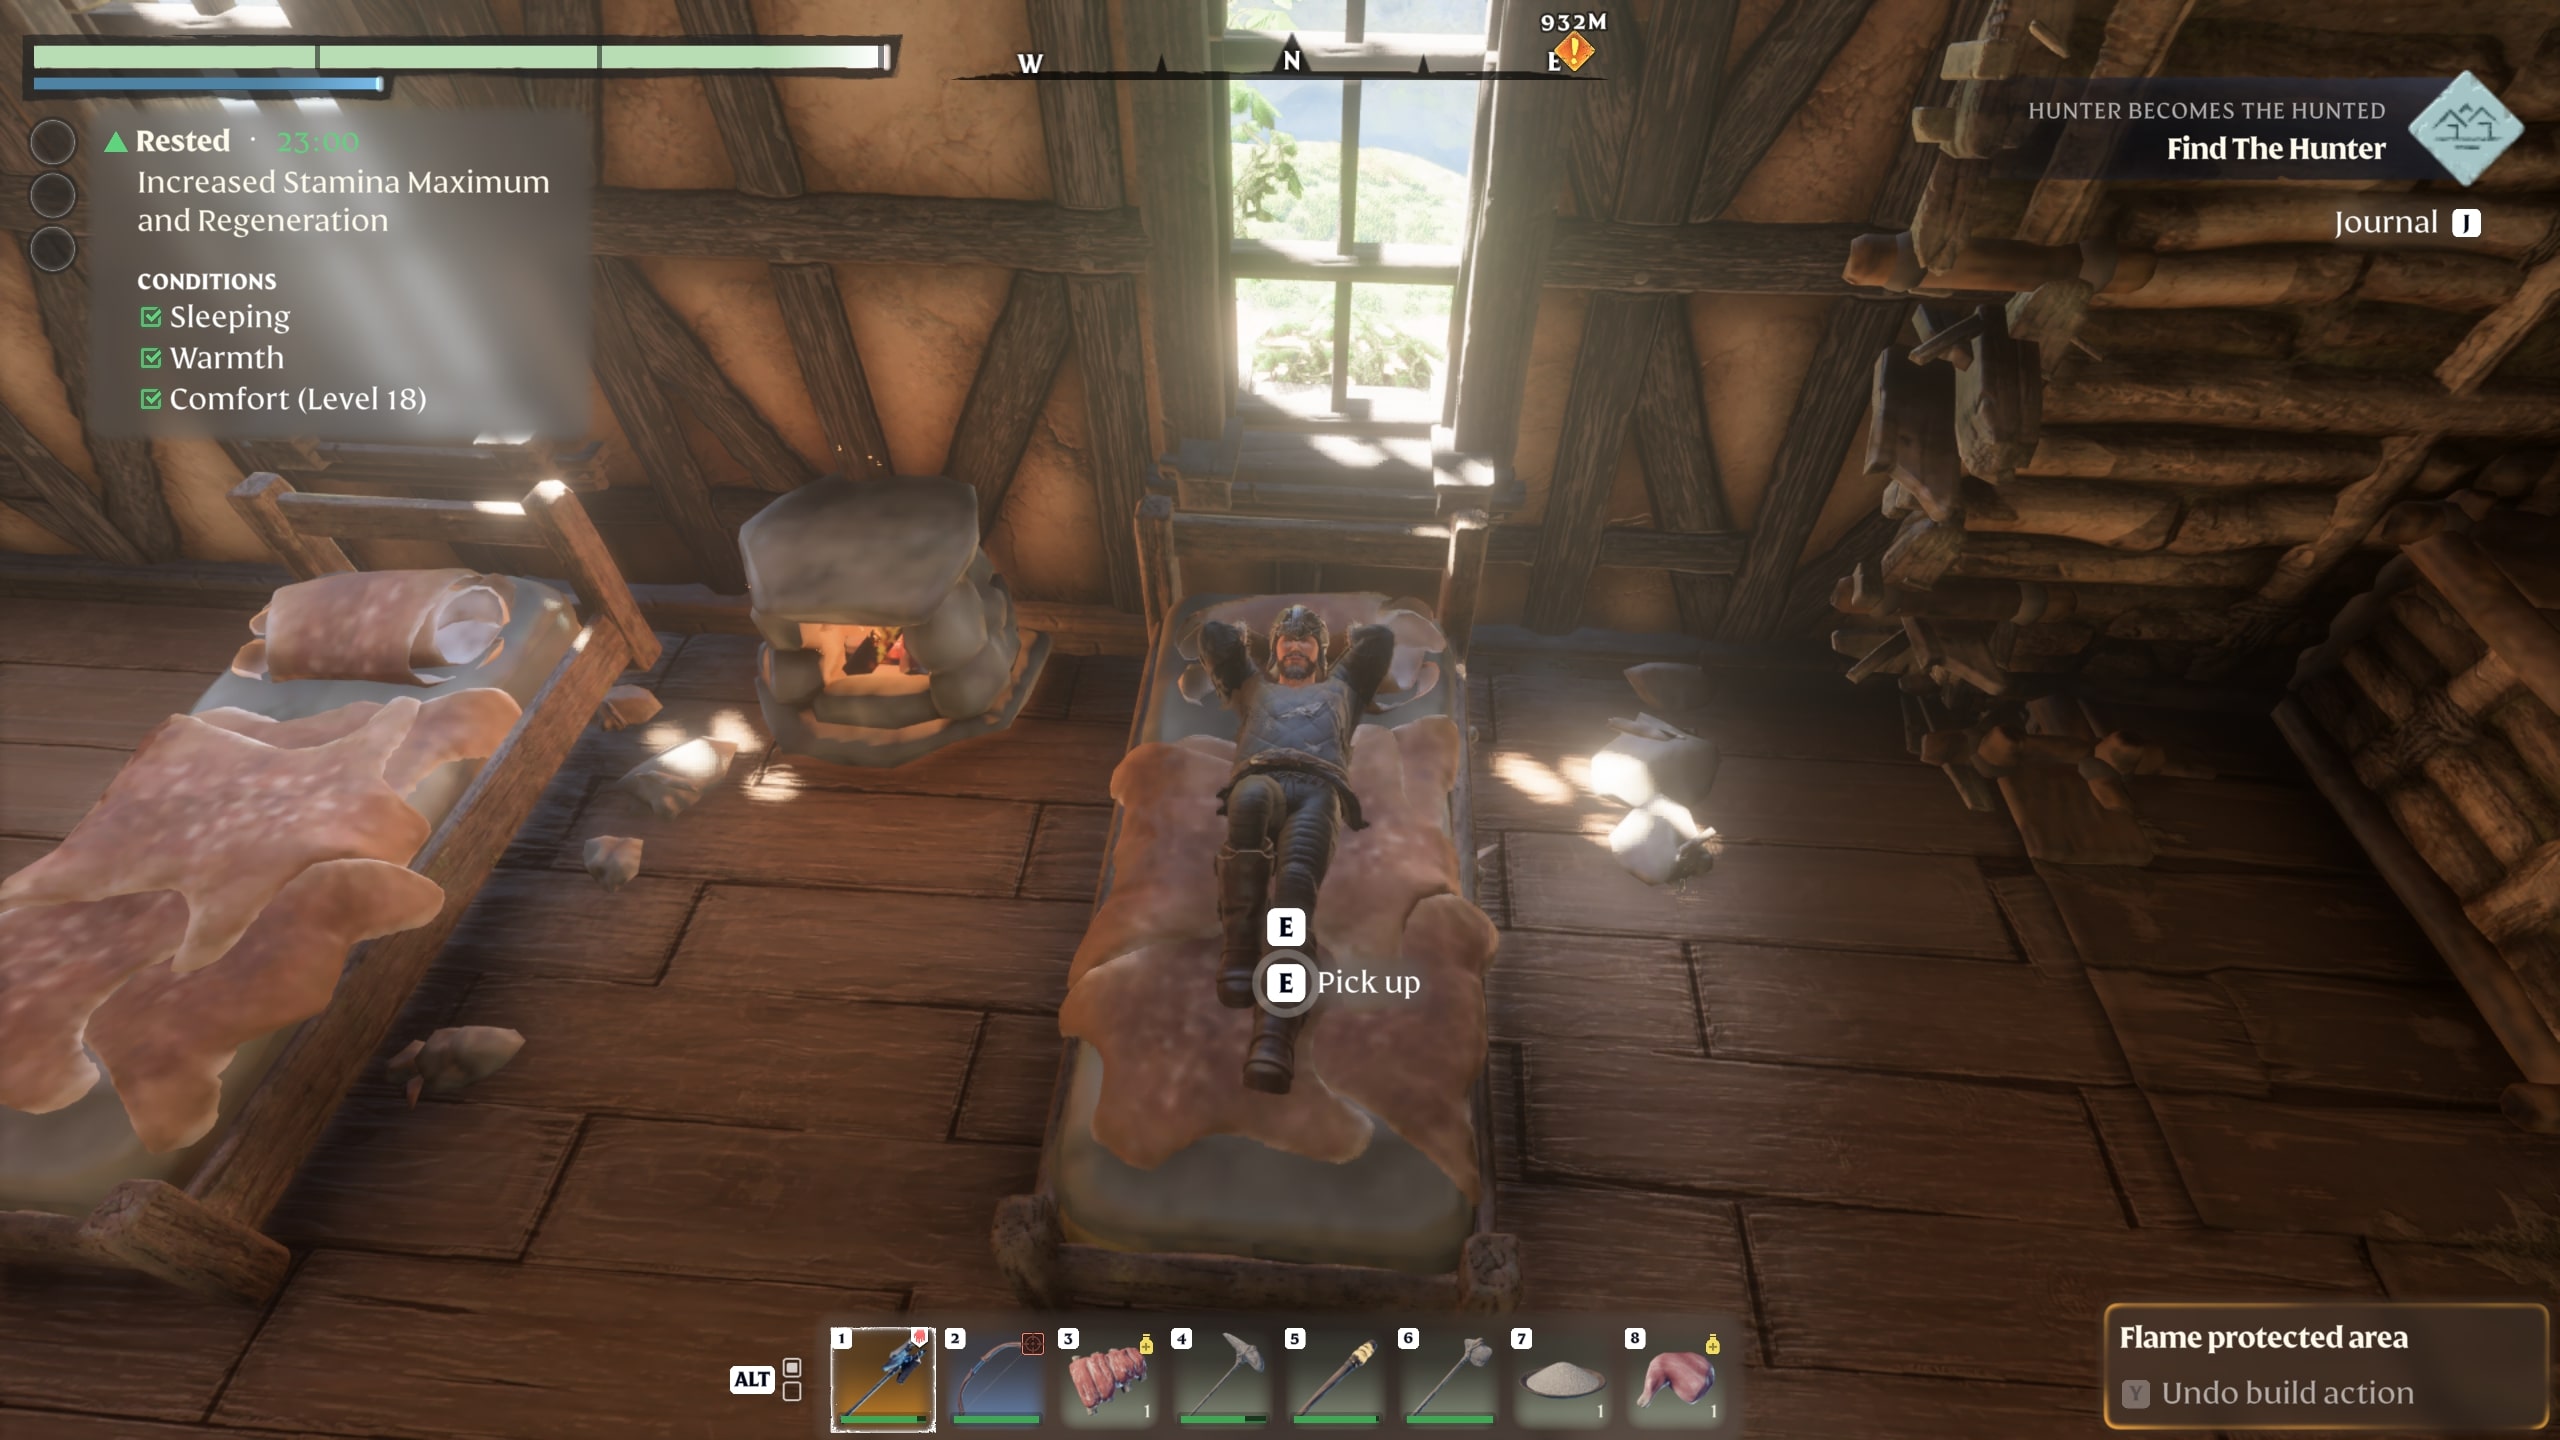
You'll get the Rested buff whenever you're by a source of Warmth and are either Sheltered in a roofed structure, Sitting (press X), or Sleeping in a bed. Cozy Campfires and Fireplaces as well as beds and structures for shelter can be made with basic materials like Wood Logs, Stone, Animal Fur, and String, so you can quickly build a place to get Rested wherever you've put down a Flame Altar (make a Rake or Scrappy Rake if you want to flatten the terrain out). The buff's timer will then start counting down when you leave this spot (and will go back up when you return).
The basic Rested buff lasts for just a few minutes, but you can increase its duration by raising the Comfort level in your base. This makes it last for much longer — right now, I've got mine to 23 minutes, and I've heard some players have managed to get the duration of theirs up to over an hour — giving you significantly more time to put it to good use.
How to increase Comfort level
Raising your base's Comfort level is critical if you want to maximize the value of the Rested buff, and thankfully, doing so is a breeze. All that's required to increase Comfort is crafting pieces of furniture from the Comfort category at the Workbench, then placing them down in your base. These include beds, tables, fireplaces, chairs, benches, and illumination objects like candles or torches.
Something to keep in mind is that Enshrouded only counts the Comfort bonus provided by the one best piece of furniture you've built from each category. So, for example, if I built a Crude Wooden Table (+1 Comfort) and a Crude Wooden Side Table (+2 Comfort), only the Crude Wooden Side Table's Comfort bonus would contribute to the base's total.
Basic furniture can be made at the Workbench with common materials like Wood Logs, Stone, String, Resin, and Wax. Later on in the game, you'll be able to build high quality furniture that gives more significant Comfort bonuses once you rescue the Carpenter.
It's worth noting that the game factors pieces of furniture inside existing structures into your Comfort level if you opt to use one as a base. I strongly recommend doing this if you don't care about building bases from the ground up and just want a good place to get the Rested buff.
Enshrouded is available now on PC through Steam Early Access for $30. It's rapidly become one of the best PC games to play right now, especially if you're a fan of fantasy worlds, survival gameplay, and action RPG combat.

Brendan Lowry is a Windows Central writer and Oakland University graduate with a burning passion for video games, of which he's been an avid fan since childhood. He's been writing for Team WC since the summer of 2017, and you'll find him doing news, editorials, reviews, and general coverage on everything gaming, Xbox, and Windows PC. His favorite game of all time is probably NieR: Automata, though Elden Ring, Fallout: New Vegas, and Team Fortress 2 are in the running, too. When he's not writing or gaming, there's a good chance he's either watching an interesting new movie or TV show or actually going outside for once. Follow him on X (Twitter).
