


An irritating issue in modern virtual reality is the strong disconnect with the outside world. While we aim for the greatest immersion possible, we're still obliged to tend to the people around us.
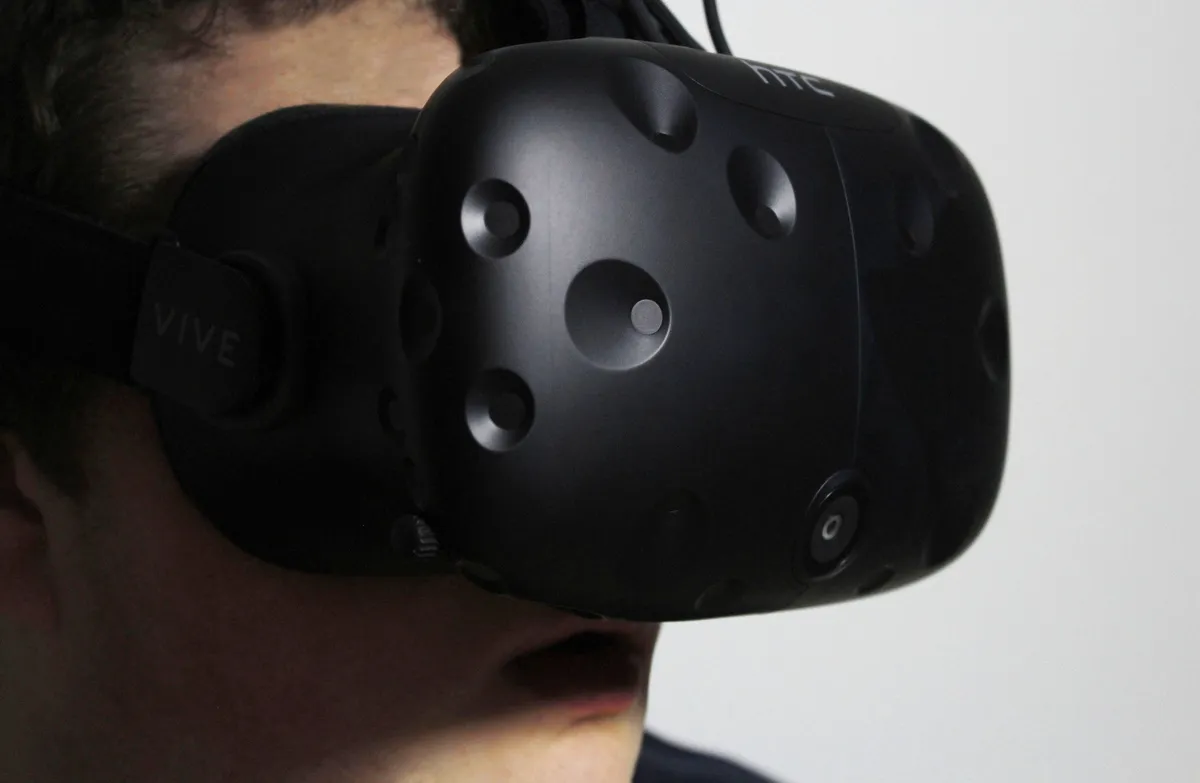
A lesser-known feature of the HTC Vive is the headset's inbuilt camera, which can be used to look at the real world while still wearing the headset. Whether talking to your significant other, answering the phone, or taking a sip of your favorite beverage, the low latency of the camera is a great way to interact with the surrounding world. Follow the steps below to enable the camera and tweak its properties to your liking!

- How to enable the HTC Vive's camera
- How to change the refresh rate of the HTC Vive camera
- How to use the HTC Vive's camera
- How to record HTC Vive camera footage
How to enable the HTC Vive's camera
By default, the HTC Vive's camera is disabled due to the potential loss of tracking on lower-end hardware. According to HTC, issues occur when using lower speed USB ports, which are unable to transmit tracking data and camera video at a fast enough rate.
Here's how to activate the camera through SteamVR:
- Launch SteamVR from your Start menu, desktop, or taskbar.
- Click the dropdown arrow next to SteamVR.
- Click Settings.

- Click Camera.
- Click Enable Camera.

- Click OK.
- Click Restart SteamVR.

How to change the refresh rate of the HTC Vive camera

The HTC Vive's camera can be incremented between 30Hz and 60Hz, with the higher frequency delivering smoother video. Many users won't see a drop in tracking performance when using the camera at the highest refresh rate, but it can be altered if issues occur. The refresh rate can be altered by adjusting the Camera Rate slider found in the Camera section of SteamVR settings.
How to use the HTC Vive's camera

The HTC Vive's camera can be used in three modes, each designed for use in different scenarios. These can be activated through the checkboxes found in the Camera section of SteamVR settings.
- The Allow Camera for Dashboard option activates the camera when the SteamVR Dashboard is opened. Upon pressing the Home button, a small color feed of the camera will appear next to the right-hand controller.
- The SteamVR camera can be activated automatically using the Allow Camera for Chaperone Bounds setting, which helps when approaching the edges of your play area. Instead of the direct camera feed, this is a simplified representation that highlights the edges of surrounding objects when exiting your VR boundaries.
- The same simplified camera view can be manually activated by selecting the Allow Camera for Room View box. If selected, double-clicking the System button will activate the camera view. This is most convenient for briefly interacting with the real world, without the need to remove the headset.
How to record HTC Vive camera footage
The Vive's camera is really just like any other camera you plug in via USB, and with a bit of tinkering, you can record footage using third-party software. In this case, I used OBS Studio.
With the Vive plugged into your PC and OBS Studio installed, follow these steps to record the Vive camera's footage.
- Launch OBS Studio from your desktop, Start menu, or taskbar.
- Click the + button in the Sources section.

- Click Video Capture Device.
- Click OK.

- Click the dropdown menu next to Device. If the Vive is the only video capture device plugged in, it should already be displayed here.
- Click HTC Vive.

- Click OK.
- Click Start Recording.

Without interrupting OBS Studio recording camera footage, I was able to launch Fallout 4 VR. I'm not exactly sure how to cross the two over — a secondary camera, capture card, and some green screens would no doubt get me started with some interesting mixed reality capture — but used on its own, you could no doubt experiment with some interesting POV footage.
Is the HTC Vive's camera a viable tool?

For the most part, you'll get by with the HTC Vive's inbuilt camera for any occasional activities you might engage in while immersed in VR. Although the camera's resolution is far from perfect, a consistent framerate and unnoticeable latency make this a great addition to the headset's offerings.
With the aid of "Room View," the camera is great for quick engagements with people in the room, basic object interaction or simply reading the notifications on your phone. Although nothing ground-breaking, the camera has held up well in our previous experiences.
More resources
- HTC Vive troubleshooting guide
- How to play Oculus Rift games on the HTC Vive
- HTC Vive Pro vs HTC Vive: Which should you buy?
- HTC Vive Pro: The true cost of a complete package
Updated April 5, 2018: This guide has been refreshed with steps for recording Vive camera footage.

