How to calibrate your PC's monitor on Windows 10
Is your Windows 10 device showing the right colors and black levels? In this guide, we'll show you the steps to calibrate your display.
All the latest news, reviews, and guides for Windows and Xbox diehards.
You are now subscribed
Your newsletter sign-up was successful
Although Windows 10 can automatically detect and configure the appropriate display settings, it's not just about making elements bigger or changing the screen resolution. You also want to make sure your photos, videos, and games look at their best by manually calibrating your monitor, which is something the operating system can't accurately do automatically.
Fortunately, Windows 10, similar to previous versions, includes a color calibration utility to make sure your monitor is set to display the most accurate colors and black levels.
In this Windows 10 guide, we'll walk you through the steps to calibrate the display on your PC, laptop, or tablet using the built-in Display Color Calibration utility.
How to calibrate a monitor for accurate colors
- Use the Windows key + I keyboard shortcut to open the Settings app.
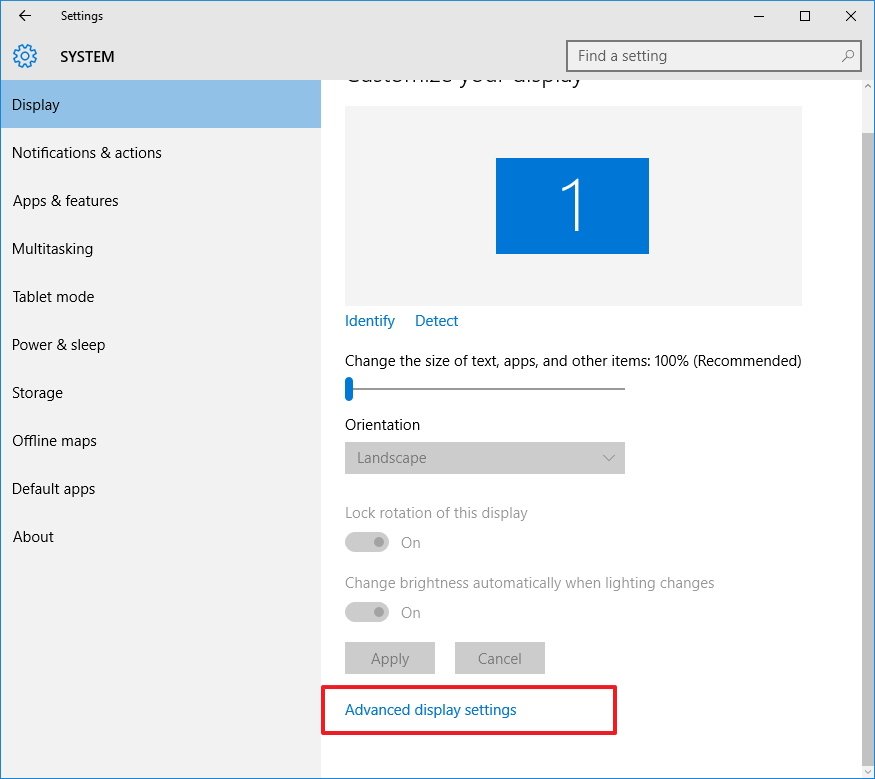
- Click Display.
- Click the Advanced display settings link.
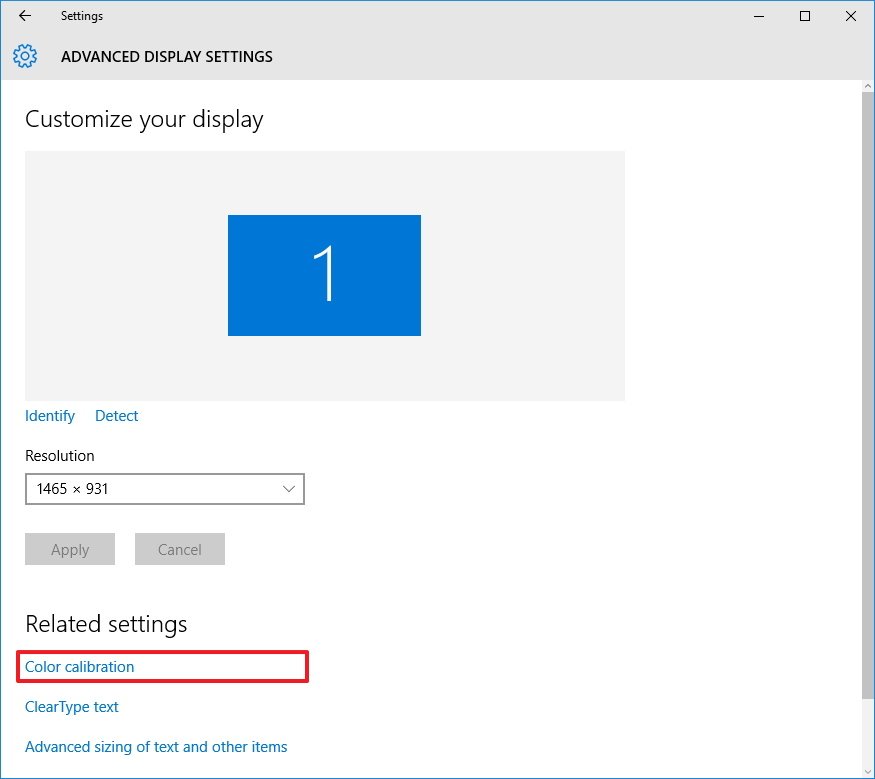
- Make sure you're using the Recommended screen resolution for your display, and click the Color calibration link to launch the utility.
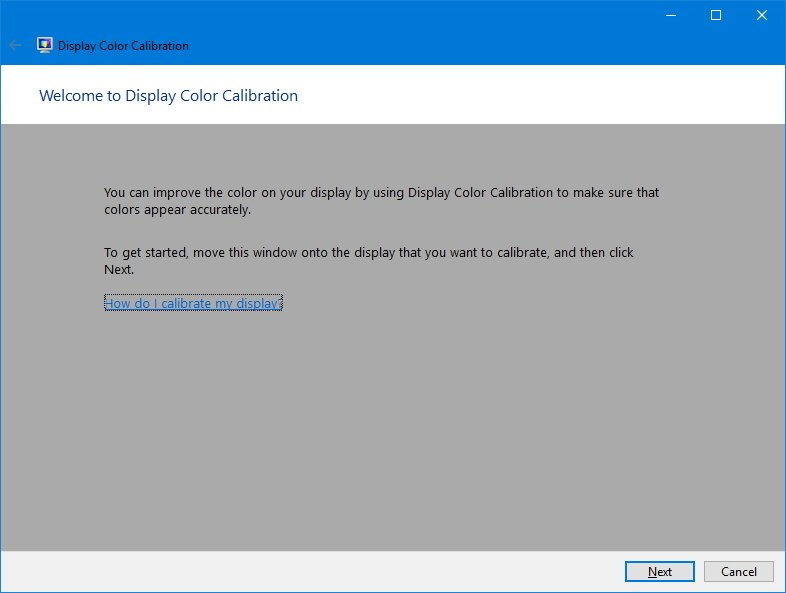
- Click Next to start the process.
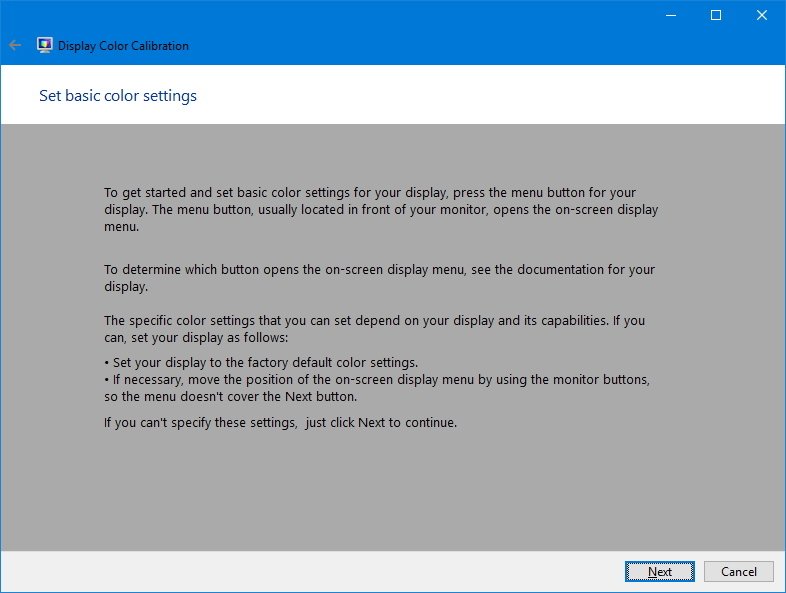
- The wizard will now walk you through the steps to access the on-screen display menu on your monitor to set specific color settings. Click Next to continue.Quick Tip: Before moving to the next step, the utility recommends restoring the default display color settings whenever possible. If you're using a custom configuration, it's a good idea to note those settings in case you want to revert the changes.
- Click Next again.
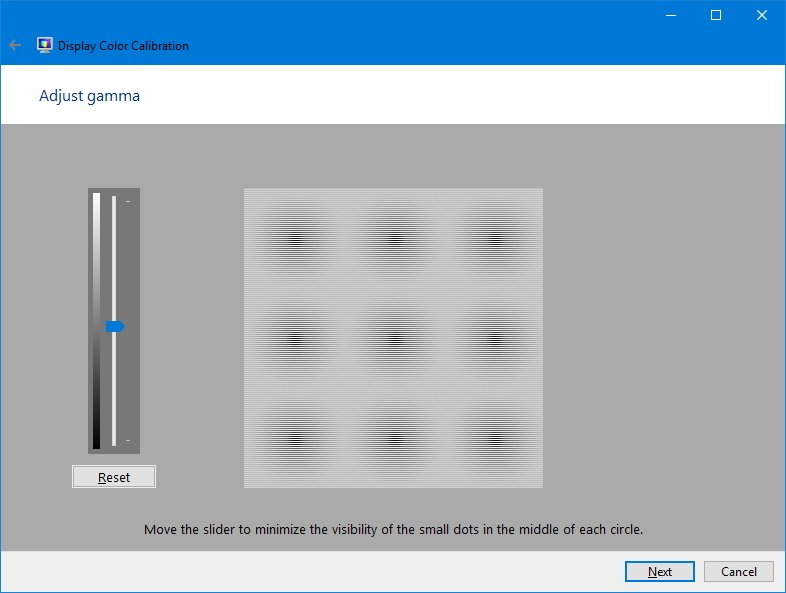
- Adjust the gamma settings by moving the slider up or down until the small dots are barely visible, and click Next.
- Click Next again.
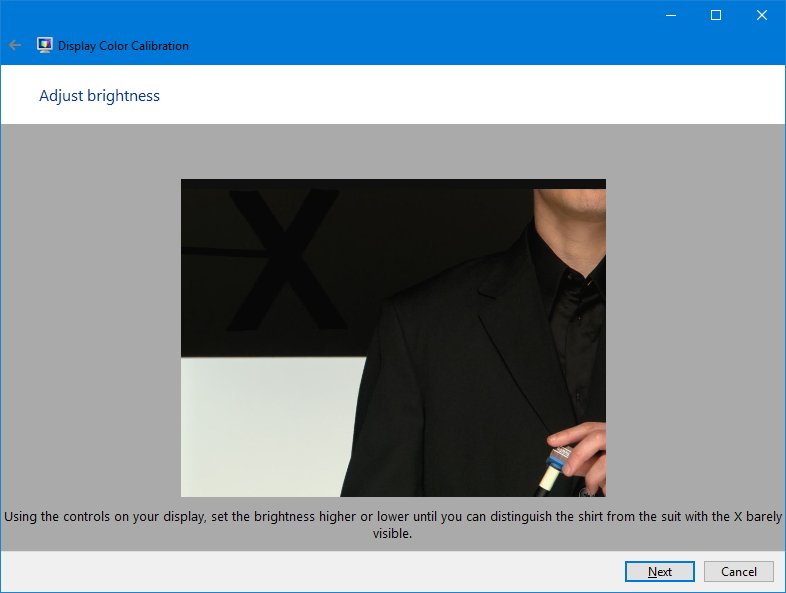
- Find the brightness controls on your monitor and adjust the brightness higher or lower as described in the image below, and click Next to continue.
- Click Next again.
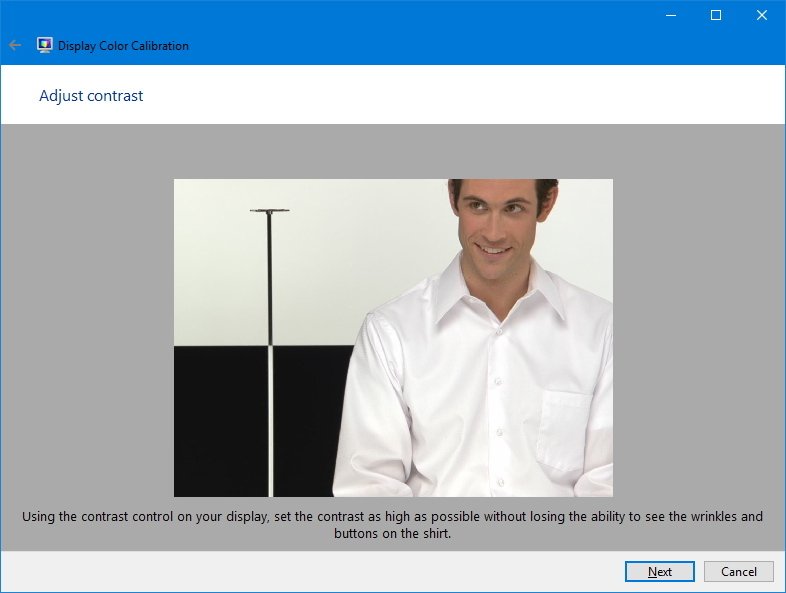
- Find the contrast controls on your monitor and set it high enough as described in the image below, and click Next to continue.
- Click Next again.
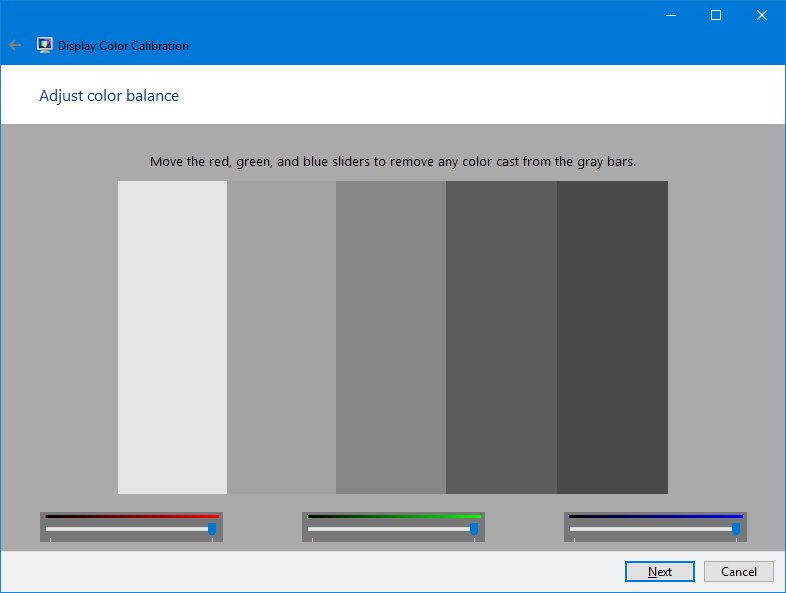
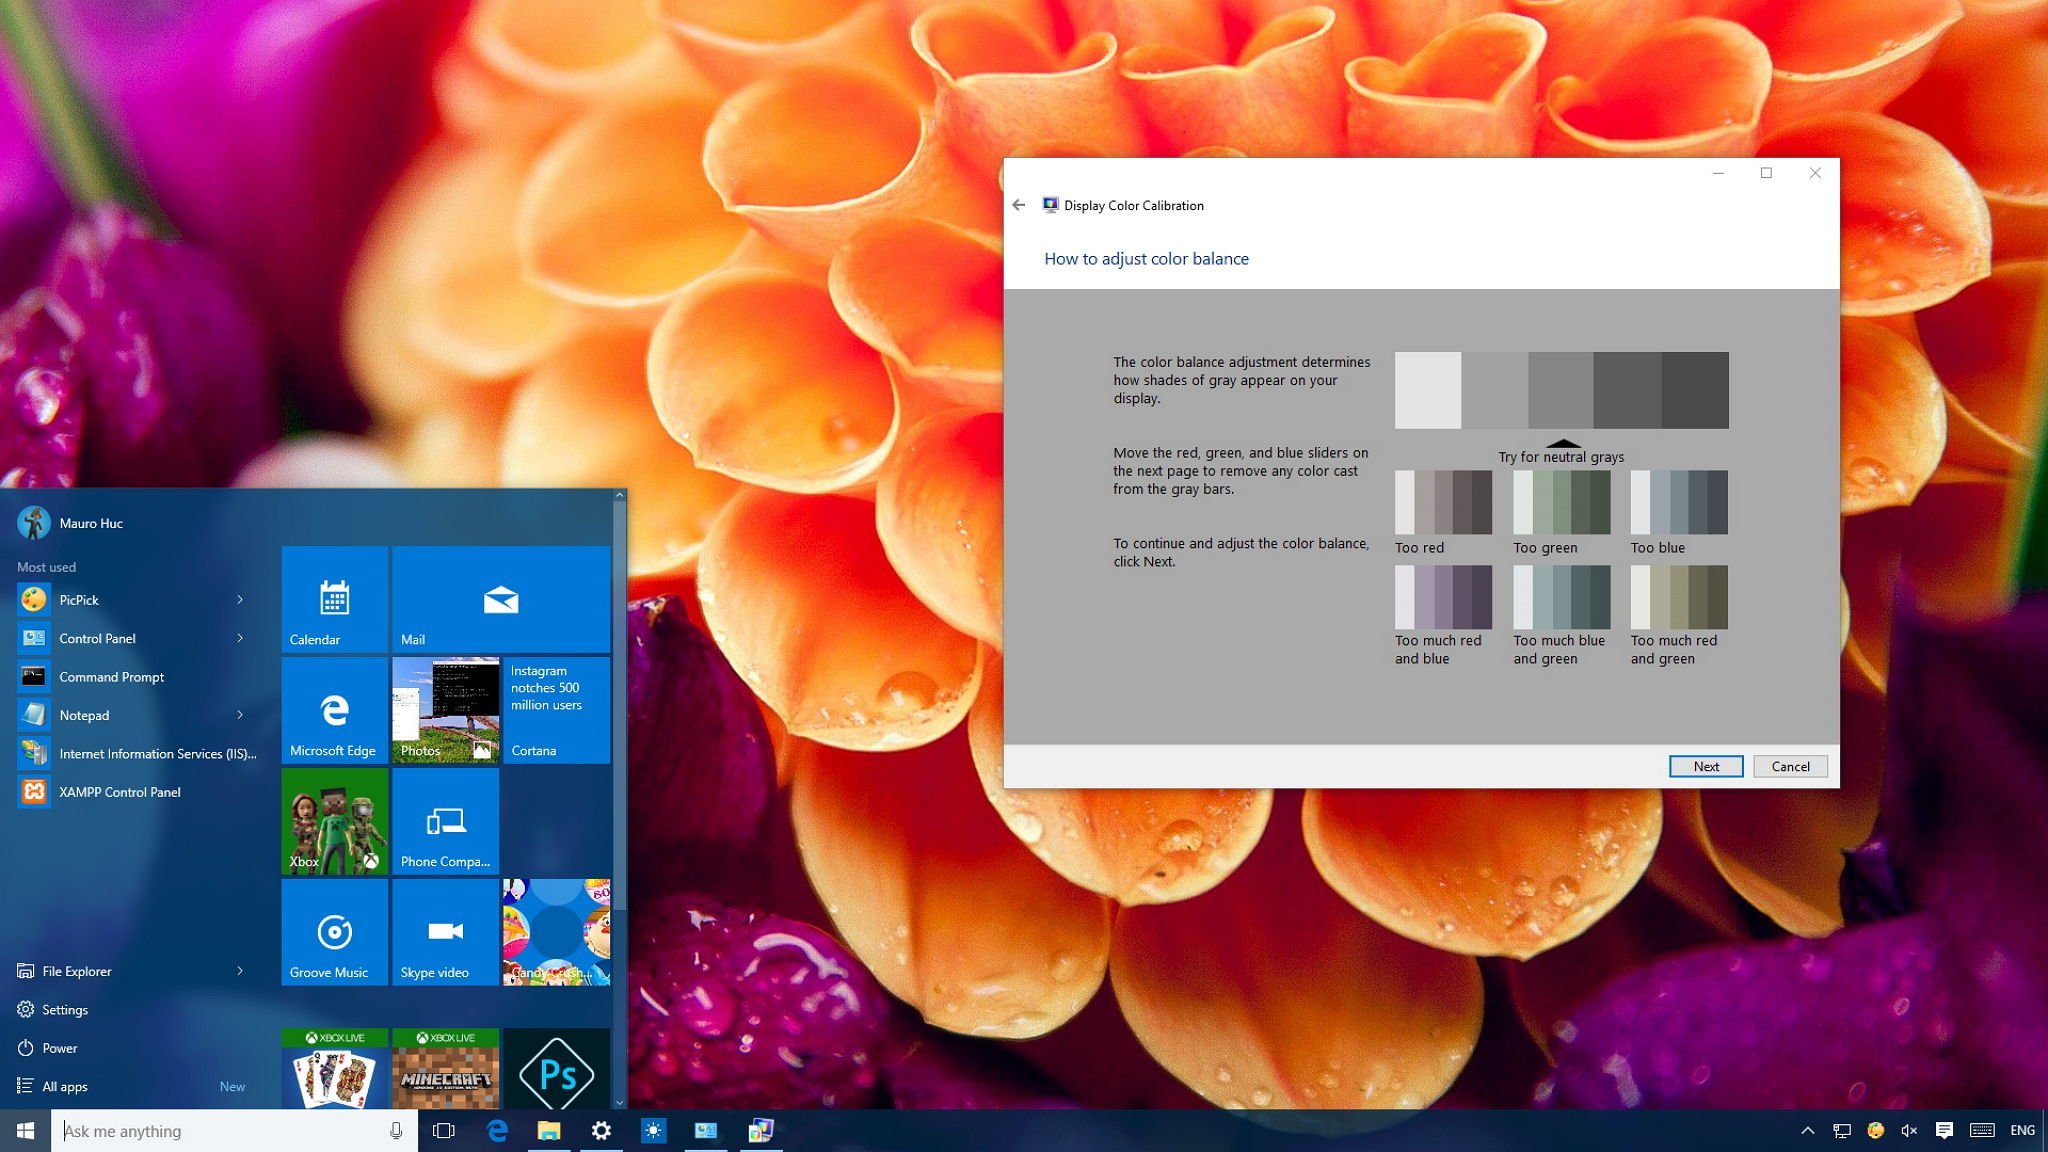
- Adjust the color balance by moving the slider for the red, green, and blue colors until removing any color cast from the gray bars, and click Next.
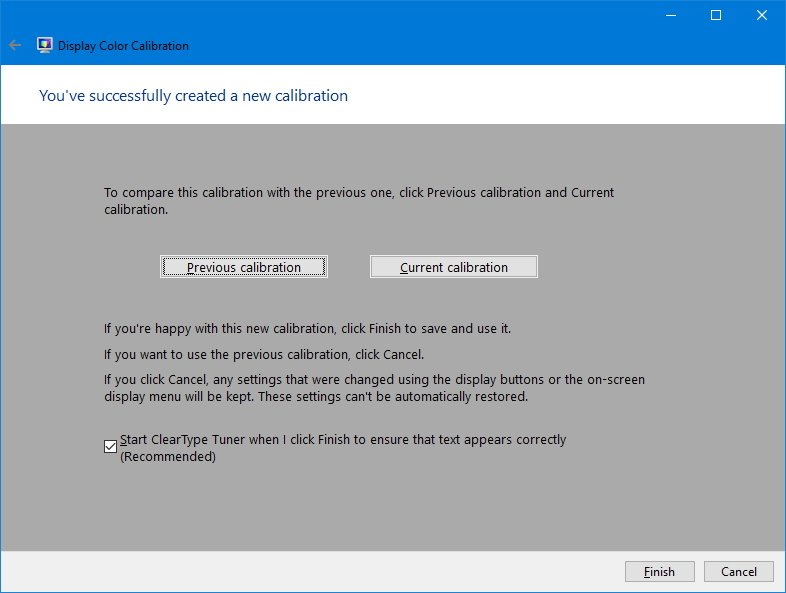
- Click the Previous calibration or Current calibration button to compare the new changes. If the new color configuration is reasonable, click Finish to apply the settings or Cancel to discard the new configuration.
Note: You'll also notice that in this last step, you can start the ClearType Tuner to make sure text are displayed correctly.
Remember that changes made through the display menu will be kept even if you click Cancel. However, if you're not happy with the new settings, you can revert the changes manually, or reset your display to the default settings.
It's worth pointing out that there are many other paid and free tools available to calibrate your computer's monitor, but the utility that comes bundled with Windows should be more than enough for most users to ensure images look at their best colors and with accurate black levels.
What color calibration tool do you use? Tell us in the comments below.
All the latest news, reviews, and guides for Windows and Xbox diehards.
More Windows 10 resources
For more help articles, coverage, and answers on Windows 10, you can visit the following resources:
- Windows 10 on Windows Central – All you need to know
- Windows 10 help, tips, and tricks
- Windows 10 forums on Windows Central

Mauro Huculak has been a Windows How-To Expert contributor for WindowsCentral.com for nearly a decade and has over 22 years of combined experience in IT and technical writing. He holds various professional certifications from Microsoft, Cisco, VMware, and CompTIA and has been recognized as a Microsoft MVP for many years.
