


If you game on PS5 but you also fancy dabbling in a bit of Twitch streaming you could easily use the console's built-in capabilities to get this done. You can even use a camera, too. But if you want to take your gamer stream up a gear you'll be looking at using a PC, and you're at least considering using OBS Studio.
It's a great tool to use for streaming to Twitch or any other online broadcasting service, and setting up the PS5 to use with it is mostly straightforward. There are some quirks with audio that need to be addressed, but that's what this guide is here for.
Everything you need to know about hooking up your PS5 and getting ready to stream with OBS Studio is right here.

How to connect your PS5 to OBS Studio
The first step is to connect your PS5 to your PC and import the video into OBS Studio. For this, you'll need your capture card and two HDMI cables. If you use an external capture card you'll also need the USB cable it came with to hook it up to the PC.
- Connect the HDMI output from the PS5 to the HDMI input on the capture card.

- Connect the HDMI output on the capture card to a HDMI input on whichever display you want to play games on.

- If using an external capture card, connect the USB cable to the capture card and your PC.
- Power on the PS5.
- Open OBS Studio on your PC.
- In the sources box, click the + button.
- Select Video Capture Device.

- Name the device whatever your capture card model is for easy differentiating between other hardware.

- From the dropdown box, select your capture card.

This is the first step to using the output from your PS5 console with OBS. Depending on your capture card, the stock settings should be 1080p resolution at 60 FPS. But this only concerns the input to OBS Studio. To ensure you're getting a good-looking output, you'll need to do some tweaks to the settings.
How to set up PS5 audio for streaming
The PS5 doesn't handle audio like the Xbox, so when you have a headset connected, no audio goes out over HDMI. This makes setting up audio to stream frustrating, but there's a couple of easy fixes.
The first thing you must do is make sure that your PS5 is outputting audio over HDMI.
- Open Settings.
- Select Sound.

- Select Audio Output.

- Make sure Output Device is set to HDMI Device (TV).

Additionally, to make sure it doesn't accidentally turn off if you forget to connect a headset, turn off the Switch Output Device Automatically option. This just means if you're not capturing and want to connect a headset to the console again, you'll have to change Step 4 manually.
Now you're definitely going to be getting your gameplay audio imported into OBS Studio on your PC. You'll be able to see the audio meter for your capture card moving up and down to confirm you were successful. But if you're streaming you don't want the audio coming out of a TV/monitor, you most likely want it inside your headphones, right?
There are two things you can do.
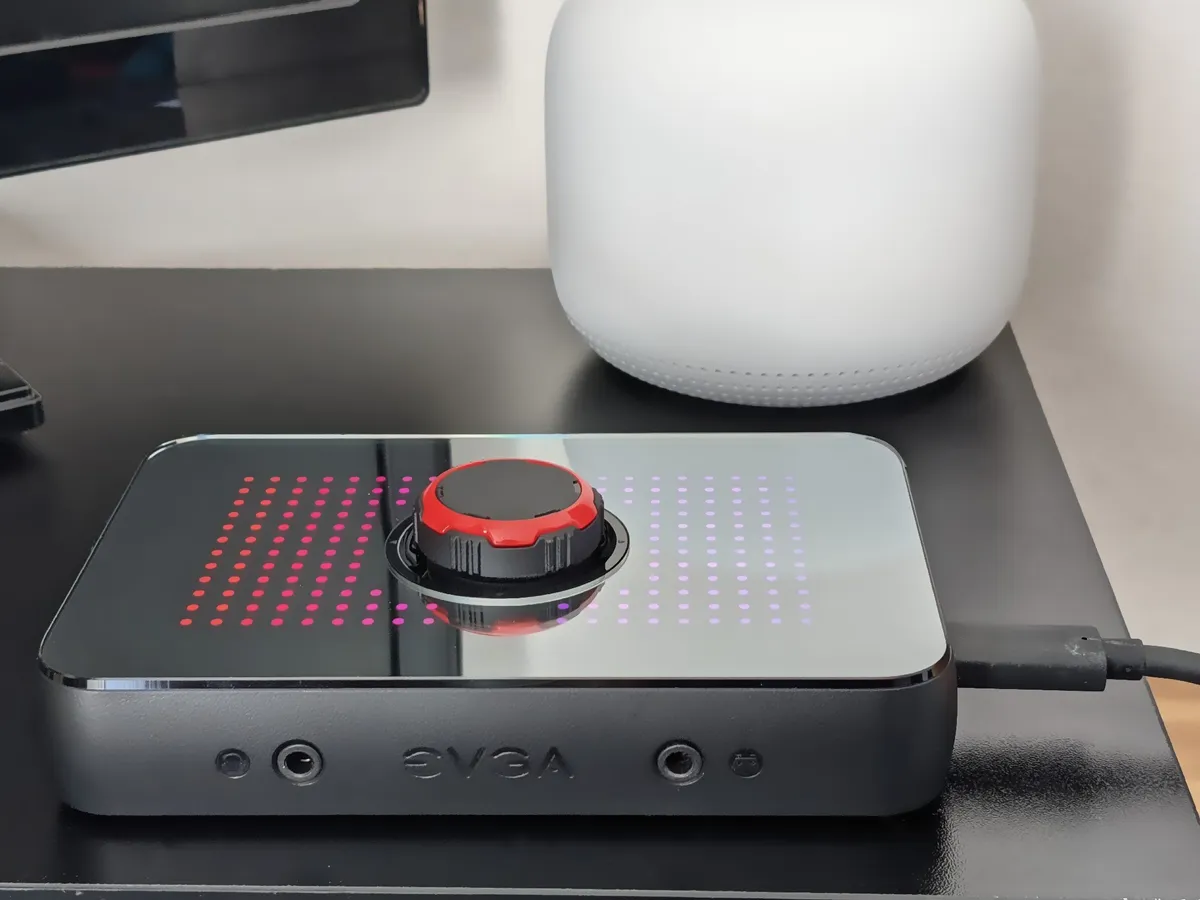
The first is to use a capture card like the EVGA XR1, one which has a hardware audio output. This way you just have to connect your headset to the capture card to hear your game audio. But you may also not want to buy a new capture card, which is fine; there's a free alternative method within OBS Studio.
- Right-click the settings cog next to your capture card's audio meter.
- Select Advanced audio properties.
- Change the Audio Monitoring dropdown box to Monitor and Output.

- Open the main OBS settings.
- Select the Audio tab.
- Scroll down and locate Advanced.
- Ensure the Monitoring Device box corresponds to your headphones or headset.

Now you'll have both audio for your stream and for your ears.
How to set up OBS Studio for streaming to Twitch

Twitch has a number of requirements for video being broadcast to the platform. As a rule, here's what you will be aiming for.
- Max bitrate: 6,000 kbps
- Max resolution: 1080p
- Max frame rate: 60 FPS
- Rate control: CBR
- Keyframe interval: 2
Of course, this is all dependent on your PC hardware and your internet connection. If you don't have the spare bandwidth for 6,000 kbps, for example, then you can't use that bitrate. You'll need to lower that as required based on your connection.
Likewise, if you don't have a CPU (or GPU) that can encode a 1080p60 stream, you'll have to make sacrifices there, as well. It's important to remember that if you're just starting out you won't have transcoding on your Twitch account, either, so you might want to lower to 900p or 720p and a lower bitrate to ensure your viewers have a good time as well.
But how do you plug all of these settings into OBS? It's all done in the Settings menu under the Output and Video tabs.
Video settings

On the video tab, you'll set up the output resolution and frame rate you want to send to Twitch.
- Base resolution: This should be set to 1920x1080.
- Output resolution: This will be specific to your PC and internet connection. If you can handle 1080p, then set it to 1920x1080. If you want to drop down to 720 then select 1280x720. If you're looking for 900p in the middle you'll need to add this manually by typing 1600x900 in the box. Alternatively you can leave it the same as the base resolution and rescale the output resolution in the next section.
- Downscale filter: For gaming, leaving this on Bicubic 16 samples is fine.
- Common FPS values: Your desired output frame rate. If you're looking for 60 FPS select 60, if your PC and or connection isn't up to it, choose 30.
These settings will define the video output, but the quality will be defined in the Output tab.
Output settings

This is where you'll set up the quality of the stream you'll be sending to Twitch. Again, much of this will depend on your PC specs and your internet connection, and there's likely to be a bit of trial and error involved.
The easy ones to set are the rate control and keyframes, as recommended by Twitch. Set the rate control dropdown to CBR which will ensure a constant bitrate regardless of outside influences. Then set the keyframe interval box to 2.
For bitrate, this is where the trial and error will come in. Part of this will depend on your PC, part on your internet connection. If you have a fairly modern PC with at least a quad-core CPU or you're using an NVIDIA GPU to encode, then 6,000 shouldn't be a problem. The easiest way to check is to set up your stream and then do a test recording locally and select Use stream encoder on the recording tab. You'll get an idea then if your PC can handle it.
If you're using CPU encoding, select x264 from the encoder dropdown box. If you want to use your NVIDIA GPU then select NVIDIA NVENC H.264. You can also stream using an AMD GPU, but the output won't be nearly as good as using an NVIDIA one. OBS Studio supports the latest NVENC encoder from NVIDIA built into the RTX graphics cards.
The rest of the settings will be down to your PC and what it can handle. However, if you're using CPU encoding then you don't need to set the speed to anything beyond medium for streaming to Twitch. At that point, you're using up way more system resources for no noticeable gain, especially since you're streaming Xbox games.
GPU encoding settings can also be tweaked depending on your card and what you think looks good. Quality settings are fairly self-explanatory; the only one to make sure you use for Twitch is setting your Max B-frames to 2.
Summary
There's an awful lot you can do with OBS Studio to make your PS5 streams look amazing, but this guide covers all the basics of getting set up to stream to Twitch. It's a shame that the PS5 seems to handle audio in a pretty odd fashion that requires a workaround, but nevertheless, there is at least an easy fix.
From here on out the only real limit is your imagination. Your hardware and internet connection are always going to be a factor, but aside from that, OBS Studio will let you get seriously creative.

